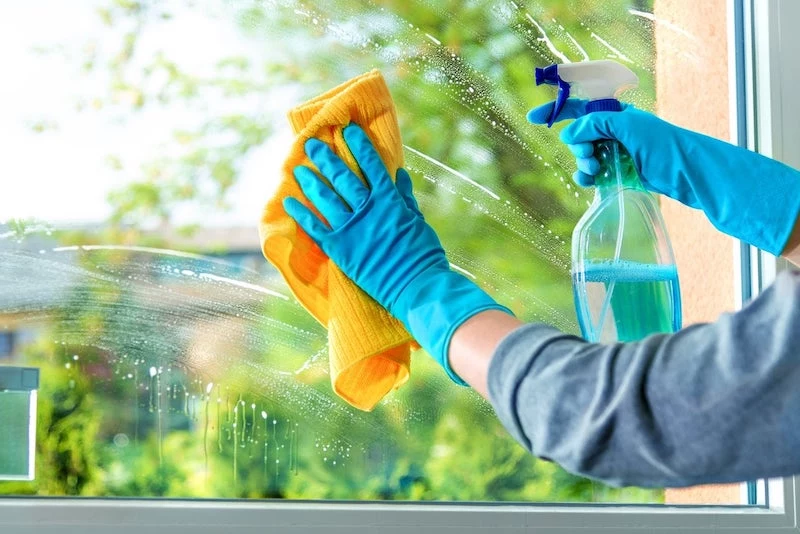
I’ve spent a long, long time cleaning windows. I’m talking everything from small residential homes to massive commercial buildings. And the biggest lesson I’ve learned is that getting a perfect, totally invisible finish has almost nothing to do with some secret spray or magic cloth. It’s all about having the right gear and a solid, repeatable technique.
So many people get fed up with cleaning their windows. They’ll burn an entire afternoon spraying and wiping, only to step back and see a streaky, lint-covered mess. Sound familiar? It usually happens because they’re working in direct sunlight, using flimsy paper towels, or dumping way too much cleaner in their water. It’s a classic story.
I want to walk you through how the pros get it done. This isn’t a list of cheap hacks. It’s a guide to the methods and tools that give you satisfying, consistent results every single time. We’ll cover what you actually need, how to mix the one solution you’ll ever use, and the step-by-step process for a finish that looks like the glass isn’t even there.
First, Let’s Talk About Why Windows Get So Grimy
To really clean glass, you have to know what you’re up against. Window gunk is a cocktail of stuff: airborne dust, sticky pollen, bird droppings, and a thin, greasy film that builds up over time. Even the rain that’s supposed to wash it clean leaves behind mineral deposits.
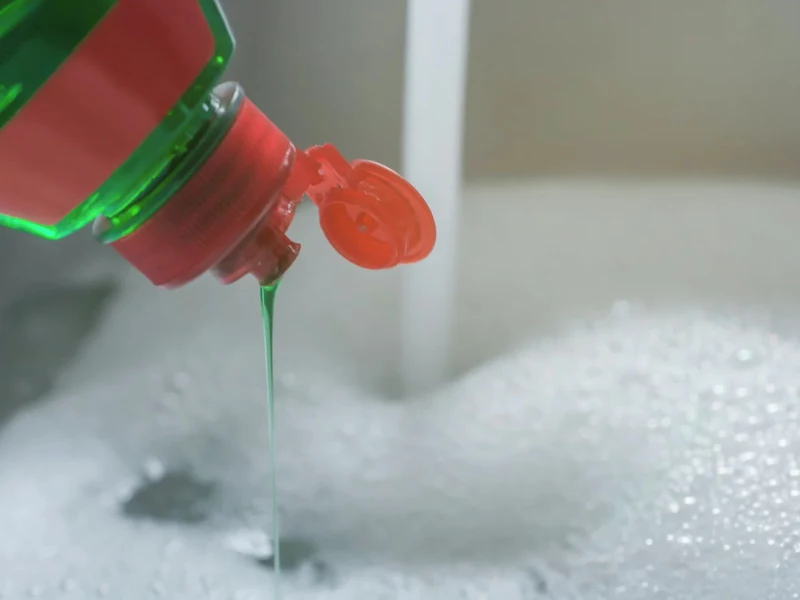
Water itself is a bit tricky. It has this thing called surface tension, which means the molecules love to cling together. If you splash plain water on a dirty window, it just beads up instead of spreading out to dissolve the grime. That’s where soap comes in. A tiny bit of dish soap acts as a “surfactant,” breaking that tension and letting the water relax and spread. This allows it to get under the dirt and lift it away.
Heads up, though: too much soap is the
1 enemy of a streak-free window. It creates a ton of suds that are impossible to completely remove with a squeegee. That leftover soap film is what catches the light and creates those ugly streaks.
Building Your Pro Toolkit (And What It’ll Cost)
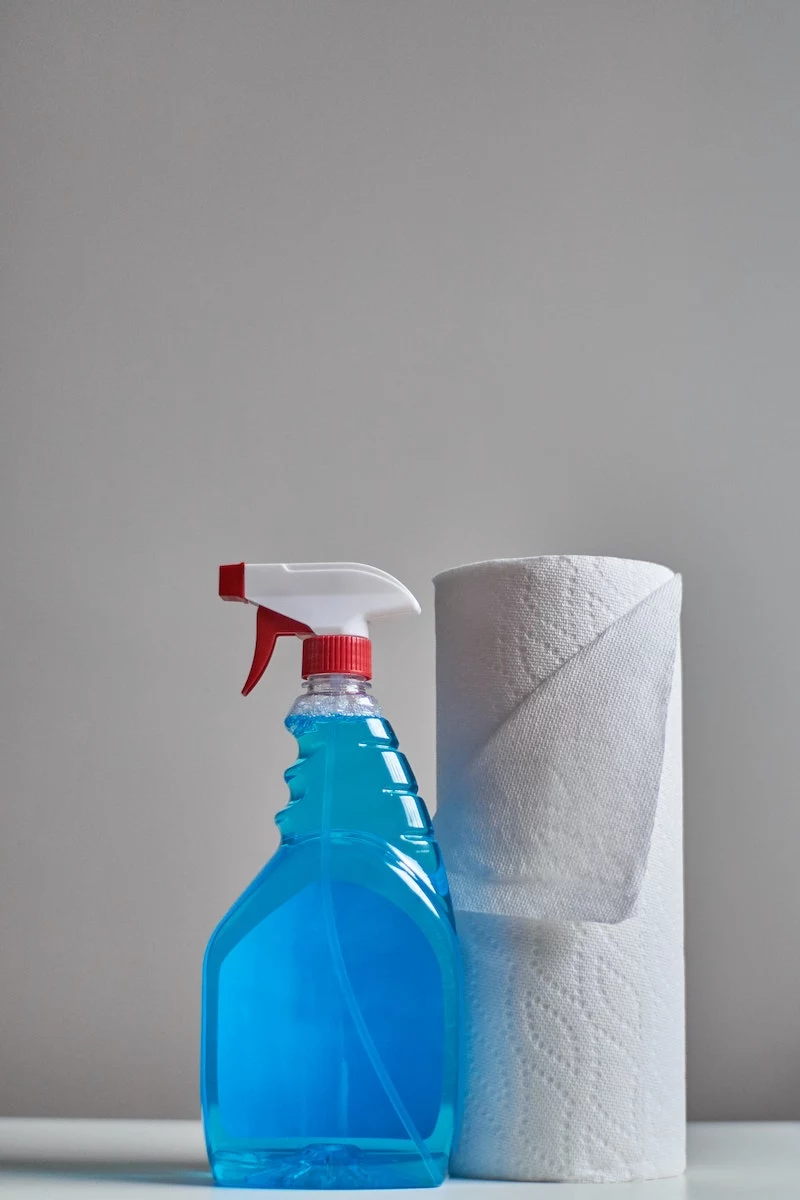
Honestly, your results are only as good as your tools. It’s time to retire the paper towels and that blue spray bottle. Investing in a few quality pieces will make the job faster, easier, and the results will be night and day. You can get a fantastic starter kit together for about $50 to $75.
Here’s what you actually need:
A Professional Squeegee: This is the heart of your kit. Don’t grab the cheap plastic ones from the gas station. Look for pro-level brands at a janitorial supply store or online. A 12 or 14-inch squeegee is a perfect all-around size for home use. They usually come in two parts: a handle (brass is my favorite for its weight, but stainless steel is great too) and a channel that holds the rubber. Expect to pay: $15 – $25.
The Rubber Blade: This is the most critical component. The edge has to be perfectly sharp and straight. A tiny nick or a worn-out edge will leave a frustrating line of water with every single pull. I check mine constantly and replace them often—they’re cheap and make all the difference. If it doesn’t feel perfectly smooth, swap it out.
An Applicator (or Scrubber): Instead of a sponge, we use a tool that looks like a T-bar with a fuzzy, removable sleeve. This thing holds a ton of soapy water and applies it evenly without dripping everywhere. Get one that’s the same size as your squeegee. Expect to pay: $10 – $20.
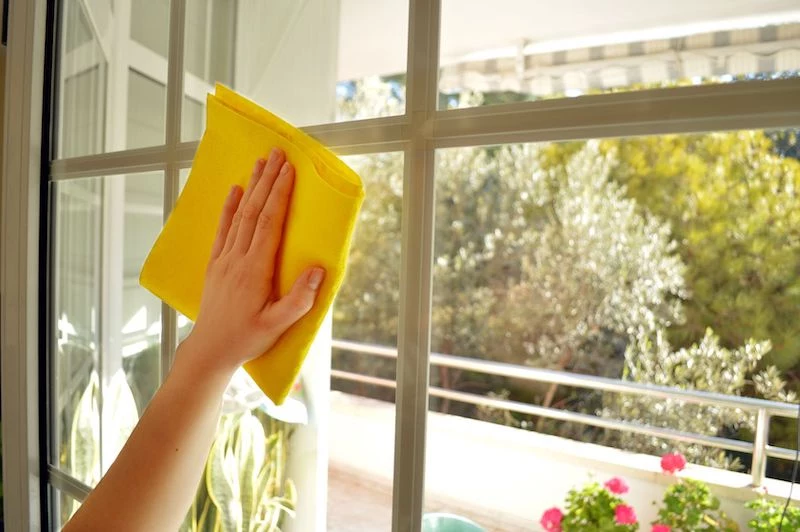
Buckets and Towels: You’ll want a rectangular bucket, around 4-5 gallons, because it’s wide enough to dip your whole applicator. For towels, get a stack of quality microfiber cloths for detailing. Another pro secret? Huck towels. They’re lint-free cotton surgical towels that are incredibly absorbent and last forever. You can find them online. Expect to pay: $15 for a good pack of towels.
The Only Cleaning Solution You’ll Ever Need
You can ignore the entire aisle of brightly colored window cleaners. Seriously. For over 95% of the windows out there, my solution is ridiculously simple and cheap.
My go-to formula is just about two gallons of cool water in my bucket with a tiny bit of basic dish soap. When I say tiny, I mean it—maybe a quarter of a teaspoon. You want just enough to create what we call “slip,” which is the feeling of the squeegee gliding smoothly over the glass. You should see a few suds, not a bubble bath.
I learned this the hard way. Early on, I thought more soap meant more power. I washed a whole house on a warm day, and the soap was drying into a hazy film faster than I could squeegee it off. I had to re-wash every single window. It was a painful lesson in “less is more.”
Good to know: What about vinegar? Vinegar is an acid, and its main job is to dissolve mineral deposits from hard water. If you have those chalky white spots, adding about a cup of white vinegar to your gallon of water can help. But it’s a problem-solver, not an everyday ingredient.
The Professional Technique: Mastering the Squeegee
Alright, let’s put it all together. This is a methodical process, so don’t rush it. Once you find your rhythm, you should be able to do a standard-sized window—frame, screen, and all—in about 5-7 minutes.
Step 1: Prep Your Area If you’re inside, lay an old towel on the floor or windowsill. Trust me, even pros drip sometimes. This will save your floors and woodwork.
Step 2: Clean the Frames First This is a non-negotiable step. Always wipe down the window frame, sill, and tracks before you touch the glass. If you do it after, you’ll just smudge dirt onto your perfectly clean window. A damp microfiber cloth and an old toothbrush for the tracks work wonders.
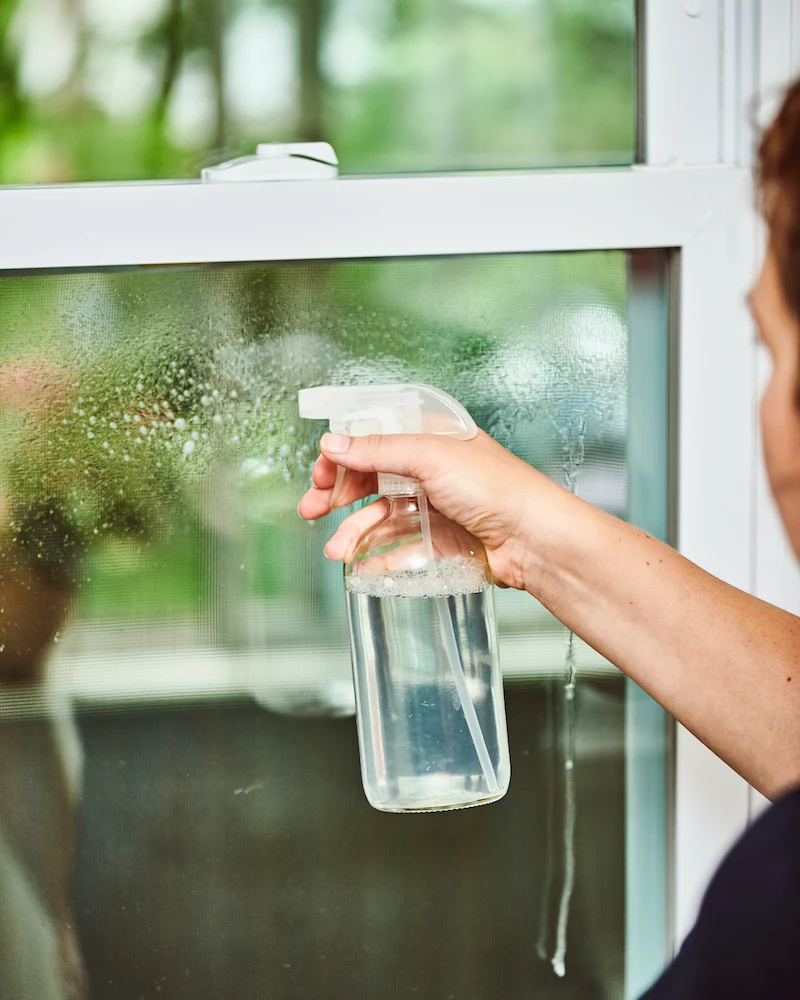
Step 3: Soap Up the Glass Dip your applicator in the soapy water and give it a gentle squeeze so it’s not dripping like crazy. Starting at the top, scrub the entire window, making sure you get right into the corners. The whole pane should be wet.
Step 4: The “Wet Edge” Trick This simple move is what separates amateurs from pros. Take a clean microfiber cloth, wrap it over your finger, and wipe a one-inch dry strip down one side of the glass. This gives your squeegee a dry place to start and prevents a thick, watery line from forming against the frame.
Step 5: The Squeegee Pull Place your squeegee in that dry strip at the top, tilted at about a 45-degree angle to the glass. Using light, even pressure, pull it straight down from top to bottom. Now, here’s the part everyone skips: WIPE THE BLADE with your cloth. Every. Single. Time. If you don’t, you’ll drag a line of dirt on your next pull. Overlap your first stroke by about an inch and repeat until you’re done.
Quick Challenge: Practice on Your Bathroom Mirror! Before you tackle a big window, try this out on your bathroom mirror. It’s the perfect size, and you’ll see your mistakes instantly. Master the straight pull there, and you’ll feel way more confident outside.
You may have seen pros do the “fanning” method, a continuous S-shaped motion. It’s faster, but it takes a lot of practice to master. Honestly, it’s hard to describe in words. A quick search for “squeegee fanning technique” on YouTube will show you exactly how it’s done. For now, stick with the straight pull.
Step 6: Final Detailing No matter how good you are, you’ll have tiny lines of water left along the edges. Use a dry microfiber cloth to carefully wipe the perimeter of the pane. Step back and look at the glass from a few different angles to catch any sneaky drips.
Oh Yeah, Don’t Forget the Screens!
Cleaning the glass but leaving a dirty screen is like washing your car and leaving the tires caked in mud. It just ruins the effect. Cleaning them is pretty easy.
Carefully pop the screens out of the frame.
Lay them on a clean patch of your driveway or lawn. Don’t do this on a dirty surface, or you’ll just grind more grit into them.
Gently hose them down to knock off the loose dust.
Use a soft-bristled brush and your bucket of soapy water to lightly scrub both sides. Don’t push too hard or you could stretch the mesh.
Rinse them thoroughly with the hose until all the soap is gone.
Let them air dry completely before putting them back in. Leaning them against a wall works great.
Quick Fixes for Common Headaches
Even when you do everything right, things can go wrong. Here’s a quick troubleshooting guide.
If you see streaks… it’s almost always one of two things: too much soap in your water, or your squeegee blade is old and dull.
If your squeegee is skipping or “chattering”… the glass isn’t wet enough, or your blade angle is too steep (not flat enough against the glass). Add more water and relax your wrist.
If you see little lines or “holidays”… you didn’t overlap your squeegee strokes enough. Make sure each pull overlaps the last one by at least an inch.
Handling Tough Jobs & When to Be Careful
Sometimes you’ll run into more than just dirt. For stubborn hard water spots, you can try
0000 steel wool (that’s quadruple-zero grade—anything coarser will scratch). Wet the glass, then gently rub the spot. ALWAYS test this in a hidden corner first!
For things like paint specks or sticker goo, a small razor scraper is the tool. But be warned: you can permanently scratch glass in a heartbeat. Never use it on dry glass. And a huge heads-up: never use a scraper on tempered or coated (Low-E) glass. Look for a faint, sandblasted label in one of the corners. If you see it, no scrapers! To be frank, this is one of those times where calling a pro with insurance might be the smarter move.
A Final Word on Safety and When to Call for Backup
This all sounds great for ground-floor windows, but please be smart about heights. Ladder safety is no joke. If a window requires you to stretch or lean off a ladder, just don’t do it. Move the ladder. It’s always better to take an extra two minutes than to take a trip to the emergency room.
And know when to throw in the towel (pun intended). If you have tricky second or third-story windows, or just don’t have a free weekend to do the job right, there is absolutely no shame in hiring a professional. It’s an investment in your safety, your time, and a guaranteed perfect result.
John combines 12 years of experience in event planning, interior styling, and lifestyle curation. With a degree in Visual Arts from California Institute of the Arts and certifications in event design, he has styled luxury weddings, corporate events, and celebrity celebrations. John believes in creating memorable experiences through innovative design and attention to detail.
To provide the best experiences, we use technologies like cookies to store and/or access device information. Consenting to these technologies will allow us to process data such as browsing behavior or unique IDs on this site. Not consenting or withdrawing consent, may adversely affect certain features and functions.
Functional
Always active
The technical storage or access is strictly necessary for the legitimate purpose of enabling the use of a specific service explicitly requested by the subscriber or user, or for the sole purpose of carrying out the transmission of a communication over an electronic communications network.
Preferences
The technical storage or access is necessary for the legitimate purpose of storing preferences that are not requested by the subscriber or user.
Statistics
The technical storage or access that is used exclusively for statistical purposes.The technical storage or access that is used exclusively for anonymous statistical purposes. Without a subpoena, voluntary compliance on the part of your Internet Service Provider, or additional records from a third party, information stored or retrieved for this purpose alone cannot usually be used to identify you.
Marketing
The technical storage or access is required to create user profiles to send advertising, or to track the user on a website or across several websites for similar marketing purposes.