Don’t Just Tile Your Small Shower—Transform It. A Pro’s Guide.
I’ve been setting tile for what feels like a lifetime—well over two decades, anyway. I’ve seen it all, from massive new builds to tiny, century-old city apartments. And honestly? The biggest headaches and the most rewarding projects often come from the smallest rooms. A small shower, in particular, is where a tiler’s real skill gets tested. There’s zero room for error. Every single cut, every grout line, every choice suddenly feels ten times more important.
In this article
- First Things First: A Reality Check on Time and Money
- The Science of Making a Small Space Feel Big
- Pro Layout Tricks for a Flawless Finish
- Waterproofing: The Most Important Step You Can’t See
- Setting the Tile: The Details That Show Craftsmanship
- Grout and Niches: The Finishing Touches
- A Quick But Serious Word on Safety
- Galerie d’inspiration
A lot of people think that making a small bathroom feel bigger is all about picking a pretty tile. That’s definitely part of the fun, but it’s one of the last steps. The real magic happens in the prep work and the planning. I’ve been hired more times than I can count to tear out showers that were barely a year old, all because water snuck behind the walls and turned everything into a moldy, rotten mess. A great small shower is a complete system—it has to be waterproof, functional, and cleverly designed to trick the eye into seeing more space.
So, this isn’t going to be a guide about fleeting design trends. This is about the durable methods and practical, on-the-job knowledge I’ve picked up over the years. We’re going to cover the right materials for a place that’s always wet, the layout tricks the pros use, and the critical steps for a bulletproof installation that will last for decades.
First Things First: A Reality Check on Time and Money
Before we even talk about tile, let’s get real about what you’re getting into. A full shower remodel isn’t a weekend project, no matter what you see on TV.
For a DIYer, realistically plan for this to take several weekends. Demolition is one thing, but the waterproofing is where time really adds up. For example, liquid membranes need to dry completely between coats—we’re talking 12-24 hours for each coat, and you’ll need at least two. So that step alone can take two days. Don’t rush it.
And what about the budget? It varies wildly, but here’s a ballpark:
- DIY Materials Cost: For a standard 3×3 foot shower, you could spend anywhere from $600 to over $2,000 on materials. This includes backer board, waterproofing, mortar, tile, grout, and a new drain. A basic ceramic tile might be $3 per square foot, while a fancy glass or porcelain could be $25 per square foot or more.
- Professional Installation Cost: If you hire a pro, the labor alone for a small shower can range from $2,500 to $7,000+. This depends heavily on your location and the complexity of the job (like if they need to fix wonky walls). When you get a quote, make sure it details every step, especially the waterproofing method.
The Science of Making a Small Space Feel Big
Okay, with that out of the way, let’s get to the fun part. Before you even think about tile patterns, you need to understand two key elements: light and water. How you manage these will make or break your project.
Using Light to Fool the Eye
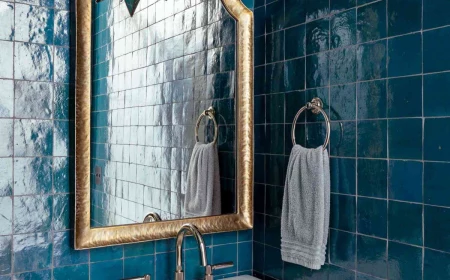
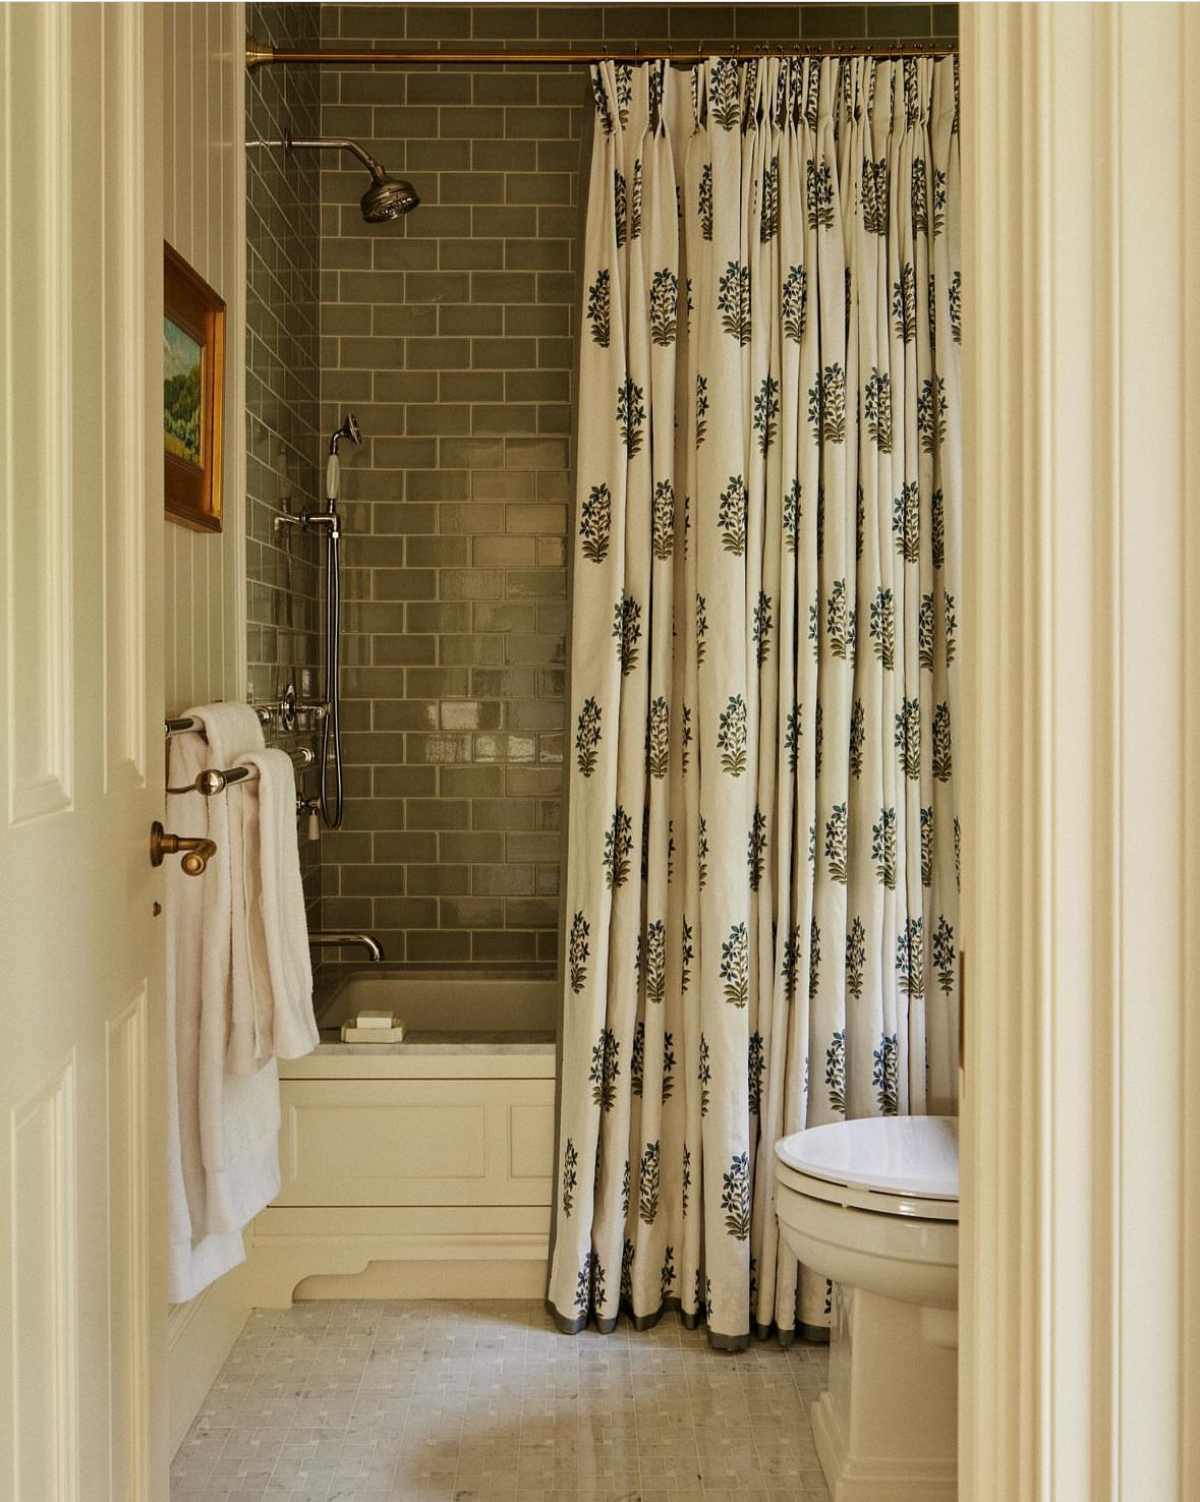
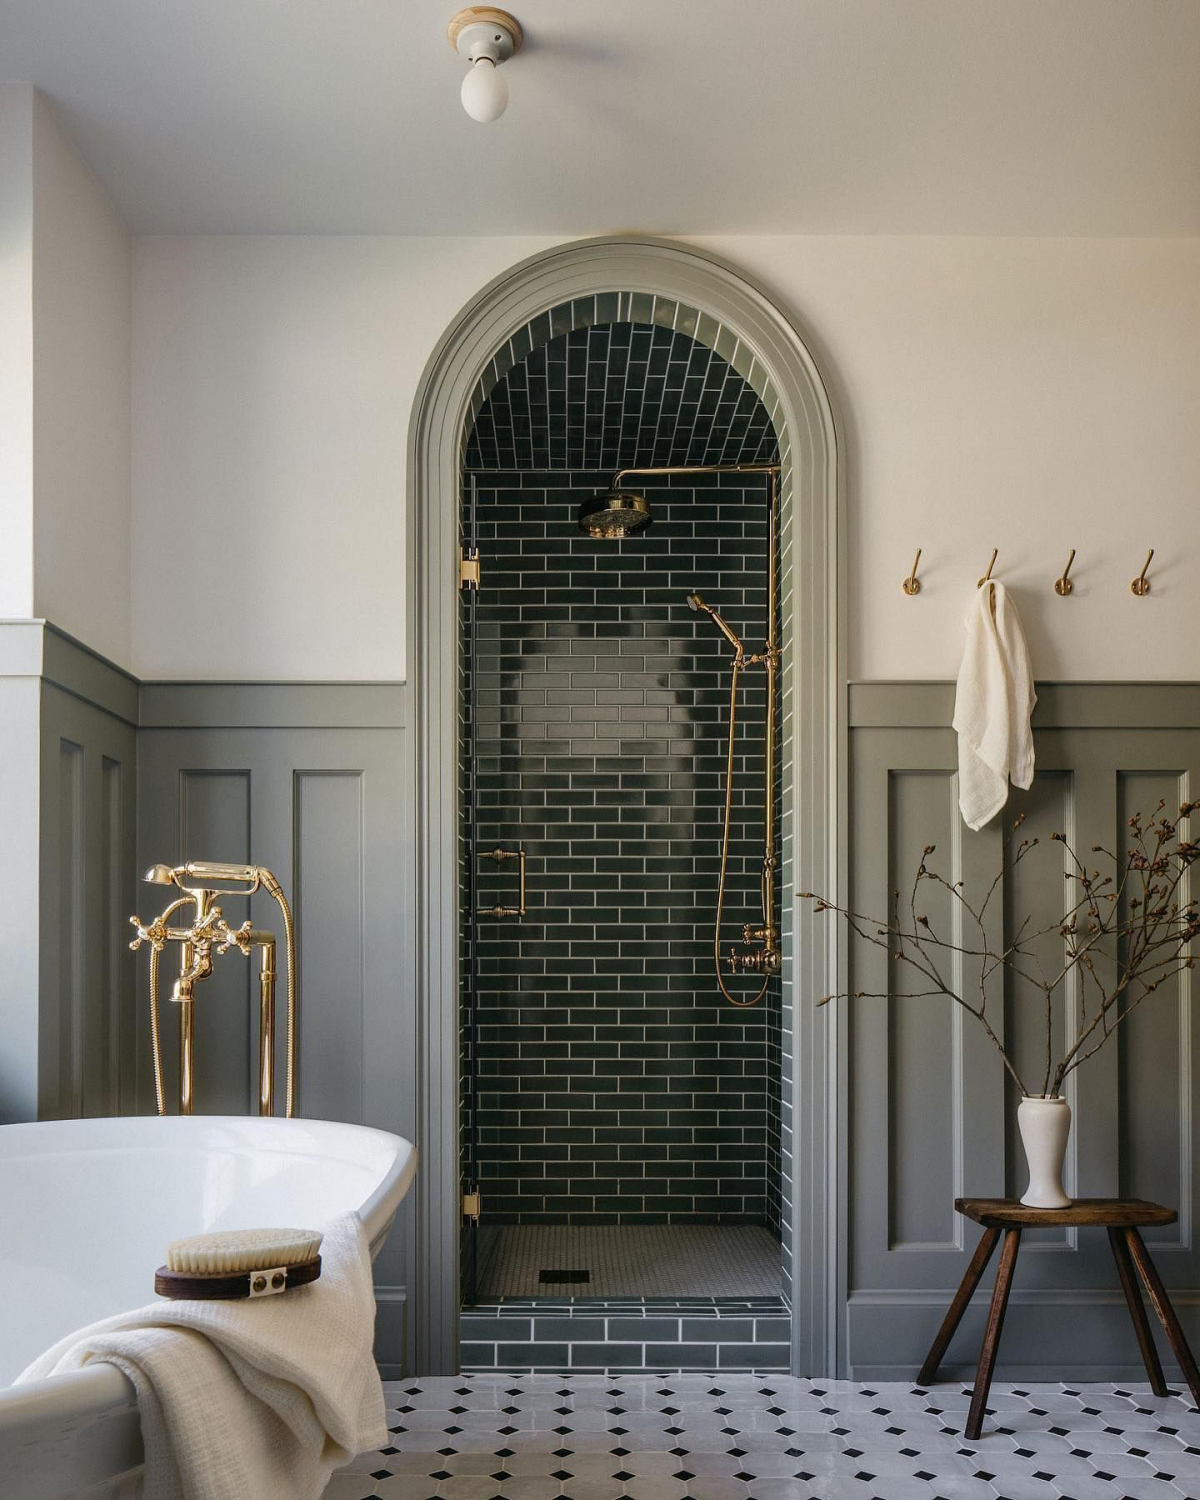
You can absolutely trick your eyes into seeing more space. In a small shower, the main way we do this is with light reflection. A tile’s finish is your secret weapon here.
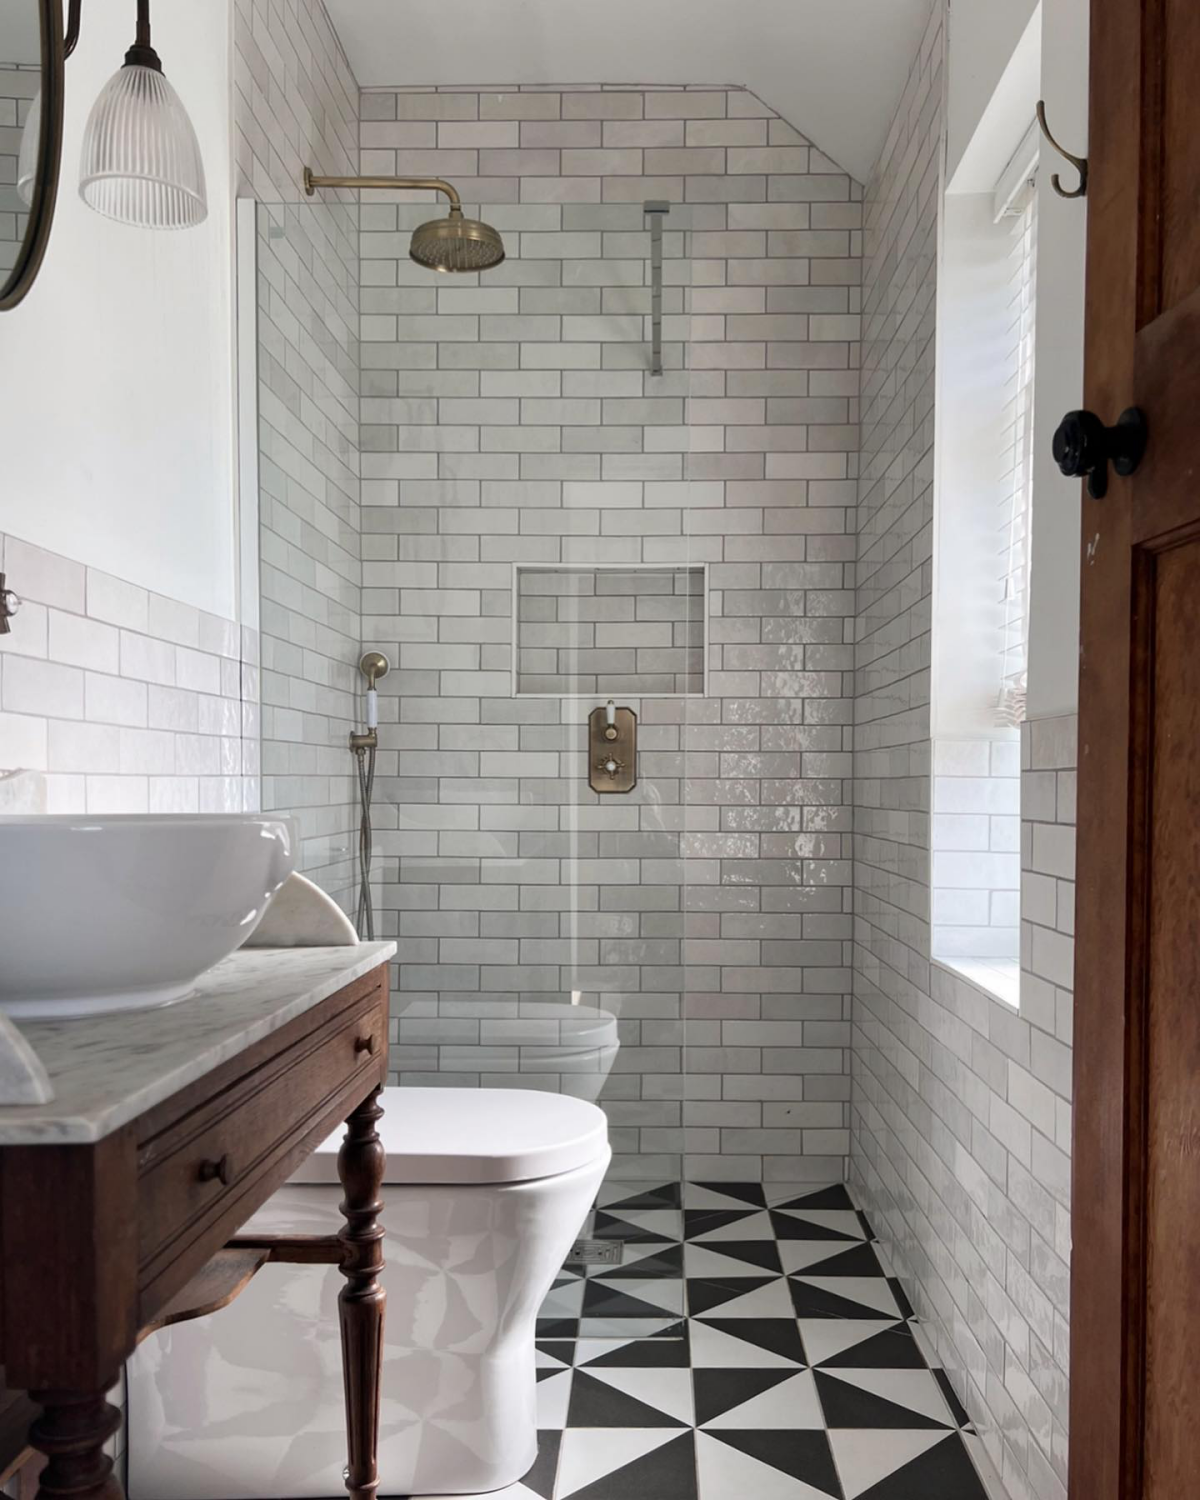
A glossy tile has a smooth, glass-like surface. When light hits it, it bounces back in a focused way, creating bright highlights. This is why glossy tiles have been the classic choice for small bathrooms forever. They essentially turn your walls into a set of soft-focus mirrors, bouncing light around and making a cramped space feel way more open and airy.
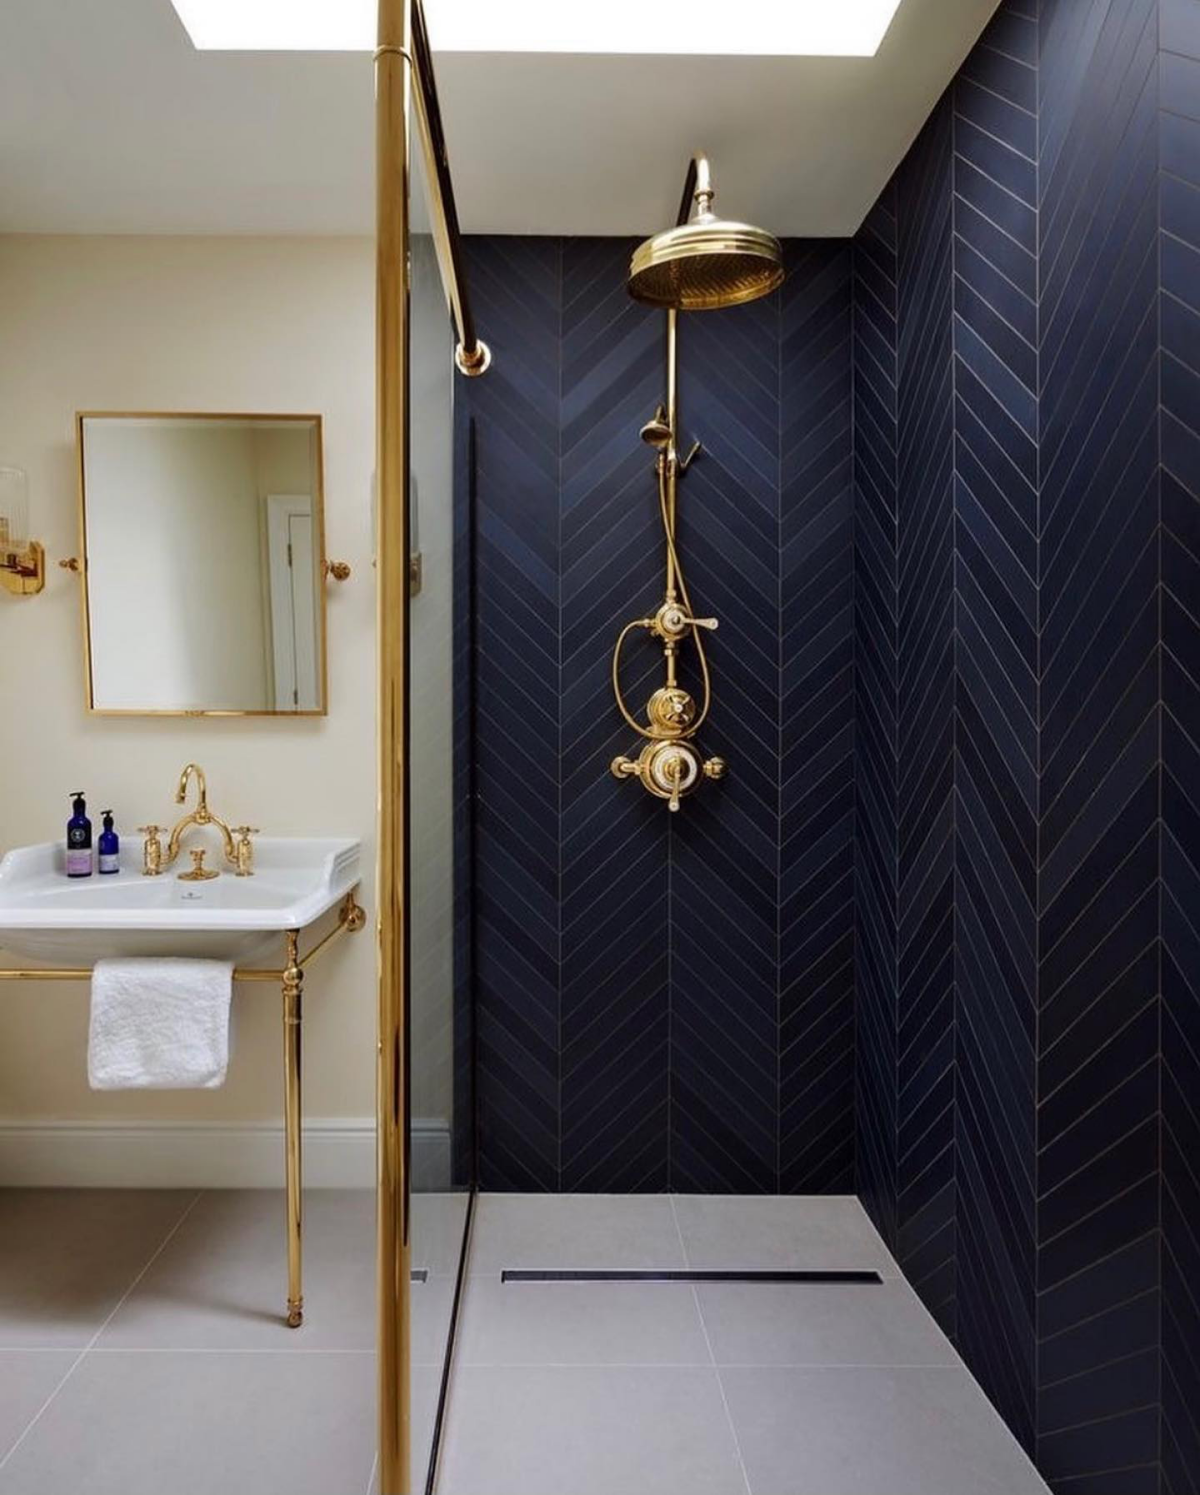
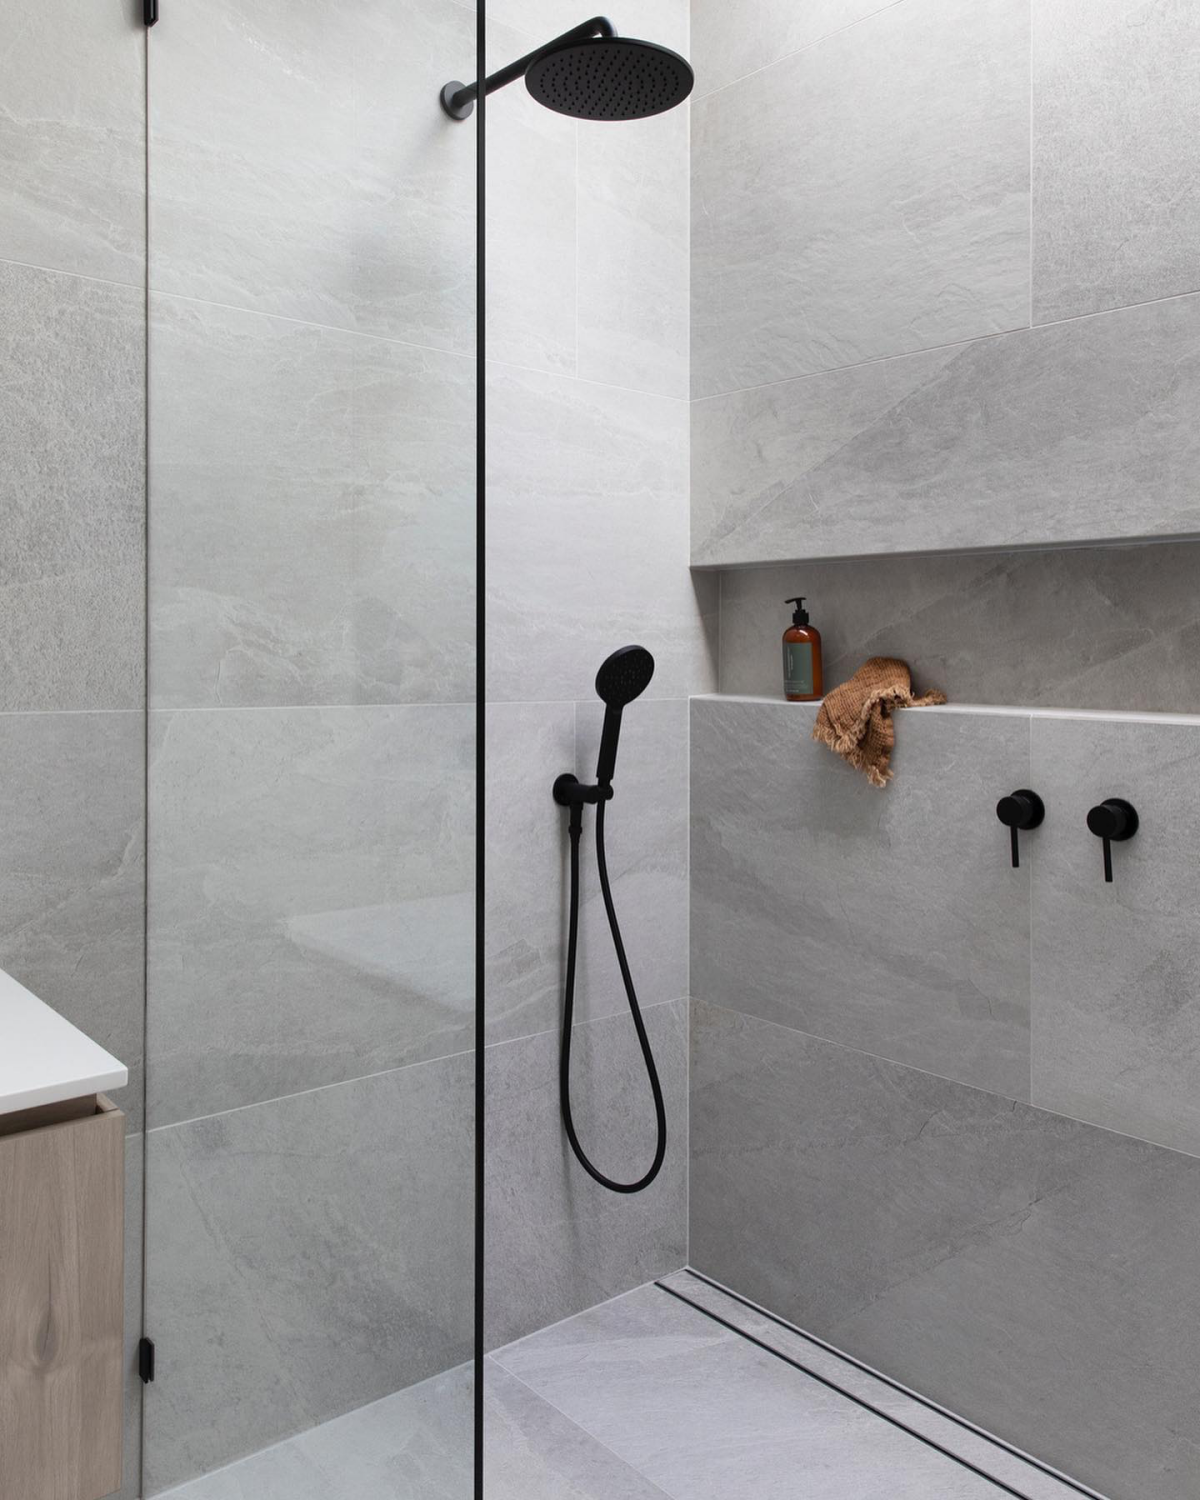
On the flip side, a matte tile has a slightly rougher, non-reflective surface. It scatters light in all directions, which creates a very soft, modern, and non-glare look. But be careful. In a tiny, windowless shower, a dark matte tile can feel like it’s sucking all the light out of the room, making it feel even smaller. A great compromise? Look for a satin or honed finish. It gives you that soft, sophisticated look but still has just enough sheen to gently reflect some light without a mirror-like glare.
Choosing Materials That Keep Water Out
A shower is a war zone against water. Your tile is the first line of defense, but the real hero is the waterproofing system behind it. Still, the tile itself has to be up to the task.
- Porcelain Tile: This is my go-to recommendation for any shower, period. To even be called “porcelain,” a tile has to have a water absorption rate of 0.5% or less. It’s incredibly dense and tough because the clay is finer and it’s fired at a much higher temperature than regular ceramic. It can be a bit tougher to cut, but its performance is absolutely worth it.
- Ceramic Tile: Standard ceramic can work, but you have to be a stickler for the specs. Always check that it’s rated for wet areas like showers. It’s generally cheaper and easier to cut than porcelain, which is a nice bonus for a DIY project. You can find quality options for between $2 and $8 per square foot at places like Floor & Decor or Home Depot.
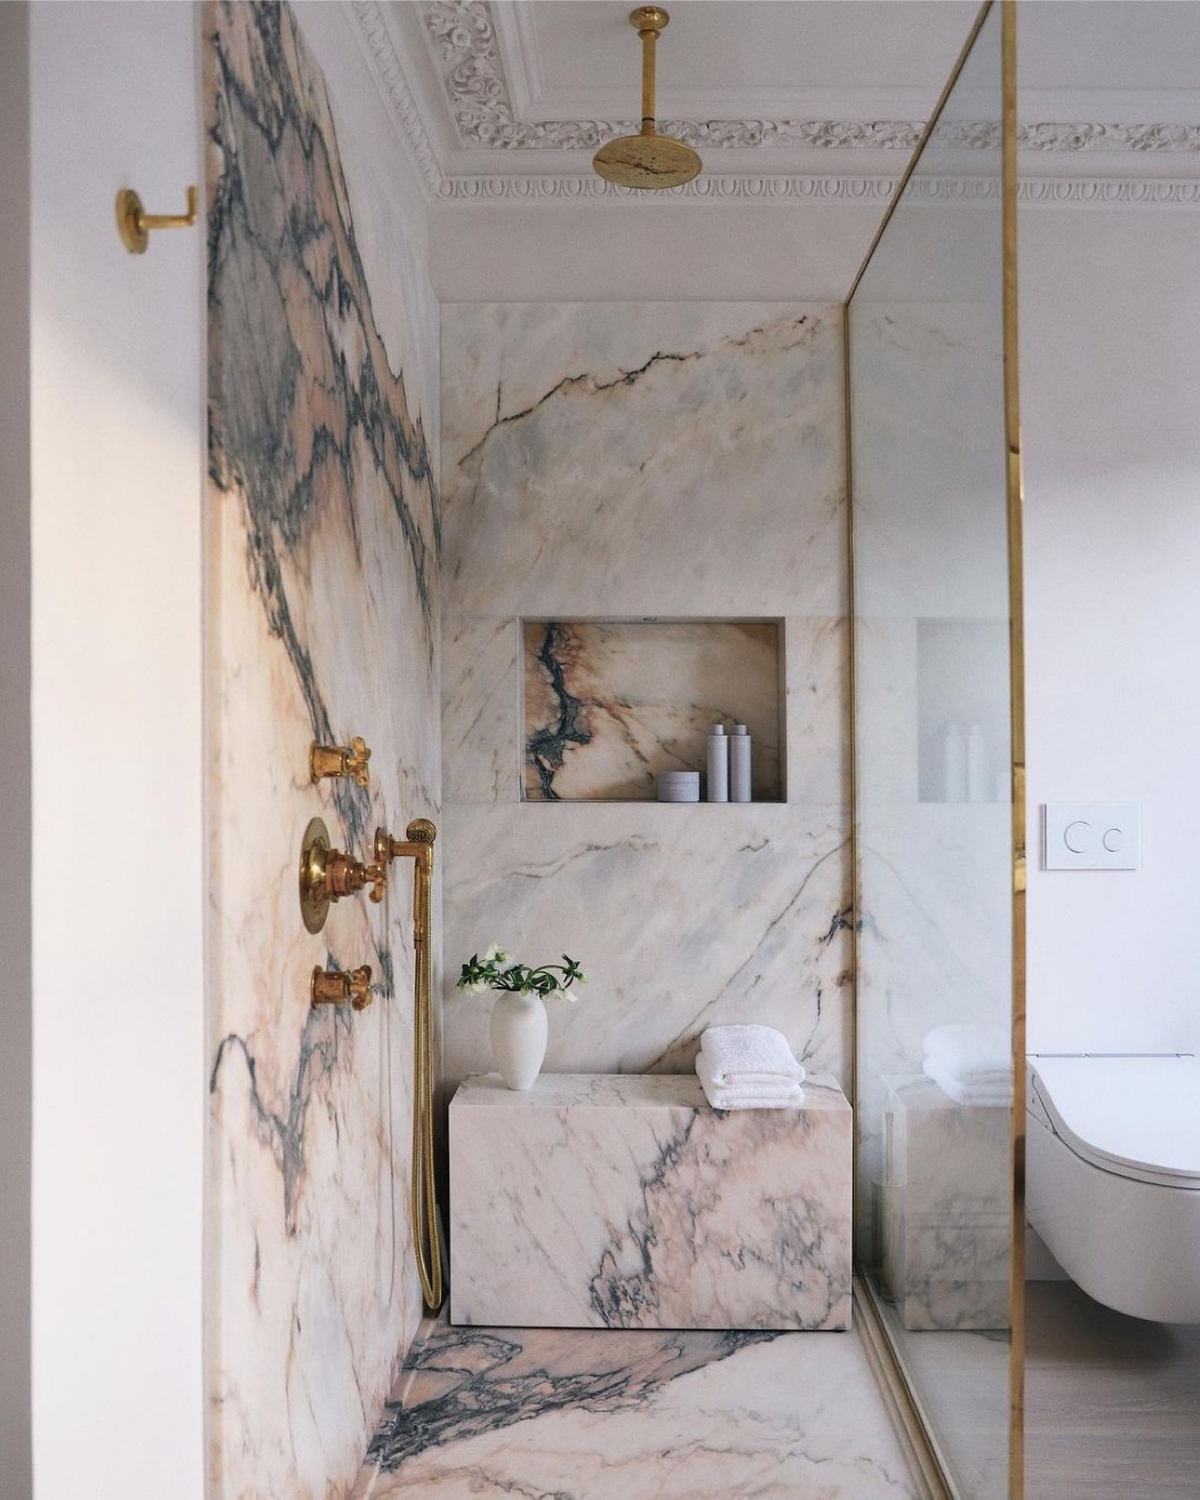
- Natural Stone: Look, I get it. Marble, travertine, and slate are gorgeous. But they are porous and high-maintenance. You have to seal them when you install them, and then you have to re-seal them every year or so. If you don’t, they’ll soak up water, soap, and minerals, which leads to staining and discoloration. I only recommend stone to clients who truly understand and commit to the upkeep.
- Glass Tile: Glass is 100% waterproof and reflects a ton of light. But man, it is tricky to install. You can see the mortar right through it, so you need perfect, 100% mortar coverage with no weird trowel marks. It also needs a special thin-set mortar designed specifically for glass. Using the wrong kind can actually react with the backing and make the glass look cloudy over time. It’s a pro-level material, for sure.

Pro Layout Tricks for a Flawless Finish
In a big room, a small layout mistake might blend in. In a small shower, it’s the first thing everyone will notice. A proper layout creates balance and avoids those awful, skinny little tile slivers in the corners.
The #1 Mistake: Starting in a Corner
A classic DIY mistake is to start tiling from a bottom corner and just work your way across. This assumes your shower is perfectly square, which I can promise you, it is not. Houses settle, walls bow, and nothing is ever perfectly plumb (vertical) or level (horizontal). If you start in a corner, you’ll just magnify those imperfections. By the time you get to the other side, your grout lines might be visibly crooked, and you’ll be stuck with an ugly, 1/2-inch wide tile cut.
Here’s what pros do: We find the center of the most important wall (usually the one you see when you open the door). We snap a perfectly level vertical line right down the middle. Now, you can either center a tile on this line, or center a grout joint on it. Test it out! Lay a row of tiles with spacers on the floor to see which approach gives you the biggest, most balanced-looking cuts in both corners. You ALWAYS want the tiles in the corner to be more than half a tile wide. This one step is probably the most important part of the entire tiling process.
The Big Tile Dilemma
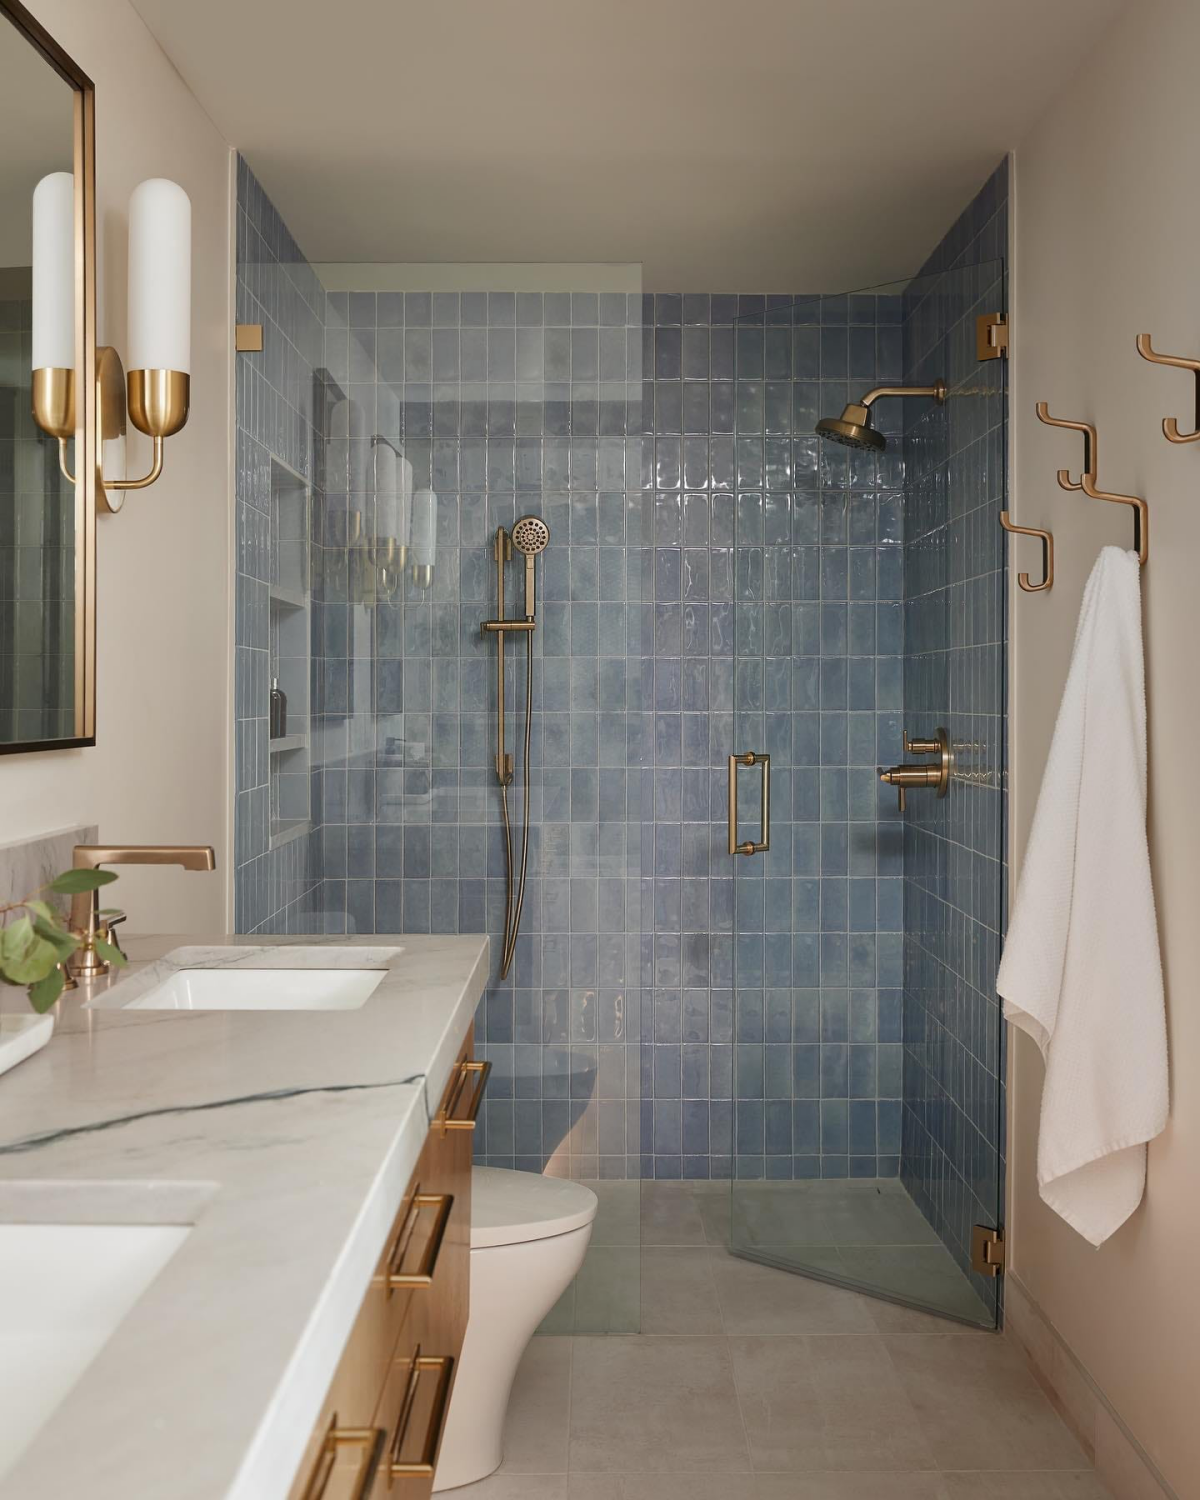
The common advice is to use large format tiles (LFT)—anything with one side 15 inches or longer. The logic is solid: fewer grout lines make a space feel bigger and less busy. I love using a 12×24 inch tile installed vertically to make a low ceiling feel taller.
But here’s the catch, and it’s a big one. Large tiles demand an incredibly flat wall. The official industry guide that we all follow says the wall can’t have a variation of more than 1/8 inch over 10 feet. Good luck finding that in an older home!
Actionable step for today: Go grab a yardstick, a level, or any long, straight board you have. Hold it flat against your current shower walls. See any gaps between the board and the wall? That’s what we’re talking about. If you try to stick a big, rigid tile on a wavy wall, it’ll rock, and the corners will stick out (we call this “lippage”). It’s a nightmare to clean and looks terrible. If your walls aren’t flat, they have to be fixed first by “floating” them—which just means skimming a thin layer of mortar over the wall and using a long straightedge to make it perfectly flat. It’s a skill, but it’s the secret to a great LFT installation.
Waterproofing: The Most Important Step You Can’t See
A beautiful tile job is a waterproof tile job. End of story. The steps you take before the first tile goes on the wall are what really matter. Cement board is not waterproof. Let me say that again. It’s water-durable, but water vapor can still pass right through it. You must have a waterproofing membrane.
There are two main systems the pros use:
- Liquid-Applied Membranes: Think of products like RedGard or AquaDefense. You just paint them on with a roller over your cement board. This method is super accessible for DIYers. The key is applying it thick enough. A common failure I see is a coat that’s way too thin. If you don’t have a special wet film gauge, just aim for the final dry thickness to be about that of a credit card. When in doubt, add another coat—too much is way better than too little!
- Sheet Membranes: This is a system like Schluter-KERDI, a polyethylene fabric you hang like wallpaper with thin-set mortar. It’s an amazing system that creates a continuous waterproof barrier. The details are critical, though. Every seam has to overlap by at least 2 inches, and you have to use the pre-formed corner pieces. It has a higher material cost upfront (a roll to cover a shower might be $150-$250), but it’s incredibly reliable when you follow the instructions to the letter.
Setting the Tile: The Details That Show Craftsmanship
With a flat, waterproofed wall, you’re finally ready for the main event. Consistency is everything here.
A quick tip: To stop your first row of tile from sliding down the wall while the mortar sets, screw a perfectly level 1×4 board to the wall to support its weight. We call this a temporary “ledger board.” It’s a simple trick that makes all the difference.
When you’re ready, comb the mortar onto the wall with the correct notched trowel (for most tiles, a 1/4″ x 3/8″ square notch is good; go bigger for LFT). Comb all the lines in one direction. Then, press the tile in with a slight wiggle, moving it perpendicular to the trowel lines. This collapses the ridges and ensures you get full mortar coverage. For a shower, you need at least 95% coverage. I always “back-butter” large tiles by skimming a thin layer of mortar on the back before setting them to guarantee a solid bond.
Grout and Niches: The Finishing Touches
Grout is more than just filler; it locks the tiles together into a single, strong surface. For a shower, don’t cheap out. Standard cement grout is porous and will stain. Instead, use a high-performance grout, or even better, an epoxy grout. A box of high-performance grout is maybe $30-$40, but a small kit of epoxy grout could be closer to $80. It’s double the cost but ten times the durability. Epoxy is basically liquid plastic—it’s waterproof, stain-proof, and will never need to be sealed. It’s tougher to work with, but the result is unbeatable for a shower.
By the way, if you want storage, a recessed niche is the way to go. It has to be planned before you even put up the backer board. You can buy pre-formed foam niches that are already waterproofed for around $60-$100. A critical detail: the bottom shelf of the niche MUST have a slight slope so water drains out. A level niche shelf is a recipe for mildew.
A Quick But Serious Word on Safety
Okay, let’s wrap up with the serious stuff you can’t ignore.
- Silica Dust: Cutting tile and cement board creates fine dust that can cause permanent lung damage. Always wear a properly-fitted N95 respirator. No excuses. Cut with a wet saw outside to keep dust down.
- Slippery Floors: Your shower floor tile needs to be slip-resistant. Look for a DCOF (Dynamic Coefficient of Friction) rating of 0.42 or greater on the tile’s spec sheet. If you can’t find it, don’t buy it for the floor. A glossy wall tile is a death trap on a wet floor.
- When to Call a Pro: I’m all for ambitious DIY, but be honest with yourself. If your walls are a mess, or if you’re not 100% confident you can make the shower perfectly waterproof, it’s cheaper in the long run to hire a professional. It might feel like you’re saving money, but one leak can cost you ten times what you would have paid a good tiler to begin with.
A great small shower is an investment. It’s a blend of smart design, solid materials, and patient craftsmanship. By focusing on the foundation—the waterproofing and the layout—you’ll create a space that not only looks bigger and more beautiful but is truly built to last. And that’s the real measure of a job well done.
Galerie d’inspiration
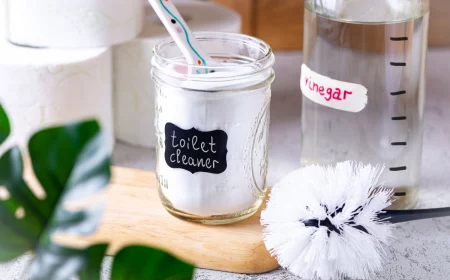
Cementitious Grout: The traditional choice. It’s affordable and relatively easy for DIYers to apply. However, it’s porous and must be sealed annually to prevent staining and mildew. A quality product like Mapei’s Keracolor U is effective but requires this ongoing maintenance.
Epoxy Grout: The professional’s upgrade. Brands like Laticrete’s SpectraLOCK Pro are non-porous, meaning they are inherently waterproof, stain-proof, and chemical-resistant without ever needing a sealer. While more expensive and trickier to install, it’s the ultimate choice for a low-maintenance, long-lasting shower.
For a small space that sees daily use, investing in epoxy grout pays dividends in durability and cleanliness.
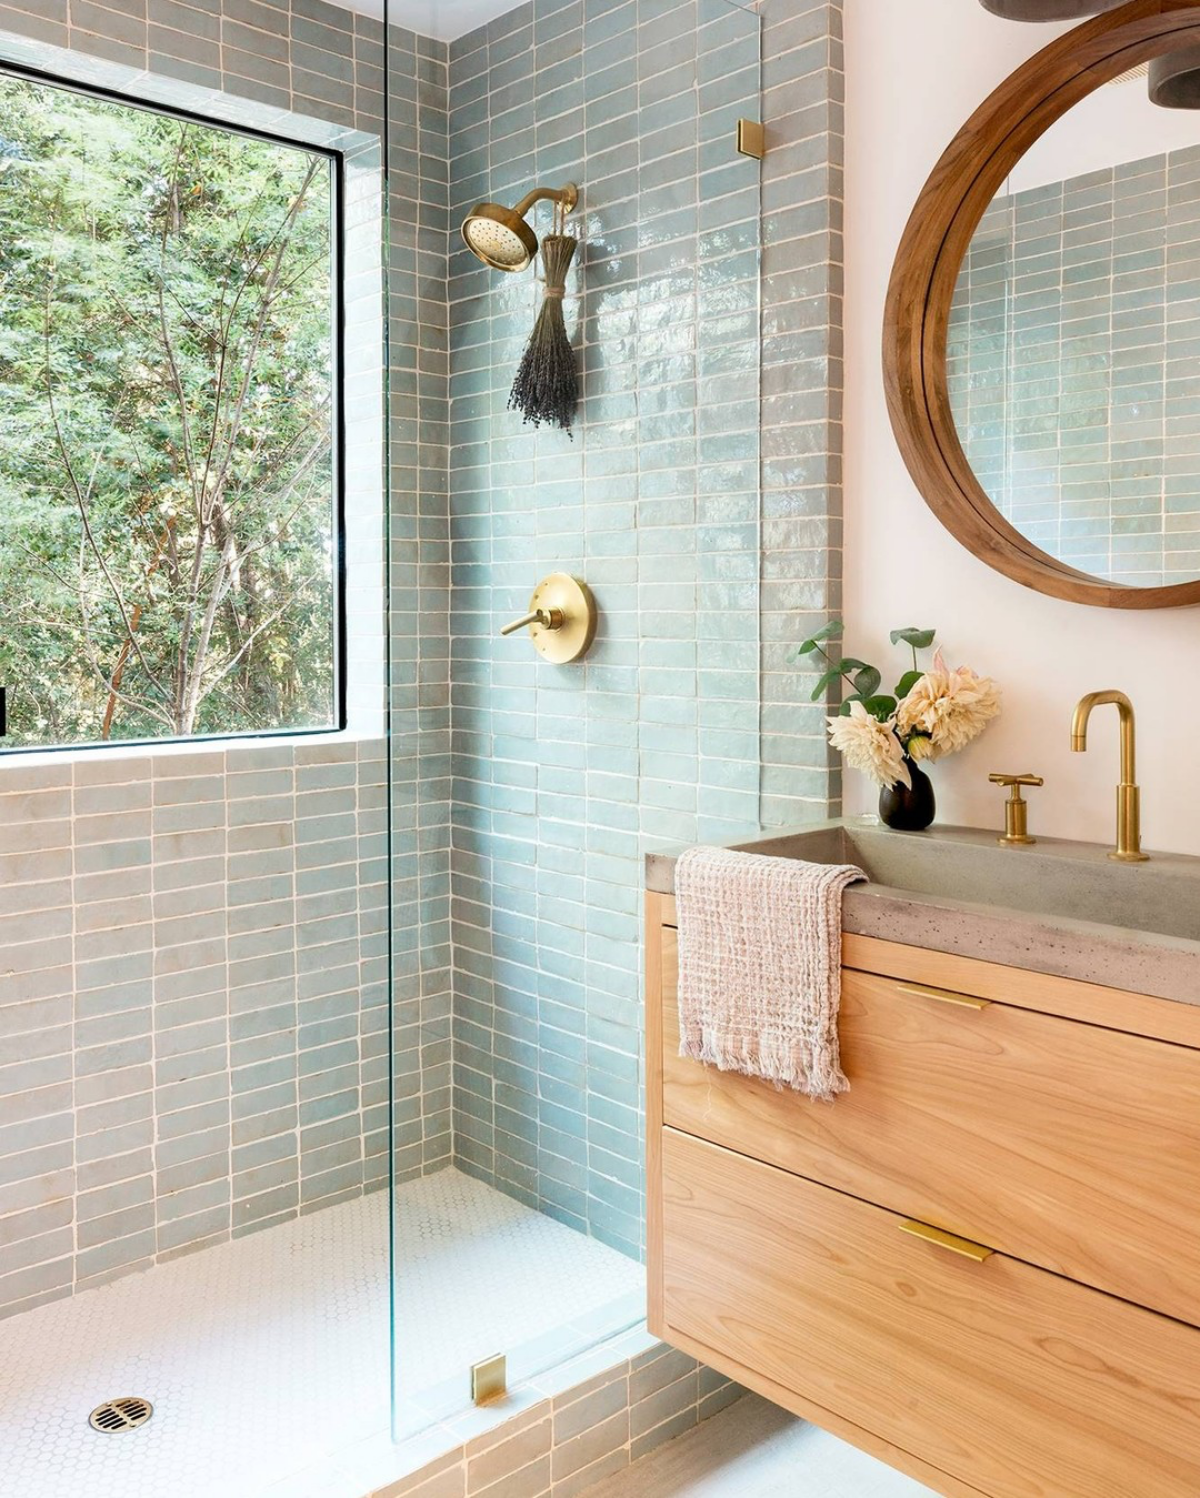
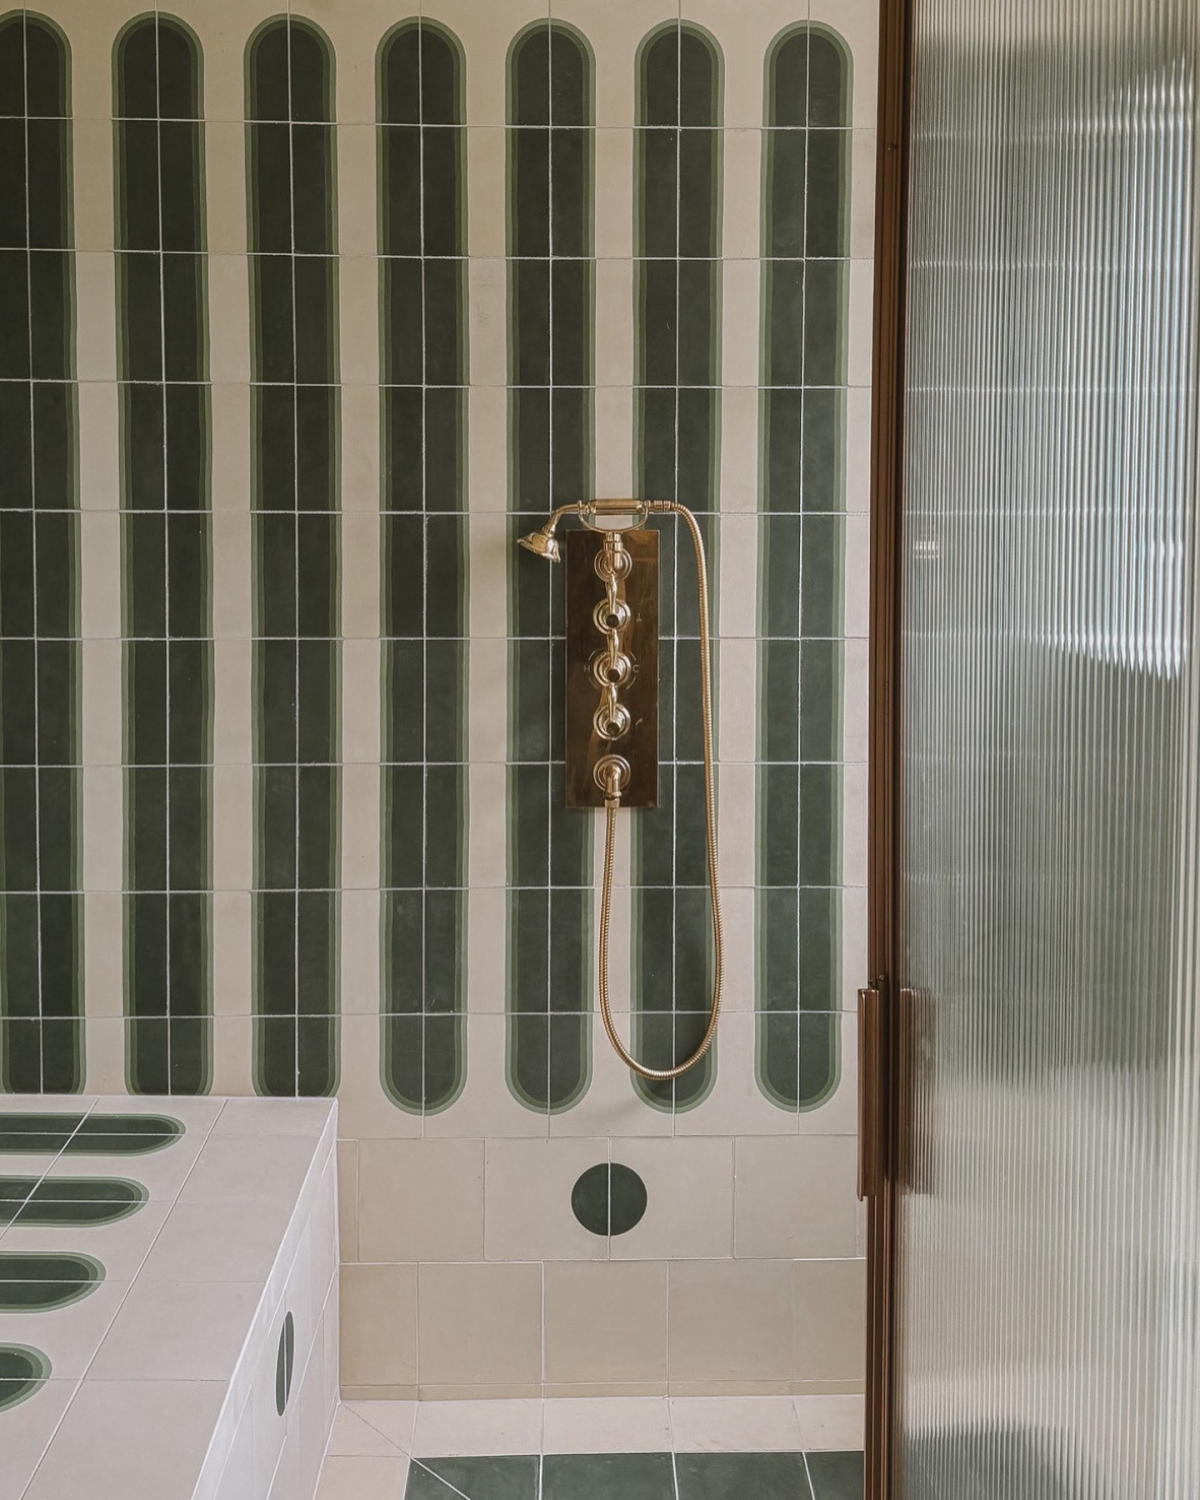
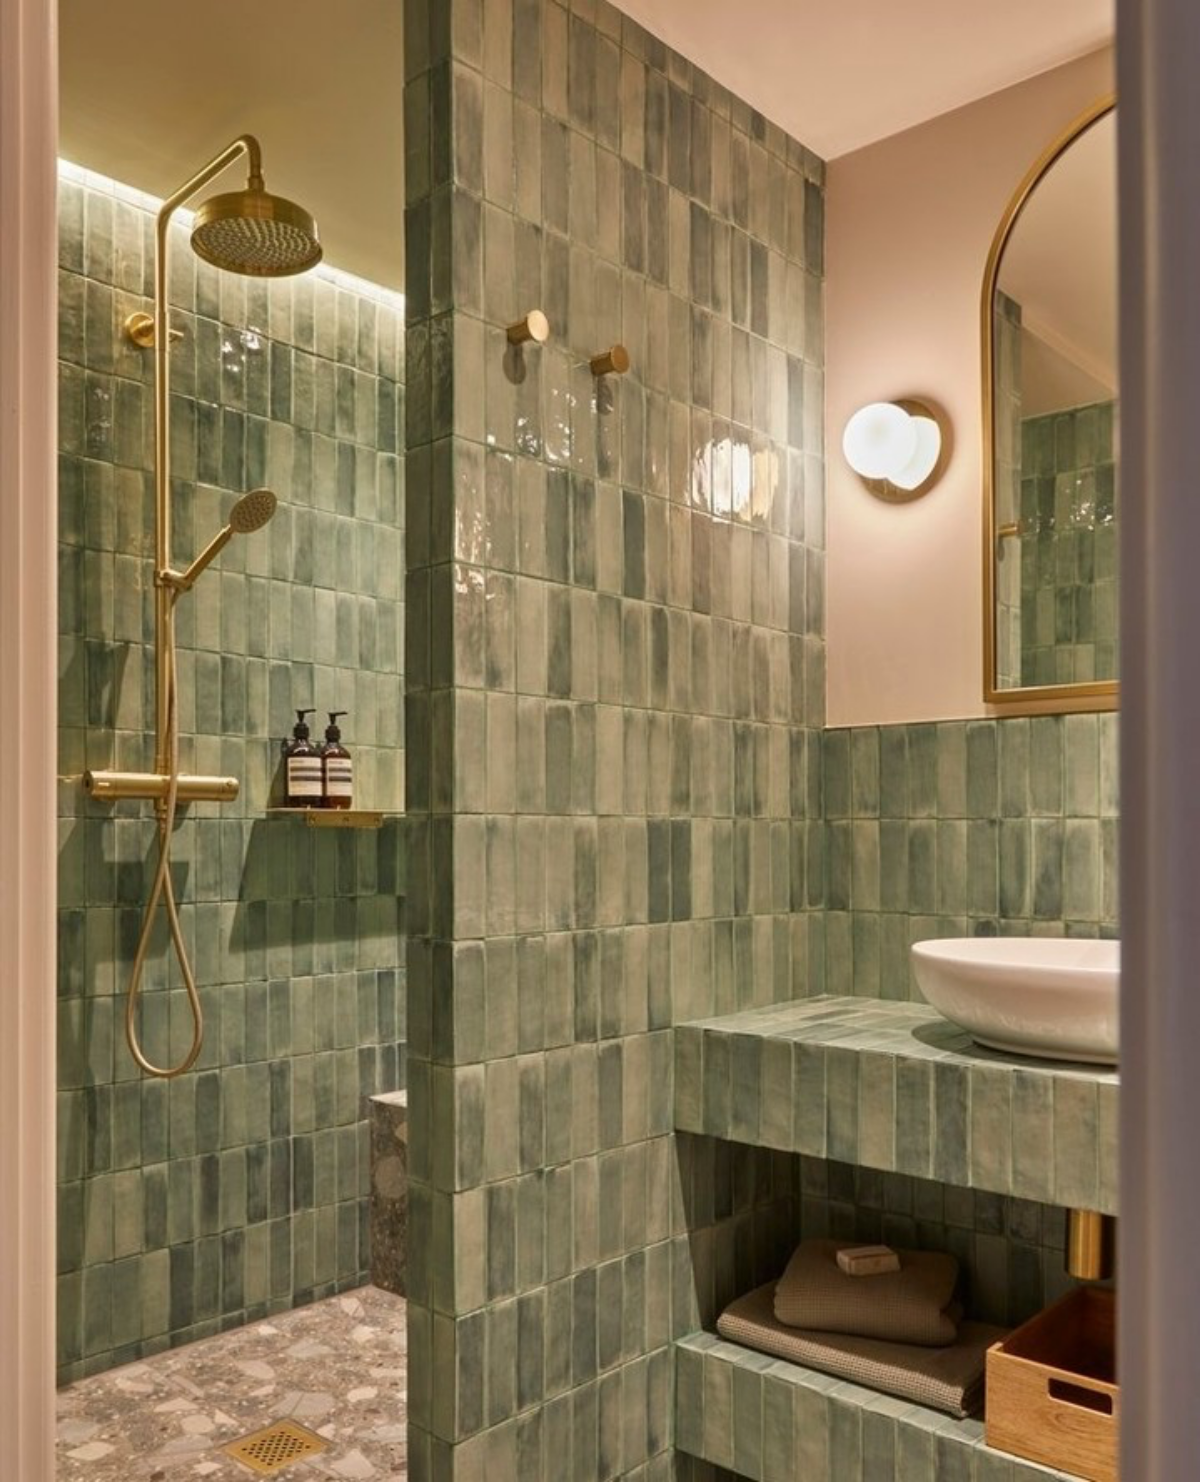
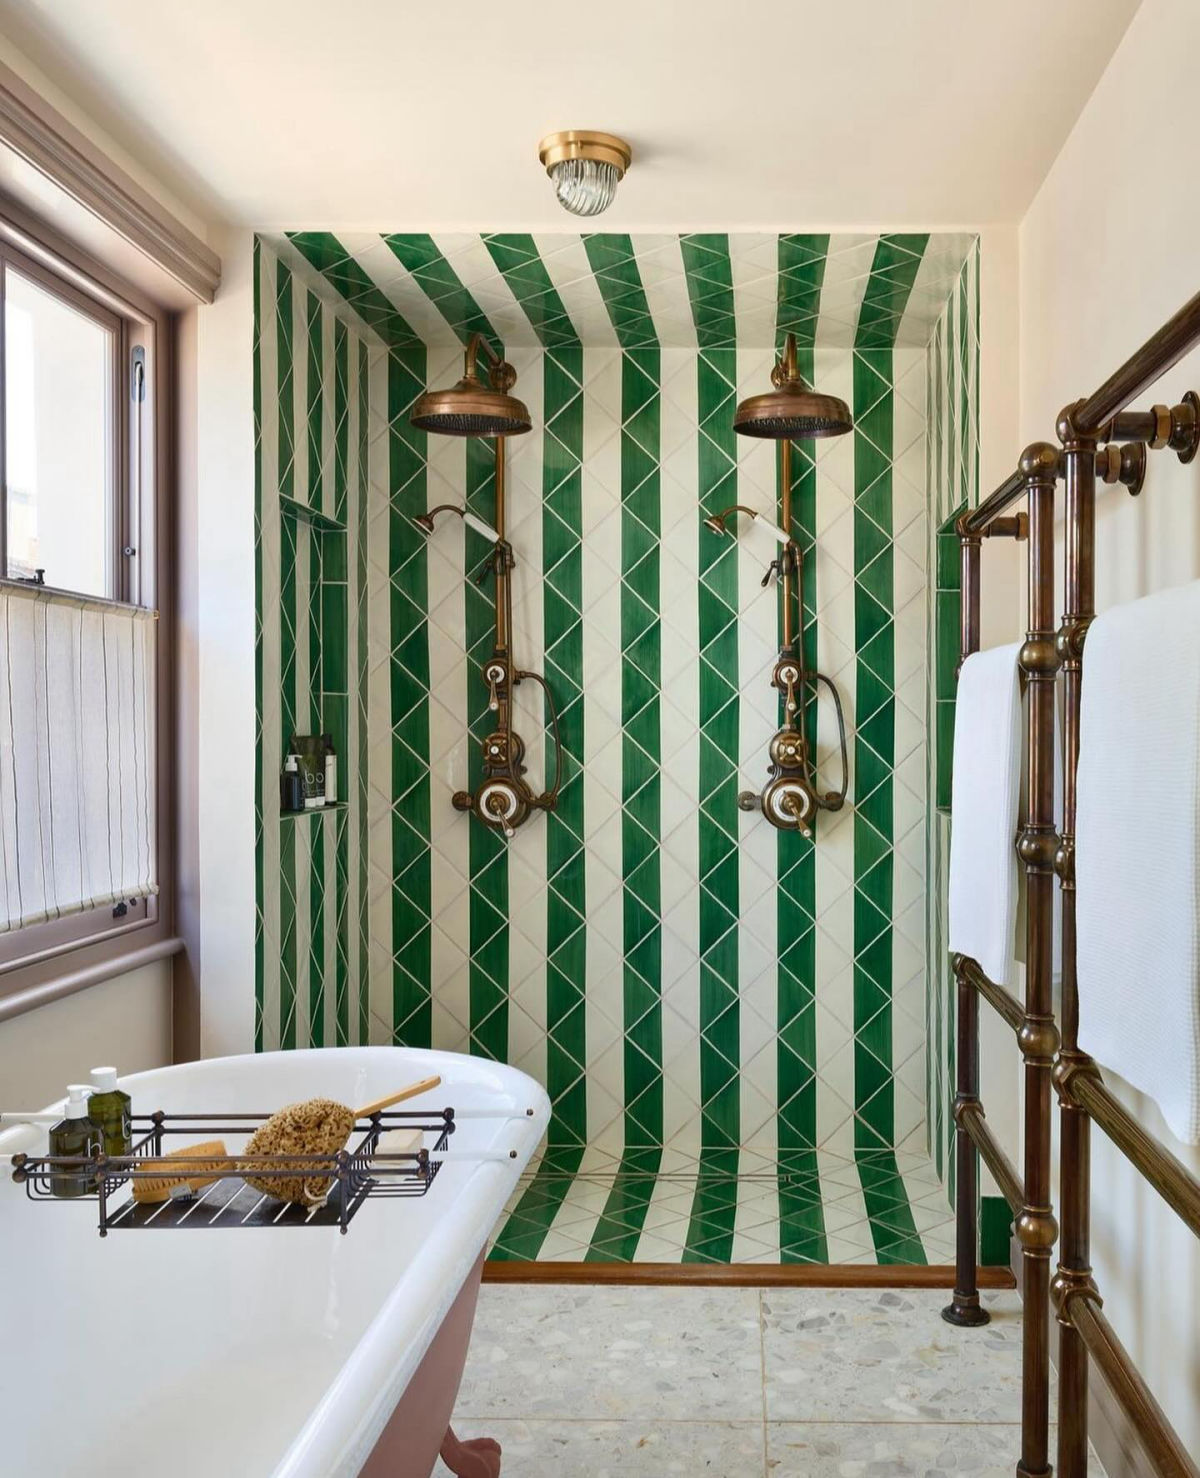
Did you know that the direction you lay your tile can visually alter the dimensions of your shower?
It’s a fundamental design trick. Laying rectangular tiles vertically draws the eye upward, creating an illusion of height—perfect for showers with low ceilings. Conversely, a horizontal layout, or ‘brick-lay’ pattern, can make a narrow stall feel wider and more expansive. This simple decision costs nothing extra but has a dramatic impact.

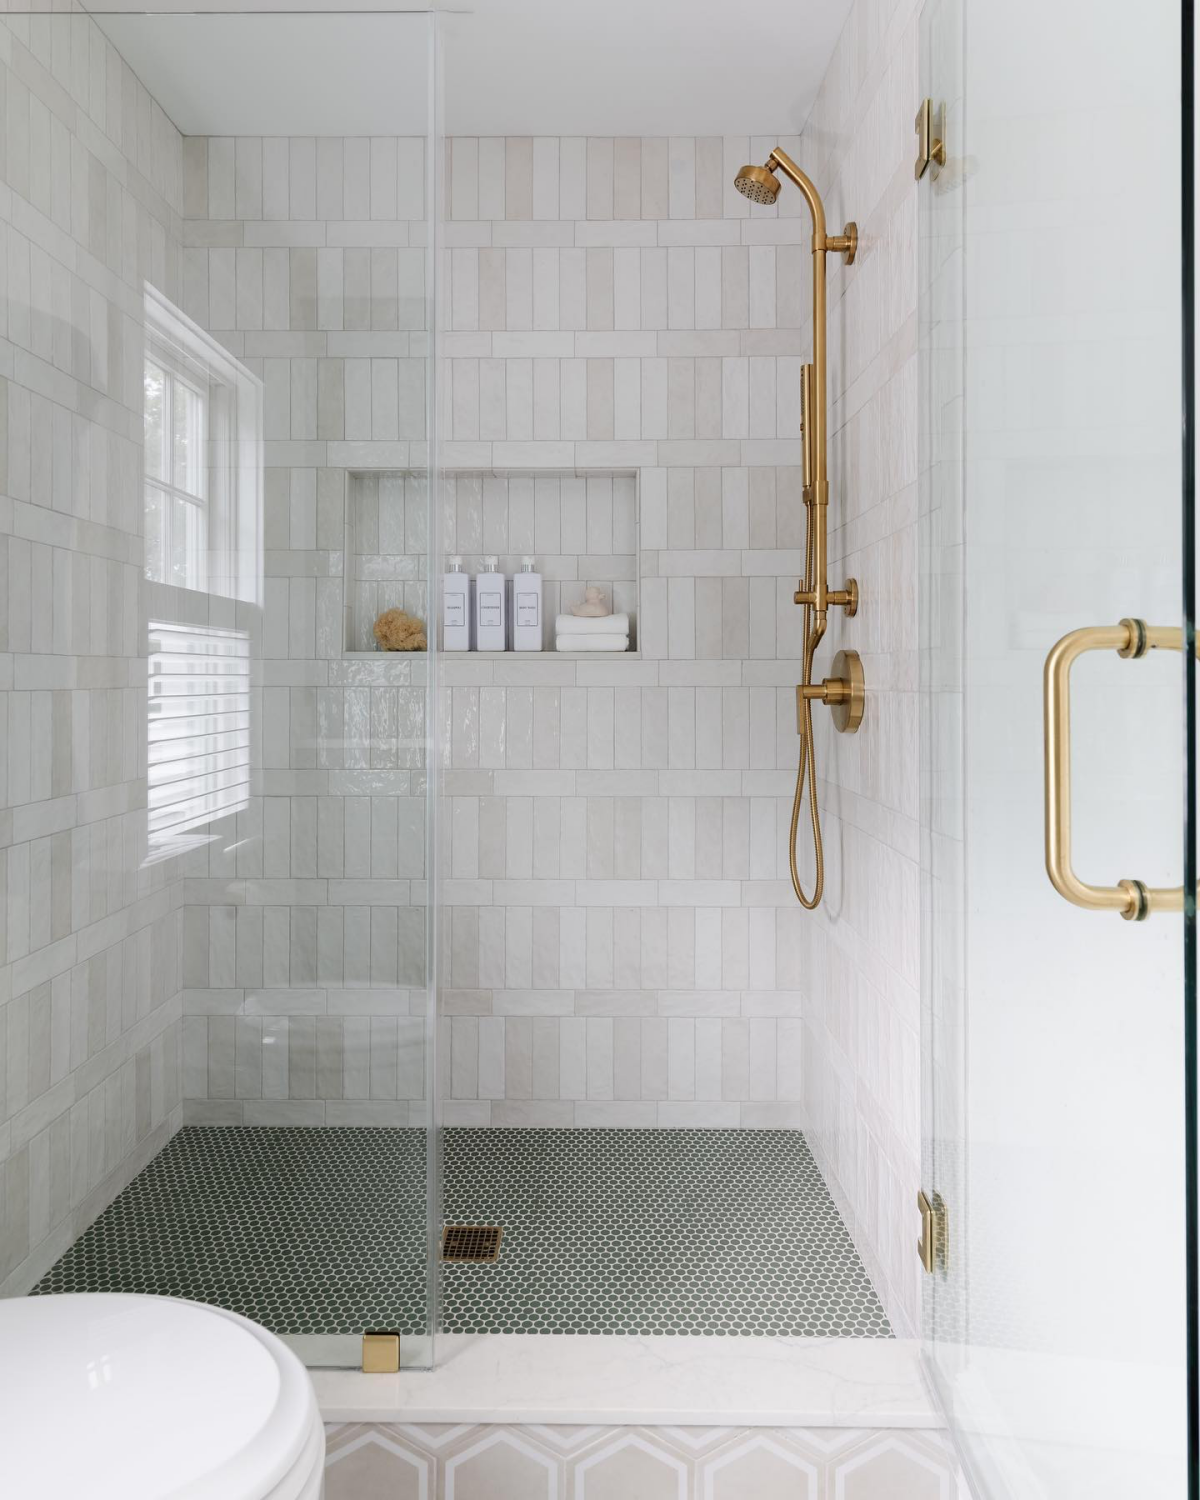
What’s the best way to add storage without clutter?
The built-in shower niche is the answer. It’s a sleek, functional feature that keeps shampoo bottles off the floor. While a tiler can frame one from scratch, using a pre-fabricated waterproof niche, like those from Schluter Systems, is often a faster and more foolproof method. These lightweight foam units integrate directly into the waterproofing membrane system, ensuring a critical weak point is perfectly sealed before a single tile is laid.
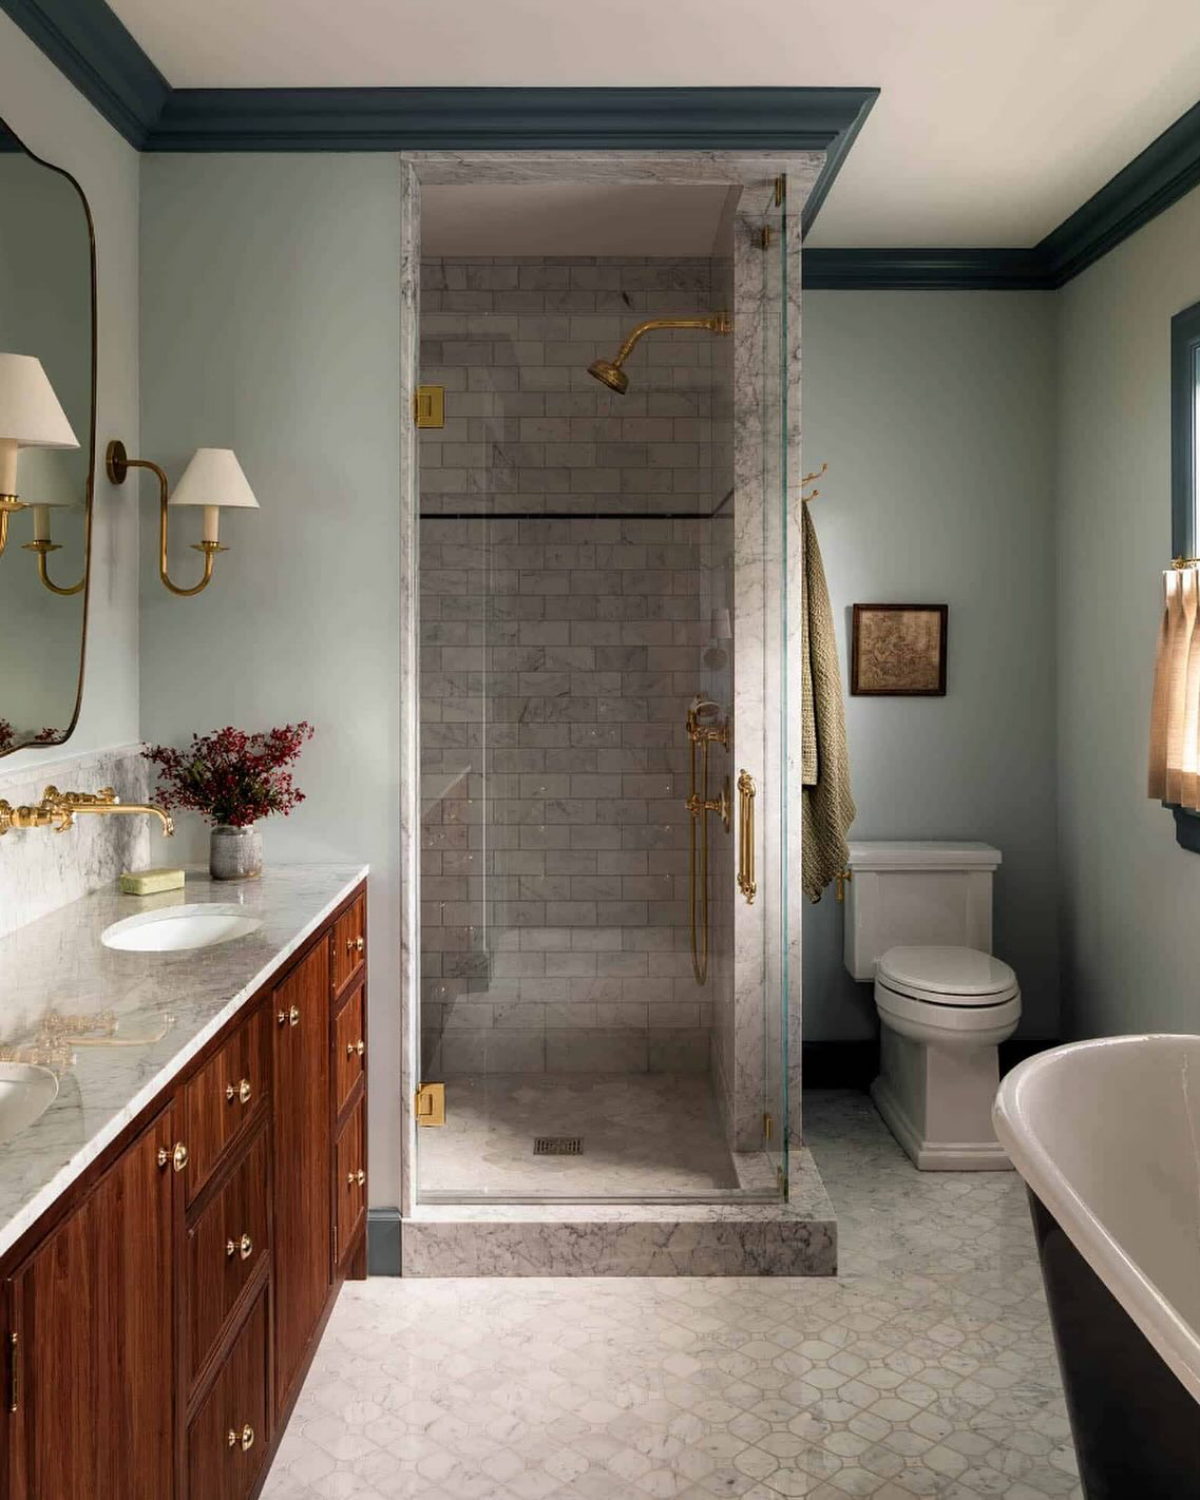
- Adds depth and a touch of luxury.
- Reflects light, making the space feel brighter.
- Easy to clean with a simple squeegee after each use.
The secret? A frameless glass door. Ditching the bulky metal frame of a traditional shower door instantly opens up a small bathroom, removing visual barriers and allowing your beautiful tile work to be the star.