Your Balcony Hates Winter. Here’s How to Protect It (and Your Wallet).
I’ve spent years in the building and restoration business, and let me tell you, I’ve seen what a single harsh winter can do to a building’s exterior. The most forgotten spot? Almost always the balcony. We treat it like an outdoor living room all summer, then completely abandon it when the temperature drops. That little bit of neglect can snowball into some seriously expensive headaches. I’ve seen condo buildings where ignored winter moisture led to crumbling concrete and rusted rebar, with a repair bill that would make your eyes water. Honestly, most of it could have been prevented with a few hours of basic maintenance each fall.
In this article
Getting your balcony ready for winter is way more than just stashing the patio chairs. Think of it as asset protection. It’s about stopping water, ice, and cold from attacking concrete, wood, and metal. This isn’t about seasonal decor; it’s a practical guide to protecting the actual structure of your balcony, just like the pros do.
First, What Are We Even Fighting?
Before you grab a single tool, you need to understand the main villain: the freeze-thaw cycle. It’s the number one reason balconies in cold climates fail. The science is pretty straightforward. Water creeps into tiny, invisible pores and cracks in concrete or brick. When it freezes, it expands by about 9%. This expansion acts like a tiny, powerful jack, pushing the crack a little wider. Then it thaws, more water gets into the bigger crack, and the cycle repeats. Over and over. This process, called frost wedging, can turn a hairline crack into a serious problem in just a few seasons. Every step we’re about to take is designed to keep water out.
Your Weekend Project Plan
Okay, let’s get real about what this takes. For most balconies, this is a one-weekend job. Plan for about 2-4 hours for a thorough inspection and cleaning, and another 2-3 hours for repairs the next day, since you need things to dry completely. It’s a small price to pay to avoid a massive repair bill down the line.

Here’s your shopping list (ballpark prices):
- A good wire brush: Around $5, essential for cleaning out cracks.
- Exterior Polyurethane Sealant: Don’t cheap out here. A quality tube costs between $10 and $15. It’s worth every penny.
- A decent caulking gun: If you don’t have one, a good drip-free one is about $15.
- Deck Cleaner or pH-neutral soap: You can get specific deck wash for about $20/gallon, but honestly, a squirt of Dawn dish soap in a bucket of warm water works great for most surfaces and won’t harm them.
- Penetrating Concrete Sealer (if needed): For concrete balconies, a gallon of silane/siloxane sealer runs about $40-$60. You can find brands like Sika or Quikrete at Home Depot or Lowe’s.
No Time? Do This One Thing.
Heads up! If you do absolutely nothing else on this list, go out and clear your balcony drains or scuppers right now. It takes five minutes. Leaves and gunk trap water, creating a permanent puddle that will find a way to cause damage. This is the #1 preventable cause of major issues.
Step 1: The Detective Work (A Thorough Inspection)
Your most important job is to play detective. Get on your hands and knees and look for trouble spots where water could get in. You’re not just glancing; you’re investigating.
For Concrete Balconies: Look for hairline cracks on the floor and walls. A good rule of thumb? If you can slip a credit card edge into the crack, it needs to be sealed. Also, check for spalling, which is where the top layer of concrete is flaking off. Tap the surface with a screwdriver handle. A solid ring is good. A dull, hollow thud is a major red flag—it means the top layer has separated and is trapping water. And if you see rust-colored stains, that could mean the steel rebar inside is rusting, which is a structural issue.
For Tiled Balconies: A lot of people have tiles and don’t think to check them. Look closely at the grout lines. Are they cracked or crumbling? Tap each tile gently. A hollow sound means the tile has come loose from the mortar bed, creating a perfect pocket for water to collect and freeze. That’s how you end up with a bunch of cracked tiles come springtime.
For Wood or Composite Decks: Grab an awl or a screwdriver and gently poke the wood, especially where boards meet the house and around posts. If the wood is soft and spongy, you’ve got rot. Check for popped nails or screws and peeling paint or sealant. If water doesn’t bead up on the wood anymore, its protection is gone.
When to Call a Pro: Be honest with yourself. If you find large cracks (wider than a quarter-inch), big hollow areas on your concrete, or signs of the balcony pulling away from the building, your DIY job is over. It’s time to call a structural engineer or a restoration contractor. A professional consultation might run you $300 to $700, but that’s a bargain compared to the five-figure cost of a major structural failure.
Step 2: The Deep Clean (It’s Not Just for Looks)
You can’t seal or repair a dirty surface. Dirt and grime hold moisture right against the balcony, which is exactly what we want to avoid. Start by clearing everything off—furniture, planters, rugs, everything.
Sweep up all the loose leaves and dirt. A shop vacuum is your best friend here, especially for corners. Then, wash the surfaces. Like I mentioned, a simple pH-neutral soap is perfect for most materials. Oh, and about pressure washers… I have a complicated relationship with them. In the wrong hands, they can blast away good concrete, gouge wood, and force water deeper into the cracks you’re trying to fix. If you must use one, use a wide fan tip (40-degrees), keep it at least a foot from the surface, and use a low-pressure setting (under 1500 PSI). Let the cleaner do the work, not the water pressure.
Rinse everything thoroughly with a regular hose and let it dry completely. This might take a full day or two, but it’s critical. You can’t seal in moisture.
A Quick But CRITICAL Warning: Never use rock salt or any deicers with chlorides on your balcony. They are poison for concrete, causing the internal steel to corrode and the concrete to crumble. If you need traction, use plain sand. For melting ice, the only thing I’d ever recommend is Calcium Magnesium Acetate (CMA). It’s more expensive but it’s what pros use on parking garages because it’s safe for concrete.
Step 3: The Fixes (Sealing the Deal)
Now that everything is clean and dry, it’s time to fix the problems you found. This is how you stop damage before it starts.
Fixing Concrete Cracks: For tiny hairline cracks, you can simply roll on a coat of that penetrating silane/siloxane sealer I mentioned earlier. It soaks in and creates an internal water-repellent barrier. For larger cracks (up to 1/2 inch), you need to fill them. Use a flexible polyurethane crack sealant. Its flexibility is key because the concrete will still move with temperature changes. A quick how-to: clean the crack with your wire brush, vacuum out the dust, and then fill it with the sealant using your caulking gun.
Resealing Sealant Joints: The caulk around your railings, doors, and where the balcony meets the wall is a common failure point. If it’s cracked or peeling, it has to go. Here’s a simple 3-step process to do it right:
- Cut & Scrape: Carefully cut along the edges of the old sealant with a utility knife and scrape it all out. The joint has to be 100% clean. A little rubbing alcohol on a rag helps remove any residue.
- Tape It Off: Apply painter’s tape to both sides of the joint. This is the secret to getting a perfectly straight, professional-looking line.
- Fill & Smooth: Squeeze a steady bead of the polyurethane sealant into the joint. Then, smooth it with a wetted finger or a caulking tool and immediately pull the tape off before the sealant forms a skin.
Step 4: Winterizing Your Stuff
With the structure safe, now you can think about your furniture and plants.
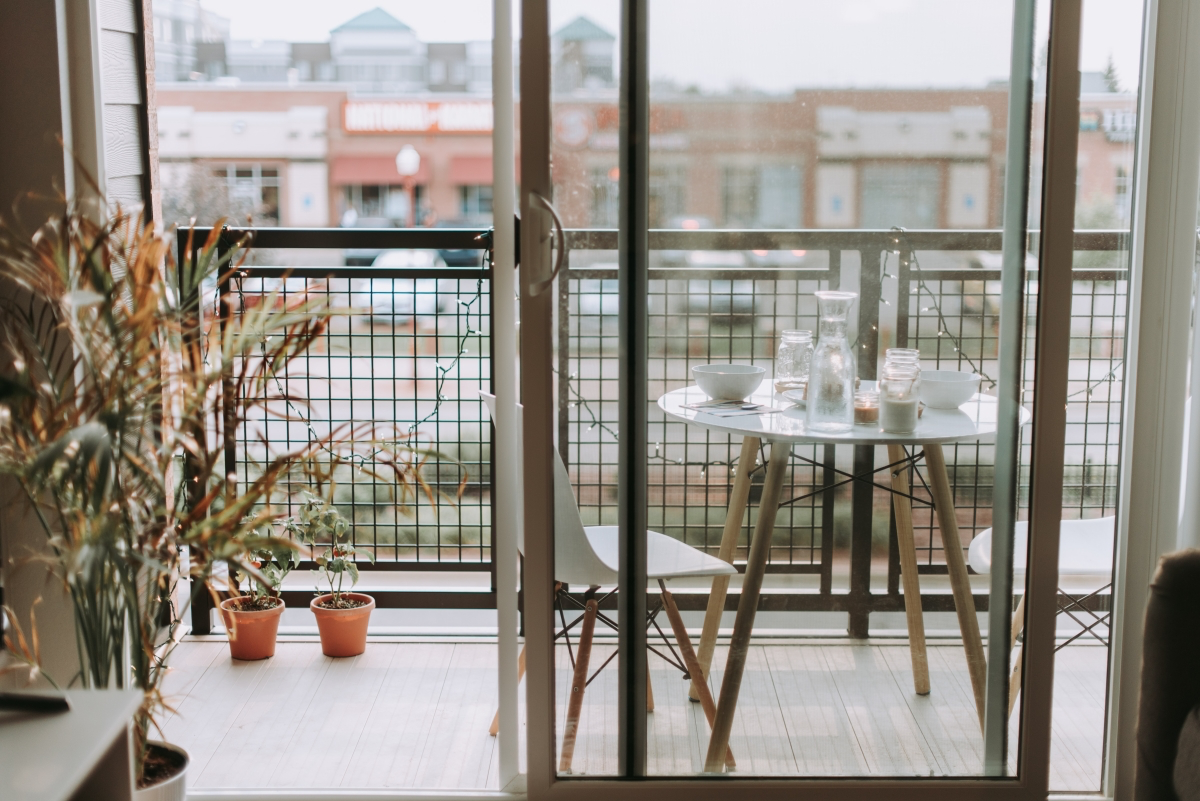
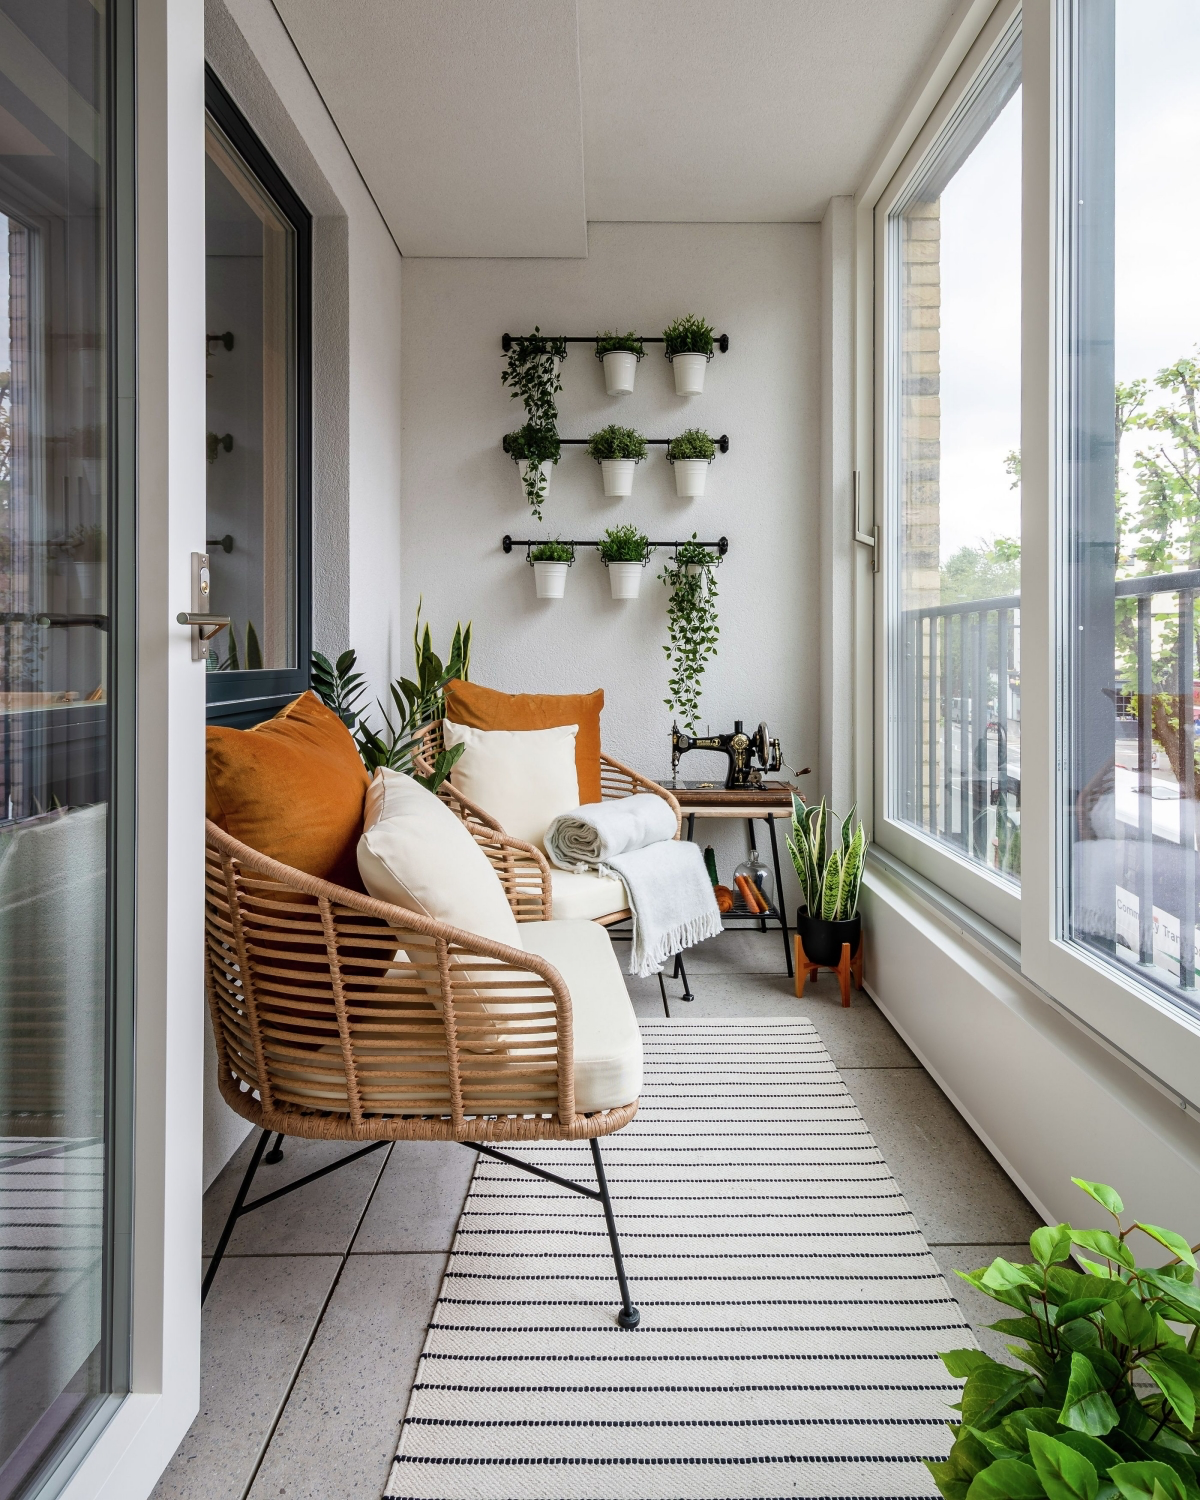
For Furniture: Even weather-resistant woods like teak will last longer if covered. For metal furniture, check for any chips in the paint and touch them up to prevent rust. And please, bring natural wicker inside! When it comes to covers, a cheap plastic tarp is worse than nothing—it traps moisture and breeds mildew. Invest in a good cover made from something like 600D polyester fabric; it’s breathable but waterproof and will cost you maybe $30-$50. Make sure it’s tied down so it doesn’t flap in the wind and wear away the finish on your chairs.
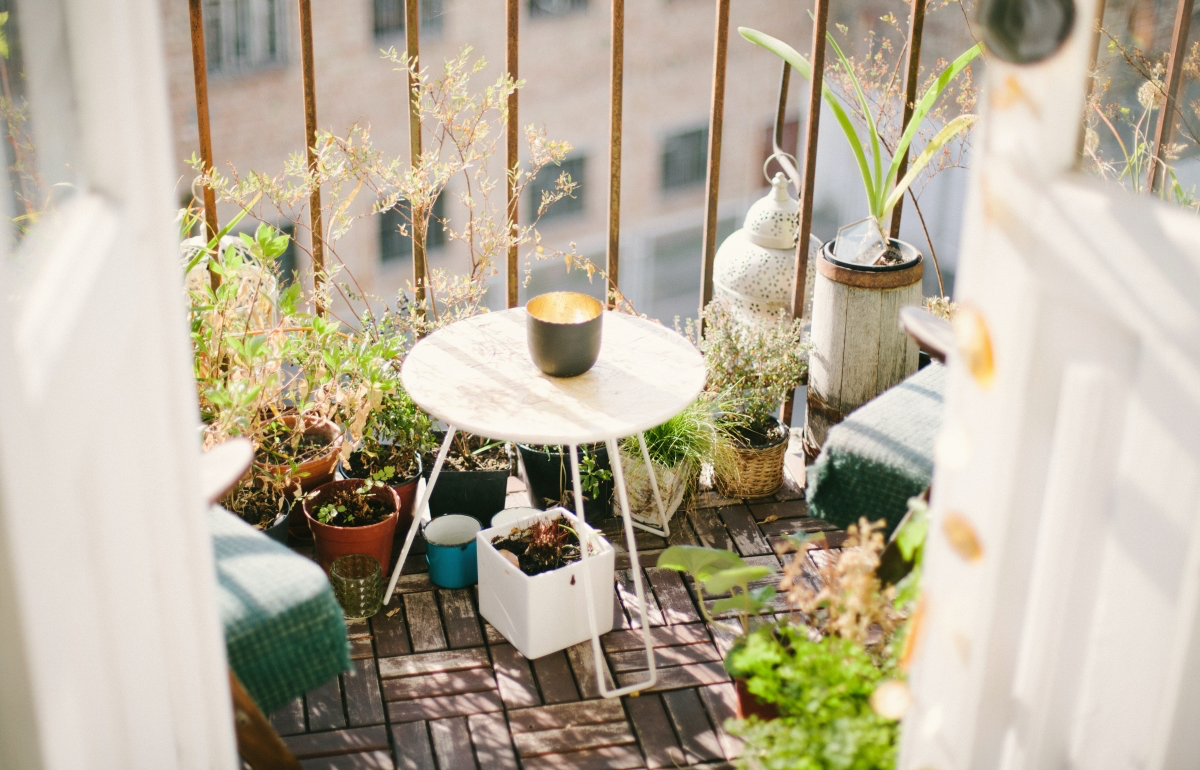
For Plants: The biggest danger for potted plants isn’t the cold air, it’s their roots freezing solid. To help them survive, you can cluster the pots together against a sheltered wall. Wrapping the pots in burlap or bubble wrap also provides great insulation. And remember to give them a good watering before the first hard freeze—moist soil actually retains heat better than dry soil.
Taking a weekend to do this each fall is a genuine investment in your home. It might feel like a chore, but it will give you peace of mind all winter and save you from the kind of nasty surprise I’ve seen too many times.
Inspirational Gallery
A single cubic foot of wet, heavy snow can weigh over 20 pounds.
Now imagine that weight piling up on your balcony, especially if a clogged drain has created a pool of slushy water. This immense load puts a strain on the entire structure. Regular snow removal, especially after heavy, wet storms, isn’t just for convenience—it’s a critical step in preventing structural stress and potential failure.
The one thing everyone forgets: Check your drains. A single handful of autumn leaves can clog a scupper or drain hole. When rain or melting snow can’t escape, it pools against your building’s wall, creating a frozen dam. This is ground zero for water infiltration. Before you do anything else, clear it out.
Tempted to throw rock salt on an icy balcony?
Don’t. Standard sodium chloride de-icers are highly corrosive to concrete and can accelerate rebar rust. They chemically attack the surface, leading to flaking and spalling. A safer alternative for immediate traction is simple sand. For melting, look for products specifically labeled
- Check for any bubbling paint or surface rust on metal railings.
- Use a wire brush to remove any loose rust spots.
- Wipe the area clean and apply a rust-inhibiting metal primer.
- Finish with a coat of exterior-grade paint that matches the original finish.
Polyurethane Sealant: Your best bet for moving joints and cracks in the concrete floor. It’s incredibly durable, flexible in changing temperatures, and paintable. Think of pro-grade products like SikaFlex Concrete Fix.
100% Silicone Sealant: Less resistant to abrasion, but perfect for waterproofing static joints, like where the balcony meets a window frame or siding.
For structural cracks, polyurethane is the professional’s choice every time.
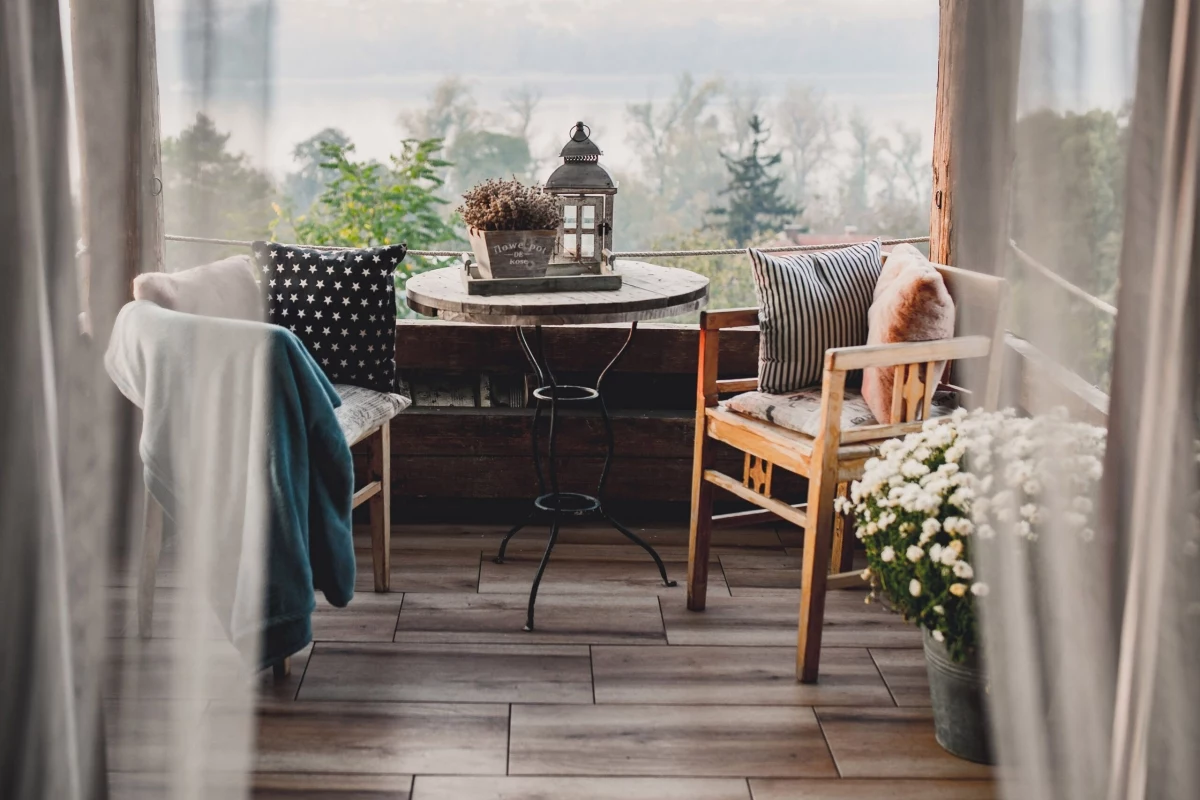
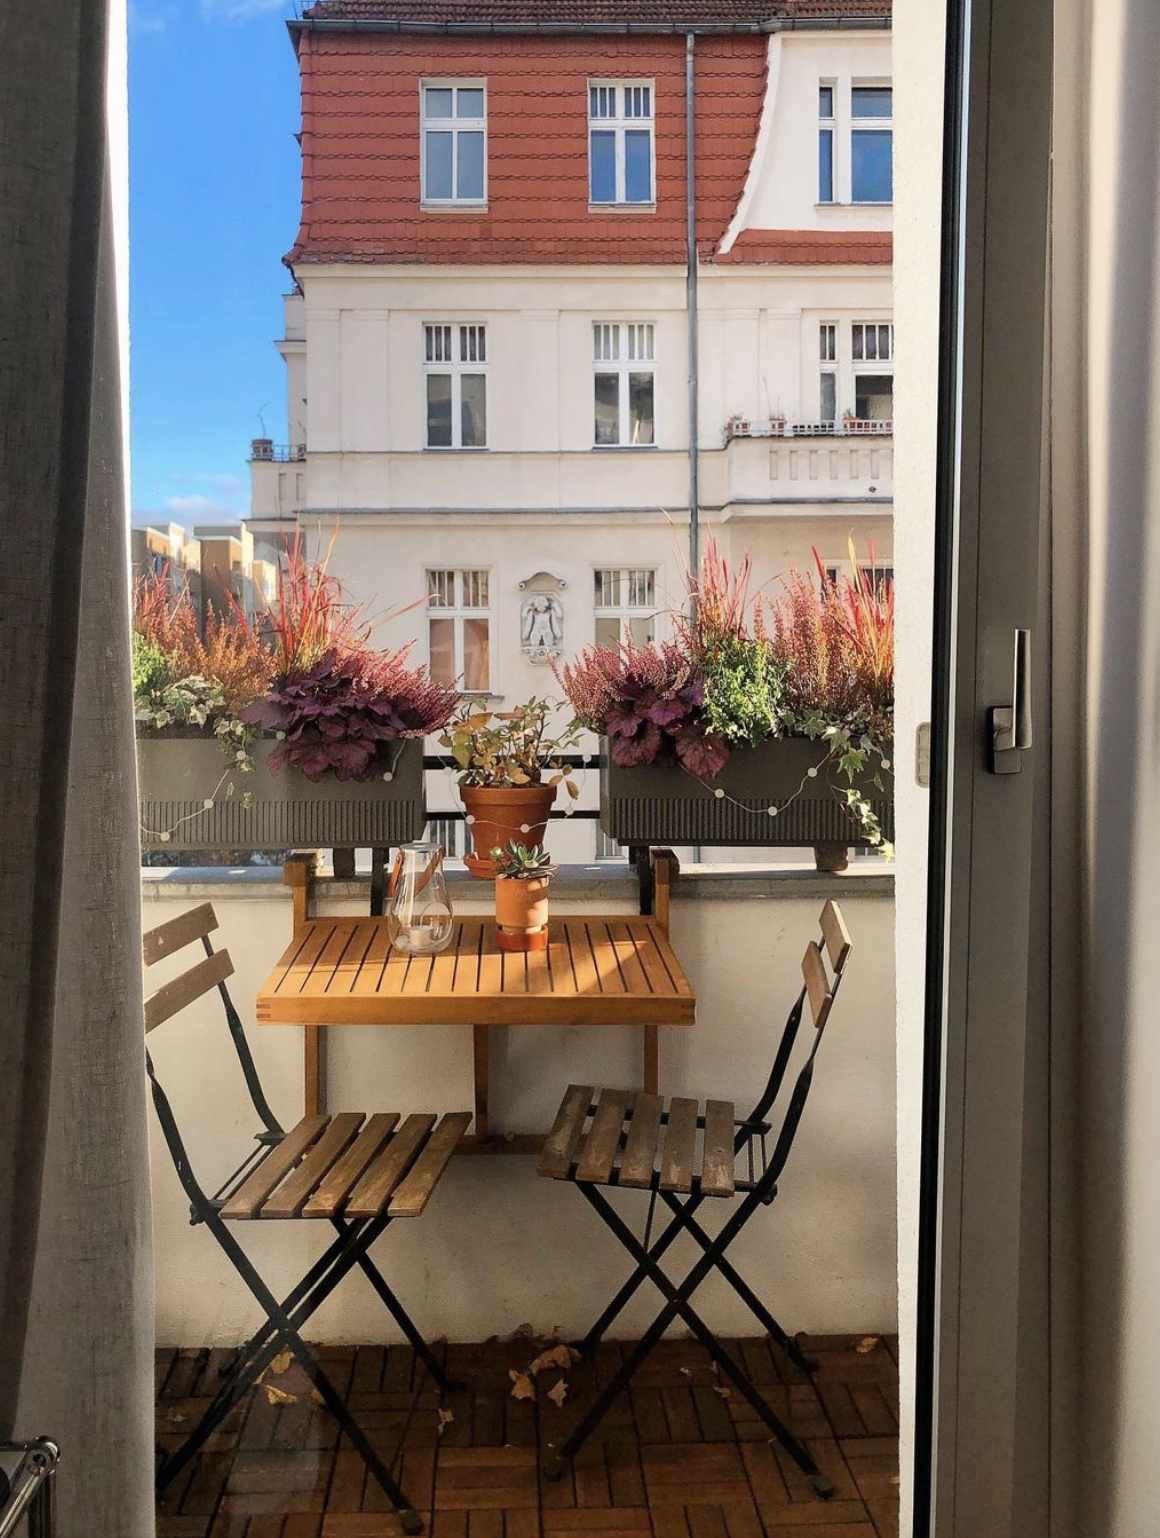
Take a cue from Scandinavian design, where balconies are built to be used and enjoyed year-round. It’s less about fighting winter and more about working with it.
- Material Choice: They favor naturally resilient materials like thermally modified wood or high-density composite decking from brands like Trex or Fiberon.
- Drainage as Design: Drainage is an integrated, often invisible, part of the balcony’s structure, not an afterthought.
- Water beads up on the surface instead of soaking in.
- The wood’s natural color is preserved through the winter.
- Splintering and cracking from moisture are drastically reduced.
The secret for a wood balcony? A deep-penetrating oil sealant, like those from Cabot or Penofin, applied on a dry autumn day. It nourishes the wood from within, unlike surface-level film-formers which can peel and trap moisture.
According to the American Concrete Institute, repairs to spalled or cracked concrete can cost up to 10 times more than the initial preventative maintenance.
If your balcony has tiles, check the type. Standard ceramic tiles absorb water and will crack in a freeze. For any outdoor space in a cold climate, only use porcelain tiles, which have a water absorption rate of less than 0.5% and are rated as
Properly storing your patio furniture is more than just getting it out of the snow. Before covering, give everything a good wipe-down to remove dirt and pollen that can grow mold. Use breathable, waterproof covers, not plastic tarps that trap moisture. If possible, place furniture on small blocks of wood to keep the legs off the damp ground, preventing rot and rust stains.


