My Pro Secrets for Windows So Clean They Look Invisible
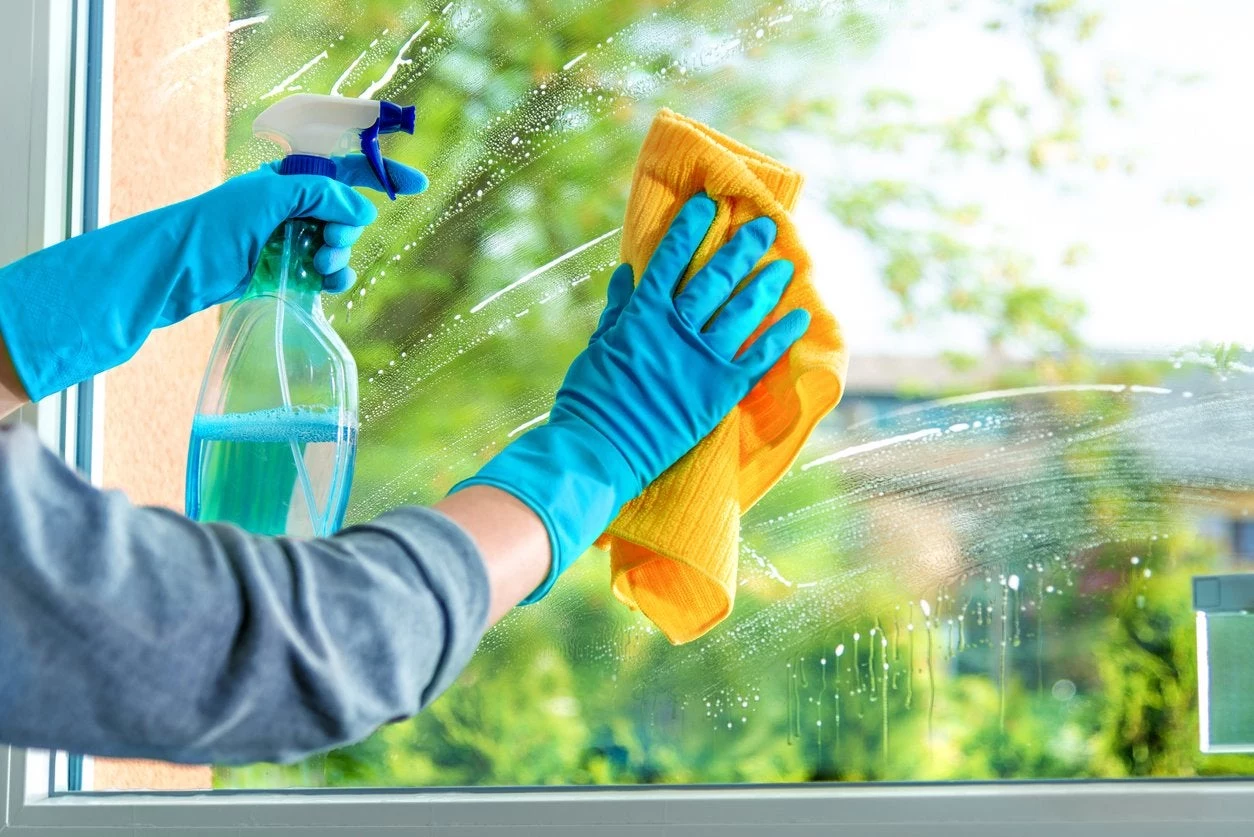
Alright, let’s talk about windows. After years in the professional window cleaning business, I’ve seen it all—from tiny homes to massive commercial buildings with glass walls. And the first thing the experts teach you isn’t some secret handshake; it’s that the cleaning solution is only half the story. The other half is technique and understanding why you’re doing what you’re doing.
In this article
Honestly, most store-bought window cleaners are just okay. They often contain dyes, perfumes, and weird additives that can leave behind an invisible film. That film is like a magnet for new dust, meaning your windows get dirty faster. Plus, you’re paying a premium for a plastic bottle full of mostly water.
Over the years, I’ve perfected a few core recipes that I trust on every single job. These aren’t just random things I found online; they’re balanced formulas for specific problems, from everyday dust to gnarly hard water spots. They’re built on simple chemistry, are ridiculously cheap to make, and you know exactly what’s in them. This guide isn’t just about recipes, though. It’s about showing you the pro method from start to finish so you can get that truly invisible, streak-free shine.
First, Let’s Talk Science (Don’t Worry, It’s Easy)
Before you mix a single drop, understanding what’s happening on the glass is key. This is what separates frustrating, streaky results from a flawless finish.
The most important ingredient in any cleaning solution is water. But here’s the thing: the water from your tap is probably working against you. It’s full of minerals like calcium and magnesium, which is what we call “hard water.” When that water evaporates, those minerals get left behind. Boom. Instant spots and streaks.
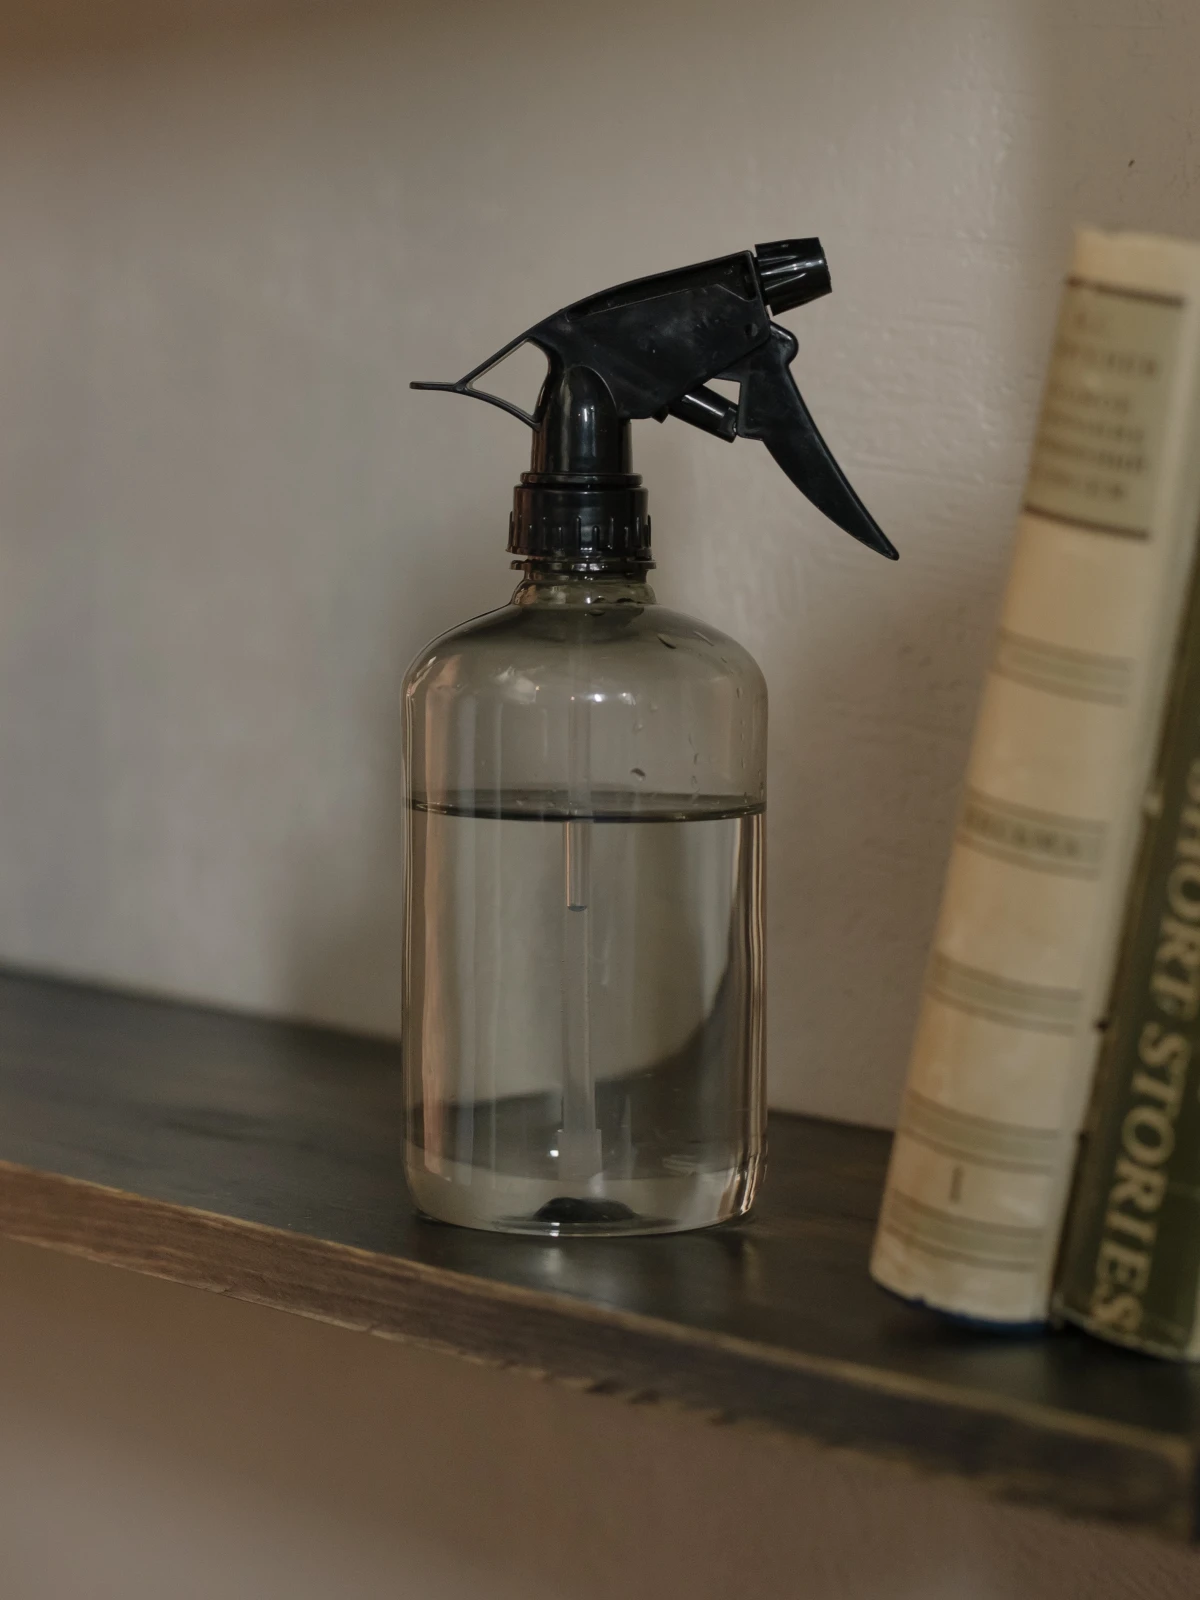
That’s why pros almost exclusively use distilled water. You can grab a gallon at any grocery store for about a dollar or two. The distillation process strips out all those minerals, so when it dries on your window, it leaves… nothing. It’s the single biggest secret to a perfect finish. For home use, it’s non-negotiable.
A good cleaning solution usually relies on three things:
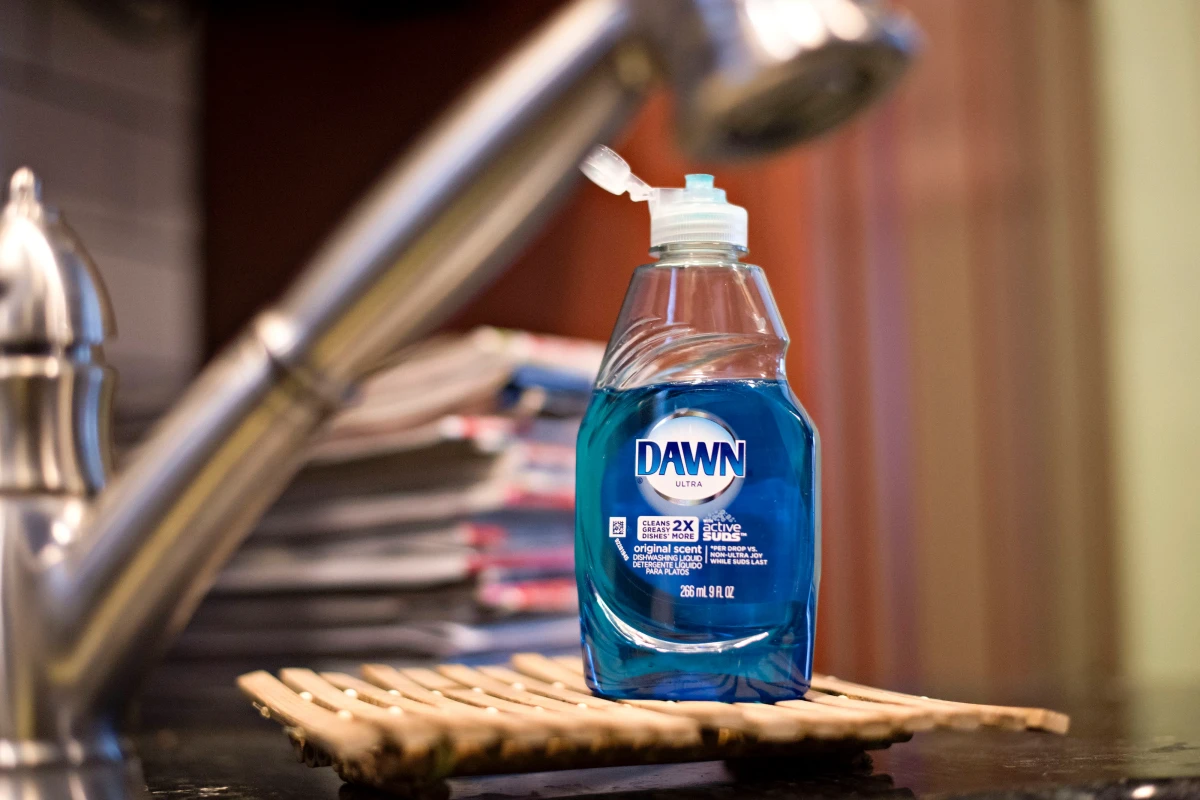
- A Surfactant: Ever see how water beads up on a dusty surface? A surfactant breaks that surface tension, making the water “wetter” so it can spread out and lift dirt away. A single, tiny drop of simple dish soap is a fantastic surfactant. And I do mean tiny—too much is the
1 cause of soapy haze.
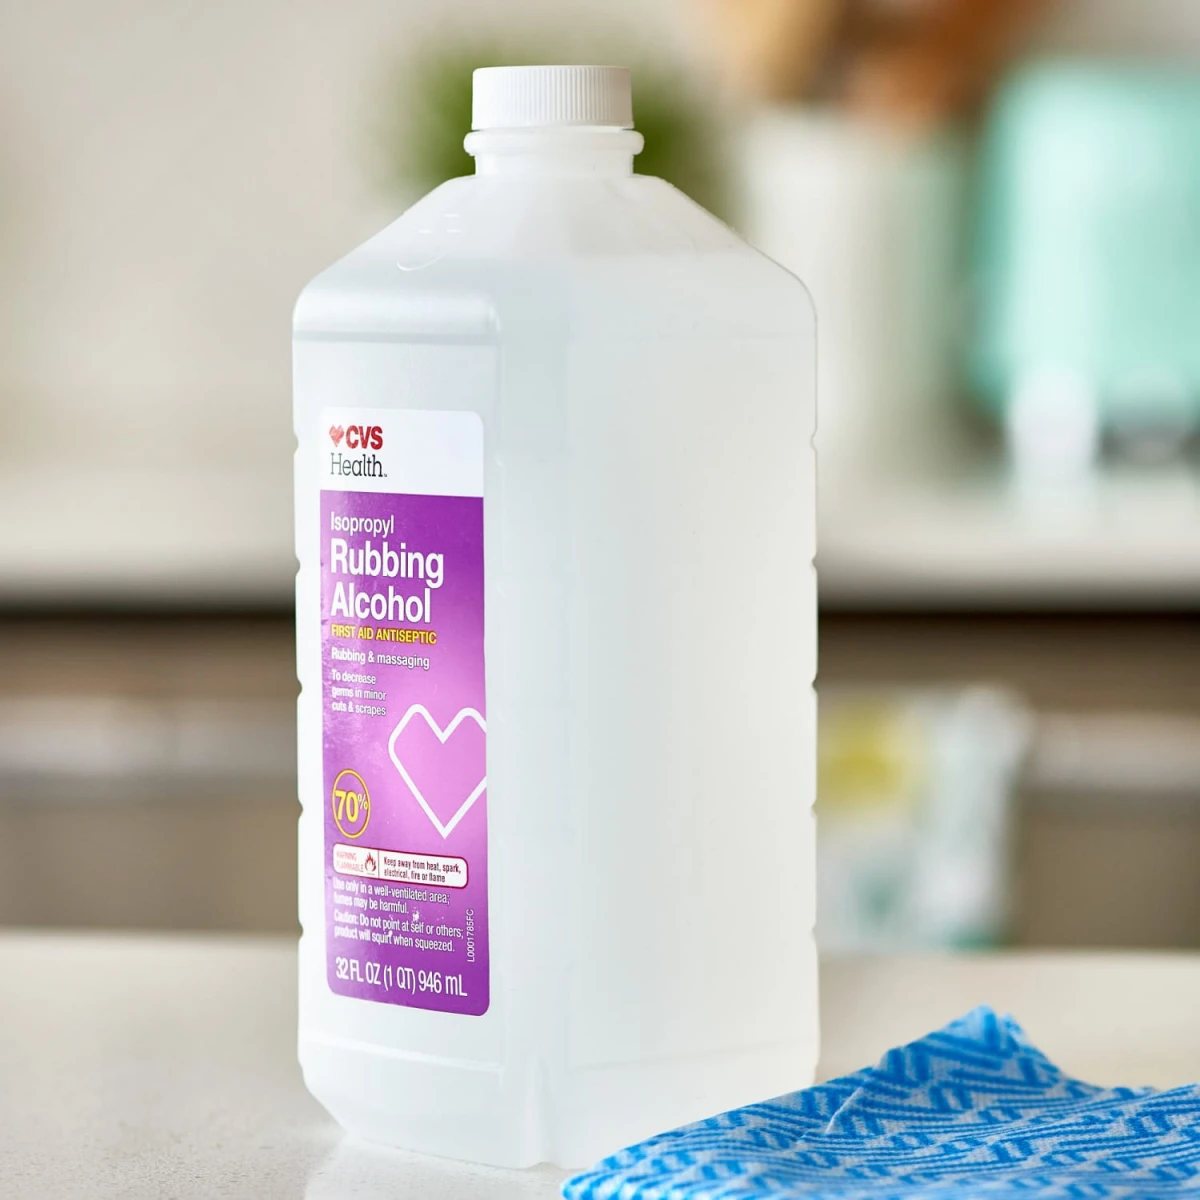
- A Solvent: This is what dissolves other stuff. For greasy fingerprints and oily grime, a solvent like isopropyl (rubbing) alcohol is your best friend. It also evaporates super fast, which is a huge help in preventing streaks.
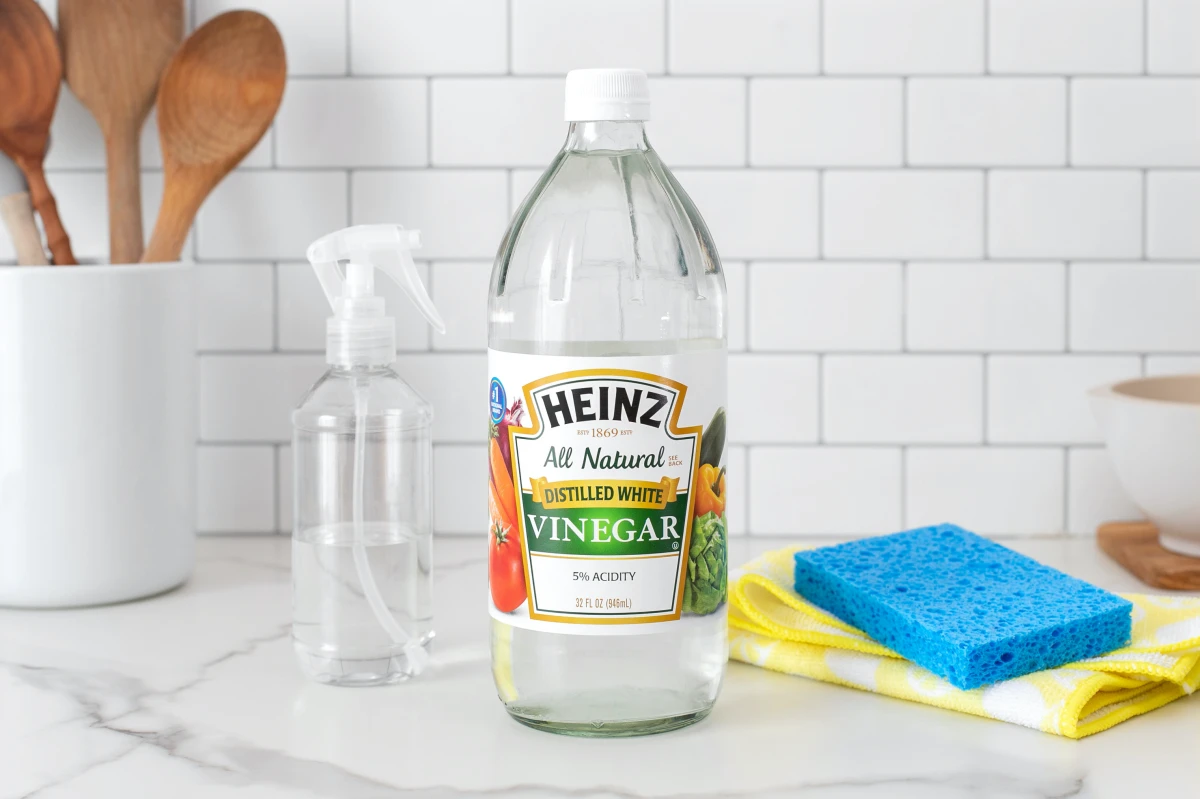
- An Acid: Mild white vinegar is a champ at dissolving alkaline mineral deposits, like the residue left from hard water.
Knowing this helps you pick the right mix. Got dusty interior windows? You need a basic mix. Greasy kitchen windows? You’ll want a solvent. Faint, cloudy stains from sprinklers? An acid is the answer.
Your Pro Toolkit: What to Buy and What It’ll Cost
You can’t do a pro job with paper towels. I learned the hard way that a cheap squeegee costs you more in time and frustration than it saves you in money. Investing in a few quality tools will completely change your window cleaning game.
Here’s your shopping list:
- A Good Squeegee: This is your hero tool. Skip the cheap plastic ones at the gas station and get a professional-grade squeegee with a metal channel and a replaceable rubber blade. A 12 or 14-inch model is perfect for most homes. You can find these at Home Depot or Lowe’s, but for the best quality, I often check Amazon or a local janitorial supply shop. Expect to pay around $20 to $30 for a quality one that will last for years. The rubber blade is everything; a single nick will leave a streak on every pull. For homeowner use, a new blade should easily last you a full season of cleaning, if not longer.
- An Applicator/Scrubber: It looks like a T-bar with a fuzzy microfiber sleeve. This thing holds way more cleaning solution than a spray bottle and is essential for scrubbing down larger windows. It’ll run you about $15 to $25.
- A Rectangular Bucket: A 6-gallon rectangular bucket is wide enough to fit your whole applicator, making it easy to load up with solution. You can find one for under $15 at most hardware stores.
- Microfiber Cloths: You need two kinds. Get a pack of basic, fluffy ones for wiping down frames and sills. Then, grab a few waffle-weave or flat-weave cloths—these are designed for glass and are perfect for detailing edges without leaving lint. A multi-pack of both will cost about $10 to $20. Quick tip: Never wash microfiber with fabric softener! It ruins their absorbency and causes smears.
- A Scraper (with a HUGE warning): A small, 1-inch window scraper with a retractable blade is a lifesaver for things like paint specks or dried bug guts. Use this tool with extreme care, which I’ll cover in a bit.
The Pro Workflow: Step-by-Step to a Perfect Finish
Alright, you’ve got your tools and your solution. Now for the method. Following a consistent pattern is how we work efficiently and get flawless results every time. For a beginner, plan on about 10-15 minutes per window (including the screen and track) once you get into a rhythm. A typical 10-window job might take you 2-3 hours the first time.
Step 0: Don’t Forget the Screens and Tracks!
Before you even think about touching the glass, deal with the screens and tracks. Cleaning a dusty window just makes mud. Pop the screens out and give them a good scrub with a soft brush and some soapy water, then rinse and let them dry in the sun. For the window tracks, it’s a two-part attack. First, use a shop vac with a crevice tool to suck out all the loose dirt and dead bugs. Then, spray a little of the All-Purpose cleaner in the track, scrub the gunk out with an old toothbrush, and wipe it clean with a cloth. It’s a dirty job, but it makes a world of difference.
The Actual Glass Cleaning Sequence:
- Prep the Area: Lay an old towel on the floor or windowsill to catch any drips.
- Scrub the Glass: Dip your applicator in the bucket of cleaning solution and squeeze it out so it’s wet but not dripping everywhere. Scrub the entire window from top to bottom, getting right into the corners. This lifts all the grime and suspends it in the solution.
- Create a Dry Edge: Take your squeegee and wipe the blade with a dry microfiber cloth. Place it in the top corner of the window and pull down about one inch along the side. This “cut-in” creates a dry starting point for your main passes.
- The Squeegee Pull: Wipe the blade clean again. This is critical! Place the squeegee at the top of the window, overlapping your dry strip by an inch. Angle it slightly so the top corner leads the bottom. Pull straight down in one smooth, confident motion. Don’t stop halfway.
- Overlap and Repeat: WIPE. THE. BLADE. AGAIN. I can’t stress this enough. Every single time. Overlap your last clean pass by about 1-2 inches and repeat the smooth pull downwards. Continue this across the whole pane.
- Final Detailing: You’ll have a little water left along the edges and at the very bottom. Wrap your special lint-free waffle-weave cloth around your finger and trace the perimeter of the glass to wipe it away. Then, wipe the sill dry. Done.
My Go-To Formulations for Any Situation
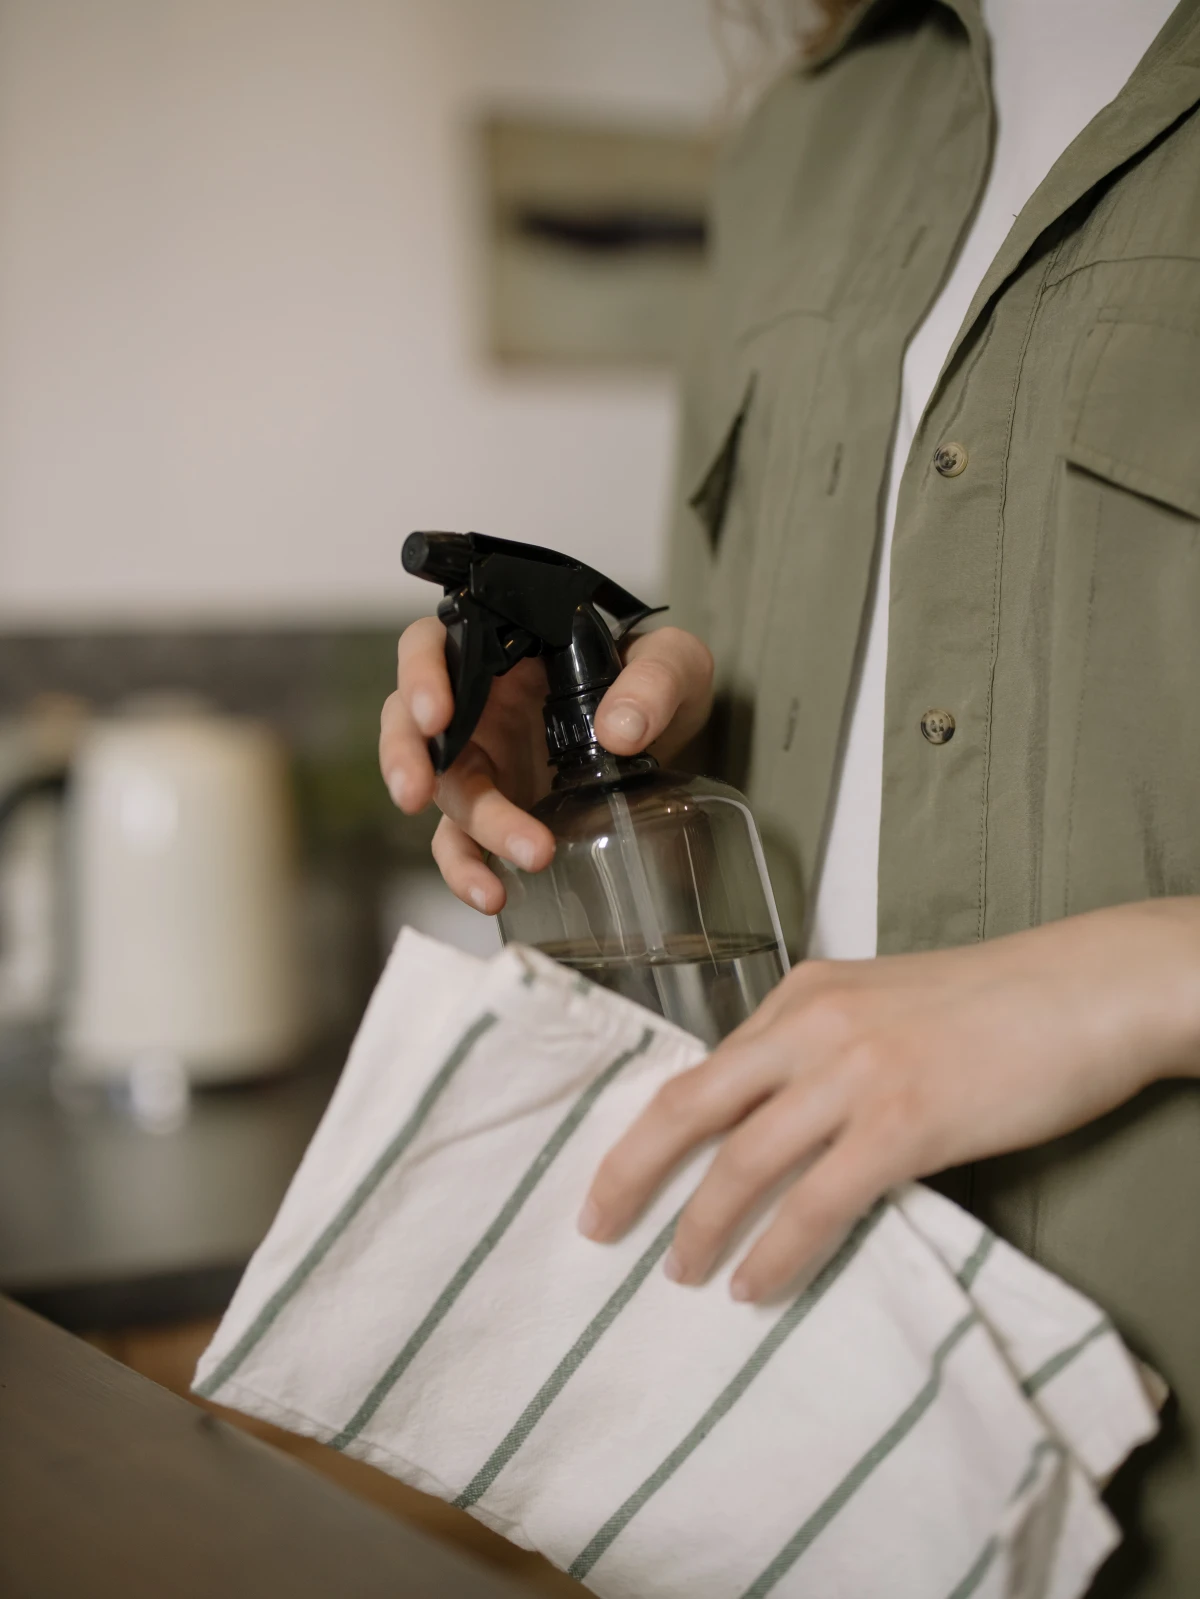
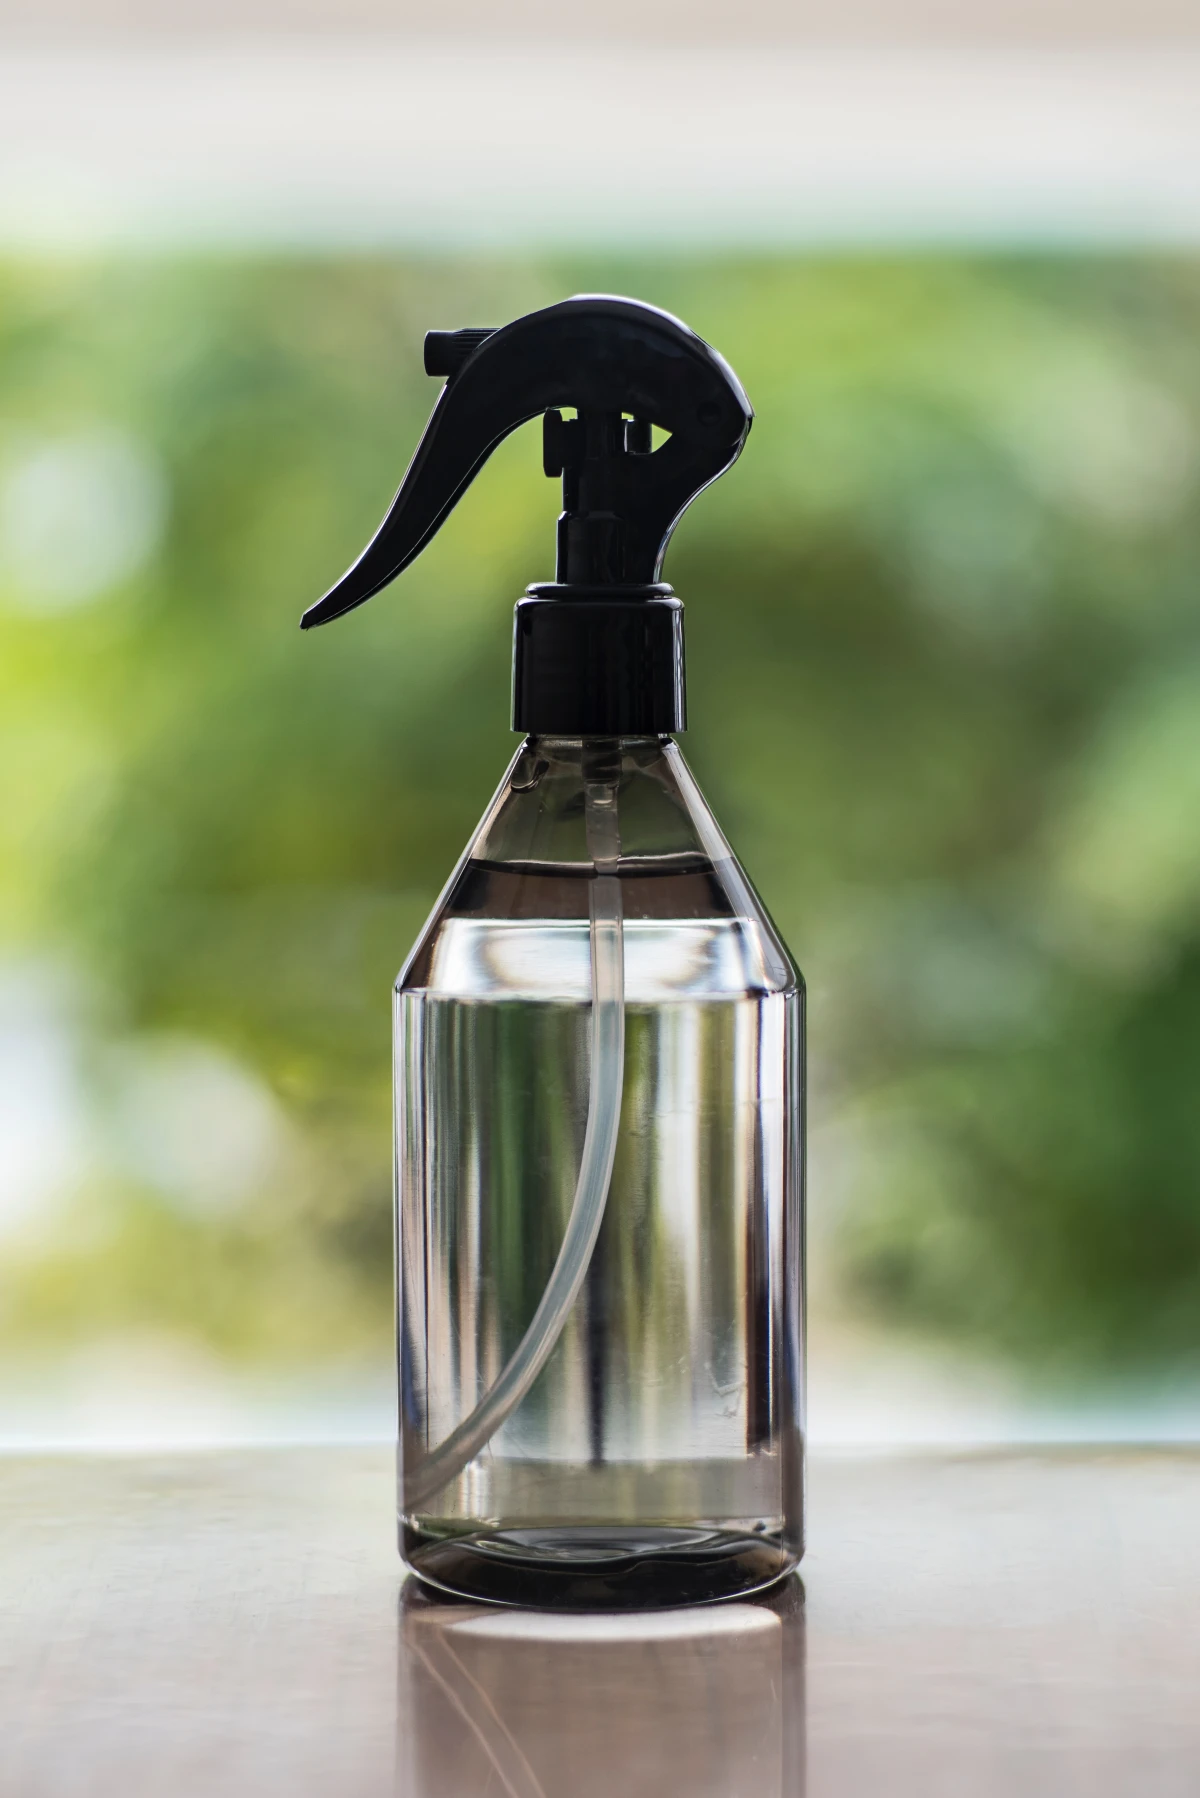
Here are the three mixes I rely on. I keep them in labeled spray bottles for small jobs or mix them right in my bucket. And remember, always use distilled water!
1. The Daily Driver (Basic Maintenance Mix)
This is for lightly dusty interior windows, mirrors, and picture frames. It’s simple and disappears completely.
- Best for: Regular touch-ups, interior glass, mirrors.
- Spray Bottle Ingredients: 2 cups distilled water + 1/4 cup white distilled vinegar.
- For a Bucket: Use a simple 1-to-10 ratio. So, about 1.5 cups of vinegar for every gallon of water.
2. The Grime Buster (All-Purpose Cleaner)
This is your workhorse for dirtier exterior windows, greasy kitchen glass, or windows covered in fingerprints.
- Best for: Exterior windows, oily residue, pollen, and general grime.
- Spray Bottle Ingredients: 2 cups distilled water + 2 tablespoons white vinegar + 1-2 drops of simple dish soap.
- For a Bucket: 1 gallon of distilled water + 1/2 cup vinegar + 2-3 drops of dish soap. Add the soap last to avoid a foam party! The water should feel just slightly slippery, not sudsy.
3. The Cold Weather & High-Shine Mix
When it’s too cold and you’re worried about your solution freezing on the glass, this is the answer. The alcohol also makes it evaporate in a flash, giving an incredible shine.
- Best for: Cleaning in cold weather (below 40°F/5°C), or for a super fast, streak-free finish on mirrors.
- Spray Bottle Ingredients: 2 cups distilled water + 1 cup 70% isopropyl alcohol + 1/4 cup white vinegar.
- For a Bucket: 1/2 gallon distilled water + 1/4 gallon (4 cups) isopropyl alcohol + 1/2 cup vinegar.
Quick Win: Try This Today!
Don’t have a squeegee yet? No problem. Mix up the “Daily Driver” solution in a spray bottle. Grab two clean microfiber cloths. Spray it on your bathroom mirror, wipe and scrub with the first cloth, then immediately buff it dry with the second, perfectly dry cloth. You’ll be amazed at the difference a pro solution makes, even without the pro tools.
Handling Tough Stuff & Common Problems
Sometimes you run into stubborn issues. Here’s how to deal with them.
- Stubborn Spots (Paint, Silicone): For tiny specks, use that small window scraper. Heads up: The glass MUST be wet. Never, ever use a scraper on dry glass—you’ll scratch it. Hold the blade at a low angle (about 30 degrees) and gently push to lift the speck. And a huge warning: NEVER use a blade on tinted film or glass that has a special coating (look for a tiny “tempered” label in the corner).
- Severe Hard Water Stains: If the vinegar mix doesn’t cut it, you might have etched-in stains. You can try GENTLY rubbing the spot with
0000 (quadruple-aught) steel wool while the glass is wet. It’s the finest grade and won’t scratch most glass, but always test in a hidden corner first. If that doesn’t work, it may be time to call a pro for chemical restoration.
Troubleshooting Guide:
- Problem: Fine streaks left by the squeegee.
Solution: Your blade is nicked, or you stopped mid-pull. Replace the blade and use one smooth, continuous motion. - Problem: A hazy film appears after the window dries.
Solution: Classic sign of too much soap. Re-clean the window with just the basic water and vinegar mix to remove the film. - Problem: Drips run down from the top after you’re done.
Solution: Before your first squeegee pull, run your cloth-wrapped finger along the top gasket to pull out trapped water.
A Final Word on Safety
Seriously, no window is worth a trip to the emergency room. My top priority is always safety.
If you can’t reach a window with your feet firmly on the ground, think hard about hiring a professional. I’ve seen homeowners take nasty falls trying to stretch that last foot on a ladder. It’s just not worth it. Pros have specialized gear like water-fed poles to safely clean high windows from the ground.

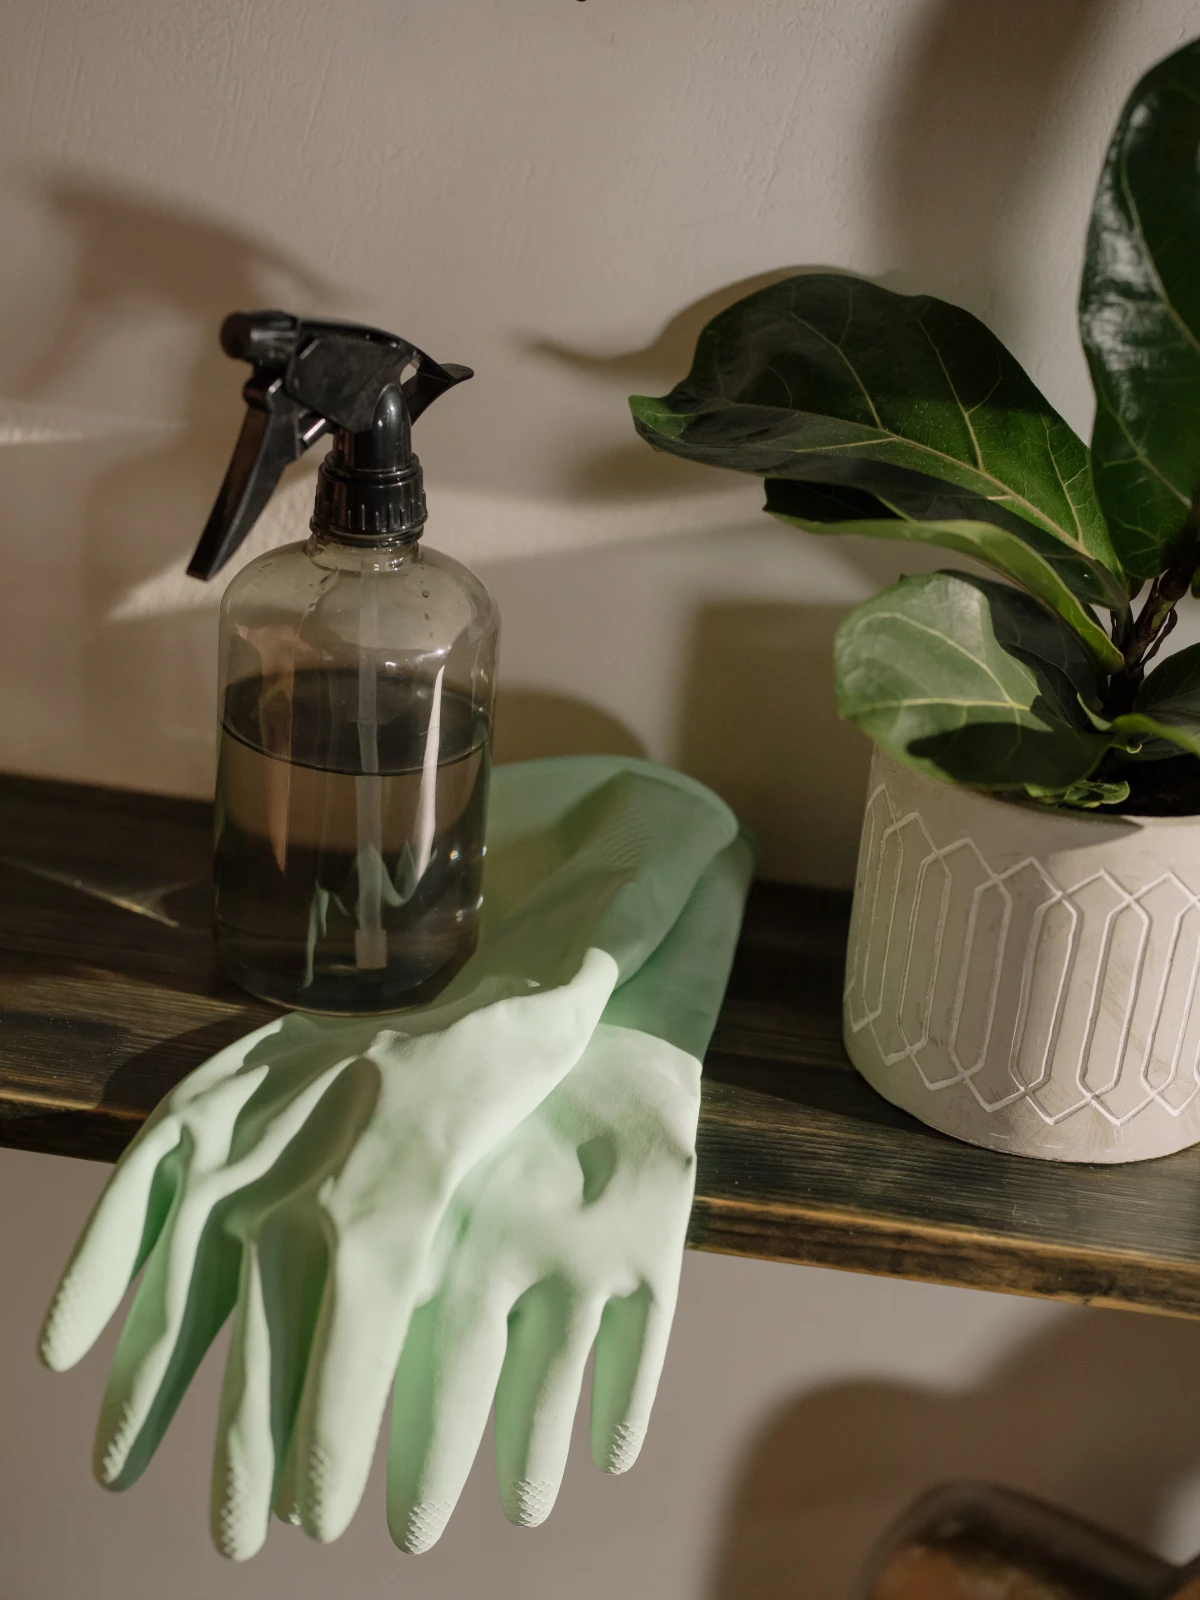
Also, be mindful of your cleaning solution. The vinegar in these mixes can damage natural stone like marble or granite if left to sit, so protect your sills and countertops. And a good pair of gloves is always a smart idea.
By using the right tools, the right solution, and a methodical approach, you can get that deeply satisfying, invisible-glass look. I hope these tips help you get there!
Galerie d’inspiration

The right tool for the job: is there a difference between squeegees?
Absolutely. While any squeegee is better than none, pros often have a strong preference. It usually comes down to two choices:
Classic Brass: The heavyweight champion, often associated with brands like Ettore. The extra weight provides a steady, consistent pressure on the glass, which helps prevent skipping and streaks. It’s incredibly durable but requires a bit more muscle to wield.
Modern Stainless Steel: Lighter and more ergonomic, a favorite from brands like Unger. It’s less fatiguing for large jobs or for home users who aren’t cleaning windows daily. It won’t tarnish like brass, making it very low-maintenance.
For most homeowners, a quality stainless steel model is the perfect balance of performance and comfort. The real secret, regardless of the handle, is to always use a sharp, high-quality rubber blade.


