The 15-Minute Daily ‘Health Reset’ for a Cleaner Home
For years, I’ve been in the business of cleaning, from ultra-sterile professional settings to regular family homes. And I’ve learned one thing: most people see cleaning as a grind. A chore to power through. But I see it totally differently. It’s more like a craft, a daily practice that actively protects your family’s health. It’s all about knowing where the germs hang out and dealing with them efficiently.
In this article
Let’s be real, this isn’t about having a magazine-perfect home every single day. Who has time for that? This is about being smart and focusing your daily 15-20 minutes where it has the biggest impact. Think of it as a quick “health reset” for your house. By tackling a few key hot spots, you can seriously knock down the number of germs hanging around, which is a huge win, especially when someone’s got the sniffles.
So, How Do Germs Actually Travel?
Before we even grab a spray bottle, let’s talk about the enemy. In the pro world, we’re obsessed with “fomites.” It’s a fancy word for any object that can carry and spread germs. That means your phone, the doorknobs, light switches, the kitchen counter… you get the idea. Germs from a cough or unwashed hands get on these surfaces, someone else touches them, and boom—the germs have a new home.
Our daily goal is simple: break that chain. We’re going to hit the germ superhighways and the places where bacteria love to multiply (think warm, damp spots with food bits). By the way, one of the toughest things to clean in a kitchen isn’t just loose germs, but something called a biofilm. It’s a slimy, protective shield that bacteria build. You’ve definitely felt it on the inside of a pet’s water bowl. A simple wipe won’t cut it; you have to physically scrub it away before any sanitizer can work. Understanding that difference—cleaning first (removing gunk), then sanitizing (killing germs)—is the secret sauce.
Let’s Get Started: Your Daily Sanitizing Caddy
To make this a breeze, get a little caddy or basket you can carry around. It makes you feel like a pro and saves you from running back and forth. Here’s what you’ll need:
- A few microfiber cloths: A good pack of these will run you $10 to $15 at places like Home Depot or on Amazon. Look for cloths that feel a bit “grabby” on your skin, not slick like a t-shirt. That texture is what traps the gunk.
- An EPA-registered disinfectant: This just means it’s proven to kill what it says it kills. Common household products like Lysol All-Purpose Cleaner or Clorox Disinfecting Mist totally count. Check the label!
- A bottle of 70% isopropyl alcohol: This is for your electronics. It’s cheap, usually under $5 at any pharmacy.
- Your favorite dish soap: Nothing fancy needed here.
- A designated scrub brush for the sink: Keep it separate from your dish brush to avoid cross-contamination.
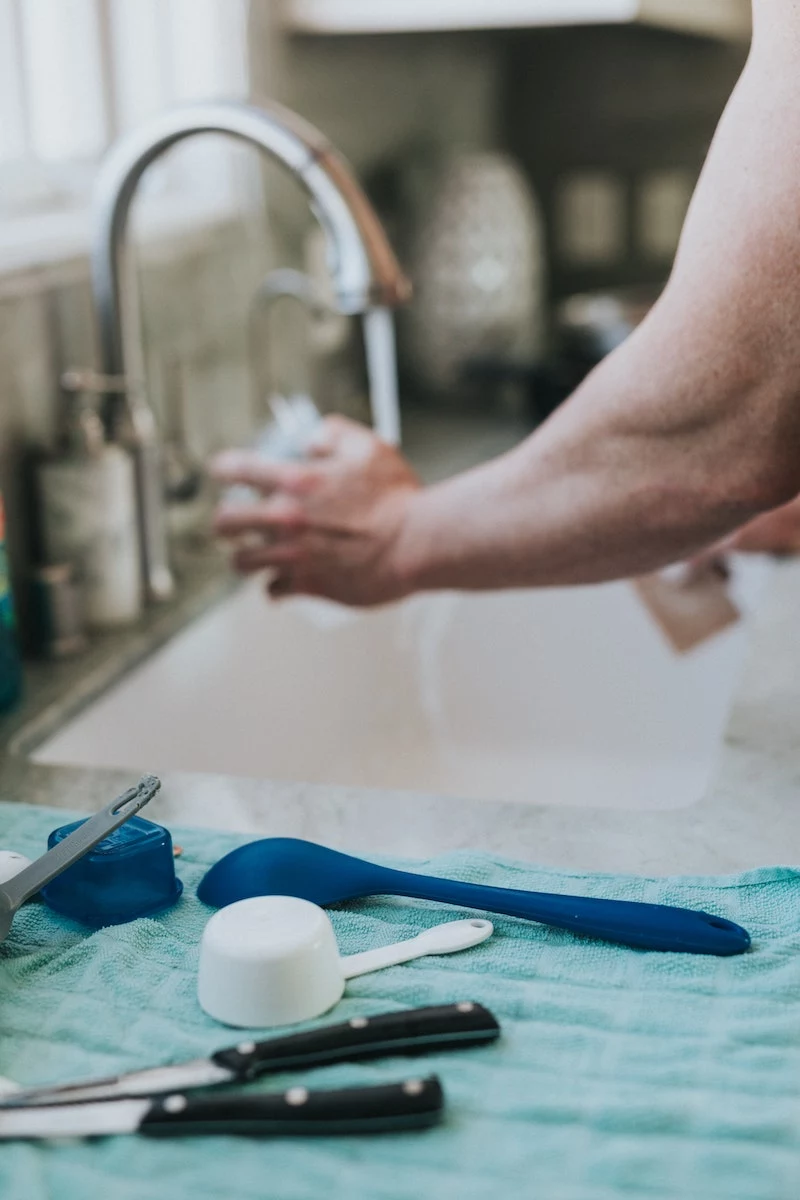
1. The Kitchen Sink: Public Enemy #1
It shocks almost everyone I train, but the kitchen sink is often the grossest place in the house. Yep, even worse than the toilet. Think about it: raw chicken juices, dirt from vegetables, and all sorts of grime get washed down there. It’s a warm, wet, all-you-can-eat buffet for bacteria.
This is where the two-step method is non-negotiable. You absolutely cannot sanitize a dirty surface; the grime gets in the way.
First, Clean it. Get all the dishes out. Use some dish soap and your dedicated scrub brush to give the whole basin, the drain, the faucet, and the handles a good scrub. This physical scrubbing is what destroys those invisible biofilms. Rinse it all down with hot water.
Second, Sanitize it. Now that it’s clean, you can kill the germs. This step requires patience. You have to let the sanitizer sit on the surface for a bit to do its job. We call this “contact time,” and it’s critical. Wiping on and immediately wiping off is pretty much useless.

- The Easy Way: An EPA-registered kitchen sanitizer is perfect. Just follow the directions for contact time, which is usually somewhere between 3 and 10 minutes.
- The DIY Way: You can make your own effective sanitizer with standard, unscented household bleach. Health experts suggest a ratio of about 1 tablespoon of bleach per 1 gallon of cool water (or roughly 1 teaspoon per quart for a smaller batch). Mix it in a labeled spray bottle. Spray the clean sink, let it sit for at least a minute, and then let it air dry.
A crucial pro tip: For maximum germ-killing power, you have to mix this bleach solution fresh daily. The bleach breaks down in water pretty quickly, so a batch you made last week won’t be nearly as effective.
Heads up on safety! Never, ever mix bleach with other cleaners, especially anything with ammonia (like some glass cleaners) or acids. It creates toxic gas that can do serious damage to your lungs. I was once on a job where someone did this, and the fumes were so bad we had to air out the house for hours. Stick to one product at a time.
2. Sponges & Dishcloths: Are They Helping or Hurting?
Let’s be honest, your kitchen sponge can be a bacterial bomb. It’s porous, wet, and full of food particles—a perfect incubator. Using a dirty sponge just smears germs everywhere. That’s the definition of cross-contamination.
From my experience, switching to dishcloths is a total game-changer because they’re so much easier to get truly clean. I suggest a simple two-bin system. Have a little basket of clean, folded cloths on the counter, and an open-top bin for the dirty ones. Grab a fresh one every morning, and toss it in the dirty bin at the end of the day. When the bin is full, wash them all on a hot cycle (at least 140°F is ideal) with a good detergent. A little bleach helps, too. Oh, and skip the fabric softener—it coats the fibers and makes them less absorbent.
Worried the dirty bin will get stinky? Just make sure it’s a ventilated basket (not a sealed bucket) and give the cloths a good rinse before you toss them in. Or, just do a load of them every 2-3 days.
If you’re a die-hard sponge fan, you MUST sanitize it daily. You can pop a very wet sponge (make sure no metal scrubby parts!) in the microwave for two minutes, run it through the dishwasher on a heated dry cycle, or soak it for five minutes in a bleach solution (3/4 cup of bleach per gallon of water). And please, be careful with the microwave method. That sponge will be full of steam and hotter than the sun. Use tongs! An apprentice I knew once grabbed one and got a nasty steam burn. Respect the heat.
3. High-Touch Surfaces: Your Daily Germ Safari
Okay, time for a little game. Go on a “fomite hunt” in your own home. Think about your path from the front door to the kitchen. What do you touch without even thinking about it? These are your high-contact points, and wiping them down daily is probably the single biggest win for your home’s health.
Here’s your hit list to get you started:
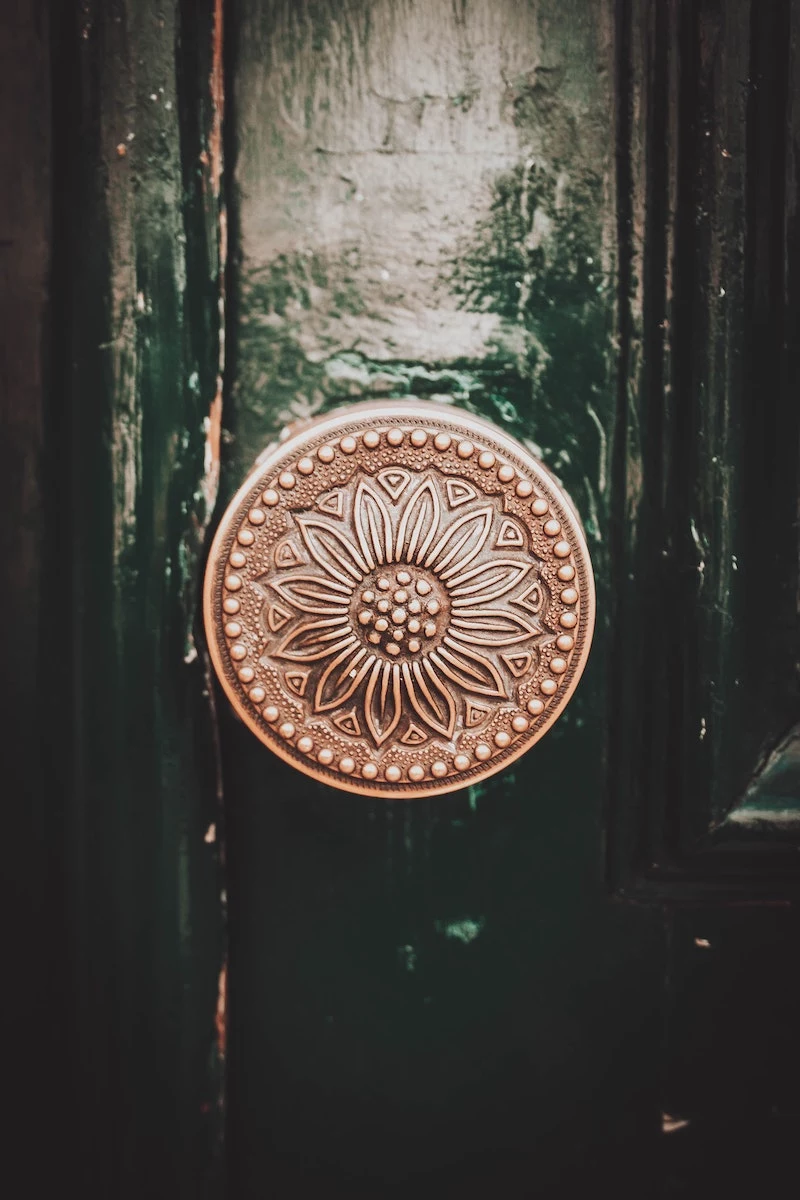
- Doorknobs and light switches
- Stair railings
- Fridge, dishwasher, and microwave handles
- Cabinet and drawer pulls in the kitchen
- TV remotes and game controllers
- Faucet handles in the kitchen and bathrooms
The best tool for this job is a microfiber cloth dampened with your disinfectant. Microfiber is designed to attract and trap dust and microbes, whereas a regular cotton cloth just pushes them around. To really level up, use a color-coding system—a standard practice in pro cleaning. For example: blue for general surfaces like doorknobs, green for the kitchen, and pink or red for the bathroom. That way, you’re never wiping your kitchen counter with the same cloth you used in the bathroom. Simple, but effective.
4. Kitchen Countertops: The Landing Zone
Your kitchen counter is where groceries (that were on the store floor), mail, and keys land right next to where you make dinner. So, just like the sink, it needs a daily clean and sanitize, especially in food prep zones. Using the wrong product here can be a costly mistake.
- For Sealed Granite & Marble: These stones are gorgeous but porous. You must protect their sealer. For cleaning, use a pH-neutral cleaner made for stone, or just a few drops of dish soap in warm water.
DANGER ZONE: Avoid acidic things like vinegar and lemon juice, and harsh chemicals like bleach. They will eat away at the sealer over time, leaving your beautiful stone vulnerable to stains. - For Quartz (Engineered Stone): This stuff is tough and non-porous, but not invincible. A simple soap and water clean followed by a spritz of an all-purpose disinfectant is usually perfect.
DANGER ZONE: Stay away from abrasive scouring pads that can dull the shiny surface. - For Laminate & Solid Surface: These are the most forgiving. Most all-purpose cleaners and sanitizers are fine. The main thing is to not let water sit in the seams, which can cause swelling underneath.
5. Personal Electronics: Your Digital Third Hand
Our phones are basically a third hand we hold right next to our face. They go everywhere and touch everything. They are major germ carriers that we almost always forget to clean.
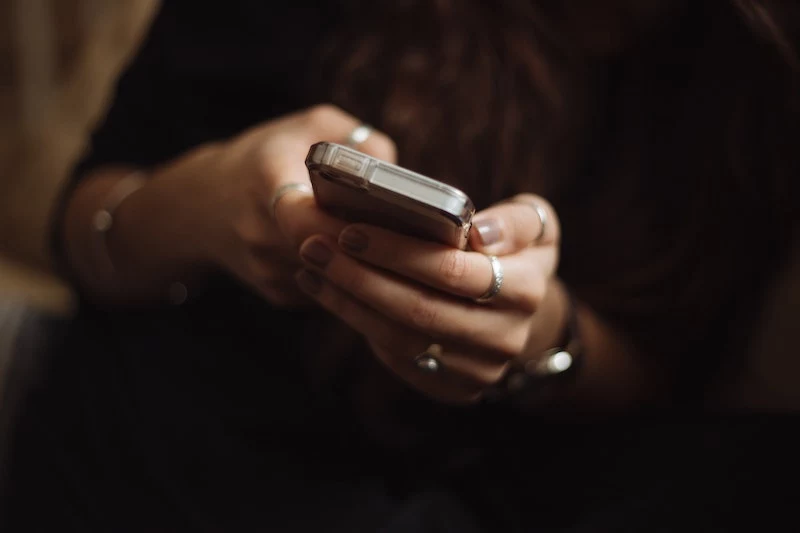
The method here is all about being careful. NEVER spray cleaner directly onto a device. Liquid will find its way into openings and wreck it. The best solution is 70% isopropyl alcohol. Fun fact: 99% alcohol evaporates too fast to kill germs effectively. The 30% water in the 70% solution is actually what helps it work better.
The process is easy: Power down the device. Lightly spray the 70% alcohol onto a clean, lint-free microfiber cloth (like one for eyeglasses). The cloth should be damp, not dripping wet. Gently wipe down the screen and case. Done. It takes 30 seconds.
Pressed for Time? Here’s Your Quickest Win.
Look, some days are just chaos. If you only have two minutes, do this one thing: Grab a disinfectant wipe or your dampened microfiber cloth and do a quick tour of your “High-Touch Hit List.” Wiping down those doorknobs, light switches, and handles gives you the biggest health bang for your buck.

Your Effortless 15-Minute Routine
This might seem like a lot written down, but in practice, it flows quickly. After a week or two, it’ll become an automatic habit.
Here’s how it could look after dinner:
- Load the dishwasher and start it. (By the way, even if your dishwasher doesn’t have a ‘sanitize’ cycle, the super-hot water and strong detergents are still far more effective than handwashing!)
- In the kitchen, grab your green cloth and cleaner to wipe down counters of crumbs. Follow up by spraying your sanitizer on the prep areas and letting it sit. Then, give the sink a quick scrub and rinse.
- Grab your blue cloth, dampen it with disinfectant, and take a 2-minute walk, wiping down all those high-touch spots.
- Before you sit down, give your phone and remote controls a quick wipe.
- Last stop: use your red cloth for a fast wipe of the bathroom faucet and sink. Toss all used cloths in the dirty bin.
And that’s it. You’ve reset your home’s health defenses. Consistency is so much more powerful than one marathon cleaning session a month. This small, daily investment is one of the best things you can do for a healthier home.
Feeling a little overwhelmed? Don’t try to do it all at once. Just master one thing this week. Start with just the kitchen sink routine. Once that feels like second nature, add in the high-touch surfaces. Before you know it, you’ll be doing the whole routine without even thinking about it.
Inspirational Gallery
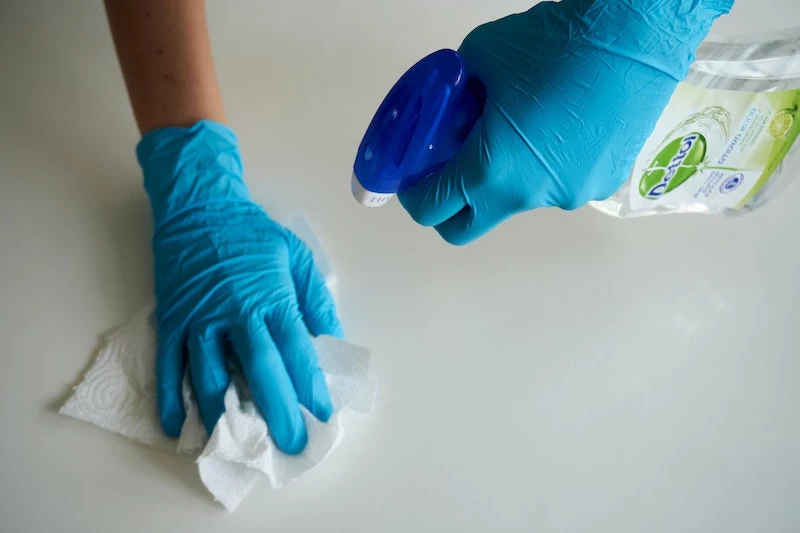
Disinfecting Wipes: Incredibly convenient for quick, targeted clean-ups on high-touch points like doorknobs, light switches, and faucet handles. Perfect for the 15-minute daily reset.
Disinfecting Sprays: More economical for larger surface areas like kitchen countertops, tables, or the front of the refrigerator. They provide better coverage for a lower cost per use.
Our advice: Keep a canister of Lysol or Clorox wipes for daily hotspots, and use a spray for bigger weekly tasks.
A 2017 study from the University of Arizona found that the average cell phone carries 10 times more bacteria than most toilet seats.
This makes your phone a primary
The biggest mistake in disinfecting: Wiping the surface dry immediately after spraying. Most EPA-registered disinfectants require the surface to remain visibly wet for a specific period—often from 3 to 10 minutes—to effectively kill germs. This is called
- Sanitizes your phone without liquids.
- Works on tricky items like keyboards and remote controls.
- Kills germs using light, with no chemical residue.
The secret? A handheld UV-C sanitizing wand. These devices, like those from PhoneSoap, use ultraviolet light to destroy the DNA of bacteria and viruses. It’s a great high-tech addition to your health reset for delicate electronics that can’t be wiped down.
Love a clean smell, but hate the chemical one?
After you’ve cleaned and disinfected (and the surfaces have dried), you can introduce a pleasant, natural scent. Instead of aerosol air fresheners, which can irritate some people, try simmering a pot of water on the stove with a cinnamon stick and a few orange peels. It creates a welcoming aroma that signals ‘clean’ without the harsh chemicals.
Don’t sabotage your cleaning efforts with dirty tools. To keep your microfiber cloths in top condition, wash them separately from other laundry, especially cotton towels which shed lint that clogs the fibers. Use a basic detergent, but always skip the fabric softener—it coats the fibers and ruins their ‘grab’.
The home’s entryway is the frontline against outside germs. In just 60 seconds, you can perform a ‘health airlock’ reset:
- Wipe down the inside and outside doorknobs.
- Sanitize the light switch plate by the door.
- Give the surface where you drop your keys and mail a quick spray-and-wipe.
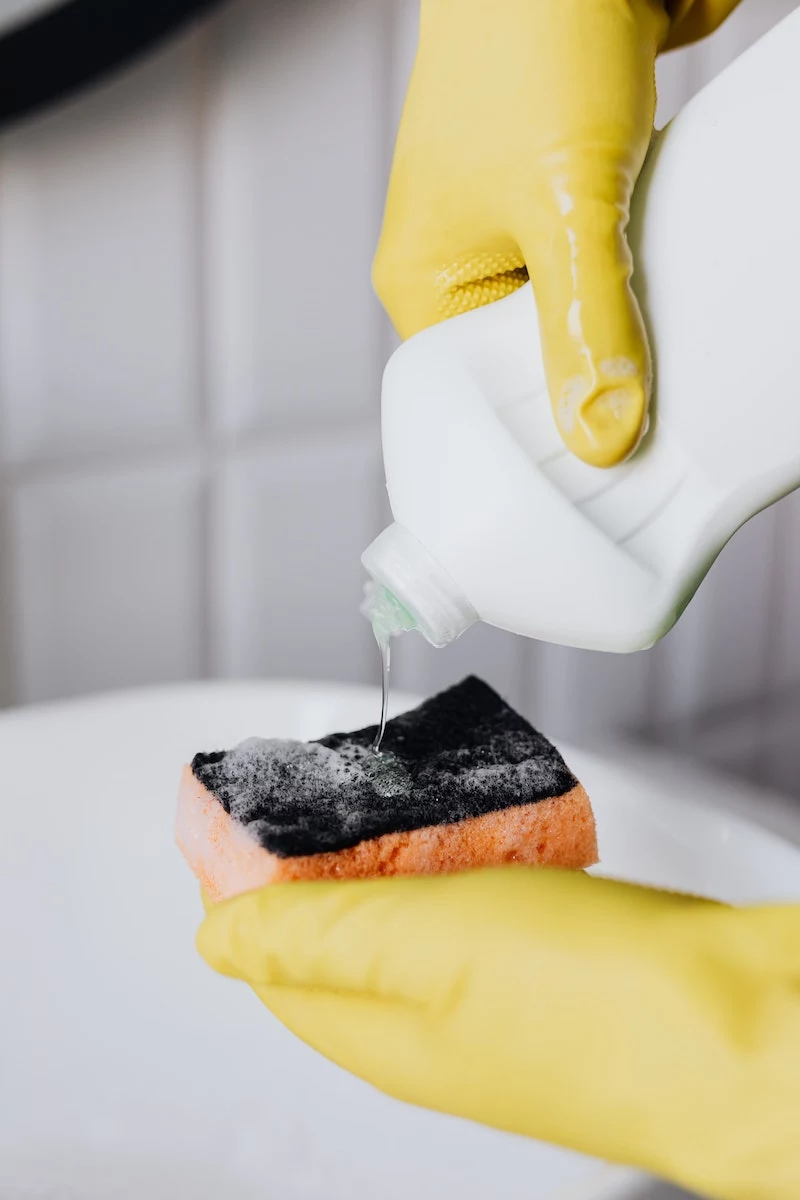
For everyday grime (not disinfecting), a simple DIY spray works wonders and saves money. Remember the article’s rule: clean first, then sanitize if needed.
- In a spray bottle, mix one part white vinegar with one part water.
- Add a few drops of classic Dawn dish soap for extra grease-cutting power.
- Use it on sinks and backsplashes to remove dirt before using your registered disinfectant.


