The 5 Painting Mistakes Almost Everyone Makes (And How to Actually Fix Them)
After years with a brush in my hand, I can tell you something for sure: a fantastic paint job isn’t about some secret formula. It’s about respecting the process. I learned this the hard way on one of my first big jobs, a beautiful old house with tons of detailed trim. I got cocky and rushed the prep, figuring my brush skills would cover any sins. It was a disaster. The paint started failing in less than a year.
In this article
That call from the unhappy client—and the $500 in materials and free labor it cost me to fix my own mistake—taught me more than any textbook ever could. It taught me that paint is only as good as the surface you put it on. This guide is built on that hard-won lesson. We’re going to walk through the common errors I see all the time, and more importantly, how to get things right from the start.
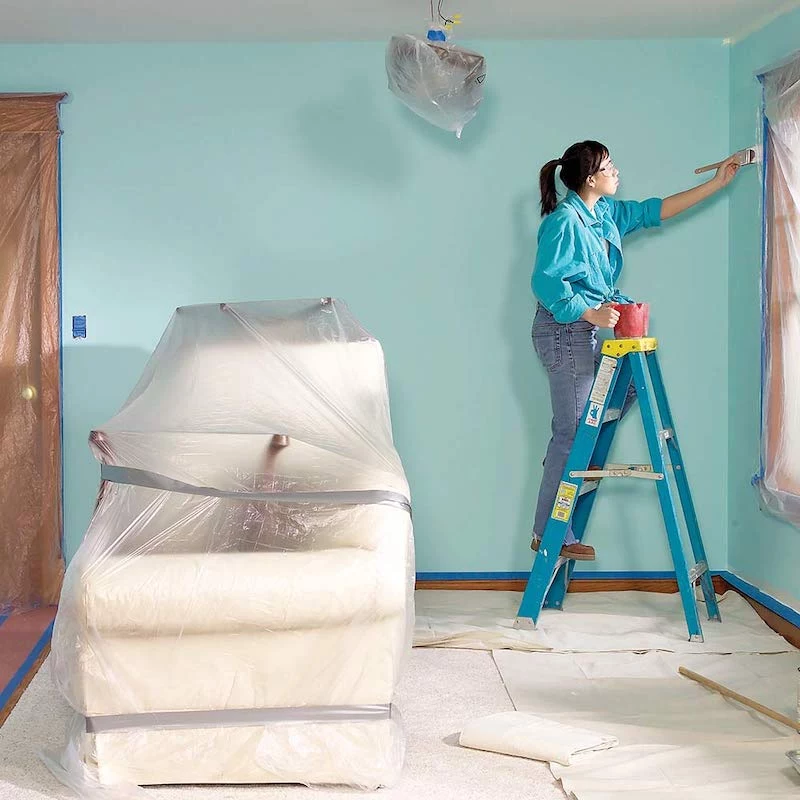
Mistake 1: Treating Prep Work as an Optional Chore
Honestly, most painting failures are decided before a can of paint is even cracked open. I get called to fix so many jobs where the paint is bubbling, peeling, or cracking off in sheets. And almost every single time, the culprit is lazy prep. People get excited about the new color and just want to get to the fun part, but that’s like building a house on a pile of sand. It’s just not going to last.
Paint needs a clean, dry, and slightly textured surface to really grab onto. Think of it like this: the surface of your wall has microscopic peaks and valleys. Paint flows into these and hangs on for dear life. But if those valleys are full of dust, cobwebs, or an invisible film of kitchen grease, the paint is just sticking to the grime, not the wall. So, when the temperature changes and the house expands or contracts, that weak bond breaks, and boom—peeling paint.
The Pro’s Non-Negotiable Prep Routine
When my crew and I start a room, we have a strict process. It’s not just for show; it’s what makes the job last for years instead of months.
First, we do a thorough cleaning. In kitchens, a thin layer of cooking grease can be everywhere. We use a TSP (Trisodium Phosphate) substitute, which is a powerful degreaser you can find at any hardware store. Mix about a half-cup into a gallon of warm water, and always wear gloves and eye protection. Wash the walls from the bottom up to stop clean streaks from forming, then rinse with a new bucket of clean water from the top down. The wall should feel squeaky clean, not slick at all.
Next up: meticulous repairs. We hunt down every crack, dent, and nail hole. For tiny pinholes, a dab of lightweight spackle is fine. But for anything bigger than a pencil eraser, we use a setting-type joint compound, often called “hot mud.” It’s a powder you mix with water that sets via a chemical reaction, so it barely shrinks and is rock solid. We apply it in thin layers to avoid a sunken-in look later on.
Finally, we create some “tooth.” If your walls have a shiny, glossy finish, new paint will have a hard time sticking. We scuff up the entire surface with 120 or 150-grit sandpaper on a pole sander. The goal isn’t to remove the old paint, just to dull the sheen. This part is messy, so after sanding, we vacuum the walls with a soft brush attachment and then wipe everything down one last time with a damp microfiber cloth.
Heads up! For an average-sized bedroom, this prep work can easily take a full day. It’s tedious, but it is the absolute foundation of a good paint job.
Your Prep Shopping List (Beginner’s Edition)
To make it easy, here’s what you should grab from Home Depot or your local hardware store. This will get you started for a typical room.
- TSP Substitute Cleaner: A must for greasy or grimy walls. ($5 – $10)
- Scrub Sponges & a Bucket: One for washing, one for rinsing.
- Lightweight Spackle: For filling small nail holes. ($8 – $12 for a small tub)
- 150-Grit Sanding Sponge: Perfect for corners and trim. ($4 – $6)
- Painter’s Tape: Pro-tip: Spend the extra $3 on FrogTape. The seal is way better and you’ll get a much cleaner line. Totally worth it.
- A Quality 2.5” Angled Brush: Don’t cheap out here. A good Purdy or Wooster brush will cost you $15-$20, but it’s a game-changer for cutting in and will last for years if you clean it well.
Mistake 2: Believing the “Paint-and-Primer-in-One” Hype
I hear it all the time from DIYers: “I bought the paint with the primer built in, so I’m good to go!” This is one of the most successful—and damaging—marketing phrases in the industry. While those products are fine for a simple repaint in a similar color, they are NOT a real substitute for a dedicated primer on challenging surfaces.
Think of it this way: paint and primer are two different tools. Paint is all about color and protection. Primer is all about adhesion and problem-solving. It’s packed with binders that stick to the wall and create a perfect, uniform base for your paint.
Picking Your Primer: The Pro’s Go-To’s
So when do you really need a separate primer? And which one should you use? It’s simpler than you think.
Water-Based (Latex) Primer: This is your everyday workhorse. It’s perfect for new, unpainted drywall or for going over a wall that’s already in good shape. It’s flexible, low-odor, and dries fast. A good gallon will run you about $25-$30.
Oil-Based (Alkyd) Primer: This is my go-to for serious stain blocking and for priming bare wood. Wood contains natural oils called tannins that can bleed through latex paint, causing ugly yellow stains. Oil-based primer seals them in. It’s also fantastic for covering up old water stains. The downside? The smell is strong, so you absolutely need good ventilation. Expect to pay around $40-$50 a gallon for the good stuff.
Shellac-Based Primer: This is the nuclear option. It sticks to virtually anything and will permanently block the absolute worst stains and odors—I’m talking heavy smoke damage, nicotine, and even pet smells. It dries super fast, but you MUST wear a respirator and have serious ventilation. I reserve this for the toughest restoration jobs. It’s a miracle worker, but it’s not for casual use.
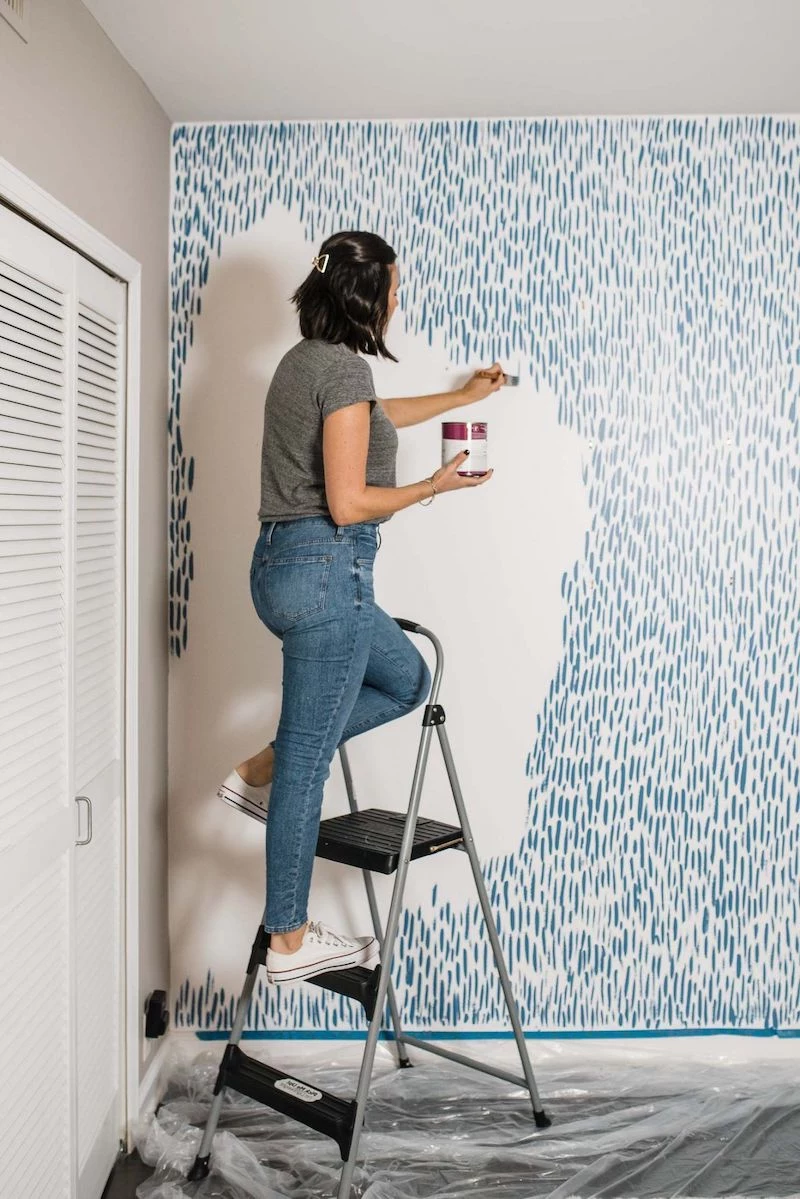
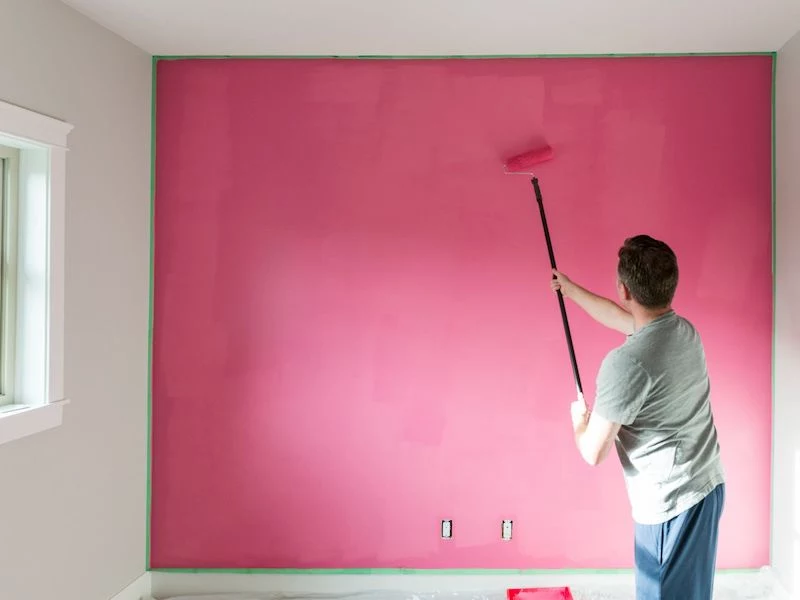
Mistake 3: Using Bad Brushing and Rolling Technique
You can do perfect prep and buy the best paint money can buy, but if you apply it poorly, it’s going to look amateur. Streaks, roller marks, and a messy ceiling line are the dead giveaways.
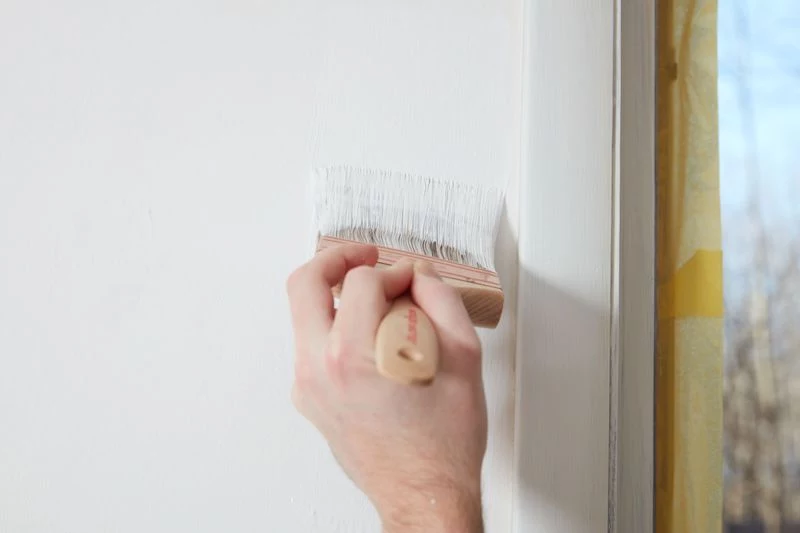
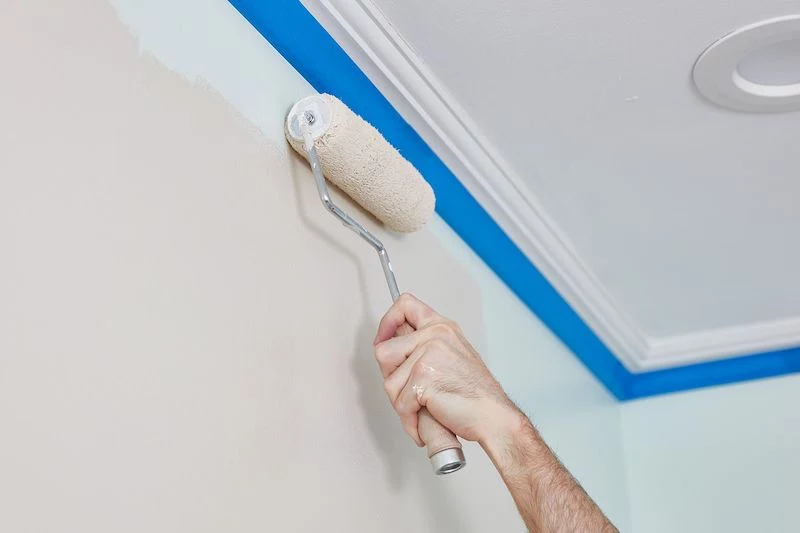
The secret to clean lines isn’t painter’s tape—it’s a steady hand and a good brush. This is called “cutting in.” Use that quality 2.5-inch angled brush I mentioned. Dip just the first third of the bristles in the paint, tap off the excess (don’t wipe it on the rim), and create a crisp 2-3 inch band of paint along the ceiling, trim, and corners. Work in smooth, controlled strokes.
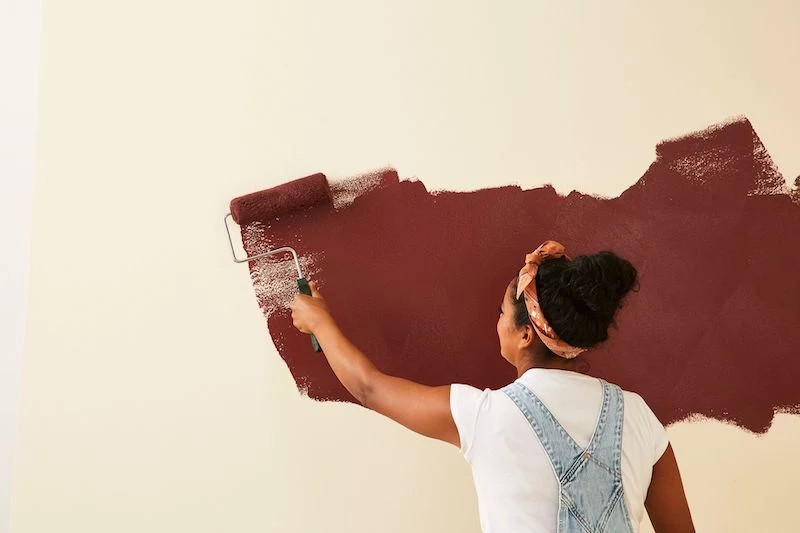
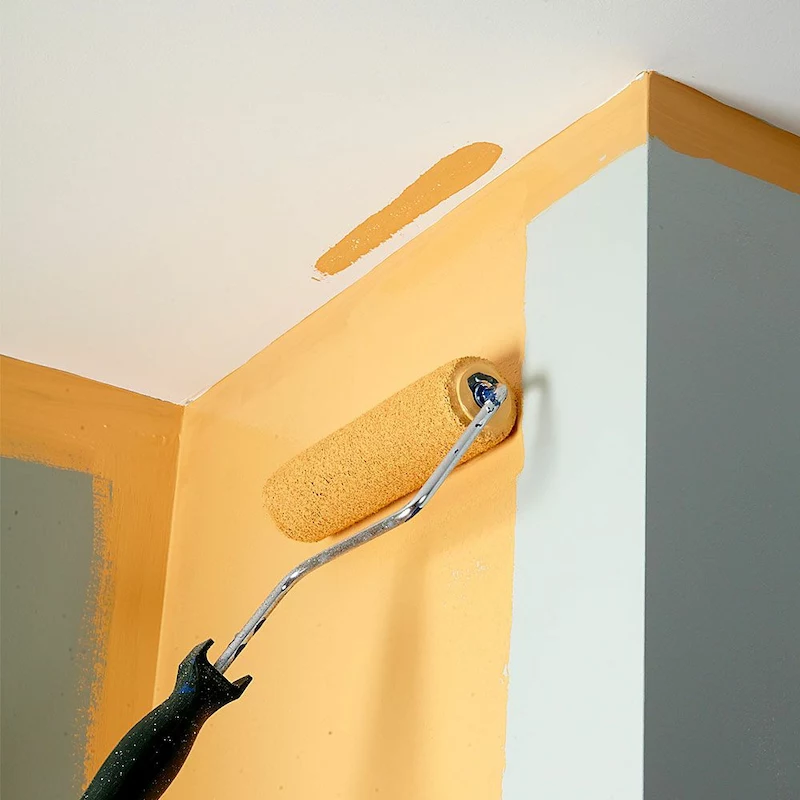
When it’s time to roll, the two most important things are maintaining a “wet edge” and using the “W” method. Always roll from a dry section into your freshly painted wet section to avoid ugly lap marks. To start a new section, roll a big “W” or “N” on the wall, about 3 feet wide. Then, fill it in with parallel vertical strokes without lifting the roller. This distributes the paint evenly.
Oh, and by the way, make sure you’re using the right roller cover! This is a huge detail beginners miss. For smooth drywall, a 3/8-inch nap roller is perfect. If your walls have some texture, you’ll need a thicker 1/2-inch nap to get the paint into all the little grooves. Using the wrong one is a fast track to a splotchy finish.
Mistake 4: Rushing the Job and Ignoring Dry Times
Patience is probably a painter’s most underrated tool. Paint has two important timelines: “dry to the touch” and “cured.”
Most latex paint is dry to the touch in an hour or two. But it can take up to 30 days to fully cure, which is when it reaches its maximum hardness and durability. The biggest mistake people make here is applying a second coat too soon. Check the can for the recommended “recoat time” and respect it! If you roll over paint that isn’t ready, you can literally pull the first coat right off the wall, creating a gummy, ruined mess.
Quick tip: If you’re stuck painting in a humid room, a simple box fan (pointed away from the wall to create air circulation, not directly at it) and a dehumidifier can be your best friends. They can seriously cut down your recoat time and help the paint set up properly.
Mistake 5: Botching the Final Details and Cleanup
The job isn’t done until the tape is pulled and the tools are clean. If you wait too long to remove painter’s tape, the paint creates a hard film over it. When you pull the tape, it can tear chunks of your new paint right off the wall.
The trick is to pull the tape while the paint is still slightly tacky, usually within an hour of your final coat. Pull it slowly, at a 45-degree angle away from your new paint. If you waited too long and it’s bone dry, carefully score the edge with a utility knife before you pull.
And now for a very important safety note. If you used any oil-based products, the rags you used are a fire hazard. As the oil cures, it generates heat, which can cause the rags to spontaneously combust if they’re wadded up in a pile. I knew a guy who lost his whole van that way. Always lay oily rags out flat on concrete to dry until they’re stiff, or soak them in a bucket of water before disposal.
One last thing—what about leftover paint? Don’t just hammer the lid on. A great trick is to put a piece of plastic wrap over the opening before sealing the lid. It creates a much better seal. Then, grab a Sharpie and write the room, color name, and finish (e.g., “Living Room, Agreeable Gray, Eggshell”) on the lid. You’ll thank yourself in two years when you need to do a touch-up.
When Is It Worth Calling a Professional?
While painting can be a super rewarding DIY project, there are times when it’s smarter to call in a pro. If you have very high ceilings, major drywall damage, or live in an older home that might have lead-based paint, the safety and skill required are on another level. Professionals are certified to handle hazardous materials safely.
So, what does a pro cost? It varies a lot by location and the complexity of the job, but for a standard 12×12 room, you can generally expect to pay somewhere between $400 and $800+ for labor and materials. It’s an investment, for sure, but sometimes knowing your limits is the smartest decision you can make.