So, You’ve Got Rats? Here’s How to Handle It Humanely (and for Good)
After two decades managing all sorts of properties, from rambling old farmhouses to slick commercial buildings, I’ve learned one thing for sure: nature doesn’t knock. And more often than not, it’s rats who find their way in. You hear that tell-tale scratching in the walls late at night or, worse, find droppings tucked away behind a cabinet. It’s a problem that needs a fix, but it doesn’t have to be a cruel one.
In this article
A lot of people grab poisons or lethal snap traps first. I get the knee-jerk reaction, trust me. But I’ve found that a more thoughtful, humane approach is often the one that actually works for good. This isn’t about being sentimental; it’s about being smart.
Honestly, a poorly placed poison station is a huge risk for pets or local wildlife. A snap trap can misfire, causing a lot of unnecessary suffering and a grim cleanup job. When you build and use a live trap correctly, you’re in total control of the situation. It’s a skill, and in this guide, I’ll walk you through a couple of reliable designs that I’ve used and refined for years. We’ll cover the mechanics, the common mistakes, and the responsibilities that come with it. This is about solving your rodent issue—effectively and permanently.

First, Think Like a Rat
Before you even think about building anything, you have to understand your opponent. If you don’t, you’re just putting a box in a room and crossing your fingers. The pros don’t rely on hope; we use an animal’s own instincts against it.
First off, rats are creatures of habit. They create “runways”—consistent paths they travel from their nest to food. These are almost always pressed up against a vertical surface, like a wall, a pipe, or the back of your fridge. They feel safer when one side of their body is touching something solid. So, what does this tell you? Place your trap flat against a wall where you’ve seen signs of activity (droppings or greasy rub marks). A trap plunked down in the middle of a room is just a weird piece of furniture to them and will likely be ignored.
Second, rats have a serious fear of new things in their space, a behavior called neophobia. You can’t just set down a new trap and expect a rat to waltz in on night one. They’ll actively avoid it for days, sometimes even a week, until they decide it’s not a threat. This is why pre-baiting is so critical. Place the trap where you want it, but leave it unset and open. Put bait in and around it for 3-5 nights. This teaches them the new object is a safe and reliable food court. Once you see the bait is consistently gone, you’re ready to set it for real.

And here’s a big one: their sense of smell is phenomenal, and they are spooked by human scent. If you handle a trap with bare hands, you’re basically putting up a big, flashing warning sign. I always, always use clean work gloves when handling, baiting, and setting traps. It makes a huge difference.
The REAL First Step: Fort Knox Your House
Let me be crystal clear about this: trapping alone will never solve a rat problem. It’s like mopping a flooded floor while a pipe is still gushing. If you don’t stop them from getting inside, new rats will just move into the vacancy you’ve created. This is called exclusion, and it’s the most important step of all.
You need to get down and dirty and inspect your building’s exterior. Look for any gap or hole that’s a quarter-inch or bigger—about the size of a quarter. A young rat can squeeze through that. Pay special attention to where utility lines enter the house (water, gas, AC pipes). Check foundation corners, the seals on garage doors, and where the roof meets the walls. I once spent a week on a stubborn case at a restaurant. Traps were empty every morning. Finally, I found it by getting on my hands and knees with a flashlight: a small, chewed gap behind the metal kick plate on the back door, totally invisible from a standing position.
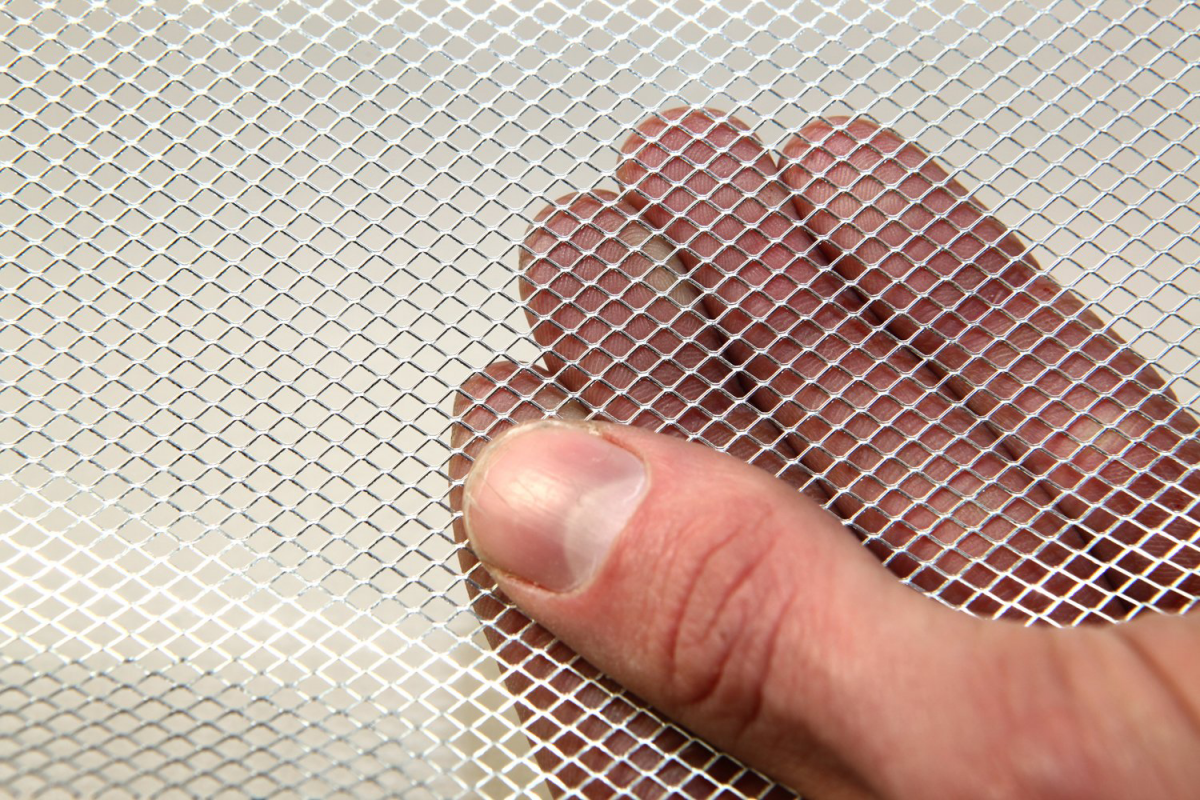
To seal these holes, use stuff rats can’t chew through. Expanding foam, silicone caulk, or wood alone are useless—they’ll chew right through it. My go-to method is to pack the hole tightly with coarse steel wool, then seal over it with a strong cement patch or cover it with a piece of metal flashing. Hardware cloth (the 1/4-inch mesh kind is best) also works wonders. You can find all of this in the pest control or building materials aisle at any big hardware store like Home Depot or Lowe’s.
DIY vs. Store-Bought Traps: What’s the Right Move?
Before we get into building, you might be wondering, “Why not just buy one?” It’s a fair question. You’ve probably seen metal box traps, like the popular Havahart brand, at the store. They generally cost between $30 and $60, depending on the size and quality.
Store-bought traps are convenient, for sure. They work well, and they’re ready to go out of the box. But the DIY methods I’m about to show you can be built for under $10, sometimes for free if you have the materials lying around. They can also be customized for specific situations and, in my experience, can be even more effective for catching multiple rats, since they can often reset themselves.

So, the choice is yours. If you want a quick, no-fuss solution, buying a trap is a great option. If you’re on a budget or enjoy a little project, building your own is incredibly rewarding and just as effective.
DIY Method
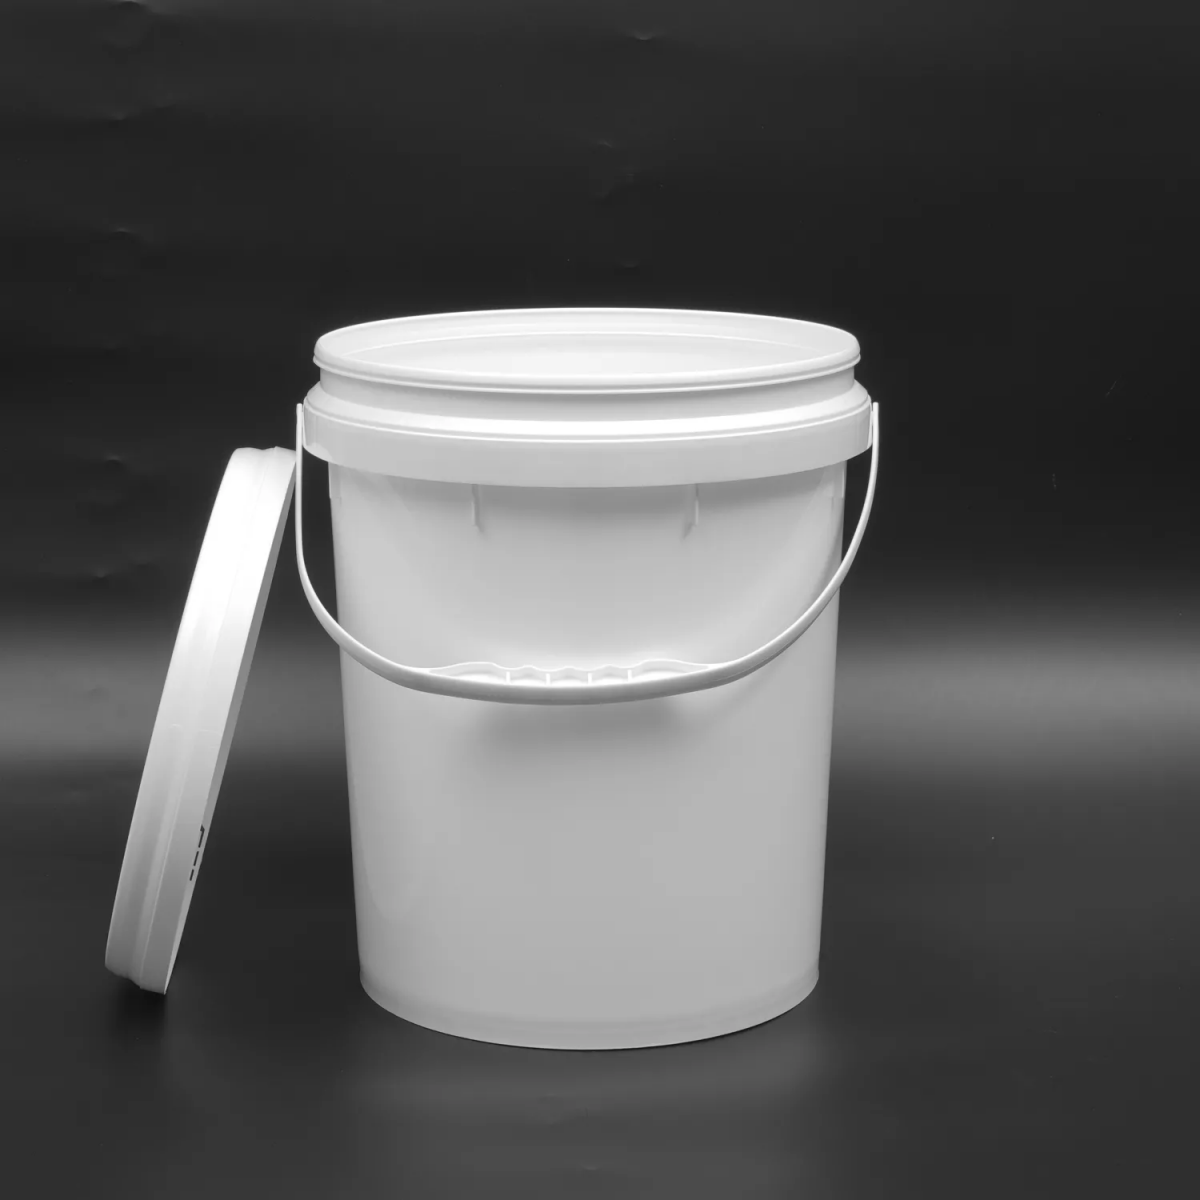
1: The Un-escapable Bucket Trap
You may have seen versions of this online, often using water to drown the animal. Let me be very direct: never use water. It’s incredibly cruel and creates a disgusting biohazard you have to deal with. Our goal is a safe, live capture. This modified version is a simple and effective drop trap.
What You’ll Need:
- A standard 5-gallon plastic bucket (about $5). Must be clean and smooth inside.
- A stiff wire, like from a metal coat hanger (free).
- An empty 12-ounce aluminum can (free).
- Bait: Peanut butter, bacon grease, or bird seed are all fantastic.
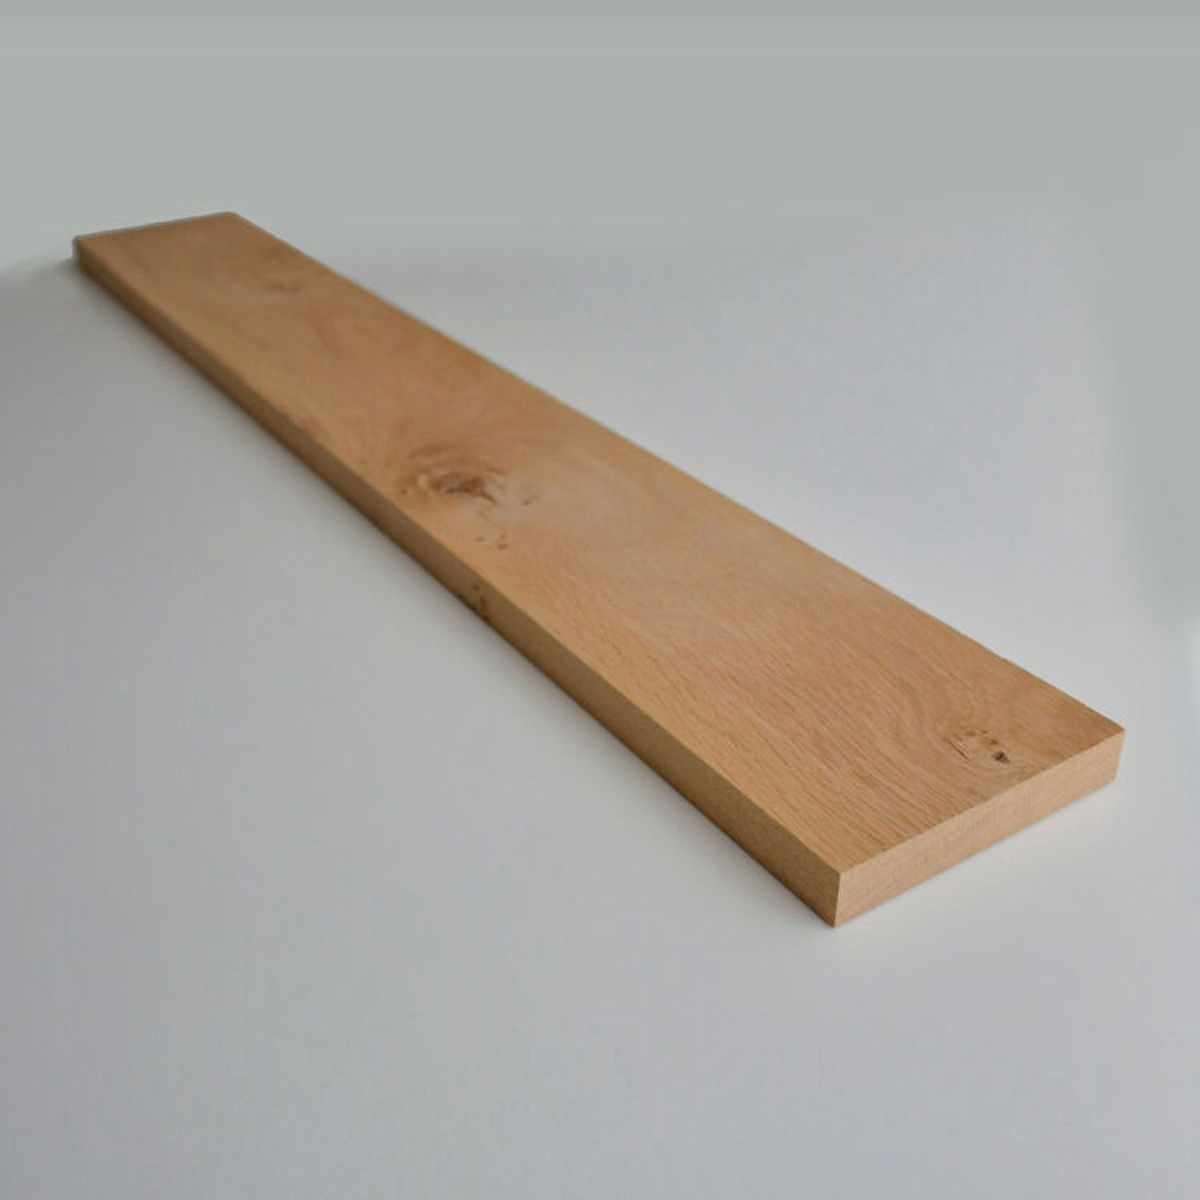
- A piece of wood for a ramp, at least 2 feet long.
Building It (should take 20 mins or less):
- Prep the Bucket: Drill two small holes directly opposite each other near the top of the bucket, about an inch from the rim.
- Make the Roller: Punch a hole through the exact center of the bottom of the empty soda can. The opening at the top serves as the second hole.
- Assemble: Straighten the wire and thread it through the bucket’s first hole, then through the can, and finally through the second hole. Bend the wire ends on the outside to secure it. The can should now be suspended across the bucket’s opening, spinning freely. This is your trigger.
- Bait and Set Up: Smear a good dab of peanut butter on the center of the can. Lean the wood plank against the bucket to create a ramp up to the rim. To really sell it, put a tiny smear of bait at the base of the ramp and another one halfway up.
This design works because the rat’s own weight and greed do the work. It climbs onto the can, the can spins, and the rat falls into the bucket. The high, smooth walls prevent it from getting out. I put a little bedding at the bottom to cushion the fall. Oh, and a heads-up: A common problem is the rat licking the bait off without falling. If that happens, your can isn’t spinning freely enough. Make sure the wire isn’t too tight, and you can even add a single drop of cooking oil where the wire meets the bucket to reduce friction.
DIY Method
2: The Classic Walk-the-Plank Trap
This is another fantastic design that uses gravity and balance. It’s a bit more sensitive than the bucket trap but has the huge advantage of being self-resetting.
What You’ll Need:
- A tall kitchen trash can or similar deep container (the taller and smoother, the better).
- A thin, light piece of wood, like a paint stir stick or a ruler (about 12-15 inches).
- A wooden dowel or metal rod for a pivot.
- A drill.
- Bait: Something with a little weight, like a shelled almond or sunflower seeds, works best.

Building It:
- Prep the Plank: Find the plank’s balance point, which should be about two-thirds of the way down its length. Drill a hole through it there, just big enough for your pivot rod to pass through loosely.
- Create the Pivot: Secure the rod across the top of your container. You might need to build a small frame or drill holes in the container itself.
- Mount and Bait: Place the plank on the pivot. The long end should rest on the container’s rim, making a stable bridge. The short end, with the bait, hangs over the open space. Place the bait on the very tip of the short end. The plank should stay put.
The rat walks onto the stable plank. As it crosses the pivot to get the bait, its weight shifts, the plank tips, and the rat slides into the container. The plank then swings back into place, ready for the next one. I once caught three rats in one night in a client’s garage with this setup. The secret was a super lightweight plank and a frictionless pivot.

A Serious Warning: Traps to AVOID
The internet is full of bad ideas, but please, I’m begging you, never, ever use glue traps. They are one of the most inhumane methods out there. The animal gets stuck and can suffer for days from exhaustion, dehydration, or by injuring itself trying to escape. They also indiscriminately catch anything that walks over them, including beneficial lizards, birds, or even a curious pet.
They are a cruel, messy, and ineffective solution to a problem that requires a smarter approach. Just don’t do it.
The Big Question: Okay, I Caught One… Now What?
This is the part everyone asks about, and it’s the most critical. Capturing a live animal comes with serious responsibility. You can’t just set the trap and forget it.
First, you must check the trap every single morning, without fail. A trapped animal is terrified and under immense stress. Leaving it in there for long periods is inhumane.

When you catch one, you have to decide what to do. The most common humane option is relocation. Here’s how to do it safely:
- Wear thick gloves and long sleeves. Carry the trap carefully to your vehicle.
- You need to drive it far, far away. My rule of thumb is a minimum of 5 miles, but 10 is even better. Rats have a powerful homing instinct and can find their way back from shorter distances.
- Release it in a suitable, unpopulated area like a forest or large park, away from other homes (so you’re not just making it someone else’s problem).
- Heads up! Before you do anything, do a quick search for your local city or state wildlife laws. Some areas have specific regulations about relocating wildlife. It’s good to know the rules.
Solving a rat problem is a two-part formula: smart trapping to remove the current residents, and thorough exclusion to make sure no new ones can move in. It takes a little effort, but it’s the only way to get lasting peace and quiet.


