Your Quartz Countertops Are Tough, But Not Invincible. Here’s How to Clean Them Right.
A Countertop Pro’s Guide to Keeping Quartz Looking Brand New
I’ve been in the countertop business for a long, long time. And I’ve seen it all. I’ve seen gorgeous, expensive engineered quartz countertops treated like the jewels they are. I’ve also seen them completely ruined by a homeowner who, with the best intentions, grabbed the wrong cleaning bottle.
In this article
- A Countertop Pro’s Guide to Keeping Quartz Looking Brand New
- So, What Exactly Is Engineered Quartz?
- The Pro-Level Cleaning Kit (That Costs Less Than $20)
- The Only DIY Daily Cleaner You’ll Ever Need
- Okay, But What If I’m Too Busy (or Lazy) to DIY?
- How to Handle Tough Stains and Specific Messes
- The ‘NEVER EVER’ List: Don’t Even Think About It
- When to Stop and Call a Professional
- Galerie d’inspiration
I’ll never forget the frantic call from a client. Their stunning, pure white quartz island suddenly had a big, ugly, yellowish dull spot right in the main prep area. The culprit? A powerful oven cleaner they used to tackle a simple grease splatter. That was a difficult, and honestly, pretty expensive repair that could have been completely avoided with a simple spray bottle of rubbing alcohol and water.
Engineered quartz is one of the most durable materials you can pick for a kitchen, but “durable” definitely doesn’t mean “indestructible.” Its strength comes from its unique makeup, and once you get what it’s made of, keeping it pristine is easy. This isn’t about buying overpriced, fancy cleaners. It’s about using the right simple stuff and, more importantly, avoiding the wrong stuff. Gentle, daily cleaning will always beat an aggressive, once-a-month scrub down. Let’s dive into what your countertop is actually made of and how we clean them in the shop to get that perfect finish.
So, What Exactly Is Engineered Quartz?
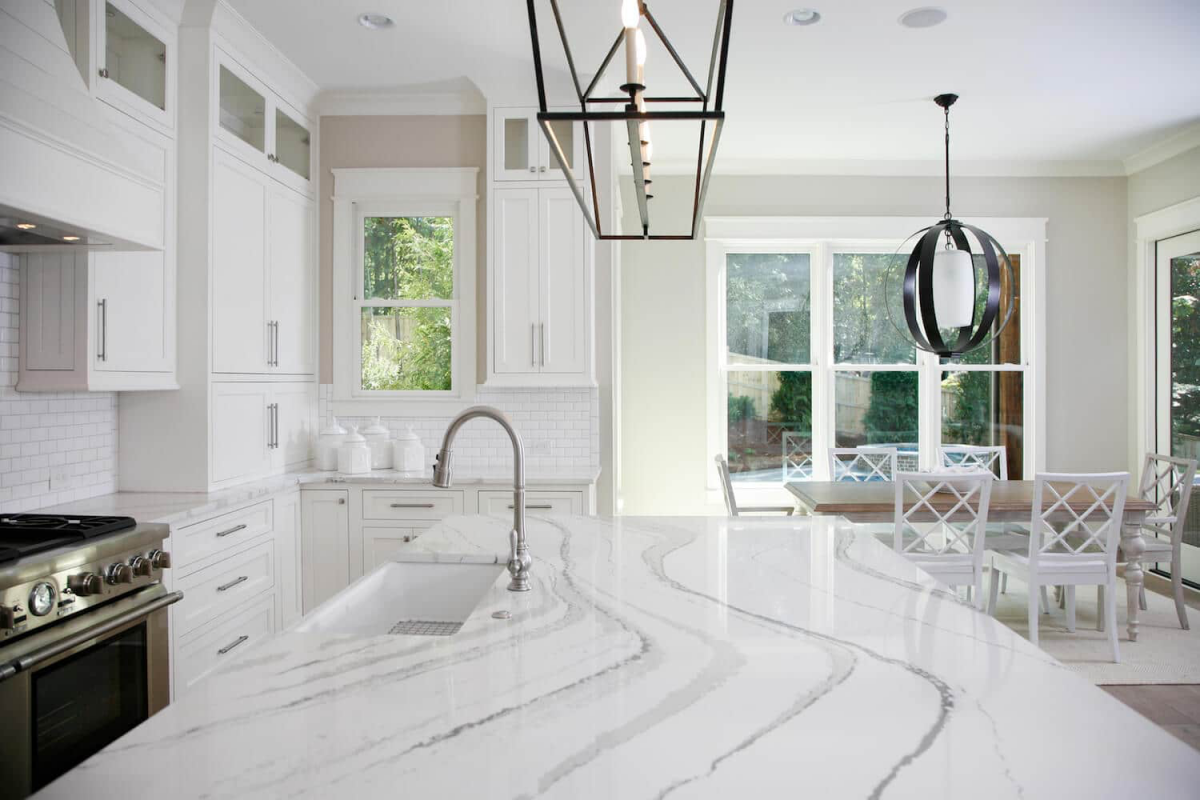
First off, let’s clear up a common misconception. Your “quartz” countertop isn’t a solid slab of stone cut from a mountain like granite is. The more accurate term is engineered stone. It’s a composite material, basically a high-tech recipe. It’s typically about 90-93% crushed natural quartz crystals, which are super hard. The other 7-10% is a mix of polymer resins and pigments.
Think of it like baking a cake. The quartz bits are the flour, but the resin is the egg that binds it all together into a dense, non-porous slab.
Why That Resin is Both a Hero and a Weakness
That resin is the secret sauce. It’s what fills all the microscopic gaps between the quartz crystals, making the surface totally non-porous. This is a huge advantage over natural stones like granite, which have tiny pores that can soak up spills and cause stains (and it’s why granite needs regular sealing). With quartz, spills like wine or coffee just sit on the surface. You never, ever need to seal it.

But here’s the catch: that resin is also the material’s Achilles’ heel. The quartz crystals are rock-hard, but the polymer resin that holds them together is much softer and chemically sensitive. Harsh chemicals, high heat, and cleaners that are too acidic or too alkaline don’t really damage the stone—they damage the resin. Damaged resin can get dull, change color, or even break down, leaving a rough texture. So, your entire cleaning strategy boils down to one simple rule: protect the resin.
Good to know: The key is pH balance. You want cleaners that are pH-neutral (around 7 on the scale). Most manufacturers specify using cleaners in the 6-9 pH range. Anything too acidic (like vinegar) or too alkaline (like bleach or oven cleaner) is a direct attack on the resin.
The Pro-Level Cleaning Kit (That Costs Less Than $20)
You really don’t need a whole arsenal of cleaning products. In our shop, we rely on a few simple, cheap tools to get the job done right every single time.
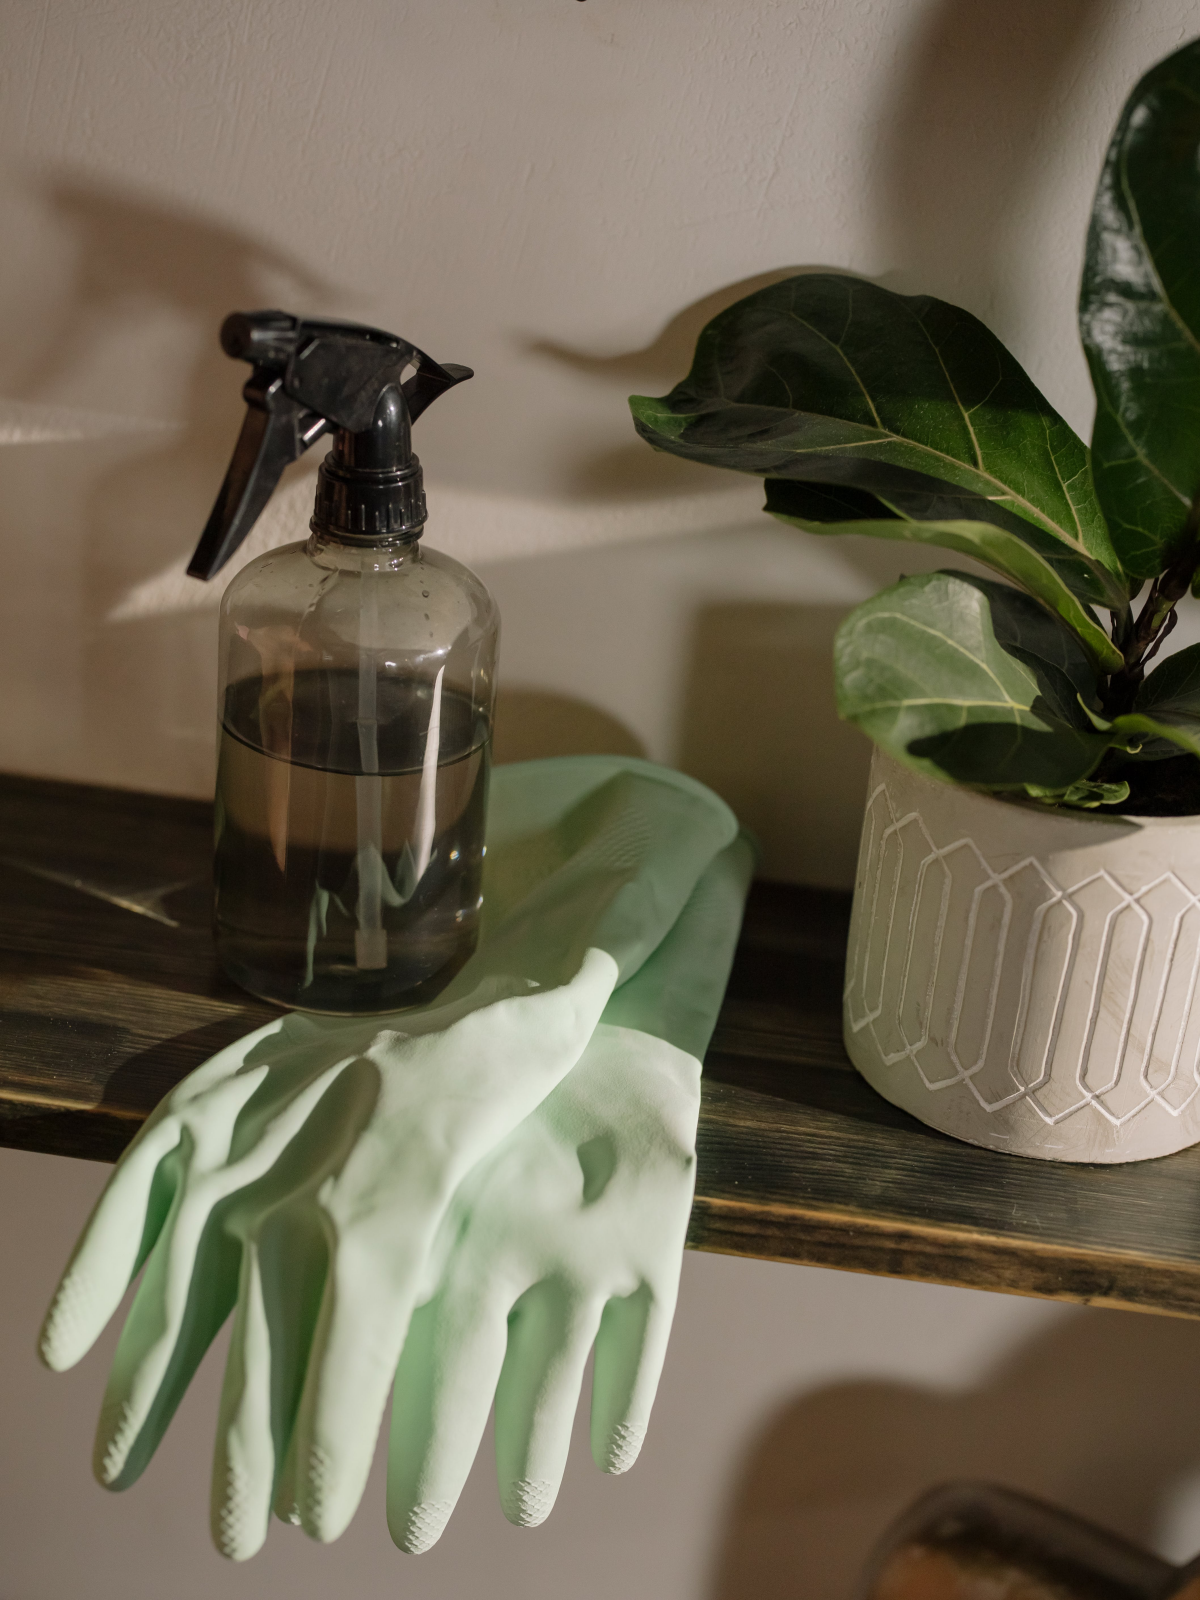
Here’s your shopping list:
- Two good spray bottles. One for your cleaner, one for plain water. Label them with a Sharpie! A mix-up isn’t the end of the world, but good habits prevent mistakes.
- High-quality microfiber cloths. Don’t cheap out here. Look for cloths that are at least 300 GSM (grams per square meter); it’ll say on the packaging. Cheaper ones just leave lint and push grime around. I’m a fan of the cloths from The Rag Company, but any thick, plush brand will do. Plan on having four on hand—two for cleaning, two for drying.
- A plastic putty knife. Never, ever use a metal one. A flexible plastic scraper is your best friend for lifting off dried-on gunk without a single scratch.
You can get all of this for under twenty bucks. A 32oz bottle of 70% isopropyl alcohol is about $3, a gallon of distilled water is around $1.50, and a 4-pack of good microfiber cloths might run you $15. It’s a tiny investment to protect a big one.
The Only DIY Daily Cleaner You’ll Ever Need
This is it. The workhorse cleaner we mix up in huge batches. It’s safe, ridiculously effective, and dries without a single streak.
The Recipe:
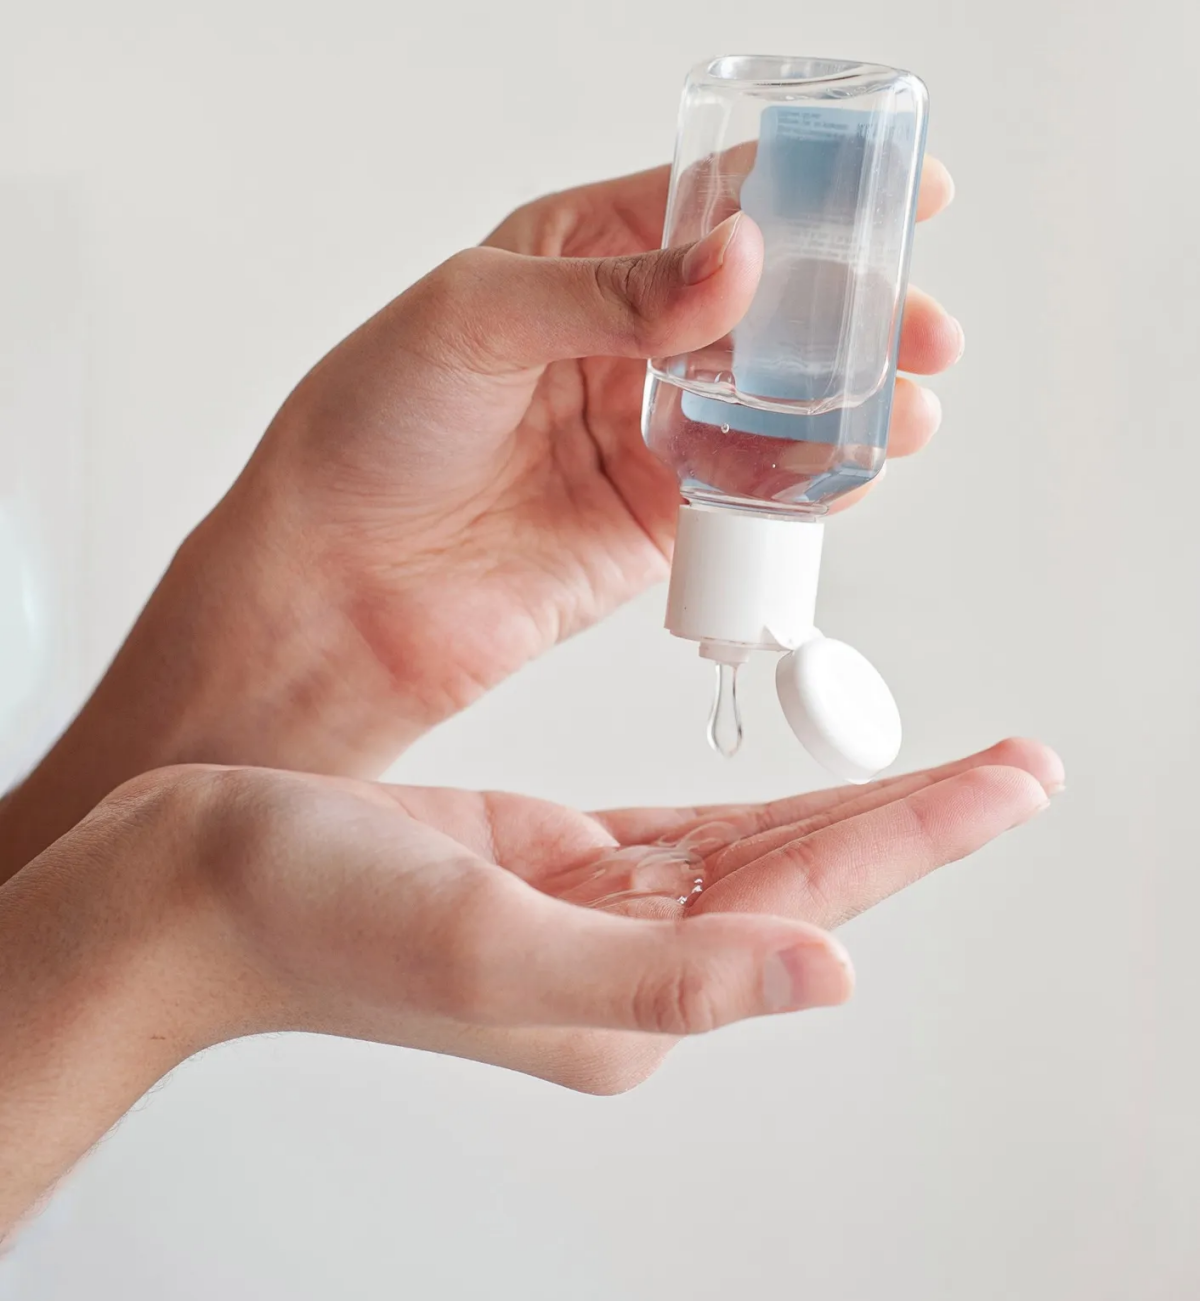
- 1 cup of Isopropyl Alcohol (rubbing alcohol, 70% is perfect)
- 1 cup of Distilled Water
- 1 or 2 drops of a simple, pH-neutral dish soap
Why it works so well: The alcohol is a fantastic solvent that cuts through grease and grime, but its real magic is that it evaporates super fast, which is what prevents streaks. The distilled water is key, especially if you have hard water, because it contains no minerals that can leave a hazy film over time. And the tiny drop of soap? It’s a surfactant, helping the cleaner spread out and lift oils away. Use any more than a drop or two, and you’ll end up with a soapy residue that dulls the finish.
The Two-Cloth Method: How to Wipe Like a Pro
This is a game-changer. How you wipe is just as important as what you wipe with.
- Clear Debris: Brush off crumbs with a dry cloth or soft brush first.
- Spray Lightly: Mist a section of the counter. Don’t drench it.
- Wipe Clean: With a clean, damp microfiber cloth, wipe in a gentle S-pattern, from the back to the front. This pulls the dirt off the surface instead of just smearing it in circles.
- Buff Dry: Immediately follow up with a second, completely dry microfiber cloth to buff the surface. This removes any leftover moisture and leaves an incredible, streak-free shine.
The whole process for an average-sized island takes less than a minute. Do this once a day, and you’re golden.
Okay, But What If I’m Too Busy (or Lazy) to DIY?
Hey, I get it. Sometimes you just want to grab a bottle and go. If you’re buying a pre-made cleaner, you just need to make sure it’s specifically formulated for quartz and has a neutral pH.
Here are a couple of safe, fabricator-approved options you can find at most big-box stores like Home Depot, Lowe’s, or even Target:
- Weiman Quartz & Stone Daily Cleaner & Polish: This is a popular one for a reason. It’s gentle, effective, and widely available.
- Method Daily Granite Cleaner: Even though it says granite, it’s a non-toxic, pH-neutral formula that works beautifully and safely on engineered quartz, too.
Just spray and wipe using the same two-cloth method described above for a perfect finish.
How to Handle Tough Stains and Specific Messes
For messes that a simple spray won’t handle, you just need to be a bit more strategic. Always start with the gentlest method first.
- Dried-On Gunk: Got some dried oatmeal or crusty sauce? Don’t start scraping! Spray it with your daily cleaner, let it sit for a minute to soften up, then use your plastic putty knife at a low angle to gently lift it off. Clean as usual afterward.
- Greasy Film: If you’ve got a sticky film near the stove, your daily cleaner should still work. You can also just use a dab of your pH-neutral dish soap on a damp cloth to break down the grease, then rinse thoroughly with a water-dampened cloth and buff dry.
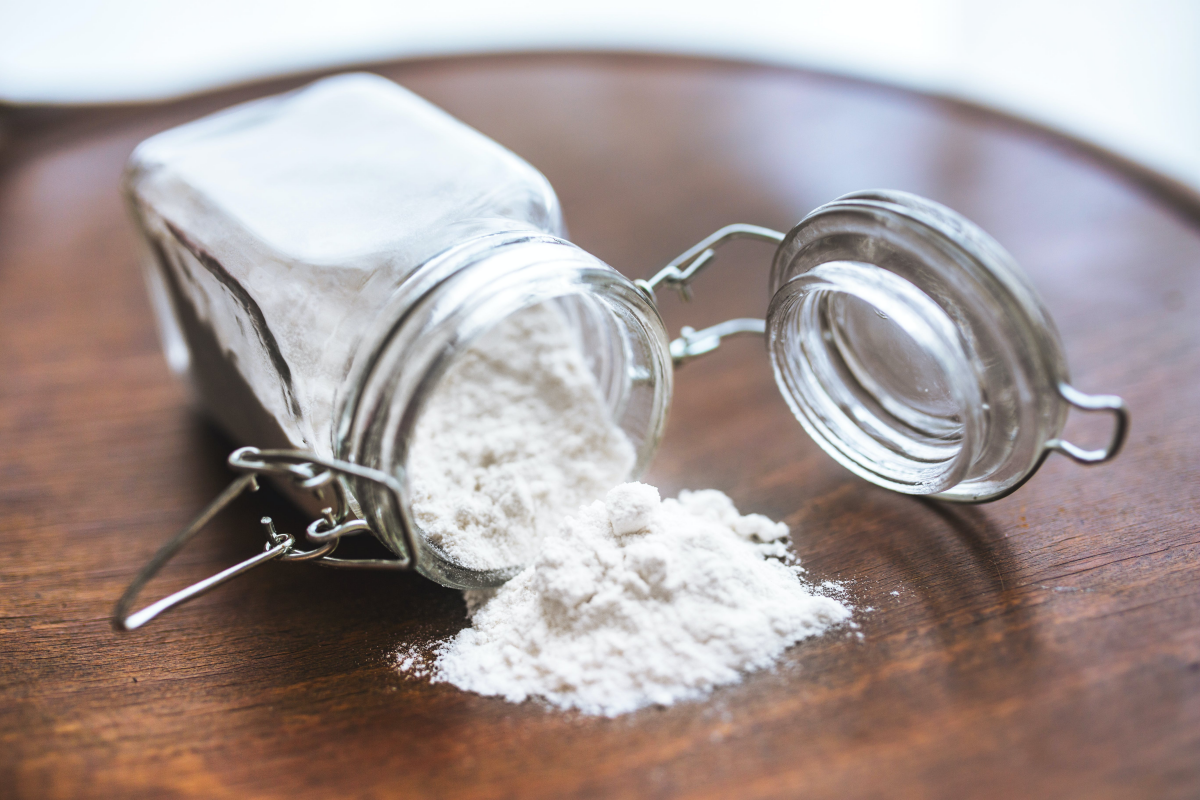
- Organic Stains (Coffee, Tea, Juice): For these, a paste of baking soda and water can work wonders. Mix it to a toothpaste-like consistency, apply it only to the stain, and let it sit for about 15 minutes (don’t let it dry out). Then, using a soft, damp cloth and very little pressure, gently wipe it away in a circular motion. The paste does the work, not your elbow grease. Rinse the spot well with water and buff dry.
- Permanent Marker: Kids happen! Your DIY daily cleaner is actually the perfect tool here. The isopropyl alcohol is a solvent for the ink. Dab a bit of the alcohol directly onto a cotton ball, place it on the marker spot for 30 seconds, and then gently blot to lift the ink. Don’t scrub! You’ll just spread it. Once the mark is gone, clean the whole area. Quick Tip: It’s always a good idea to test the alcohol on a hidden part of the counter first, like the underside edge, just to be 100% certain it doesn’t affect your specific counter’s finish.
The ‘NEVER EVER’ List: Don’t Even Think About It
This is probably the most important part of this guide. Using any of these can cause permanent, irreversible damage. I’ve seen countertops destroyed by every single item on this list.
Keep these far, far away from your quartz:
- Bleach, ammonia, oven cleaners, and most heavy-duty degreasers (they are highly alkaline and will eat the resin).
- Abrasive scouring powders (like Comet) or abrasive pads (like the green Scotch-Brite pads). They will create micro-scratches that build up into a giant dull spot.
- Acidic cleaners like toilet bowl cleaner or rust removers.
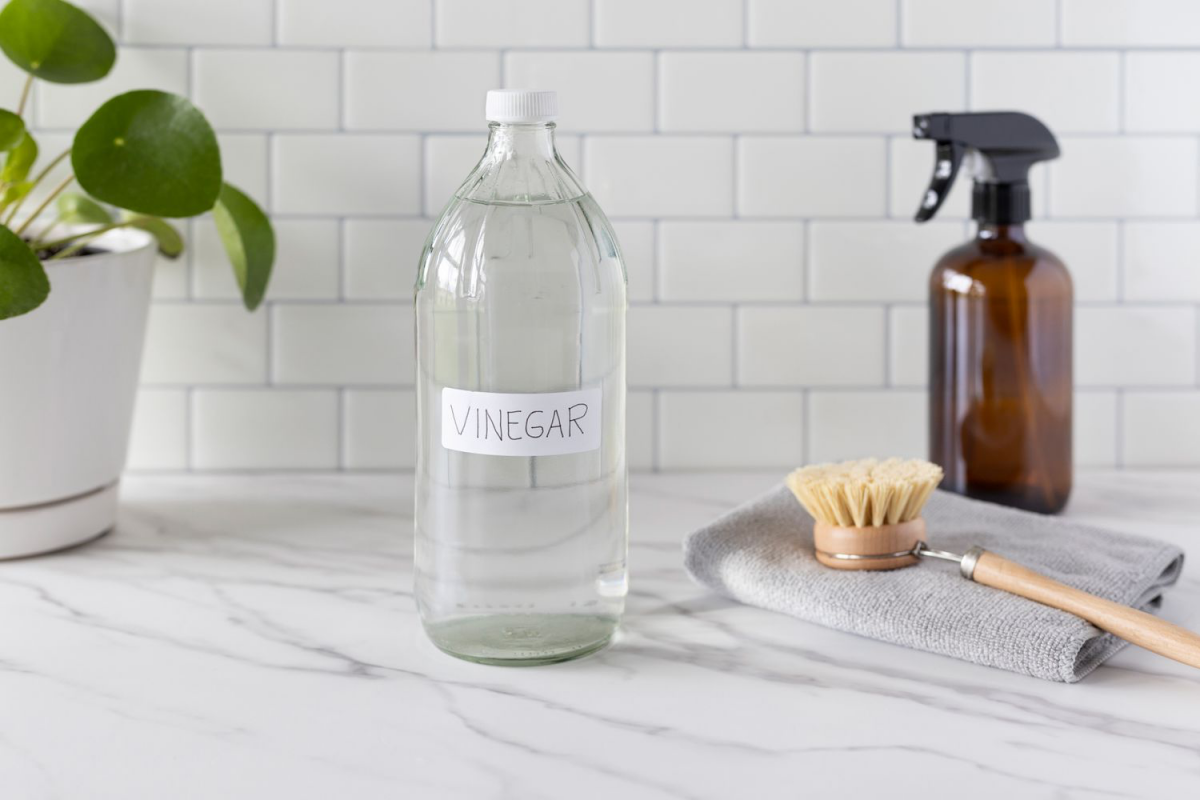
- Straight vinegar or lemon juice. I know they’re popular “natural” cleaners, but their acidity will dull your countertop’s finish over time. It’s just not worth the risk.
- Paint thinner, acetone, or nail polish remover. These aggressive solvents can soften or even dissolve the resin. If you spill nail polish, it’s better to let it harden and gently pop it off with your plastic scraper.
- Heads up! Do not use a steam cleaner. The intense, direct heat can cause “thermal shock,” which can crack the slab or permanently damage the resin.
And on that note, always use trivets for hot pans and always use a cutting board. A hot pot can leave a permanent scorch mark, and while quartz is scratch-resistant, a knife can still leave fine scratches or metal marks.
When to Stop and Call a Professional
Most issues are minor, but you need to know when to put down the cleaning supplies and call for help. Trying to DIY a major problem often makes it worse (and more expensive to fix).
Call a pro stone fabricator or restoration specialist if you have:
- Chips or Cracks: A small chip on the edge can often be repaired with a color-matched epoxy so it’s virtually invisible. This is a skill that takes practice.
- Deep Scratches or Scorch Marks: If you can feel a scratch with your fingernail or see a yellow scorch mark from a hot pan, that’s damaged resin. It can’t be cleaned off. It requires a pro to grind down and re-polish the surface.
To be frank, a professional repair for a chip can cost anywhere from $200 to $400, depending on the size and location. Suddenly, using that $5 plastic scraper and a $10 trivet seems like a brilliant investment, doesn’t it? Protect your investment by knowing when a problem is out of your hands.
Galerie d’inspiration

The resins used to bind engineered quartz can begin to show damage from heat at temperatures as low as 300°F (150°C).
This is why you can never treat quartz like granite when it comes to hot cookware. Placing a pan directly from the oven or a hot pot from the stove can cause
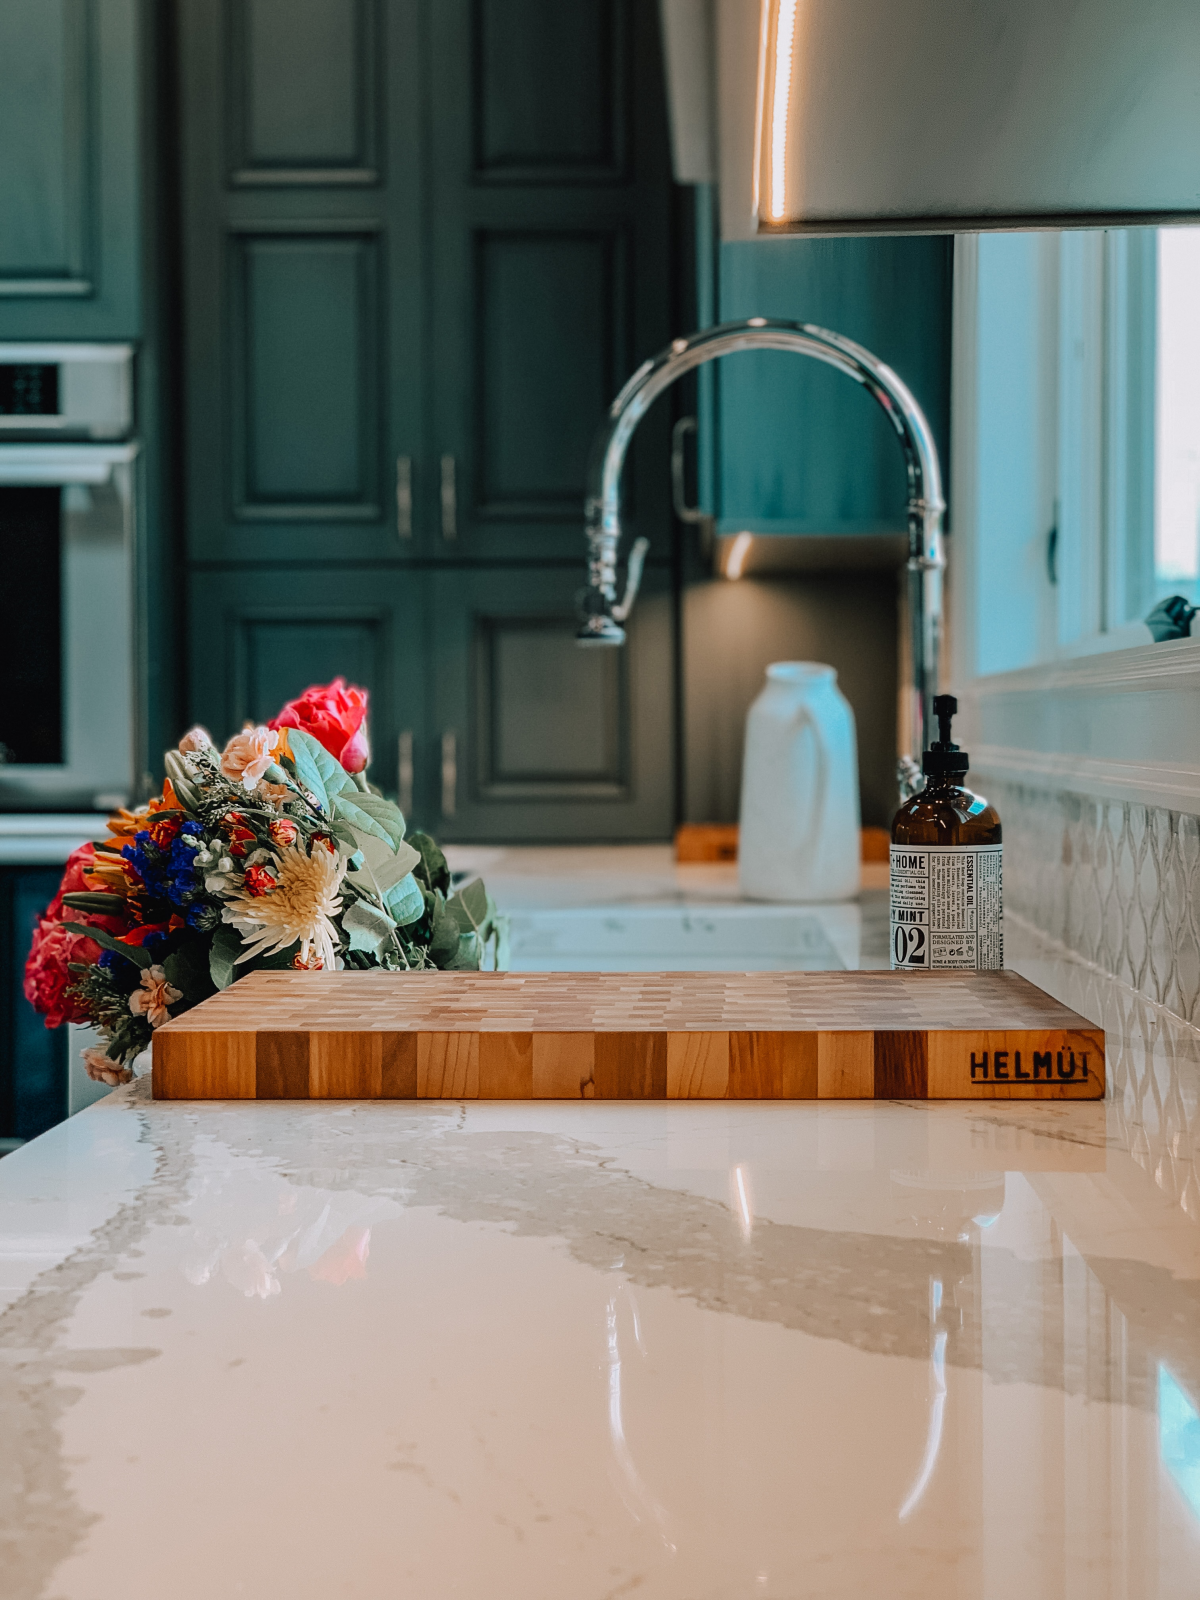
Polished Finish: This is the classic, glossy look. Its highly reflective surface makes colors appear richer and deeper. The super-smooth finish provides maximum protection against stains, as spills have nowhere to seep into.
Honed/Matte Finish: This surface is buffed to a soft, low-sheen lustre that feels velvety to the touch. It’s a popular choice for contemporary and industrial designs. Be aware that this slightly more textural surface can show fingerprints more easily and may require a bit more effort to wipe completely clean than a polished one.
Brands like Caesarstone and Silestone often offer their most popular colors, such as ‘Statuario Maximus’ or ‘Calacatta Gold’, in both finishes to match your aesthetic preference.
Wondering if you can use eco-friendly cleaners like vinegar or lemon juice?
It’s best to avoid them for regular cleaning. While engineered quartz is highly durable, it is not impervious to acids. The resins that bind the quartz particles together can be dulled or even slightly etched by prolonged or repeated exposure to acidic substances. For a quick, one-off cleanup of a tough spot, a heavily diluted solution might be okay, but for daily maintenance, stick to pH-neutral soap or a simple mix of water and isopropyl alcohol. It’s the safest bet to preserve that factory shine.


