Flooring Demystified: An Insider’s Guide to Choosing the Right Stuff
I’ve spent more than two decades installing floors, so believe me when I say I’ve seen it all. From gorgeous, traditional hardwoods in old character homes to the latest click-together planks in brand-new builds. The number one question I get is, “So, what’s the absolute best floor?”
In this article
- First Things First: Your Subfloor Is Everything
- Solid Hardwood: The Timeless Investment
- Engineered Hardwood: The Smart and Stable Choice
- Laminate Flooring: The Great Pretender (In a Good Way)
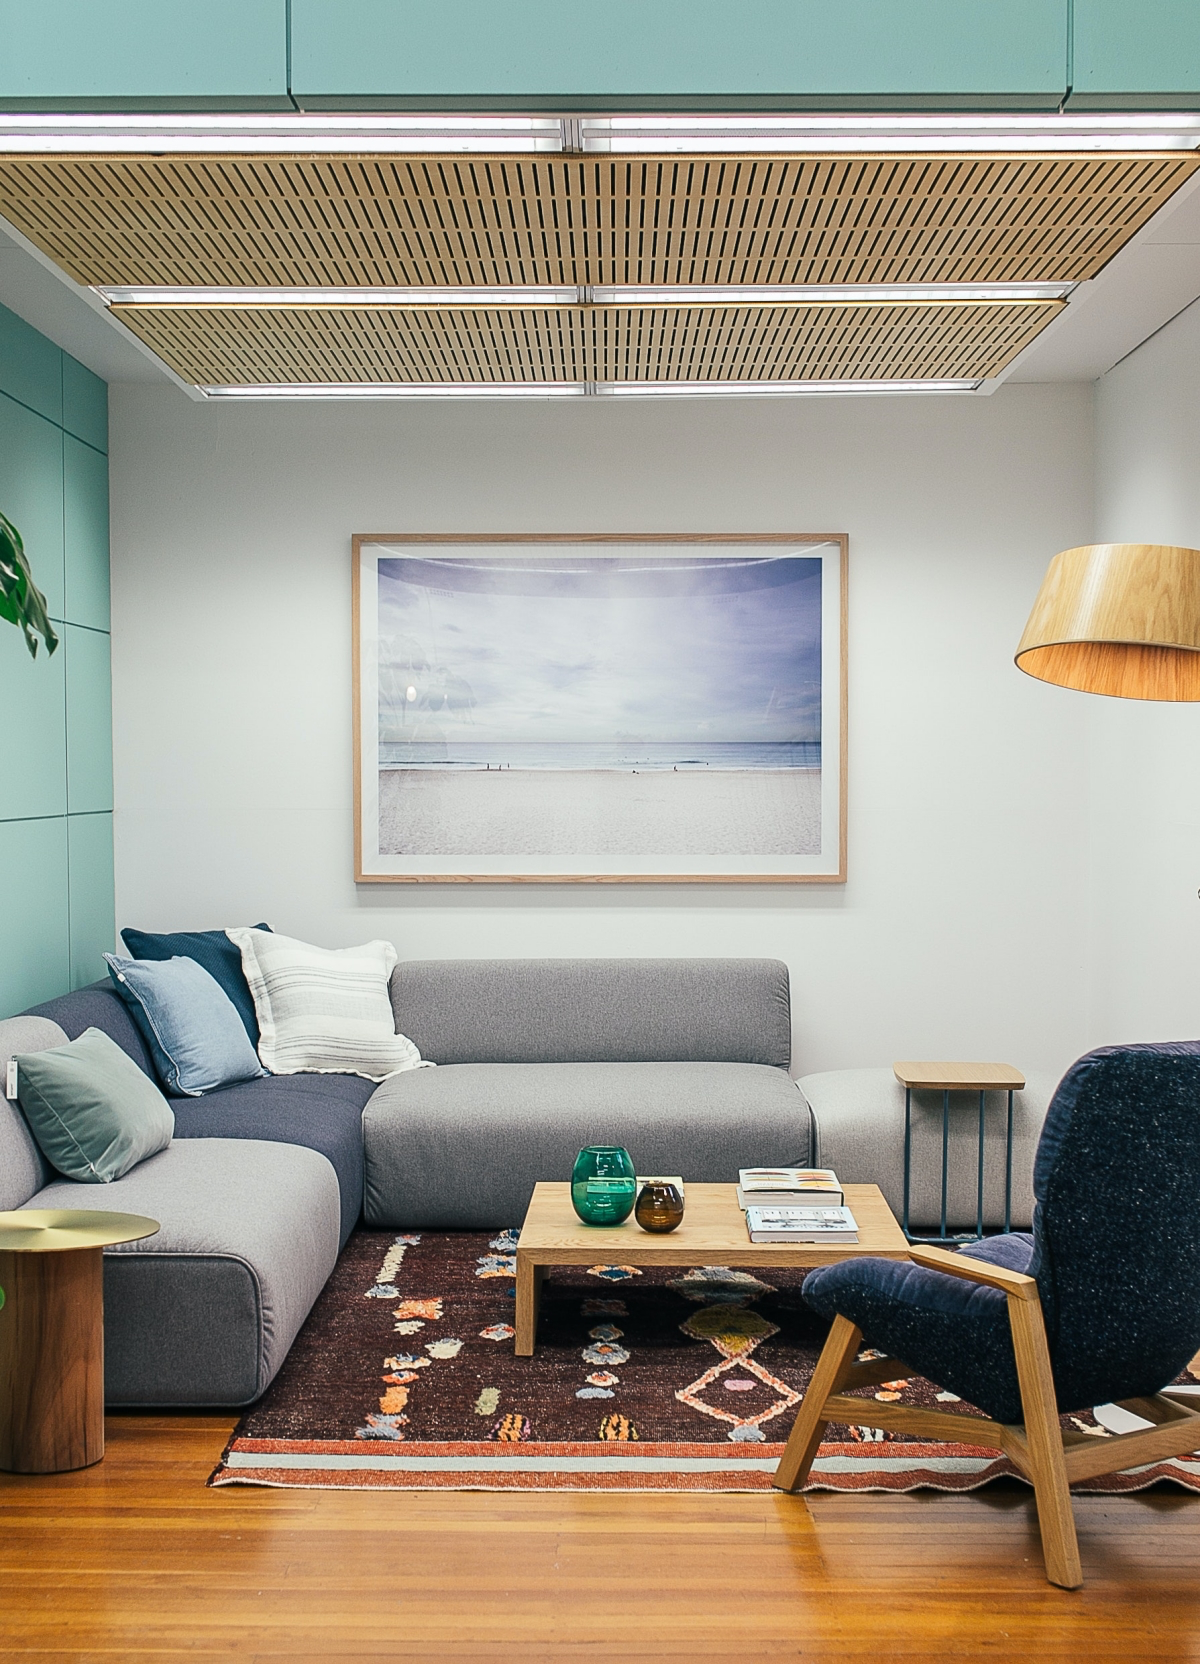
- Luxury Vinyl Plank (LVP): The All-Around Champion
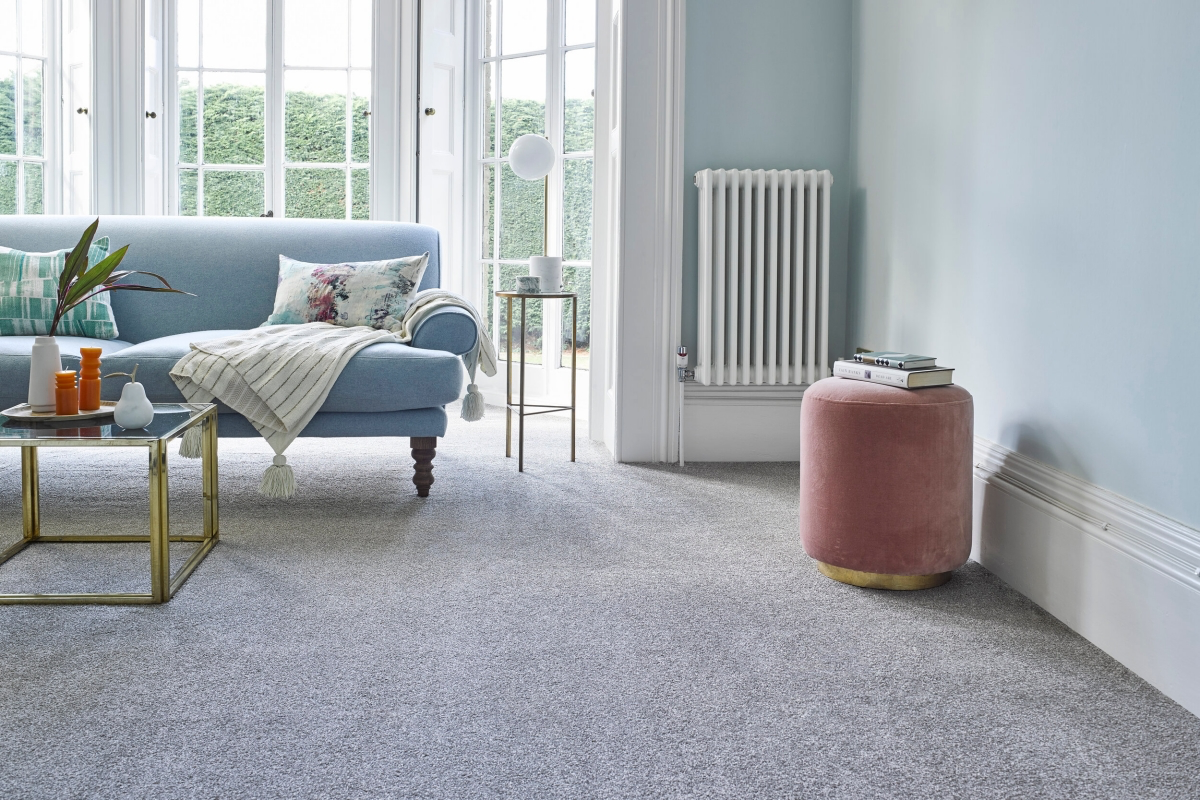
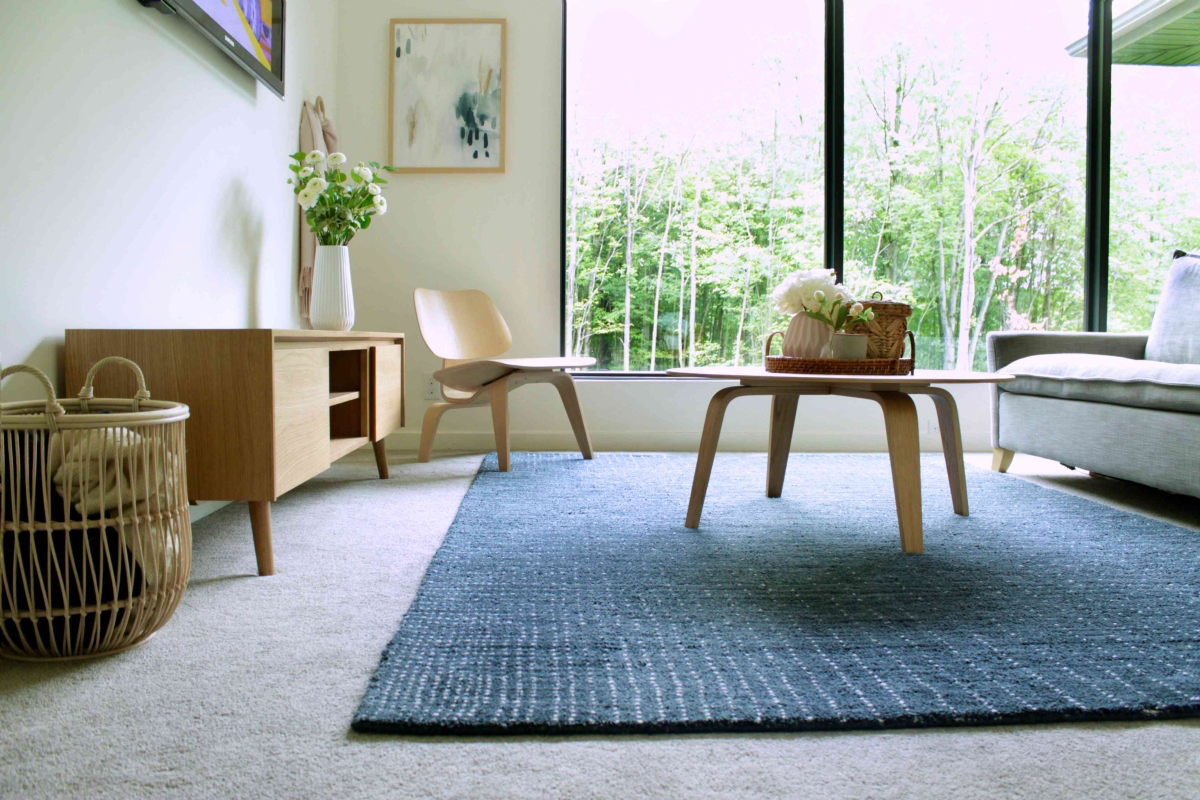
- Carpet: Still the King of Comfort
- Ceramic & Porcelain Tile: The Undisputed Durability Champ
- So, How Do You Actually Choose?
- Inspiration:
And my answer is always the same: there isn’t one. The “best” floor is a myth. The right floor for you depends entirely on your house, your family, your pets, and how you actually live. It’s a whole system, from the bones of your house right up to the shiny finish you walk on. So, let’s cut through the marketing noise. I want to give you the practical, no-nonsense knowledge I’ve picked up from thousands of hours on the job.
First Things First: Your Subfloor Is Everything
Before you even dream about colors and styles, we have to talk about what’s underneath. Honestly, the single biggest mistake people make is putting a beautiful, expensive floor over a terrible subfloor. Your new floor is only as good as the foundation it’s sitting on.
In most homes, this foundation is either a concrete slab or a wood material like plywood or OSB (Oriented Strand Board). For any flooring to last, your subfloor needs to be three things: clean, flat, and dry.
Clean means getting rid of every last bit of old glue, paint drips, and debris. A thorough scrape and vacuum is mandatory. Flat doesn’t mean perfectly level with the horizon, but it does mean smooth. The rule we pros live by is no more than a 3/16-inch dip or hump over a 10-foot span. I use a long, straight level to find these spots. We fill the low spots with a feather-finish patching compound—you can find bags of it at any hardware store. High spots on concrete need to be ground down. Skipping this step is asking for trouble; you’ll get soft spots, separating planks, and cracked tiles. It’s the calling card of an amateur job.
Finally, it has to be dry. Moisture is the ultimate enemy. For concrete, a simple test is to tape a 2-foot by 2-foot square of plastic sheeting down for 24 hours. If you see condensation when you lift it, you have a moisture issue that needs a proper sealer. For wood, we use a moisture meter. Ignoring this will cause wood to warp, laminate to bubble, and mold to grow. It’s a complete non-starter.
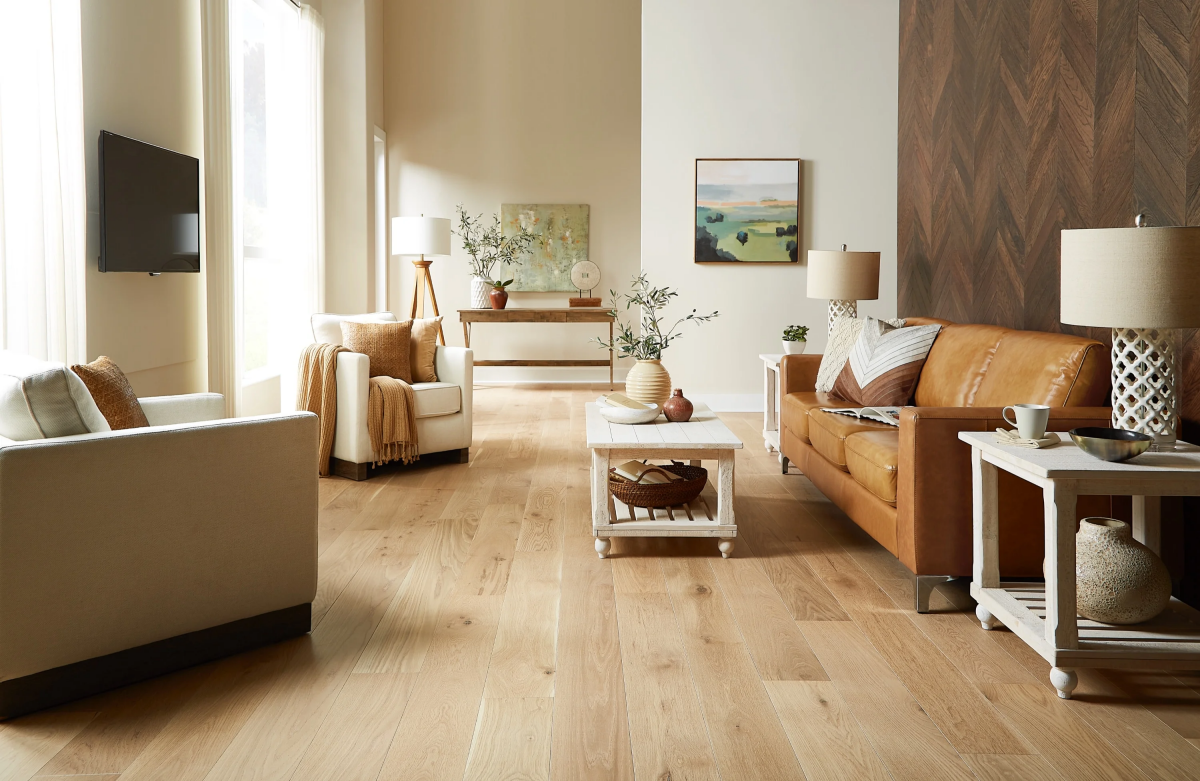
Solid Hardwood: The Timeless Investment
This is the real deal—a single, solid piece of wood, usually about 3/4-inch thick. It’s the classic floor everyone pictures. The feel of solid wood is unmistakable; it’s substantial and warm underfoot.
Wood is a natural material, which means it breathes. It absorbs moisture and expands in the humid summer months, then shrinks in the dry winter. That’s why letting the wood acclimate is so critical. The new planks MUST sit in the room they’ll be installed in for at least 3-5 days to get used to your home’s environment. We also leave a 3/4-inch expansion gap around the edges of the room, which gets hidden by your baseboards. This gives the floor a little room to breathe without buckling.
A wood’s toughness is measured on a hardness scale. A classic red oak is a solid choice for most homes, but something much harder, like a Brazilian Walnut, will stand up better to the chaos of kids and big dogs.
DIY vs. Pro? Honestly, hire a pro for this one. Installing solid hardwood requires specialized tools like a flooring nailer, and the layout (called racking) needs to be done right to look natural and stay strong. You’ll thank me later.
The Cost: For decent quality oak, maple, or hickory, expect to pay between $5 and $12 per square foot for the material. Professional installation will add another $4 to $8 per square foot.
The Timeline: For a 300 sq ft room, a pro crew will typically take 2-3 days, not including the acclimation period.
Engineered Hardwood: The Smart and Stable Choice
Don’t let the name fool you; this isn’t laminate. Engineered hardwood has a real layer of hardwood on top, but the core is made of multiple layers of plywood stacked in opposite directions. This construction is its superpower—it makes the plank incredibly stable and less prone to expanding and contracting.
The key thing to look for is the thickness of that top wood layer, or veneer. A cheap board might have a paper-thin veneer you can’t ever refinish. A high-quality one will have a thicker veneer (from 3mm to 6mm) that you can sand and refinish at least once or twice, massively extending its life. Always ask about the veneer thickness!
DIY vs. Pro? This is more DIY-friendly than solid wood, especially the “floating” click-together versions. However, a glue-down installation feels much more solid and is best left to a pro. If you’re doing it yourself, a floating floor is the way to go.
The Cost: Prices are similar to solid wood, typically $4 to $10 per square foot. Installation can be a bit cheaper, around $3 to $7 per square foot, since it’s often faster.
My Take: This is my top recommendation for putting a real wood look over a concrete slab or in a basement. It just handles potential moisture way better than solid wood.
Laminate Flooring: The Great Pretender (In a Good Way)
Laminate has improved so much over the years. It’s a synthetic product with a high-resolution photo of wood or stone on top, protected by a tough, clear wear layer. Good quality laminate today can look shockingly realistic.
The most important spec is the wear layer’s durability rating, known as its Abrasion Class or AC rating. For any active home, don’t even consider anything less than AC3. AC4 is even better for busy areas. The core is usually a dense fiberboard, which is its one major weakness: water. While the surface is water-resistant, if water gets into the seams, the core will swell up like a sponge and the plank is ruined. That’s a key distinction.
DIY vs. Pro? Absolutely a DIY project. It’s designed for it.
The Cost: This is where you save money. Material costs run from $2 to $5 per square foot. If you hire it out, installation is quick, usually $2 to $4 per square foot.
The Timeline: A 300 sq ft room is a perfect weekend project. A pro could knock it out in a day.
Quick Tip: Buy a quality underlayment pad! The cheap thin stuff does nothing for sound, and your floor will have a hollow, clacky sound. A good pad with a built-in moisture barrier is worth the extra 50 cents a square foot.
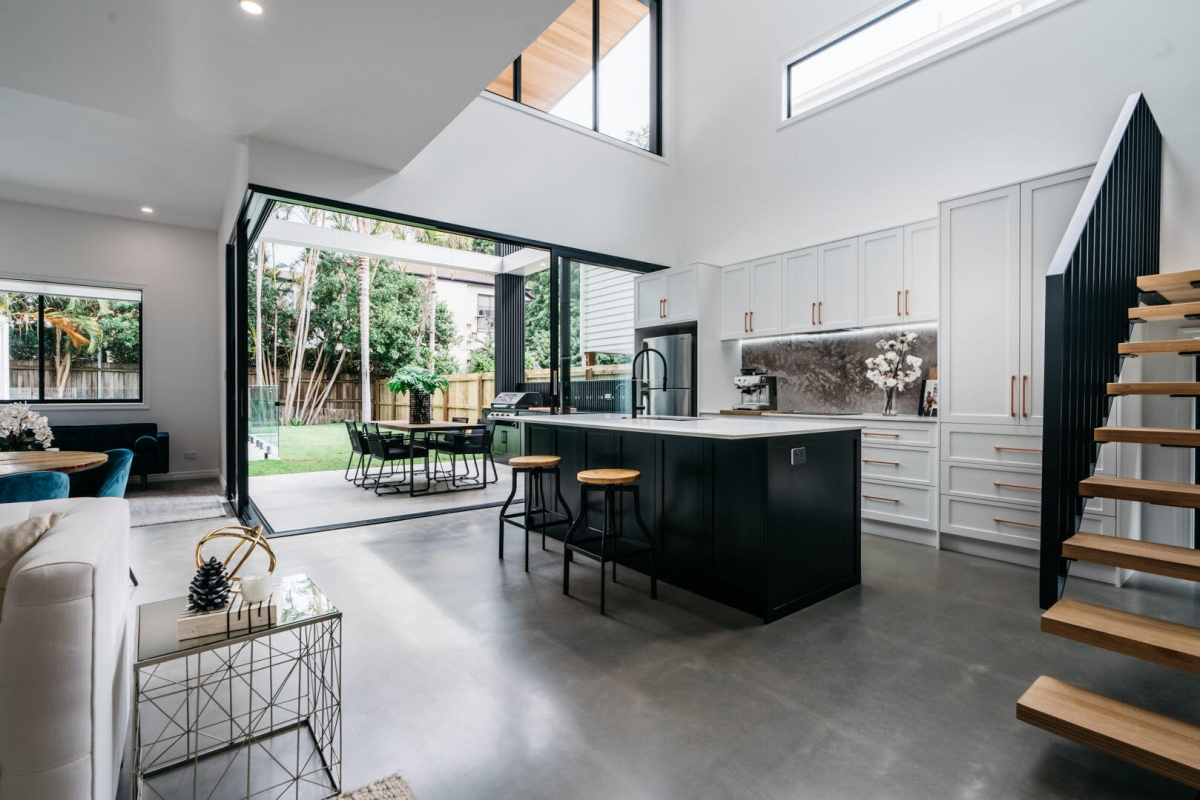
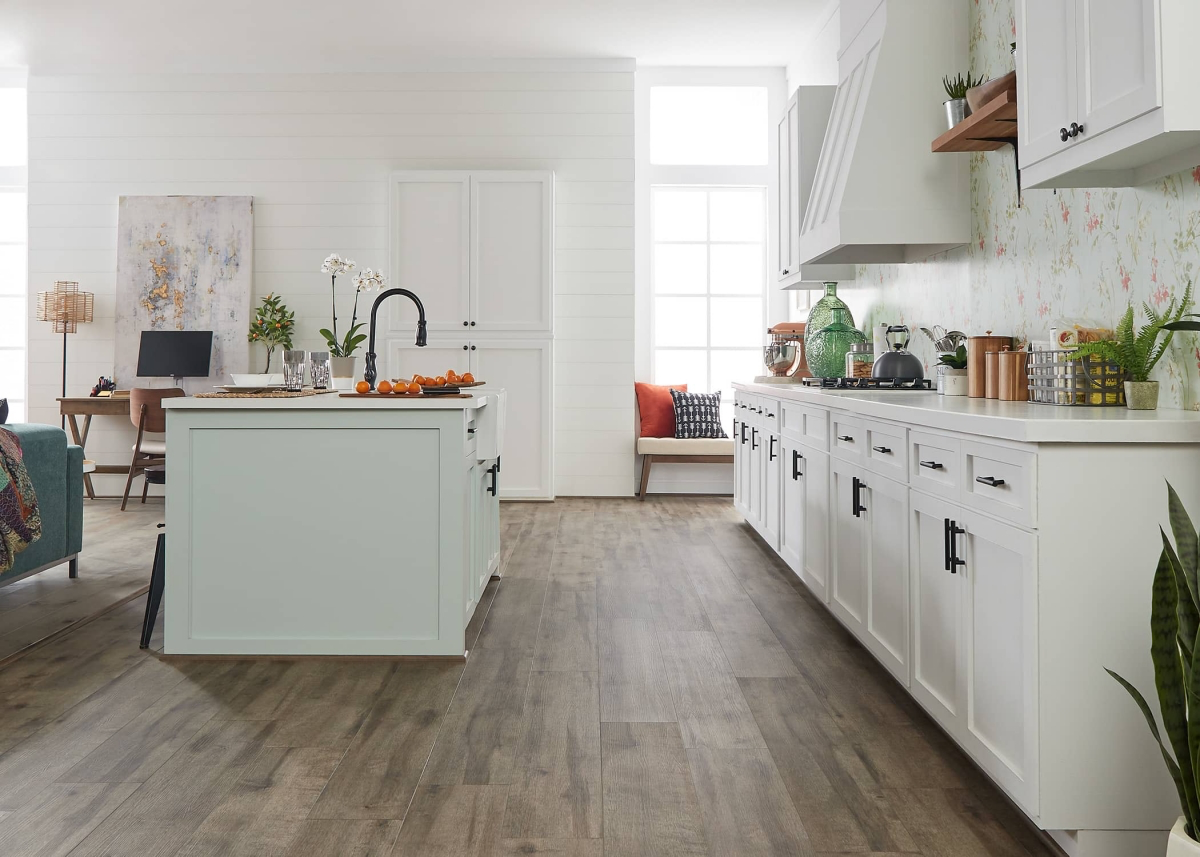
Luxury Vinyl Plank (LVP): The All-Around Champion
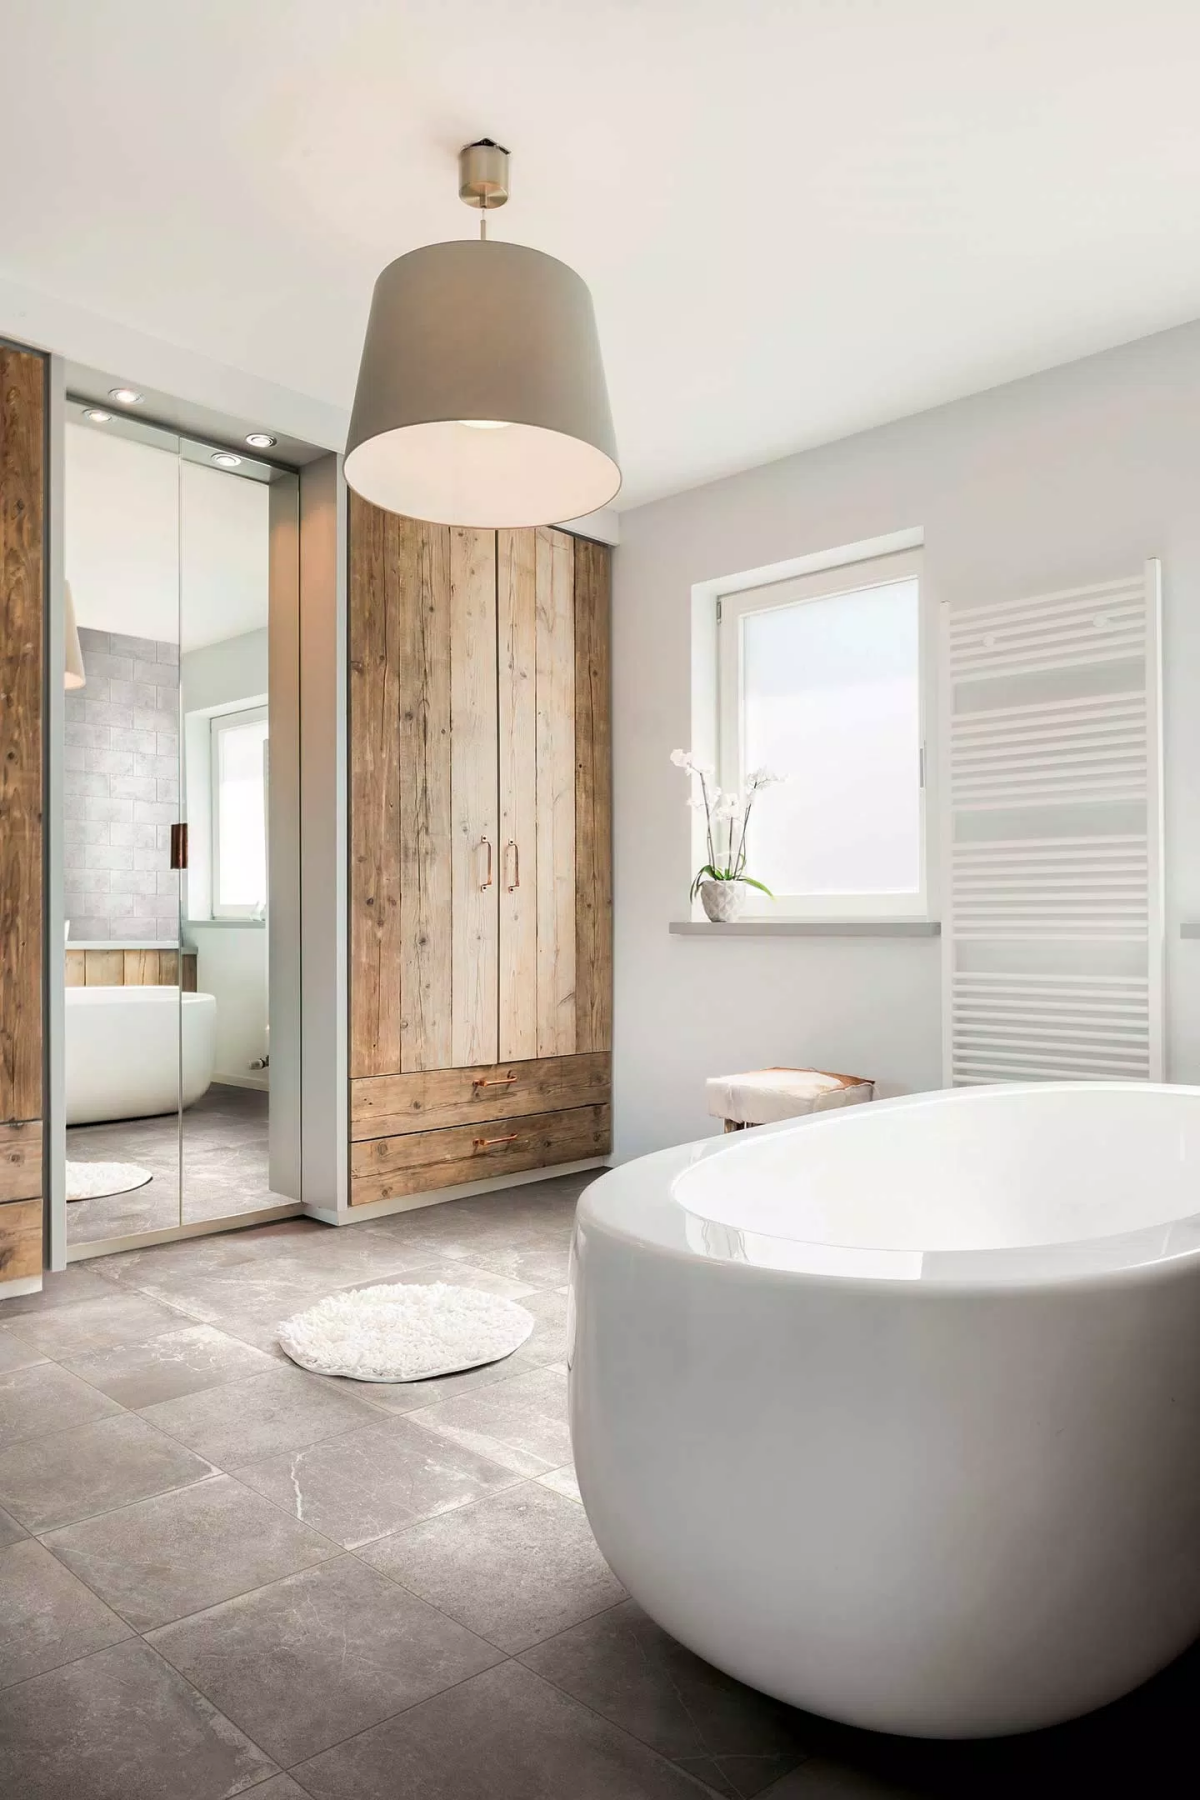
In the last few years, LVP has completely taken over, and for good reason. It offers incredibly realistic wood or stone looks, it’s super durable, and its biggest selling point is that it’s typically 100% waterproof. This makes it my go-to for any wet or damp area—basements, bathrooms, kitchens, you name it.
The two things to look at are the wear layer and the core. The wear layer is measured in mils. For a home with pets or kids, I recommend at least a 12 mil wear layer, but 20 mil is the sweet spot for serious durability. The core is either WPC (Wood Plastic Composite), which is a bit softer and quieter underfoot, or SPC (Stone Plastic Composite), which is denser and more resistant to dents.
DIY vs. Pro? Very DIY-friendly. Most LVP can be cut with just a utility knife—you just score and snap it. No dust, no noise. It’s a dream to work with.
The Cost: Great value here. Expect to pay $3 to $7 per square foot for a quality LVP. Installation is similar to laminate, around $2 to $4 per square foot.
Pet Peeve Alert: Just because it’s vinyl doesn’t mean you can ignore the rules! You still need a flat subfloor and you MUST leave a small expansion gap around the perimeter. I once had to fix a huge LVP floor that buckled into a giant bubble because the installer ran it tight to every wall. It still moves a little with temperature changes!
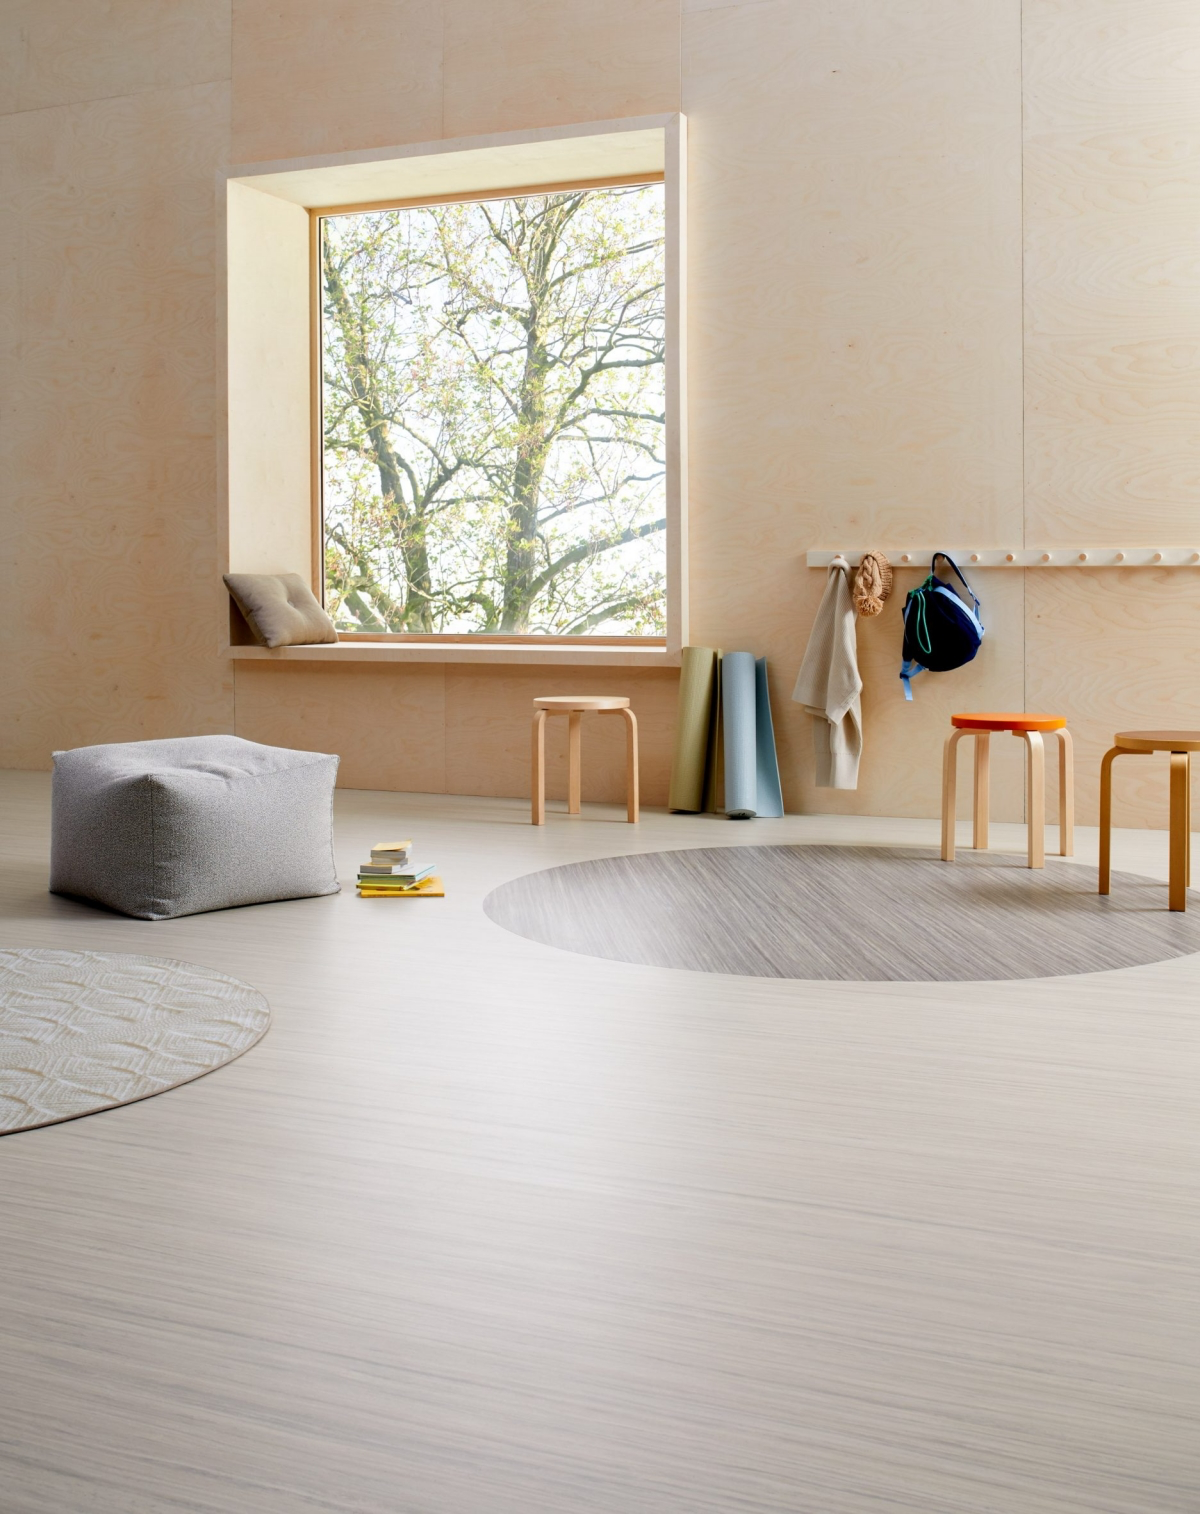
Carpet: Still the King of Comfort
Nothing beats the warm, soft, and quiet feeling of carpet, especially in bedrooms and family rooms. It’s also the best sound absorber out there, making it perfect for second-story rooms.
The fiber makes a huge difference. Nylon is the most resilient and bounces back from foot traffic the best. Polyester is super soft and naturally stain-resistant but can mat down over time in hallways. And don’t forget the pad! A cheap, thin pad will make a great carpet feel awful and wear out twice as fast. Always get a quality pad with at least an 8-pound density.
DIY vs. Pro? Hire a pro. Every time. Proper installation requires a power stretcher, a big tool that properly tightens the carpet. Installers who only use a small knee-kicker are setting you up for wrinkles and bubbles down the road. It’s one of my biggest pet peeves and I see it all the time.
The Cost: It varies wildly, but for a decent nylon carpet and a quality pad, you’re looking at $4 to $8 per square foot, installed.
The Timeline: A professional crew can usually carpet a few rooms in a single day.
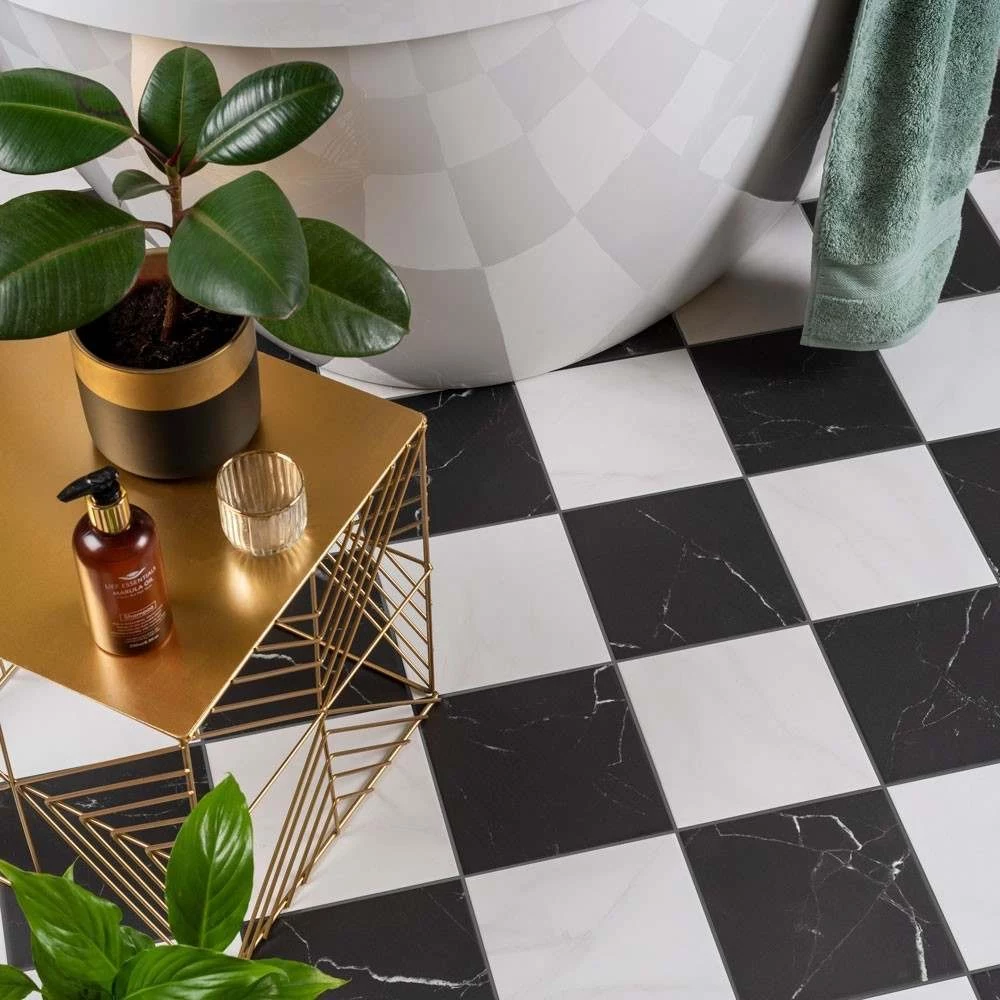
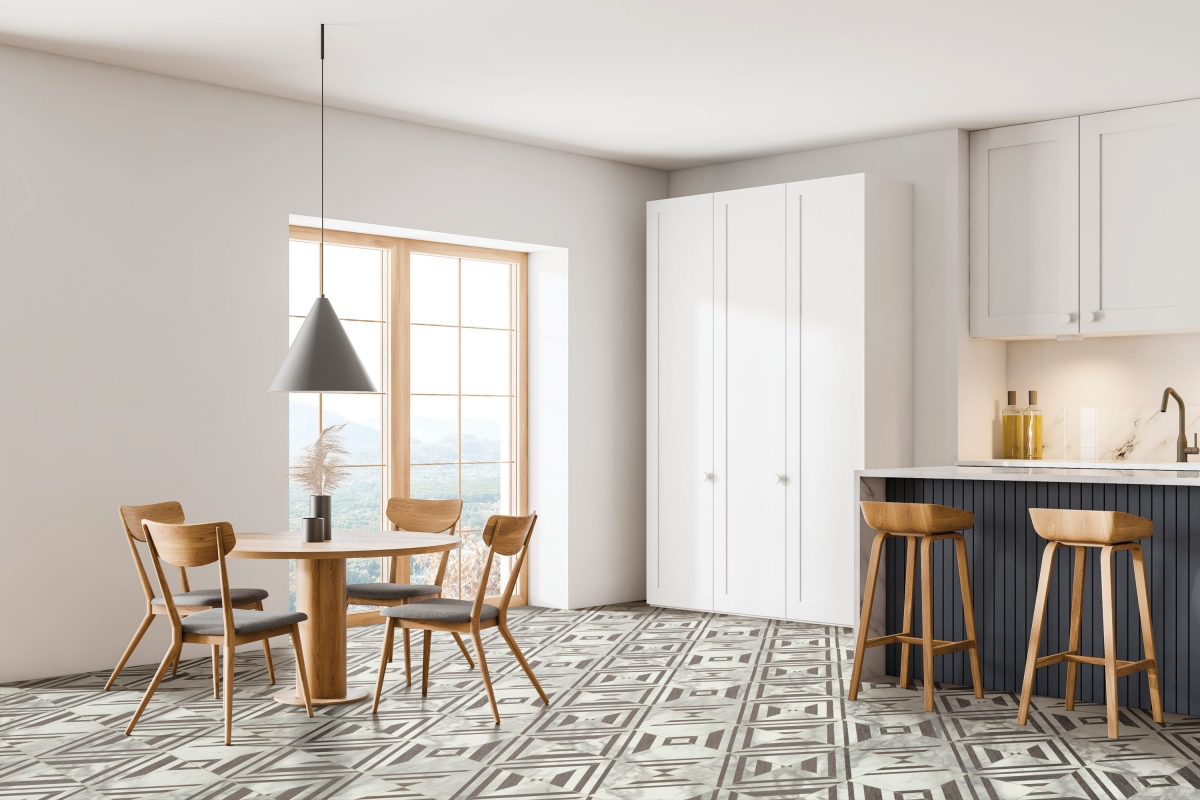
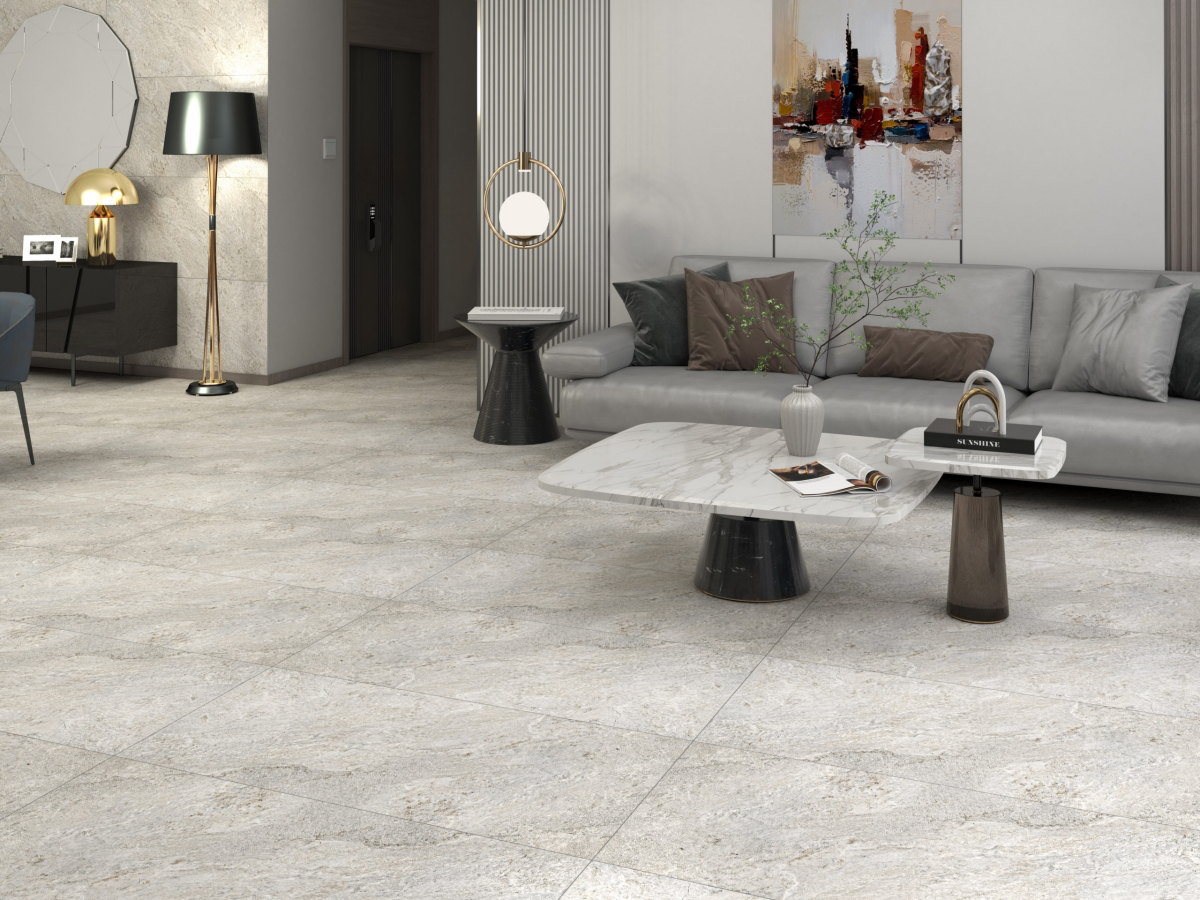
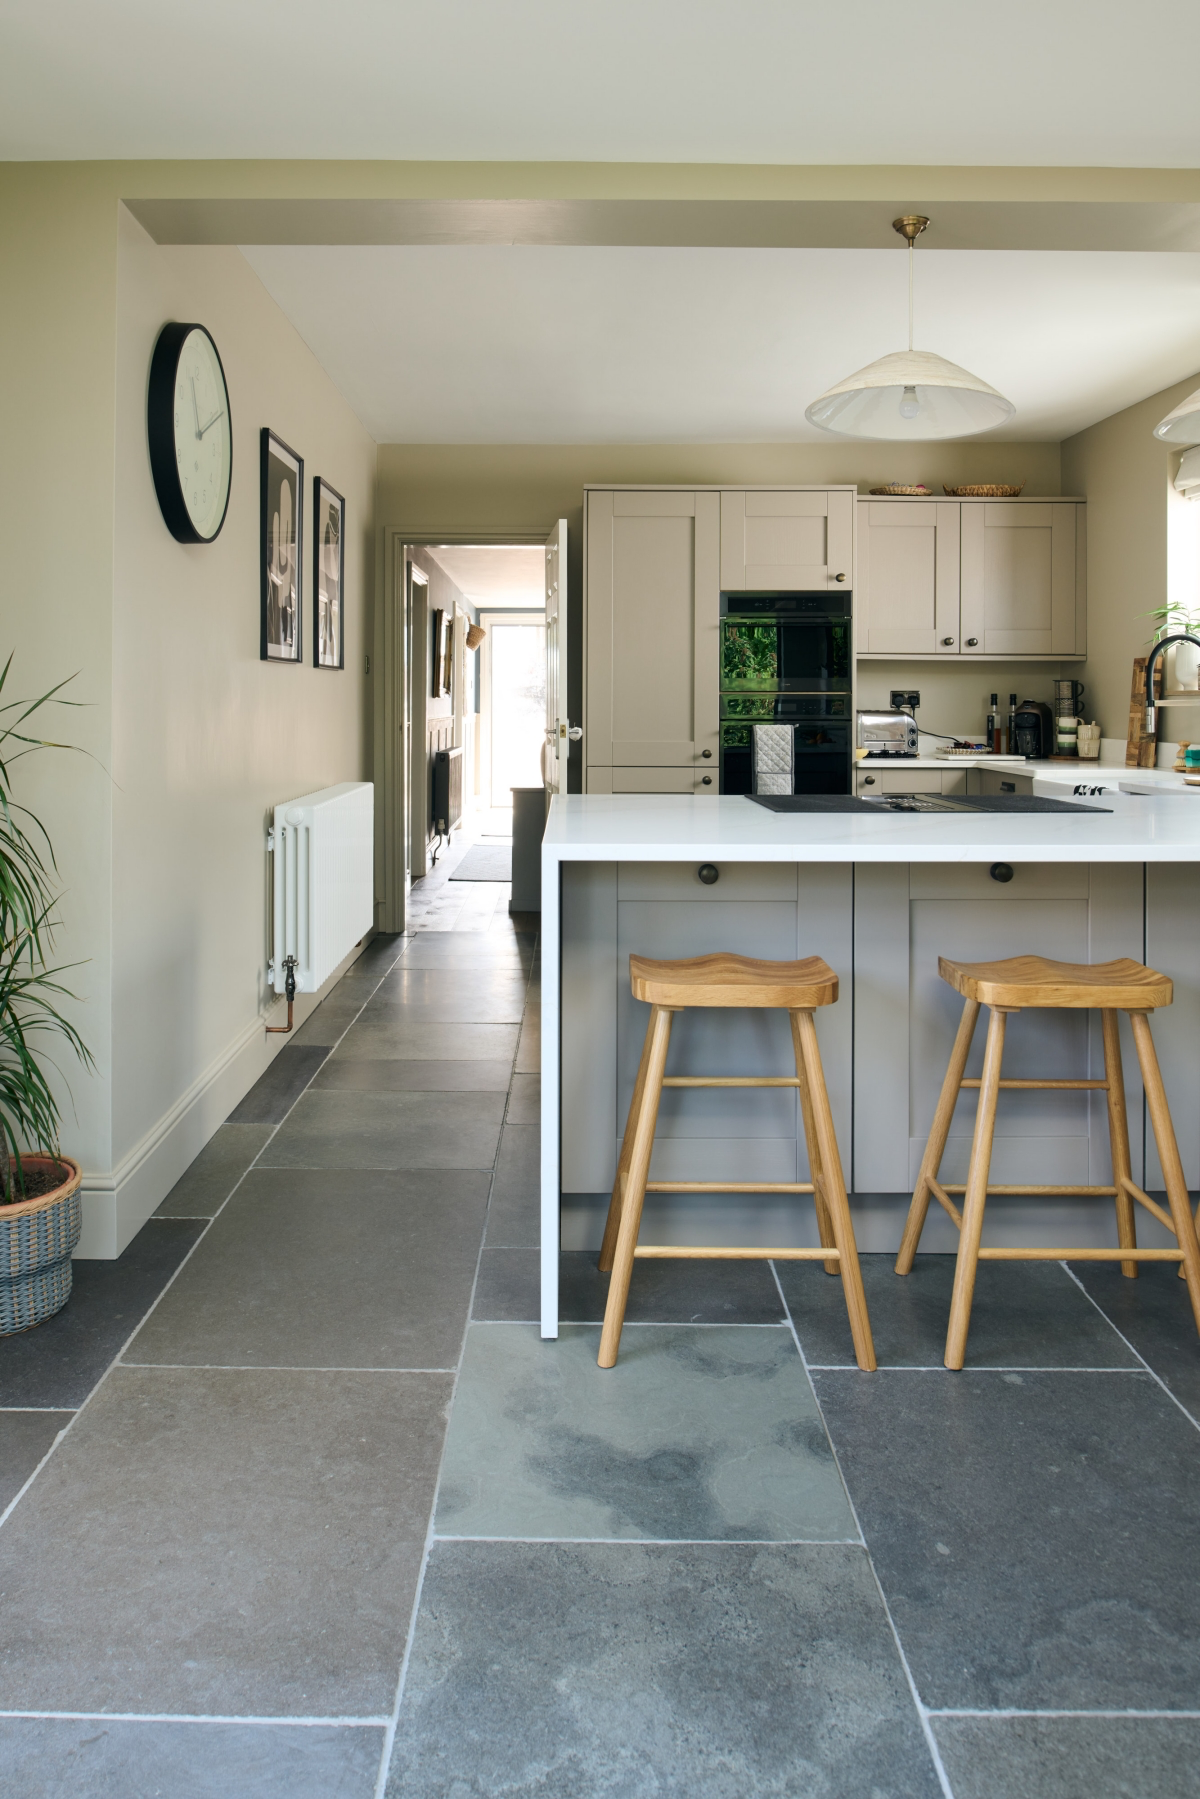
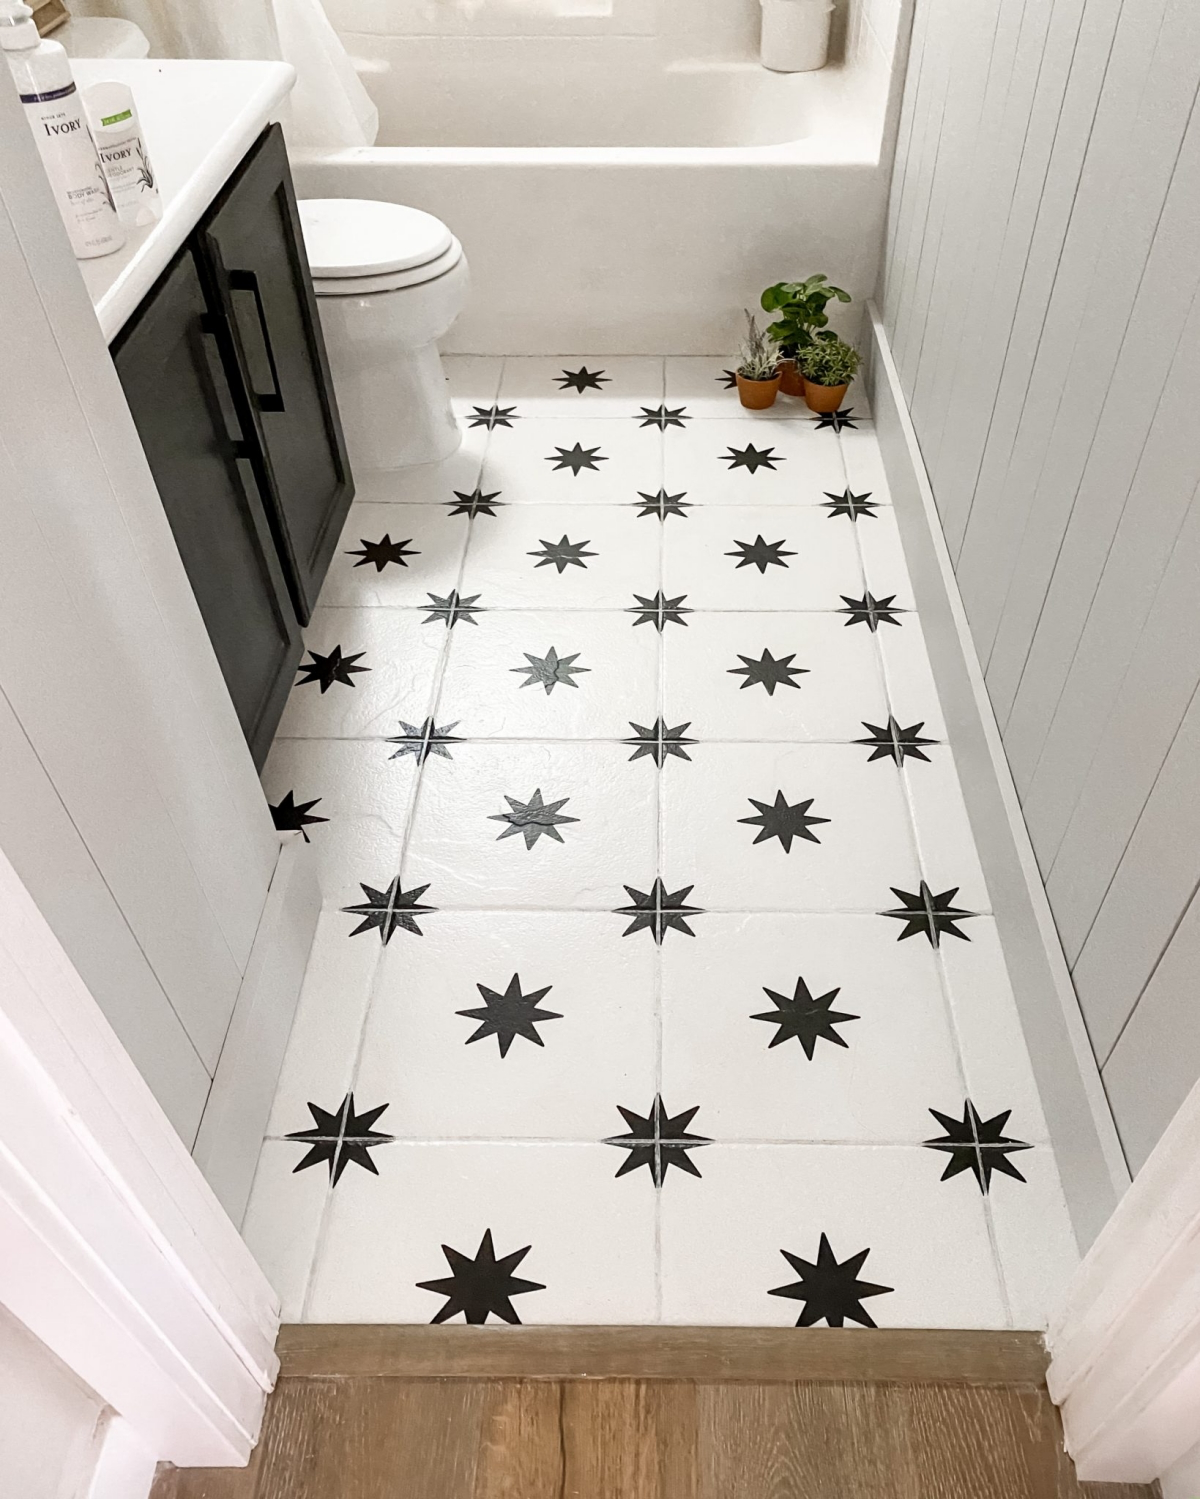
Ceramic & Porcelain Tile: The Undisputed Durability Champ
For entryways, bathrooms, and kitchens, nothing holds up like tile. It’s hard, waterproof, and the design possibilities are literally endless.
The main difference between ceramic and porcelain is water absorption. To be called porcelain, a tile has to be super dense and absorb less than 0.5% water, making it the better choice for wet areas and even outdoor patios. For floors, look for a durability rating of at least Class 3. For a busy kitchen, Class 4 is even better.
DIY vs. Pro? Unless you’re doing a small, simple backsplash, I’d strongly suggest hiring a pro. Tiling is a true craft. The subfloor needs to be rock-solid, and modern installations often use a decoupling membrane (those orange waffle-looking mats) to prevent cracks. This isn’t a project you want to learn on the job.
The Cost: The range is huge. Material can be $2 a square foot for basic ceramic or over $20 for designer porcelain. Installation is labor-intensive and costs between $8 and $20+ per square foot. Fixing a bad tile job is a nightmare that involves a full, dusty tear-out.
The Timeline: Tiling is slow. A bathroom floor could take 3-4 days with all the steps: prep, setting, drying, and grouting.
So, How Do You Actually Choose?
A floor is a huge part of your home. Don’t rush it. Go to a real flooring store and get physical samples. Take them home. See how they look in your home’s light, next to your sofa. Walk on them barefoot. Think about your real life. Do you have a 70-pound dog whose nails click on the floor? Toddlers who spill everything? Be brutally honest with yourself.
Oh, and one last tip: for any flooring you buy, always get about 10% extra for cuts and mistakes. If you’re planning a complex pattern like herringbone, make that 15-20%. Having an extra box stored in the garage can be a lifesaver years down the road.
When you get quotes, make sure it’s itemized. Does it include tearing out the old floor? Subfloor prep? New baseboards? A detailed quote means the installer has thought the whole job through. A good floor, installed right, is an investment that will bring you comfort and joy for decades. A bad one will just be a headache.
Inspiration:
Luxury Vinyl Plank (LVP): This is 100% waterproof synthetic, making it a star for kitchens, bathrooms, and basements. It’s constructed in layers, offering durability and a slightly softer feel underfoot. Brands like Coretec and Flooret are known for their thick wear layers and realistic wood-look textures.
Laminate: Made from a wood-fiber core with a photographic image on top, laminate often achieves a more detailed, crisper wood look. It’s highly scratch-resistant but vulnerable to water; spills must be wiped up immediately. Look to innovators like Pergo for water-resistant technologies.
For wet areas, LVP is the safer bet. For high-traffic, dry areas where scratch resistance is key, laminate excels.
The National Wood Flooring Association (NWFA) states that hardwood floors can add up to 2.5% to a home’s sale price.
This isn’t just about aesthetics; buyers perceive solid hardwood as a mark of quality and longevity. It’s one of the few flooring materials that can be refinished multiple times, essentially offering several new floors over its lifespan. While the initial cost is higher, its impact on resale value makes it a powerful long-term investment.
What about underlayment? Is it really necessary?
Yes, and it does more than you think. An underlayment isn’t just a thin sheet of foam; it’s a critical component for performance. It provides acoustic insulation (dampening that hollow ‘click-clack’ sound), thermal properties (making floors feel warmer), and can even smooth out minor subfloor imperfections. For concrete subfloors, a specialized underlayment with a built-in vapor barrier is non-negotiable to protect your new floor from moisture damage.
A costly mistake: Forgetting about expansion gaps. All ‘floating’ floors (like laminate and LVP) expand and contract with temperature and humidity changes. A 1/4-inch to 3/8-inch gap must be left around the entire perimeter of the room, hidden under your baseboards. Nailing or gluing planks down, or fitting them too tightly against a wall, will cause the floor to buckle and warp as seasons change.
- Incredible sound absorption, reducing echo and impact noise.
- A naturally cushioned surface that’s easier on your joints.
- Excellent thermal insulation, keeping floors warmer in winter.
- Sustainably harvested and hypoallergenic.
The secret? It’s cork flooring. Once relegated to the 1970s, modern cork from brands like Wicanders comes in a stunning array of plank and tile formats that mimic wood or stone, offering a unique combination of comfort and style.
A pro installer will always order 10-15% more flooring than the room’s actual square footage.
This is called the ‘cut-waste’ or ‘overage’ factor. It accounts for cuts needed to fit planks around corners and walls, as well as the occasional damaged or mis-milled board you might find in a box. Skimping on this means you risk running out of material mid-job, and you may not be able to find a perfect match from the same dye lot later.
The finish you choose has a huge impact on maintenance and style. A high-gloss finish looks sleek and modern but will show every scratch, footprint, and speck of dust. A matte or satin finish, like those offered by Bona, is far more forgiving. It hides minor imperfections better, requires less meticulous cleaning, and provides a soft, contemporary look that allows the natural texture of the wood or vinyl to take center stage.
Don’t overlook the transitions. The small strips that bridge two different flooring types are crucial for a professional look. Here’s what you need to know:
- T-molding: Joins two floors of the same height.
- Reducer: Creates a smooth transition between floors of different heights, like from tile down to vinyl.
- Stair Nose: Finishes the edge of a step for safety and durability.
- Threshold: Typically used at exterior doorways to bridge the gap.
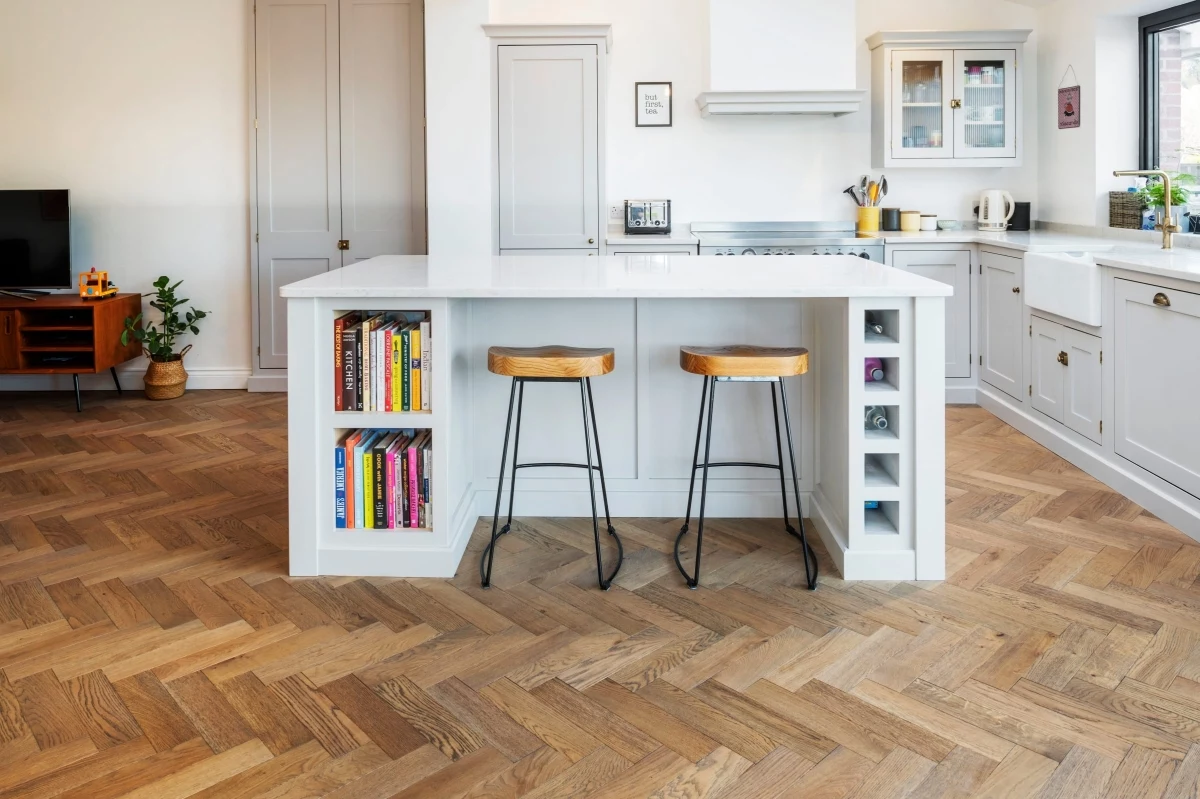
Bring back a classic with modern materials. The elegant herringbone pattern, once the domain of pricey hardwood installations, can now be achieved with many Luxury Vinyl Plank and laminate products. Some brands even offer specific, shorter planks designed for this pattern. It’s a fantastic way to make a narrow hallway appear wider or to add a touch of custom-designed luxury to an entryway or dining room without the traditional cost and complexity.
Can you install new flooring directly over the old?
Sometimes, but proceed with caution. You can often lay LVP or laminate over a single layer of old, well-adhered sheet vinyl or linoleum. However, never install over carpet, cushioned vinyl, or existing floating floors. Installing a hard surface over a soft one creates instability. Furthermore, layering floors can create height issues at doorways and with appliances. The best practice, as any pro will tell you, is always to remove the old flooring for a clean, stable foundation.
Thinking about radiant floor heating? It’s a game-changer for comfort, but not all flooring is compatible. Engineered hardwood is a top choice because its layered construction provides stability against temperature changes. Many tile, LVP, and even some laminate floors are also rated for use with radiant heat. Always check the manufacturer’s warranty and installation guidelines—solid hardwood is generally not recommended as it’s prone to gapping and warping with the consistent heat.


