Why Is My House So Cold? A Pro’s Guide to Finding and Fixing Heat Loss
After walking through countless homes, you start to get a feel for their problems. It’s not some kind of sixth sense; it’s just a skill you pick up over time. You feel that subtle draft sneaking across the floorboards. You notice one room is noticeably colder than the next. You hear the furnace kicking on way more than it should. These are all symptoms, and they all point to the same thing: your home is losing a constant battle with the outdoors.
In this article
A lot of people think the answer is just a bigger, more powerful furnace. But honestly, a powerful furnace in a leaky house is like trying to fill a bucket with a massive hole in the bottom. Sure, you can pour water in faster, but you’re still wasting most of it. Real, lasting comfort comes from playing detective—from understanding how your house loses heat and then methodically stopping those losses. It’s all about making your home’s outer shell, its “building envelope,” finally work for you.

The principles of heat loss are actually pretty straightforward. Heat moves in three ways: convection (moving air), conduction (through solid stuff), and radiation (as waves). Getting a handle on these three concepts is the first step. I’m going to walk you through how I’d diagnose a home, starting with the biggest energy thieves and moving down to the little details. This is the exact process that can make your home genuinely comfortable.
The
1 Culprit: Air Leaks and Uncontrolled Drafts
If you take only one thing away from this, let it be this: uncontrolled air leakage is almost always the single biggest reason your home is chilly and your heating bills are outrageous. This is heat loss from convection. Cold outside air gets in, and the warm, expensive air you paid to heat gets out. We call them drafts, but they’re really just constant streams of money flying out of your house.

When I do a formal audit, I use a tool called a blower door. It’s a powerful fan we mount in a doorway to pull air out of the house, which makes all the hidden leaks whistle. But you don’t need fancy equipment to start your investigation. Heads up: a full professional energy audit with a blower door test usually runs between $300 and $600, but it can pinpoint every single leak with scientific precision.
Your 30-Minute Draft Hunt
You can do a surprisingly effective audit yourself. Try this: pick a cold, windy day, turn off your furnace and any exhaust fans, and close all your windows. Then, just light a stick of incense or a smoke pencil. Walk around your home and hold the smoking stick near the common leak points listed below. If the smoke trail gets sucked in or blows around wildly, you’ve found a leak. Set a timer and see how many you can find in 30 minutes. I bet you’ll be surprised!

Here’s where to look:
- Windows and Doors: Check the trim where it meets the wall and where the moving parts of the window or door meet the frame. Is the weatherstripping cracked, flattened, or just plain gone?
- Electrical Outlets & Switches: Especially on exterior walls. You would be shocked at how much cold air can pour through these. The hole cut in the drywall is almost always bigger than the box itself.
- Recessed Lights: Older “can” lights are basically open chimneys into your attic. If you can see the metal housing up inside, it’s not airtight.
- The Attic Hatch: This is a massive, unsealed hole in your ceiling. If it isn’t weather-stripped and insulated, it’s a major heat loser.
- Pipes and Wires: Look under every sink and behind the toilets. Check the basement or crawlspace where plumbing and wiring enter the house. These are often sealed poorly, if at all.
- The Rim Joist: Go down to your basement and look for the wooden band that sits right on top of your concrete foundation wall. This entire area is often a superhighway for air leakage.
Sealing Leaks the Right Way
Once you’ve found the leaks, you need to seal them with the right stuff. This isn’t a one-size-fits-all job.
For small, stationary cracks less than 1/4 inch wide (like around window trim), a good paintable acrylic latex caulk is your best friend. A tube will run you about $5 at any hardware store. For the moving parts of a window or door, you’ll need new weatherstripping. Take a small piece of the old stuff with you to Home Depot or Lowe’s to find a match. This usually costs between $10 and $20 per door.
For medium gaps up to an inch wide (like around pipes), grab a can of low-expansion polyurethane spray foam. The words “low-expansion” are critical here. The high-expansion stuff is for filling huge voids and can be powerful enough to warp a door frame. Read the can! A can of this foam is about $10-$15. Quick tip: use an old serrated bread knife to trim the cured foam—it works way better than a utility knife.

And those leaky outlets? The fix is incredibly easy and cheap. You can buy pre-cut foam gaskets that fit right behind the cover plate for a few bucks per pack. It literally takes 30 seconds to install one.
A Quick-Start Shopping List: Your $50 Draft-Busting Kit
- One tube of paintable caulk: ~$5
- One can of low-expansion spray foam: ~$12
- One roll of quality weatherstripping: ~$15
- A multi-pack of foam outlet/switch gaskets: ~$8
A Critical Safety Warning: If you have an older furnace, boiler, or gas water heater that draws air from inside the house, be careful. Sealing your house up too tight without ensuring these appliances can vent properly can cause them to backdraft. This pulls dangerous combustion gases, including carbon monoxide (CO), into your home. Signs of backdrafting can include a weird, stuffy smell from the appliance, flickering or oddly-behaving burner flames, or moisture on the windows near the unit. This is why working CO detectors are absolutely essential. If you’re doing a major air-sealing project, it’s wise to have an HVAC pro check your equipment.

The Cold Truth: Conduction and Missing Insulation
After you’ve tamed the drafts, the next enemy is conduction—heat moving directly through the solid materials of your house. Your only defense here is insulation, which is measured in R-value. Higher R-value means better resistance to heat flow.
The Attic: Your
1 Insulation Priority
Since heat rises, your attic is where the biggest battle is fought. Poor attic insulation is a massive problem in most older homes, and adding more is often the single most cost-effective energy upgrade you can make.
But first, air seal! I can’t stress this enough. Before you add a single puff of new insulation, you have to seal all those gaps in the attic floor—around wires, pipes, and light fixtures. Piling insulation on top of leaks is like putting a sweater on a wet person; it doesn’t solve the core problem.
Check Your Depth: How much do you need? For most cold climates, you’re aiming for R-49 to R-60, which translates to about 16 to 22 inches of common blown-in insulation. Just search online for the “Department of Energy climate zone map” to find the specific recommendation for your area. Get a ruler and check your attic. If you can clearly see the tops of your ceiling joists, you almost certainly need more.
So what’s the cost? To DIY insulate a typical 1,000 sq. ft. attic with blown-in cellulose or fiberglass might run you $500-$800 for the material and the blower rental from a big box store. Having a pro do it could be in the $1,500-$3,000 range, but it’s done in half a day and with a lot less dust.
Walls, Floors, and Basements
Insulating existing walls is tougher and more expensive—it usually involves drilling holes and blowing in insulation, which is almost always a job for a professional.
Your basement, however, is another story. Insulating the rim joist area is a fantastic weekend project. Just cut rigid foam board to fit snugly between the floor joists (right on top of the foundation wall) and seal the edges with canned foam. This one fix can make the floors above feel so much warmer.
By the way, if your basement is unheated, it’s much better to insulate the foundation walls than the ceiling. This helps trap the natural warmth from the ground, raising the basement’s temperature and reducing heat loss from the house above. Just be sure to use the right material—closed-cell spray foam or rigid foam boards are great. Avoid fiberglass batts here, as they can trap moisture and lead to mold.

The Unseen Thief: Radiant Heat Loss
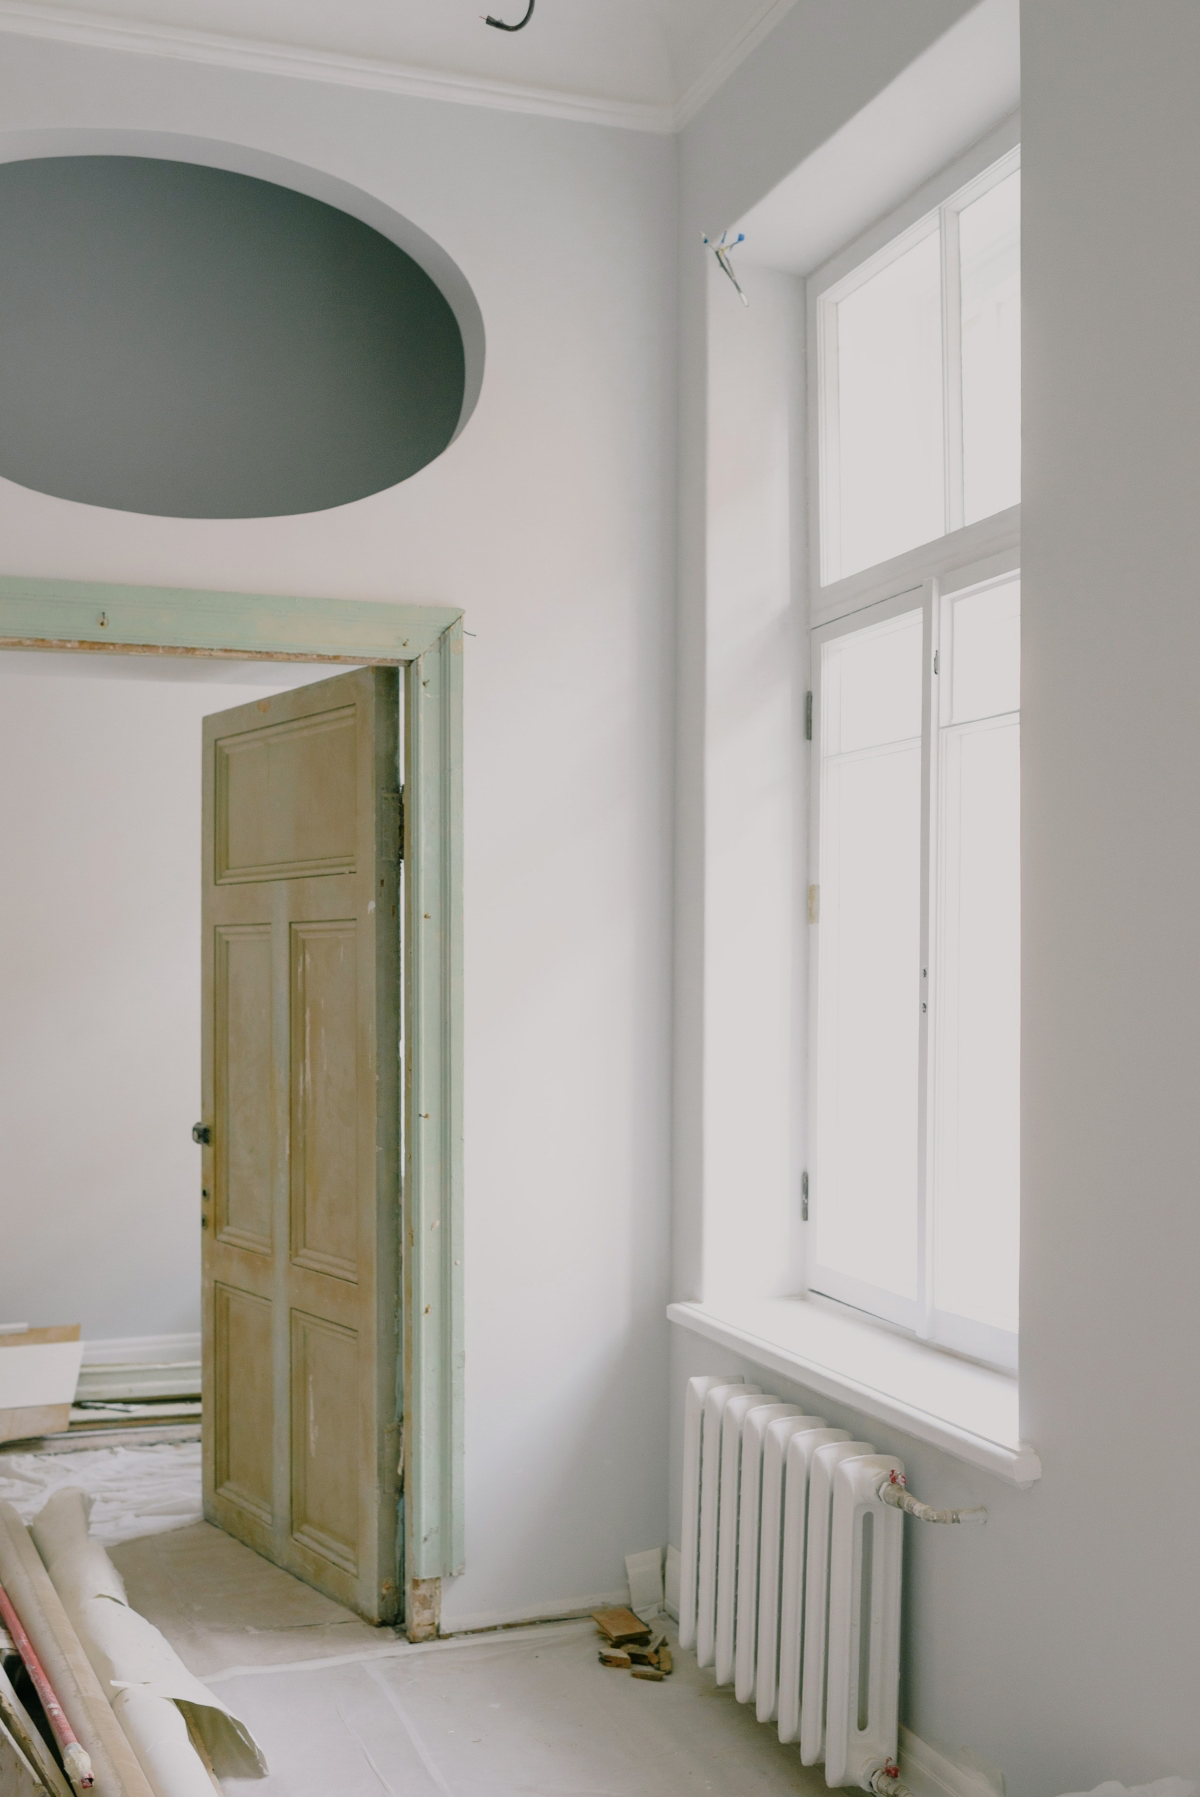
The third type of heat transfer is radiation. It’s the warmth you feel from the sun or a campfire. Your body is constantly radiating heat, and if you’re near a cold surface like a big window, your body will radiate its heat toward that cold surface, making you feel chilled even if the thermostat says 70°F.
Windows: Your Weakest Link
A standard double-pane window might have an R-value of 2. The insulated wall next to it could be R-13 or more. That’s a huge difference.
If you’re shopping for new windows, look for a low U-factor (the lower, the better) on the label. But for your existing windows, there are simpler fixes:
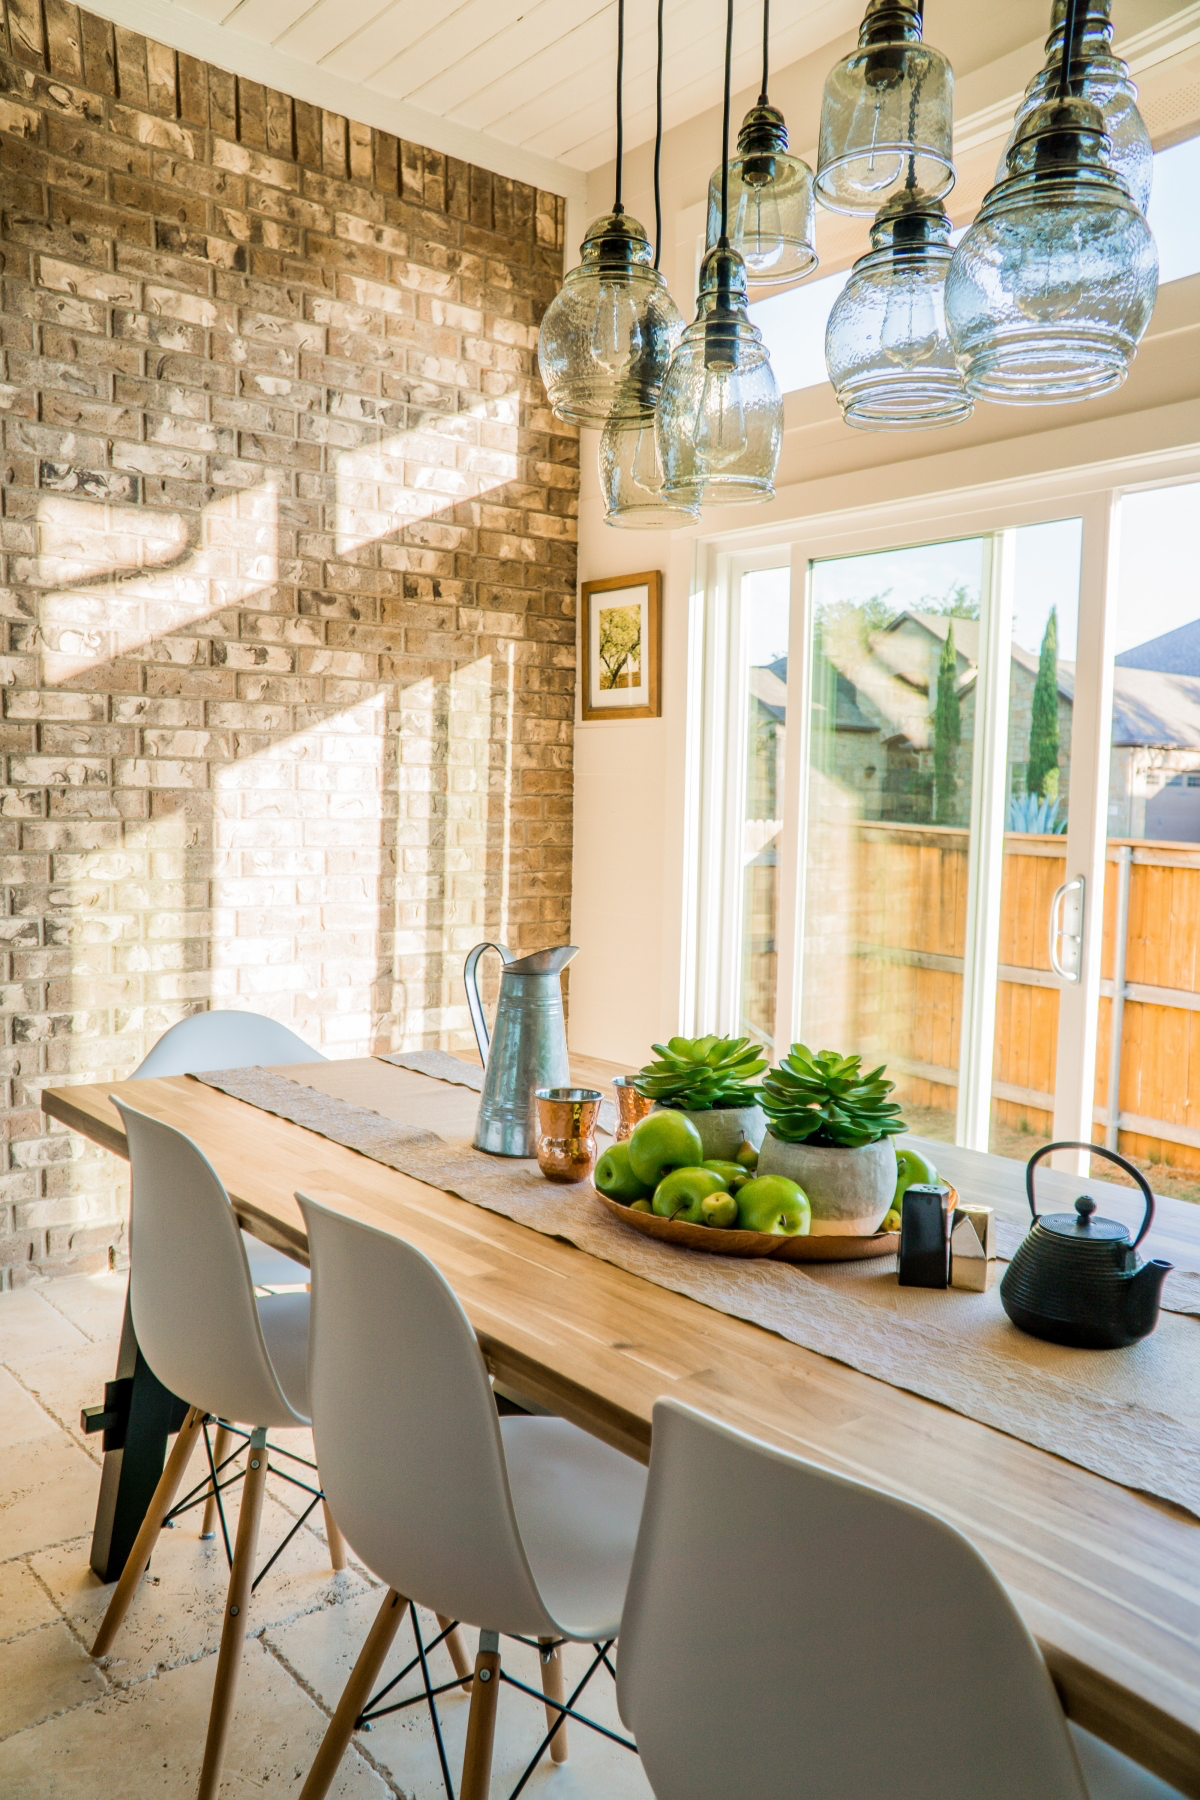
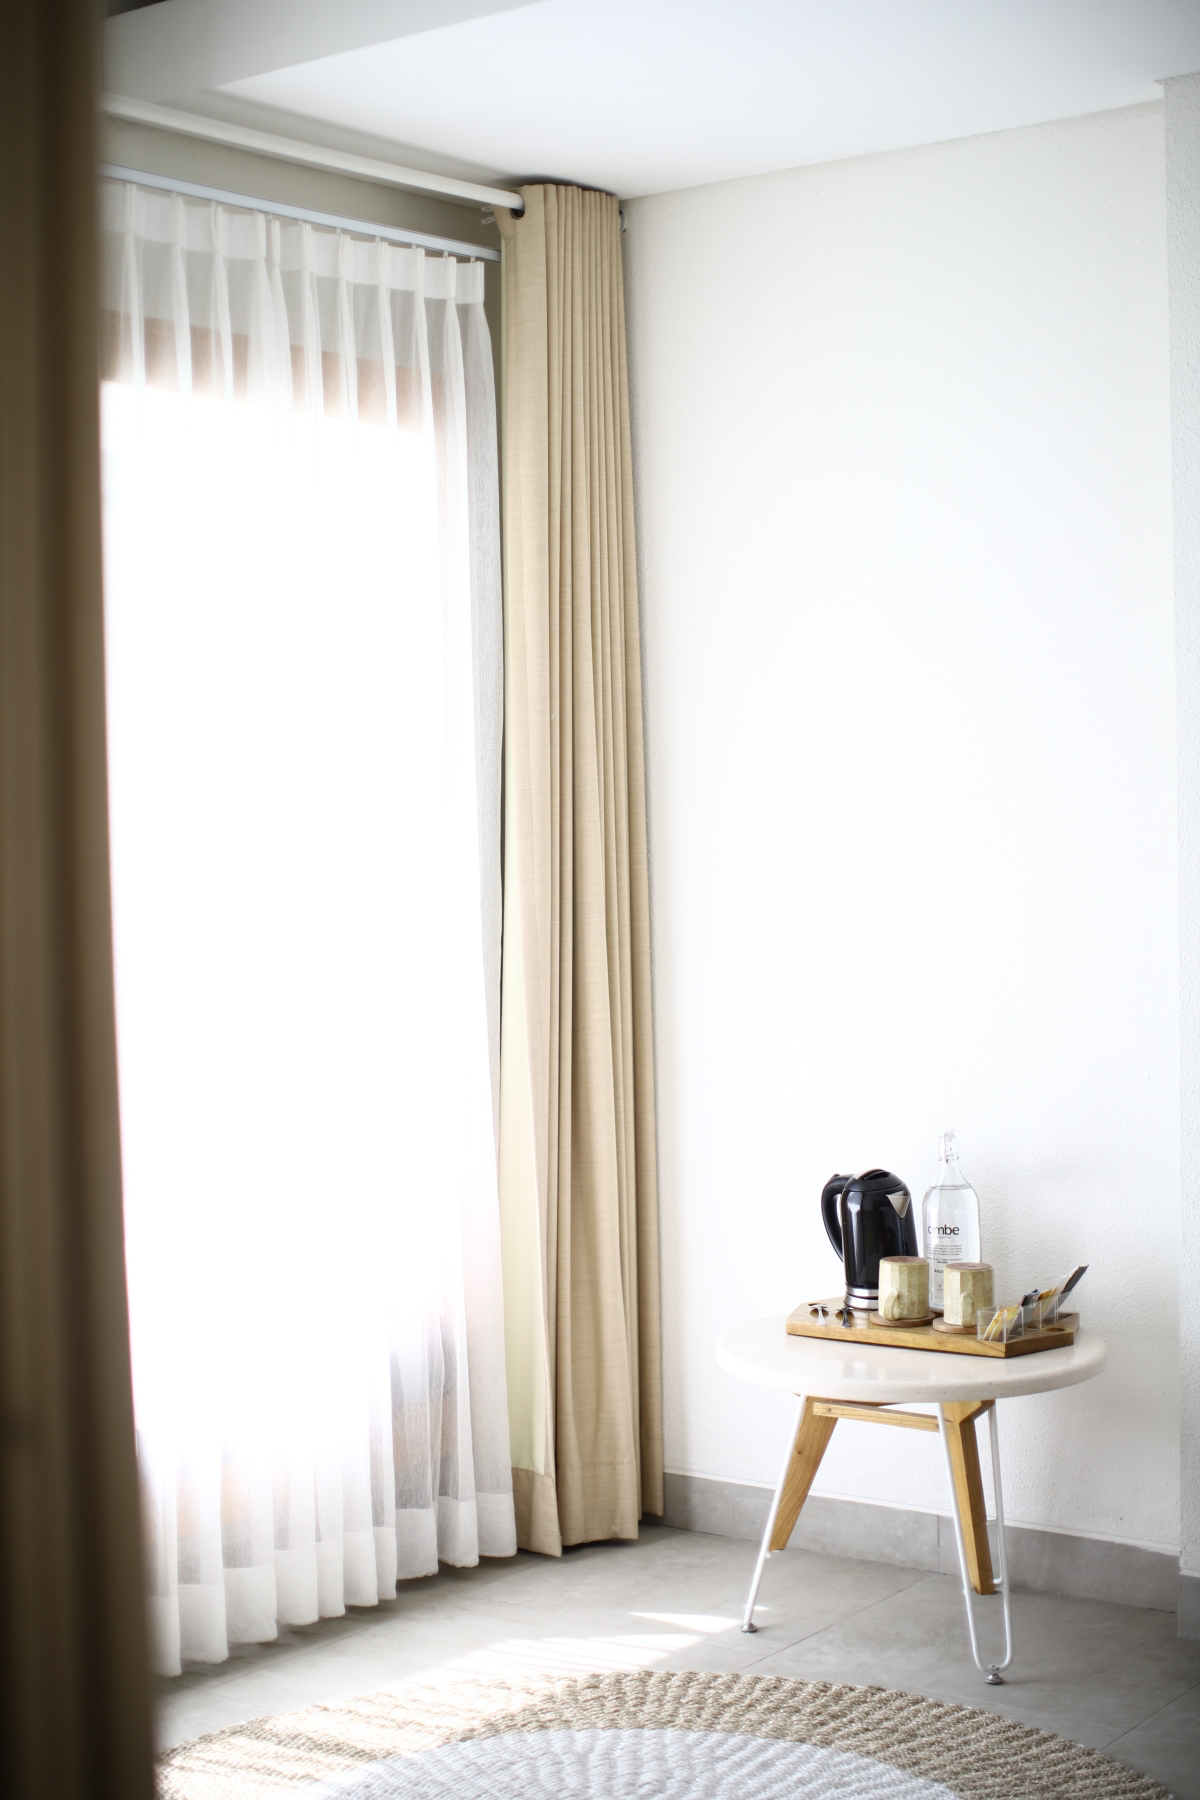
- Insulating Curtains: A heavy, insulated curtain creates a pocket of dead air that acts like another pane of glass. Keep them closed at night and on cloudy days, but throw them open on sunny winter days to let in that free solar heat.
- Low-E Window Film: This is a transparent film you apply to the inside of the glass. It’s a fantastic, affordable retrofit that reflects radiant heat back into the room. A roll to cover several windows can cost between $20 and $60, and you’ll feel the difference when sitting nearby.
This same principle explains why a tile floor feels cold or a leather sofa feels chilly. Putting down a thick area rug or throwing a fuzzy blanket on the sofa creates a “thermal break,” stopping that surface from sucking the warmth right out of you.

Finally, Check Your Heating System
Even with a perfectly sealed and insulated house, you need to make sure the heat is being delivered effectively.
This is the simplest advice I can give: don’t block your heat sources! A sofa shoved against a baseboard heater or a rug covering a floor register stops heat from circulating. Pull furniture at least a foot away from any heat source to let it do its job.
If you have a forced-air furnace, leaky ducts are an epidemic. If your ductwork runs through a cold attic or crawlspace, any leaks are just heating those spaces instead of your rooms. Feel around the joints and seams while the system is running. If you feel air blowing out, seal it with water-based duct sealant (mastic) or proper foil tape—never the classic grey duct tape, which will dry out and fail.
I once worked on a house where the second floor was always freezing. It turned out a major duct connection in the crawlspace had completely separated. For years, they were pumping a third of their heat directly into the dirt. Sealing that one joint solved the problem instantly.

Your Action Plan for a Warmer Home
This can feel like a lot, but you can tackle it in logical steps. Here’s how I’d prioritize the work:
- Start with the Weekend Wins: Grab your $50 draft-busting kit. Seal your windows, doors, and outlets. Make an insulated cover for your attic hatch. Pull your sofa away from the radiator. These small fixes add up fast.
- Do the High-Impact Project: Air seal and insulate your attic. It’s a dusty job, but it gives you the biggest bang for your buck in both comfort and savings.
- Address the Foundation: Insulating the rim joists in your basement is another high-impact, low-cost project that makes a real difference.
- Upgrade Your Surfaces: Use those heavy curtains, window films, and area rugs to manage radiant heat loss and make rooms feel warmer without touching the thermostat.
- Know When to Call the Pros: For an annual furnace tune-up, a full blower door test, or insulating walls, it’s time to bring in an expert. Their tools and experience are worth it for the big jobs.
Oh, and one last thing! Before you start any big project like insulation or new windows, do a quick search online. Check the Energy Star website and your local utility company’s site for rebates. You could get hundreds or even thousands of dollars back. It’s free money, so don’t leave it on the table.
A warm, comfortable home isn’t about brute force from the furnace. It’s a balanced system—a tight, well-insulated home that holds onto the heat you’ve already paid for. By playing detective and tackling these issues one by one, you absolutely can win the battle against the cold.
Inspirational Gallery with Photos
Wondering why your feet are always cold, even when the thermostat is up?
The answer might be under your feet. Uninsulated floors, especially those over a crawl space or unheated basement, are notorious for sapping warmth. This is a classic case of heat loss through conduction. Sealing and insulating the
An infrared thermometer, an affordable tool costing as little as $20, can be your best friend in the fight against the cold.
Forget guesswork. Simply point the device at walls, window frames, and electrical outlets. A sudden, sharp drop in the temperature reading instantly reveals a hidden cold spot or a draft you couldn’t feel, guiding you precisely where to apply caulk or weatherstripping.
Don’t overlook the small stuff. These tiny gaps are often major culprits for drafts:
- The space around electrical outlets and switch plates on exterior walls.
- Gaps where plumbing pipes enter under sinks and behind toilets.
- The mail slot in your front door.
- Unused chimney flues left open.
A costly mistake: Ignoring the attic access hatch. You can have a foot of brand-new insulation in your attic, but if the hatch itself is just a thin piece of unsealed plywood, it’s like leaving a window open. You’re creating a massive thermal bridge. Fix it easily by attaching rigid foam board to the back of the hatch and adding weatherstripping around the edges to create an airtight seal.
Cellulose Insulation: Made from recycled paper, it’s treated for fire resistance and packs tightly into wall cavities, making it excellent for retrofitting older homes and for sound dampening.
Fiberglass Insulation: Composed of fine glass fibers, it’s naturally non-combustible and resistant to moisture and mold. It’s the most common and generally most affordable option, available in batts and as loose-fill.
For most standard attic top-up projects, fiberglass from brands like Owens Corning or Johns Manville offers the best balance of cost and performance.
The feeling of a properly sealed home goes beyond just warmth. It’s about a quiet, still atmosphere. You no longer hear the wind whistling around the window frames on a stormy night. The air feels cleaner, with less dust being pulled in from outside. It’s a subtle but profound shift from a house that fights the elements to a home that provides true shelter.
- Dramatically reduced heating bills each month.
- A more even temperature from room to room.
- A home that stays warmer for much longer after the heating cycles off.
The secret to achieving all three? Air sealing the attic floor *before* adding more insulation. This means meticulously sealing every gap, crack, and hole around light fixtures, plumbing stacks, and electrical wires with caulk or expanding foam spray. Insulation slows heat loss, but only air sealing can stop it.
On a cold day, a single-pane window can lose as much heat as an entire uninsulated wall.
For a quick, low-cost improvement on drafty windows, consider applying a transparent window insulator film kit from a brand like 3M or Duck. This thin plastic film is applied to the interior window frame and then shrunk taut with a hairdryer. It creates a pocket of insulating air, acting like a makeshift double-pane window. While not a permanent solution, it can significantly reduce heat loss and condensation for a single season.
Recessed lights, also known as can lights, are often a huge source of heat loss into the attic. Older models are rarely airtight. If you can see the back of the bulb from your attic, you have a problem. The solution is to replace them with modern, ICAT-rated (Insulation Contact Air Tight) LED models, which are sealed units you can safely cover with insulation.


