That Dark Room Is Driving You Crazy, Isn’t It? Here’s How to Actually Fix It.
I’ve spent more years than I can count finishing and restoring home interiors, from shiny new builds to historic houses with character for days. And in all that time, the number one problem people ask me to solve is the dreaded dark room. It just sucks the life out of a space, doesn’t it?
In this article
Most folks think the answer is just a can of the brightest white paint they can find. But let’s be honest, a truly bright, welcoming room is about so much more than that. It’s about creating a whole system of surfaces, lights, and finishes that work together to guide light where you want it to go. It’s less about fighting the dark and more about inviting the light in for a long stay.
You’ve probably seen the quick-tip articles: “Add a mirror!” or “Buy a lighter sofa!” And they aren’t wrong, but they’re incomplete. That’s like trying to fix a car engine with just a screwdriver. To get real results, you need to understand the ‘why’ behind the ‘what.’ This guide will walk you through the exact methods the pros use. We’ll get into managing natural light, layering your lamps and fixtures, and making smart choices that create a room that feels both bright and genuinely comfortable.
First, Let’s Talk About Light Itself
Before you even think about picking up a paintbrush, you need to understand the main material we’re working with: light. Knowing a few key concepts is like having a superpower. It turns pure guesswork into a confident plan.
Your New Best Friend: Light Reflectance Value (LRV)
Next time you’re at the paint store, grab a paint chip and flip it over. See that little number? That’s the Light Reflectance Value, or LRV. It’s a simple scale from 0 (absorbs all light, like a black hole) to 100 (reflects all light, like fresh snow). It literally tells you how much light a color will bounce back into your room.
This number is everything. For a dark room, I rarely even consider a wall color with an LRV below 60. For ceilings, you want to aim for 85 or higher. It’s why some whites feel so much brighter than others. For example, popular choices like Benjamin Moore’s ‘Chantilly Lace’ or Sherwin-Williams’ ‘Pure White’ hover in that high-80s to low-90s LRV range for a reason. A deep charcoal, by contrast, might have an LRV of around 5. Good to know: A premium gallon of high-LRV paint might run you $60-$80, but the performance and coverage are worlds better than a cheap $30 can. This is not the place to skimp.

Shiny vs. Soft: How Light Bounces
Light doesn’t just bounce; it bounces in different ways. Knowing the difference is key.
One way is a specular reflection. Think of a mirror. Light hits it and bounces off at a single, predictable angle. This is great for shooting a beam of light from a window to a specific dark corner.
The other, and arguably more important, way is diffuse reflection. This is what happens when light hits a matte surface, like a wall with a flat paint finish. The light hits it and scatters softly in every single direction. This is what makes a room feel bright all over, without glare. A big wall painted in a high-LRV matte color does more to raise the overall brightness of a room than a small mirror ever could. The mirror creates a hotspot; the wall creates a bright environment. The best spaces use a smart mix of both.
Not All Light Is Created Equal: Color and Quality
Light has a color, or ‘temperature,’ measured in Kelvin (K). Lower numbers, around 2700K, give off that warm, cozy, yellowish glow we associate with traditional light bulbs. Higher numbers, like 4000K to 5000K, produce a cooler, blue-white light that feels more like daylight. That choice dramatically changes the mood and how your paint colors appear.
Even more important, though, is the Color Rendering Index, or CRI. This is a scale up to 100 that tells you how accurately a light source reveals the true colors of objects. Ever buy a shirt that looked perfect in the store, but weird outside? That’s low CRI at work. For inside my clients’ homes, I won’t use a bulb with a CRI below 90. A high-CRI bulb makes your paint, art, and furniture look rich and vibrant. A low-CRI bulb, even if it’s bright, will make everything look dull and a bit lifeless. It’s a detail the pros never, ever miss. You can find high-CRI (90+) LED bulbs from brands like Cree and Philips at most home improvement stores.
Quick Wins: Brighten Your Room This Weekend
Okay, I get it. Sometimes you need results NOW and don’t have the time or budget for a full renovation. Here are three things you can do this weekend for under $100 that will make a real difference.
- Seriously, Just Clean Your Windows. Inside and out. You would be shocked at how much light a thin layer of dust and grime can block. It’s free and takes an hour.
- Swap Your Bulbs. Take the five most-used light bulbs in that room and swap them for high-CRI (90+) LEDs. Aim for around 800 lumens for standard brightness and 3000K for a warm, inviting (but not yellow) light. This might cost you $30-$50 and the difference is immediate.
- The Big Mirror Trick. Forget scattering little decorative mirrors around. Go to a store like Target or IKEA and buy the biggest, simplest framed (or frameless) mirror you can afford. Hang it on the wall directly opposite your main window. It will literally double the light from that source.
Let the Sunshine In: Working with Natural Light
Natural light is the gold standard. It’s free, it feels great, and it connects us to the outdoors. Your first job is always to maximize every single sunbeam you can get.
Making Bigger Holes (The Pro-Level Stuff)
The most dramatic way to get more light is, well, to make bigger openings. This is a serious step with serious costs, but the payoff is huge.
Swapping a solid door for a French door or a sliding glass door can transform a room. Enlarging a window can do the same. A word of caution: this is NOT a DIY job. You must consult a structural engineer to ensure the wall can handle the change. A project like this can easily run into the thousands of dollars and requires permits.
For rooms stuck in the middle of the house, a skylight is an amazing option, but a poorly installed one is a guaranteed roof leak. A more practical and often cheaper alternative is a solar tube. It’s a reflective pipe that funnels a surprising amount of daylight from your roof down to a diffuser in your ceiling. They’re fantastic for windowless hallways and bathrooms. Expect to pay somewhere between $600 and $1,500 to have one professionally installed.
Your Secret Weapon: Surface Finishes
This is where the real magic happens. Your walls, ceiling, and floor are giant reflectors. Using them wisely is the key.
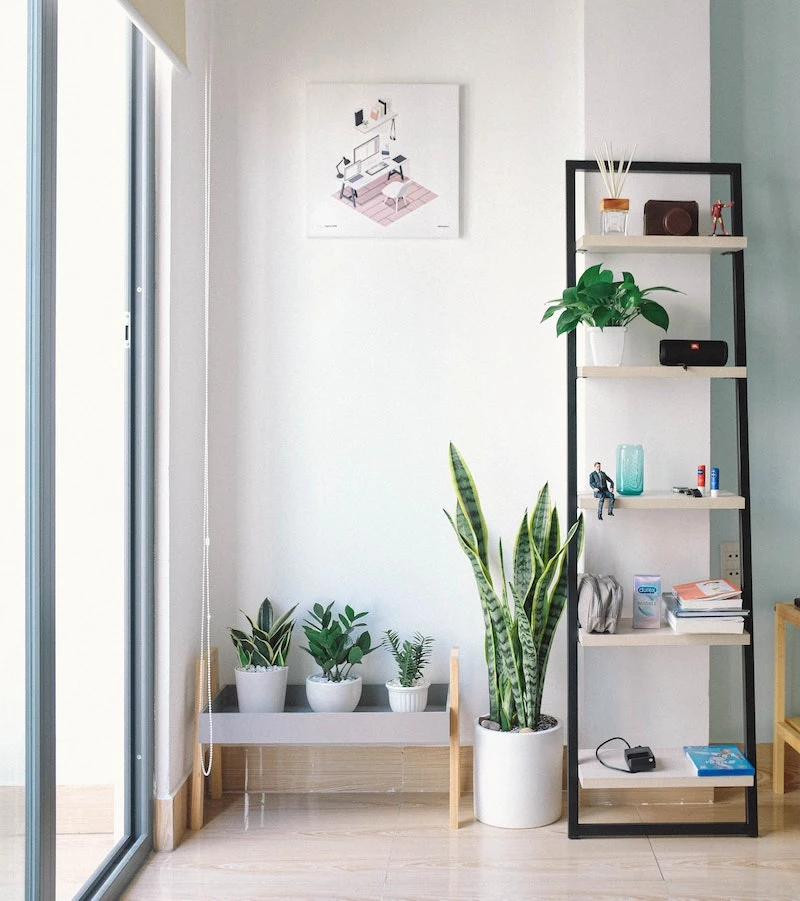
Walls and Ceilings: Your ceiling is the most important reflective surface in the room. I almost always paint ceilings a flat, bright white (LRV 85+). The flat finish diffuses light beautifully and hides imperfections. For walls, the paint’s sheen is just as important as the color.
- Flat or Matte: This is my go-to for living rooms and bedrooms. It’s the best for scattering light softly and hiding any bumps on older walls. The only downside is it’s not very scrubbable.
- Eggshell or Satin: These have a subtle glow and reflect a bit more light. They’re also way more durable and easy to clean, so I use them in kitchens, bathrooms, and hallways. The catch? That sheen will highlight every little flaw in your drywall. Your prep work has to be flawless.
I learned this the hard way on an early job. I used a satin finish on some old plaster walls that got hit by the afternoon sun. The light raked across them and every tiny crack and patch screamed for attention. I had to repaint the whole room in a high-quality matte finish to make it look right.
Flooring: Dark floors are light-suckers. Lighter-toned flooring like pale oak, maple, or even a light-colored LVP (Luxury Vinyl Plank) can make a huge impact. The finish matters, too. A high-gloss finish will create sharp, specular reflections that can be glary. A satin or matte finish gives a gentler, more pleasant glow.
The Art of Artificial Light: A Layered Approach
At night or on a gray day, even a room full of windows needs help. The single biggest mistake I see is one lonely, harsh ceiling light in the center of the room. It creates a sad puddle of light and leaves the corners in shadow. A proper lighting plan uses three layers to create a space that’s both functional and beautiful.
1. Ambient Light: This is your general, overall light—the substitute for daylight. This layer can come from recessed lights, a central fixture, or track lighting. The goal is soft, even illumination. A quick rule for spacing recessed lights is to divide the ceiling height by two. So, for an 8-foot ceiling, space your lights about 4 feet apart.
2. Task Light: This is focused light for getting things done. Think under-cabinet lights for chopping veggies, a reading lamp by your favorite chair, or a lamp on a desk. Task lighting is what makes a room feel truly useful.
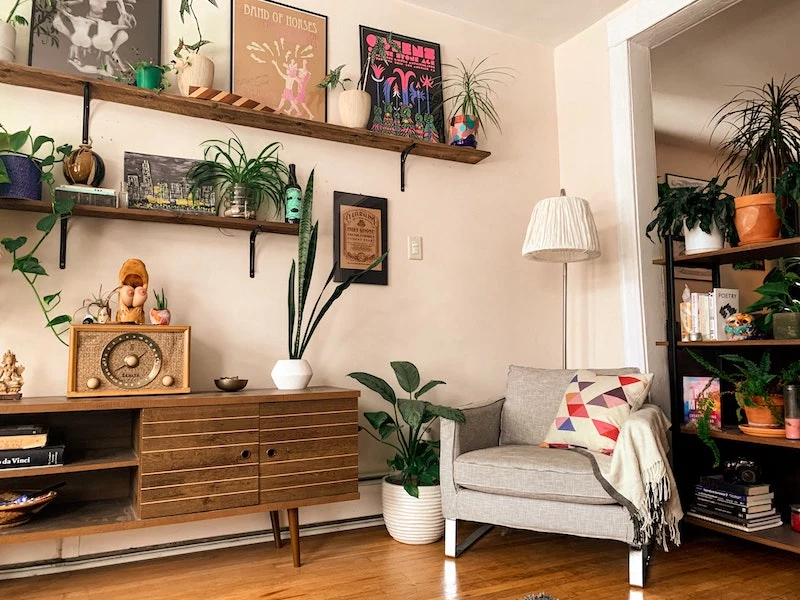
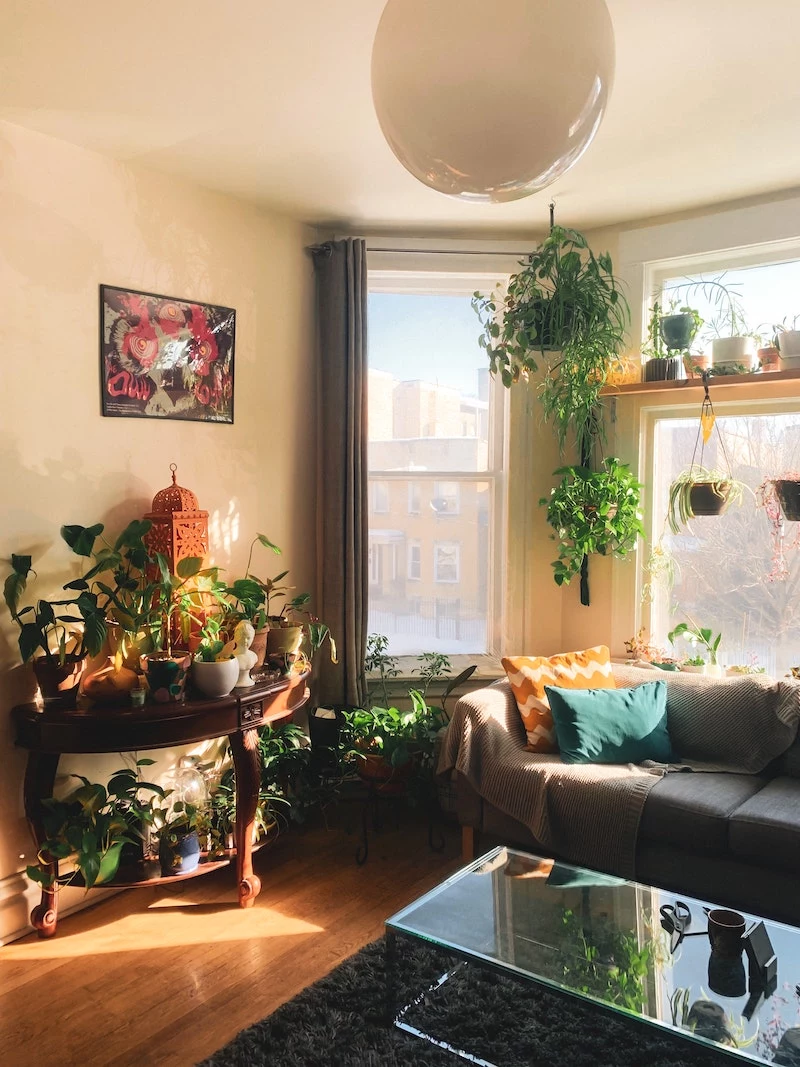
3. Accent Light: This is the fun layer! It adds depth and personality. You use it to highlight things you love, like a piece of art, a textured brick wall, or a beautiful houseplant. It’s what keeps a bright room from feeling sterile or flat.
So, for a typical 12×15 foot living room, a good recipe might be: four 4-inch recessed lights on a dimmer (Ambient), a cool floor lamp next to the sofa (Task), and a small uplight placed on the floor behind a big fiddle-leaf fig (Accent).
And please, put almost everything on a dimmer! It’s the most powerful tool for controlling a room’s mood. Hiring an electrician to swap a regular switch for a dimmer might cost between $100 and $250, and I promise you it’s the best money you’ll spend.
Finishing Touches: Furniture and Fabrics
Once your surfaces and lighting are dialed in, make sure your furniture doesn’t undo all your hard work.
Window Treatments That Don’t Block the Light
Bare windows can feel cold and offer zero privacy. The trick is to hang the right treatments the right way. Choose lightweight, sheer fabrics like linen or cotton. Then, follow this simple installation method:
- Go Wide: Get a curtain rod that extends at least 6-10 inches past the window frame on each side.
- Go High: Mount the curtain rod brackets 4-6 inches above the window frame.
- Stack Back: This high-and-wide placement makes your window feel bigger and allows you to pull the curtains completely clear of the glass, letting every bit of light stream in when they’re open.
Furniture That Breathes
Choose furniture that feels visually light. A sofa or chair with raised legs allows light to pass underneath it, making it look less like a heavy block. Glass or acrylic coffee tables are classics for a reason—they do their job without taking up visual space. For shelving, think about open-backed or ladder-style units instead of heavy, solid bookcases.
Dealing with Tricky Spaces
Not every room is a simple box. Here’s how to adapt these ideas for challenging spots.
Basements: I once worked on a basement that felt like a true dungeon. The key was an aggressive lighting plan and smart surface choices. We installed light-colored vinyl plank flooring, painted the exposed ceiling joists and all the ductwork a single, flat bright white to unify the space, and put in six slim LED wafer lights on a dimmer. It went from a place nobody wanted to be to the family’s favorite movie night spot.
Historic Homes: You can’t just start knocking bigger holes in a protected historic wall. Here, you have to work with what you’ve got. If there’s beautiful, dark wood trim you don’t want to paint, make the walls and ceiling as bright as possible to create a stunning contrast. Then, lean heavily on a great layered lighting plan, using things like plug-in wall sconces and elegant track lighting systems that don’t require tearing into original plaster.
Knowing When to DIY and When to Call a Pro
It’s awesome to improve your own home, but it’s critical to know your limits, both for quality and for safety.
Heads up! The most important warning I can give is about electrical work. Unless you are a licensed electrician, do not run new wiring or move junction boxes. The risk of fire is very real. Hiring a pro for a few hundred dollars is a non-negotiable investment in your family’s safety.
Here’s a quick breakdown:
- Great DIY Projects: Painting walls (plan for a full weekend if you’re a beginner!), hanging curtains and mirrors, assembling furniture, and swapping an existing light fixture (if you’re comfortable and ALWAYS turn off the power at the breaker first).
- Call a Professional For: All new electrical work (like installing recessed lights), any structural changes, skylight installation, and getting that perfectly smooth wall finish needed for high-sheen paints. A pro will cost more—hiring a painter for a room can be $500-$1000—but their speed, tools, and experience deliver a finish that’s hard to replicate on your first try.
Bringing light into a dark room is one of the most rewarding things you can do for your home. It literally changes how you feel every day. By moving beyond simple tricks and adopting a complete system, you can create a space that isn’t just brighter, but more beautiful, functional, and a true reflection of you.


