More Than Just Glass: The Pro’s Guide to Reviving Your Windows
I’ve been in the home restoration game for a good thirty years, and if there’s one thing I’ve learned, it’s that windows are the eyes of a house. They tell a story. I remember visiting a client’s home, and she was dead set on spending a fortune ripping out her old windows for new vinyl ones. They were definitely drafty and looked pretty sad with peeling paint. But I took a closer look and saw they were made from gorgeous, solid old-growth fir. The real problem wasn’t the windows; it was just years of being ignored.
In this article
We spent a single weekend bringing just one of them back to life, and wow, what a difference. The whole room felt brighter, the drafts vanished, and the home’s original character was saved, not tossed in a dumpster. That’s what this is all about. This isn’t about slapping on a cheap, temporary fix. It’s about understanding what you have, caring for it the right way, and making smart upgrades that will boost your home’s light, comfort, and value for the long haul.
First Things First: A Proper Clean and Inspection
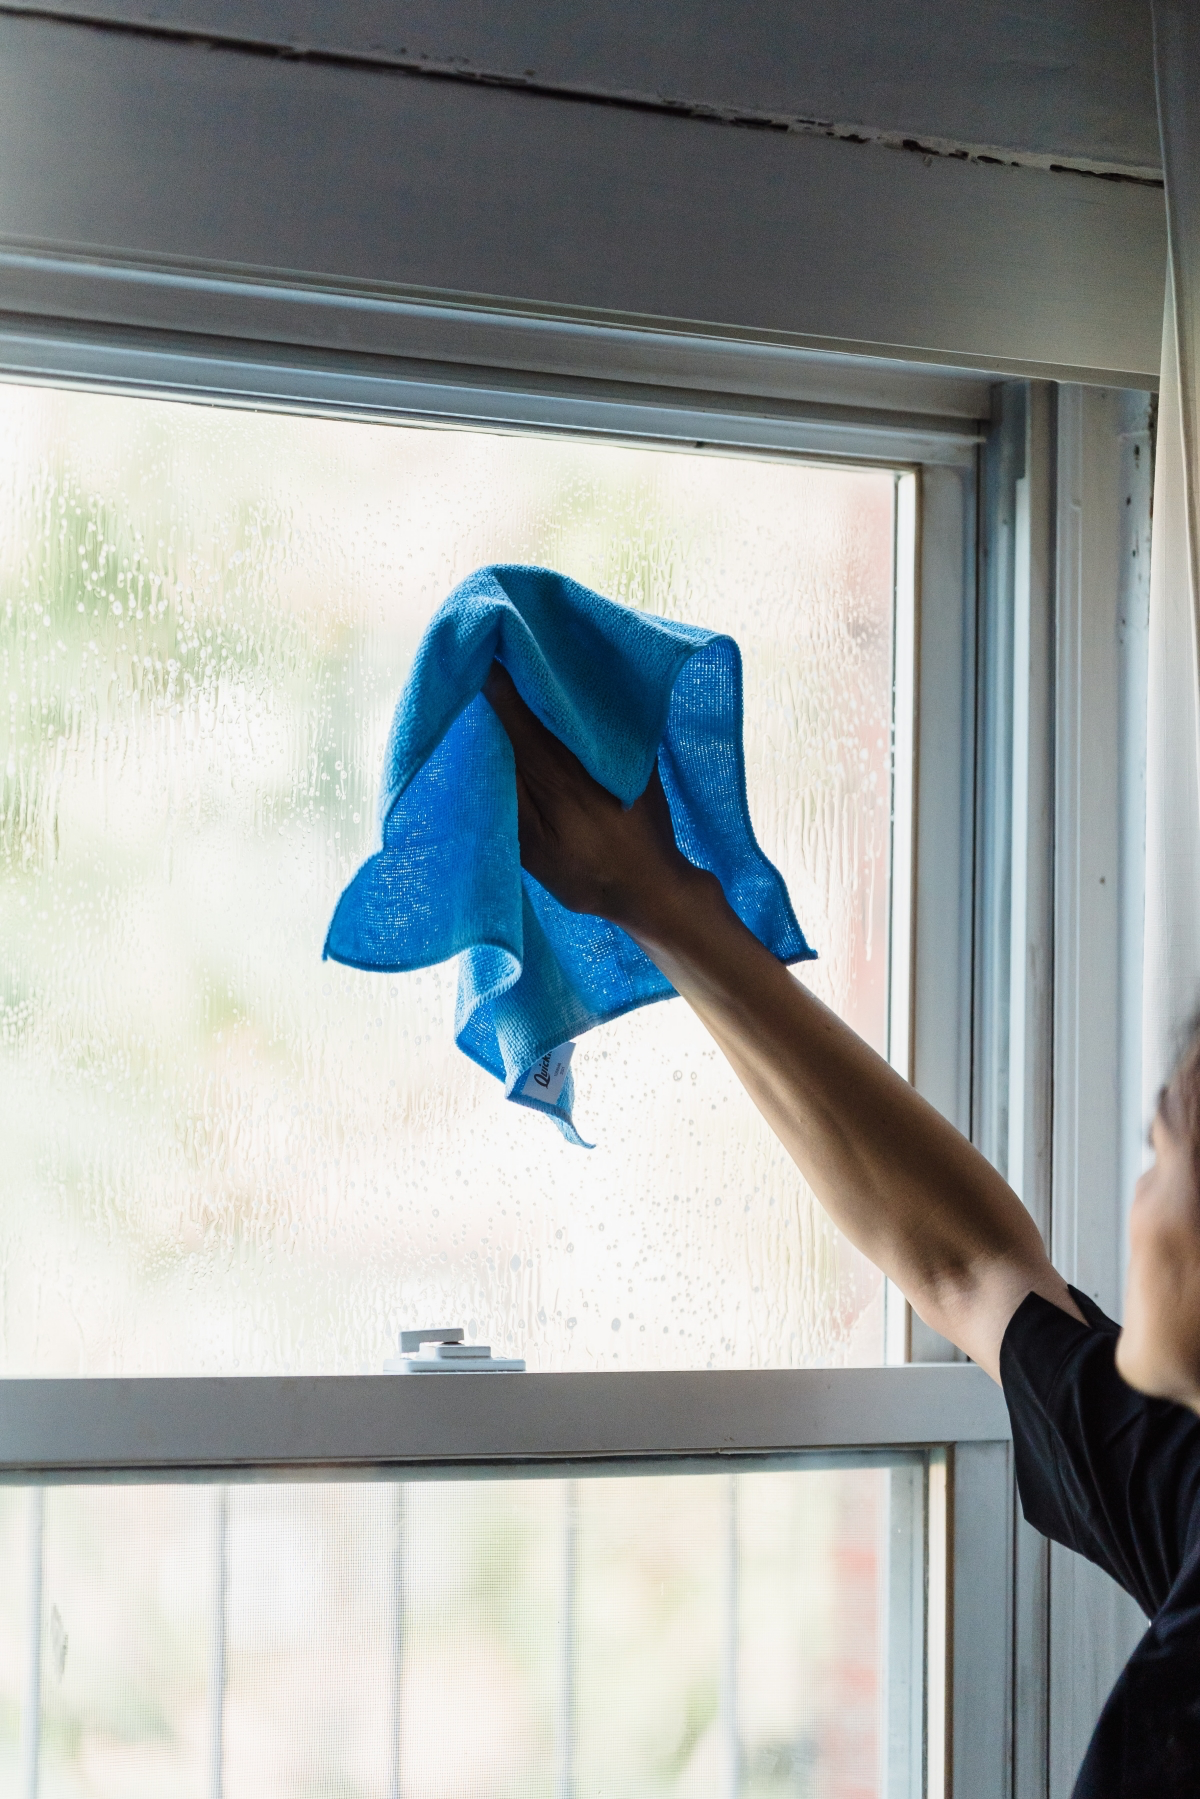
Let’s be honest, most people think of window cleaning as a boring chore. But I see it as the most important annual check-up you can give your home. A layer of dirt and grime does more than just make your view murky. It actually changes the quality of light coming in. That dusty film scatters sunlight, creating a hazy, gloomy feeling even on a bright day. Clean glass, on the other hand, lets light pass through in straight, parallel rays, making a room feel crisp, alive, and way more spacious.
But it goes deeper than that. That gunk, especially where the bottom of the window sash (that’s the moveable part of the window) meets the sill, acts like a tiny sponge. It traps moisture from rain and condensation right up against the wood and the glazing putty—the stuff that seals the glass. This constant dampness is basically an open invitation for mold and wood rot. A simple cleaning gets rid of that threat. Oh yeah, and for modern double- or triple-pane windows (the pros call them IGUs, or Insulated Glass Units), keeping those seals clean is crucial. Dirt can hide the first signs of seal failure, like that tell-tale fogging between the panes.
My Go-To Cleaning Method (and Shopping List)
First, step away from those bright blue sprays at the supermarket. Most are loaded with ammonia or alcohols that can, over time, damage tinted films and even the finish on your wood frames. My professional solution is ridiculously simple and cheap.
Here’s what you’ll need, which you can find at any hardware store or online:
- Distilled Water: About a gallon. It costs maybe $1.50 and is totally worth it because it has no minerals, which means no hard water spots.
- Basic Dish Soap: Just a single teaspoon.
- White Vinegar: A half-cup. This stuff cuts through any greasy residue like a champ.
- A Good Squeegee: Don’t cheap out here. A high-quality 12-inch squeegee will run you $20 to $30, but the sharp, flexible blade is the secret to a streak-free finish. Replace the rubber blade as soon as it gets nicked.
- Two Microfiber Cloths: One for washing, one for drying and detailing. A pack is usually under $10.
- An Old Toothbrush: For getting into the corners.
My process is methodical. First, I use the toothbrush to scrub any built-up gunk from the corners and along the edges of the glass. Then, I wash the glass with the soapy solution on a microfiber cloth—just enough to get it wet, not dripping everywhere. The squeegee part is key. I start at the top left, overlap each pull by about an inch, and angle the squeegee down slightly. And here’s the trick: after every single pull, I wipe the blade clean on my dry cloth. This stops you from dragging dirty water across the glass. A final wipe of the edges and sill with the dry cloth, and you’re done.
What to Look For: Your Inspection Checklist
While I’m cleaning, I’m always inspecting. It’s the perfect time to catch small problems before they become big, expensive ones. Here’s what I’m checking for:
- Spongy Wood: Gently press your knuckle against the wood frame and sill. Does it feel firm or a little soft and spongy? Sponginess means rot has started.
- Cracked Glazing Putty: Look closely at the putty holding the glass. If it’s brittle, cracked, or has chunks missing, water is definitely getting in behind the glass.
- Failed Seals: On double-pane windows, look for any haziness, moisture, or fog between the two panes of glass. This is a dead giveaway that the airtight seal has failed, the insulating gas is gone, and the window isn’t insulating anymore.
- Drafts: On a breezy day, you can literally feel for drafts around the edges of the sash. Or, you can use the classic incense stick trick and watch where the smoke wavers.
Heads up on safety: Please, never clean upper-story windows by leaning way out of a ladder. It’s a classic way to lose your balance and take a nasty fall. If you can’t reach a window safely from inside or with an extension pole, just hire a pro. A professional window cleaning service is surprisingly affordable, and they have the right gear and insurance. Your safety is worth it.
The Frame Game: Repair and Refinishing
A beautifully painted window frame is like a custom frame for the masterpiece that is your view. But just slapping a coat of paint over problems is a total waste of your time and money. I guarantee those issues will bubble right back up in a season or two, and they’ll be even worse.
First, you have to figure out if you’re dealing with a simple cosmetic issue or something more serious. Peeling paint can just be from sun and weather. But often, it’s a sign that moisture is getting into the wood from behind and pushing the paint off. I use a sharp awl or even a screwdriver to gently poke any suspicious spots—especially the sill and the corners where wood joins. If the tool sinks in easily, you’ve got rot. If it’s firm, you’re likely just dealing with a surface problem.
How to Save a Rotted Window (Yes, It’s Possible!)
For smaller areas of rot, you don’t have to replace the whole window! A good two-part epoxy consolidant and filler system is my secret weapon here. This isn’t your grandpa’s wood putty that cracks and falls out. This is structural stuff you can often find at specialty paint stores or online for around $60 to $100 a kit—a bargain when you consider it can save a window worth thousands.

A quick tip: If more than about half of a major structural piece like the sill is soft and punky, you might need to think about a more serious carpentry repair. But for corners and smaller sections, this method is fantastic. The whole process will take a weekend, mostly because of drying times.
- Dig Out the Bad Stuff: First, use a 5-in-1 painter’s tool or a sharp scraper to dig out every last bit of soft, rotted wood fiber until you hit solid wood.
- Harden the Wood: Next, you saturate the area with the liquid epoxy consolidant. It soaks into the remaining wood fibers and hardens them like a rock, creating a solid base for the filler.
- Fill the Void: Once that’s tacky, you mix the two-part filler, which has a consistency like modeling clay. Press it firmly into the repair area, overfilling it just a little.
- Shape and Sand: After it cures (give it a full 12-24 hours), this stuff is incredible. You can sand it, drill it, and shape it just like real wood. It even expands and contracts with the wood around it, so it won’t crack.
Once the repairs are done and everything is sanded smooth (I use 80-grit paper then finish with 120-grit), it’s time for primer. For bare wood or epoxy, an oil-based primer is non-negotiable. It blocks wood tannins from bleeding through and gives the best grip for your topcoat. Then, two coats of a high-quality 100% acrylic latex exterior paint will give you the best flexibility and weather resistance.
Lesser-known trick: To get a perfectly crisp paint line on the glass, forget painter’s tape—it always bleeds. Instead, press a wide putty knife or a metal paint shield against the glass, right where it meets the wood. Paint right up to it. If you make a small mistake, don’t sweat it. You can easily scrape it off with a razor blade once the paint is fully dry.
CRITICAL SAFETY WARNING: If your house was built before the late 1970s, you HAVE to assume your windows are coated in lead-based paint. Creating dust by scraping or sanding this stuff is extremely toxic, especially for kids. This is not a DIY job. You need to use lead-safe practices like wet-sanding and HEPA vacuums. To be frank, I strongly advise hiring a certified pro for this. It’s a serious health risk you don’t want to take.
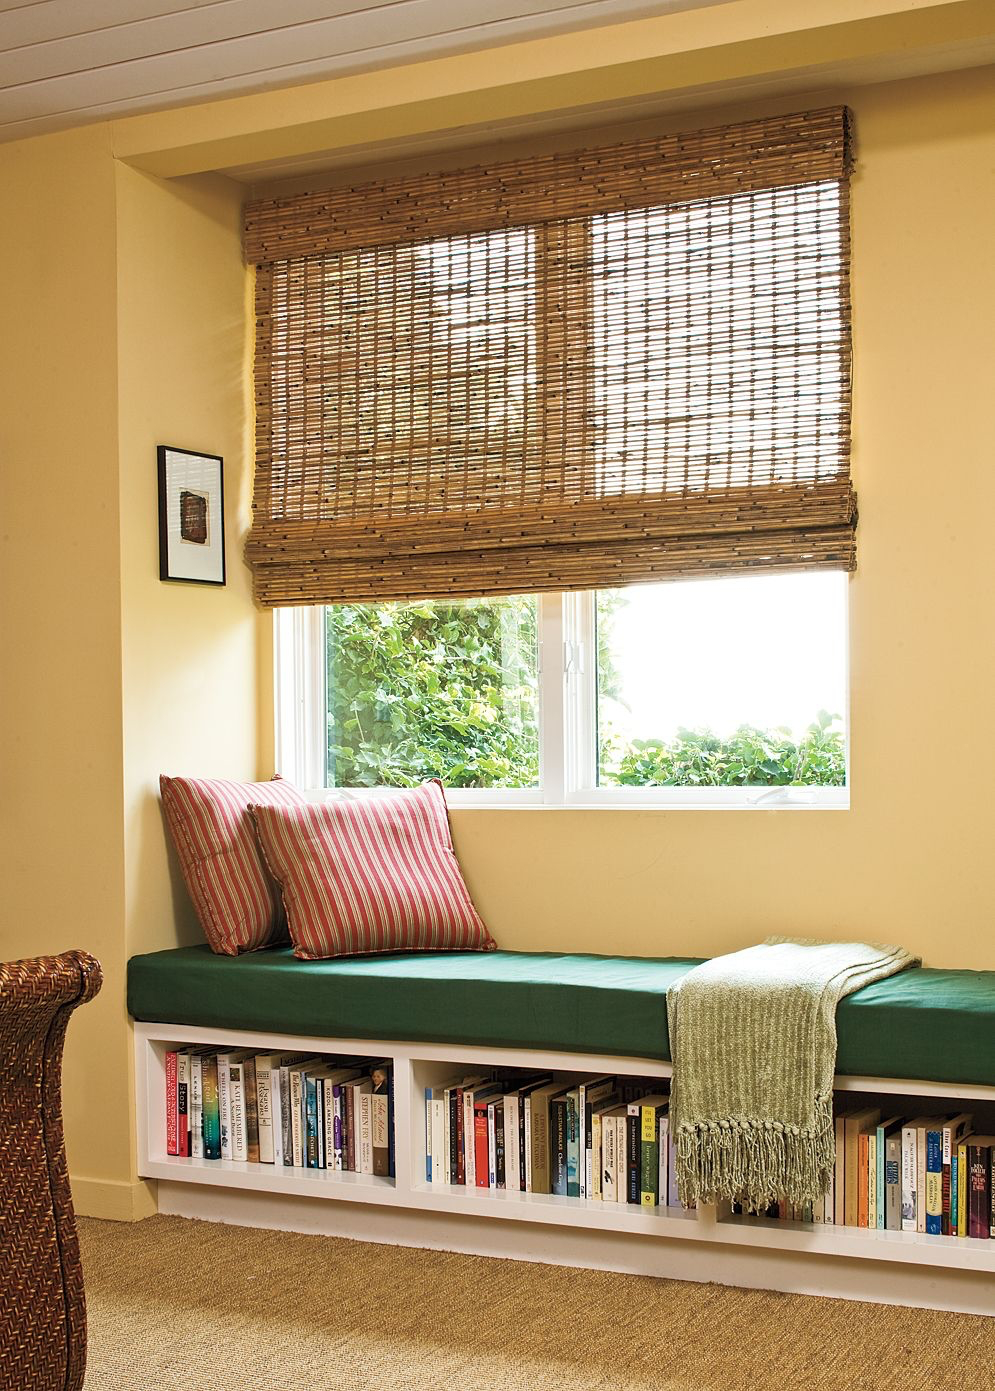
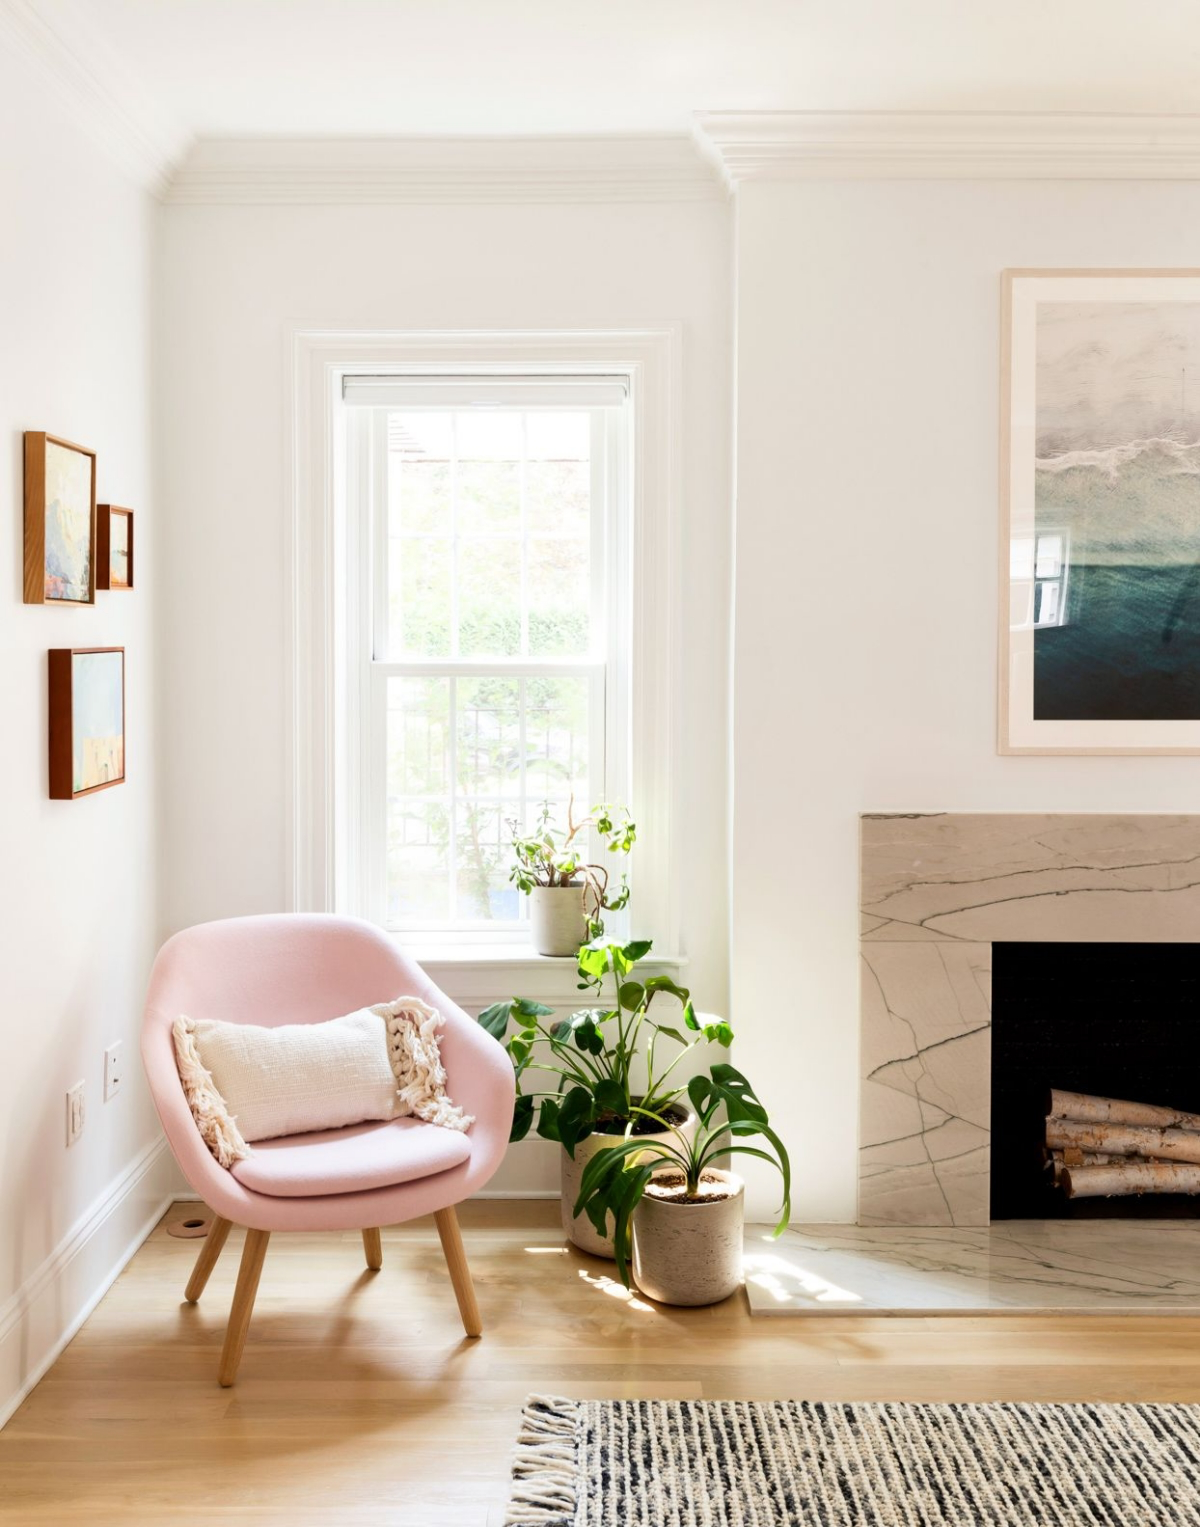
Window Treatments: More Than Just Decoration
Window treatments aren’t just about looks; they’re hard-working tools that manage light, give you privacy, and can seriously improve your home’s energy efficiency. A bare window is basically a hole in your wall when it comes to insulation.

Here’s a quick rundown of your main options, thinking about function first:
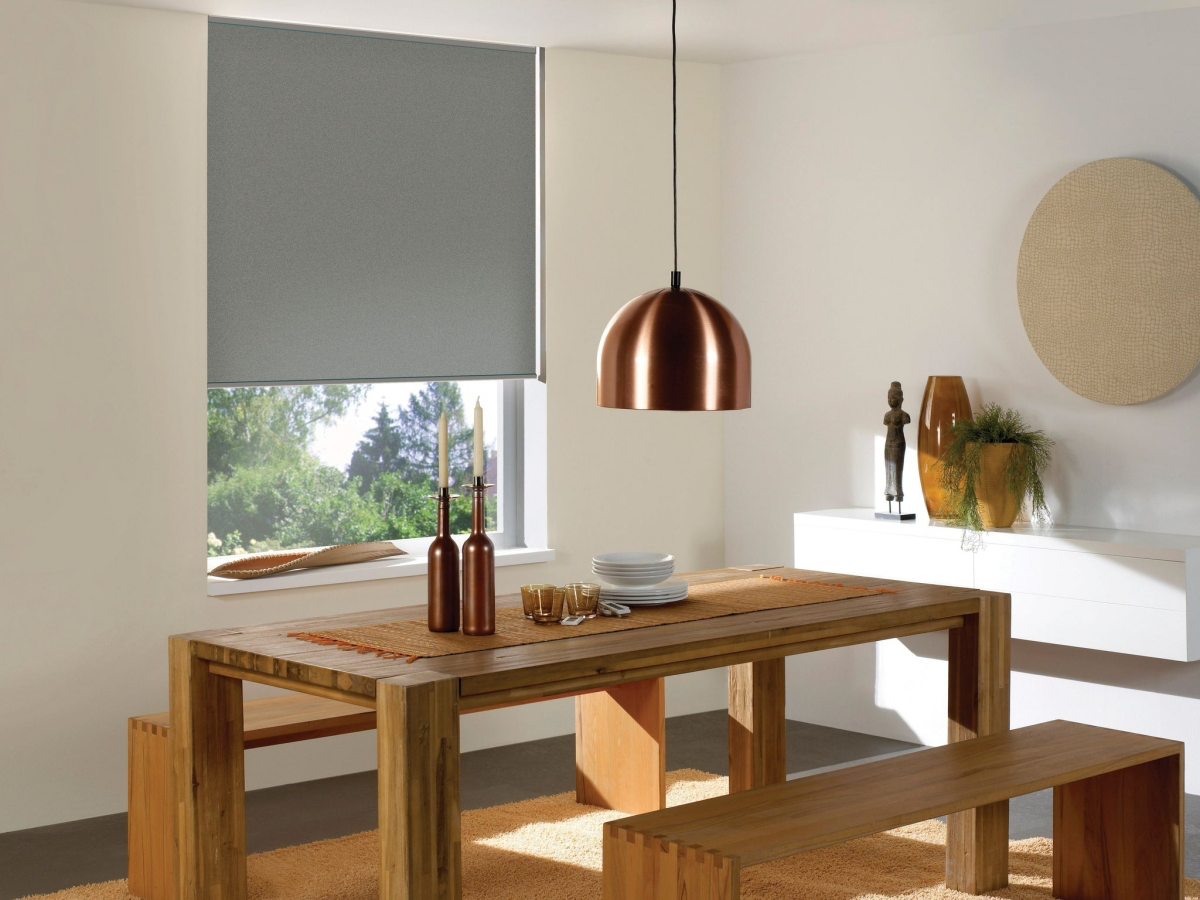
- Blinds (Wood, Faux-Wood, Aluminum): These are fantastic for controlling the direction of light. You can tilt the slats to bounce light onto the ceiling and brighten a room without getting blasted by direct sun. On the downside, they offer very little in the way of insulation. They are often the most budget-friendly choice.
- Shades (Cellular, Roman, Roller): This is where you start getting real insulation. Cellular shades are the superstars of energy efficiency; their honeycomb pockets trap air, creating a real barrier against heat and cold. I’ve seen clients’ heating bills drop after installing these. Roman shades offer a softer, more traditional look and can be lined for extra thermal or blackout power.
- Draperies: Don’t underestimate a good, heavy, lined curtain. When closed fully, a thick drape creates a large pocket of sealed air, making it the best insulator of all. This is a classic, effective solution for drafty windows in cold climates.
- Interior Shutters: Think of these as a permanent architectural upgrade. They offer amazing light control, privacy, and security. Because they fit tightly to the frame, they also provide a good amount of insulation and can add to your home’s resale value.
- Window Films: A great modern option! You can get films that block UV rays to protect your floors and furniture, films that offer daytime privacy, or frosted films for bathrooms, all without blocking the light completely.
One of the biggest mistakes people make is measuring incorrectly. For an inside mount (where the treatment fits inside the window casing), you have to measure the width at the top, middle, and bottom, and the height on the left, middle, and right. Always use the SMALLEST of each measurement to make sure it will operate smoothly. For an outside mount on the wall above, just add at least two inches to each side of the window opening to block light leaks.

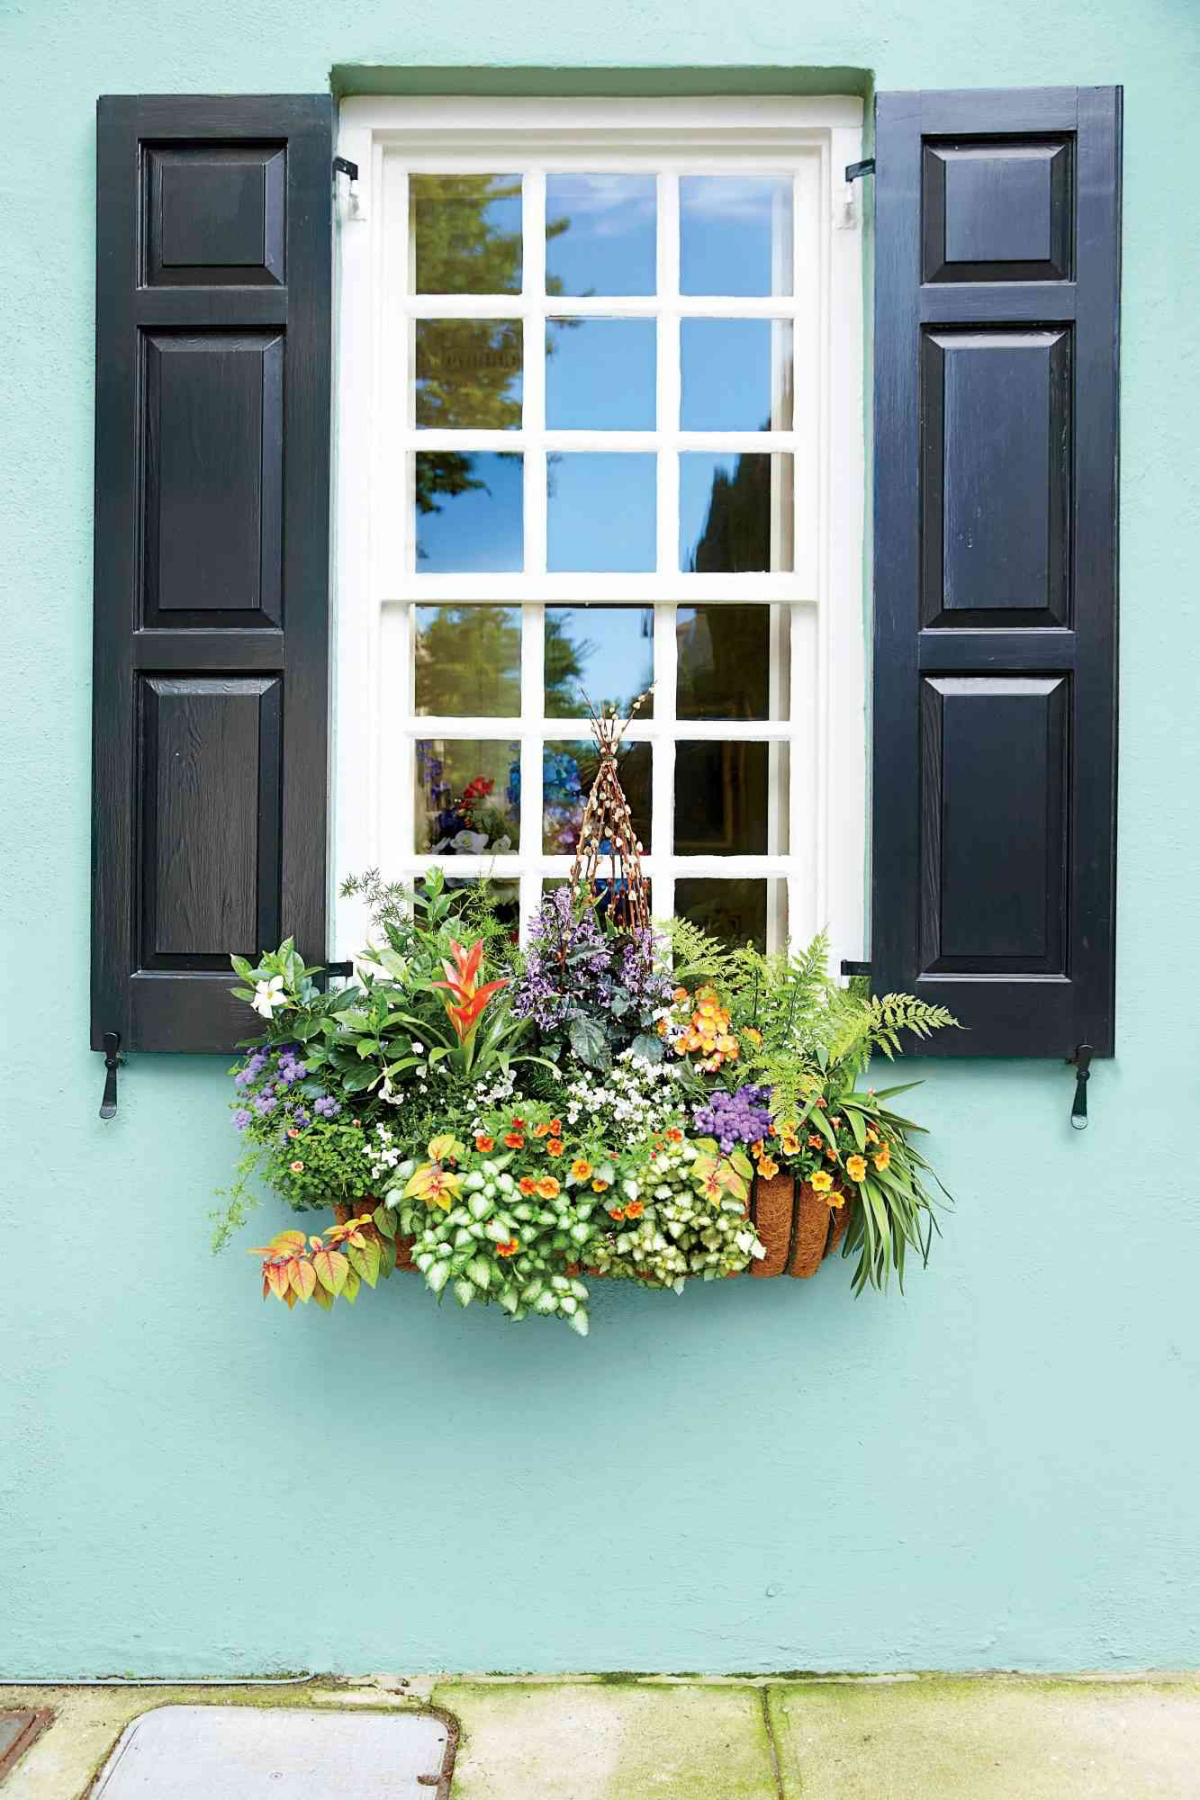
Don’t Forget the View: Landscaping and Exterior Touches
A window is a frame, and what you see through it matters. A little thought on the outside can dramatically improve the view from the inside and boost your curb appeal.
Window boxes are a perfect example. They add so much charm, but I’ve repaired a lot of rotted walls from boxes that were installed poorly. If you’re going to add them, do it right. Choose a box made of a rot-resistant material like cedar or a modern composite, and make sure it has drainage holes. Most importantly, when you install it, use brackets that create a small air gap (about a half-inch) between the box and your house. This lets air circulate and prevents moisture from getting trapped against your siding—the number one cause of rot.
Inspiration:

Your windows are clean, but what about those persistent drafts the article mentions?
The secret to eliminating them lies in choosing the right weatherstripping. Your choice depends on your window type and your commitment to historical accuracy.
For the Purist: Spring Bronze. This is the classic, high-performance option for old wood windows. It’s a thin, durable metal strip that’s nailed into the window jamb. When the sash closes, it compresses the bronze, creating a tight, long-lasting seal that’s virtually invisible. It’s a bit more work to install but can last for a century.
For the Pragmatist: Adhesive V-Seal. A fantastic modern alternative, brands like Frost King offer self-adhesive polypropylene strips that fold into a “V”. You simply cut them to size and press them into the window channels. They are excellent at blocking drafts and are a much quicker, more forgiving DIY project.


