What Your Front Entry Is Secretly Telling People (And How to Fix It)
I’ve been a residential builder for what feels like a lifetime. After walking up to thousands of homes, I can tell you this for sure: a house starts talking long before you even get to the front door. That first impression isn’t just about looking nice; it’s a gut-level story about care, safety, and pride.
In this article
When I’m on a consult, I can practically diagnose a home from the street. I see the little clues of consistent upkeep or, more often, the quiet signs of neglect that are about to become big, expensive problems.
But this isn’t about dropping a fortune on a massive makeover. It’s about being smart and making choices that last. It’s about understanding what makes a home feel solid and truly welcoming. We’re going to cover the same ground I’ve taught apprentices for years, starting from the curb and walking all the way inside. I’ll share the pro techniques, the ‘why’ behind them, and some honest truths I’ve learned on countless job sites.

Why First Impressions Actually Matter
A good first impression isn’t just fluff; it’s deeply rooted in how our brains work. We are all hardwired to scan our surroundings for signs of safety and order. When a guest, a potential buyer, or even just you approaches your home, their mind is rapidly—and subconsciously—sizing the place up.
The Psychology of a Welcoming Home
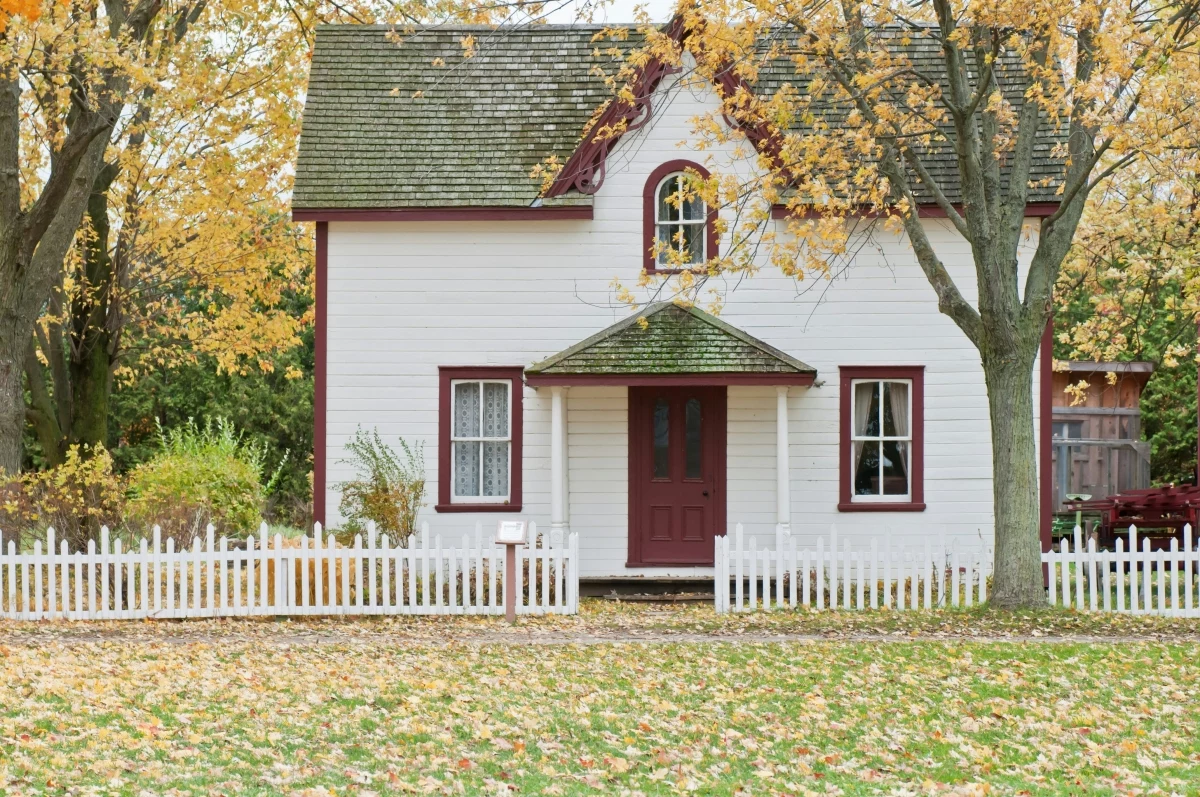
Our brains love symmetry, clean lines, and clear, unobstructed paths. Think about it: a straight walkway, a well-proportioned porch, and a freshly painted door all signal that things are under control. It creates an immediate feeling of security, sending a message that this home is cared for and safe.
On the flip side, a cracked path, peeling paint, or overgrown bushes can trigger a subtle, nagging sense of unease. These things hint at neglect and potential hazards. Clutter on the porch makes an entrance feel blocked off. A dark, shadowy entry at night? That can feel genuinely unsafe. When you fix these things, you’re not just decorating; you’re communicating safety and stability on a primal level.
Water: A Home’s Worst Enemy
Honestly, the biggest threat to any house is water going where it shouldn’t. Almost every major exterior issue I’ve ever had to fix boils down to moisture damage. That’s why a professional’s eye is always drawn to drainage. Understanding a few basic principles here is the key to preventing problems instead of just reacting to them.
I’ll never forget one house where the owner couldn’t figure out why their basement was constantly damp. The fix? Their downspout was emptying directly into a basement window well. Sometimes the fix is that simple, but only if you know what to look for.
- Groundwater Pressure: When the soil around your foundation gets soaked, it becomes incredibly heavy and exerts immense pressure on your foundation walls. Over time, this can cause cracks, bowing, and leaks. This is a huge red flag for anyone who knows what they’re looking at.
- Proper Grading: This is your number one defense. The ground right around your house should always slope away from the foundation. The universal rule of thumb, found in most building codes, is a drop of at least six inches over the first ten feet. This simple slope sends surface water packing before it can cause trouble.
- Wicking Action: Porous materials like concrete and brick can actually pull water upwards like a sponge. This is called capillary action. If the base of your brick porch is always damp, that moisture will travel up, causing concrete to flake and mortar to crumble. It’s why keeping water away from the base of everything is so critical.
Different materials also have their own quirks. Wood swells and shrinks, which is what causes paint to crack and peel. Vinyl siding expands and contracts with the heat, so if it’s nailed on too tightly, it will buckle on a hot day. Brick is tough, but its mortar joints are the weak link. Understanding these forces is the difference between slapping a patch on a problem and actually solving it for good.
Let’s Do a Professional Walk-Up Assessment
When I evaluate a home, I use a system. I start at the curb and work my way in, making sure I don’t miss a thing. You can use this exact same process to give your own home an honest check-up.
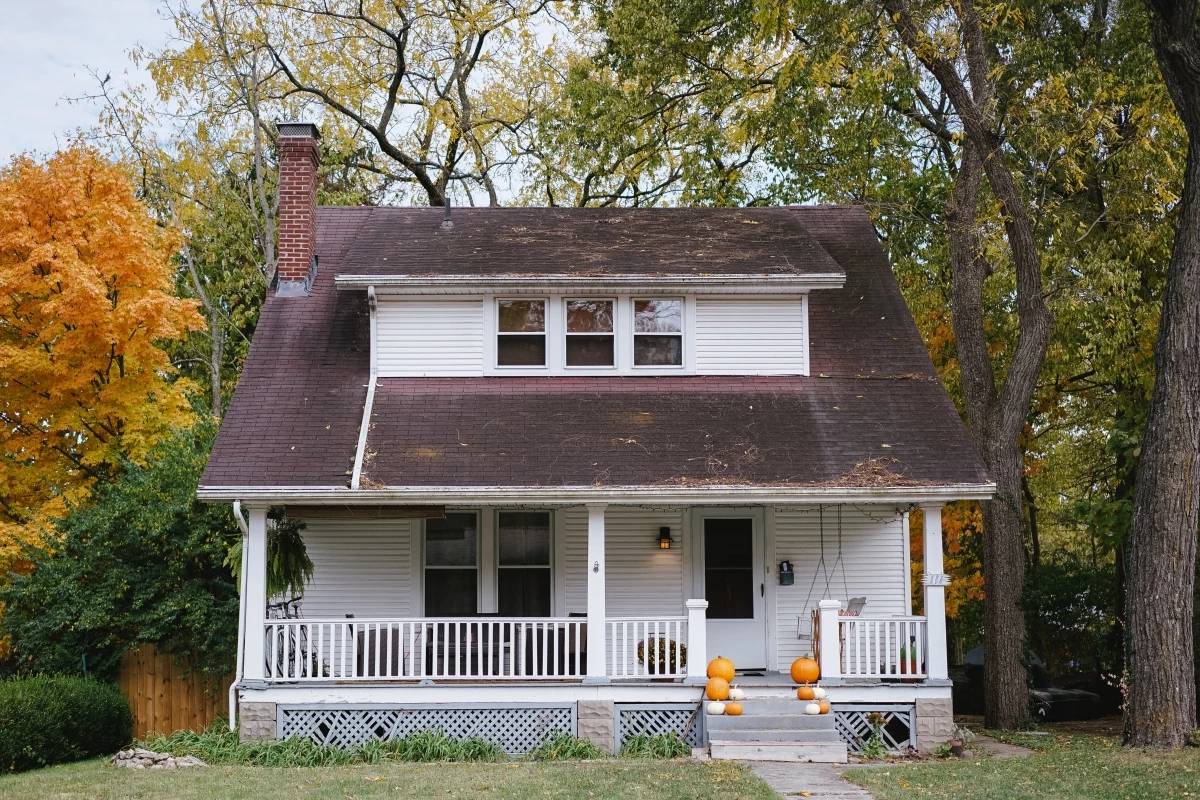
Step 1: The View from the Curb
Stand across the street and just look. What’s the big picture? Is the roofline straight or does it sag? A sagging roof is a major warning sign of structural issues. If you have binoculars, use them to check out the shingles. Are they curled, cracked, or missing? Then look at the chimney—is the masonry intact and is the flashing around its base tight against the roof?
Next, scan the landscaping. Are big tree branches hanging over the roof? They drop leaves that clog gutters and can snap off in a storm. Are large roots pushing up the driveway? That’s not just a trip hazard; they could be threatening your foundation or sewer lines.
Step 2: The Approach and Hardscaping
Now, walk slowly toward your house. Look down at the walkway and driveway. Hairline cracks in concrete are usually just cosmetic. But if you see cracks wider than a quarter-inch, especially where one side is higher than the other, that signals movement in the ground below—often from water or frost.
If you have pavers, are they all level? Sunken pavers are a super common trip hazard. It usually means the gravel and sand base underneath wasn’t compacted enough when it was installed, so it settled over time. Fixing it means pulling them up and rebuilding the base, which is labor-intensive but crucial for safety.
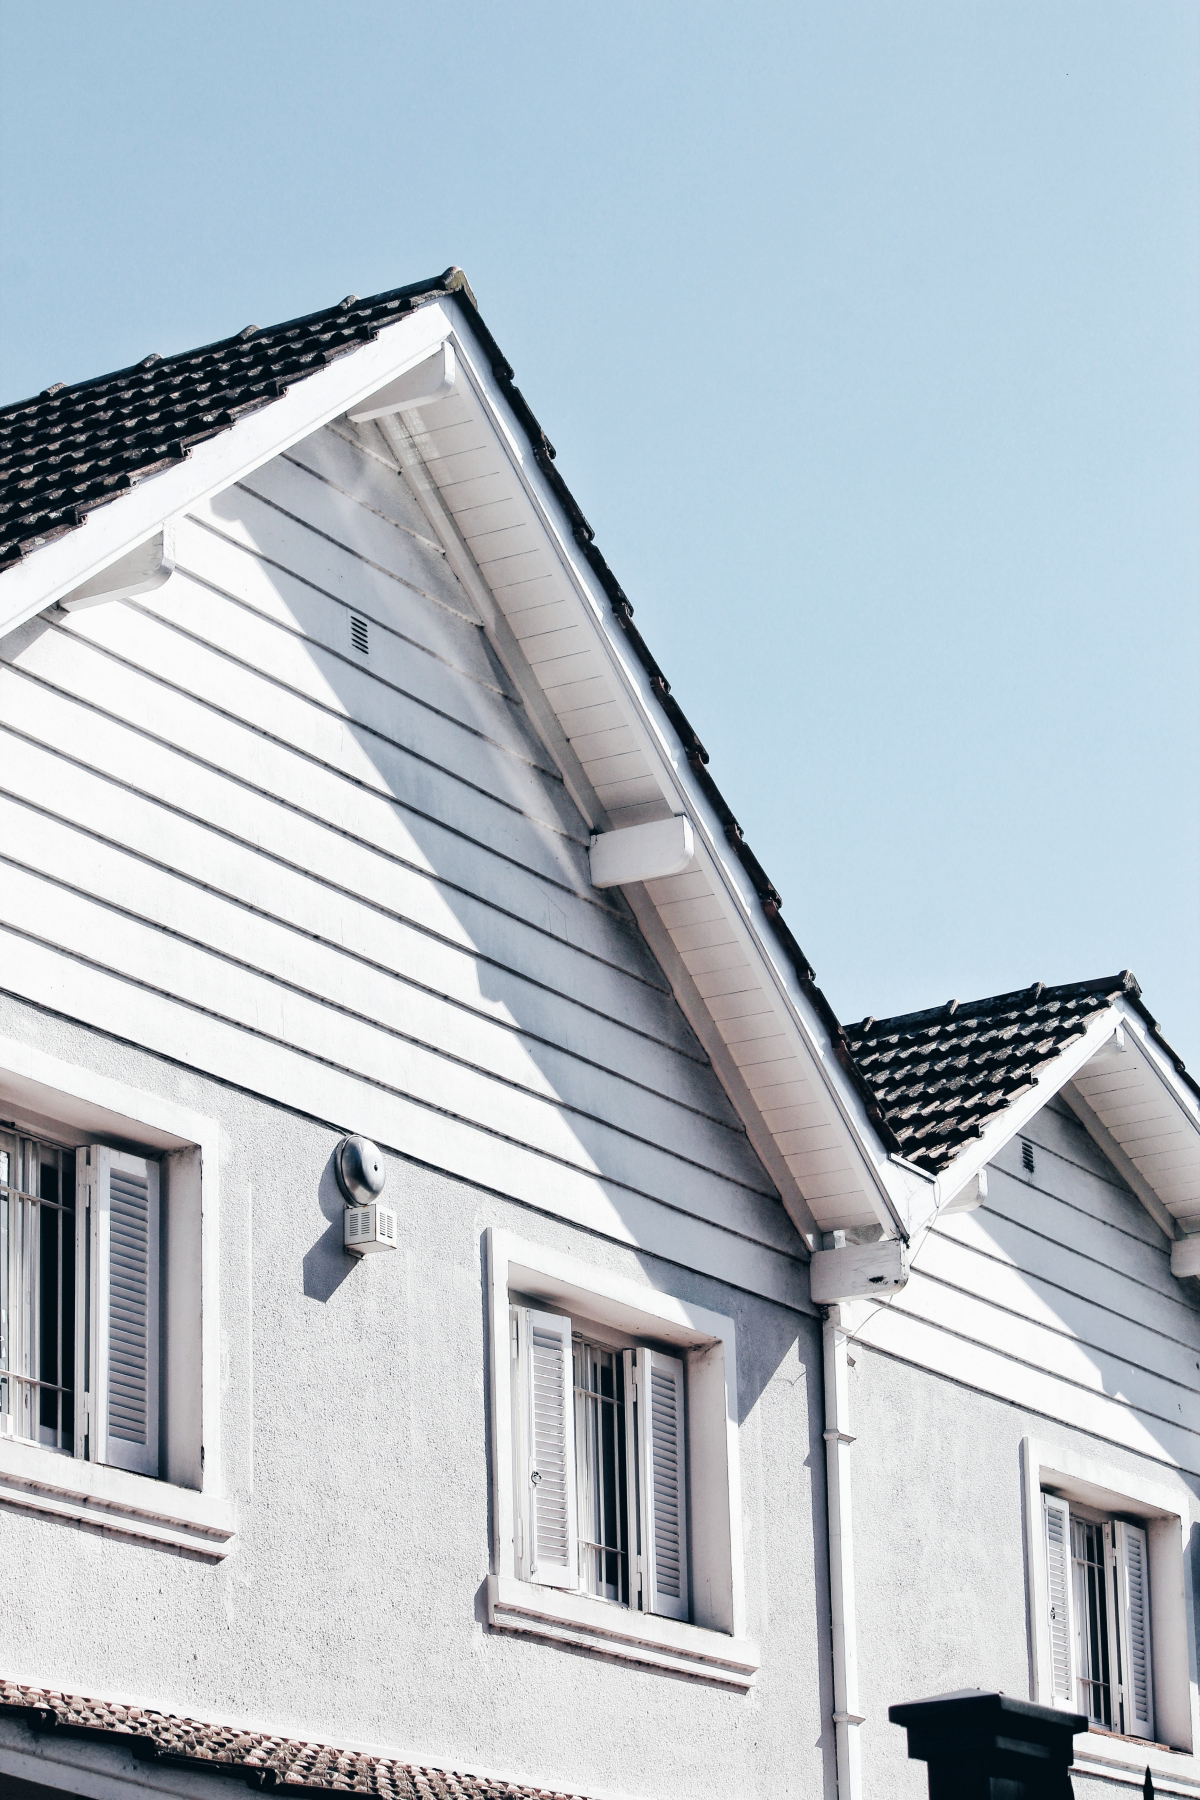
Step 3: The Façade Inspection
Get up close and examine the walls. For painted wood, look for peeling, blistering, or a chalky film. These are all signs the paint has failed. Pay extra attention to the corners and the areas right under windowsills.
For brick homes, check the mortar joints for gaps or crumbling. The fix is called repointing, and it’s a job that takes real skill to get right. For vinyl or fiber cement siding, look for cracks, warping, or seams that have pulled apart.
Step 4: The Entry Point (Your Porch and Door)
This is it—the focal point. Your porch and door get the most scrutiny. Check that the porch floor slopes slightly away from the house to shed water. Test the railings. Give them a good shake. A wobbly railing is a serious safety liability, not a minor issue.
Finally, the front door. A solid, well-maintained door sends a powerful message of security. Go try this right now: close your door on a dollar bill. If you can pull it out easily without any drag, your weatherstripping is shot and you’re losing energy. The fix is a simple roll of self-adhesive foam weatherstripping. You can get it for less than $15 at Home Depot or Lowe’s, and it takes 10 minutes to install. Easiest money-saving fix ever.
How Your Climate Changes Everything
Where you live has a massive impact on home care. A one-size-fits-all approach is a recipe for failure. The challenges in a snowy climate are totally different from those in a hot, humid one.
Cold & Snowy Climates
Here, the big battle is against frost and ice. When water in the soil freezes, it expands with incredible force, pushing walkways and even foundations upward. This is why footings for porches have to be dug below the local frost line.
Ice dams on the roof are another enemy. They form when heat escaping your house melts snow, which then refreezes at the cold edge of the roof. Water gets trapped, backs up under the shingles, and leaks into your home. The real fix is better attic insulation and ventilation.
A quick tip for planters: try something tough like Coral Bells (Heuchera). They’re hardy perennials that survive the winter and come in amazing colors.
Hot & Humid Climates
In the South, you’re fighting a constant war against moisture, sun, and bugs. High humidity is a perfect breeding ground for mold, mildew, and wood rot. Good ventilation is everything. Siding choices like fiber cement are popular for a reason—they resist rot and pests way better than wood.
For your planters, you can’t go wrong with a classic like Kimberly Queen Ferns. They love the humidity and create a lush, welcoming look.
Dry & Arid Climates
In desert regions, the intense sun and wild temperature swings are your main problems. UV rays absolutely destroy paint and sealants. You need high-quality acrylic latex paints with UV inhibitors. Stucco is common, but it develops tiny cracks that must be sealed to keep water out during the rainy season.
Landscaping here is all about being water-wise. For planters, go with something dramatic and low-water like a ‘Whale’s Tongue’ Agave. It makes a statement and thrives in the heat.
Practical Fixes for a Better Entryway
You can make a huge difference without a massive budget. Here are some real-world solutions, broken down by effort.
Low-Effort, High-Impact Weekend Projects
- A Good Power Wash: This can make siding, walkways, and porches look brand new. But a word of caution: use the right pressure! A narrow, high-pressure stream can scar wood or break window seals. For most siding, 1,500 to 2,000 PSI is more than enough. And never, ever spray upwards under the siding laps.
- Paint the Front Door: This is the single best bang for your buck. The key is good prep. A complete refresh is a great weekend project—plan for 4-6 hours of actual work, with drying time in between. Your shopping list: a quart of high-quality exterior paint ($20-$40), a can of primer ($15-$25), sandpaper ($5), painter’s tape ($5), and a good 2.5-inch angled brush ($15). For under $100, you can completely transform your home’s focal point.
- Update Your Hardware: New house numbers, a new mailbox, or a stylish light fixture can instantly modernize an entry. Choose a finish that complements your home’s style.
- Add Potted Plants: Two large, attractive planters flanking the front door create a welcoming vibe. Just be sure to pick plants that are right for the amount of sun your entry gets.
Knowing When to Call a Professional
You have to be honest with yourself. Some jobs are not for DIY-ers and can become dangerous or more expensive if you get them wrong. Call a pro for:
- Roofing Issues: Don’t mess around up there. It’s dangerous work that requires training and insurance.
- Major Foundation Cracks: Any horizontal crack or a vertical one that’s getting wider needs an expert eye. Getting a structural engineer to take a look might run you $300 to $700 for an assessment, but that’s nothing compared to the cost of a major failure.
- Extensive Wood Rot: If you find soft, crumbling wood in your porch structure, you need a real carpenter to fix it properly.
- Repointing Brick: Matching old mortar is an art form. A bad repointing job looks awful and can permanently damage the bricks.
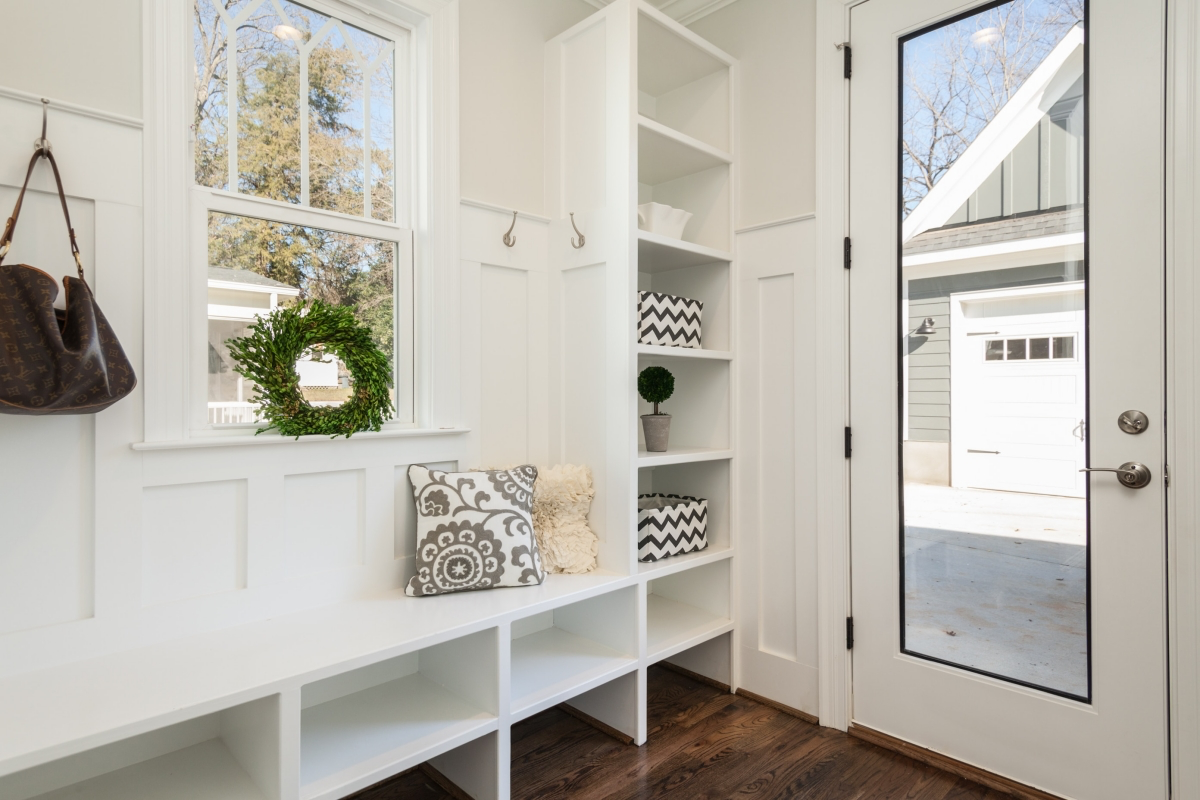
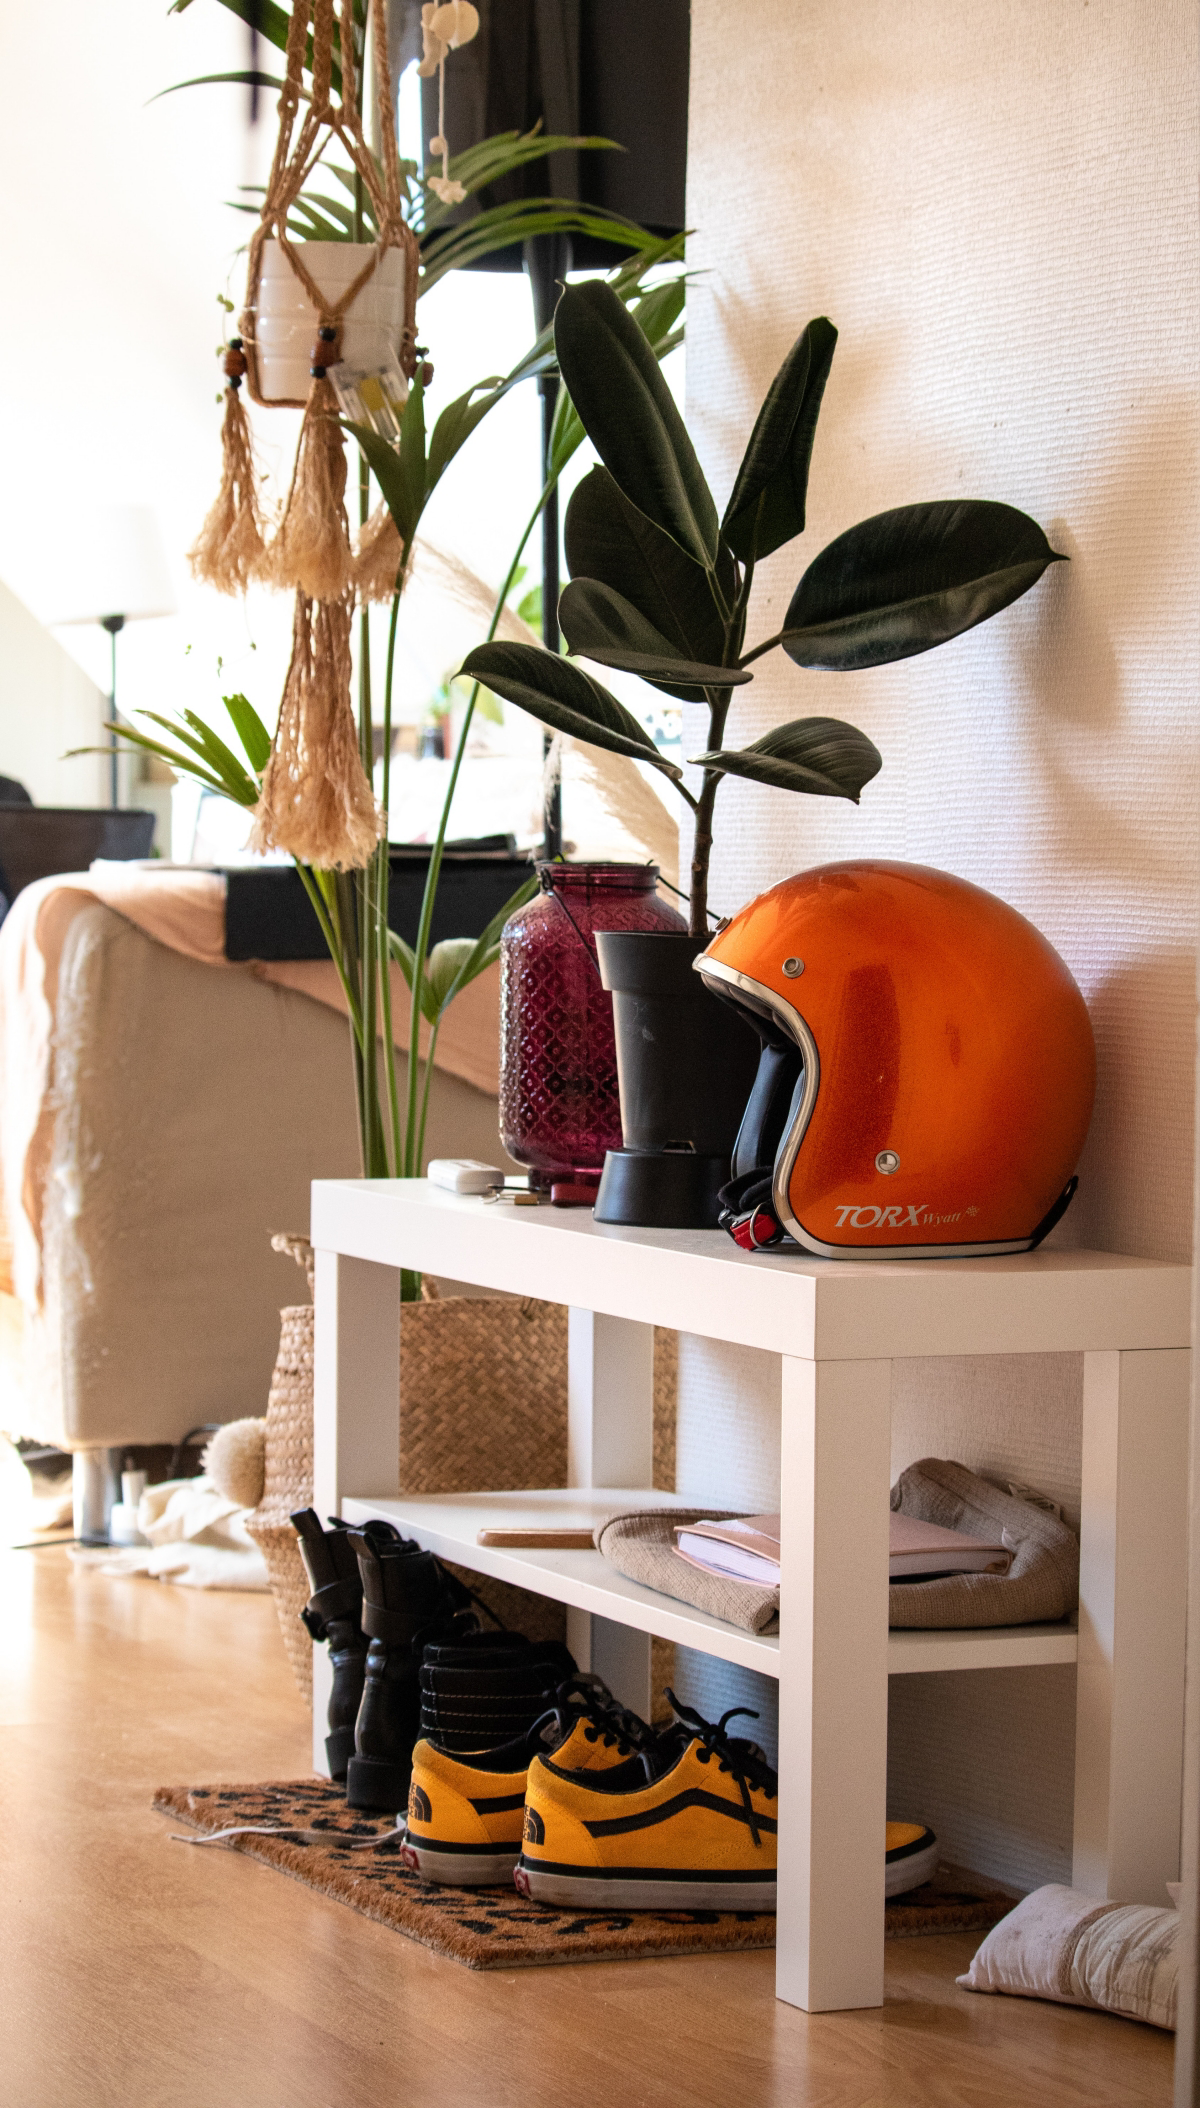
Taking It Inside: The Entry Hall
The experience continues the second you open the door. Your foyer needs to be functional above all else.
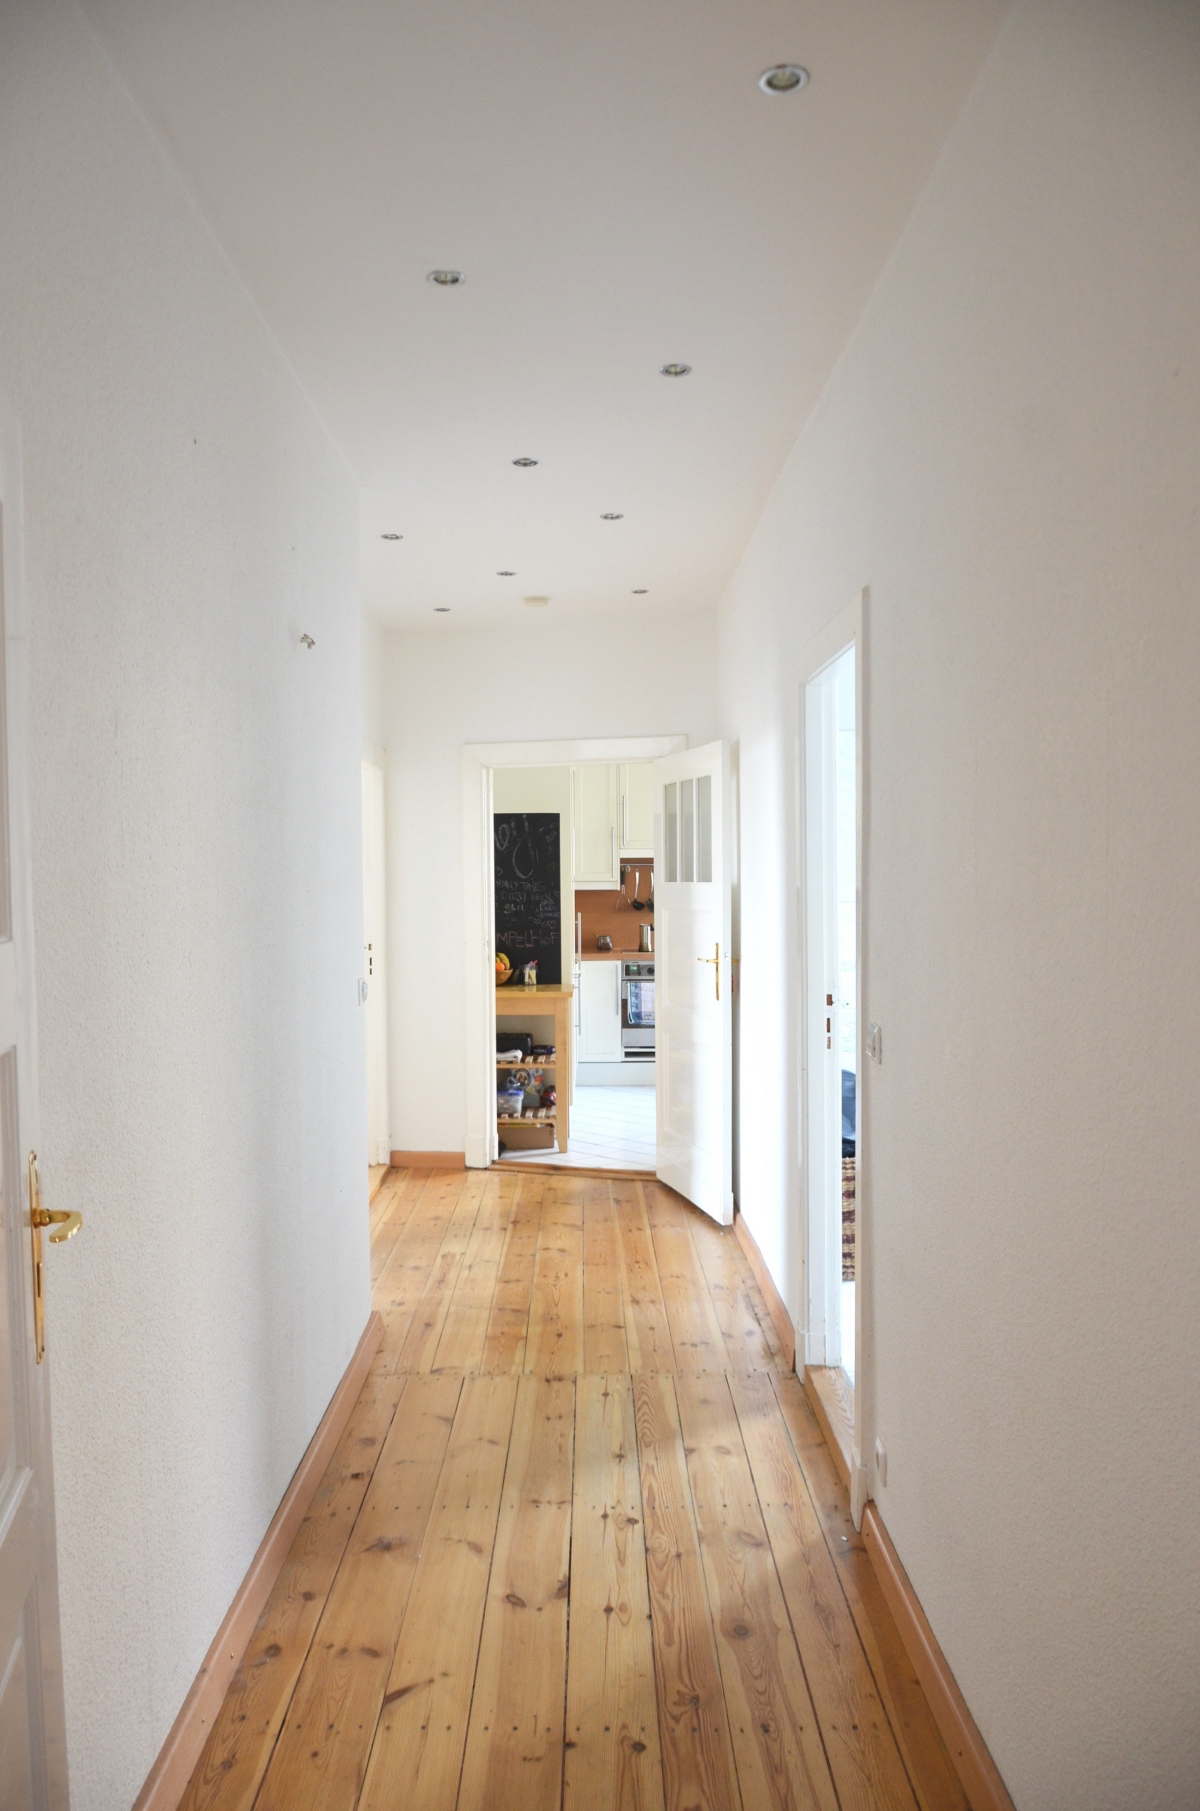
Flooring That Can Handle the Abuse
The entry hall gets hit with dirt, water, and grit. Your flooring choice has to be tough. Here’s a quick rundown without getting too technical:
- Porcelain Tile: This is the champion of durability. It’s incredibly hard, totally waterproof, and a breeze to clean. On the downside, it’s cold, hard underfoot, and the installation is definitely not a beginner-level DIY project. Expect to pay around $3 to $10 per square foot for the material.
- Luxury Vinyl Plank (LVP): This stuff is the crowd-pleaser right now. It’s 100% waterproof, very scratch-resistant, and much more forgiving underfoot than tile. It’s also very DIY-friendly. A great choice for most families, running about $2 to $7 per square foot.
- Hardwood: It’s a timeless, beautiful classic, but it’s the most vulnerable. It scratches more easily and can be permanently damaged by water. If you go this route, you absolutely need high-quality mats inside and out. It’s also the priciest option, typically $5 to $15 per square foot.
Lighting That Says ‘Welcome Home’
Don’t rely on a single, harsh overhead light. Good entryway lighting has layers. You want a main ambient light (like a chandelier on a dimmer), some task lighting (like a small lamp on a console table), and maybe some accent lighting on a piece of art. For a warm, inviting feel, look for bulbs in the 2700K to 3000K range.
A Final Word on Safety
I can’t wrap this up without a serious note on safety. I’ve seen some bad accidents over the years that were completely avoidable.
Ladder Safety: Please, be careful. More homeowners get hurt falling off ladders than you can imagine. Make sure it’s on firm, level ground. For every four feet you go up, the base should be one foot away from the wall. And always keep three points of contact. Don’t overreach—get down and move the ladder.
Heads up on Lead Paint: If your home was built before the late 1970s, it almost certainly has lead-based paint. Sanding or scraping this stuff creates highly toxic dust that is incredibly dangerous, especially for kids. Before you touch old paint, get a lead test kit from the hardware store. If it’s positive, you MUST use lead-safe practices. That means never dry-sanding. You wet the surface, use a proper P100 respirator, and clean up meticulously with a HEPA vacuum. For anything more than a small patch, look up the official EPA guidelines or hire a certified pro. It’s no joke.
A well-cared-for exterior is more than just curb appeal. It’s an investment in your property’s value and your own peace of mind. The result will be a home that gives a warm, honest welcome to everyone who walks up that path.


