Stop Waiting for Hot Water: A Plumber’s Guide to a Smarter System
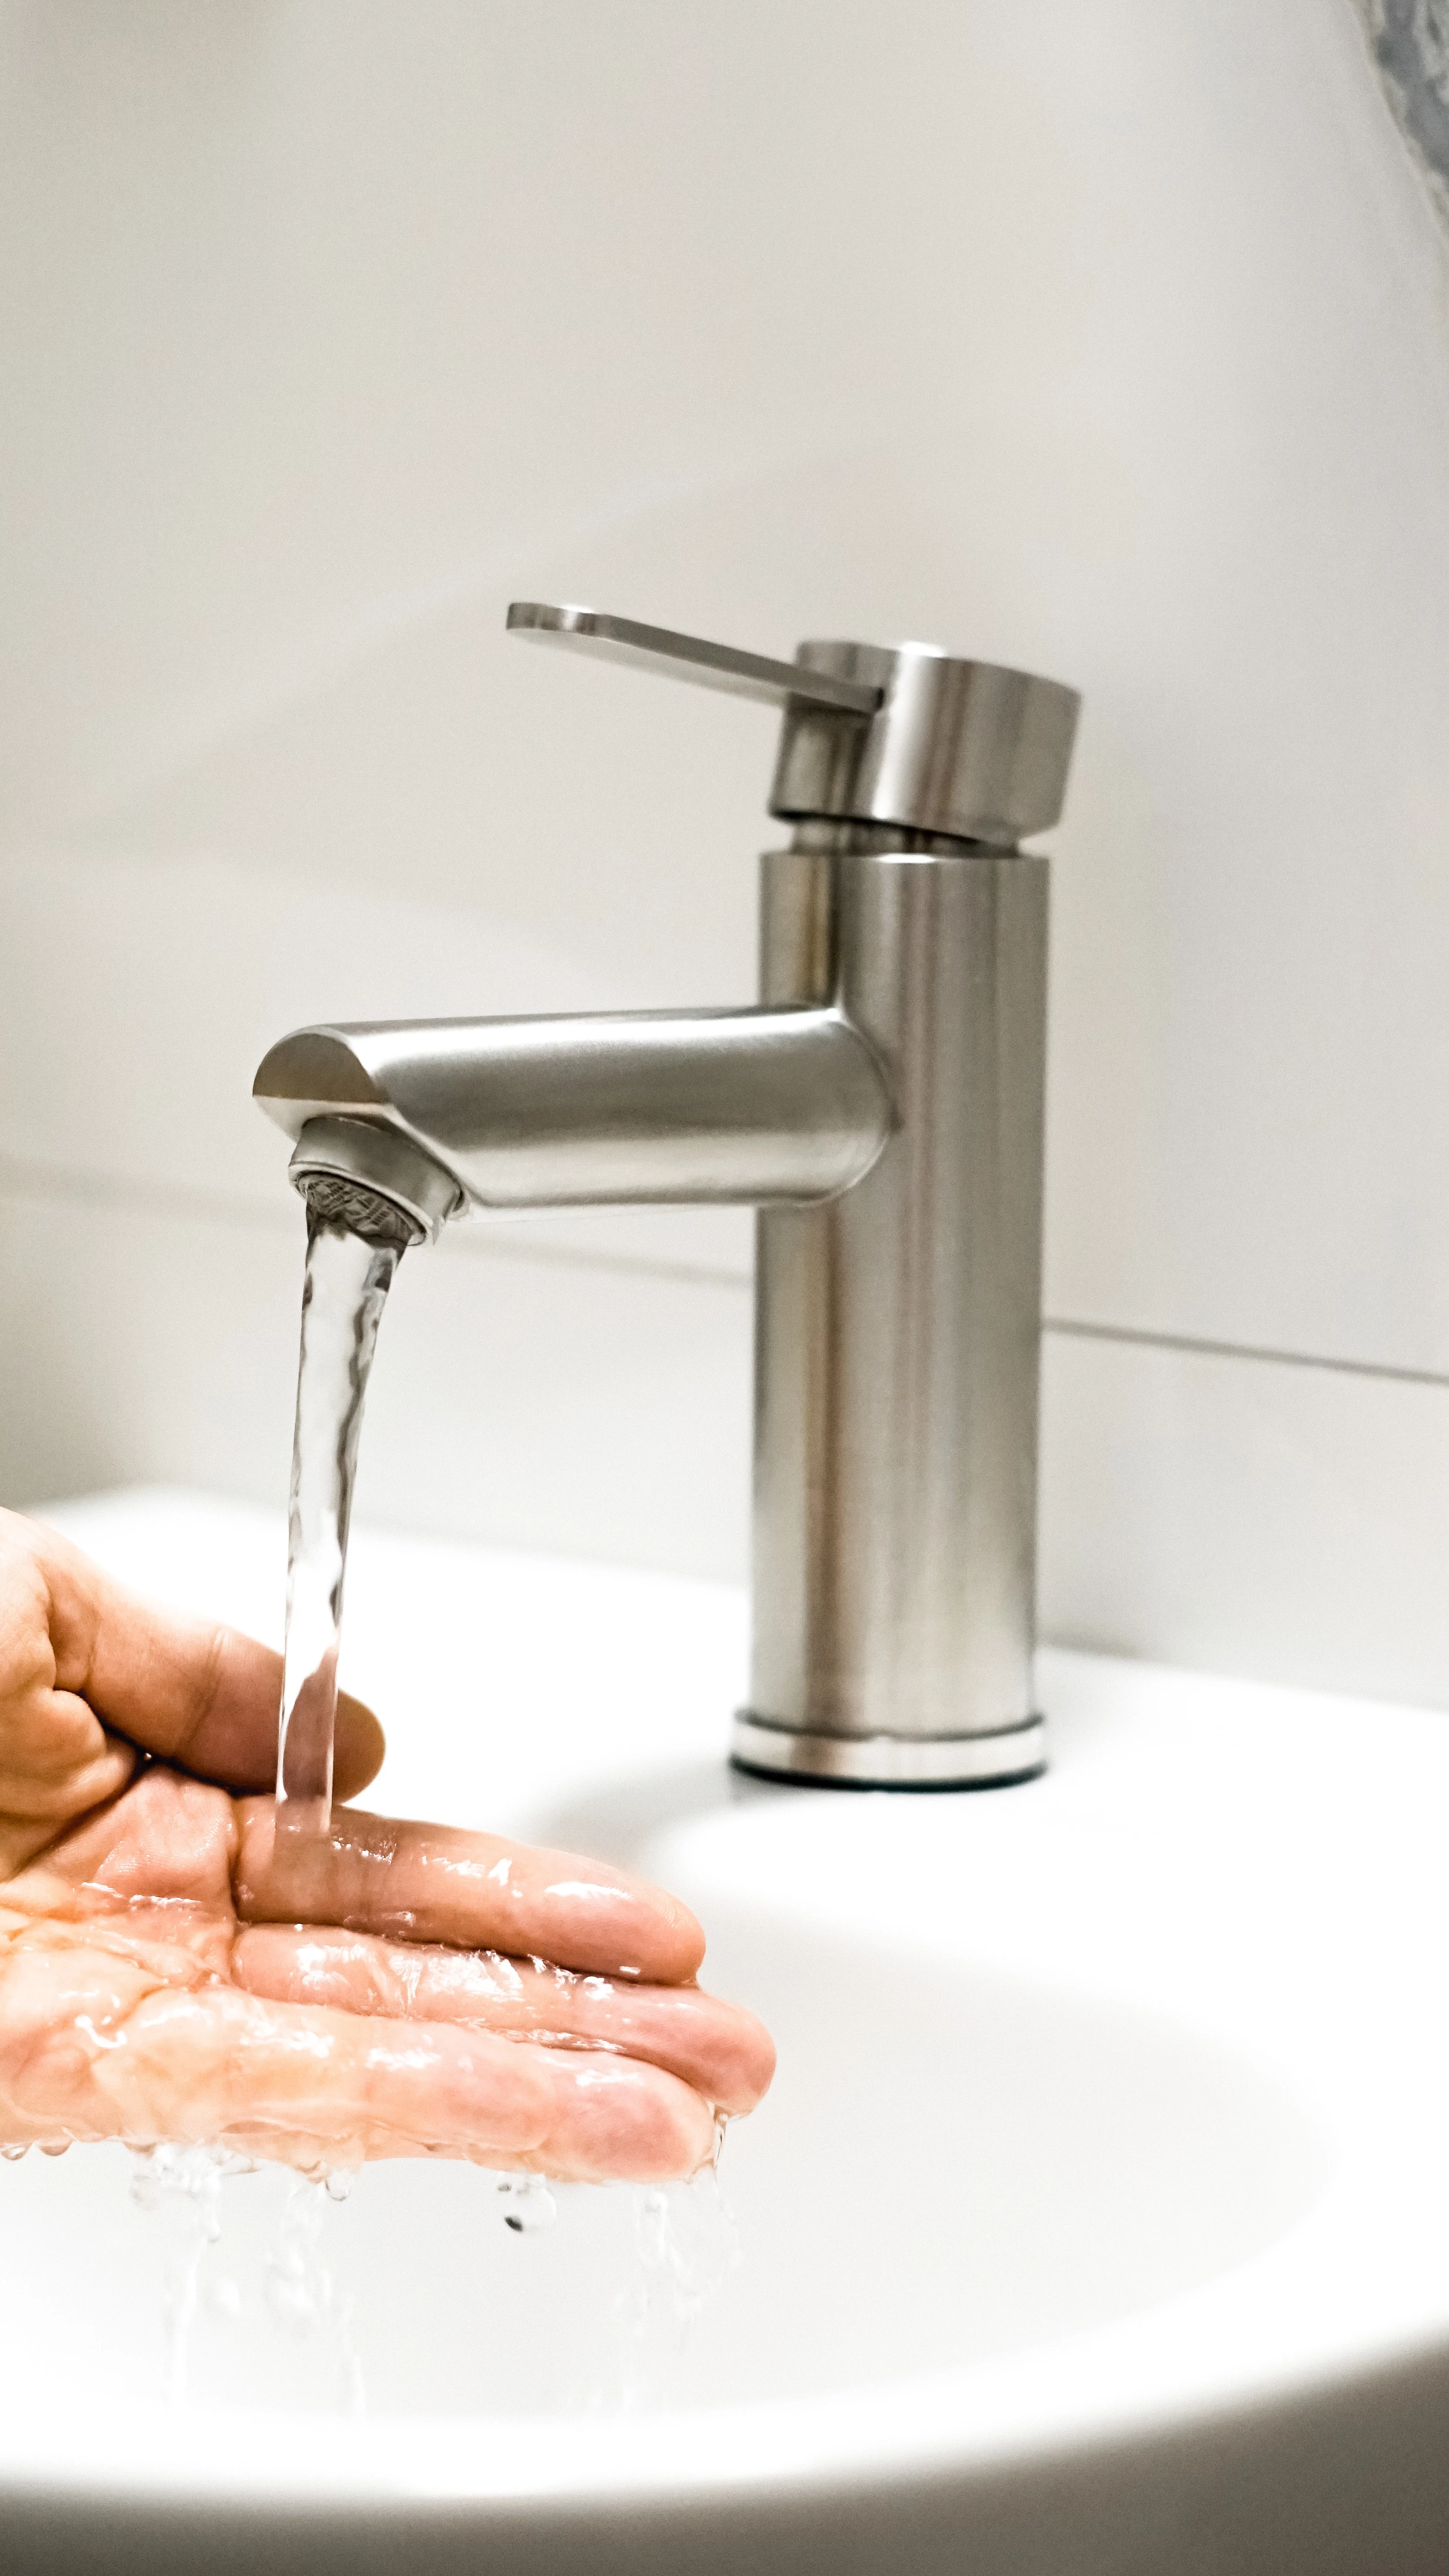
I want you to try something right now. Go to the faucet in your house that’s farthest from your water heater, turn on the hot water, and time how long it takes to actually get hot. If you’re standing there for more than a minute, you’re not just wasting time—you’re pouring perfectly good water and the money you spent to heat it straight down the drain. This is hands-down the most common frustration I hear about in homes, and it almost never has to do with a broken water heater.
In this article
People spend a fortune on fancy, high-efficiency water heaters, but the heater is only half the story. The real hero (or villain) of your daily shower is the network of pipes that gets that hot water to you. It’s called the distribution system, and its design is everything. A great layout can make a basic heater feel like a luxury, while a bad one will cripple even the most expensive unit on the market.
After years of crawling through basements and working on new builds, I’ve seen what works and what absolutely doesn’t. So, let’s talk about how to get your hot water where you need it, when you need it, without the frustrating wait.
Why Your Pipes Are Working Against You
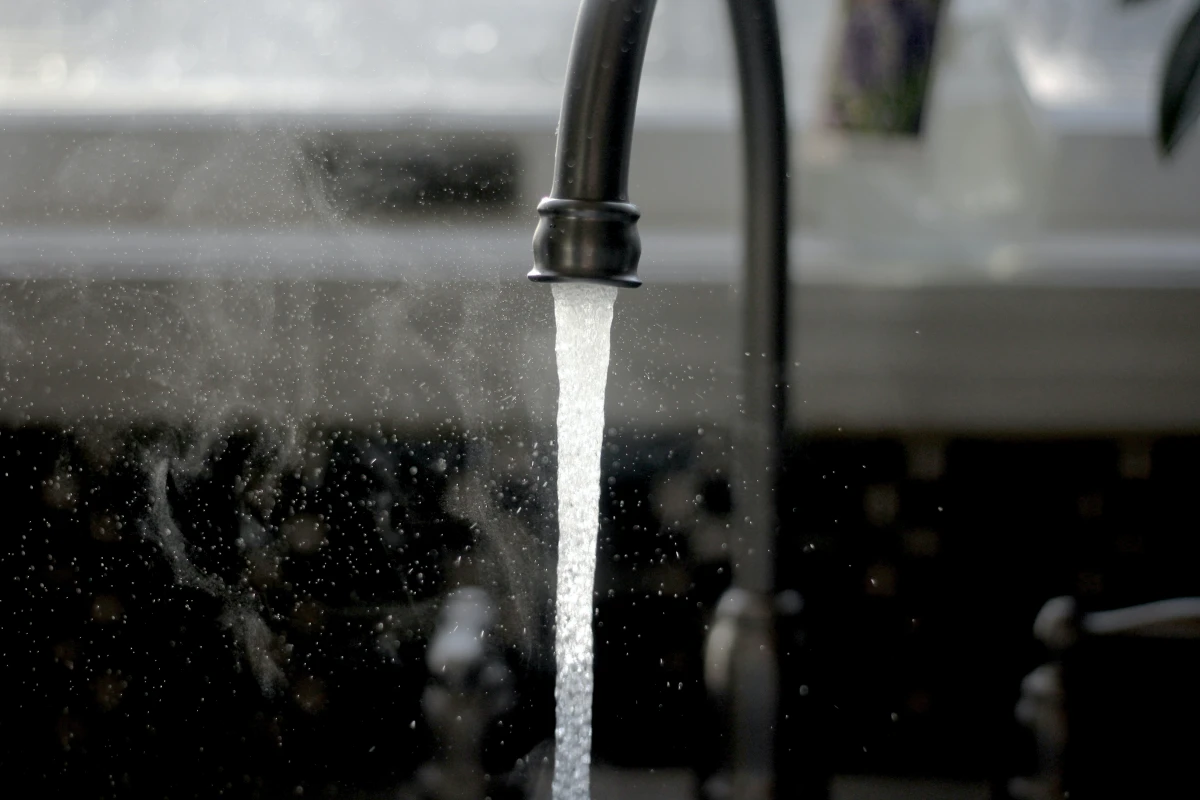
Before we fix the problem, we have to understand the enemy: heat loss. The moment hot water leaves your heater, it starts a race against physics. Heat naturally escapes from the water, seeps through the pipe walls, and disappears into the cool air in your crawlspace or walls. That’s why the water that sat in the pipes overnight is ice-cold by morning.
A few key things make this happen faster:
- Pipe Material: Copper, the old standard, is a fantastic conductor of heat. That’s great for a frying pan, but terrible for a hot water pipe. It basically radiates your energy bill into the air. Modern plastic pipes, like PEX, are much better insulators and hold onto heat for longer.
- Pipe Size: This one’s a big deal. A 3/4-inch pipe holds almost double the volume of water per foot compared to a 1/2-inch pipe. When that water cools off, you have to flush all of it out before the fresh hot water can reach you. Bigger is definitely not better here.
- Location, Location, Location: A pipe running through a chilly, uninsulated basement will lose heat way faster than one in a warm, insulated wall. I’ve measured temperature drops of 15-20°F over a 50-foot run in a cold space.
The goal of any good design is to shrink the amount of water sitting in these pipes (we call them “dead legs”). It saves water, energy, and your sanity.

How the Pros Design a Plumbing System
The way your pipes are laid out is the most critical decision. There isn’t a single perfect method for every house; it’s all about matching the layout to your home’s floor plan and your budget.
The Old Way: Trunk-and-Branch
This is the classic layout you’ll find in most traditionally built homes. Think of it like a tree. A big, wide pipe (the “trunk”) runs the length of the house, and smaller pipes (the “branches”) split off to feed your sinks and showers. It was popular because it was simple to plan and used less total pipe, making it cheap for builders.
But let’s be honest, this design is the number one cause of long waits for hot water. That huge trunk line holds a ton of water that gets cold between uses. I’ve been to homes where the owner had to run over three gallons of water just to get warm water to their master bathroom. It’s incredibly wasteful, and I almost never recommend it for new construction.
The Modern Standard: A Home-Run System
The modern, high-performance approach is a central manifold system, also called a “home-run.” Instead of one big trunk line, we install a hub (the manifold) near the water heater. From there, a dedicated, smaller-diameter PEX pipe runs directly to each individual fixture. A 3/8-inch line goes to the sink, a 1/2-inch line to the shower, and so on.
The results are fantastic. Because the pipes are so much smaller, they hold a fraction of the water, and hot water arrives dramatically faster. Another huge plus? If you ever have a leak in one line, you can shut off just that single fixture at the manifold instead of killing the water to the whole house. While it uses more piping, the gains in convenience and efficiency are massive.
The Ultimate Problem-Solver for Existing Homes: Recirculation Pumps
So, what if you’re stuck with an old, inefficient trunk-and-branch system? Tearing out your walls for a full re-pipe can be a nightmare, often costing anywhere from $5,000 to $15,000 or more. This is where a hot water recirculation pump becomes your best friend.
Instead of letting water get cold in the pipes, a pump moves it back to the water heater to be reheated, keeping the lines primed with hot water. But not all of them are smart.
The one I install most often is a demand-activated system. Here’s how it works: you install a small pump under the sink farthest from the water heater. When you want hot water, you just push a button. The pump quietly pushes the cold water sitting in the hot water line back to the water heater through the cold water line. Once the pump senses hot water has arrived (usually in 15-30 seconds), it shuts off. You get fast hot water without running the tap and wasting a drop.
A quick story: I had a client whose master bathroom took over two minutes and wasted about three gallons of water every morning. We installed a demand-activated pump, and now they get hot water in 20 seconds flat. They told me it was the best home improvement they’d ever made.

Good to know: A common question is, “Won’t this make my cold water warm?” For a few seconds after you use the pump, the water from the cold tap might be lukewarm. But honestly, it’s a tiny trade-off for getting instant hot water and saving thousands of gallons of water a year. A good kit from a brand like Watts or Grundfos will run you about $250-$450. Expect to pay a plumber another $300-$600 for a few hours of labor to install it. It’s a real investment, but way cheaper than a re-pipe!
Let’s Talk Materials: PEX vs. Copper
The pipes themselves matter, too. For decades, copper was king. It’s durable and proven, but it loses heat like crazy and the material cost has gone through the roof—we’re talking $2.50 or more per foot for 1/2-inch pipe. Plus, every single connection needs to be soldered, which requires skill and adds to labor costs.
Today, flexible PEX tubing has taken over, and for good reason. It holds heat much better than copper, it’s flexible enough to bend around corners (meaning fewer connections and potential leak points), and it’s much more affordable, at around $0.50 per foot. When I spec a job, I always insist on PEX-A. It’s the highest quality and has a ‘thermal memory.’ If you accidentally kink it, a little heat from a heat gun makes it pop right back into shape. Most pros I know swear by brands like Uponor (which used to be called Wirsbo); it’s worth asking for by name.
Oh, and a word of warning: stay away from CPVC (the rigid, cream-colored plastic pipe). It’s cheap, which is why some builders use it, but it gets incredibly brittle with age and can shatter from a simple bump, causing a major flood. It’s just not worth the risk.
The Easiest, Cheapest Upgrade You Can Do This Weekend
If you do only one thing after reading this, please, go insulate your pipes. It is the single most cost-effective energy-saving project in your entire home. It won’t give you instant hot water, but it will keep the water in your pipes warmer for much longer, sometimes for hours. This means less waiting, less waste, and you might even be able to turn your water heater’s thermostat down a few degrees.
Here’s your quick DIY guide:
- Measure Your Pipes: Most homes have 1/2-inch or 3/4-inch pipes. Take a quick measurement so you buy the right size insulation.
- Buy the Right Stuff: Head to any hardware store and get foam pipe sleeves. Don’t cheap out—make sure they have at least a 1/2-inch thick wall to be effective.
- Cut and Fit: The sleeves are pre-slit. Just cut them to length with a utility knife, wrap them around the pipe, and pull off the adhesive strip to seal them.
- Tape the Seams: Use foil tape (the kind used for ductwork) to seal the joints between pieces. Heads up! Do NOT use regular duct tape; the heat will make it gummy and it’ll fall right off.
Plan for a couple of hours for this project. At a minimum, insulate the first ten feet of both the hot AND cold pipes coming off your water heater. Ideally, insulate every accessible hot water pipe you can reach.

A Quick Word on Safety
Look, a hot water system is under pressure and can be dangerous if handled incorrectly. While insulating pipes is a great DIY project, some things are strictly for the pros.
Every tank heater has a Temperature & Pressure (T&P) relief valve. This is the most critical safety device on the unit. Never, ever block or disable this valve. If it fails, a water heater can literally explode. Seriously.
Also, modern plumbing codes often require a thermal expansion tank. When water heats up, it expands, and that pressure needs a safe place to go. This little tank absorbs the pressure and protects your whole system. If your project involves a gas line, changing a heater, or major pipe alterations, please call a licensed and insured plumber. It’s not just about efficiency; it’s about keeping your family safe.
At the end of the day, a great hot water system is about thinking beyond the big white tank in the corner. It’s about designing an integrated network that delivers comfort and efficiency, every single day.
Inspirational Gallery with Photos
The average family can waste up to 12,000 gallons of water per year simply waiting for the water to get hot.
That’s according to the EPA’s WaterSense program. Imagine a small swimming pool’s worth of perfectly clean, usable water going straight down the drain. This waste impacts not only your water bill but also the energy bill for the fuel used to heat that water in the first place.
Tired of the wait at just one problematic faucet, like in a distant bathroom or kitchen? A point-of-use electric tankless heater might be the perfect surgical strike. These small units, like the popular Bosch Tronic 3000 T or the EcoSmart POU series, install directly under the sink. They heat the water right where you need it, eliminating the long pipe run from your main heater and delivering instant hot water without a major plumbing overhaul.
The Recirculation Pump Showdown: Which is for you?
Comfort-Based Pump: This type runs on a timer or continuously, keeping the water in your pipes constantly hot and ready. It provides the most immediate gratification but uses more energy, as it’s always working to counteract heat loss in the pipes.
On-Demand Pump: Activated by a button or motion sensor, this smarter option only runs when you signal that you want hot water. It pushes the cool, sitting water back to the heater via the cold water line and pulls hot water to the tap in seconds. Look for models from brands like Grundfos or Taco that even have ‘smart’ modes to learn your habits.
- Lessens your water and energy consumption.
- Reduces the time you stand waiting by the sink.
- Helps your main water heater run more efficiently.
The secret? Proper pipe insulation. It’s one of the cheapest and most effective upgrades you can make. For just a few dollars, you can wrap your hot water lines in foam pipe sleeves. This simple step acts like a jacket for your pipes, drastically slowing heat loss as water travels from the heater to your faucet.
What’s the gold standard in new home construction?
It’s a setup called a ‘home-run’ or ‘manifold’ system. Instead of one large-diameter pipe that branches off to serve multiple fixtures, a central manifold acts like a switchboard, sending smaller, dedicated PEX lines directly to each faucet and shower. Because each line is smaller and direct, the volume of water sitting inside is minimal, meaning hot water arrives dramatically faster with far less waste.
Don’t overlook the simple things: Before investing in new hardware, check the insulation R-value on your existing water heater tank. Many older tanks have insufficient insulation. A pre-cut water heater blanket is an inexpensive, easy-to-install DIY project that can reduce standby heat loss by 25-45%, saving you money every single day and keeping the water in the tank hotter for longer.
A common mistake when installing a hot water recirculation system is forgetting about thermal expansion. When water is heated, it expands. If your plumbing is a ‘closed system’ (meaning it has a backflow prevention valve), this expansion has nowhere to go. The result is a dangerous increase in pressure that can stress your pipes and shorten the life of your water heater. The fix is simple: install a small thermal expansion tank near your heater.


