Confessions of a Painter: The DIY Wall Cleaning Recipes That Actually Work
I’ve been in the home painting and restoration business for a long, long time. And let me tell you, I’ve seen it all. I’m talking about kitchen walls so caked with grease they were sticky to the touch, hallways covered in a roadmap of mysterious black scuffs, and even a child’s bedroom that looked like a modern art installation made entirely of crayon.
In this article
When I first started, I bought all the fancy, expensive cleaners with big promises on the label. But after years of hands-on work and learning from the old-timers, I realized something important: the best solutions are almost always the simple ones you can mix yourself. It’s not just about saving a few bucks, although that’s a nice little bonus. It’s about having total control over what you’re spraying in your home and using the right tool for the job, instead of some harsh, all-in-one chemical that might do more harm than good.
So, forget the marketing hype. Let’s get real about what works, why it works, and how to get professional results without accidentally ruining your walls.
First Things First: Know Your Paint
Before you even think about mixing a cleaner, you need to understand your canvas. This is the absolute most important step, and it’s where most people go wrong. The ‘sheen’ of your paint—how shiny it is—tells you everything you need to know about how durable it will be.
- Flat or Matte: This finish has zero shine and is amazing at hiding imperfections on older walls. The downside? It’s delicate. Think of it like chalk; it’s porous and absorbs stains like a sponge. Aggressively scrubbing a flat wall will almost certainly damage it, creating a shiny, ‘burnished’ spot. Cleaning here is a gentle blotting operation, and honestly, sometimes a quick paint touch-up is the better move.
- Eggshell and Satin: This is probably what’s on most of your walls right now. It has a lovely, low-luster sheen and is the sweet spot for durability and appearance. It can handle a gentle washing, making it a perfect candidate for most of our DIY solutions.
- Semi-Gloss and High-Gloss: You’ll find this tough, shiny paint on trim, doors, bathroom walls, and kitchen cabinets. It’s hard, non-porous, and built to be scrubbed. These surfaces can handle stronger cleaners without breaking a sweat.
Simply touching the wall and seeing how the light hits it tells a pro what tools they can bring to the fight. Using a degreaser on a flat wall could stain it forever. It’s that serious.
The Simple Science Behind the Clean
Wall cleaning isn’t magic, it’s just some basic chemistry. When we mix these simple ingredients, we’re creating solutions that target specific types of grime.
Dish soap, for instance, is a surfactant. It has one part that loves water and another that loves oil. It grabs onto greasy fingerprints and lets the water wash them away. Then you have mild acids like vinegar, which are fantastic at dissolving mineral deposits like hard water haze. On the other side of the spectrum are alkalines like baking soda or ammonia. Since greasy grime is acidic, an alkaline cleaner neutralizes it, turning it into a soap-like substance that wipes away easily. And sometimes, you just need a little grit. Baking soda is a super-mild abrasive that can physically scrub off a scuff mark without scratching your paint.
Prep Work is 90% of the Job
I tell every new painter I train that a perfect finish is all in the prep. The same goes for cleaning. Just grabbing a wet sponge and going for it is a recipe for a streaky, blotchy mess. Spend 10 minutes setting up, and you’ll save yourself an hour of headaches.
First, get all the gear you’ll need. Don’t worry, it’s not a long list. You can get everything for under $30 at a place like Home Depot or even your local grocery store.
Your Shopping List:
- Two decent-sized buckets (around $5 each)
- A pack of microfiber cloths (about $10)
- A gentle, clear dish soap (a few bucks)
- Distilled white vinegar (a few bucks)
- A box of baking soda (the cheapest thing on the list!)
- A good quality soft sponge ($2-3)
Got everything? Okay, let’s get ready. Plan for about 1-2 hours for an average 12×12 foot room, including this prep work. Don’t rush it.
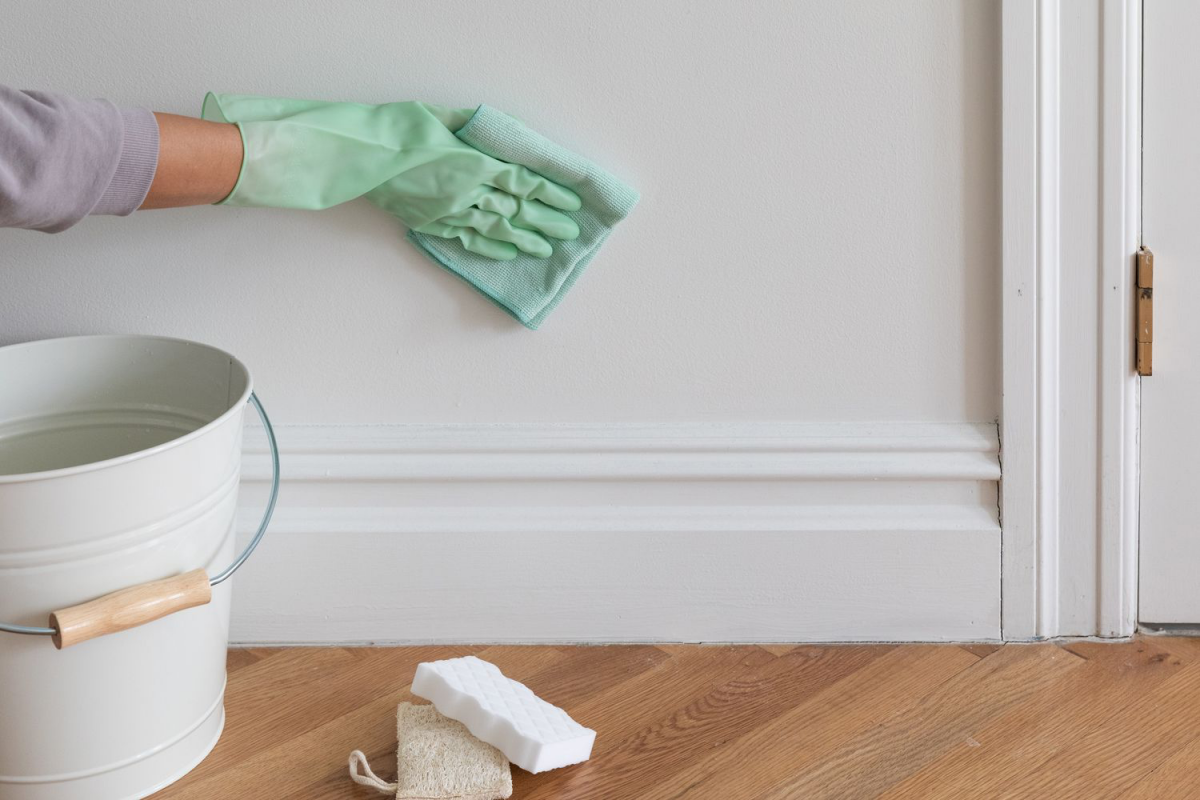
- Dust First! Never, ever wash a dusty wall. You’ll just make mud. Use a vacuum with a soft brush attachment or a microfiber duster on a pole and work from the ceiling down.
- Protect Your Floors. Lay down an old towel or a plastic drop cloth along the baseboards to catch drips, especially if you have hardwood or carpet.
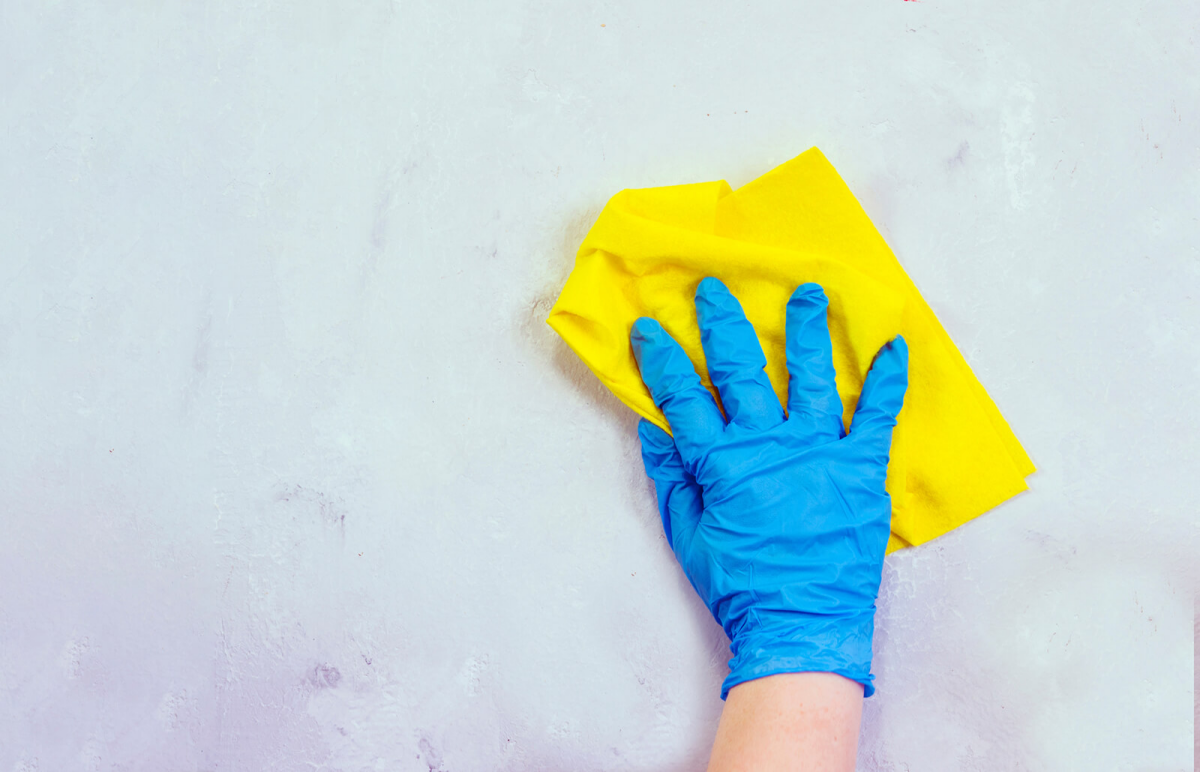
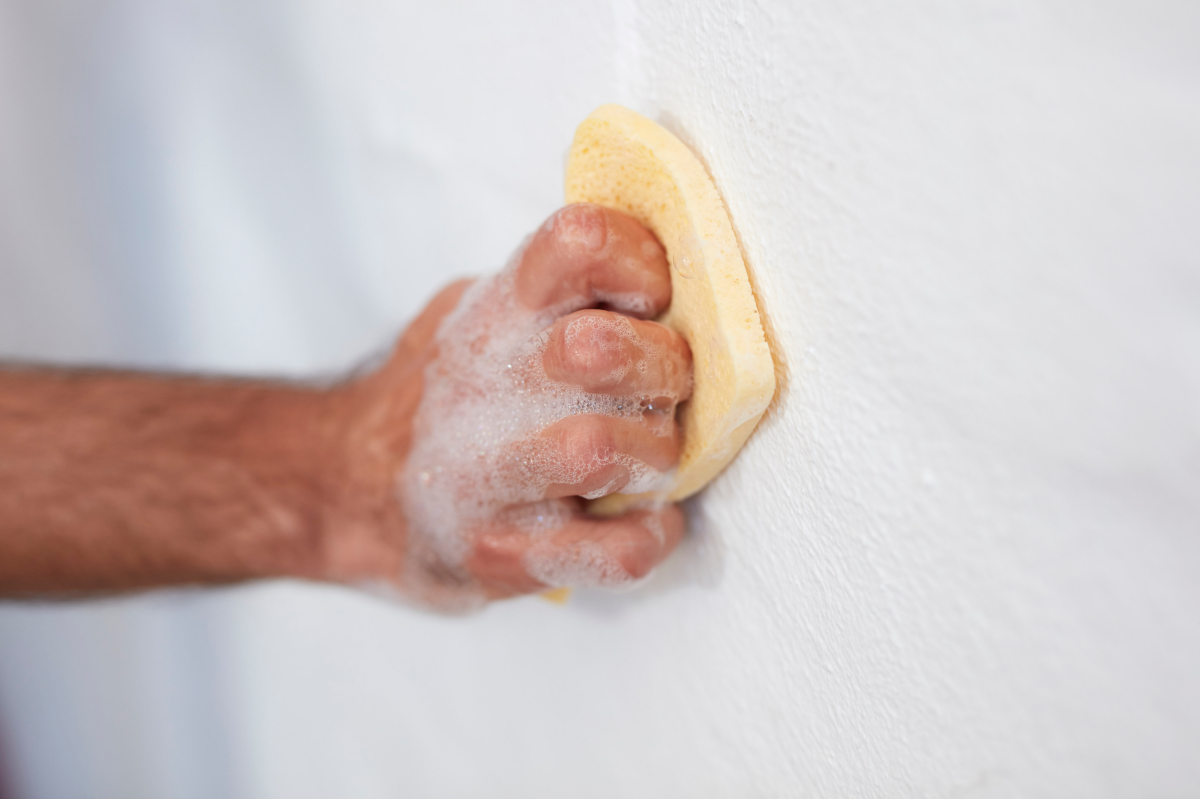
- Embrace the Two-Bucket Method. This is a non-negotiable pro technique. One bucket is for your cleaning solution, and the second is for clean rinse water. You wash with a sponge from the solution bucket, then rinse with a different sponge from the clean water bucket. This stops you from smearing dirty water all over your clean wall.
- Quick Tip: Once your rinse water starts looking murky, dump it and get fresh water. The whole point is to rinse with clean water, not just slightly-less-dirty water!
- The All-Important Patch Test. I can’t say this enough: test your cleaner in a hidden spot first. Behind the couch, in a closet—anywhere no one will see. Apply the cleaner, let it dry completely, and check for any color change or dulling of the sheen. If it looks off, your mix is too strong.
- Safety Around Outlets: For grimy switch plates, turn off the circuit breaker to the room. I can’t stress this enough. Then, use a Q-tip or a cloth wrapped around your finger, barely damp with your solution, to clean the plate and the wall around it. NEVER spray liquid directly at or into an electrical socket.
The Pro-Grade Recipes: From Gentle to Heavy-Duty
Always start with the mildest cleaner that will get the job done. There’s no prize for using the strongest formula.
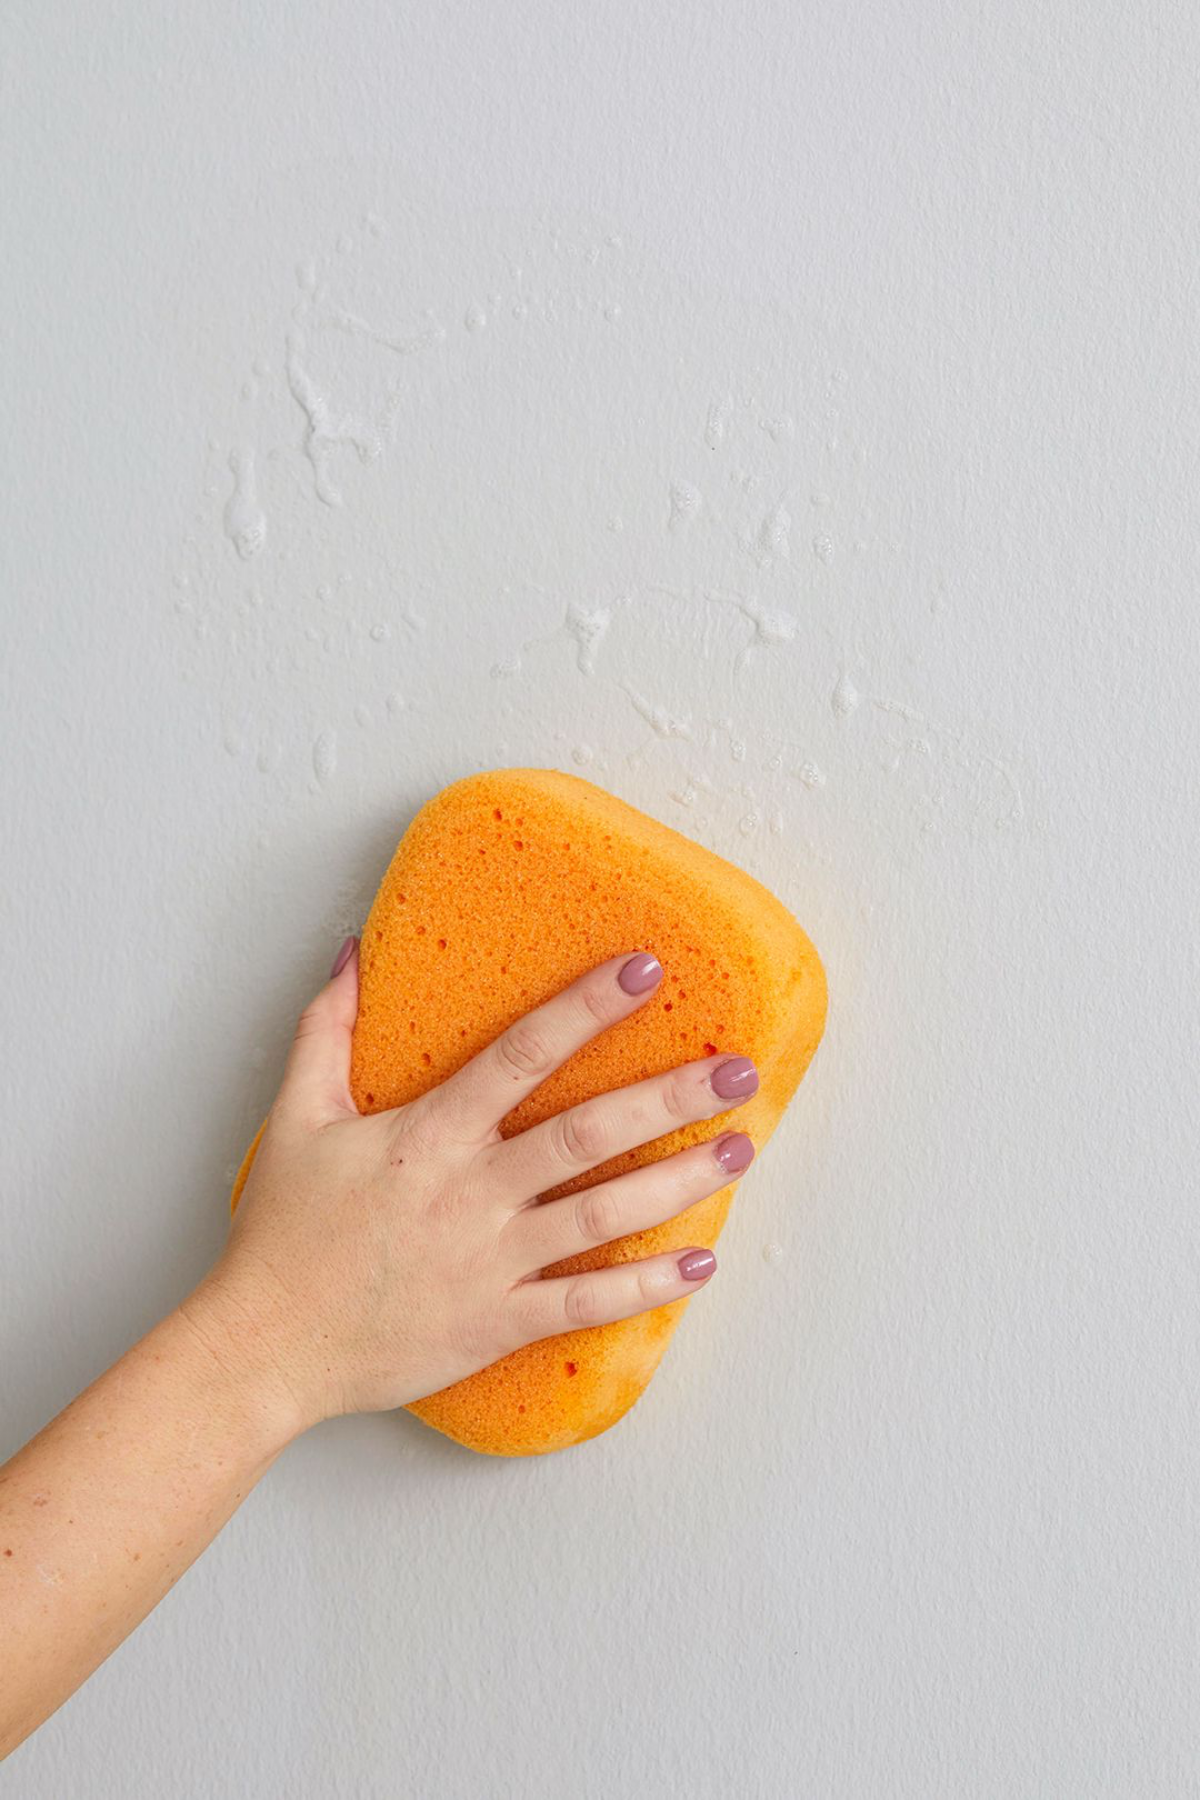
1. The Universal Gentle Wash (Soap and Water)
This is my go-to for 90% of jobs. It’s for general dust, light fingerprints, and yearly upkeep. It’s perfect for eggshell, satin, and semi-gloss finishes.
The Recipe: A gallon of warm water + a quarter teaspoon of clear dish soap. You want the water to feel slightly slippery, not sudsy. Too much soap is the #1 cause of streaks.
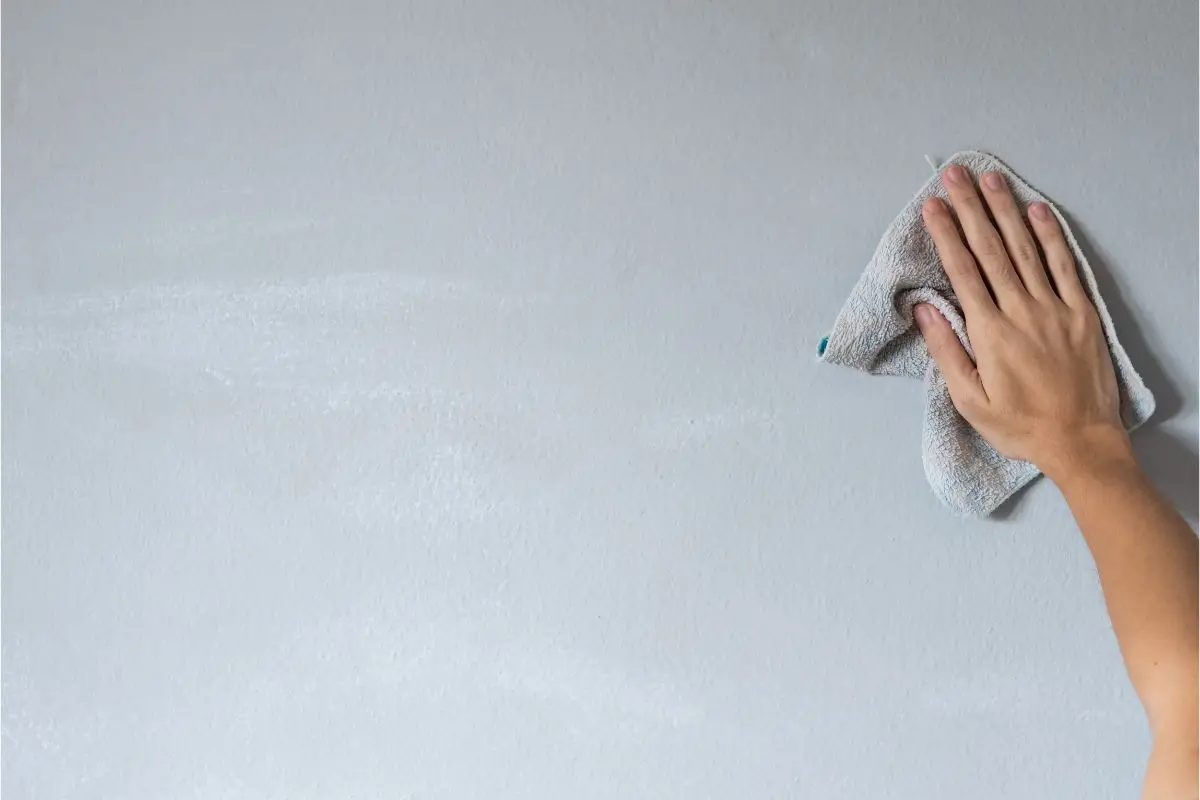
The Method: Use your two-bucket system. Wipe a 3×3 foot section from top to bottom with the damp (not dripping!) soap sponge. Immediately follow with your clean, damp rinse sponge. Pat dry with a clean microfiber cloth to prevent water spots.
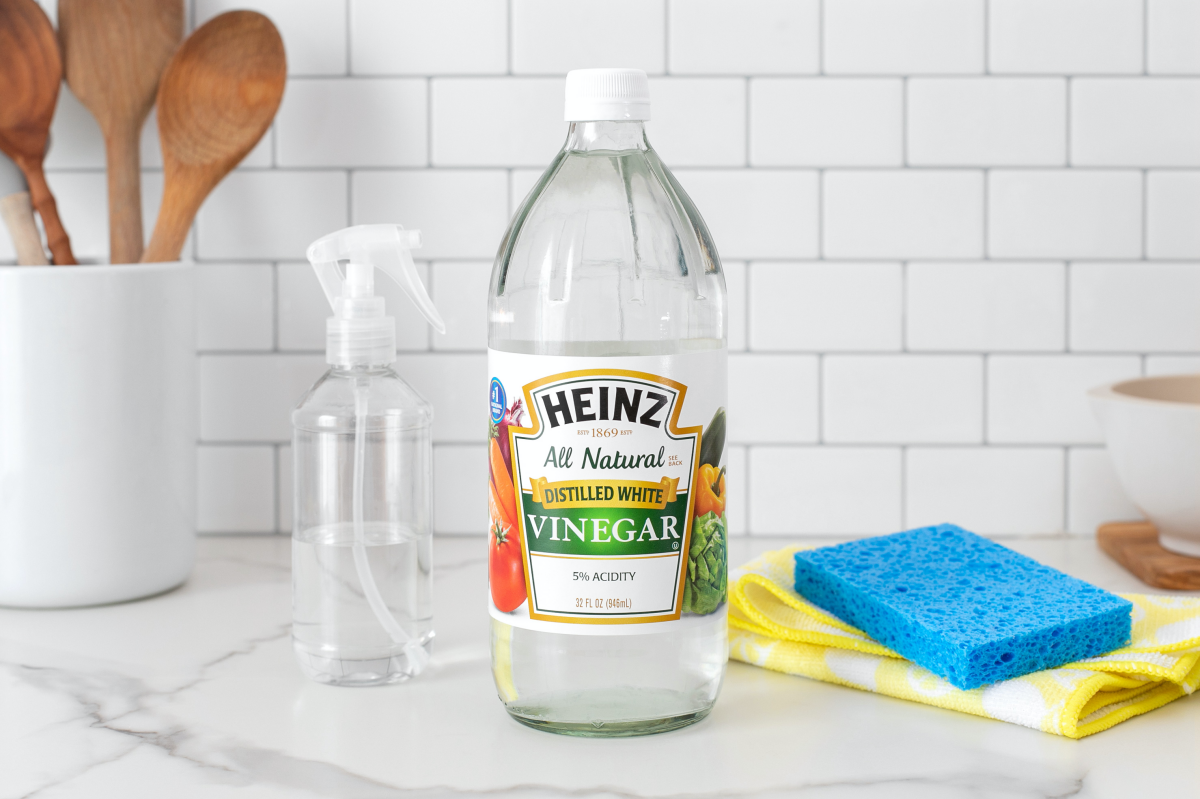
2. The Kitchen Degreaser (Vinegar and Water)
For that sticky, greasy film in the kitchen, vinegar’s mild acidity is your best friend. This is best for durable satin and semi-gloss finishes.
The Recipe: One cup of white vinegar to one gallon of warm water. A lot of online guides suggest a 50/50 mix, and I’m telling you, that is way too strong. I’ve seen a 50/50 mix literally dull the sheen of a perfectly good satin finish, leaving it patchy and sad. Always start weak; you can’t undo damage from a mix that’s too strong.
A Heads Up: The vinegar smell is strong but will completely disappear once it’s dry. And please, be careful around natural stone like granite or marble countertops—vinegar can etch them.
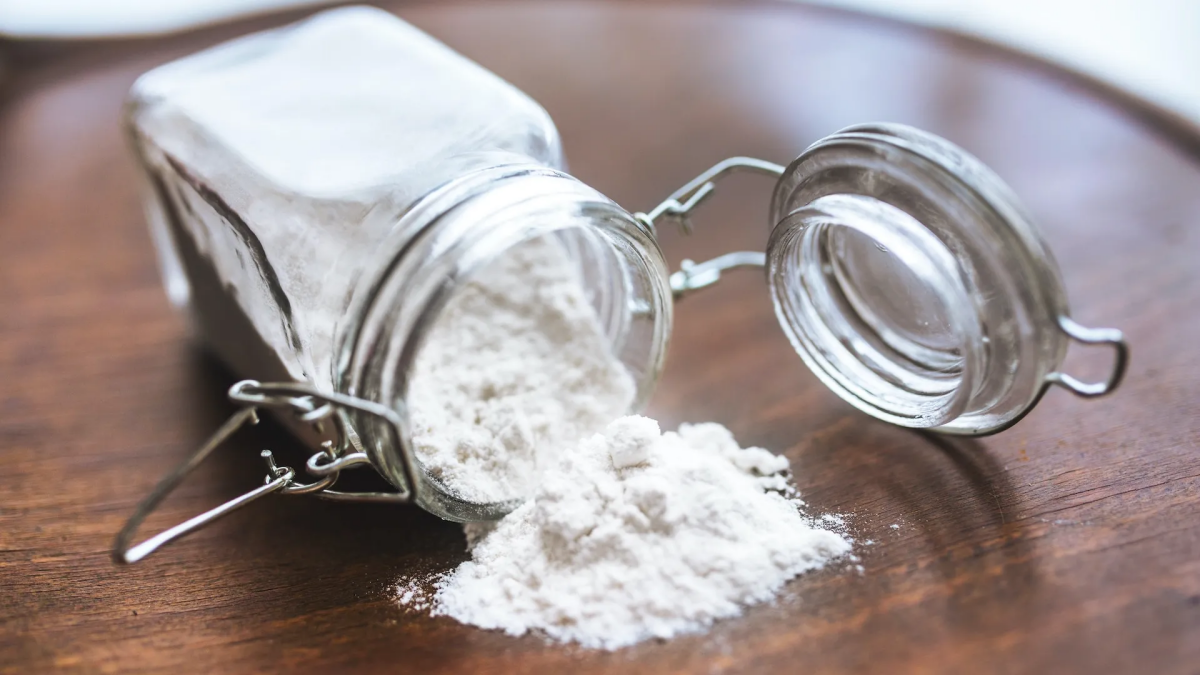
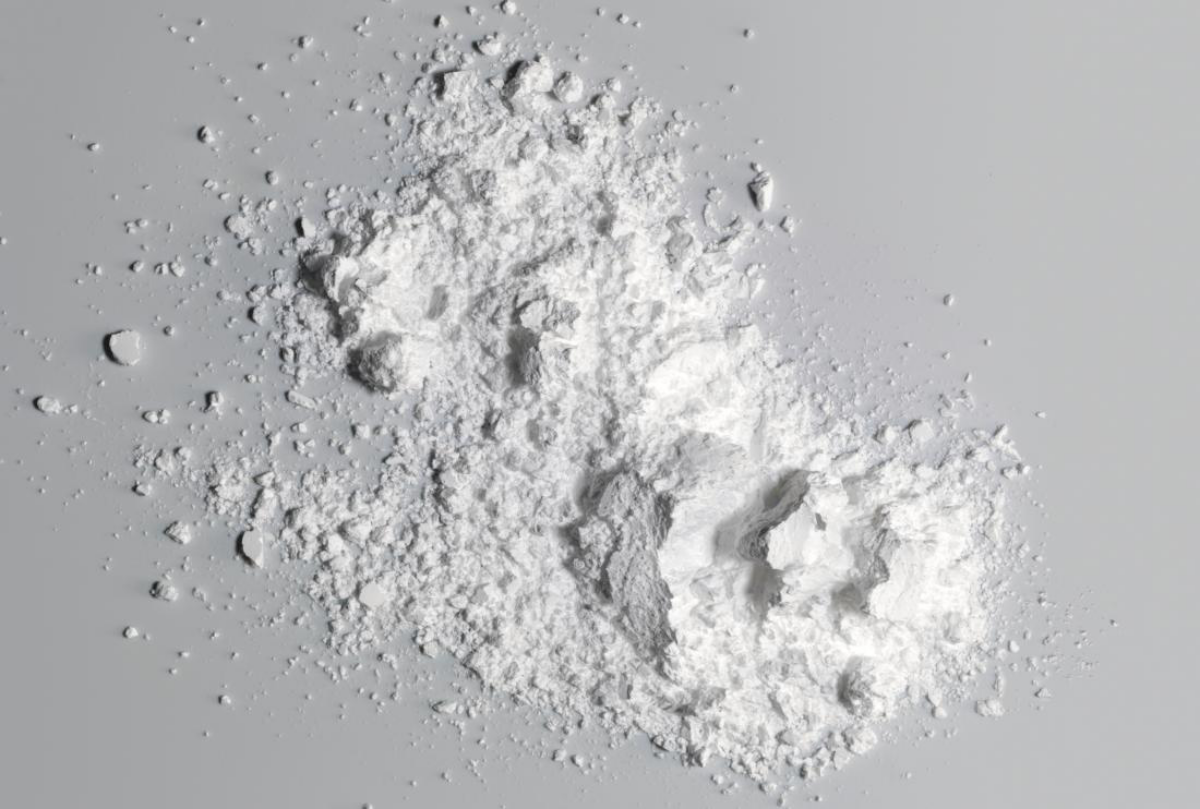
3. The Scuff Mark Eraser (Baking Soda Paste)
For stubborn scuffs, crayon, or pencil marks, this is your targeted weapon. It’s great on eggshell, satin, and semi-gloss paints.
The Recipe: Mix about three parts baking soda to one part water until you have a paste the consistency of toothpaste.
The Method: Dab the paste directly on the mark. Let it sit for a minute, then gently rub with a damp microfiber cloth in a circular motion. You’ll feel a slight grit doing the work. Wipe all the residue off when you’re done.

A Quick Challenge: Don’t believe me? Try this 5-minute quick win. Find the worst scuff mark in a high-traffic hallway. Make a tiny bit of this paste and give it a gentle rub. You’ll probably erase it in less than a minute. The satisfaction is unreal!
Trust me on this: I learned about burnishing the hard way early in my career. I scrubbed a scuff on a client’s hallway too hard and created a shiny spot that stood out like a sore thumb. I had to spend the next day repainting the entire wall, for free. It’s a rookie mistake, and I want you to avoid it!
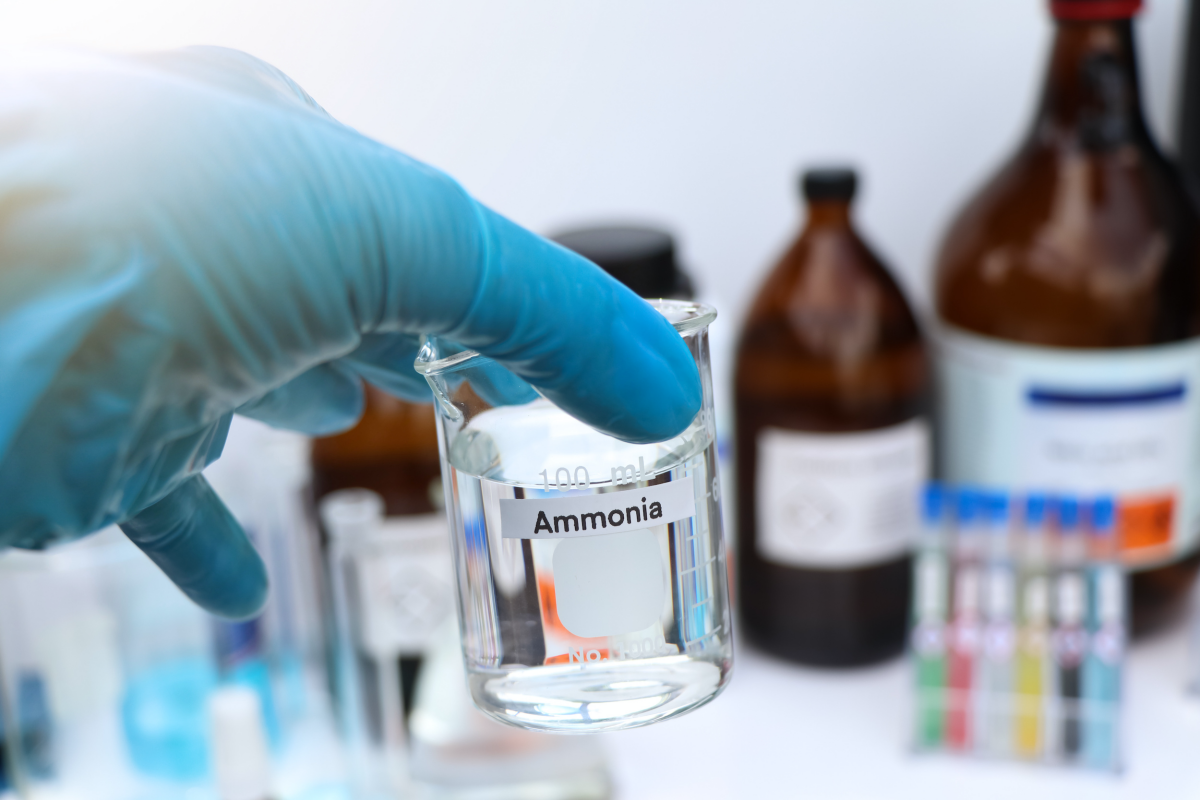
4. The Last Resort (Ammonia Solution)
Honestly, I only pull this out for the absolute worst-case scenarios, like walls yellowed by years of heavy smoking. This is serious stuff and needs to be handled with care, preferably on durable semi-gloss or high-gloss paint only.
The Recipe: In a very well-ventilated room, mix a half-cup of clear, suds-free ammonia into one gallon of warm water.
Safety First, ALWAYS: Wear gloves and safety glasses. Open every window. Use the two-bucket method and rinse thoroughly. And this is critical: NEVER, EVER mix ammonia with bleach or any product containing bleach. It creates toxic gas that can be fatal.
To be frank, if your walls are dirty enough to need ammonia, you might be better off calling a professional cleaning or painting service. We have the gear and experience to handle it safely.
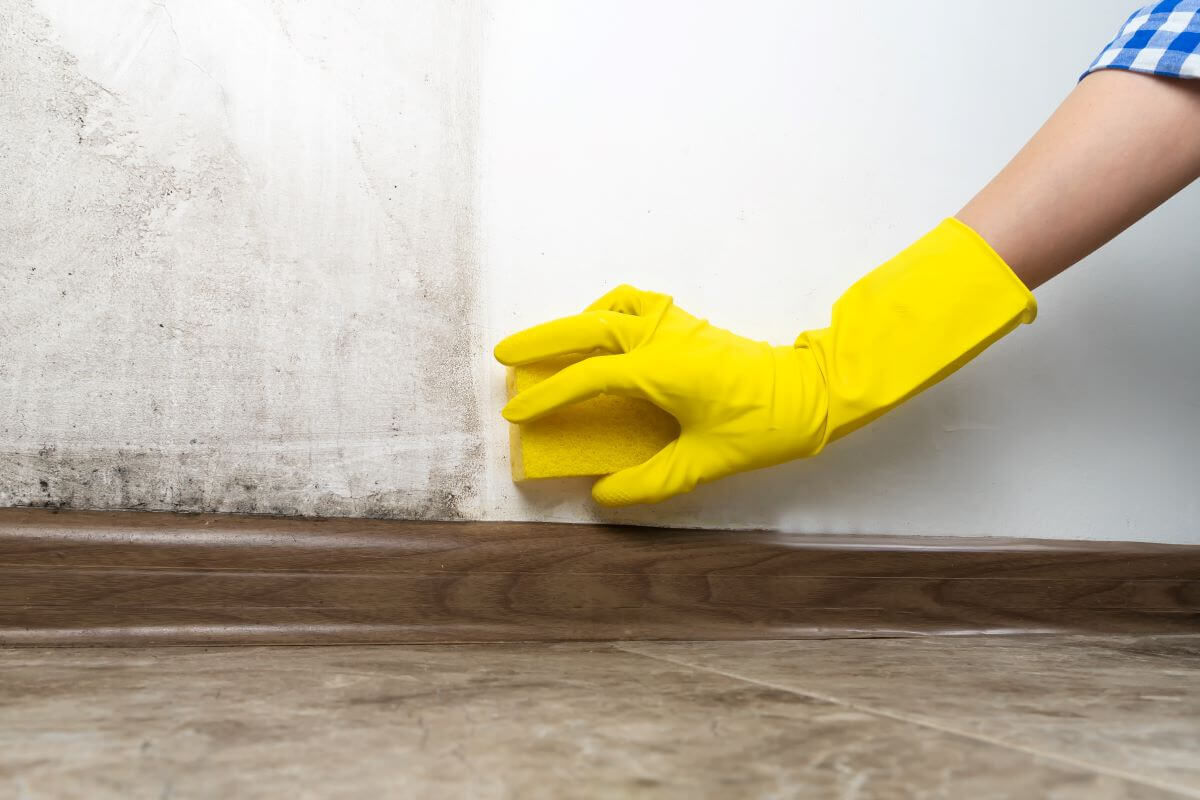
What About Mold or Textured Walls?
Mold isn’t just a stain; you need to address it properly. A good solution is to mix one cup of borax (a natural mineral) into a gallon of warm water. Scrub the area, but here’s the trick: don’t rinse it off. Leaving a thin, invisible layer of borax helps inhibit future growth. But remember, this only treats the symptom. You have to fix the underlying moisture problem (a leak, poor ventilation) or it will just come back.
Oh, and if you have textured walls like orange peel or knockdown? A sponge will just shred and leave little bits behind. A much better tool is a soft-bristled brush. Dip it in your cleaning solution, gently scrub the wall in a circular motion, and then rinse using a clean, damp microfiber cloth, patting gently.
Fixing Common Mistakes
- Seeing Streaks? You used too much soap or didn’t rinse well enough. The fix is easy: just wipe the whole wall again with a fresh sponge and plain, clean water.
- Shiny ‘Burnished’ Spots? You scrubbed too hard on a low-sheen paint. Unfortunately, there’s no way to un-polish the paint. The only real fix is repainting.
- Paint Color on Your Sponge? Stop immediately! Your cleaner is too harsh or the paint is very low quality. This is why we always do a patch test first. The only solution now is to repaint.
By taking the time to understand what you’re working with and using the right approach, you can get incredible results. It turns a chore into a craft, and you get to see your home look brighter and feel cleaner, knowing you did it the right way.
Galerie d’inspiration
The painter’s most common frustration: Circular scrubbing. It seems intuitive, but it concentrates pressure on one spot and can create a shiny, ‘burnished’ patch on matte or eggshell finishes. Instead, use gentle, overlapping vertical strokes from top to bottom. This distributes pressure evenly and works with the way light naturally hits the wall, making any slight changes in sheen far less noticeable.
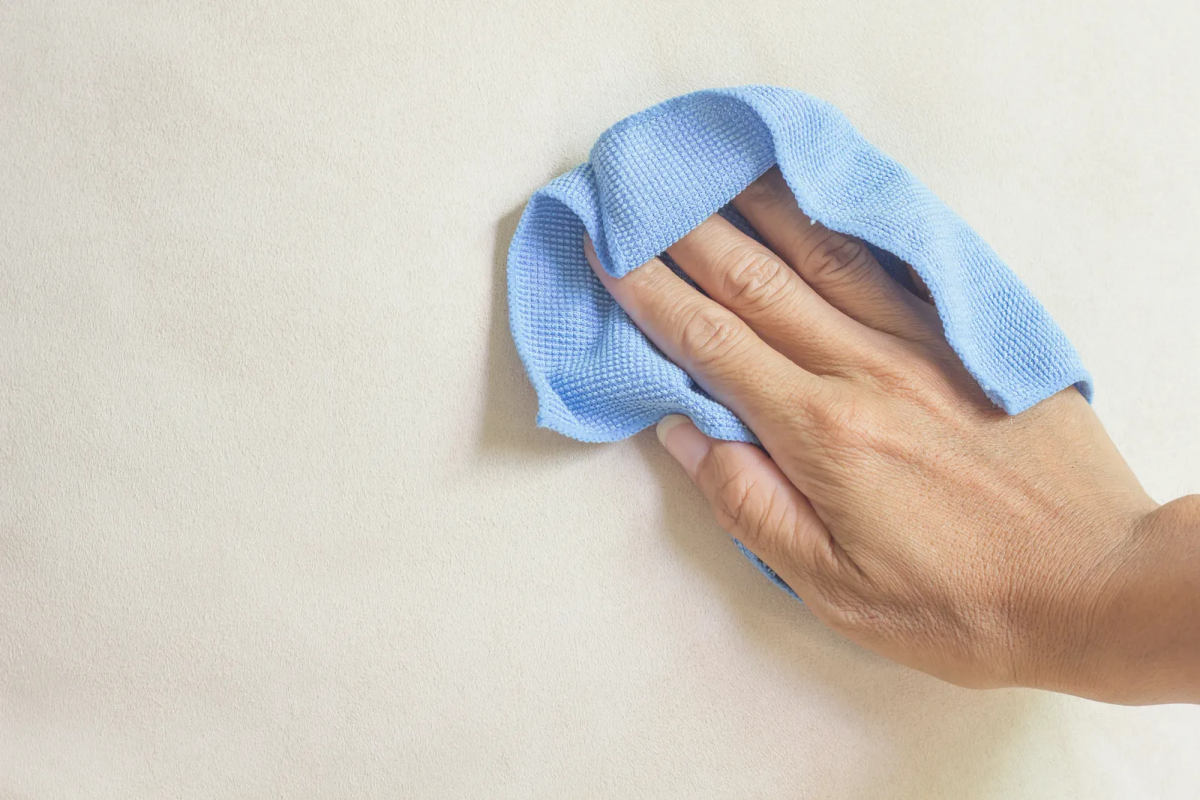
A single high-quality microfiber cloth can hold up to eight times its weight in liquid and traps dust particles electrostatically.
That’s why pros have ditched old cotton rags. For wall cleaning, this means the cloth lifts grease and grime away from the surface instead of just smearing it around. You use less water and less elbow grease, which is the secret to cleaning without damaging the paint. Look for edgeless cloths, like those from Zwipes or The Rag Company, to avoid snagging or scratching.
Once the walls are clean, how do you keep them that way in high-traffic zones?
Prevention is your best tool. For walls that are constantly hit by chair backs, install small, clear self-adhesive furniture bumpers directly on the wall where the chair makes contact. In hallways where bags and shoulders brush past, consider a subtle-yet-effective solution: a strip of clear, matte-finish wall protection film. Products like 3M’s Scotchgard Wall Protection Film are almost invisible on light-colored walls and create a durable, wipeable barrier without altering your decor.
Your cleaning arsenal should be as gentle as your solutions. Here’s what the experts actually keep in their kits:
- White cellulose sponges: They are highly absorbent and, being white, carry zero risk of dye transfer onto your light-colored walls.
- A natural rubber eraser: Perfect for gently lifting superficial scuffs and pencil marks from matte finishes without water. Mr. Clean Magic Erasers are great but use them as a last resort on gloss paints, as their micro-abrasive nature can dull other finishes.
- A soft-bristled brush: For getting into the grooves of textured or orange-peel walls where a flat sponge can’t reach.


