Don’t Be Afraid of the Dark: How to Paint a Flawless Black Accent Wall
As a painter who’s been in the game for a couple of decades, I’ve seen just about every trend you can imagine. For the longest time, asking for a black wall was almost unheard of. Most people were terrified it would make their living room feel like a dungeon. But things have changed. Homeowners are getting braver, and a dramatic black accent wall is officially a hot ticket.
In this article
Here’s the problem, though. Most of the pretty pictures online show the glamorous “after” but skip over the gritty details. They talk about sophistication and drama, and they’re not wrong. But they miss the most critical part: the actual craft. Black paint is brutally honest. It’s the one color that will expose every single flaw, every shortcut, and every imperfect patch on your wall.
I’ve been called in to fix more DIY black accent walls than I can count, and the issues are almost always the same—bad prep or the wrong paint. So this guide is different. This is the real-deal advice I give my own clients. We’re going to cover everything you need to know to get a result that looks sharp, intentional, and professionally done, whether you do it yourself or just want to know what to look for when hiring a pro.
First, Understand Why Black Paint is a Different Beast
To really master a black wall, you have to get how it plays with light. This isn’t just boring science; it directly impacts your paint choices. Every color has something called a Light Reflectance Value, or LRV, on a scale from 0 to 100. Pure white is 100, bouncing back all light. Absolute black is 0, absorbing all light.
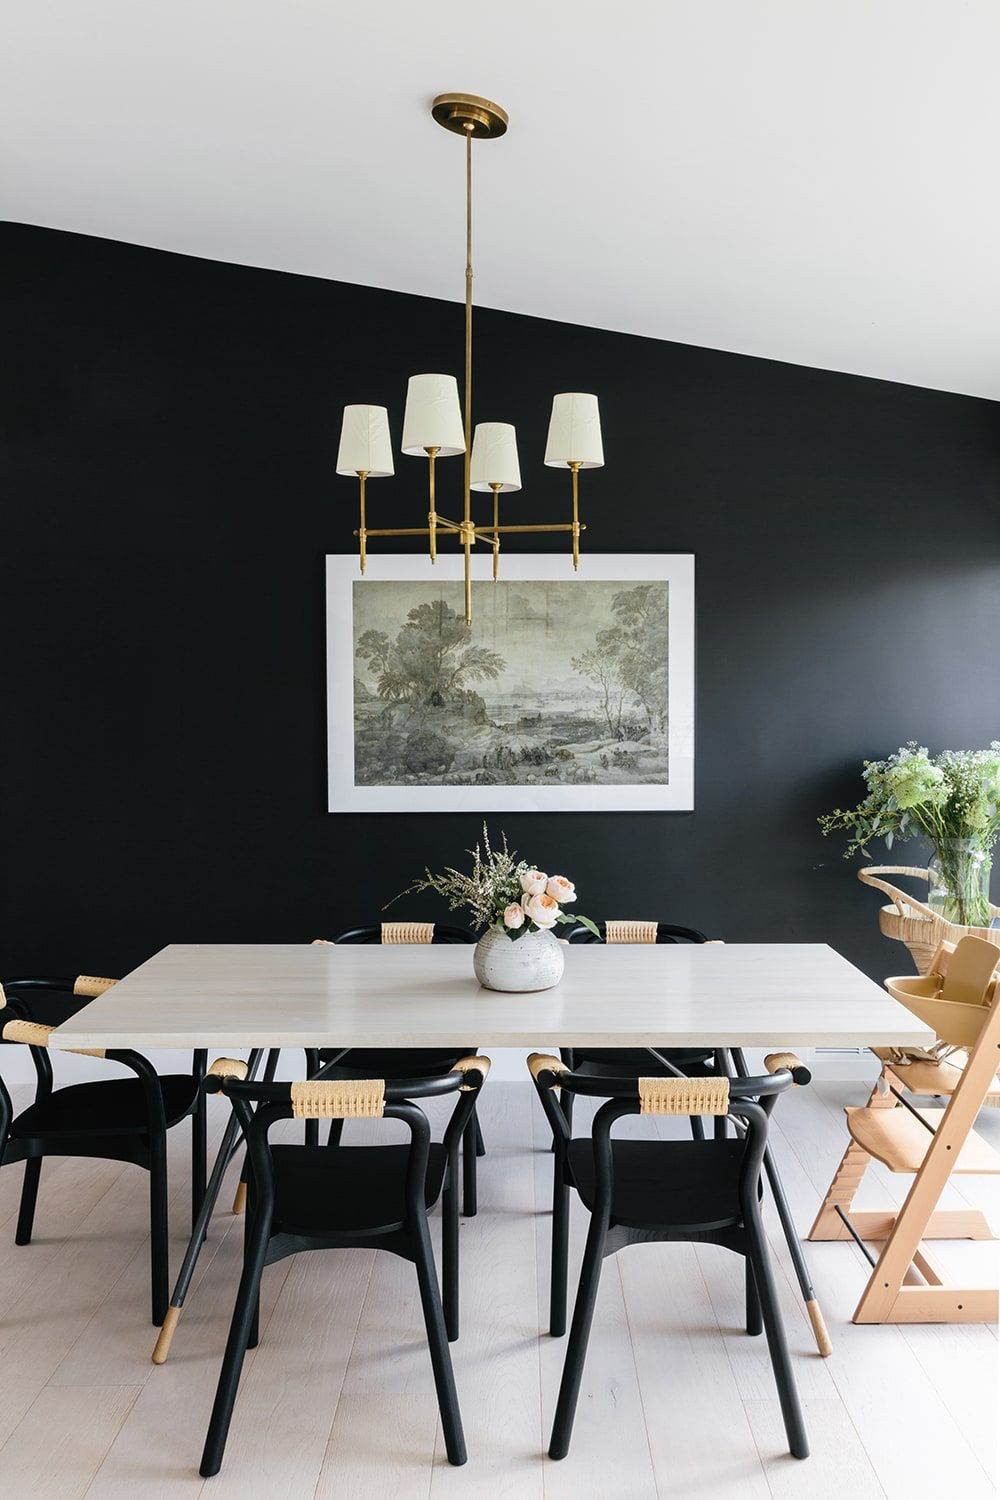
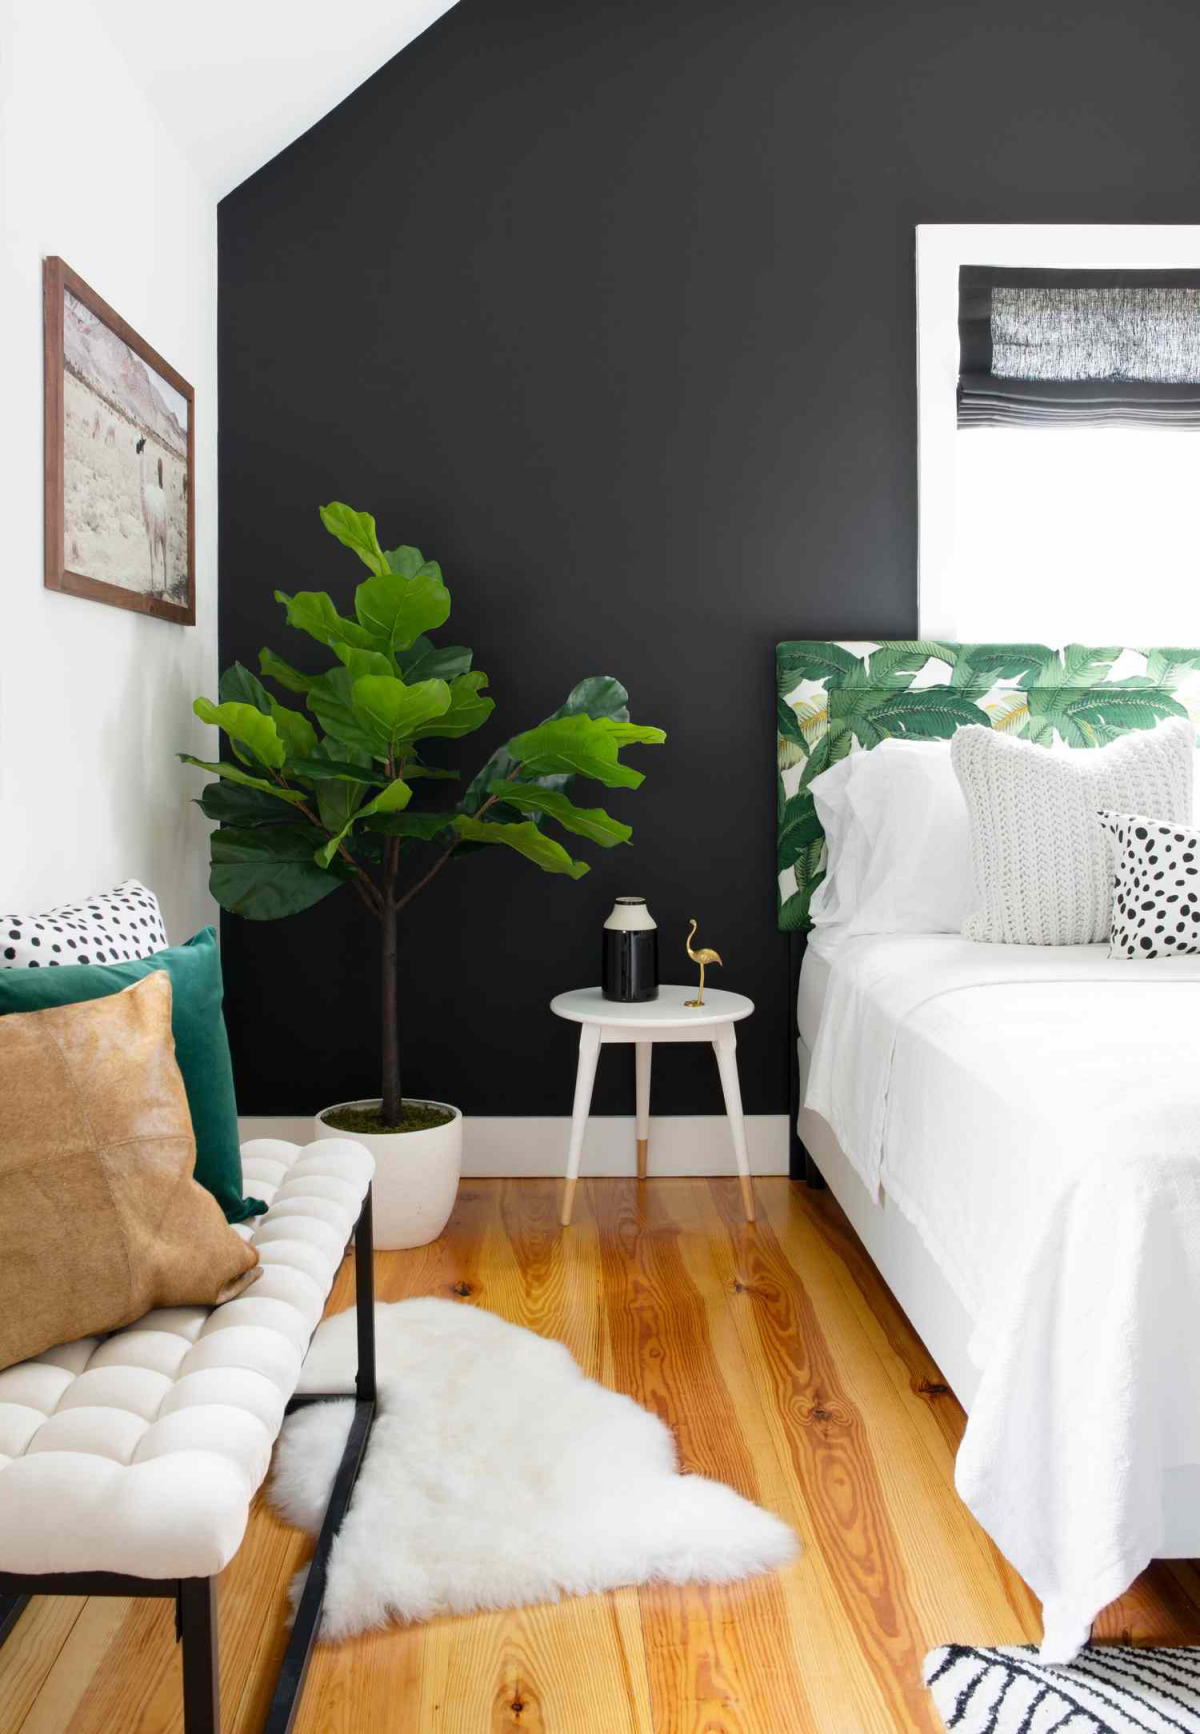
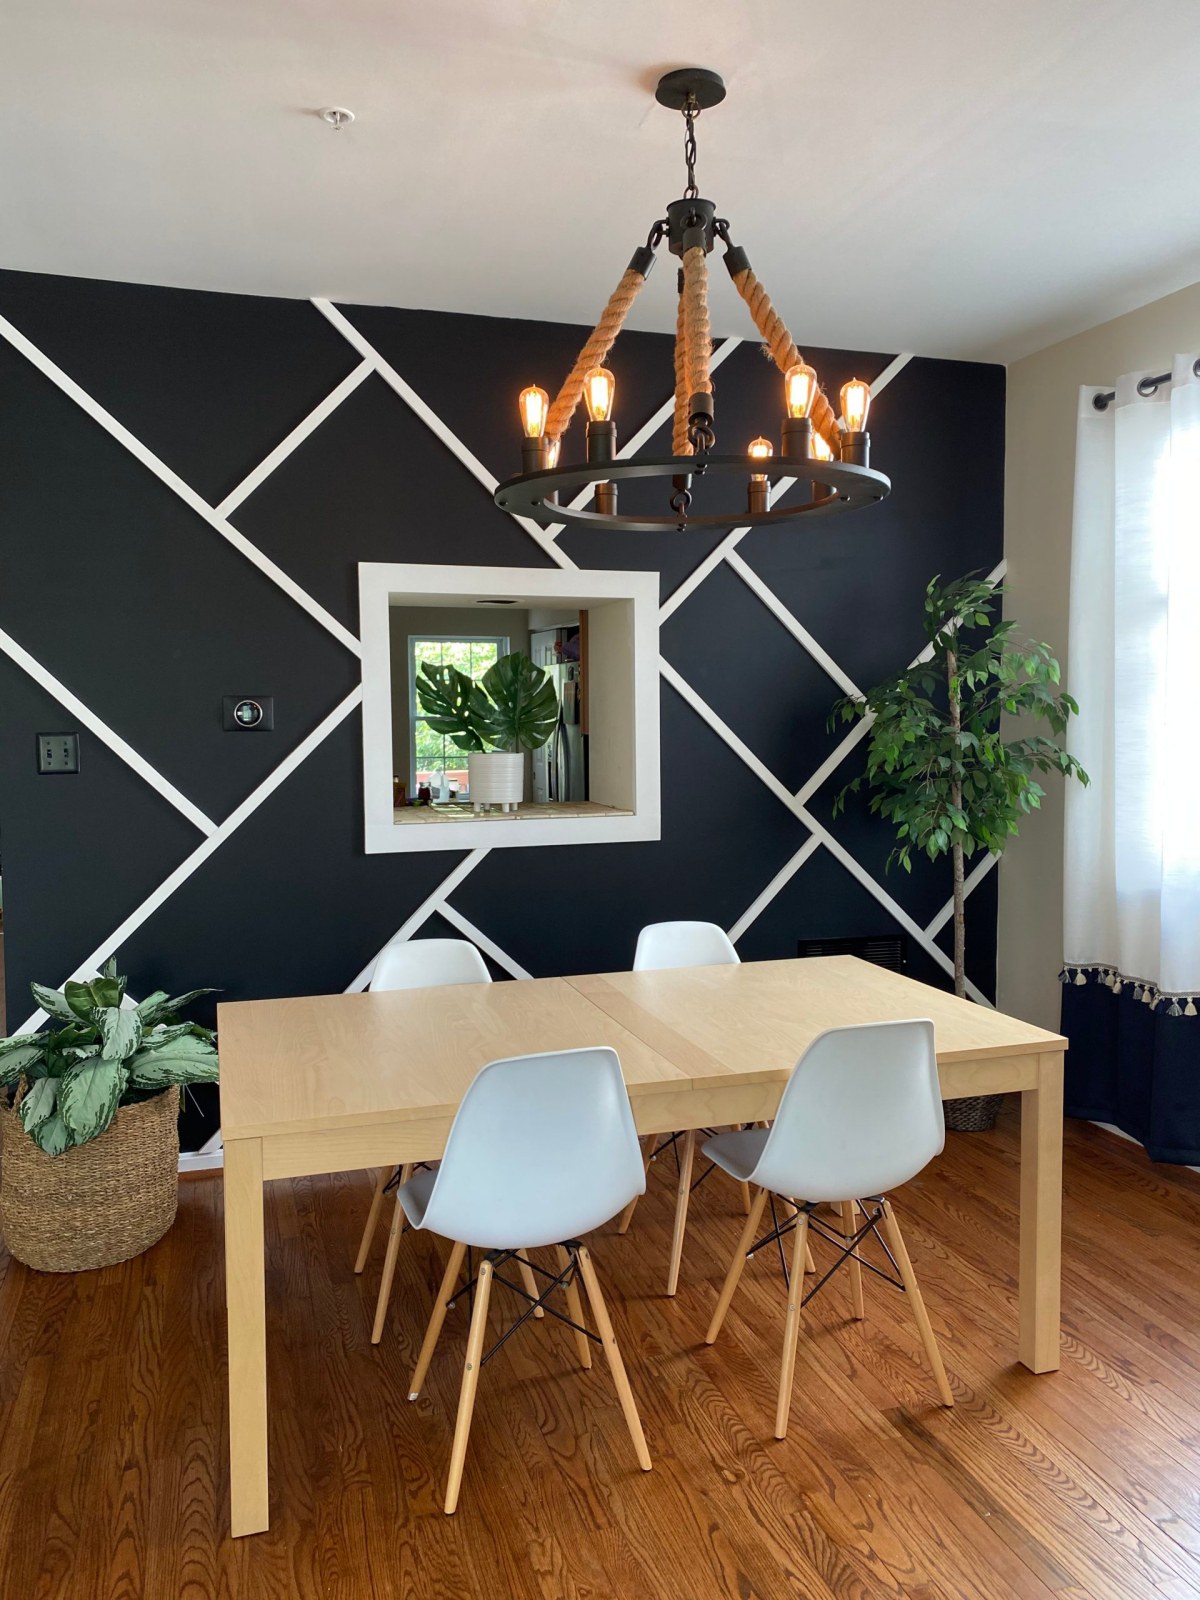
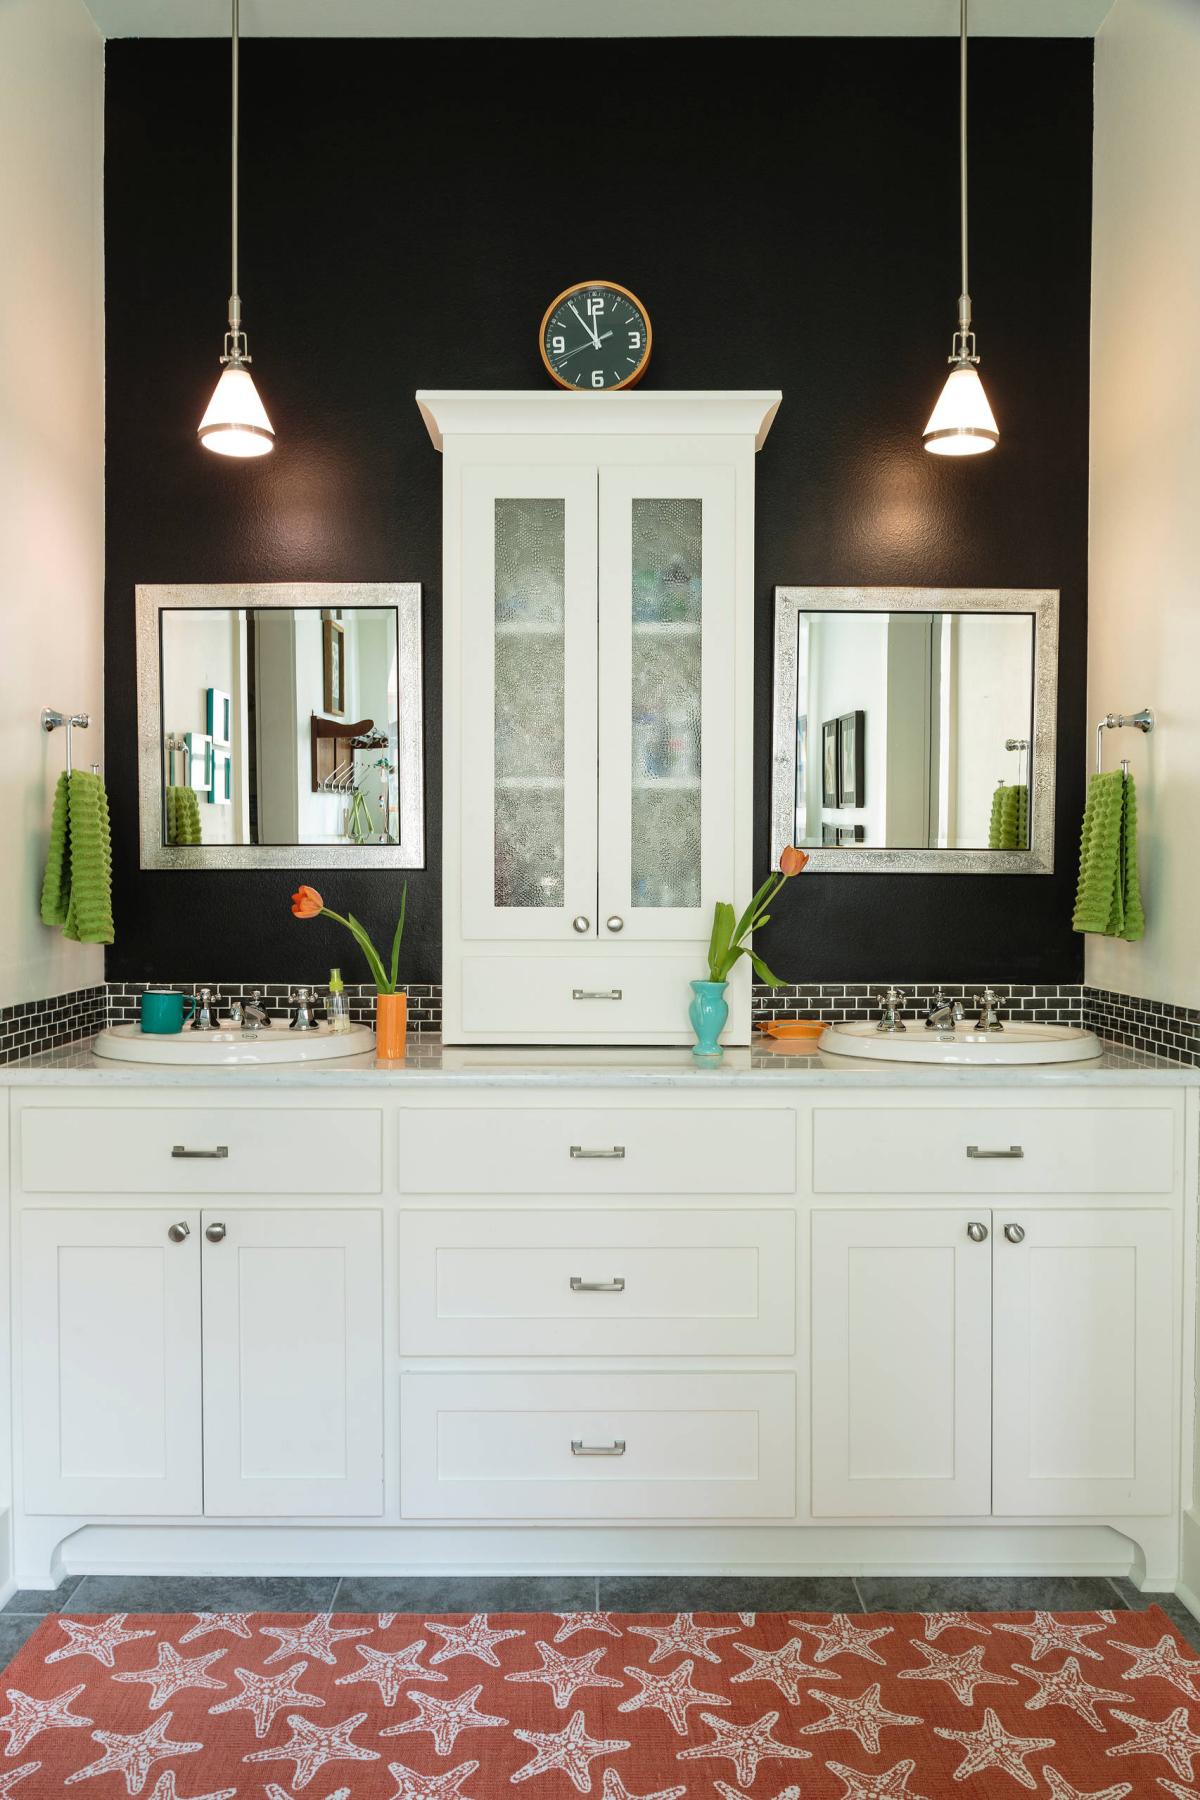
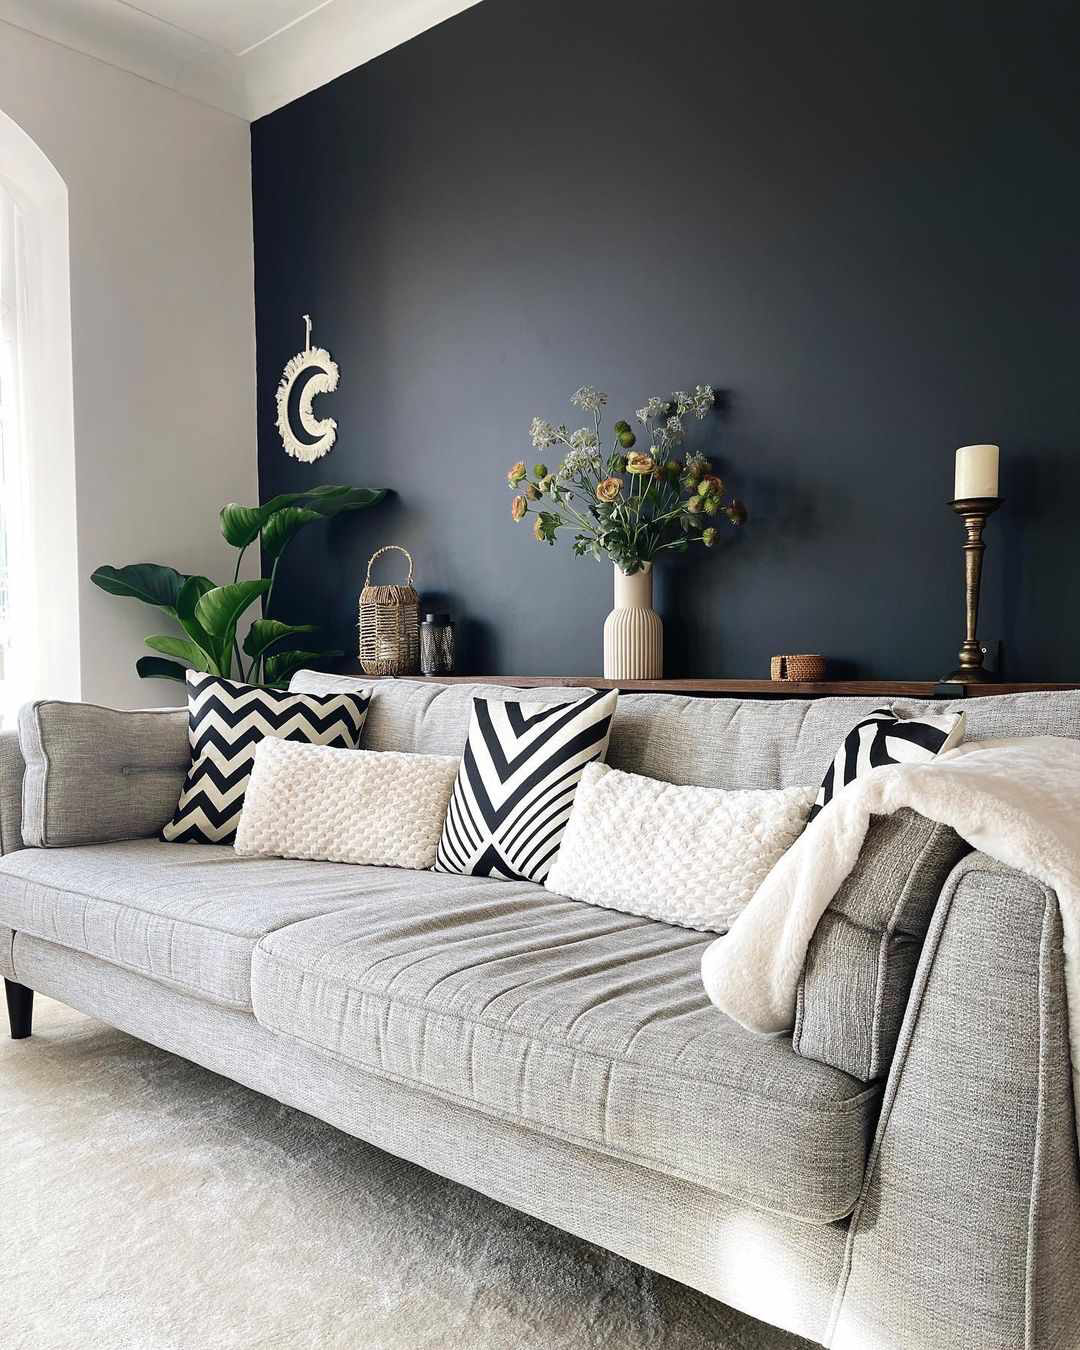
Most black paints you’ll find at the store have a super low LRV, somewhere between 3 and 5. For comparison, a popular off-white is up around 85. This means your new black wall will swallow nearly all the light that hits it. Instead of bouncing light around, it acts like a visual anchor. It’s an amazing trick, actually. The wall itself seems to fall away, creating a crazy sense of depth and making everything in front of it—your art, a colorful sofa, even a simple green plant—absolutely POP.

By the way, I’ve heard people mention energy efficiency with dark walls. While it’s technically true that dark colors absorb thermal energy, the effect of a single interior wall on your heating bill is practically zero. Things like your windows and insulation matter a thousand times more. Choose black for the look, not for a non-existent change in your utility costs.
Sheen Is Everything (Seriously)
The finish you choose is just as important as the color itself. With black, the sheen can completely change the vibe and, more importantly, the practicality of the wall.
- Matte or Flat: This finish has virtually no shine, giving you the purest, deepest black color experience. Because it doesn’t reflect light, it’s a champ at hiding minor bumps and waves in the drywall. The big downside? It’s not durable at all. Matte black scuffs if you just look at it wrong. Honestly, I only suggest it for super low-traffic spots, like behind a headboard or in a formal dining room where no one will touch it. Trying to clean a scuff often just creates a shiny spot, which looks even worse.
- Eggshell: This is my go-to recommendation for 90% of residential accent walls. It has a tiny bit of sheen—like, you guessed it, an eggshell—which gives it a good balance of rich color and decent durability. It’s much easier to wipe down than matte and resists scuffs way better. That very low luster still does a great job of masking small imperfections.
- Satin: Moving up the shine ladder, a satin finish is even more durable and easy to clean. This makes it a solid choice for high-traffic areas like hallways, mudrooms, or even a bold kitchen. But be warned: that extra shine will highlight every single flaw on your wall. If your drywall isn’t perfectly smooth, satin will betray you.
- Semi-Gloss & High-Gloss: I almost never use these for an entire accent wall. They are so reflective they create a mirror-like, liquid-y effect. It’s a very specific, dramatic look that really only works with certain ultra-modern styles. And your wall has to be FLAWLESS (we’re talking a professional Level 5 finish, which is perfectly skim-coated). Otherwise, any little bump will look like a crater. Save these sheens for trim, doors, or furniture.
How to Pick the Right Black
Okay, so you’ve decided on a sheen. Now, which black? You might think black is just black, but oh, you’d be surprised. They have undertones, just like any other color.
- The True Neutral Black: Some blacks are designed to be as neutral as possible. Think of a black hole. They don’t lean warm or cool, making them a fantastic, versatile choice. A well-known option in this category is often called “Tricorn Black” by a major paint brand—ask at the paint counter for their most neutral, pure black.
- The Soft, Off-Black: These are a bit gentler and can feel more organic. They often have subtle charcoal gray, or sometimes even brown, undertones. They provide drama without being quite as stark. A famous one has a name reminiscent of old-fashioned “Railings” and carries a noticeable blue-gray softness.
- The Cool Black: These blacks have a whisper of blue or even green in their base. They can feel very modern, crisp, and sophisticated. They work beautifully in rooms with cool-toned decor (grays, blues, silvers).
Quick tip: You absolutely MUST get samples. Paint a big swatch (at least 2×2 feet) on your actual wall and look at it at different times of day. The way the natural and artificial light in your room hits it will change everything.
Your Project Game Plan: Tools & Prep
A stunning black wall is 90% preparation and 10% application. I can’t stress this enough. Let’s get you set up for success.
Your Shopping List:
- Tinted Primer: A high-quality bonding primer, tinted to a deep gray. (About $25-$40 a gallon).
- Black Paint: A gallon of quality eggshell paint is my vote. Don’t cheap out! (About $60-$90 a gallon).
- Angled Brush: A good 2.5-inch angled brush. Expect to pay $15-$25, and it’s worth every penny.
- Roller & Frame: A 3/8-inch nap microfiber roller for smooth walls. A sturdy frame and an extension pole will save your back.
- Paint Tray & Liners: Liners make cleanup a breeze.
- Painter’s Tape: Get the good stuff. Premium tapes create sharper lines.
- Prep Tools: Spackling, a putty knife, 150-grit and 220-grit sanding sponges, drop cloths (heavy-duty ones!), and a bright work light.
Step 1: The Foundation is Flawless Prep
Empty the room or move everything to the center and cover it well. Use heavy rosin paper or thick drop cloths on the floor—I’ve seen paint bleed right through thin canvas ones.
Now, inspect that wall like a detective. Take your work light and hold it at a sharp angle to the surface. This will cast shadows on every single ding, bump, or old roller fuzz you’d never see otherwise. Circle every imperfection with a pencil. Fill them all with spackling, let it dry, and then sand it perfectly smooth with your 150-grit sponge. The goal is a surface that feels like glass. When you’re done sanding, wipe the whole wall down with a damp cloth to get rid of every speck of dust.
Step 2: The Non-Negotiable Primer Stage
Do not, I repeat, DO NOT paint black directly onto your wall, even if you bought a “paint and primer in one” product. For a deep, rich black, you need a dedicated primer that has been tinted dark gray. This is a game-changer. It helps the black paint cover in fewer coats, saving you time, money, and frustration. Without it, you could be looking at four coats of expensive black paint. With it, you’ll be done in two.
Good to know: Wondering how much to buy? Measure your wall’s height and width in feet, then multiply them to get the square footage (e.g., 8 ft high x 12 ft wide = 96 sq ft). One gallon of paint or primer typically covers 350-400 sq ft, so a quart might be enough for primer and a gallon of paint will give you plenty for two coats on a standard accent wall.
Step 3: How to Paint Like You’ve Done This Before
Tape off your ceiling, baseboards, and adjoining walls with a quality painter’s tape, pressing the edge down firmly. Here’s a lesser-known trick I teach all my apprentices: take a little bit of the original wall color and paint a very thin line over the edge of the tape that faces the accent wall. This seals the tape’s edge. Any paint that bleeds under will be the old color, which is invisible. When you paint the black over it, you’ll get a razor-sharp line when you pull the tape.
Now, you need to maintain a “wet edge” to avoid ugly lap marks. Start by “cutting in”—using your brush to paint a 3-4 foot section along the tape lines and corners. Immediately, while that brushed paint is still wet, use your roller to paint the main part of the wall, rolling in a big “W” or “N” pattern to spread the paint. Then, gently back-roll in a single direction (top to bottom) to smooth it all out. Repeat this section by section across the wall.
A little secret weapon: For a few extra bucks, grab a bottle of paint conditioner or extender. A little bit mixed into your paint (follow the bottle’s directions) slows the drying time, giving you more time to work and making it much easier to keep that wet edge. It’s a lifesaver with dark colors.
Let the first coat dry completely—at least 4 hours, but check the can. It will probably look a little patchy. That’s normal! The second coat is where the magic happens. Before you apply it, gently knock down any dust nibs with a 220-grit sanding sponge. After applying the second coat, remove the painter’s tape while the paint is still slightly damp, pulling it slowly at a 45-degree angle.
Oops… A Guide to Fixing Mistakes
Even the pros mess up sometimes. Here’s how to fix it.
- Drips or Runs: If you catch it while it’s wet, just smooth it out with your brush or roller. If it’s already dry… resist the urge to just paint over it! Sand the drip down completely smooth with your 220-grit sponge, wipe away the dust, and then touch it up with a tiny bit of paint.
- Scuffs and Scratches: This is the tough one, especially with matte or eggshell. The fix is a delicate touch-up. Use a very small artist’s brush and apply a tiny amount of paint only to the scratch itself. Don’t paint a big patch around it, as that will likely flash (look shinier) and be more obvious than the original scuff.
- Fuzzy Paint Line: If the tape pulled off some of your new black paint, wait for the wall to fully cure (a few days). Then, re-tape the line very carefully, and do a precise touch-up along the edge.
The Big Question: What Will This Cost and How Long Will It Take?
For a DIY project, you can expect to spend between $150 and $250 for a standard 10×12 foot wall. That covers high-quality paint, primer, and all the necessary tools like a good brush and rollers that you can reuse.
If you hire a professional, the cost can range from $400 to $800+, depending on your location, the condition of the wall (extensive repairs cost more), and the size. Yes, it’s more expensive, but you’re paying for a perfect finish and none of the hassle.
As for time, don’t rush it. This is a weekend project. Plan for Day 1 to be all about prep: moving furniture, cleaning, patching, sanding, and applying the first coat of primer. Let it dry overnight. Day 2 is for the fun part: applying your two coats of black paint, allowing for proper drying time in between.
So there you have it. A black accent wall is an incredible design choice, but it demands respect. Take your time, use the right materials, and focus on that prep work. I promise, the final result will be worth every bit of effort.
Galerie d’inspiration


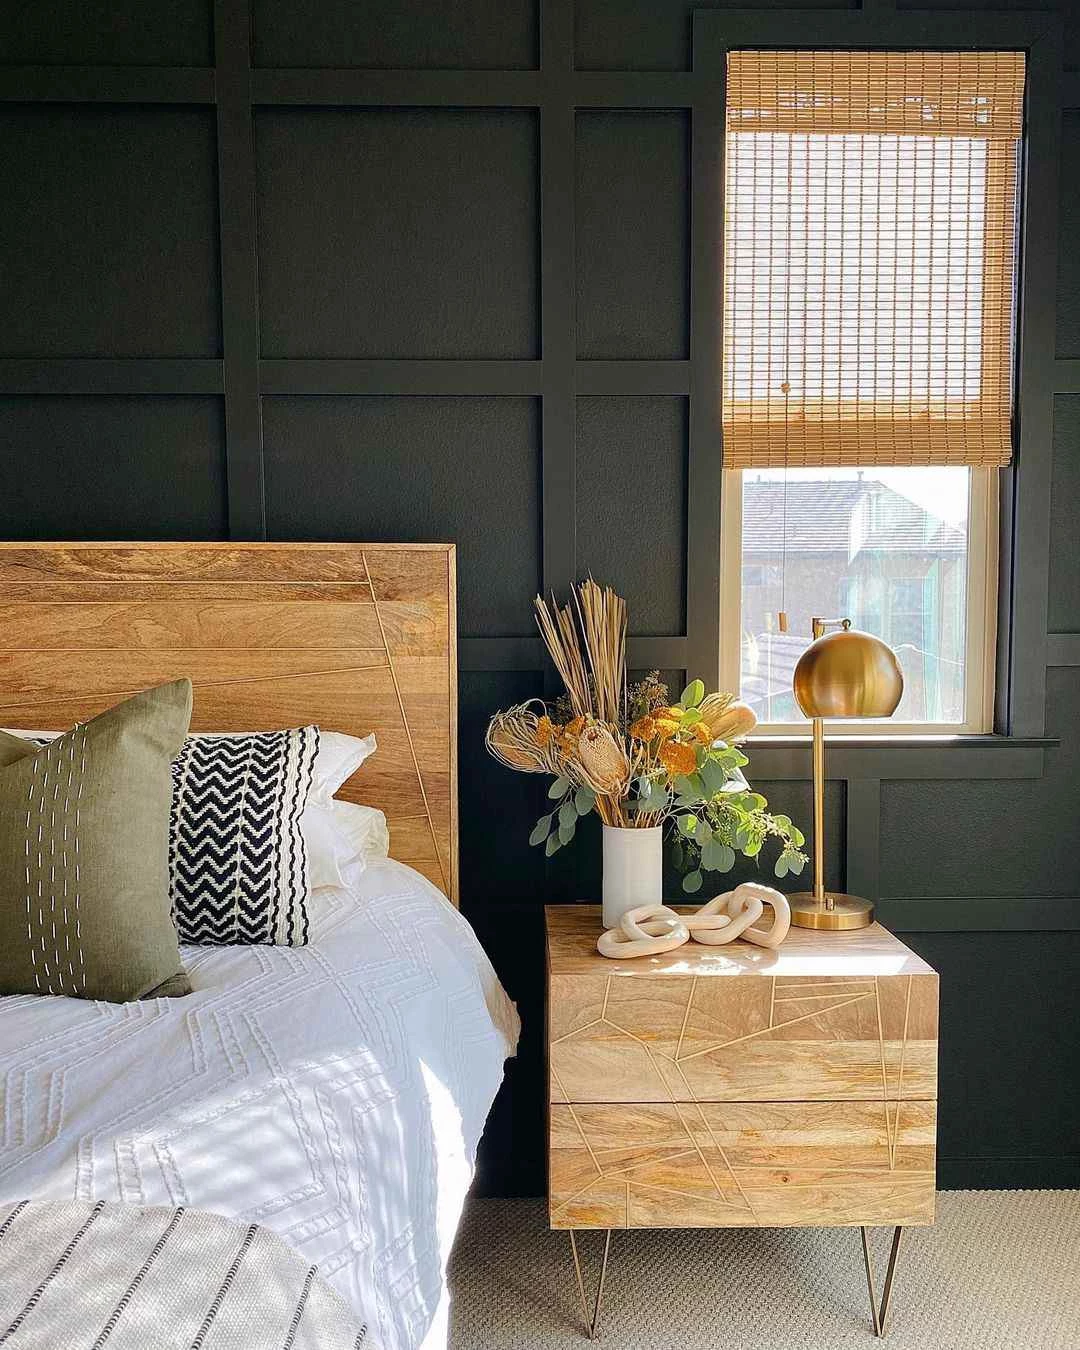
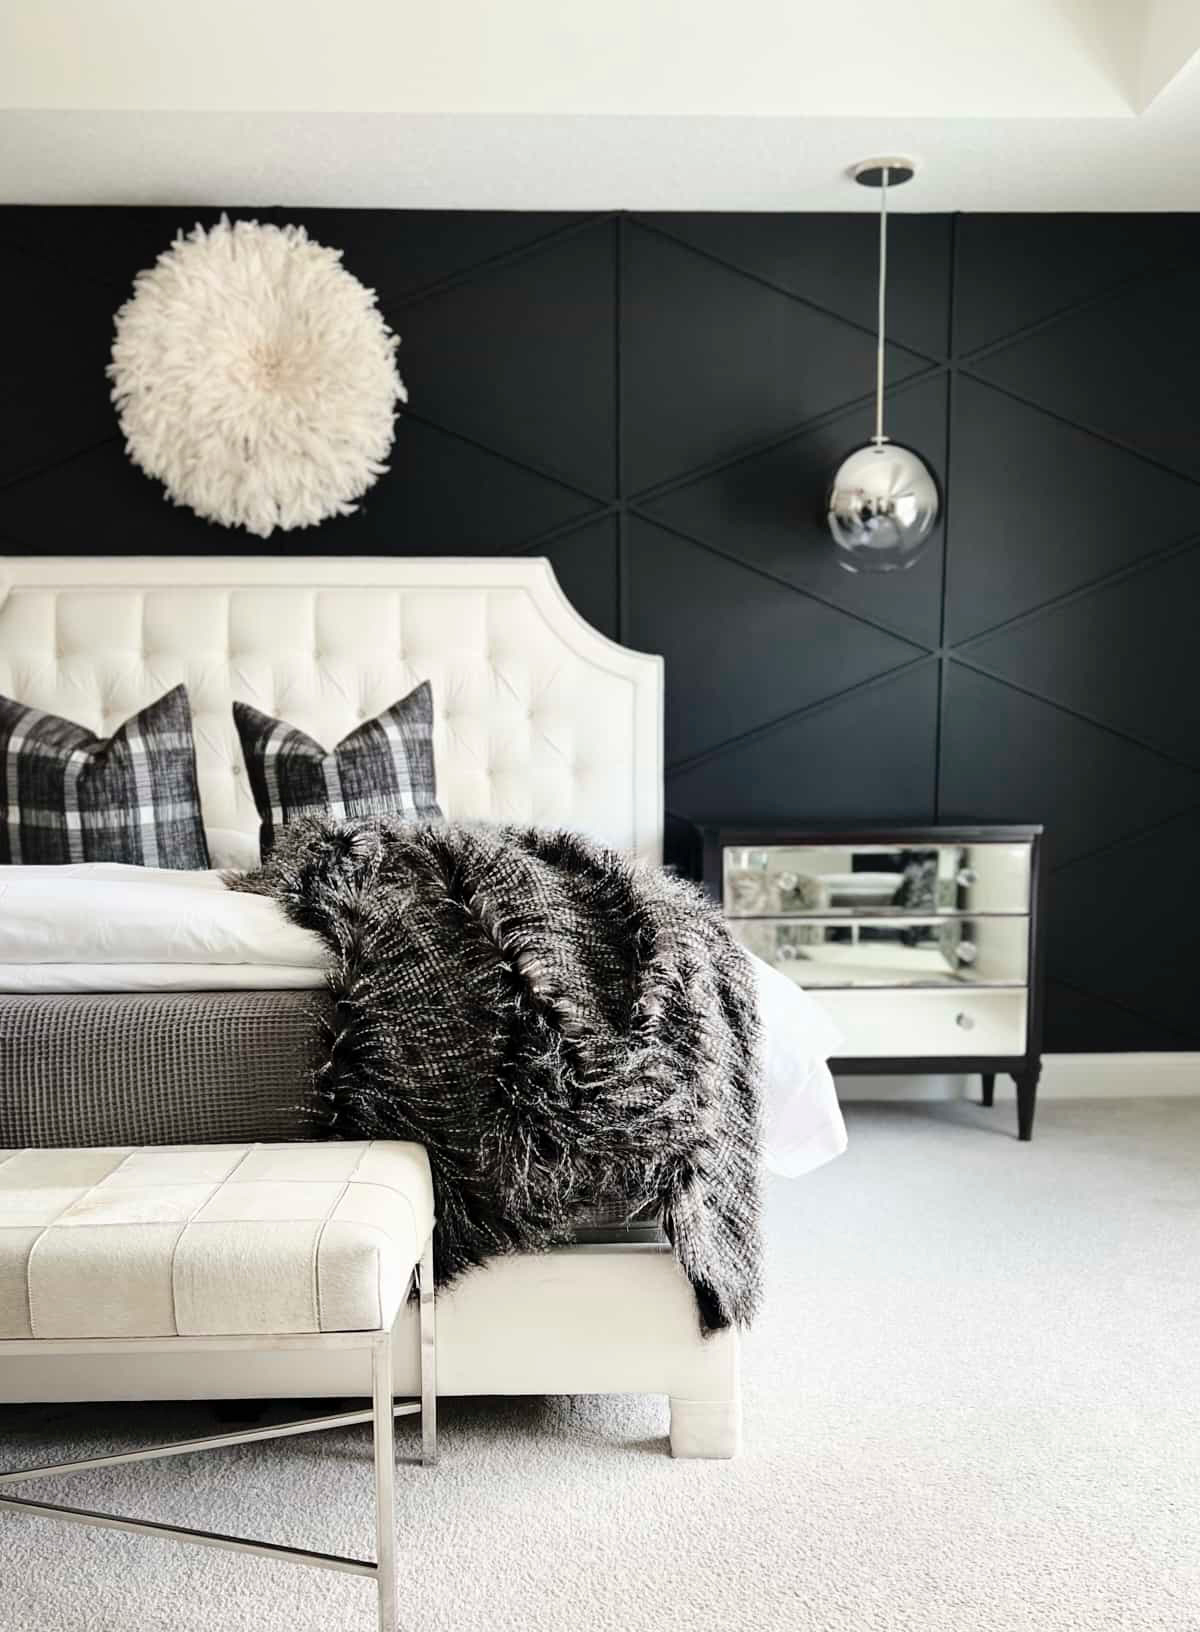
Matte Finish: This is the secret to a velvety, light-absorbing wall that feels incredibly deep. A true matte, like Farrow & Ball’s Dead Flat finish on their popular shade
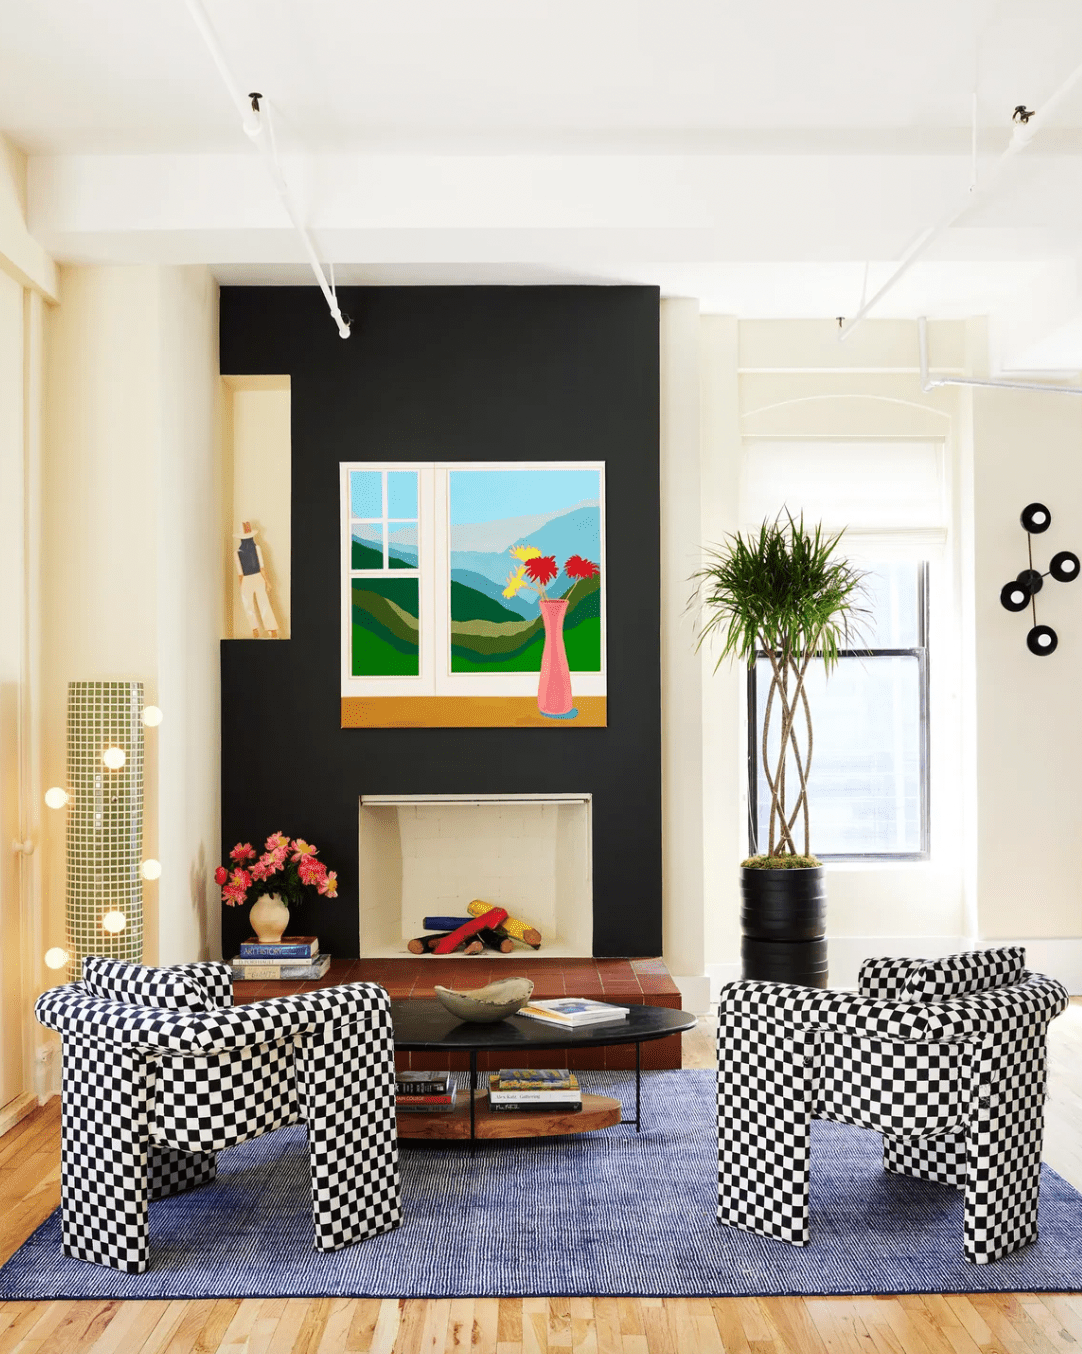
Over 60% of top interior designers report using dark, moody accent walls to create a sense of intimacy and luxury in large, open-plan spaces.
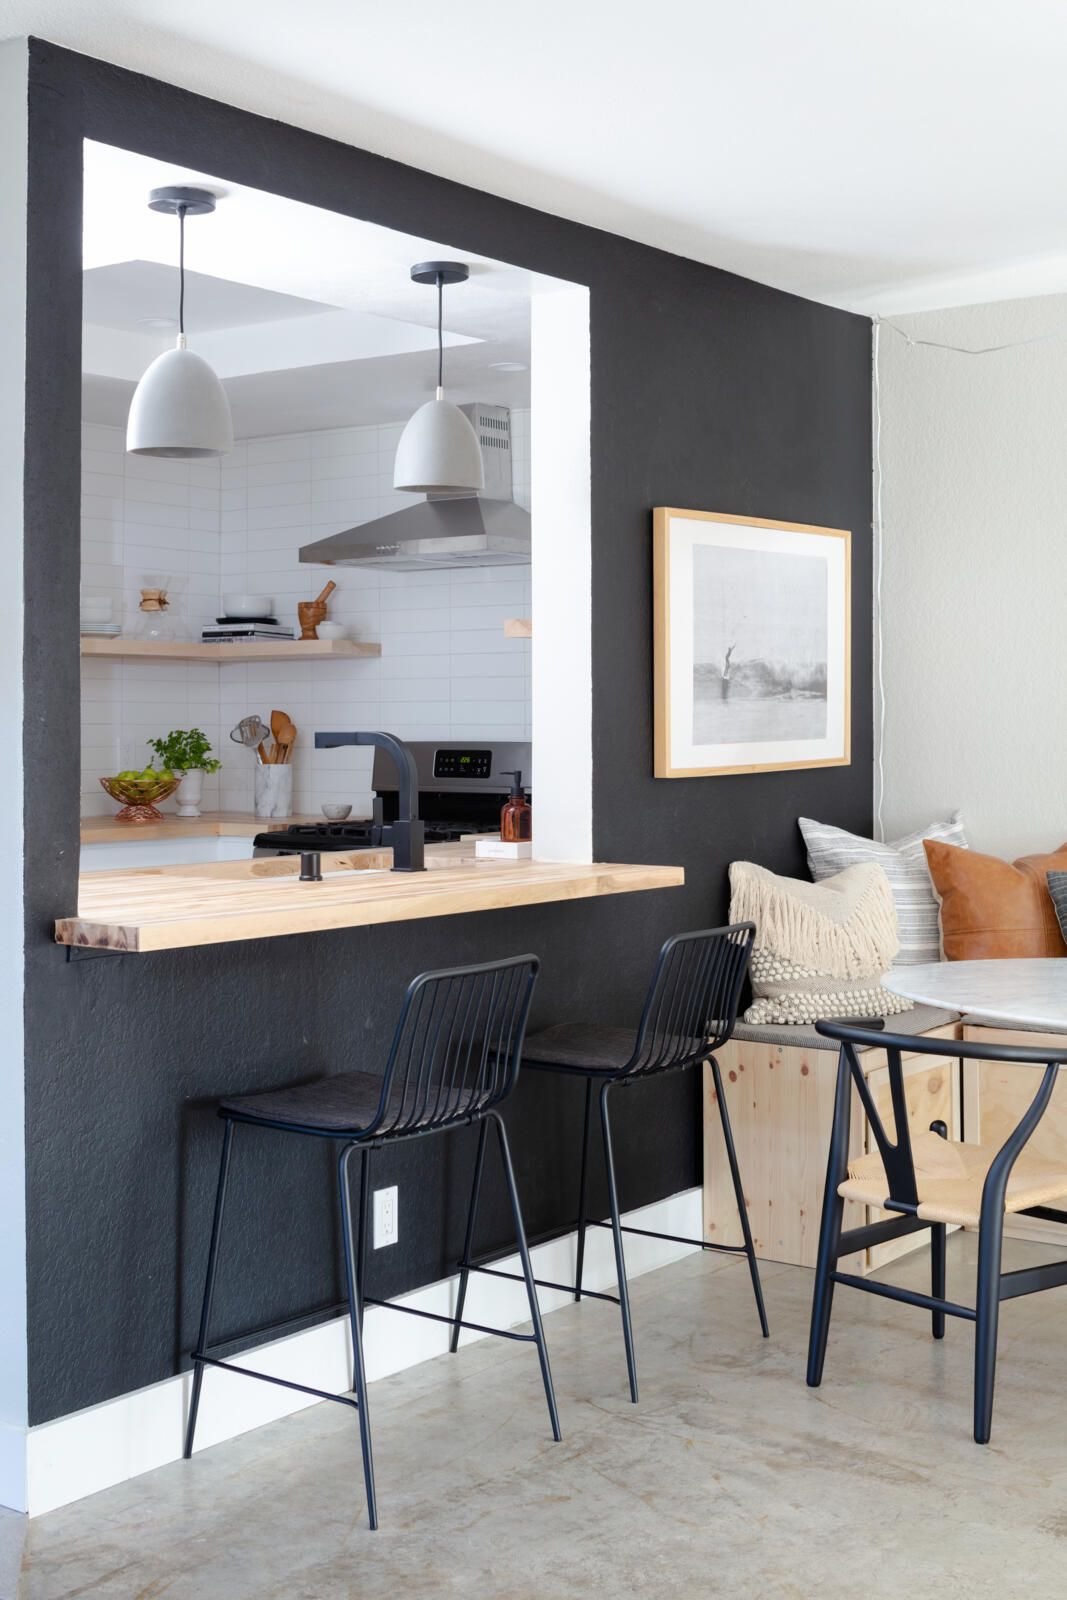
This isn’t just about making a statement. A black wall is a powerful design tool for zoning. In a large living area, a black wall behind the sofa can visually anchor the seating arrangement, creating a cozy “room within a room.” It tricks the eye into seeing that specific zone as a distinct, more intimate space, separate from the dining or kitchen area, even with no physical dividers.


