Your Orchid Isn’t Hard to Care For, It’s Just Misunderstood
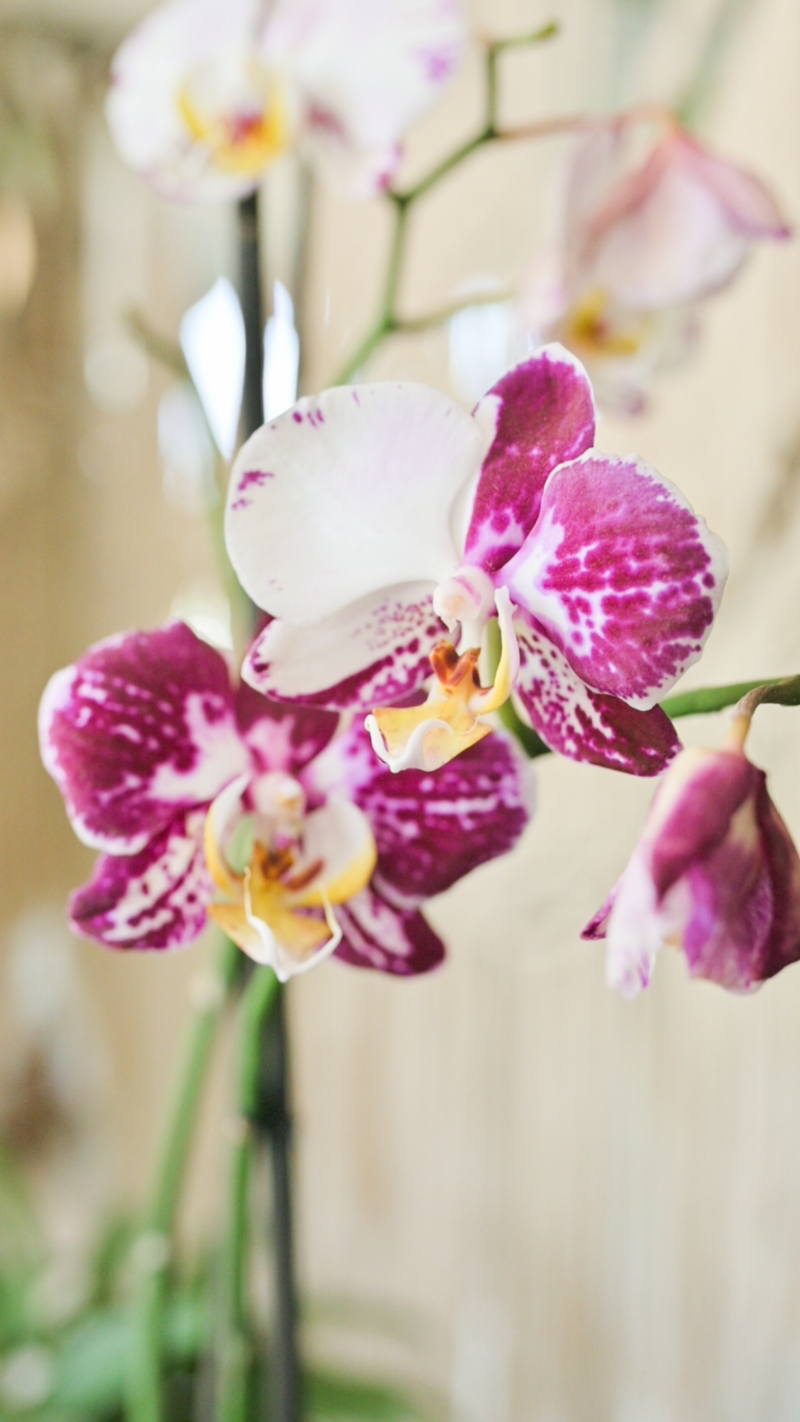
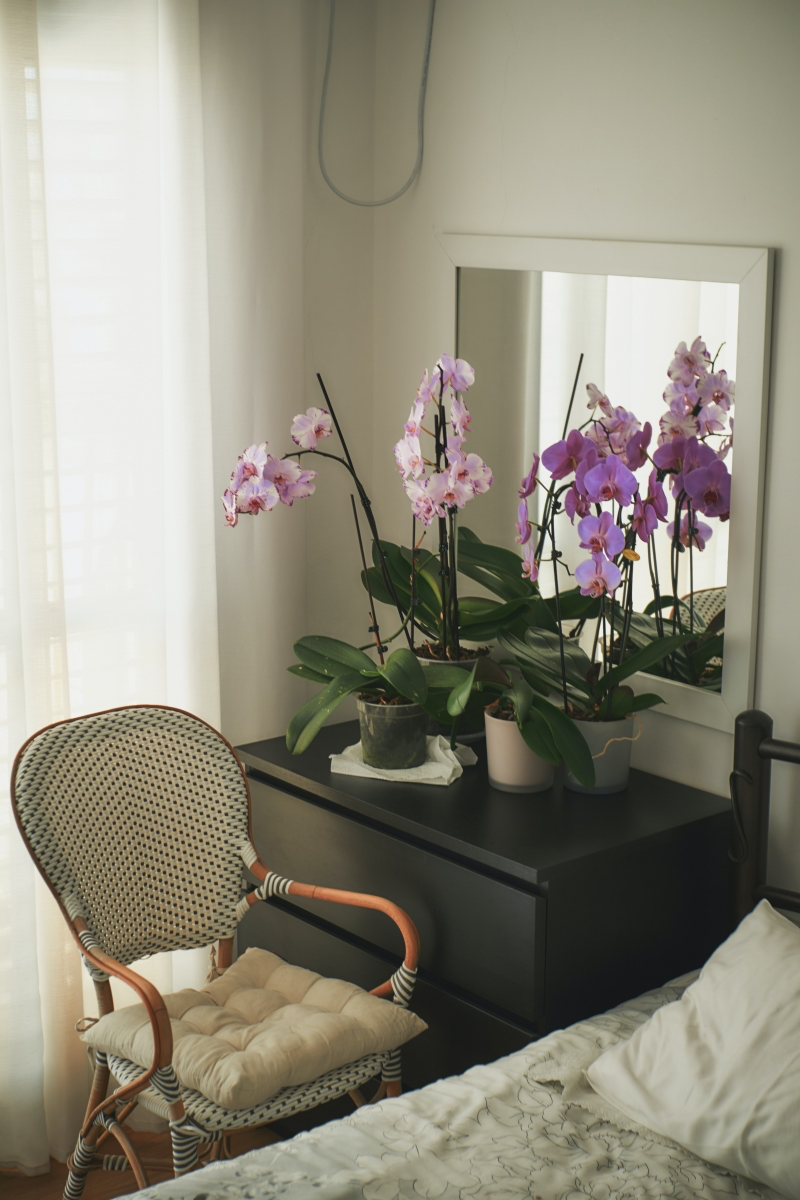
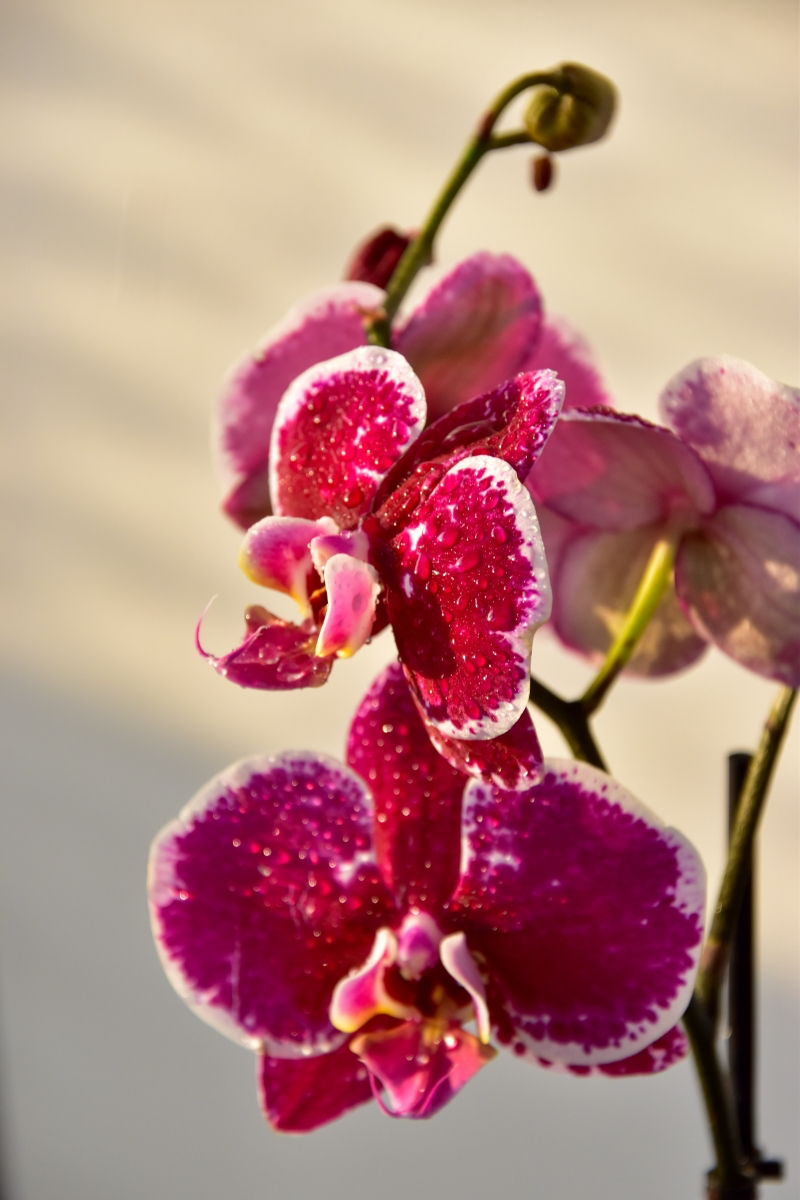
I still remember my very first orchid. It was a stunning purple Phalaenopsis I grabbed from a grocery store, thinking, “how hard can this be?” Well, I treated it like every other houseplant I owned. I gave it some rich potting soil and watered it every couple of days. You can probably guess what happened next. Within a month, its roots were total mush and the leaves turned a sad, sickly yellow. For ages, I figured I just had a black thumb.
In this article
It took me a lot of trial and error (and honestly, a lot of dead orchids) to finally get it. Orchids aren’t difficult. They’re just… different. Their entire rulebook is based on how they grow in the wild, perched high up in the trees, and once you get that, everything clicks.
So, this isn’t just a list of random tips. This is the real-deal, practical knowledge that actually works. We’re going to move past the myths and focus on what will make your plant happy. My goal is to get you to a place where you’re not just keeping an orchid alive, but helping it truly thrive. It all starts with seeing the world from its perspective.
Why Your Orchid Thinks It’s a Tree-Dweller
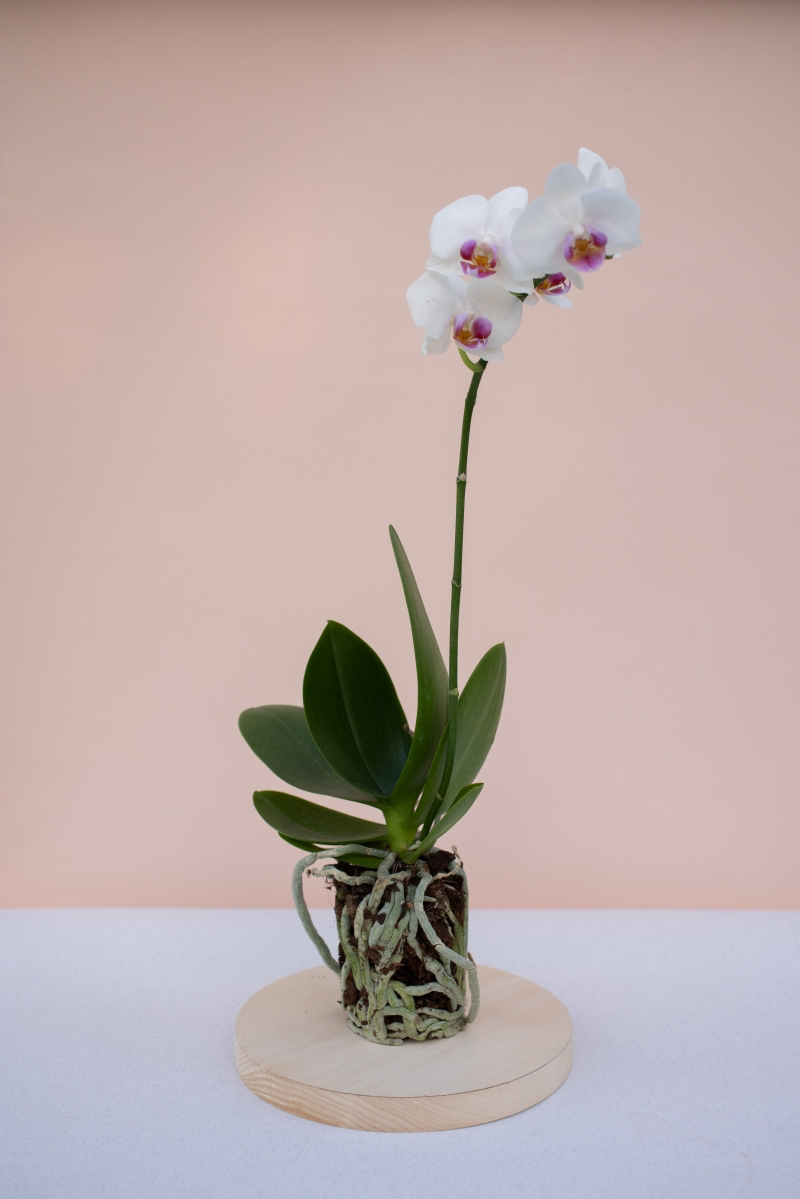
Okay, first things first. You have to understand an orchid’s basic nature to care for it. The vast majority of orchids you’ll buy are epiphytes. Big word, simple concept: in their natural habitat, they don’t grow in soil. They grow on other plants, usually clinging to tree bark. They’re not parasites; they just use the tree as an anchor to get better access to light and air.
This one single fact changes absolutely everything. Their roots are not made for dirt.
Orchid roots are pretty special. They’re covered in a spongy layer of cells that acts like a super-absorbent paper towel. It’s designed to quickly soak up rainwater as it runs down a tree. But here’s the crucial part: between rains, those roots are completely exposed to the open air, allowing them to dry out. This cycle of a thorough drenching followed by a period of drying is the absolute key to their health.

When you stick an orchid in regular potting soil, you’re essentially suffocating it. The dense soil cuts off air circulation and stays wet for way too long. The roots can’t dry, so they begin to rot. This is why “overwatering” is the number one killer of orchids. It’s not about the amount of water, but how long the roots stay soggy.
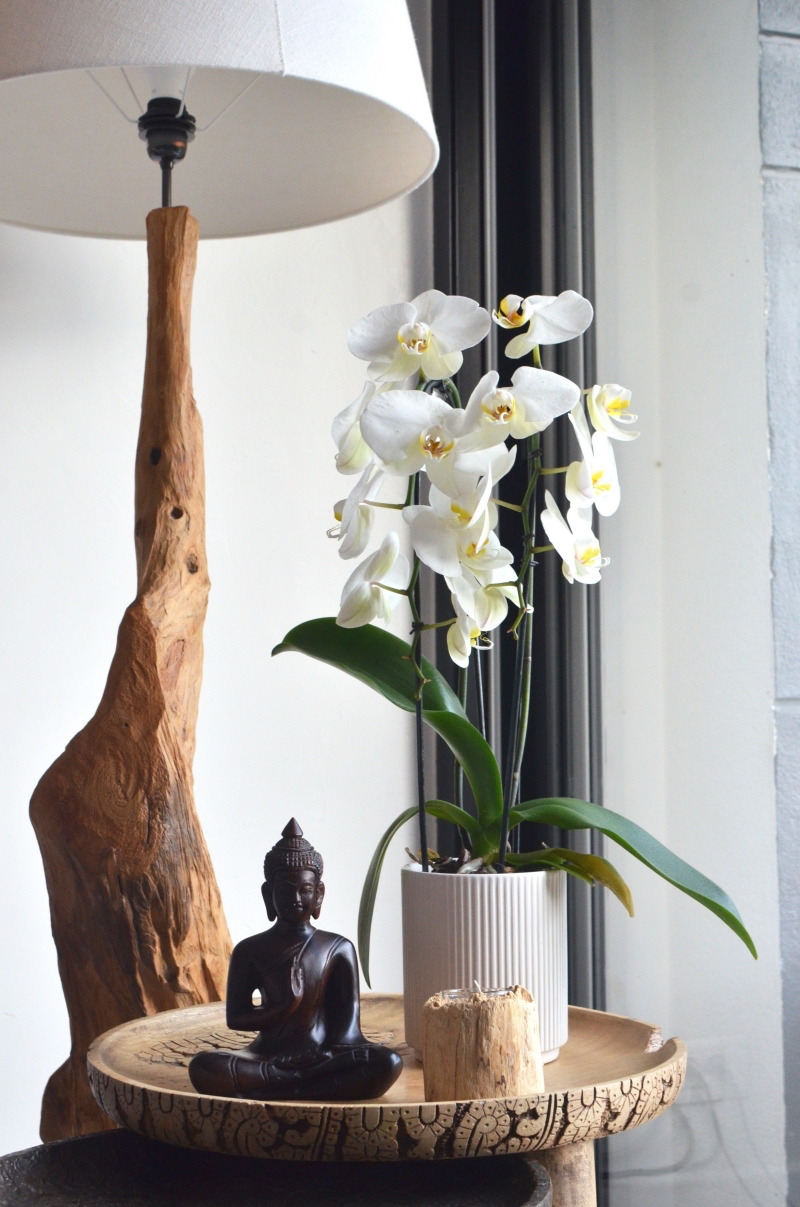
Their need for light is also tied to this treetop life. Huddled under a jungle canopy, they get bright, but filtered, sunlight. Harsh, direct sun will scorch their leaves. This is great news for us, because it means they usually love the bright, indirect light in our homes. A spot where the plant can “see” a big patch of sky but where the sun’s rays don’t land directly on the leaves for hours is perfect. A few feet back from an east-facing window is often a sweet spot.
Choosing a Winner (and Avoiding Trouble)
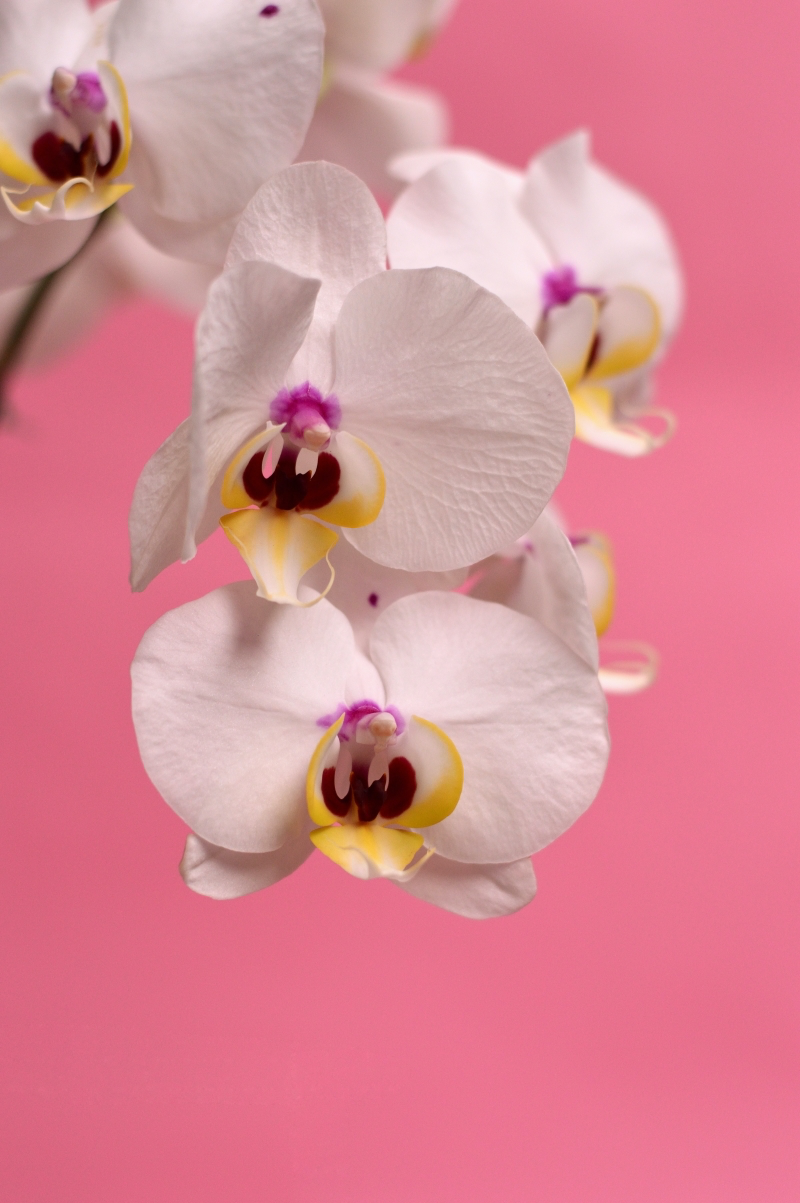
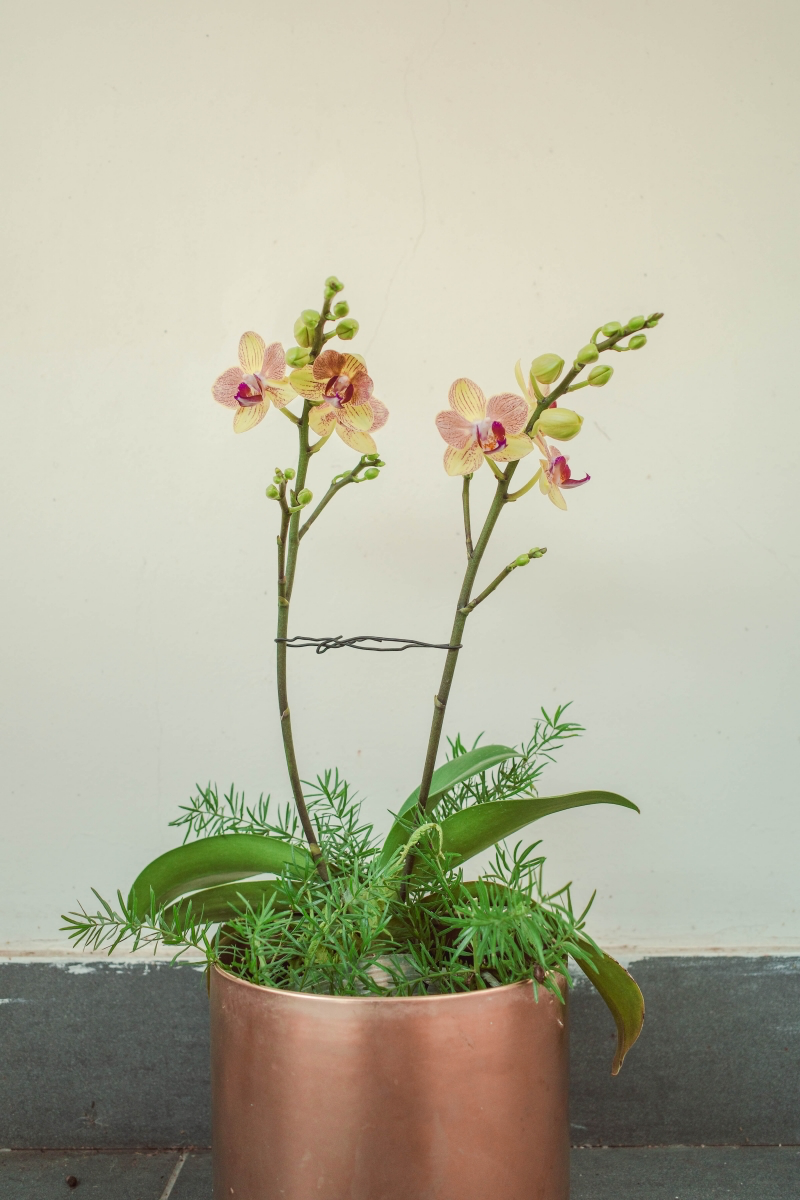
Not all orchids are created equal, and for a beginner, picking the right one is half the battle. The best place to start is with a Phalaenopsis, also known as the moth orchid. They’re everywhere for a reason: their native climate is shockingly similar to the temps and light in the average home. They’re forgiving and bloom for months.
When you’re at the store, be picky. I always tell people to start by inspecting the roots. This is where clear plastic pots are your best friend! They let you see exactly what’s going on. Look for roots that are plump and silvery-green or white. A few shriveled ones are fine, but walk away if most of them look mushy and brown.
Next, check the leaves. They should be firm, stiff, and unwrinkled. A leathery leaf is a sign of a well-hydrated plant. Finally, give it a quick pest check. Look under the leaves and where they meet the stem for white fuzzy spots (mealybugs) or little bumps (scale).
Quick tip: When you bring a new plant home, keep it isolated from your other plants for a couple of weeks. It’s a simple quarantine to make sure you didn’t bring home any unwanted pests. It’s a lesson most of us learn the hard way!
Repotting Without the Panic
Sooner or later, every orchid needs to be repotted. This isn’t something you do on a strict schedule, but for two main reasons: the potting mix has broken down, or the plant has literally outgrown its pot.
Orchid mixes, like bark, decompose over time (usually 1-2 years). They get compacted and start holding too much water, just like soil. That’s your cue to repot. I once waited too long with a prized orchid; by the time I repotted, I had to cut away half the root system. The plant survived, but it took a long time to recover and bloom again.
The Right Stuff for the Job
First rule of repotting: NEVER use potting soil. Instead, you’ll use a special orchid mix. Your main choices are:
- Fir Bark: This is the gold standard for most, especially beginners. It provides fantastic drainage and airflow. A bag of decent orchid bark will run you about $10-$15 at a garden center or online.
- Sphagnum Moss: This stuff is like a sponge and holds a lot more water than bark. It’s great if you live in a very dry climate or tend to underwater, but it can be tricky. The key is to pack it loosely, leaving air pockets. If you cram it in tightly, you’re just asking for root rot.
For most of my Phalaenopsis orchids, I find a mix of medium-grade fir bark with a little perlite and chopped sphagnum moss works wonders. It holds just enough moisture while letting the roots breathe. And a simple clear plastic pot, which will only set you back about $5, is the best choice because it lets you monitor the roots easily.

The Repotting Process, Step-by-Step
- Get Your Tools: You’ll need your fresh orchid mix, a clean pot (usually just one inch bigger), and sterile cutting tools. I use a pair of small pruning shears that I clean with rubbing alcohol before every single use to prevent spreading disease.
- Free the Plant: Gently squeeze the plastic pot to loosen everything. Carefully work the plant out. If roots are stuck, it’s better to cut the pot away than to tear the roots.
- Clean Up the Roots: This is the most critical step. Patiently tease away all the old, broken-down bark. Now, inspect every root. Use your sterile shears to cut off anything that’s mushy, stringy, or papery and hollow. Healthy roots are firm. Don’t be scared—a few healthy roots are way better than a giant ball of rotting ones.
- Position in the New Pot: Hold the plant so the base (where the leaves start) is just below the rim of the pot. Don’t plant it too deep, or you risk crown rot from water sitting at the base of the leaves.
- Add the New Mix: While holding the plant steady, pour in the fresh bark. Tap the side of the pot to help the mix settle. You can use a chopstick to gently poke bark into the larger gaps, but don’t pack it down tightly. Remember, the roots need air!
- Let it Heal: This is a pro tip. After repotting, wait about a week before you water it. This gives any little cuts on the roots time to heal over, which prevents rot from setting in. Keep it in slightly lower light for a few weeks as it recovers. It’s normal for it to look a little pouty for a bit.
Watering and Feeding: The Make-or-Break Skills
How you water will define your orchid journey. And please, let’s just get this out of the way: do not use ice cubes. These are tropical plants. The intense cold can shock and damage the delicate roots, and it doesn’t flush the pot properly.
The Right Way to Water
The best method is the “drench and drain.” Take the whole pot to your sink. Use lukewarm water to completely soak the potting mix, letting water run through for a minute or so. This ensures all the roots get a drink and, just as importantly, it flushes out any mineral salts that have built up from fertilizer.
Then, the most important part: let it drain completely. I leave mine in the sink for 15-20 minutes until it stops dripping. Never, ever let your orchid sit in a saucer full of water. That’s the fast track to root rot.
So… When Do I Water?
There’s no magic schedule like “once a week.” You water when the orchid needs it. Here are three easy ways to tell:
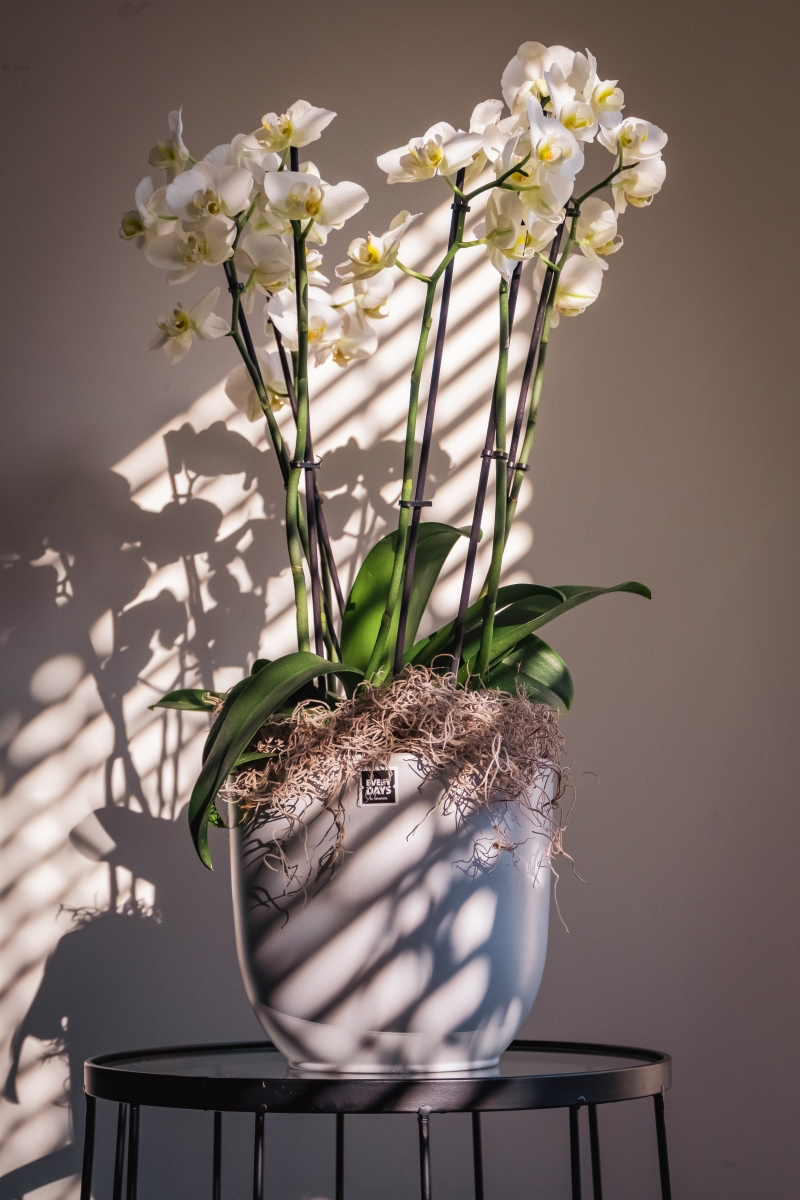
- Look at the Roots: If you used a clear pot, this is easy. Bright green roots are hydrated. Silvery-white or silvery-green roots are dry and ready for water.
- The Weight Test: Pick up the pot right after you’ve watered it. Feel how heavy it is. A week or so later, pick it up again. If it feels significantly lighter, it’s probably time to water.
- The Skewer Trick: Gently poke a wooden barbecue skewer or a chopstick into the center of the pot, avoiding the main roots. Pull it out after a minute. If it comes out dark and damp, wait. If it comes out dry, it’s time to water.
What’s for Dinner? (Aka Fertilizer)
To get those beautiful blooms, you need to feed your orchid. Look for a fertilizer made specifically for orchids. A balanced one (like 20-20-20) is great. I follow a simple rule: “weakly, weekly.” I mix the fertilizer at one-quarter the strength recommended on the package and use it with every watering during the growing season (spring and summer). When the plant is resting in the fall and winter, I cut back to fertilizing just once a month.
The Big Question: What To Do After the Flowers Fall Off?
Ah, the moment every new orchid owner dreads. The beautiful blooms are gone, and you’re left with a plain green stick. Don’t throw the plant away! It’s just resting. For a Phalaenopsis, you have two choices:
- If the spike is still green and healthy: Look for a little triangular “node” below the lowest flower that bloomed. You can cut the spike about an inch above that node. Sometimes, the plant will send out a new branch of flowers from there. It’s a faster way to get more blooms, but they’re often smaller.
- If the spike is turning yellow or brown: Just cut it all the way down at the base of the plant. This is actually my preferred method. It allows the orchid to put all its energy into growing stronger roots and leaves, which will lead to a bigger, more impressive flower show next time.
Quick Fixes: Don’t Panic!
Sometimes your orchid will look a little off. Before you panic, here are a few common signs and what they mean:
- Wrinkled, leathery leaves? Your plant is thirsty! It’s not getting enough water, or its roots are too damaged to absorb it. Check the roots and give it a good soak.
- One bottom leaf is turning yellow? This is usually totally normal. The plant is just shedding its oldest leaf to make way for new growth. You can let it fall off naturally or gently pull it off once it’s fully yellow.
- No new flowers in over a year? It probably needs more light. Try moving it to a brighter spot. A slight drop in temperature at night can also help trigger blooming.
By the way, here’s your five-minute orchid checkup: lift the inner clear pot out of its decorative container. Is there standing water at the bottom? Pour it out immediately. You just saved your plant from its number one enemy. It’s that simple.
Inspiration:
Orchid Bark Mix: This is the go-to for most beginners. Composed of fir or pine bark chunks, often mixed with charcoal and perlite, it provides the exceptional drainage and air circulation that mimics an orchid’s life on a tree. It’s forgiving if you tend to over-water. Look for brands like Orchiata for a high-quality, stable medium.
Sphagnum Moss: This option acts like a sponge, holding significant moisture. It’s great for moisture-loving orchid types or for homes with very dry air. However, it requires a careful hand; it must be allowed to get almost crunchy-dry before re-watering to prevent root rot. It’s less forgiving of an over-zealous watering can.
For your first Phalaenopsis, a bark-based mix is almost always the safer and easier choice.
How do you know when it’s truly time to water? Forget the calendar and learn to read your plant.
The secret is in the roots and the pot. Healthy, hydrated roots visible through a clear pot are plump and green. When they turn a silvery-grey color, they’re thirsty. Another pro trick is to feel the weight. Pick up the pot right after you’ve watered it to get a feel for its ‘full’ weight. A few days later, pick it up again. If it feels significantly lighter, it’s time for a drink. This simple weight check is far more reliable than sticking to a rigid weekly schedule, as the plant’s needs will change with the seasons and indoor humidity.


