The Real Story Behind Your Thanksgiving Dinner (And How to Actually Cook It)
For over thirty years, I’ve been living life in professional kitchens. From high-pressure city restaurants to teaching the next generation of chefs, I’ve seen it all. And every single year, my world narrows to focus on one single meal: Thanksgiving. It’s a menu most of us could recite in our sleep, but the food on that table tells a story of survival, clever marketing, and family history all rolled into one feast.
In this article
I still remember one of my first massive Thanksgiving gigs at a hotel. I was responsible for two hundred dinners, completely lost in brine temperatures and cook times. The pressure was intense. An older chef, a guy who’d seen decades of this chaos, pulled me aside and said, “Kid, remember, you’re not just cooking food. You’re cooking someone’s memories.” That hit me hard and has stuck with me ever since. The Thanksgiving meal isn’t some static menu—it’s a living document.
So, let’s pull back the curtain on the myths and get to the good stuff. We’ll look at what was really on the menu at that first harvest meal and, more importantly, how you can nail the modern version in your own kitchen.
The Original Feast: A Meal of Pure Necessity
That famous harvest celebration in the 1600s wasn’t really the start of an annual tradition; it was a one-off event. The only reason we know anything about the menu is thanks to a short account from one of the colonists. And what he described looks almost nothing like our feast today.
First off, let’s talk about the main course. Forget the turkey. The historical records show the local Wampanoag tribe arrived and contributed five deer. So, venison was the true centerpiece of the meal. The colonists brought “fowl,” but that likely meant wild ducks, geese, and maybe some swan. Sure, wild turkey was around and probably on the menu, but it wasn’t the headliner we treat it as today. It was just one bird among many.
The cooking was rustic, to say the least. Everything happened over an open fire. Meats were slowly spit-roasted, giving everything a smoky flavor. Other ingredients were probably just boiled in kettles. There were no ovens, which means no pies, no bread, and certainly no casseroles.
What They Actually Ate
The food was a mix of what the colonists managed to grow and the native ingredients they learned to use. Based on the evidence, the table probably held:
- The Meats: Venison, all sorts of wild birds, plus eels and shellfish like lobster, clams, and mussels from the coast.
- Veggies & Fruits: Corn was the star grain, likely served as a porridge or hominy. They also had native squashes and pumpkins, but they were roasted or boiled, not baked into a sweet pie. Native cranberries might have been used for their tart flavor, but definitely not as a sugary sauce, since sugar wasn’t available.
What’s missing is just as telling. No wheat flour meant no dinner rolls or pie crusts. No potatoes of any kind. And without sugar, the entire meal was overwhelmingly savory and smoky. This was a meal about survival and diplomacy, not about culinary indulgence.
Your Thanksgiving Game Plan: Timing is Everything
Okay, back to the present day. The biggest source of stress for any host is timing. When do you do what? Here’s a simple timeline that we use in the restaurant world to stay sane. It’s all about spreading out the work.
The Weekend Before:
This is when you shop for all your non-perishables. Canned goods, spices, wine, onions, potatoes, etc. Finalize your guest count and your menu. Read through all your recipes so there are no surprises.
Two to Three Days Before (Monday/Tuesday):
If your turkey is frozen, it’s time to move it to the fridge to thaw! A big bird needs several days. This is also the perfect time to make your cranberry sauce. It actually gets better as it sits. You can also make your pie dough and keep it wrapped in the fridge.
The Day Before (Wednesday):
This is your big prep day! Assemble your casseroles (but leave the toppings off). Bake your pies. Chop all your vegetables for the stuffing and other sides. And most importantly, make your turkey brine and get that bird soaking overnight. This is the single best thing you can do for a juicy turkey.
Thanksgiving Day:
The morning is for bringing it all home. Get the turkey out of the brine, pat it dry, and let it sit at room temperature for an hour. Assemble and bake the stuffing. When the turkey is out and resting (more on that below!), your oven is free to bake the casseroles and re-warm anything else. It’s a dance, but you’ve got this.
The Main Event: How to Cook a Perfect Turkey
So how did the turkey become the king of Thanksgiving? Honestly, it was just practical. As the holiday grew, families needed a big bird to feed a crowd, and a 20-pound turkey was way easier than a dozen ducks. It was also a uniquely American bird, a symbol of bounty.
Over the years, I’ve cooked thousands of turkeys, and the number one complaint is always dry meat. It’s almost always because of uneven cooking. Here’s how to avoid that for good.
Splurge vs. Save: A standard supermarket turkey from a place like Butterball or Jennie-O will run you about $1.50-$2.50 per pound and will be great, especially if you brine it. If you want to splurge, a heritage or pasture-raised bird from a local farm or high-end butcher can cost $7-$10 per pound. The flavor is deeper and more complex, but it’s a big price jump.
1. The Magic of Brining: I’m not kidding, this is a non-negotiable step for a moist bird. Soaking the turkey in a saltwater solution (about 1 cup of KOSHER salt to 1 gallon of water) for 12-24 hours seasons the meat deeply and, more importantly, helps the muscle fibers hold on to moisture during cooking. Heads up! Check your turkey’s packaging. If it says “pre-basted” or “kosher,” it’s already been salted. Don’t brine it, or you’ll have a salt lick. And please, use kosher salt. Table salt is much finer and saltier by volume, and you’ll ruin your brine.
Pro Tip: Compound Butter. For amazing flavor and crispy skin, mix a stick of softened butter with a few tablespoons of chopped fresh herbs (sage, thyme, rosemary), black pepper, and garlic powder. Gently separate the turkey skin from the breast meat with your fingers and push this butter mixture underneath the skin. It melts as it cooks, basting the meat from the inside out.
2. Temperature, Not Time: Throw away that plastic pop-up timer. Your best friend is a reliable instant-read digital thermometer, which you can get for about $20-$40 at any kitchen store. As a very rough guideline, you can plan for about 13-15 minutes per pound for an unstuffed bird in a 325°F oven. But your thermometer is the ultimate truth-teller. You want to cook the turkey until the thickest part of the thigh (don’t touch the bone!) reads 165°F. Since the breast cooks faster, some pros will shield it with foil for the first half of roasting to prevent it from drying out.
3. The Post-Oven Steps (DO NOT SKIP THESE):
- Rest the Bird! This is the most important step people skip. Once it’s out of the oven, tent it loosely with foil and let it rest on the cutting board for at least 30-45 minutes. This allows the juices that have been pushed to the surface by the heat to redistribute back into the meat. If you carve it right away, all that flavor will just pour out onto your cutting board.
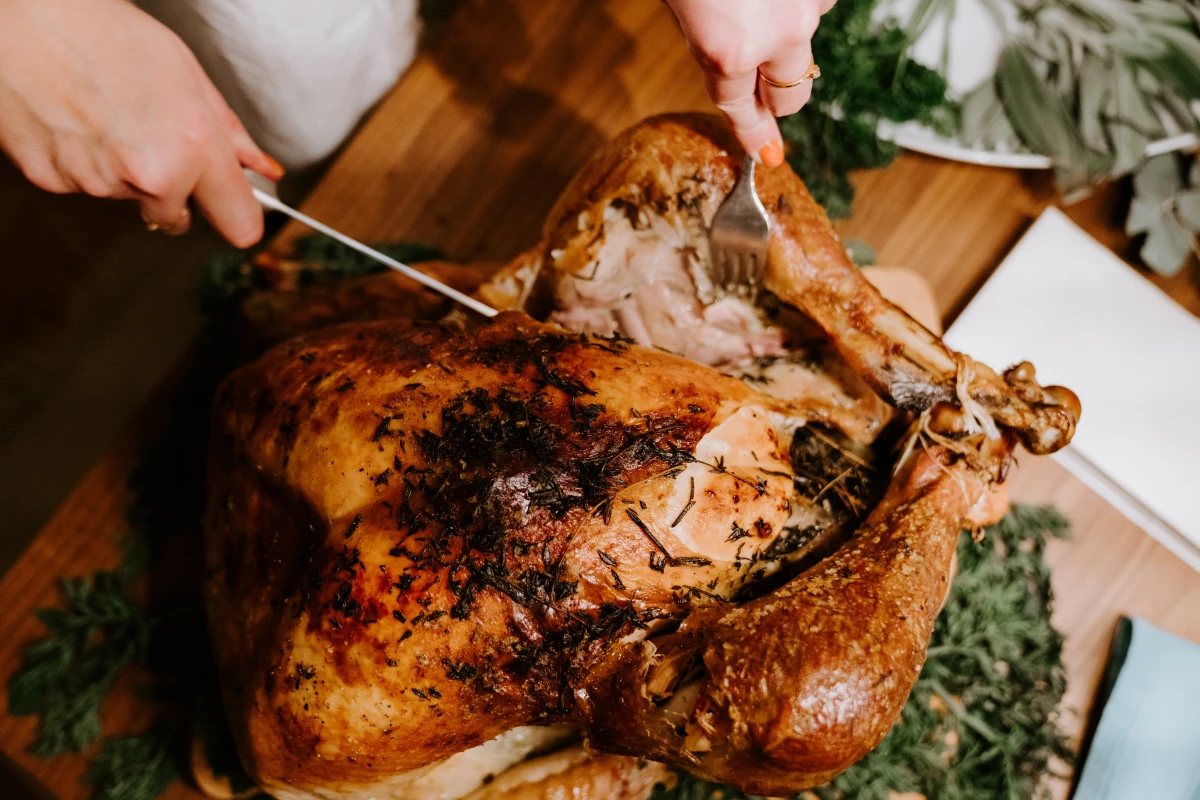
- Carving Made Simple: Don’t try to carve it like a cartoon. First, remove the whole leg and thigh on each side. Separate the drumstick from the thigh. Then, find the breastbone and slice down one side, removing the entire breast in one piece. Now you can slice the breast meat against the grain into beautiful, juicy slices. It’s much easier than hacking at it on the carcass.
A Quick Safety Warning: I’ve seen careless handling of raw poultry ruin holidays. Use a separate cutting board for your raw turkey, and wash your hands and any surface it touches with hot, soapy water immediately. And please, don’t rinse your turkey in the sink! It just splashes bacteria all over your kitchen. Cooking to 165°F is what makes it safe.
Stuffing or Dressing: The Great Debate
Stuffing (or dressing, if you’re from the South) started as a clever way to use up stale bread. But over time, it became a canvas for America’s diverse food cultures. In the Northeast, you’ll find simple bread-and-sage stuffings, sometimes with oysters. Down South, it’s all about a cornbread base, often with sausage. The Midwest loves to add wild rice, while the West Coast might use tangy sourdough.
But the real debate is: inside or outside the bird? From a professional and food safety standpoint, the answer is crystal clear. Bake it in a separate dish. To be safe to eat, stuffing cooked inside a bird has to reach 165°F. By the time the dense center of the stuffing gets that hot, your turkey breast will be tragically overcooked. I learned this the hard way when a health inspector temped our stuffing at a big event and made us throw out every stuffed bird. It was an expensive lesson. Bake your dressing in a greased casserole dish at 375°F for 30-40 minutes until golden and hot. You can still get that “birdy” flavor by ladling some of the turkey drippings over it before baking.
Cranberry Sauce: Easier Than You Think
Cranberries are one of the few fruits native to North America, originally used by Native Americans for food and medicine. The sauce we know and love today only became possible once sugar was cheap and widely available.
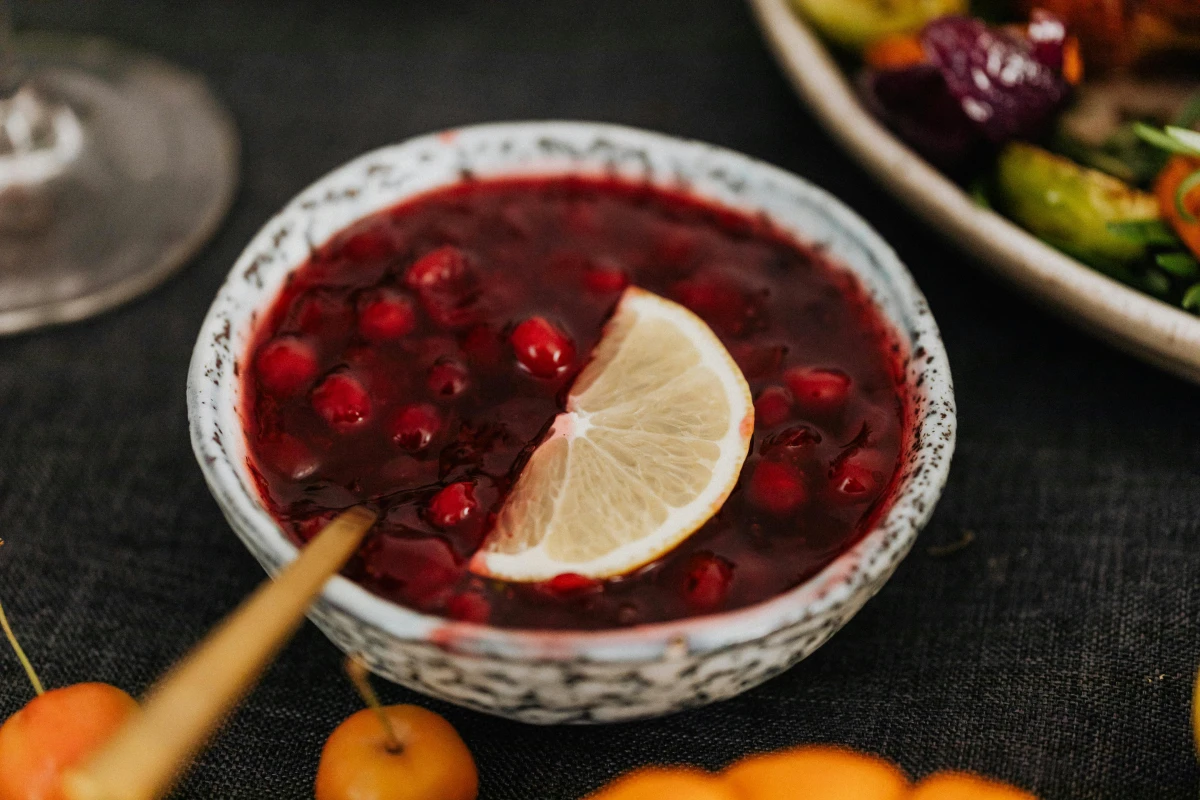
The magic is pectin. Cranberries are full of it. When you cook them with sugar and water, the heat and acid make the pectin form a gel. That’s why it sets up so perfectly. To make your own, just combine a 12-ounce bag of fresh cranberries, one cup of sugar, and one cup of water in a saucepan. Simmer for about 10-15 minutes. You’ll hear the berries start to pop—that’s the sound of pectin being released! It’s seriously that easy. I like to add orange zest or a cinnamon stick for extra flavor.
That said, I have a soft spot for the jellied, canned stuff. For millions, the shlump sound of that log sliding out of the can is pure nostalgia. It’s a mid-century icon. If that makes your family happy, it absolutely belongs on your table. Good cooking is about tradition as much as it is about technique.
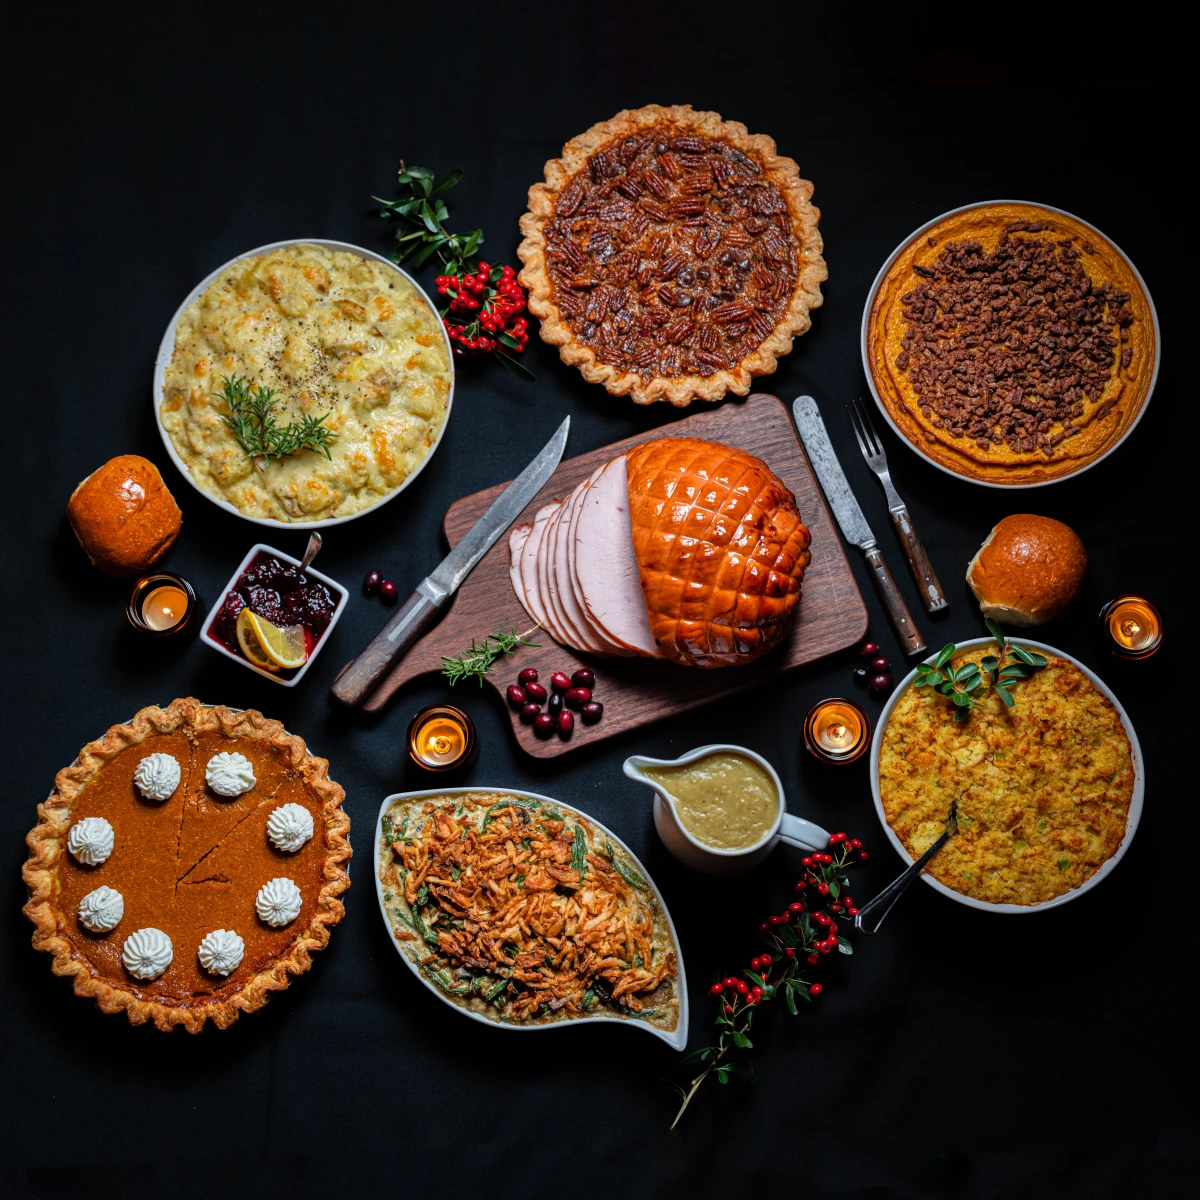
The Sides: How Modern Classics Were Born
Many of our favorite sides are actually pretty recent inventions, born from the rise of modern food companies.
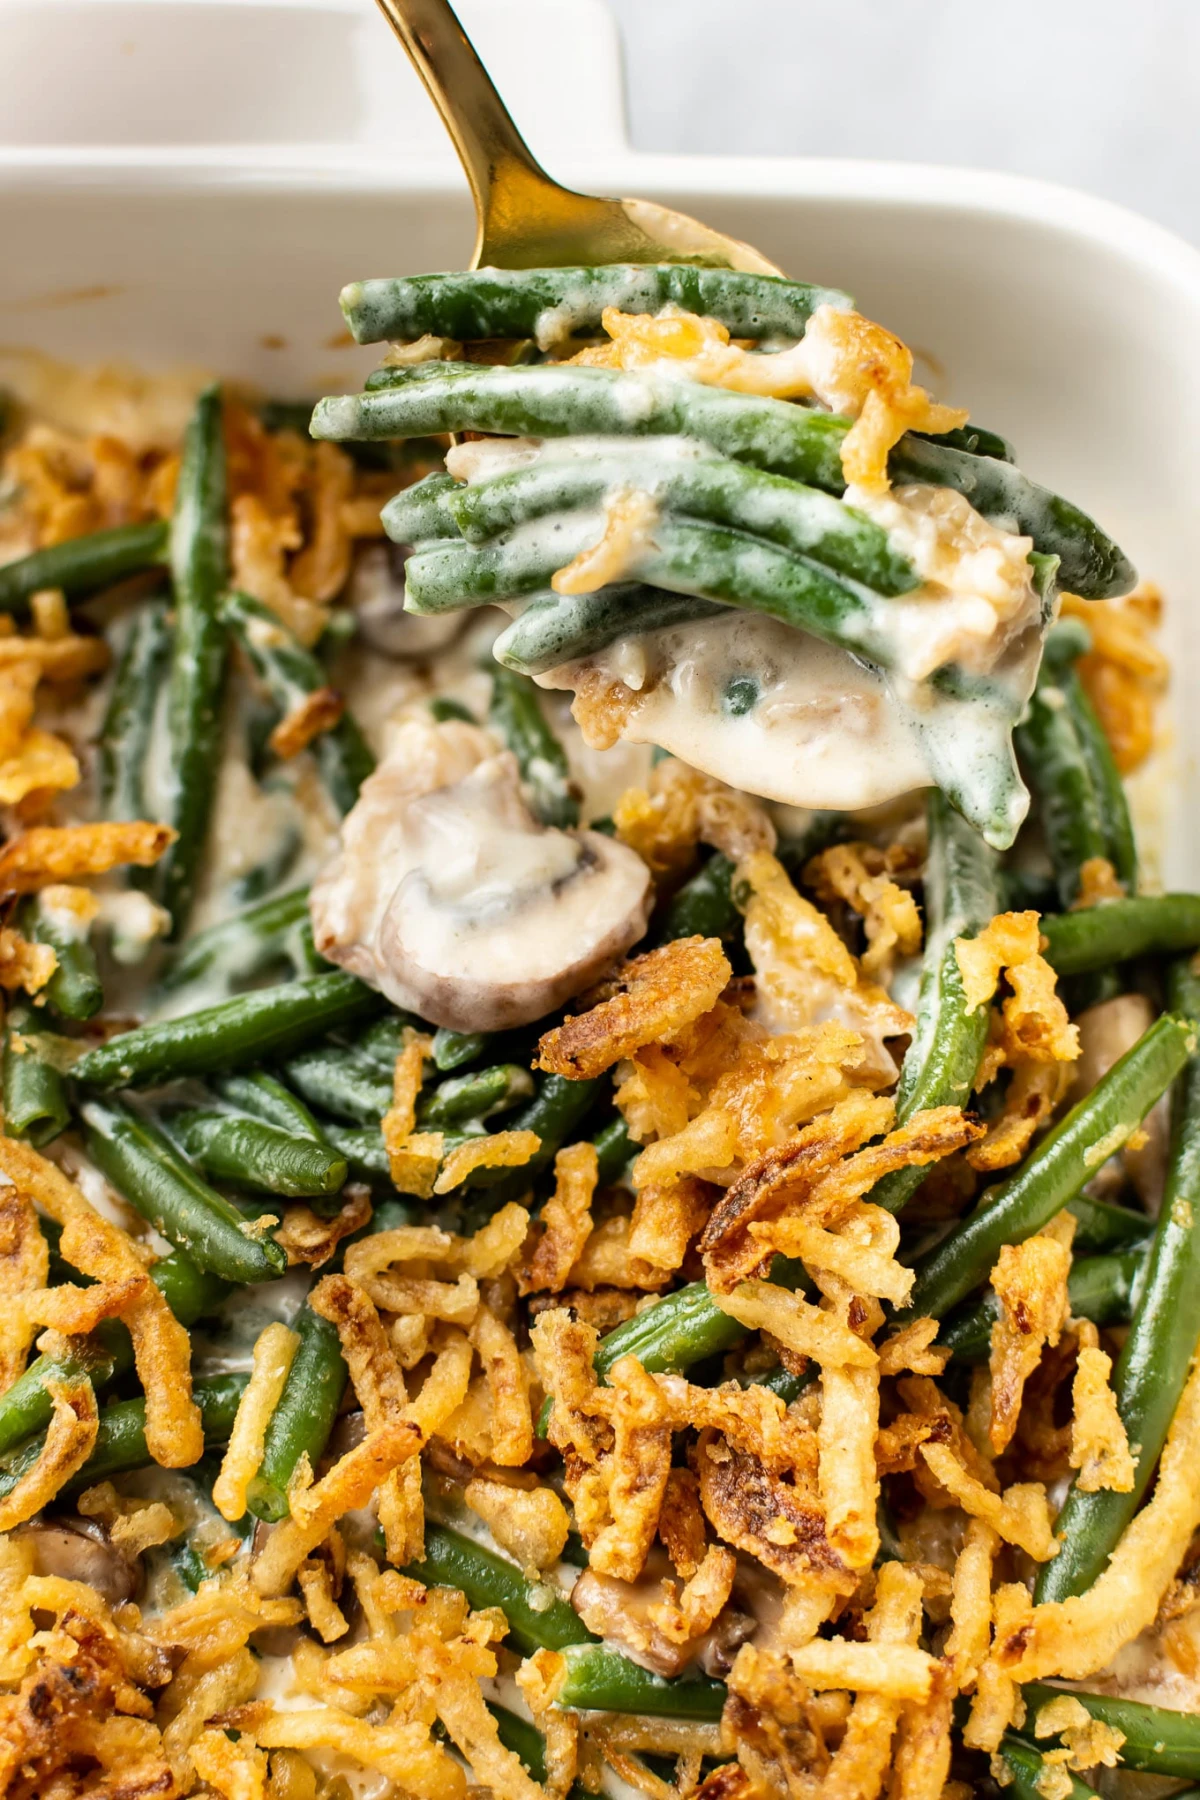
Green Bean Casserole: A Corporate Kitchen Creation
This dish was famously invented in a corporate test kitchen in the 1950s. The goal was to create easy recipes using their products, so a home economist combined two pantry staples: canned green beans and canned cream of mushroom soup. Topped with fried onions, it was cheap, easy, and an instant classic.
To take it to the next level, try a from-scratch version. It takes more time but the payoff is huge. Use fresh, blanched green beans. Make a real cream sauce by sautéing fresh mushrooms in butter, then whisking in about 3 tablespoons of flour, and then slowly adding about 1.5 cups of milk or stock. Top it with thinly sliced shallots that you’ve tossed in flour and fried until crispy. It’s the same comforting idea, just with way better flavor and texture.
Sweet Potato Casserole: A Marshmallow Marketing Triumph
Ever wonder who first put marshmallows on sweet potatoes? It was a marshmallow company. Early in the last century, they published a recipe booklet to convince people to use marshmallows as an everyday ingredient, not just a candy. The recipe for mashed sweet potatoes topped with their marshmallows was a massive hit, and a holiday tradition was born from a brilliant marketing campaign.
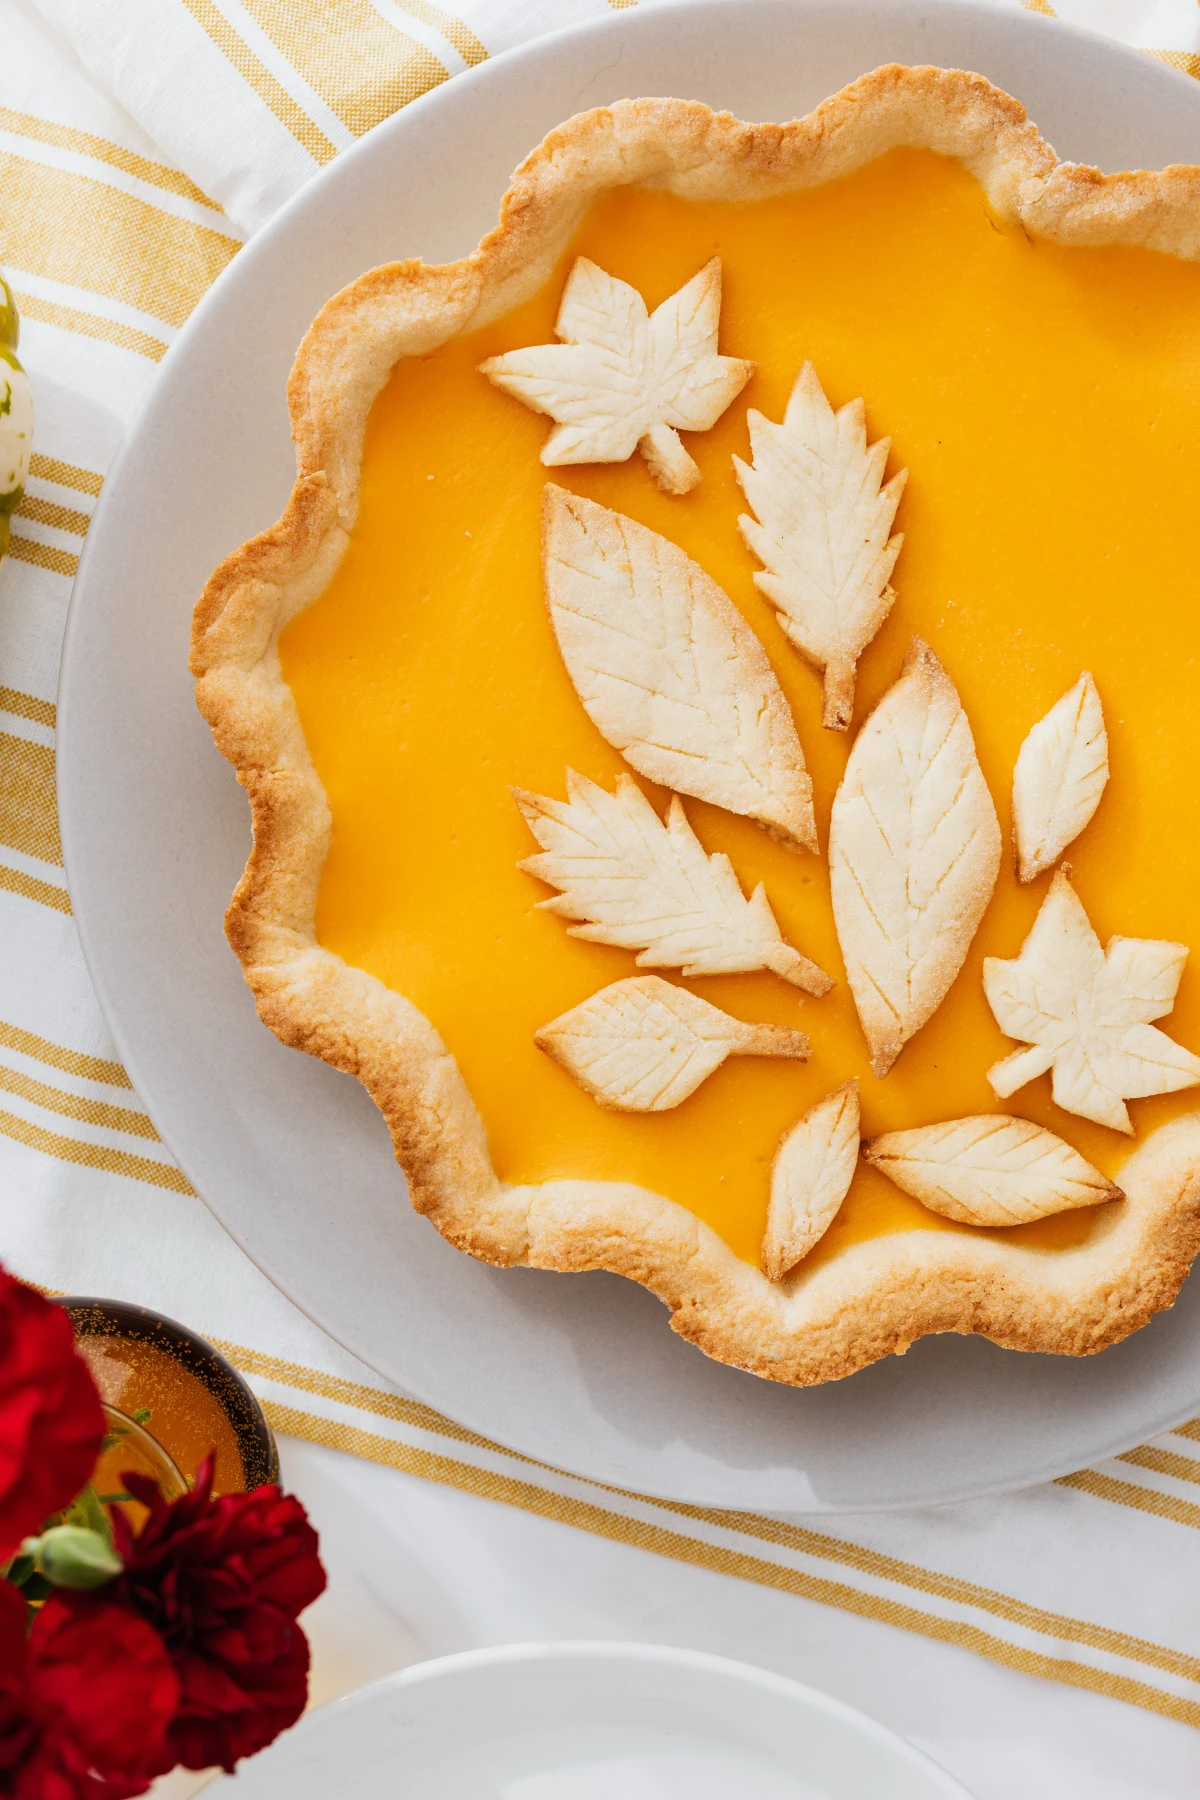
The Grand Finale: A Perfect Pumpkin Pie
While there was no pie at that first feast, pumpkin was definitely there. Early colonists would hollow out a pumpkin, fill it with milk, honey, and spices, and roast it in the embers of a fire—a rustic, crustless custard. The modern pie in a pastry shell is its direct descendant.
The two biggest pie fails? A cracked filling and a soggy bottom crust. Both are totally preventable.
First, don’t use the big pumpkins you carve for Halloween; they’re watery and stringy. You want a small, dense pie pumpkin, often called a sugar pumpkin. But honestly? The pros often use canned pumpkin puree. It’s consistent, smooth, and saves a ton of work. There’s zero shame in it.
Secret
1: Prevent a Soggy Bottom with Blind Baking. Before you add the filling, you need to pre-bake the crust. Line your chilled pie shell with parchment paper, fill it with pie weights or dried beans, and bake it at 400°F for about 15 minutes. Then, remove the weights and paper and bake for another 5-7 minutes until it’s lightly golden. This creates a waterproof seal that keeps the crust crisp.
Secret
2: Prevent Cracks with a Gentle Bake. A cracked filling is a sign of overbaking. The eggs in the custard get too hot and curdle. Bake your pie until the edges are set but the center still has a slight jiggle, like Jell-O. It will finish setting as it cools. Turning off the oven and letting the pie cool down slowly with the door cracked open also helps prevent sudden temperature changes that cause cracking.
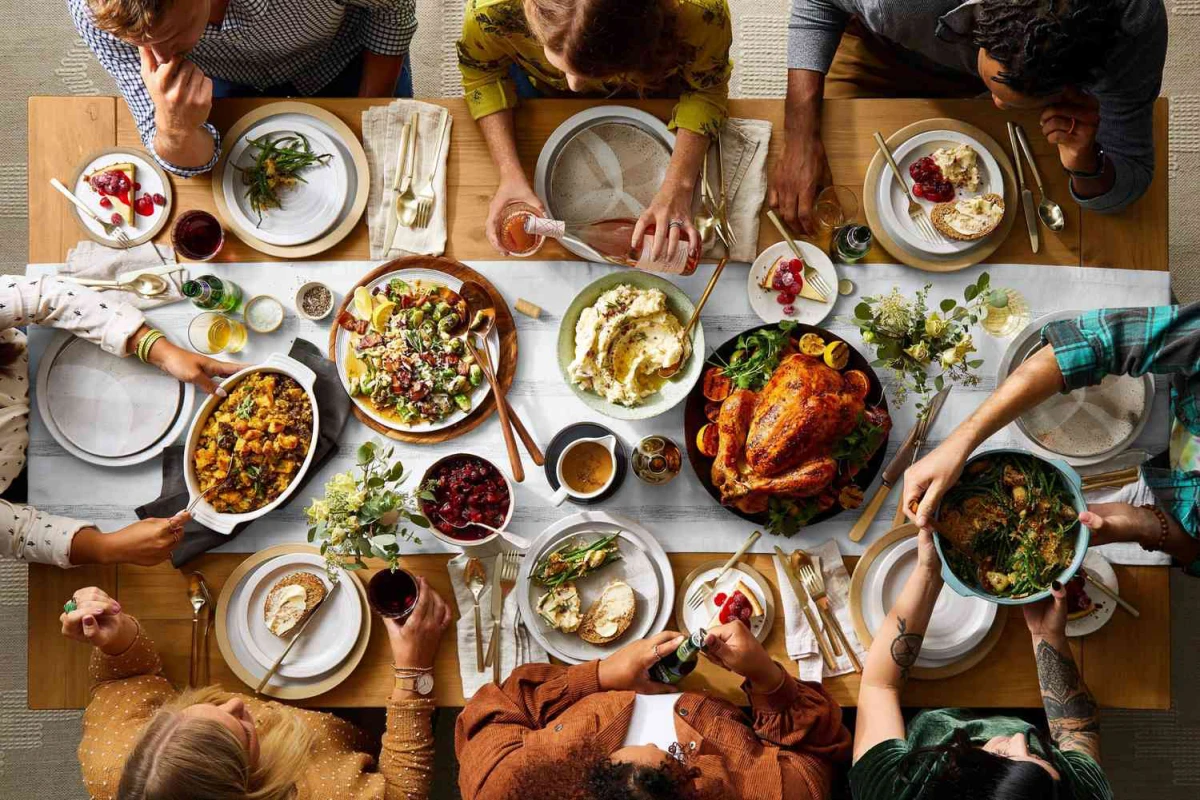
At the end of the day, Thanksgiving is a meal about connection. It’s a beautiful, chaotic, delicious mess. So don’t stress about perfection. Just cook with love, and remember the people you’re sharing the table with. That’s the real secret ingredient.