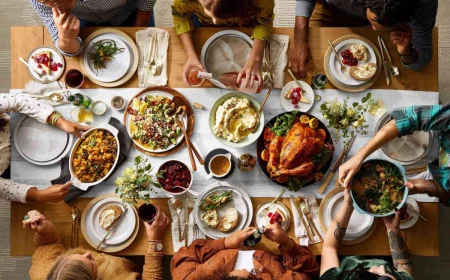
The Pro Baker’s Playbook for Thanksgiving Desserts (Without the Stress)
I’ve spent more holiday seasons than I can count in the controlled chaos of professional kitchens. Trust me, I get it. The pressure is on, especially when it comes to dessert—it’s the last thing everyone remembers, that final sweet note of the whole day. So many home bakers feel this immense pressure to deliver something special, something that isn’t the usual pie from the grocery store freezer.
In this article
My goal here isn’t to drown you in a dozen complicated recipes. It’s to pull back the curtain on the how and why of professional baking. We’re going to talk about building incredible flavor, getting those perfect textures, and most importantly, mapping out your prep so you can actually kick back and enjoy the holiday. This is the stuff that matters—the knowledge that lets you bake with real confidence, and even fix things on the fly when they go a little sideways.
We’ll walk through a few classics: a truly flawless pumpkin pie, a pecan cake that’ll have people talking, and a dead-simple fruit crumble that never fails. But more than that, we’ll cover how to manage your time, what you can make days in advance, and how to sidestep those common mistakes that can trip up even seasoned bakers.
The Baker’s Foundation: It’s All in the Ingredients
Before you even think about grabbing a mixing bowl, let’s talk about your key players. Pros don’t just see flour, butter, and sugar; we see them as tools, each with a specific job. Understanding their roles is honestly the biggest difference between a dessert that’s just “good” and one that’s unforgettable.
The Great Fat Debate: Butter vs. Oil vs. Shortening
The fat you choose is a huge deal. It’s the foundation for your dessert’s flavor, flakiness, tenderness, and moisture. It’s a choice, not just an ingredient.
Unsalted Butter is my go-to for most things, especially pie crusts. The main reason is control—salted butters vary wildly in salt content, which can mess up your recipe. With unsalted, you’re in charge. The real magic, though, is in the texture. For a flaky pie crust, this is the secret: you leave small, cold pieces of butter in the dough. As the pie bakes, these butter pieces melt and release steam, creating little pockets of air. That’s what makes those incredible, flaky layers. No steam, no flake! For cakes and frostings, you just can’t beat its rich, creamy flavor. A good-quality block of unsalted butter will run you between $5 and $8, but for a holiday centerpiece, it’s worth it.
Vegetable Oil is a liquid fat, so it gives you a totally different result. It’s fantastic for cakes like a carrot or chocolate cake, making them super moist and keeping them that way for longer because oil doesn’t solidify at room temp. The trade-off? You lose that amazing butter flavor. For pie crusts, I’d steer clear. It creates a texture that’s more crumbly and mealy, not flaky.
Shortening is interesting. It makes the most tender, almost melt-in-your-mouth pie crusts because it has a higher melting point than butter, making it easier to work with. The big downside is that it has literally zero flavor. To get the best of both worlds, some bakers do a 50/50 mix of butter and shortening. To be frank, I find an all-butter crust done right gives the perfect combo of flavor and texture, but if you’re on a budget or new to pie dough, shortening (which costs about half as much as butter) can be a more forgiving option.
Quick Tip: Brown Your Butter! This is a game-changer. We do this all the time in professional kitchens. You simply melt butter in a saucepan and let it keep cooking until the milk solids at the bottom turn toasty brown. It will smell absolutely incredible, like toasted nuts. This simple step transforms the flavor, adding a deep, nutty complexity to everything from a cake to a simple crumble topping. It’s magic.
Spices: The Soul of a Great Autumn Dessert
Sure, you can use the pre-ground spices from the jar. But if you want a massive flavor upgrade, buy your spices whole and grind them yourself. The aroma comes from volatile oils that start to fade the second they’re ground. That jar of cinnamon that’s been sitting in your pantry for a year? It’s a ghost of its former self.
I always have whole cinnamon sticks, nutmeg, cloves, and allspice on hand. A cheap coffee grinder (you can find one for about $20 online or at Target) that you use only for spices is one of the best investments you can make for your kitchen.
My Go-To Pumpkin Pie Spice Blend
For the best results, use a kitchen scale. It’s all about consistency.
- 30g ground cinnamon (from sticks)
- 10g ground ginger
- 10g ground nutmeg (freshly grated)
- 5g ground allspice
- 5g ground cloves
Mix it all up and keep it in a small, airtight jar. It’s a perfectly balanced blend of warmth, heat, and earthy complexity.
No scale? No problem. Just mix these amounts for a pretty close approximation: 3 tablespoons cinnamon, 1 tablespoon ginger, 1 tablespoon nutmeg, 1 ½ teaspoons allspice, and 1 ½ teaspoons cloves. Just know that measuring by weight is always the most accurate!
How to Avoid Soupy Pies: Your Guide to Thickeners
Nothing is more heartbreaking than a runny pie filling ruining a perfect crust. Choosing the right thickener is key.
- All-Purpose Flour: It works, especially for apple crumbles where a little cloudiness doesn’t matter. But it can sometimes leave a pasty taste if you don’t cook it long enough.
- Cornstarch: This gives you a glossy, translucent filling and has double the thickening power of flour. You have to cook it fully to get rid of any starchy taste. It’s great for custards but can sometimes break down with very acidic fruits.
- Arrowroot or Tapioca Starch: These are my favorites for fruit pies. They create a stunningly clear, glossy filling and hold up great, even if you freeze the pie. Heads up, they are a bit more expensive—maybe $5 to $7 for a small bag versus $2 for cornstarch—but for a showpiece pie, I think the flawless result is worth the extra couple of bucks.
Mastering the Classics with a Pro’s Touch
Okay, let’s put these ideas into action. Think of these less as strict recipes and more as technique guides, focusing on the sensory cues that tell you you’re on the right track.
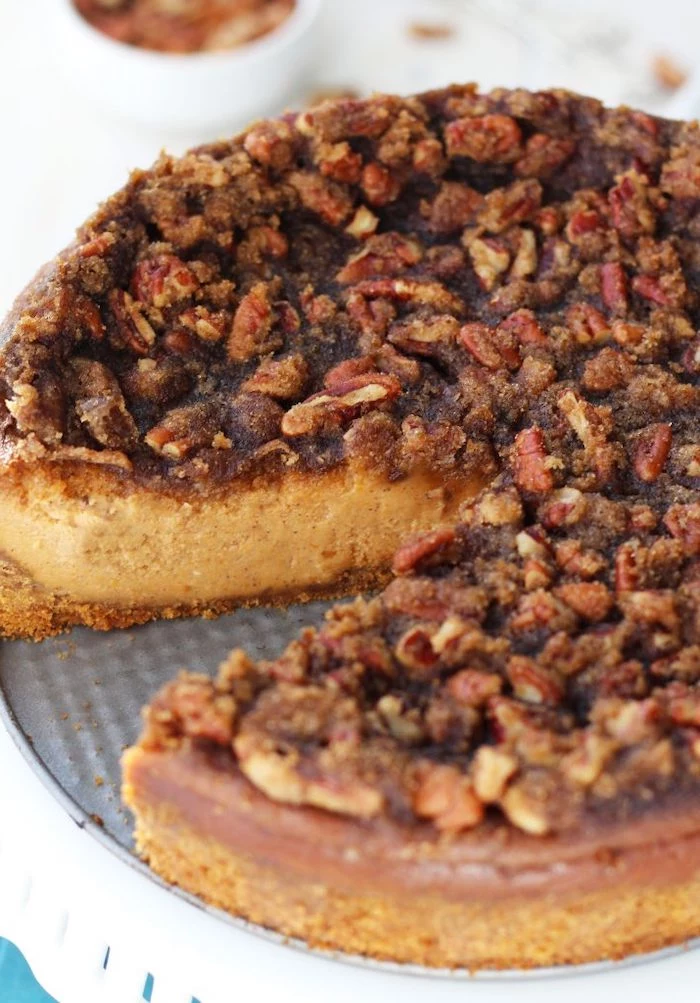
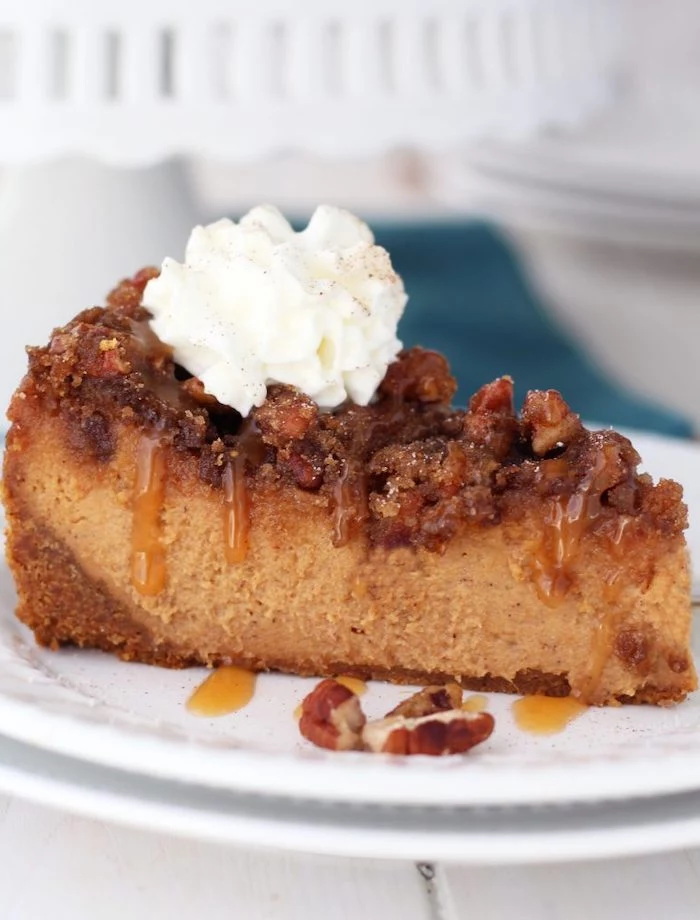
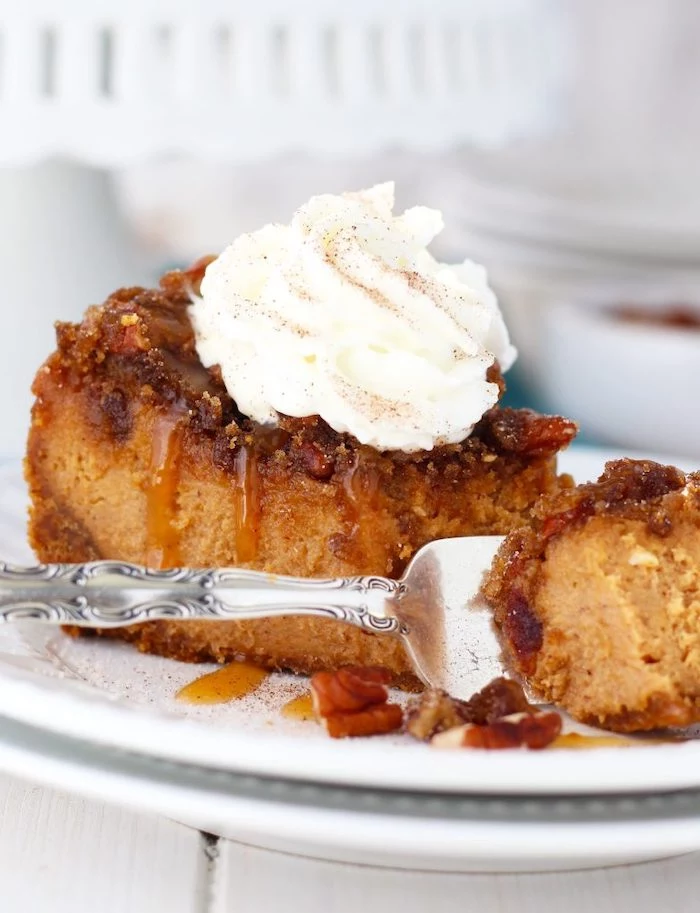
Recipe 1: The Perfect Custard Pumpkin Pie
The two biggest complaints about homemade pumpkin pie are a soggy bottom and a cracked, rubbery filling. We can fix both. The goal is a silky smooth custard nestled in a crisp, flaky crust.
Part 1: The All-Butter Pie Dough (Makes two 9-inch crusts)
I always make a double batch. Freeze the extra dough disk for up to three months. Having a backup is just a good professional habit.
- 2 1/2 cups (320g) all-purpose flour
- 1 teaspoon salt
- 1 tablespoon sugar
- 1 cup (226g) cold unsalted butter, cut into 1/2-inch cubes
- 1/2 cup (120ml) ice water
Instructions:
- Combine flour, salt, and sugar. Add the cold butter cubes and toss to coat.
- Using a pastry blender or just your fingertips, cut the butter into the flour until you have a coarse meal with visible, pea-sized pieces of butter. This is NON-NEGOTIABLE. Those butter pieces are your future flakes.
- Drizzle in the ice water a little at a time, mixing with a fork. You might not need it all. Stop when the dough just starts to come together into a shaggy ball.
- Gently press it together, divide it in half, flatten into two disks, and wrap tightly in plastic.
- Refrigerate for at least an hour, or even overnight. This lets the gluten relax, which prevents the crust from shrinking when you bake it.
Part 2: Blind Baking the Crust
This is the secret to avoiding a soggy bottom. You’re fully cooking the crust before the wet filling ever touches it.
- Preheat your oven to 400°F (200°C). Roll out one dough disk and fit it into a 9-inch pie plate. Trim and crimp the edges.
- Dock the bottom with a fork, then freeze the whole thing for 15 minutes to get it super cold.
- Line the chilled crust with parchment paper and fill with pie weights or dried beans. This stops it from puffing up.
- Bake for 15-20 minutes, until the edges are light gold. Carefully remove the parchment and weights, then bake for another 5-7 minutes until the bottom is dry and pale golden. Let it cool.
Part 3: The Silky Pumpkin Custard Filling
- 1 (15-ounce) can pumpkin puree (the pure stuff, not pie filling)
- 3/4 cup (150g) packed brown sugar
- 1/2 cup (120ml) heavy cream
- 1/4 cup (60ml) whole milk
- 2 large eggs plus 1 egg yolk
- 1 1/2 teaspoons of my pumpkin pie spice blend
- 1/2 teaspoon salt
- 1 teaspoon vanilla extract
Instructions:
- Reduce oven temp to 350°F (175°C).
- In a large bowl, whisk everything together just until smooth. Don’t go crazy here—over-whisking adds too much air, which causes the pie to puff up dramatically and then crack as it cools.
- Pour the filling into your pre-baked crust.
- Bake for 40-50 minutes. It’s done when the edges are set but the center still has a slight jiggle. Pro tip: an instant-read thermometer is your best friend. The center should be about 175°F. Don’t over-bake!
- Let it cool COMPLETELY on a wire rack for at least 2 hours. This is when the custard finishes setting. Rushing this step can also cause cracks.
Good to know: Custard pies need to be refrigerated after they cool. Don’t leave it out for more than two hours. It’ll stay perfect in the fridge for up to 3 days.
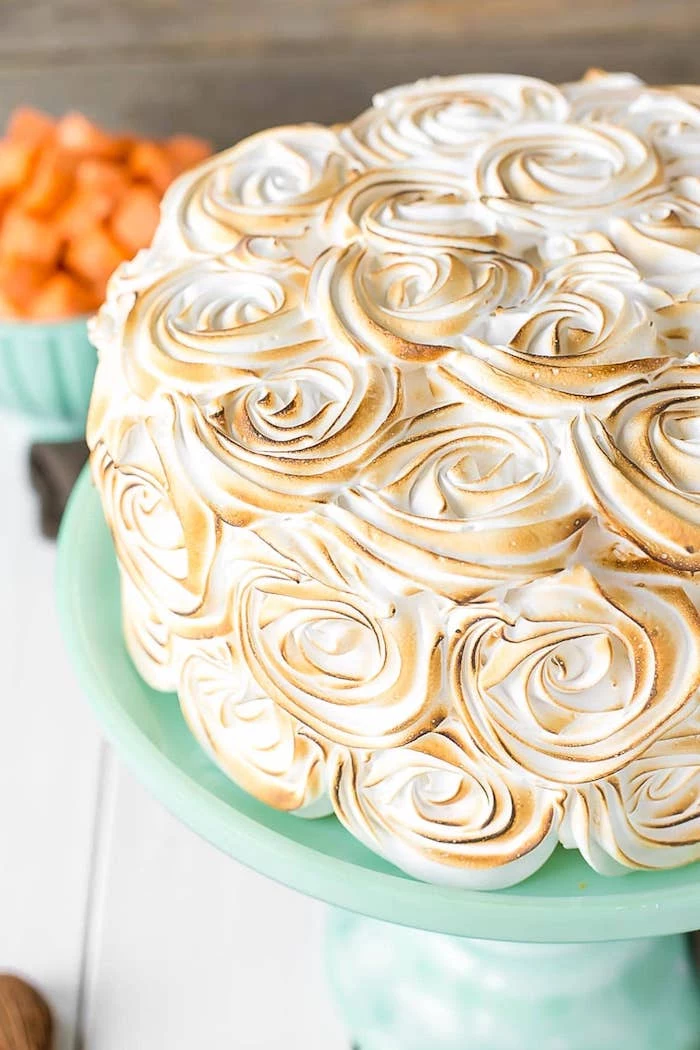
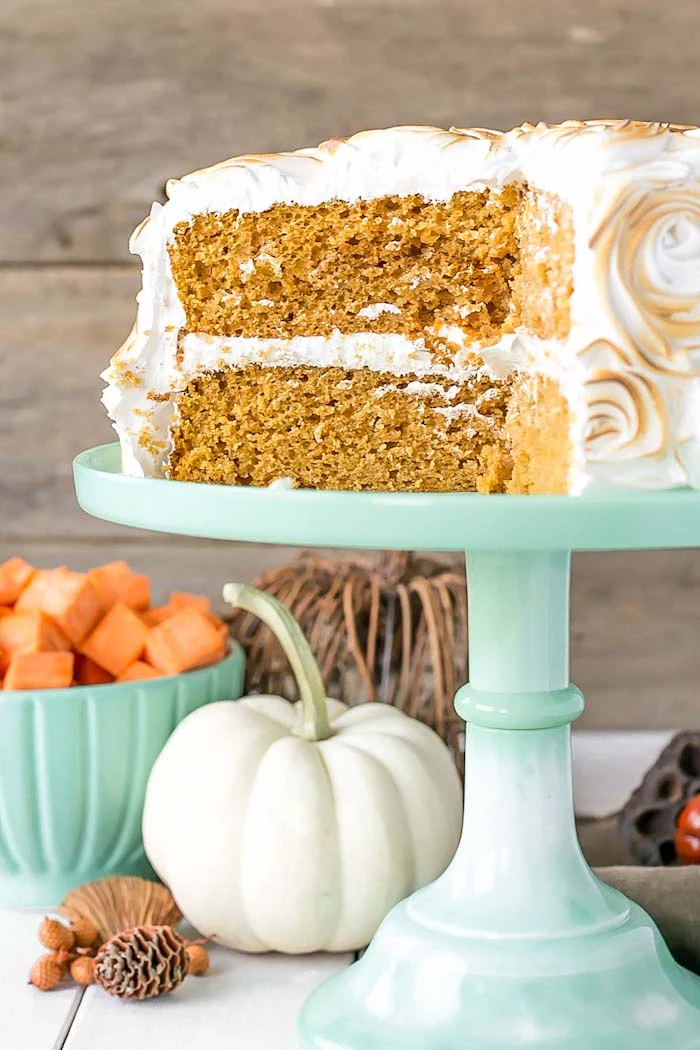
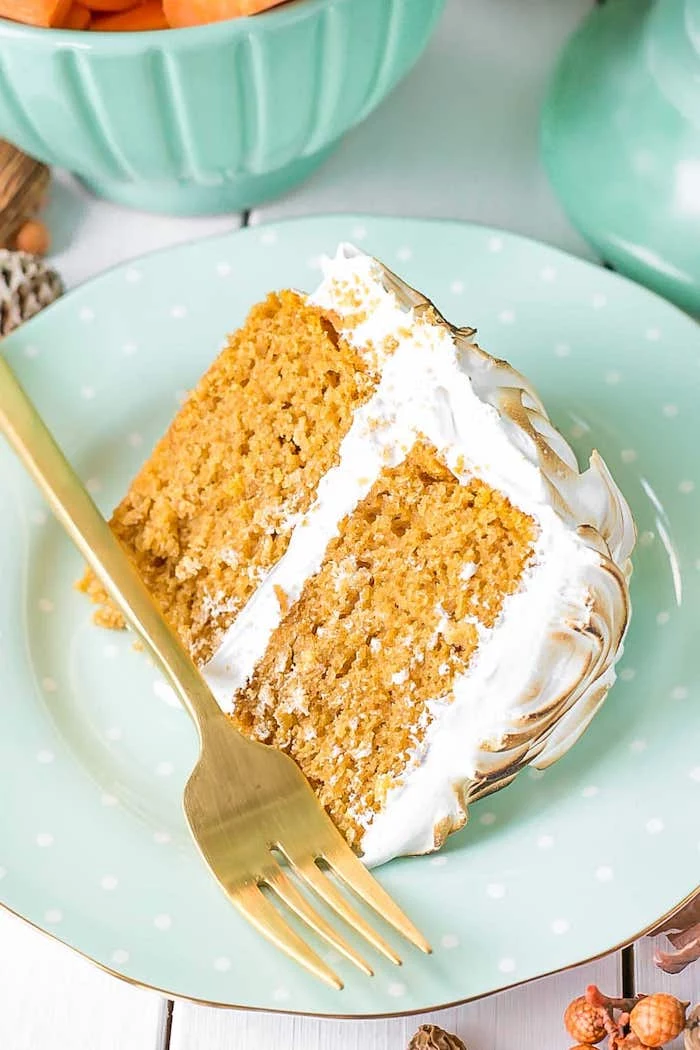
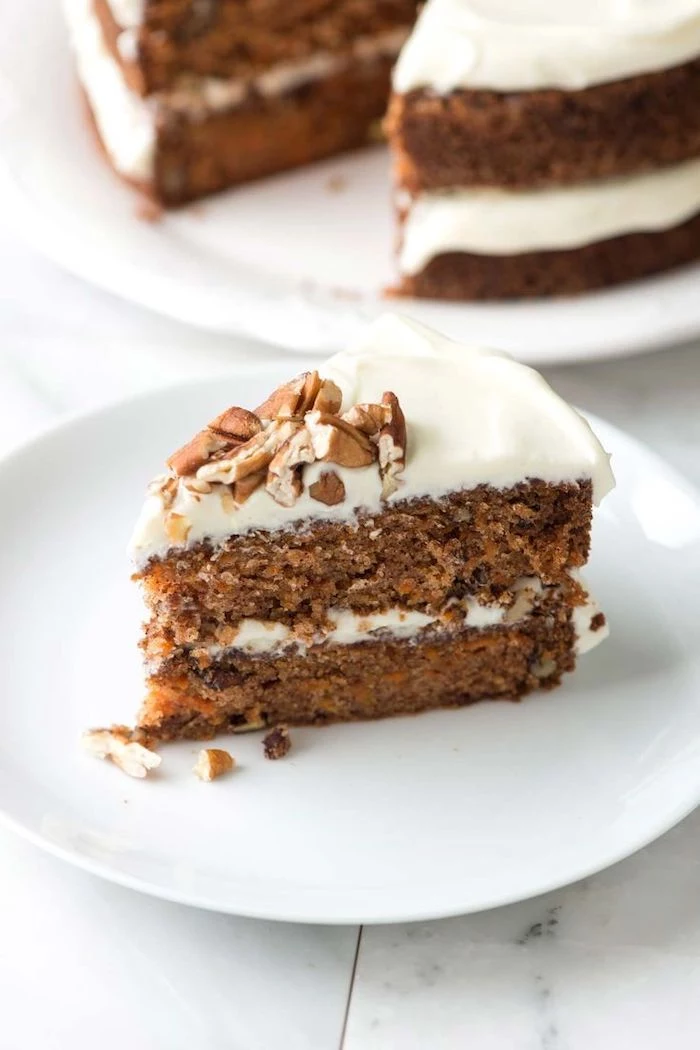
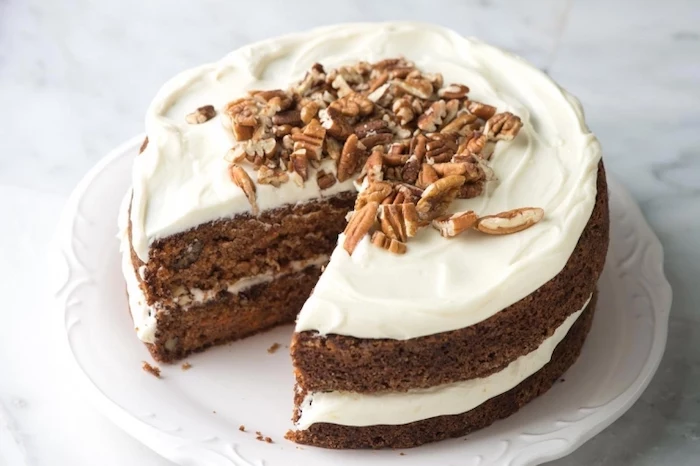
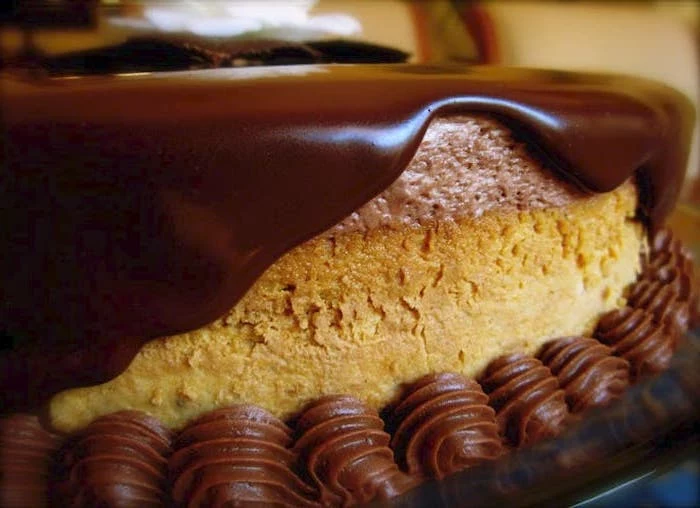
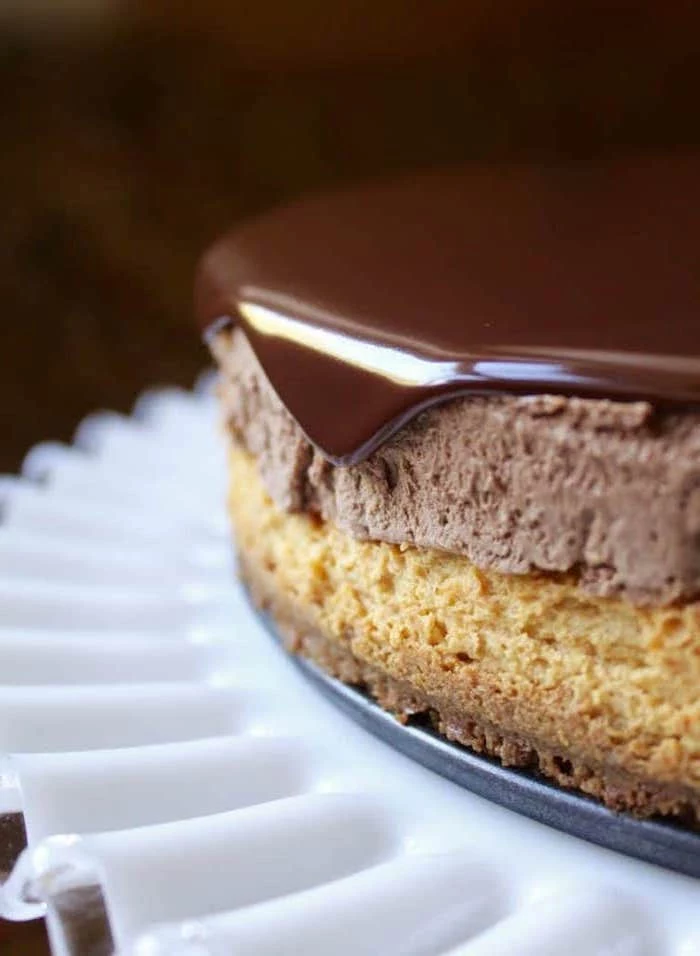
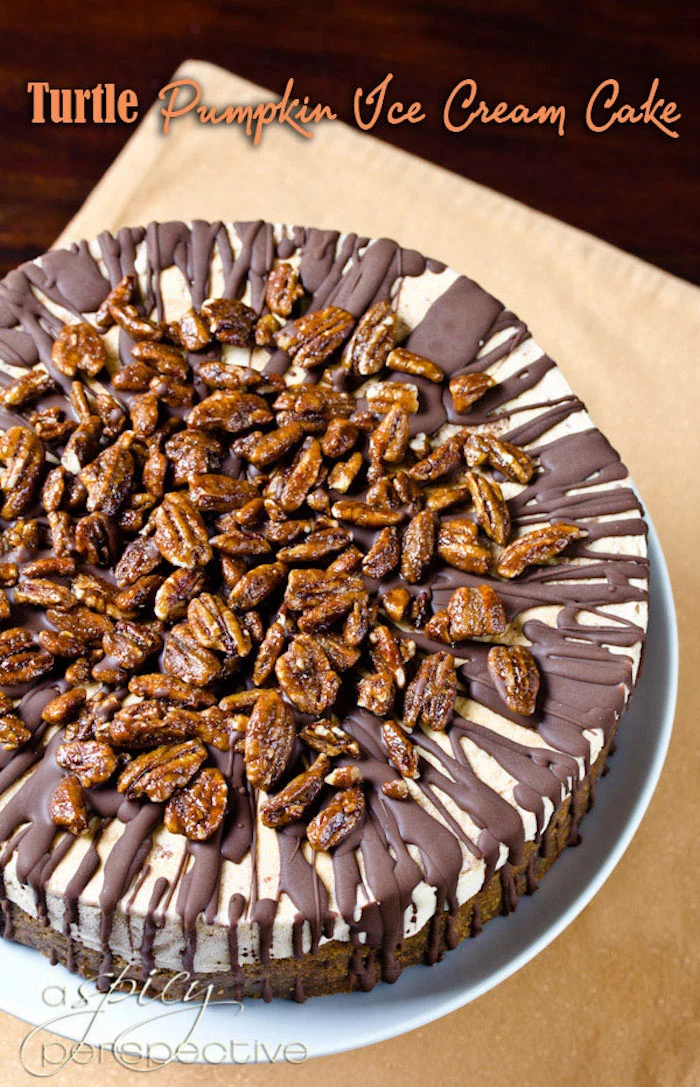
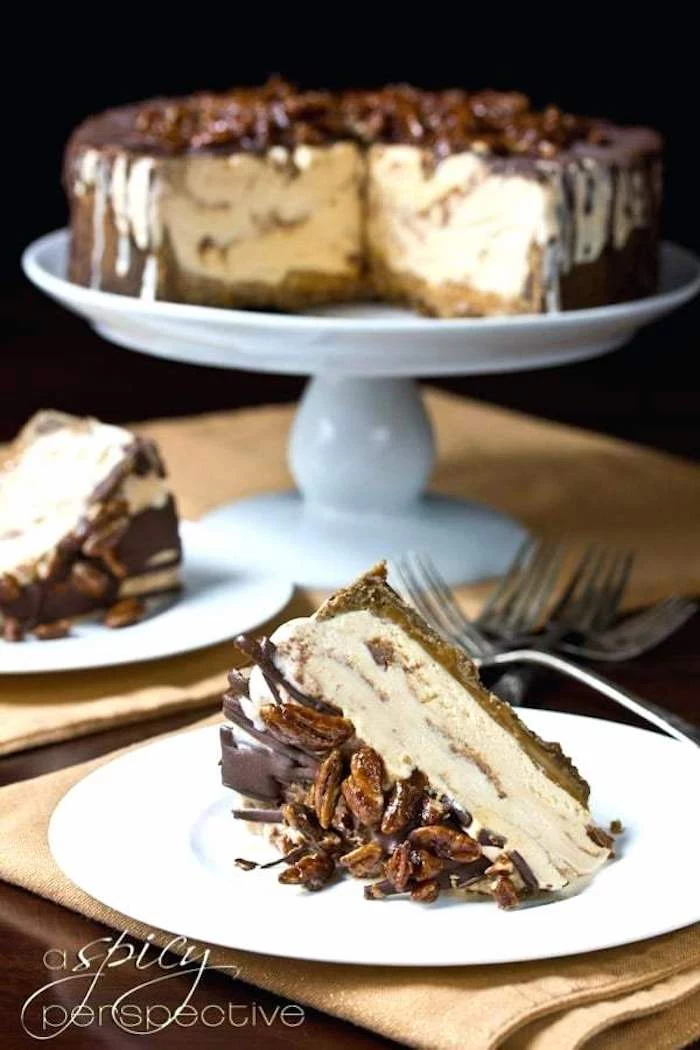
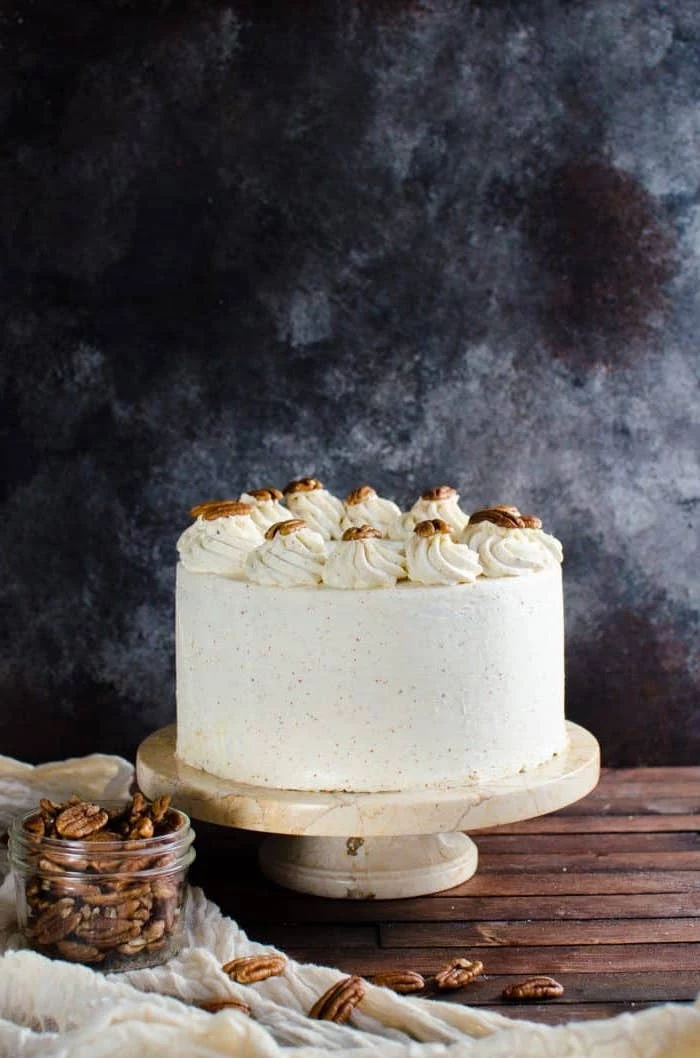
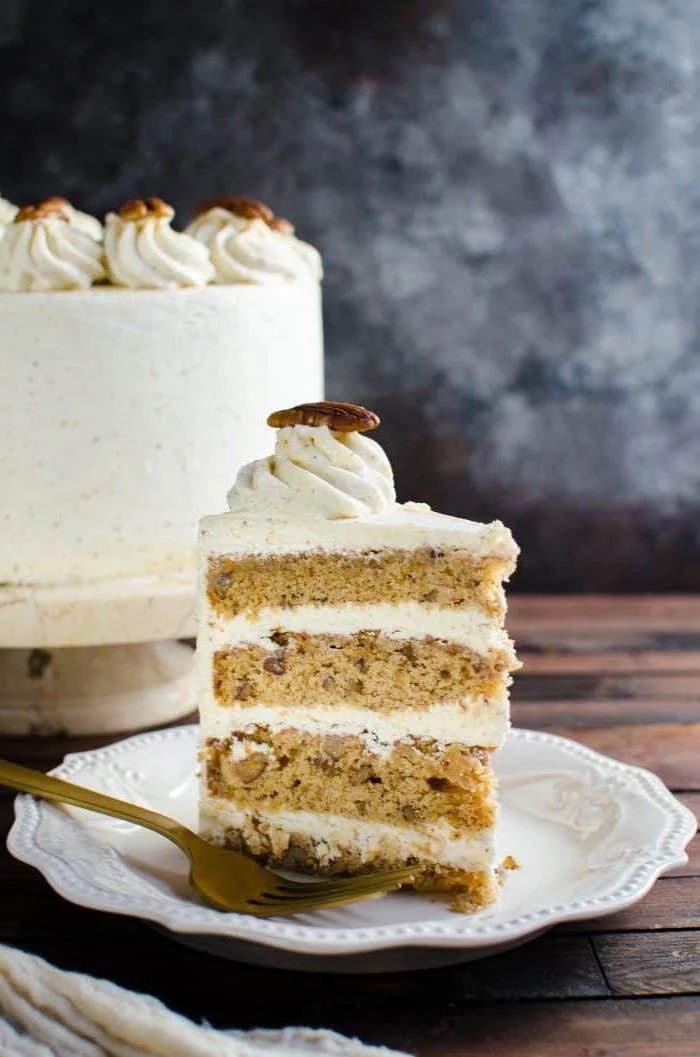
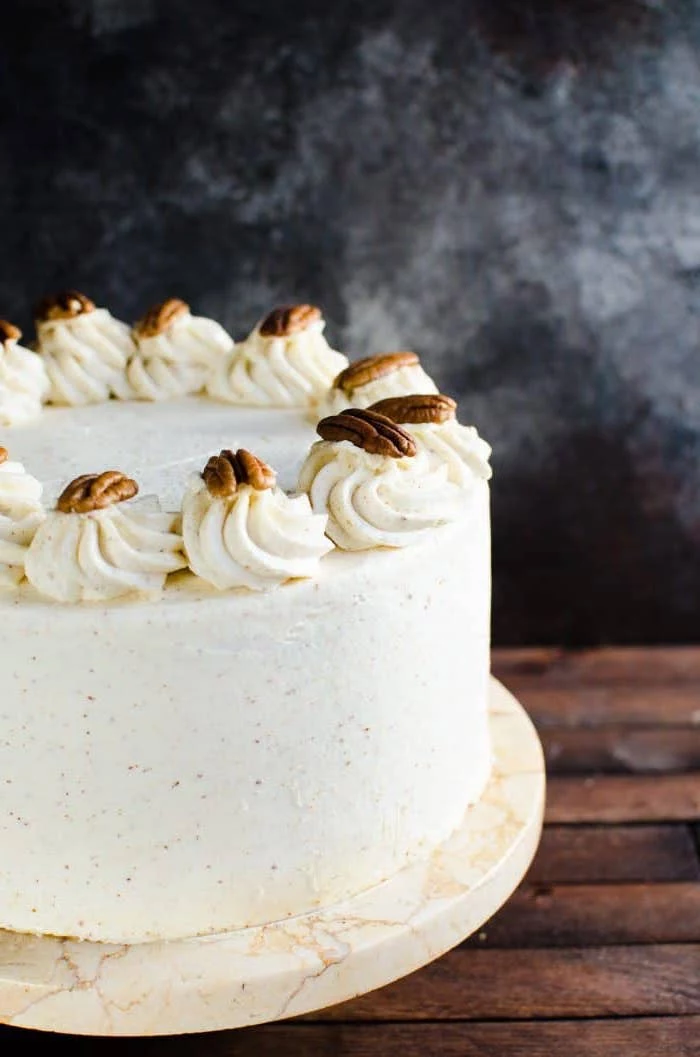
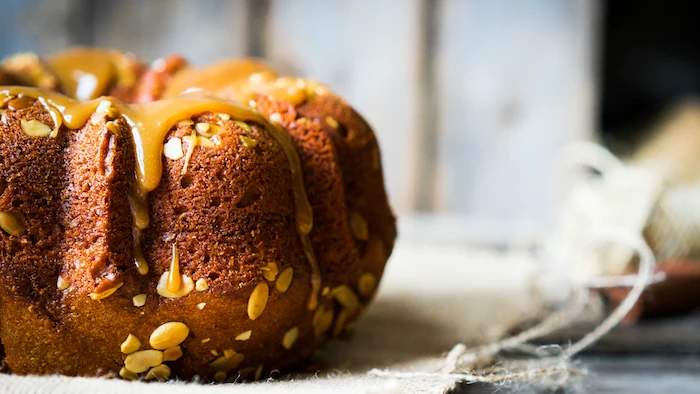
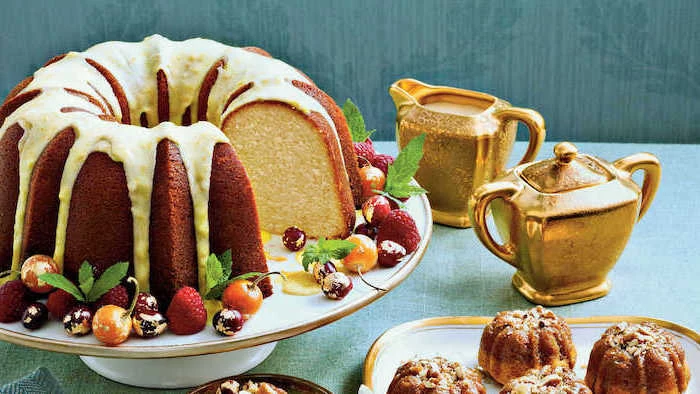
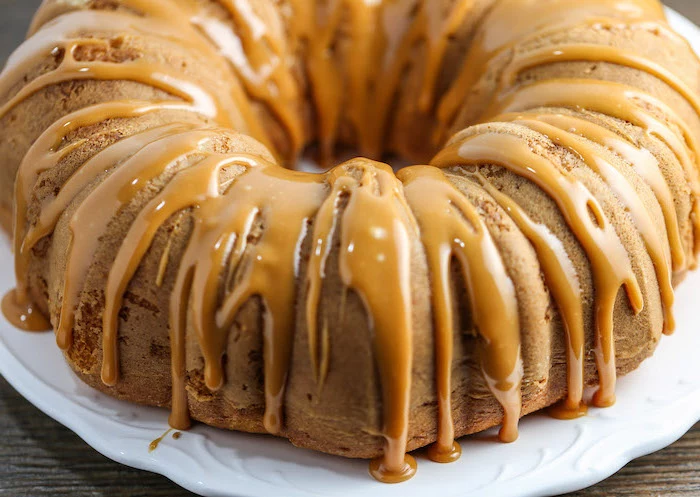
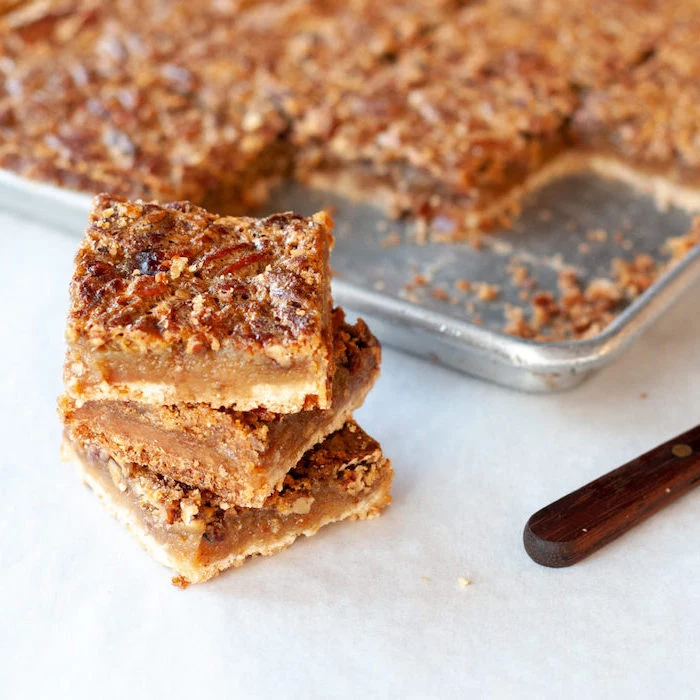
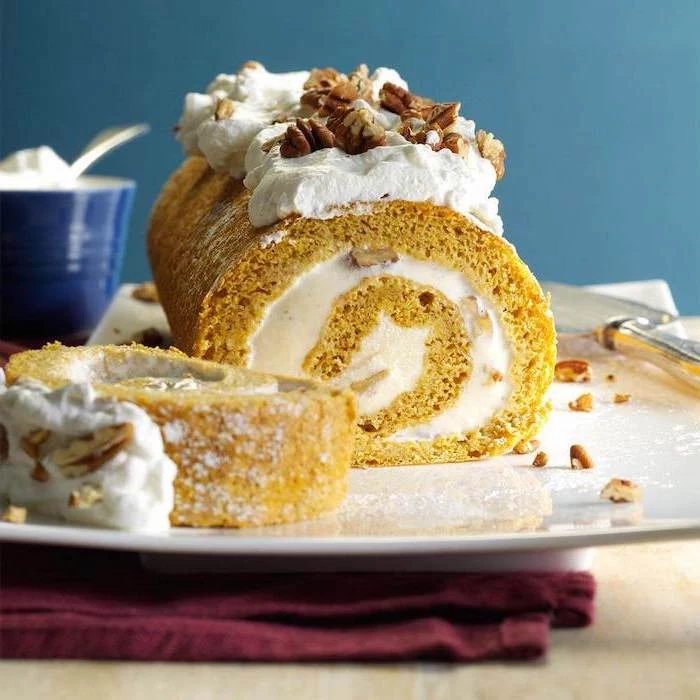
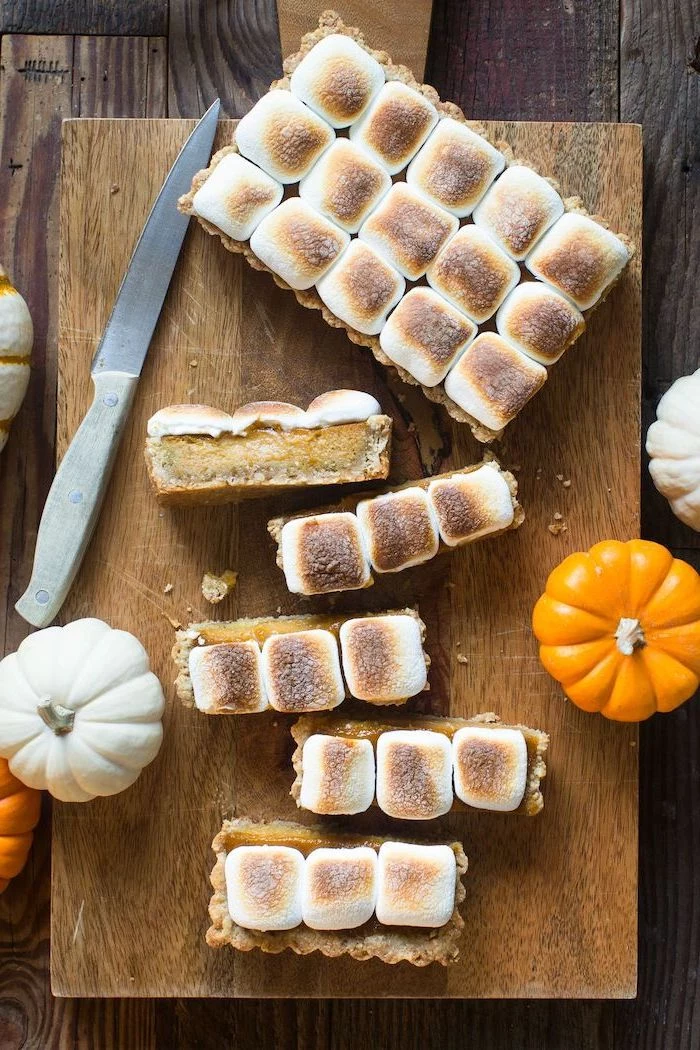
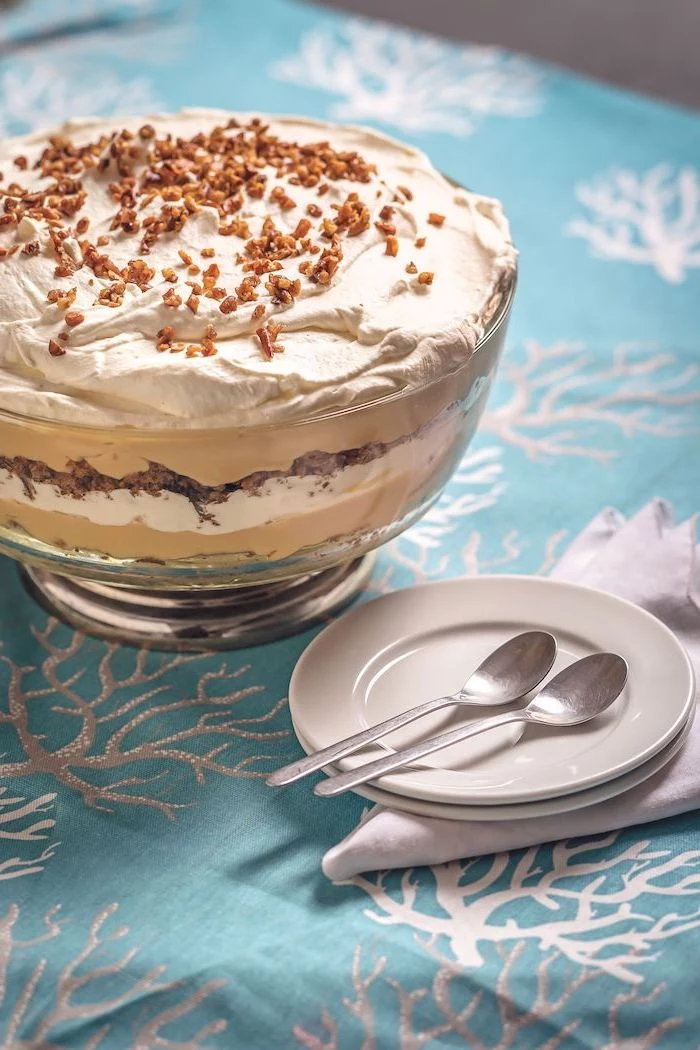
Recipe 2: Showstopper Bourbon Pecan Cake with Brown Butter Frosting
This cake is next-level. It’s rich, complex, and a huge step up from a standard pecan pie. It’s all about layering flavors: toasted nuts, brown butter, and a little kick of bourbon.
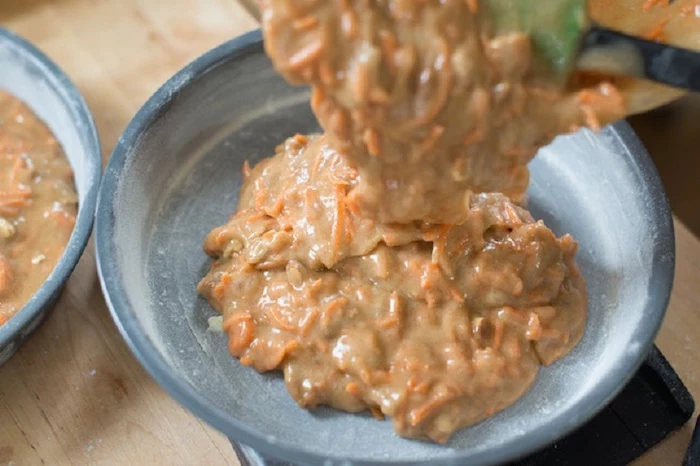
Part 1: The Toasted Pecan Cake
- 1 1/2 cups (180g) pecan halves
- 2 1/2 cups (320g) all-purpose flour
- 2 teaspoons baking powder
- 1/2 teaspoon baking soda
- 1 teaspoon salt
- 1 cup (226g) unsalted butter, room temperature
- 1 cup (200g) packed light brown sugar
- 1/2 cup (100g) granulated sugar
- 4 large eggs, room temperature
- 1 teaspoon vanilla extract
- 1 cup (240ml) buttermilk, room temperature
Instructions:
- Preheat oven to 350°F (175°C). Spread pecans on a baking sheet and toast for 7-9 minutes until fragrant. This is not optional—it makes them so much more flavorful. Let them cool and chop them up.
- Grease and flour two 9-inch round cake pans.
- Whisk your dry ingredients (flour, baking powder, baking soda, salt) in a bowl.
- In a larger bowl with an electric mixer, cream the butter and sugars until light and fluffy, about 3-4 minutes. Scrape down the bowl.
- Add eggs one at a time, then the vanilla.
- On low speed, add the flour mixture in three parts, alternating with the buttermilk. Start and end with the dry ingredients. Mix only until just combined to avoid a tough cake.
- Fold in the toasted pecans. Divide the batter between the pans and bake for 30-35 minutes.
- Let the cakes cool in the pans for 15 minutes, then turn them out onto a wire rack to cool completely.
Part 2: Brown Butter Maple Frosting & Assembly
- 1 cup (226g) unsalted butter
- 4 cups (480g) powdered sugar, sifted
- 1/4 cup pure maple syrup
- 2-3 tablespoons milk or heavy cream
- 1 teaspoon vanilla extract
- Pinch of salt
- 2 tablespoons bourbon (optional, but delicious)
Instructions:
- Make brown butter as described earlier. Pour it into a heatproof bowl and let it cool until it’s solid but soft (you can pop it in the fridge to speed this up).
- Beat the solidified brown butter until creamy. Gradually add the powdered sugar, alternating with the maple syrup, milk, and bourbon until it’s smooth and spreadable. Beat in the vanilla and salt.
- For the bourbon: You don’t need top-shelf stuff. A solid, affordable bottle like Evan Williams or Old Grand-Dad (usually around $15-$25) is perfect for baking. If you want to go non-alcoholic, just substitute the bourbon with an equal amount of strong brewed coffee, apple cider, or extra milk.
- The Crumb Coat: Once your cakes are cool, place one layer on a plate. Spread a very thin layer of frosting over the top and sides. This is your crumb coat—it traps all the loose crumbs. Chill the cake for 30 minutes to set this layer. Then, you can apply your final, beautiful coat of frosting without any pesky crumbs messing it up. It’s a simple trick that makes a world of difference.
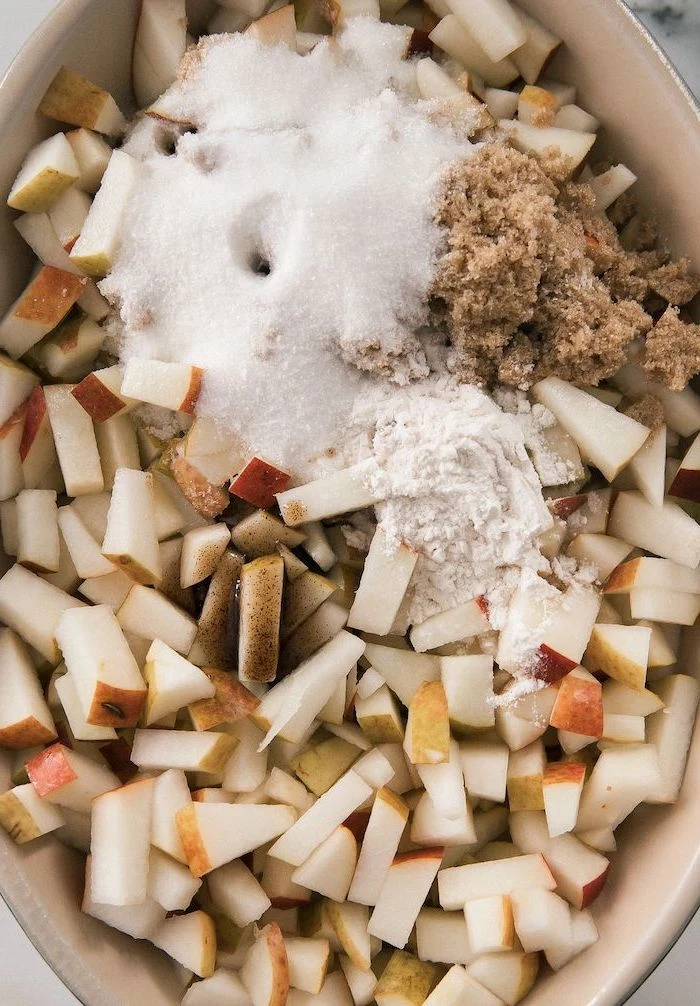
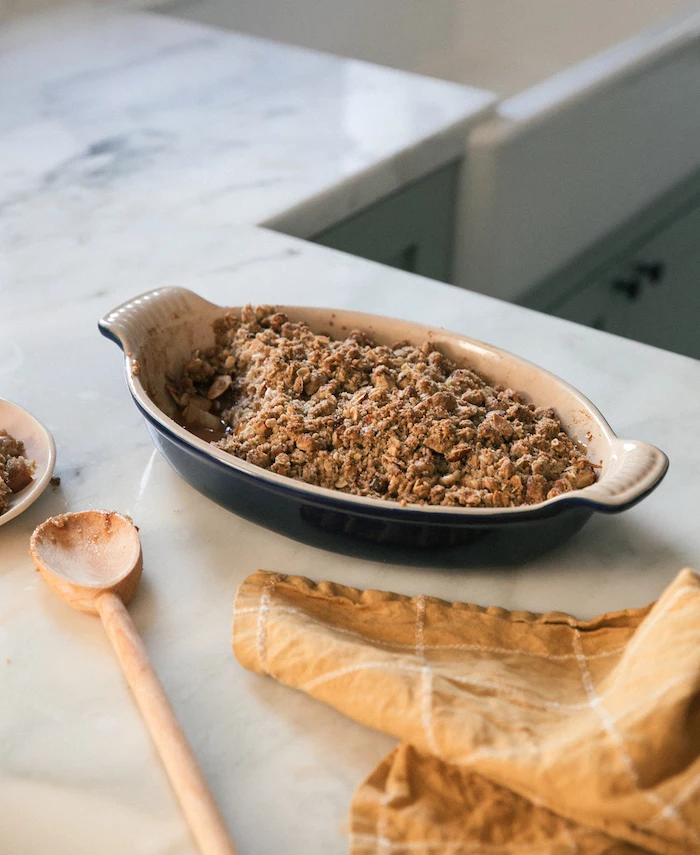
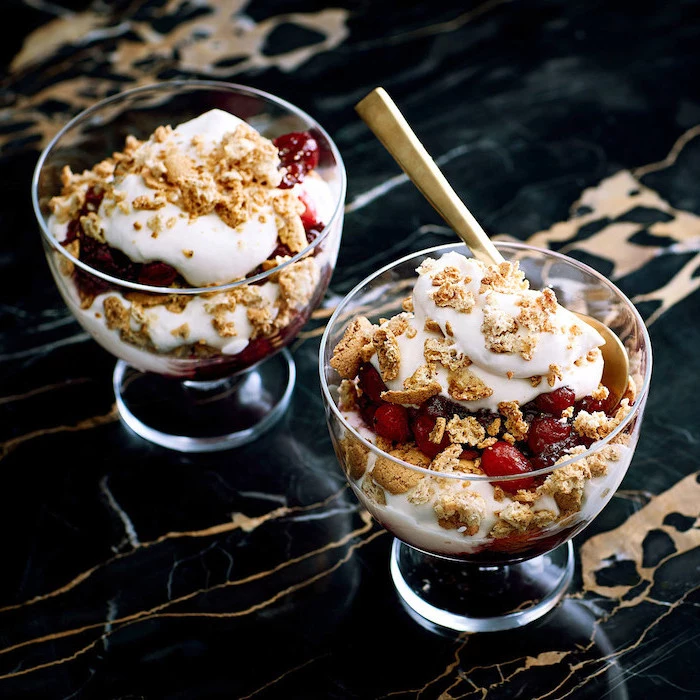
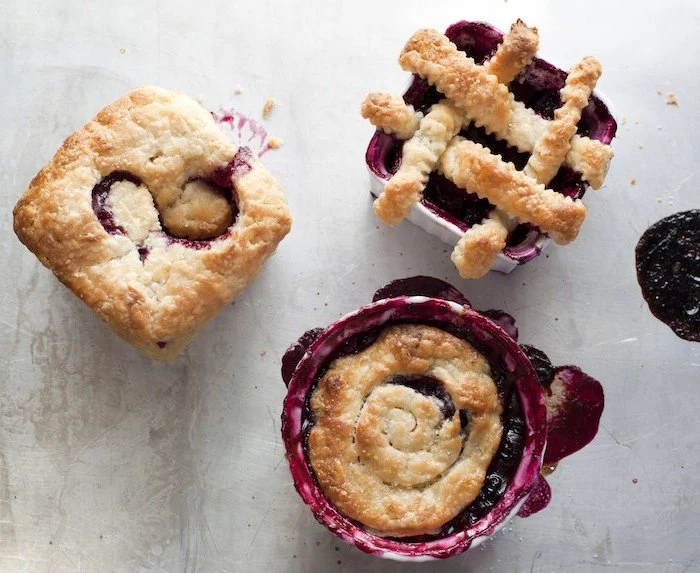
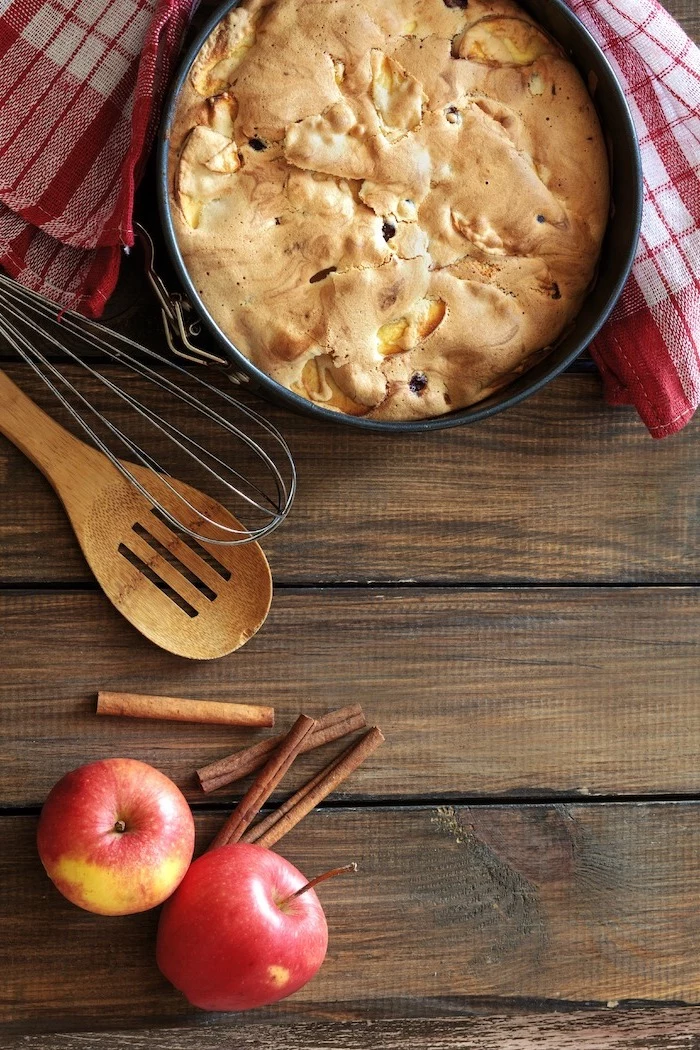
Recipe 3: A Rustic, Forgiving Apple and Pear Crumble
Not every dessert needs to be a masterpiece. A crumble is humble, fast, and almost impossible to mess up. It’s perfect for a last-minute addition or if you’re feeling a bit nervous in the kitchen.
- Filling: 3 firm baking apples (Granny Smith, Honeycrisp) and 3 firm pears (Bosc, Anjou), peeled and sliced; 1/4 cup brown sugar; 2 tbsp flour; 1 tsp cinnamon; 1 tbsp lemon juice.
- Topping: 1 cup all-purpose flour; 1 cup old-fashioned rolled oats; 1/2 cup brown sugar; 1/2 tsp salt; 1/2 cup cold unsalted butter, cubed.
Instructions:
- Preheat oven to 375°F (190°C).
- Toss the fruit with the sugar, flour, cinnamon, and lemon juice. Let it sit for 15 minutes to get juicy.
- In another bowl, mix the topping ingredients. Rub the cold butter in with your fingers until it looks like coarse crumbs with some bigger clumps.
- Pour the fruit into a 9×9 inch dish. Sprinkle the topping over it.
- Bake for 40-50 minutes until bubbly and golden. Let it cool for at least 20 minutes. It’s amazing with vanilla ice cream.
- P.S. Get Creative! Don’t be afraid to mix up the fruit. Apple-Cranberry is a fantastic tart combo. Pear-Ginger adds a wonderful spicy kick. A handful of frozen raspberries tossed in with the apples would be delicious too!
A Caterer’s Timeline: Your Stress-Free Game Plan
The single best piece of advice I can offer is this: plan ahead. Don’t try to do it all on Thanksgiving Day. Here’s a realistic prep schedule.
- A Week Before: Make your pie dough and freeze it. Toast your nuts and make your spice blend; store both in airtight containers.
- 2-3 Days Before: Bake your pecan cake layers. Once they’re totally cool, wrap them tightly in plastic wrap and keep them at room temperature. Move your pie dough from the freezer to the fridge to thaw.
- The Day Before: Blind bake your pie crust. Make and bake the pumpkin pie. Let it cool completely, then cover and refrigerate. Make your frosting and store it in the fridge. Assemble and crumb-coat your cake and pop it back in the fridge.
- Thanksgiving Day: In the morning, take the frosting out to soften, then give your cake its final, beautiful coat. Assemble and bake the fruit crumble—it can be served warm or at room temp. Whip up some fresh cream right before dessert is served. That’s it! You’re just finishing and assembling, not starting from scratch.
Help! My Dessert Didn’t Turn Out! (Quick Fixes)
It happens to all of us. Don’t panic! Here are a few pro secrets to save the day.
- The Problem: My pumpkin pie has a giant crack!
The Fix: This usually happens from a tiny bit of over-baking or cooling it too quickly. The easiest solution? Cover it up! A generous dollop of whipped cream, or a full-on blanket of it, will hide the crack completely. Garnish with a sprinkle of cinnamon, and no one will ever know. - The Problem: My cake seems a little dry.
The Fix: Simple syrup is your best friend. Gently heat equal parts water and sugar in a small pot until the sugar dissolves. Let it cool, then use a pastry brush to lightly brush the syrup over your cake layers before frosting. It adds a ton of moisture.
No Time? No Shame: How to Upgrade a Store-Bought Pie
If you’re truly out of time, there is absolutely no shame in buying a dessert. But you can still add a personal touch in about 5 minutes.

- Make a better topping: Brown some butter, let it cool a bit, then whip it with heavy cream and powdered sugar for a nutty, incredible whipped cream.
- Add some crunch: Toast some pecans or walnuts on the stove for a few minutes until they’re fragrant. Chop them up and sprinkle over the pie right before serving.
- Serve it right: A high-quality vanilla bean ice cream can make any pie feel ten times more luxurious.
At the end of the day, baking should be fun. If you’re stressed, pick something simple. And remember to be kind to yourself. I’ve dedicated my life to this craft, and even I know the most important part of the holiday is the people you share it with. A delicious dessert is just the sweet finale.
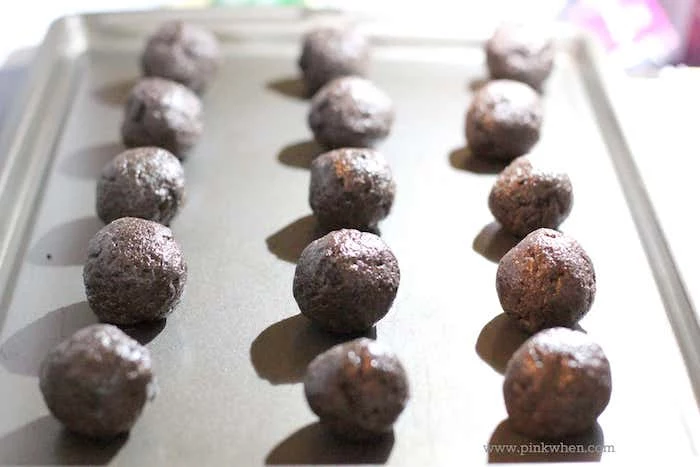
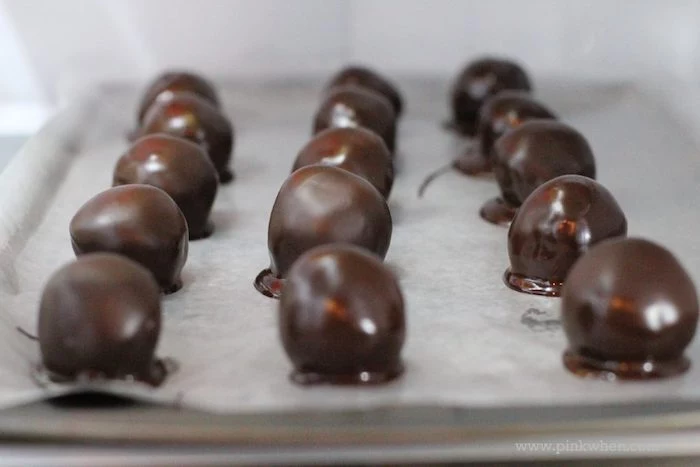
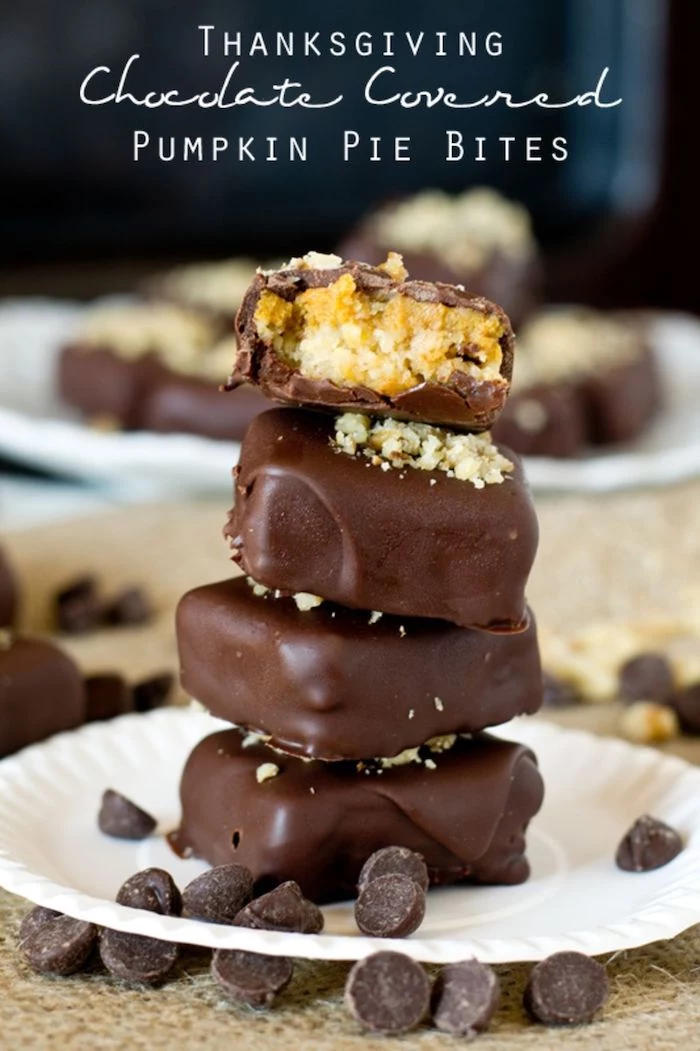
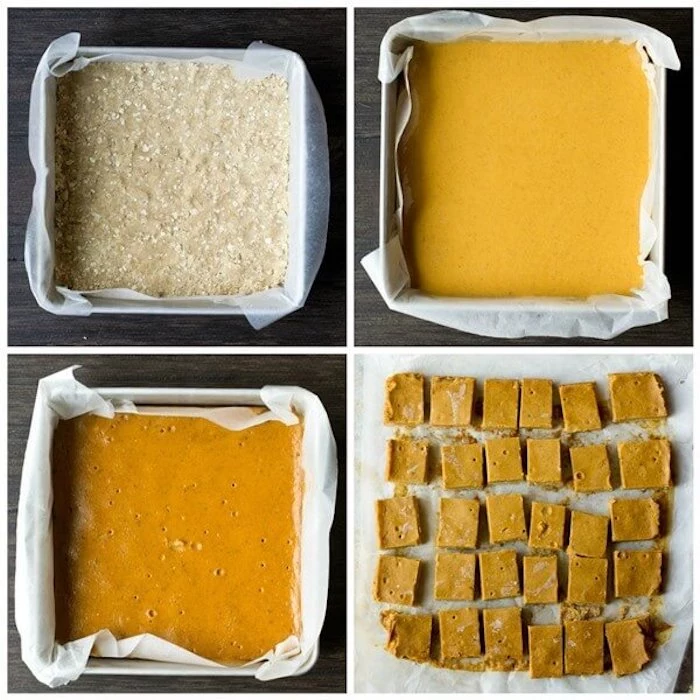
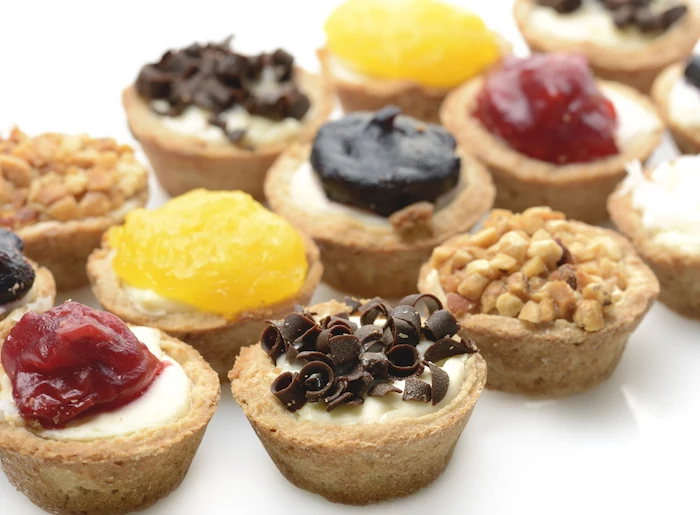
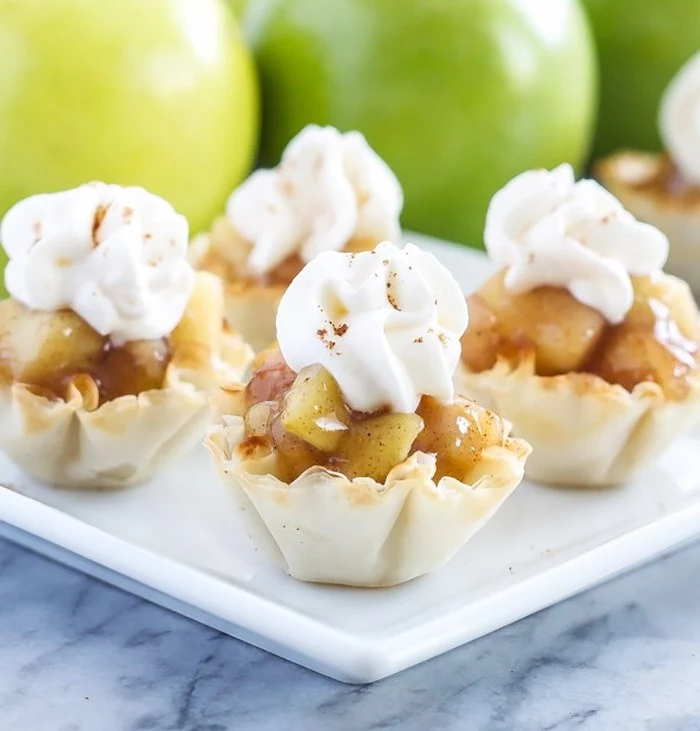
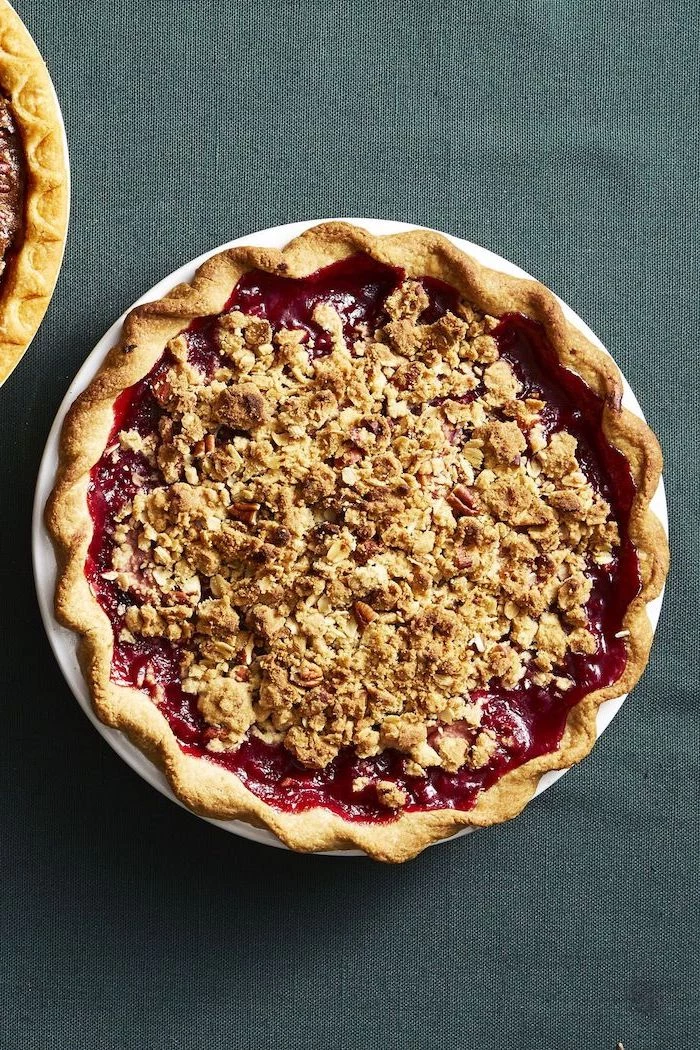
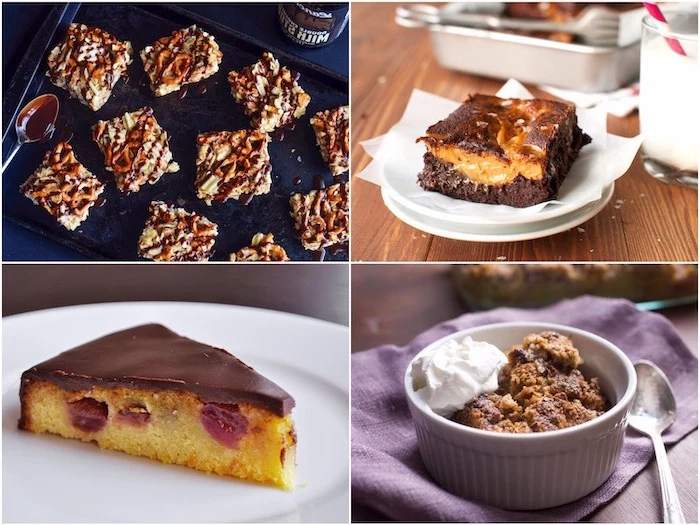
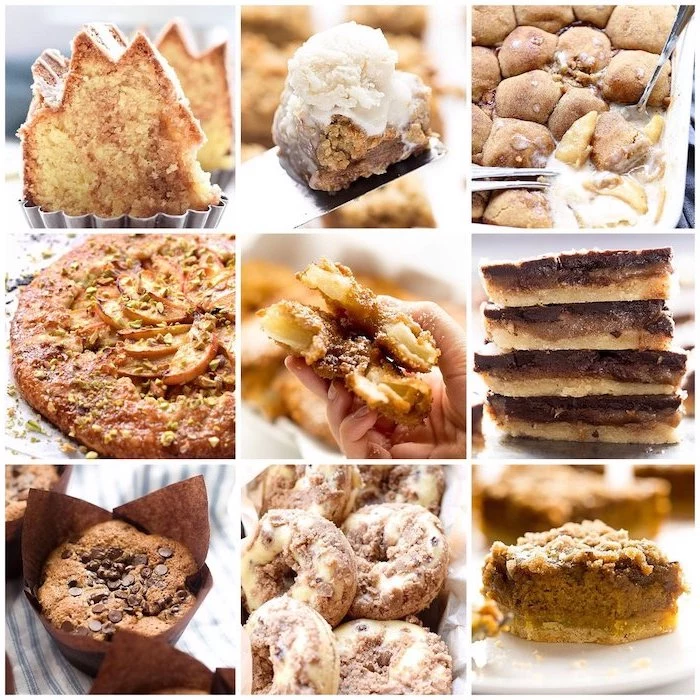
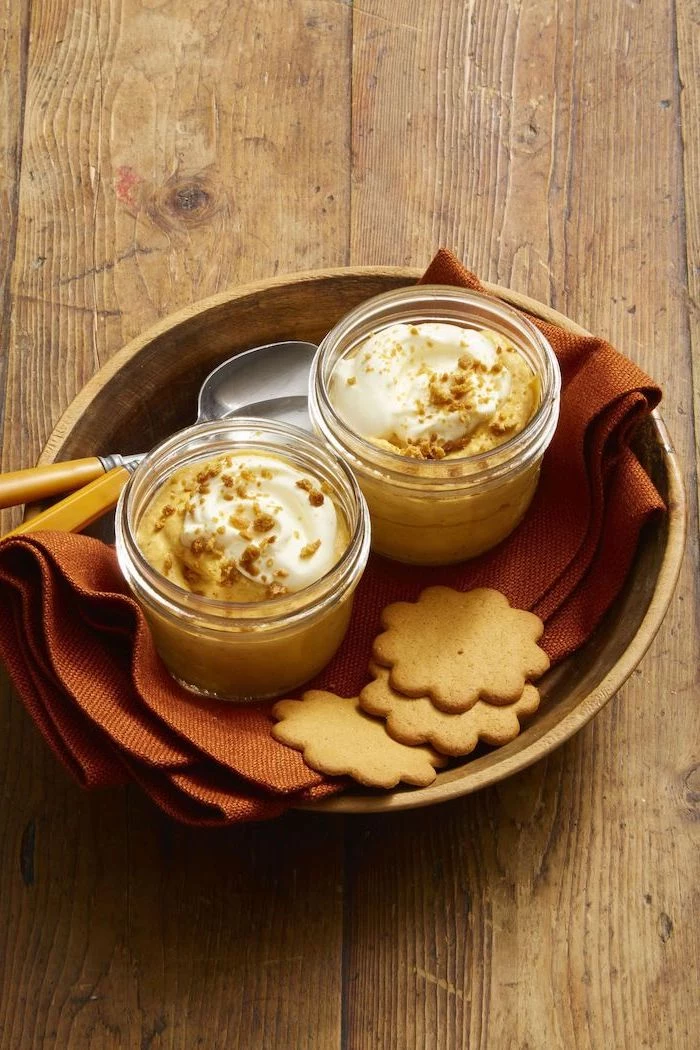
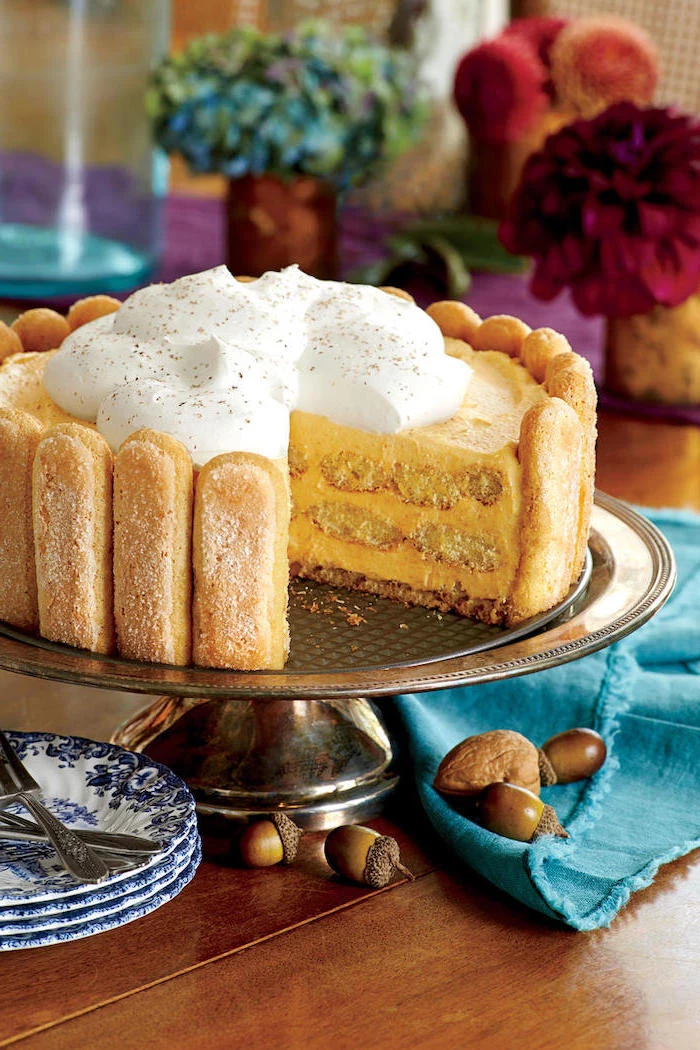
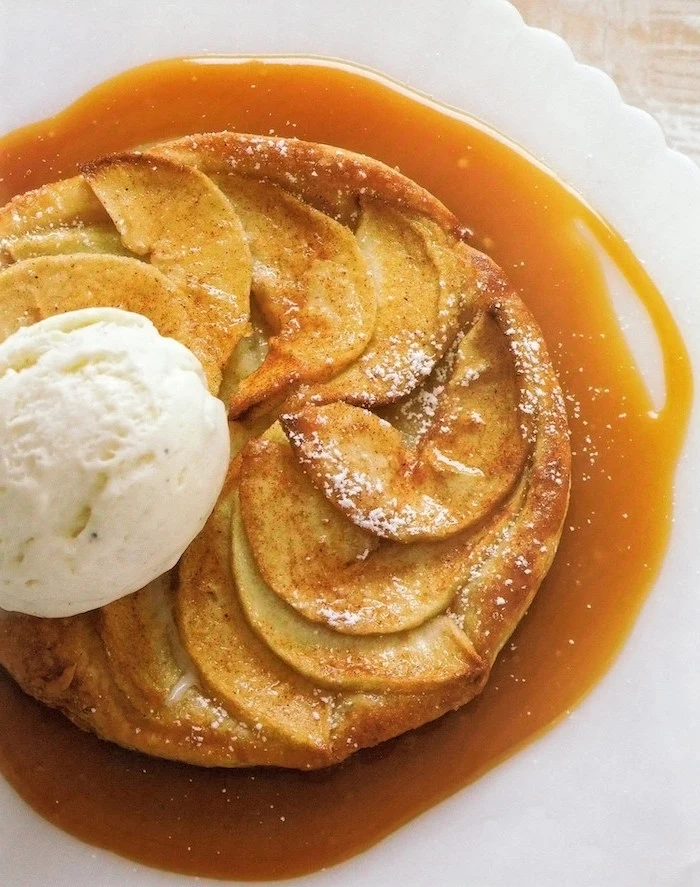
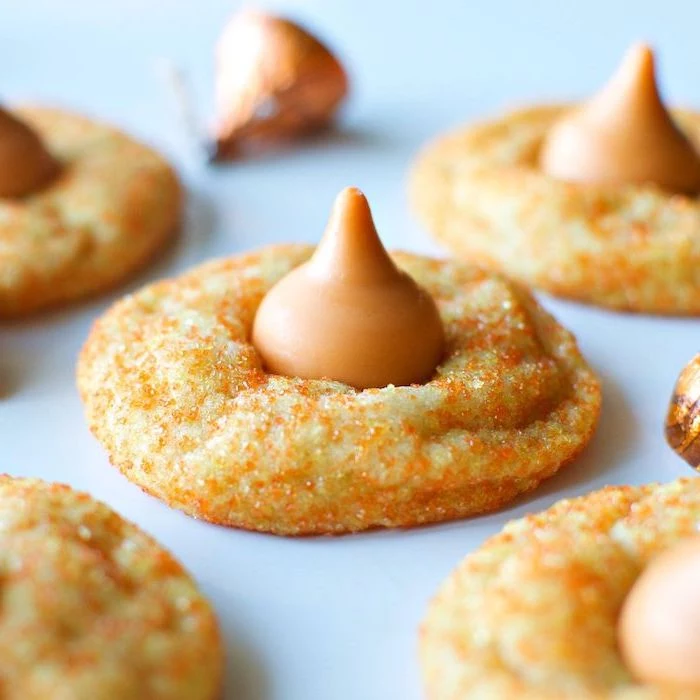
Inspiration Gallery
The one ingredient you might be forgetting: Salt. In desserts, its job isn’t to make things salty, but to make them taste more like themselves. A generous pinch in your pie crust enhances the buttery flavor, while a tiny bit in your caramel sauce balances the sweetness and prevents it from tasting flat. It’s the secret flavor amplifier hiding in plain sight.
Over 80% of the world’s vanilla is grown in Madagascar. The island’s unique climate gives the beans their characteristic creamy, sweet, and mellow flavor profile, perfect for Thanksgiving custards and cakes.
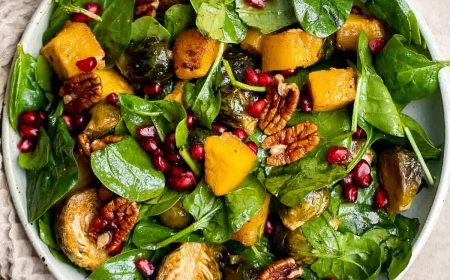
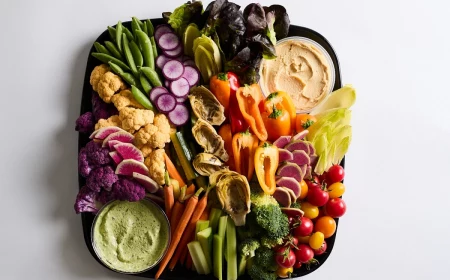
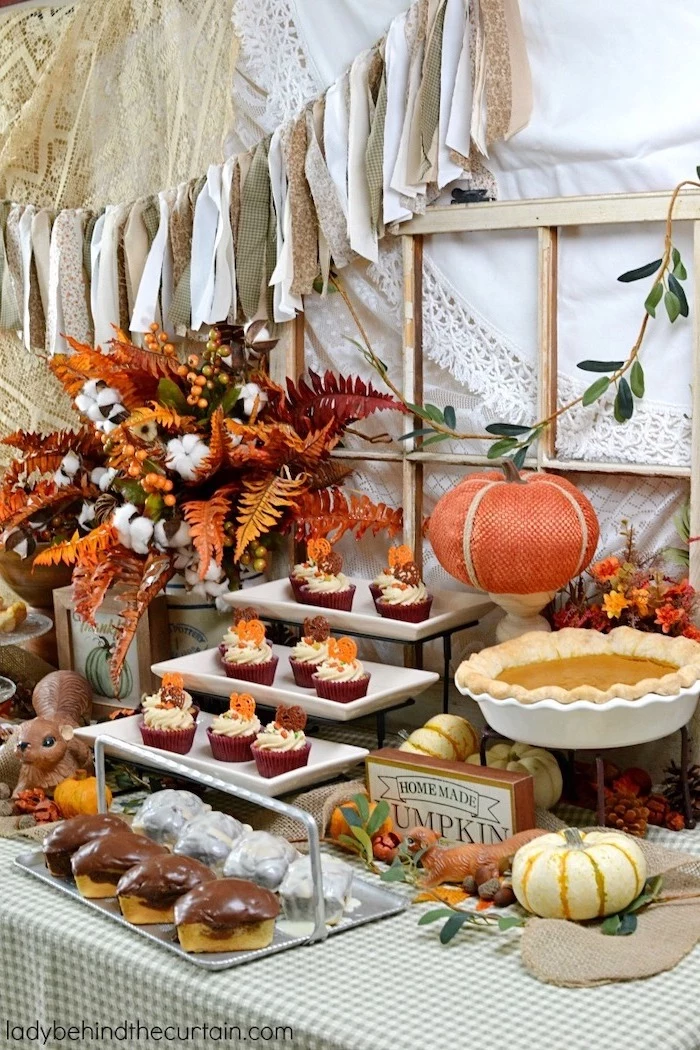
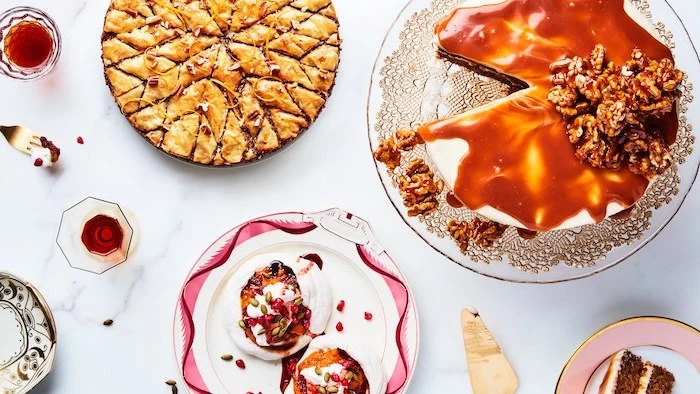
Thinking beyond the classic pie? A dessert board offers variety without the pressure of a single, perfect bake. Arrange mini pumpkin tarts, chocolate-covered pretzels, spiced nuts, slices of apple bread, and a bowl of caramel dip. It’s interactive, visually stunning, and has something for everyone.

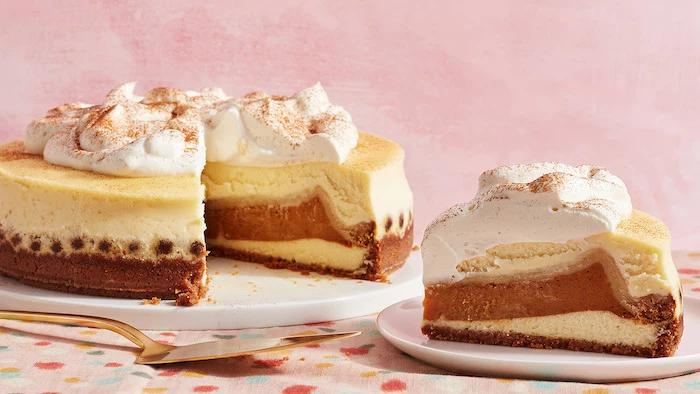
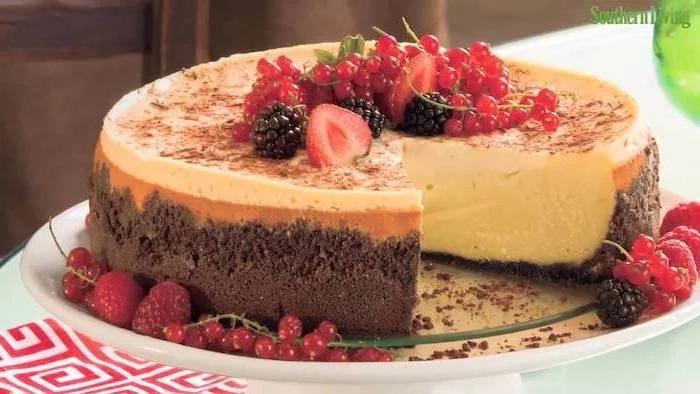
Why did my cheesecake crack?
This is the baker’s eternal question! The culprit is usually one of two things: over-mixing or a sudden temperature change. Beating too much air into the batter creates bubbles that rise and burst, causing cracks. Mix on low speed just until combined. Then, once it’s baked, turn off the oven and let the cheesecake cool down slowly inside with the door cracked open for an hour before moving it to the counter.
- Flawless, crisp crusts on your pies and tarts.
- Evenly baked cakes and quick breads.
- No more soggy bottoms.
The secret? Preheating your baking vessel. Placing your pie dish or cake pan on a preheated baking stone or steel transfers heat instantly to the bottom of the dough, giving it a head start for a perfect bake.

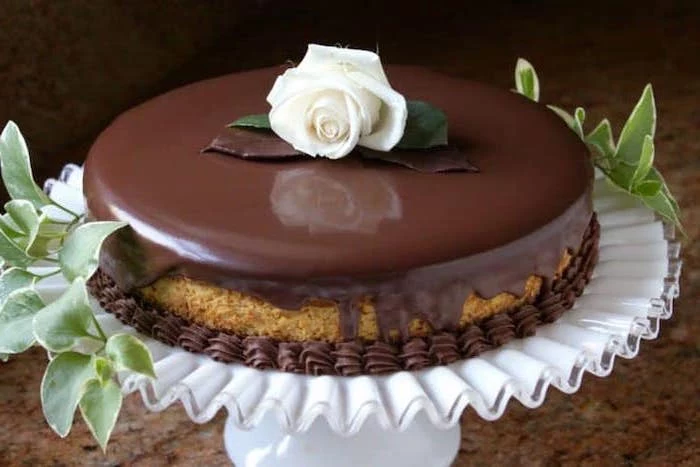
The Case for Quality Chocolate: For glazes and ganaches, the chocolate you choose makes all the difference. Grocery store chocolate chips contain stabilizers to hold their shape, which can result in a waxy texture when melted. Opt for baking bars or callets from brands like Valrhona or Guittard. Their higher cocoa butter content ensures a silky-smooth, glossy finish that drapes beautifully over your cakes.
Don’t throw out your vanilla bean pods after scraping them! Pop the empty pod into your container of granulated sugar. In a week or two, you’ll have fragrant, homemade vanilla sugar, perfect for sprinkling on cookies, stirring into coffee, or adding a subtle depth to whipped cream.
Light Brown Sugar: Contains about 3.5% molasses. Its delicate caramel flavor is ideal for cookies and lighter cakes where you want moisture without overpowering other flavors.
Dark Brown Sugar: Contains up to 6.5% molasses. It delivers a much richer, more robust toffee-like taste, making it the star in pecan pies, gingerbread, and dark fruitcakes.
For a deeper, more complex Thanksgiving flavor profile, try swapping half the light brown sugar for dark in your apple crumble topping.
The term “pumpkin spice” doesn’t traditionally contain pumpkin. It’s a blend of spices—cinnamon, nutmeg, ginger, allspice, and cloves—that were historically used to flavor pumpkin pies, with the first known recipe appearing in a 1796 cookbook.
This means you can add that quintessential “autumn” flavor to anything. Whisk a teaspoon into your pancake batter, coffee grounds before brewing, or even sprinkle it over roasted sweet potatoes for a festive touch that goes beyond dessert.
The aroma of baking is a huge part of the holiday experience. To fill your home with a welcoming scent without taking up oven space, simmer this on the stove:
- A few orange peels
- 2-3 cinnamon sticks
- A tablespoon of whole cloves
- A splash of vanilla extract
Just add water, bring to a low simmer, and let it work its magic all afternoon. It’s the scent of Thanksgiving in a pot.
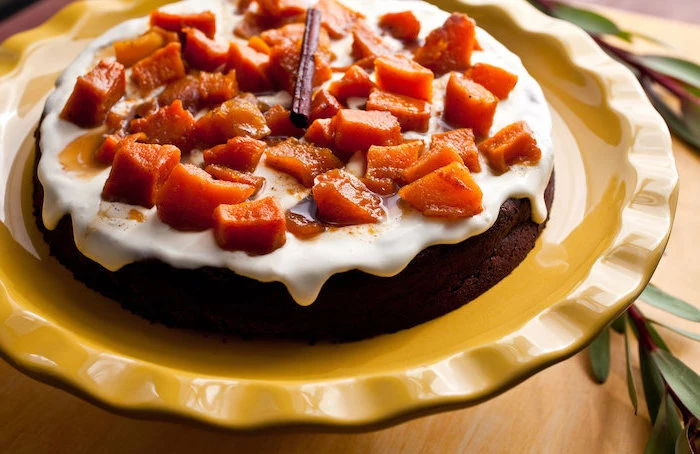
For an unexpected twist on classic apple desserts, add a splash of bourbon or dark rum to the fruit filling before baking. The alcohol cooks off, but leaves behind a warm, oaky complexity that pairs beautifully with the apples and cinnamon. A tablespoon or two is all you need to elevate the entire dish.
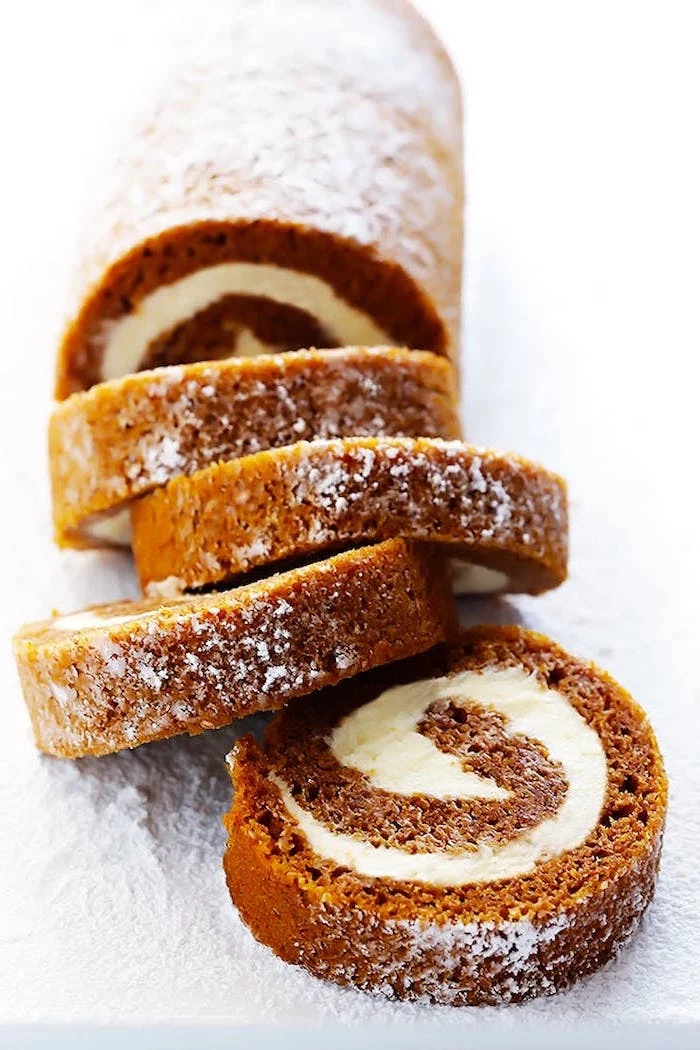
Can I really make my pie dough a week ahead?
Absolutely! In fact, professional bakers rely on it. Pie dough (pâte brisée) can be made, shaped into a disc, wrapped tightly in plastic wrap, and refrigerated for up to 3 days. For longer storage, it freezes beautifully for up to 3 months. Just transfer it from the freezer to the fridge the night before you plan to roll it out. It’s the ultimate stress-saver.
The Baker’s Scale: For consistency, nothing beats a digital kitchen scale. Measuring flour by volume (with cups) can vary by as much as 20% depending on how you scoop. Baking is chemistry, and precision matters. A simple digital scale from a brand like OXO or Escali is an affordable investment that guarantees your recipes turn out the same way every single time.
- Create your own signature pumpkin spice blend by adjusting the ratios. Love ginger? Add more!
- Make a batch of salted caramel sauce. It keeps for weeks and can be drizzled over ice cream, cake, or even coffee.
- Infuse maple syrup with a cinnamon stick and a star anise pod for a truly special topping.
To get that perfectly browned, never-burnt pecan topping on your pie, use a pie shield or a simple ring of aluminum foil. Cover the edges of the crust for the first 20-25 minutes of baking, then remove it for the remainder of the time. This allows the center to cook through without the delicate crust and nuts getting too dark.
Canned Pumpkin Purée: This is 100% cooked, mashed pumpkin. It’s consistent, reliable, and what most recipes are developed for. Libby’s brand is the gold standard, as it’s made from a specific, less-watery variety of squash.
Canned Pumpkin Pie Filling: This is purée that already has sugar, spices, and sometimes condensed milk added. It’s a shortcut, but it locks you into its specific flavor profile and sweetness level.
For professional-tasting results and control over your final product, always choose pure pumpkin purée.
Give your whipped cream an upgrade. Instead of just sugar, try one of these additions for a more sophisticated topping:
- A tablespoon of real maple syrup and a pinch of cinnamon.
- A teaspoon of instant espresso powder for a mocha flavor.
- A splash of Grand Marnier or Cointreau for an orange-kissed cream on chocolate desserts.
If you find your brown sugar has turned into a hard rock, don’t despair. Place the hardened sugar in a bowl, cover it with a damp paper towel, and microwave in 20-second bursts until it softens. To prevent it from happening again, store it in an airtight container with a terracotta brown sugar saver.
- A deeper, richer flavor profile.
- A chewier, less cakey texture.
- A beautiful golden-brown color.
The trick? Resting your cookie dough in the refrigerator for at least 24 hours before baking. This allows the flour to fully hydrate and the flavors to meld, resulting in a far superior cookie. It’s the #1 secret of top-tier bakeries.
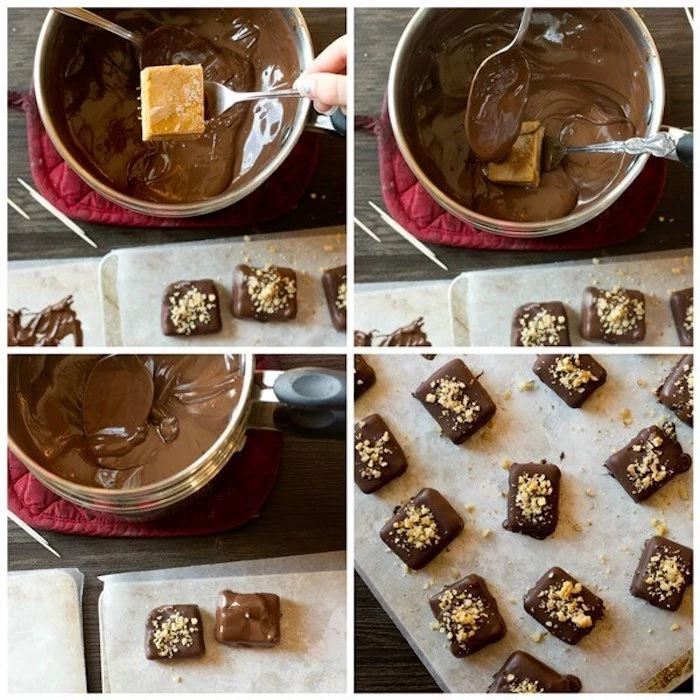
Don’t underestimate the power of texture in a garnish. A sprinkle of flaky sea salt (like Maldon) on a chocolate tart, a crunch of toasted pumpkin seeds on a creamy cheesecake, or a scattering of crispy fried sage leaves on an apple galette adds a final layer of sensory delight that signals a thoughtfully made dessert.
Glass Pie Dish: Allows you to see the bottom and sides of your crust, ensuring it’s perfectly browned. It conducts heat gently and evenly, but more slowly than metal.
Metal Pie Pan (Aluminum): Heats up very quickly, which helps create a crispier bottom crust and can prevent sogginess. It’s the choice for bakers who prioritize a non-soggy bottom.
For a guaranteed crisp crust, especially for fruit pies, a simple, non-dark metal pan is a pro’s best friend.
Pecan pie is thought to have been a 20th-century invention, with the first recipes appearing around the 1920s after Karo, the manufacturer of corn syrup, began popularizing it on their product labels.
This makes it a relatively modern Thanksgiving classic compared to pumpkin pie. The combination of the rich, custardy filling and the crunchy nut topping was an instant hit that secured its place on the holiday table.
To prevent a
A simple dusting of powdered sugar can look elegant, but it often melts into the dessert. For a picture-perfect, long-lasting snowy effect, use non-melting powdered sugar (also called donut sugar). It’s confectioner’s sugar with a little bit of starch and oil added to resist dissolving, keeping your desserts looking fresh for hours.