I’ve been creating holiday magic for a long, long time. It all started with my own family dinners, which seemed to get a little bigger every year. Pretty soon, friends and even local shops were asking for my help. I’ve done everything from tiny, cozy dinners to sprawling harvest festivals, and through it all, I’ve learned one thing is absolutely true: Thanksgiving decor isn’t just about ‘filling the space.’ It’s about crafting a feeling of warmth and welcome the second someone walks through your door. It sets the whole mood before a single bite of turkey is served.
So many online tutorials show you cute, quick ideas, but they almost always leave out the most important bits. They don’t explain why some projects fall apart in three days or why others end up looking a little… cheap. I want to pull back the curtain on the pro techniques I’ve figured out through years of trial and error. And no, this isn’t about buying expensive stuff. It’s about using simple, natural things with the right methods to create something genuinely beautiful that lasts.
By the way, if you’re short on time and can only do one thing, do this: give your pumpkins a quick bath. A simple wipe-down with a solution of one part white vinegar to ten parts water will kill the surface bacteria that makes them rot. Seriously, they’ll last weeks longer than your neighbor’s. It’s the single best trick in the book.
Getting Your Supplies Right: The Secret to Decor That Lasts
The success of any project starts way before you get your hands dirty. It begins with picking the right materials and prepping them properly. Honestly, this step is what separates a decoration that looks sad by week’s end from one that can grace your home all season long. Nature gives us the best supplies, but they need a little help to be ready for their indoor debut.
Choosing and Curing Pumpkins & Gourds
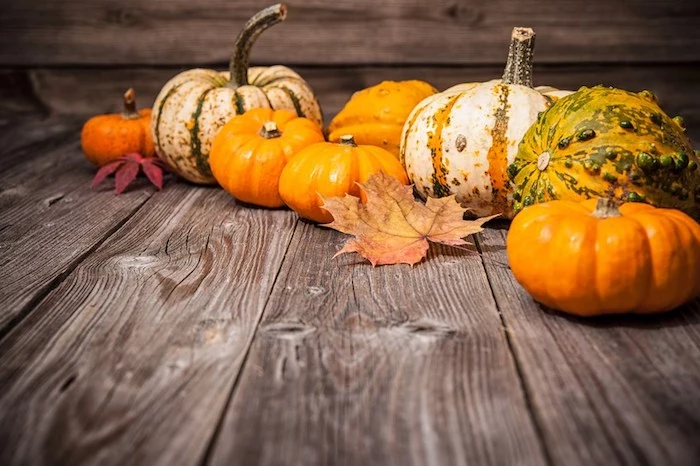
Walk into a grocery store in October, and you’ll see bins overflowing with bright orange pumpkins. Most of these are standard carving pumpkins, which have thin walls and a lot of water inside. Great for carving, terrible for longevity—they start to slump and rot fast.
For decorating, you want to look for what they call heirloom or sugar pumpkins. Think of those gorgeous, fairytale-looking ones—the flat, reddish ‘Cinderella’ style, the buff-colored ‘Long Island Cheese,’ or even the tiny ‘Jack Be Little’ varieties. You can often find the best selection and prices at a local farmer’s market or even places like Trader Joe’s, with prices ranging from $5 for a small one up to $20 or $25 for a real showstopper. They have thicker skin and denser flesh, meaning they can last for months if you treat them right.
And that brings us to curing. It’s a simple trick farmers use, and it makes all the difference. After you give your pumpkin that vinegar-water wash, pat it completely dry. Then, just let it sit in a warm, sunny spot for a week or two. A sun-drenched porch is perfect. Don’t have one? A warm, dry utility room or spot near a sunny window works great, too. This process hardens the skin and seals any little nicks, basically creating a suit of armor against rot.
Sourcing and Prepping Natural Elements
Bringing the outdoors in is what autumn decor is all about. But—and I can’t stress this enough—you can’t just drag branches and pinecones inside. They can be full of moisture, mold, and little critters. I learned that the hard way one year after discovering a full-on ant highway leading from a centerpiece I’d made with untreated wood. Yikes.
For Pinecones: Gather them on a dry day. To get them clean, bug-free, and beautifully opened up, you can bake them. Just spread them on a foil-lined baking sheet and pop them in the oven at a low temp, around 200°F, for about 30-60 minutes. Keep a close eye on them! You’ll know they’re done when they smell amazing and are fully fanned out.
For Leaves: To preserve those brilliant fall colors, glycerin is your best friend. You can buy pre-preserved leaves at a craft store, which is great in a pinch, but they can be surprisingly pricey. This DIY method is super cheap and gives you a much more personal result. Just mix one part glycerin (you can find it at most drugstores for a few dollars) with two parts water. Submerge your prettiest leaves in the solution, using a small plate to keep them down, and let them soak for 2-3 days. When you pull them out and blot them dry, they’ll be soft, leathery, and vibrant.
For Twigs and Branches: Look for branches that are already dry. Give them a good brush-off to remove dirt. If you’re worried about bugs, here’s a pro tip that avoids any chemicals: stick them in a big plastic bag and pop it in your freezer for 48 hours. It’s a surefire way to make sure they’re pest-free.
Paints, Glues, and Sealants
The right finish is everything. For pumpkins and other natural goodies, your best bet is standard acrylic craft paint. It sticks well and cleans up with water. A 2oz bottle will only set you back $2 to $4. For a super-smooth, even finish, especially with metallics, sometimes spray paint is the way to go. Just remember to work outside and use several light, misty coats instead of one thick one to avoid drips.
When it comes to glue, you’ll need something with more muscle than school glue. A thick craft glue or a hot glue gun is perfect. Heads up! The heat from a glue gun can slightly ‘cook’ the skin of a pumpkin. It won’t hurt the look, but it’s good to know.
Finally, a sealant is non-negotiable for protecting your painted work. A clear acrylic spray sealant prevents chipping and gives everything a finished look. You can find a can at any hardware or craft store for about $6 to $10. I almost always go for a matte or satin finish, as high gloss can make natural decor look a bit artificial.
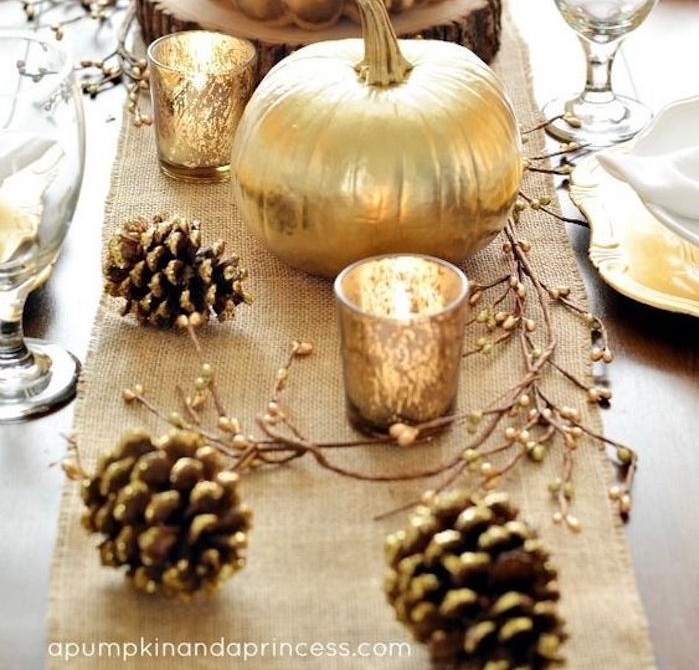
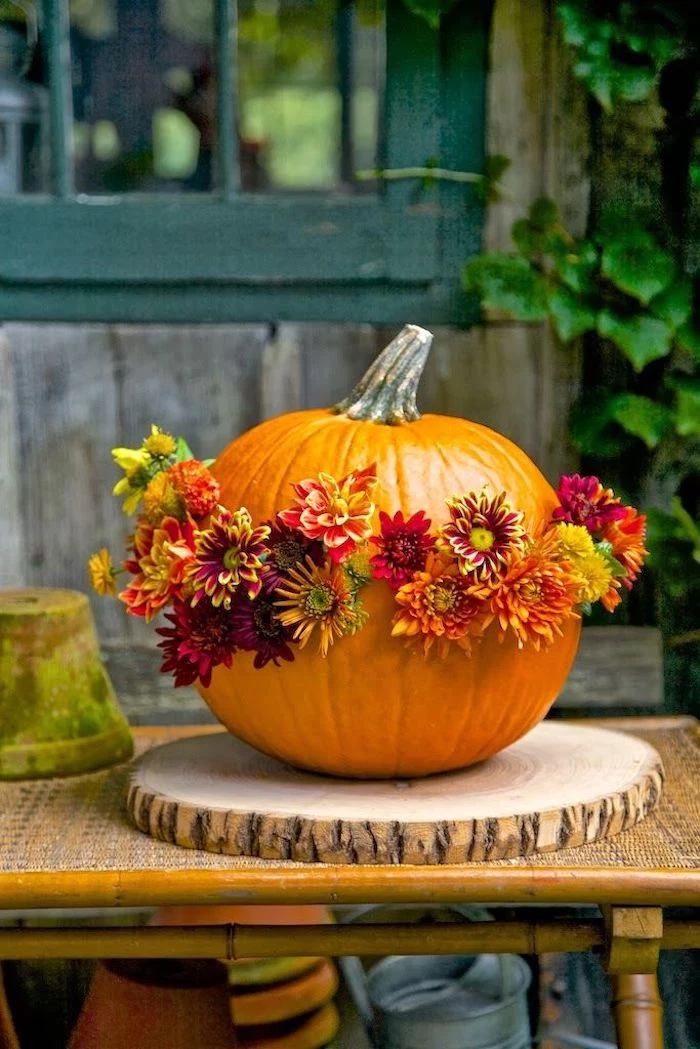
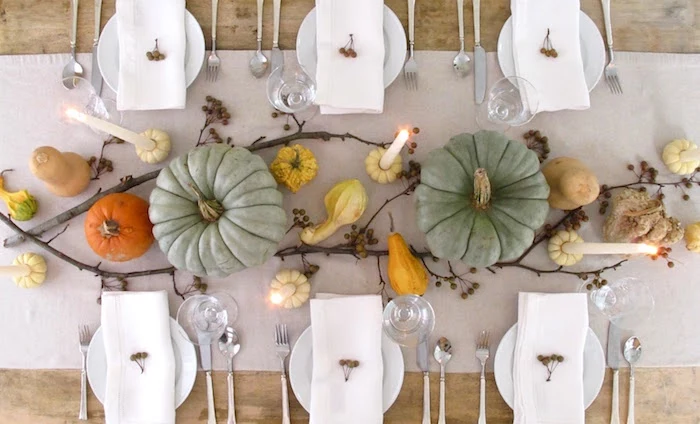
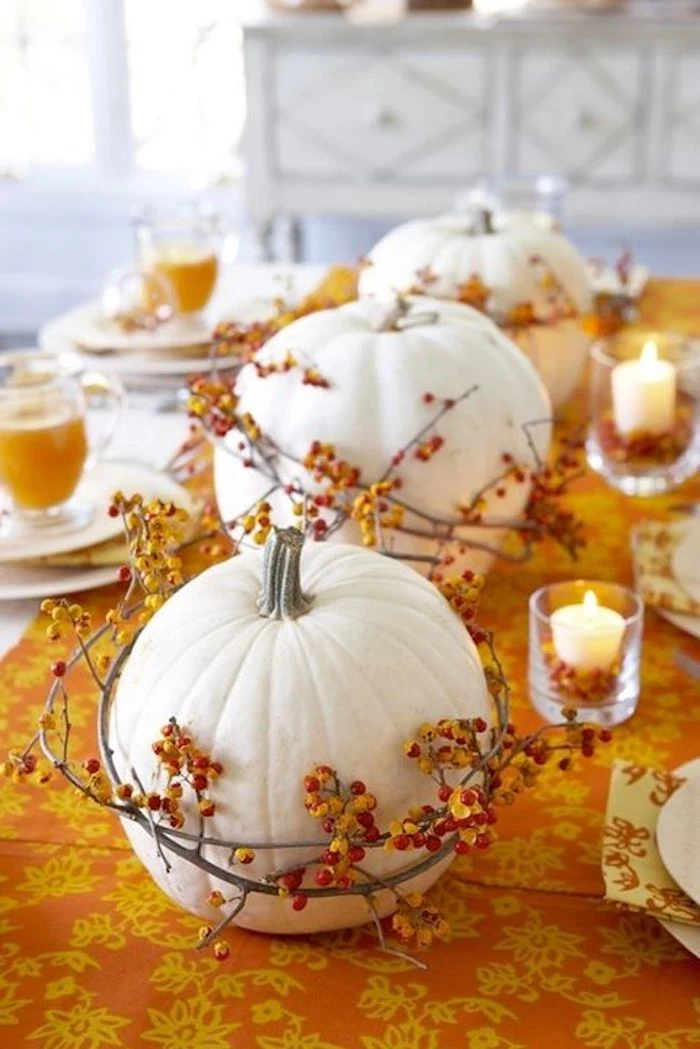
Project 1: The Gilded Pumpkin Centerpiece
This project is a classic for a reason—it’s that perfect mix of earthy and elegant. My method is all about the prep and layering to get a result that looks like it’s from a high-end boutique. Plan for about an hour of active crafting time, plus you’ll need to let things dry overnight. All in, you can create this stunning centerpiece for between $15 and $35.
Here’s what you’ll do:
Get Your Workspace Ready. Spread out some newspaper and make sure your cured pumpkins are clean and bone dry.
Paint the Pumpkins. Using a flat brush, apply a thin coat of gold paint. Don’t worry about perfect coverage on the first go; thin coats prevent drips. Let it dry for about an hour, then apply a second coat for that rich, solid gold look.
Accent Your Accessories. While the pumpkins are drying, use a small detail brush to just kiss the tips of your pinecone scales with gold paint. This little touch highlights their amazing texture. You can do the same with a few of your twigs.
Patience is a Virtue! Let everything dry completely. I mean it. If you try to seal them while the paint is still even a little bit soft, you can get bubbles or a weird tacky finish. I always let them sit overnight.
Seal the Deal. Take your painted pieces outside and give them a light, even coat with your matte spray sealant from about a foot away. Let that dry for at least an hour.
Build Your Centerpiece. Start with your biggest pumpkin in the middle. Cluster the smaller ones around it, then tuck your gilded pinecones and twigs into the gaps to add height and texture. Just play with it until it feels natural and effortless.
A Few Troubleshooting Tips I’ve Learned:
Problem: The paint is beading up and won’t stick! The pumpkin’s skin might be a little waxy. Gently scuff the surface with super-fine sandpaper (220-grit is good) before painting to give the paint something to grab onto.
Problem: My gold paint looks thin and streaky. Ah, a classic issue with metallics. The solution is a primer! A quick base coat of any light-colored acrylic paint (white, tan, whatever you have) will make that gold pop.
Problem: I’ve got drips! Don’t try to wipe them while they’re wet—it just makes a bigger mess. Let the drip dry completely, then you can carefully sand it down and touch it up.
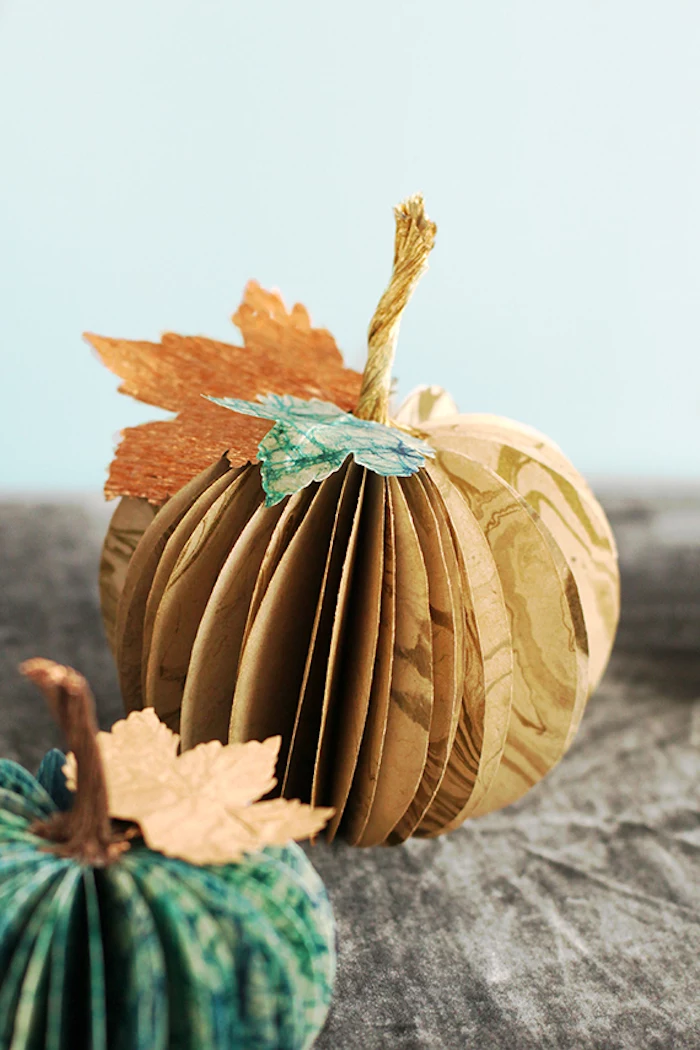
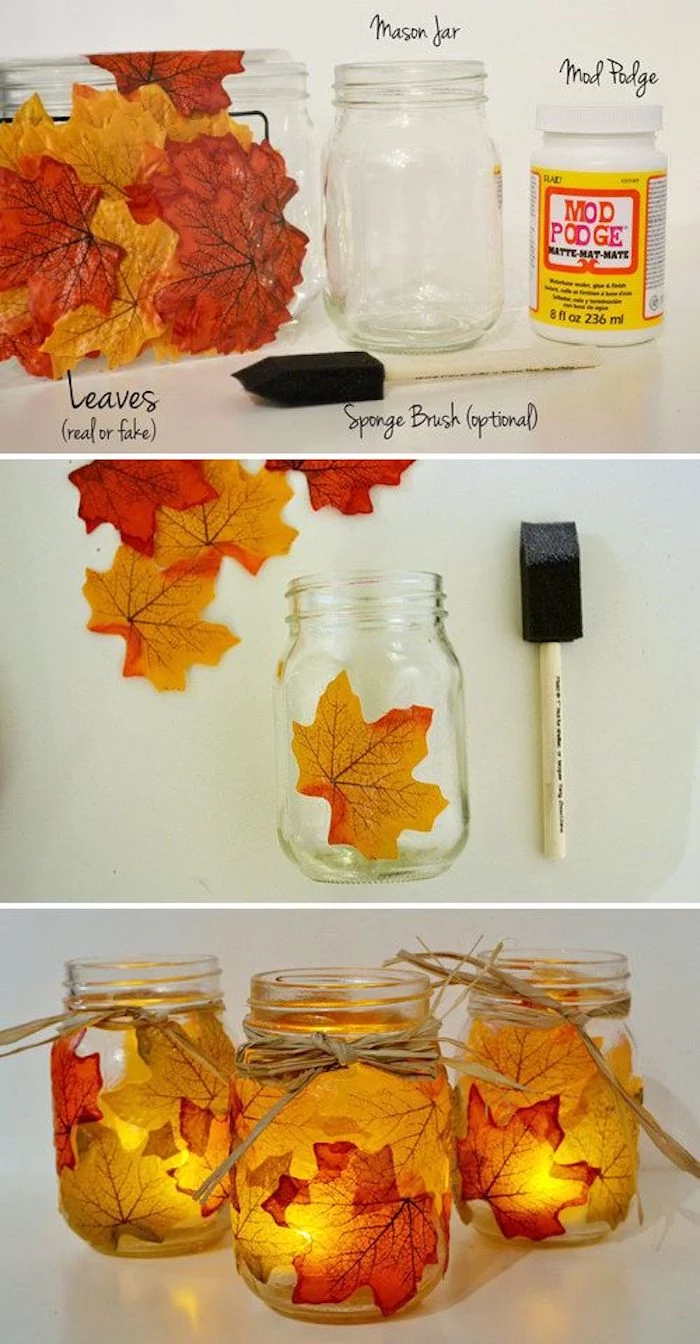
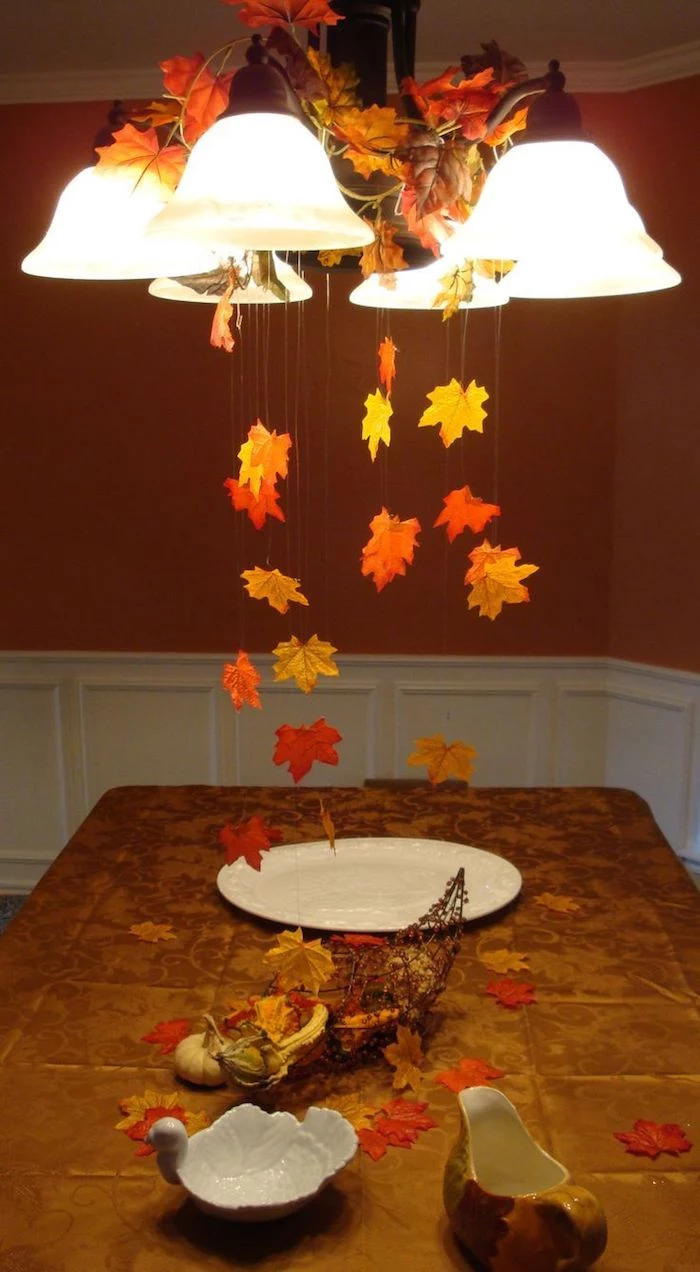
Project 2: Magical Autumn Leaf Luminaries
Nothing creates a cozy mood like soft light. These luminaries cast a warm, inviting glow that’s just perfect for a Thanksgiving evening. This is a relaxing project that takes about 30-45 minutes per jar, plus drying time.
A CRITICAL SAFETY WARNING: Please, please, please never use a real flame candle in a luminary made with dried leaves or paper. I once saw a centerpiece at a potluck catch fire from a tea light. It’s a serious hazard. Always, always use battery-operated LED candles. The modern ones have a realistic flicker and are 100% safe.
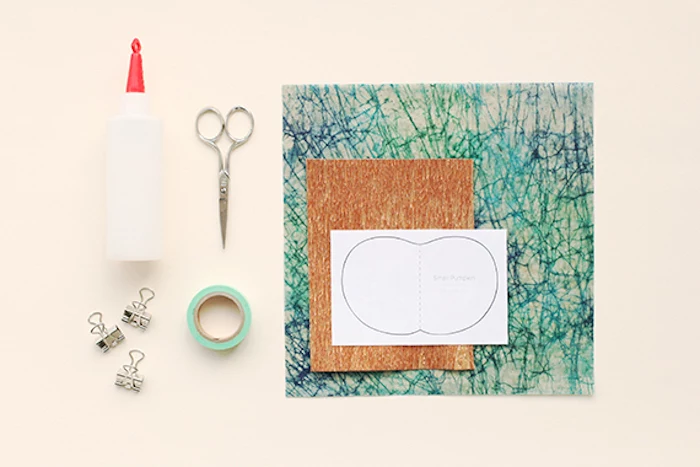
You’ll need clean glass jars, decoupage medium (like Mod Podge), a brush, your preserved leaves, and some LED candles. Oh, and a quick tip for those jars: my go-to trick for removing stubborn labels is to slather them with peanut butter. Let it sit for an hour, and the oil breaks down the adhesive. It works like a charm!
For a Sophisticated Luminary:
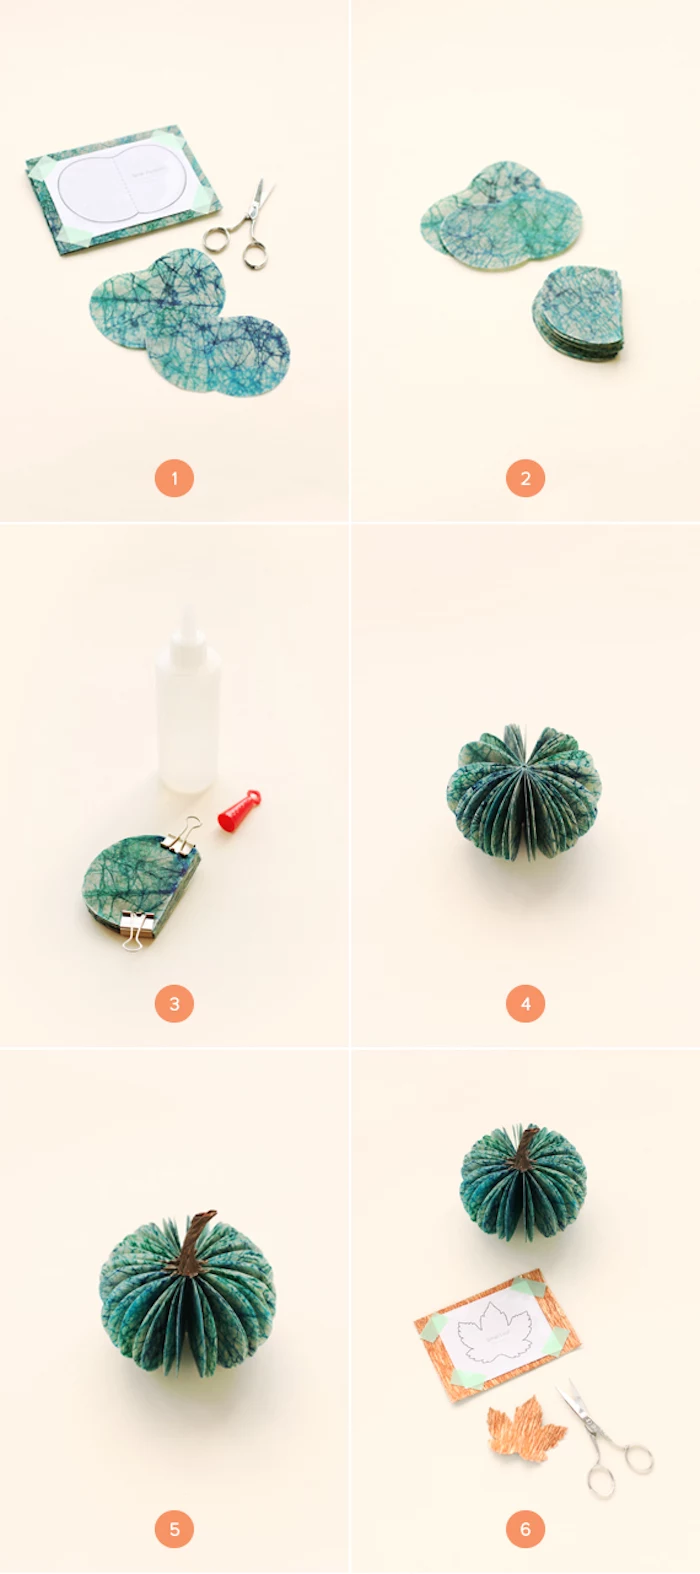
Prep Your Jar. Make sure it’s sparkling clean and totally dry.
Apply the Base. Brush a thin, even layer of decoupage medium onto the outside of the jar.
Place Your Leaves. Press a preserved leaf onto the wet medium, smoothing it from the center out to remove air bubbles. Overlap them slightly to create a beautiful mosaic of color.
Seal It In. Once the jar is covered, brush another thin coat of the medium over all the leaves. It’ll look cloudy and white, but I promise it dries crystal clear.
Let It Dry. Give it a few hours until it’s clear and no longer tacky. For a rustic touch, you can tie some twine or raffia around the rim. Pop an LED candle inside and enjoy that gorgeous, stained-glass glow.
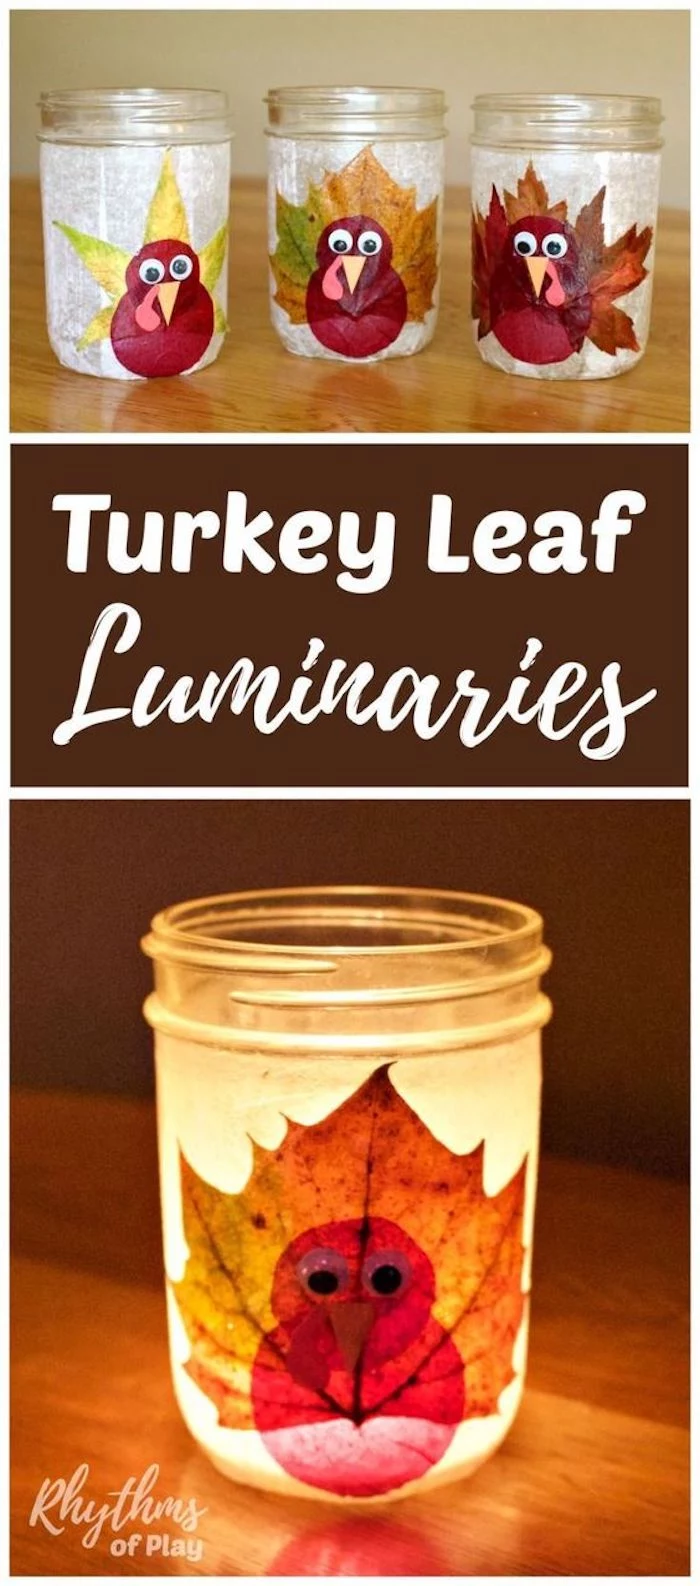
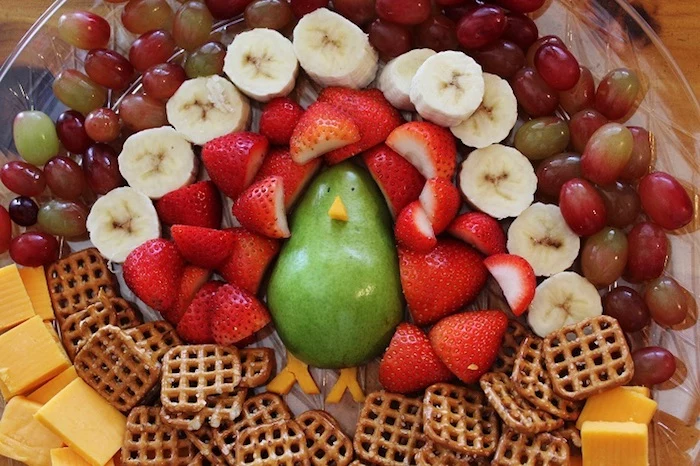
For a Fun, Family-Friendly Turkey Luminary:
This is a great one to do with kids. You’ll use the same technique, but with a playful goal. Have them arrange colorful leaves in a fan shape on one side of the jar for the turkey’s tail. Then, use a rounder leaf for the body and a smaller one for the head. Seal it all with decoupage, let it dry, and then use craft glue to add googly eyes and a little paper beak. It becomes a decoration they can be truly proud of.
Little Details That Make a Big Impact
Once you have your main decor set, a few personal touches can really take the whole experience to the next level. These are the things that make guests feel extra special.
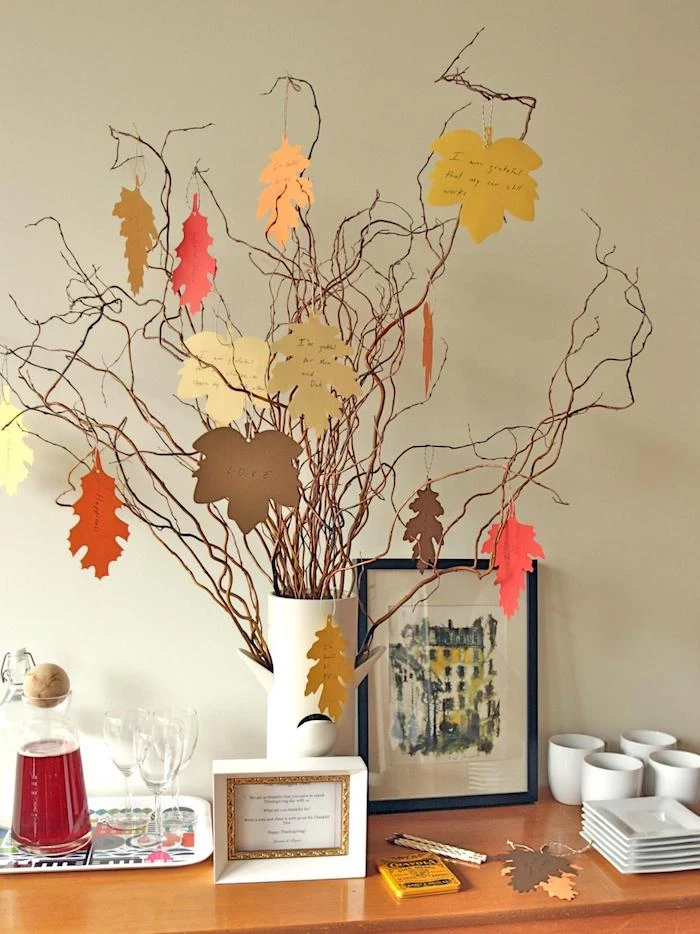
One popular idea is a ‘Gratitude Tree,’ but I’ve seen them go wrong. A flimsy branch in a vase will absolutely tip over, probably onto the dessert table. To make one that’s both beautiful and stable, find a sturdy branch and place it in a solid pot. Mix up some Plaster of Paris and pour it in to anchor the branch. A small 2lb carton costs about $5 at a hardware store and is more than enough. Heads up, though: this stuff sets FAST. Be ready to hold the branch straight for a few minutes as soon as you pour it. Once it’s hard, you can cover the top with moss or stones.
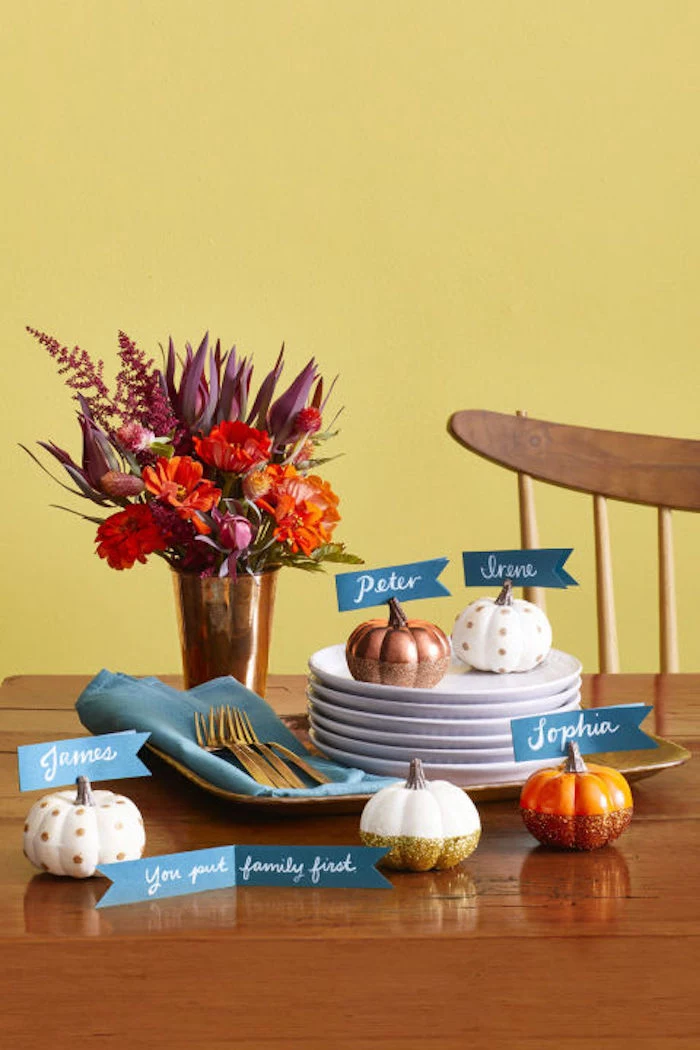
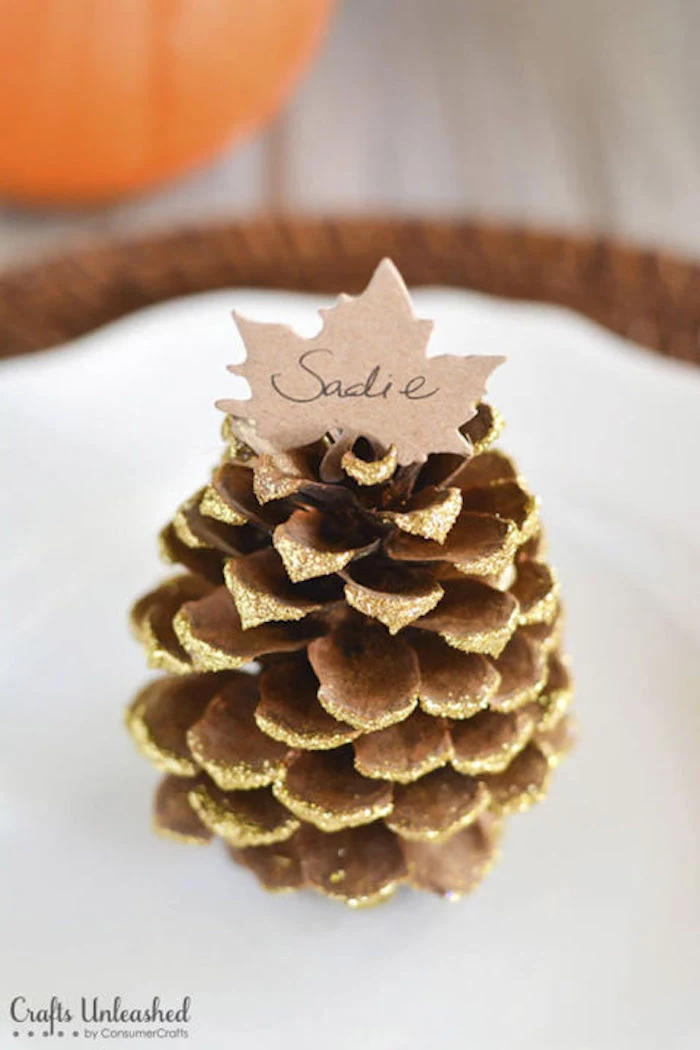
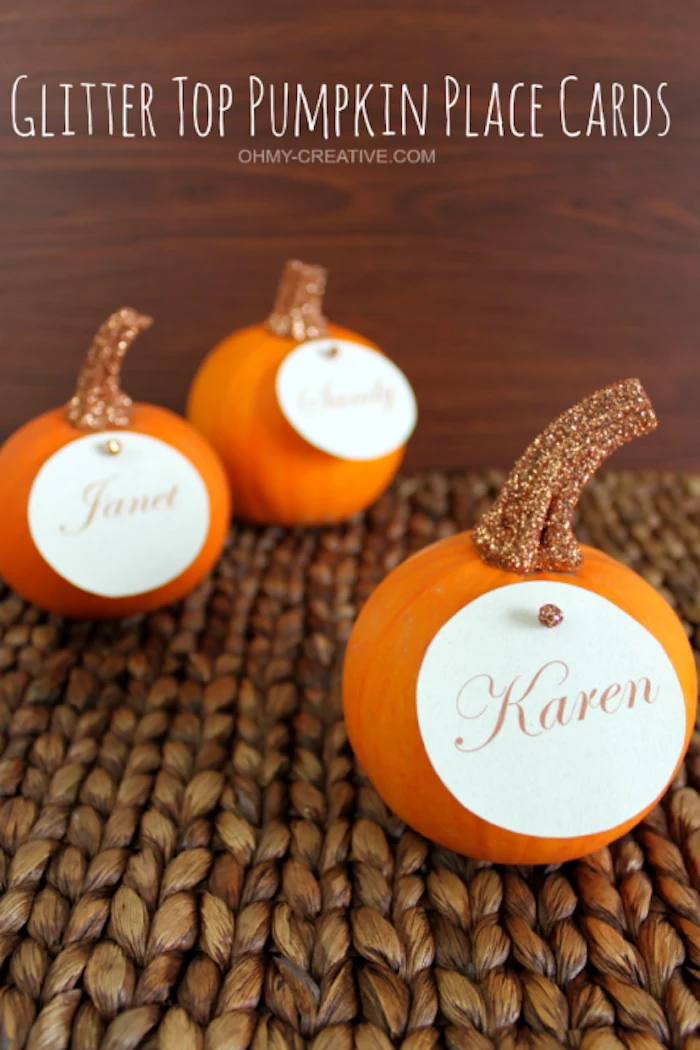
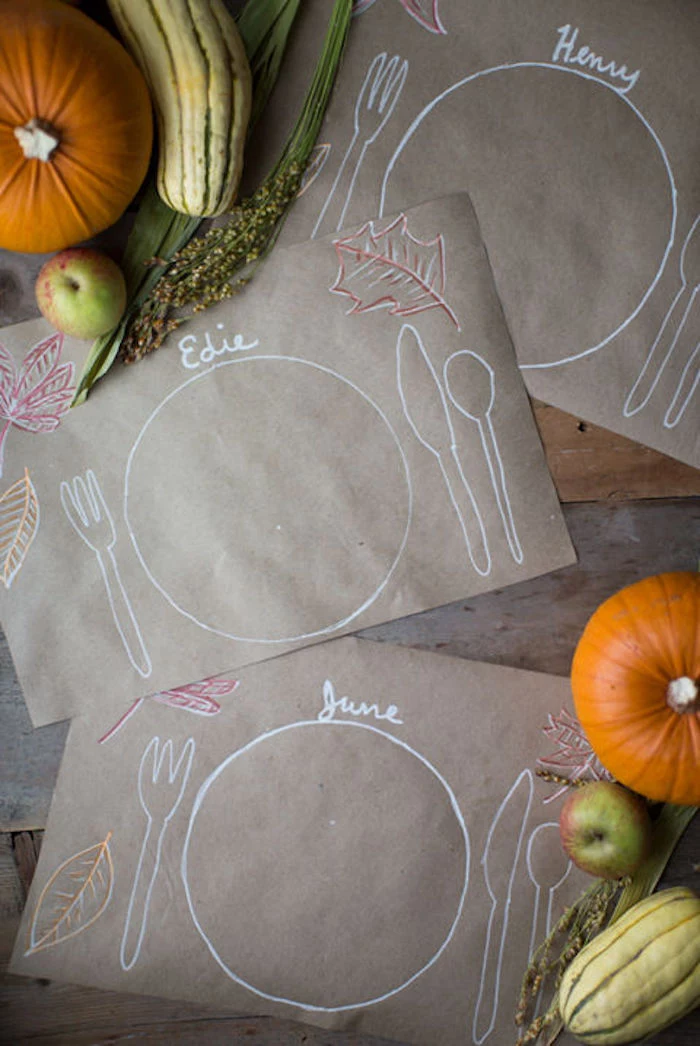
Simple place cards can also be a lovely keepsake. Instead of plain paper, try one of these:
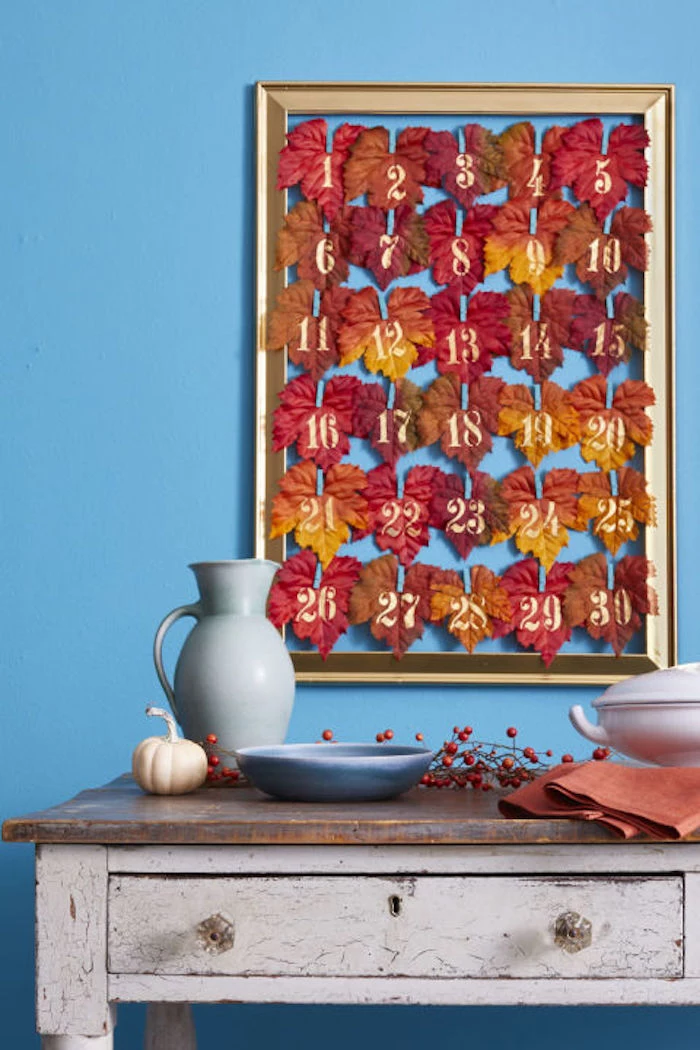
Leaf Calligraphy: Take a large, sturdy preserved leaf (magnolia leaves are fantastic for this) and write your guest’s name on it with a metallic, oil-based paint pen. These pens work best and won’t smudge once they’re dry.
Mini Gourd Holders: Find some of those cute miniature gourds. Carefully cut a small slit in the top of each and slide in a simple name card.
Rosemary Wreaths: For a fragrant touch I picked up from a chef friend, gently bend a long sprig of fresh rosemary into a circle, secure it with floral wire, and attach a name tag with twine. The aroma is heavenly.
A Few Final Words of Wisdom
As you put the finishing touches on your home, just keep these final thoughts in mind. They’re lessons born from experience (and a few mistakes along the way!).
Safety First. Always. I know I’ve said it before, but keep flammable decor like dried leaves and paper far from any open flames—candles, fireplaces, you name it. When in doubt, go with an LED.
Think Food Safety. If you’re using a painted pumpkin as a container on your food table, always place a glass bowl inside for the actual dip or snacks. Craft paint is not food-safe.
Mind Your Pets and Kids. Some natural items can be toxic if eaten, and small gourds are definite choking hazards. Keep these decorations up high, out of reach of curious hands and paws.
Know When to Stop. A well-decorated space feels intentional, not just cluttered. Sometimes, one beautiful centerpiece and some soft lighting are all you need. If it feels like it might be too much, it probably is.
Creating a beautiful setting for Thanksgiving is really an act of love. It shows your guests you’ve put thought and care into their experience. With these techniques, you can make decor that not only looks professional but also feels deeply personal. I hope you have a creative, safe, and wonderful holiday.
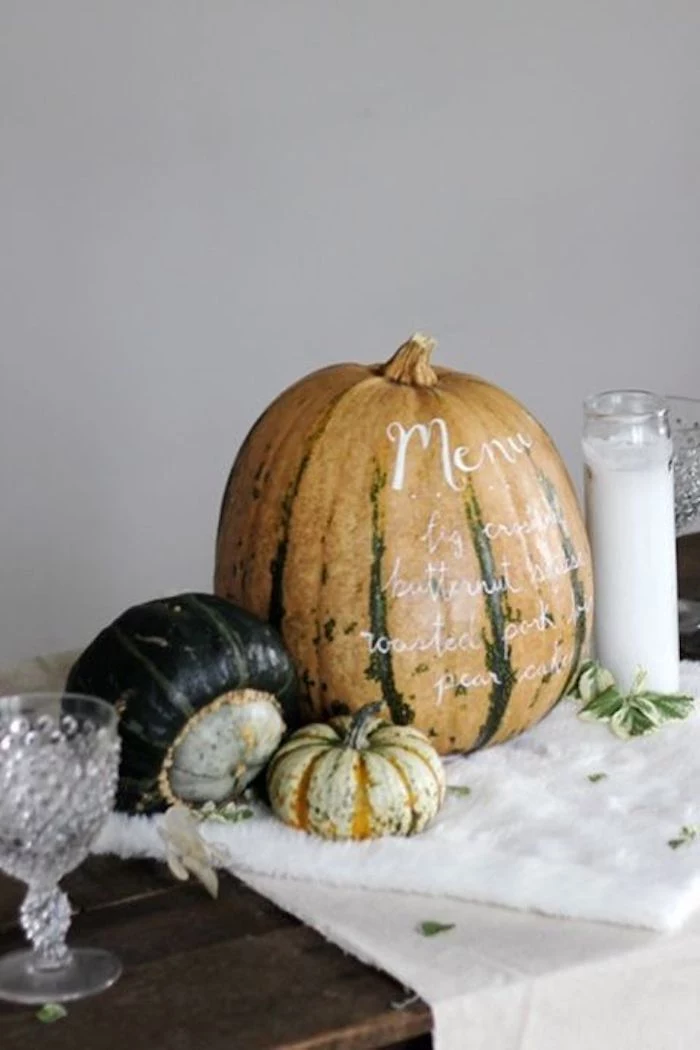
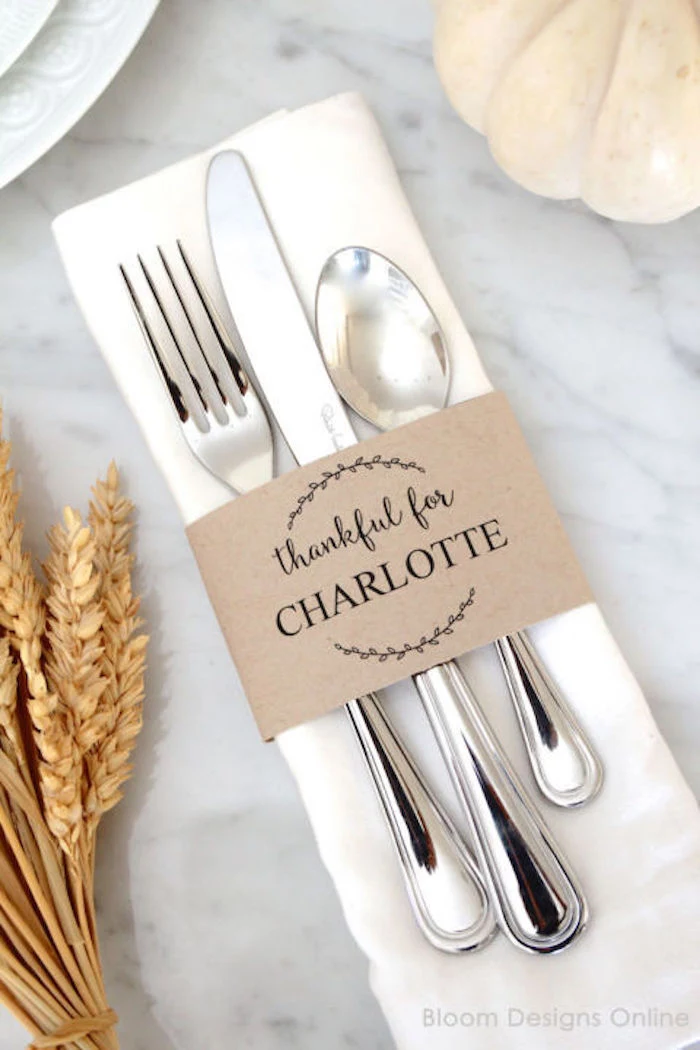
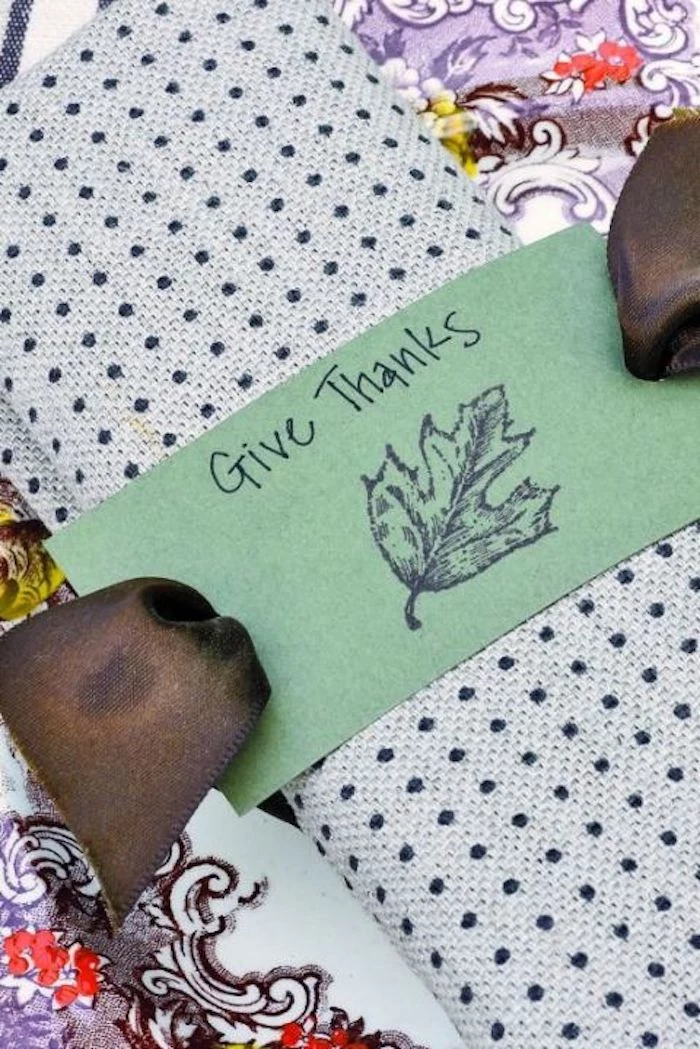
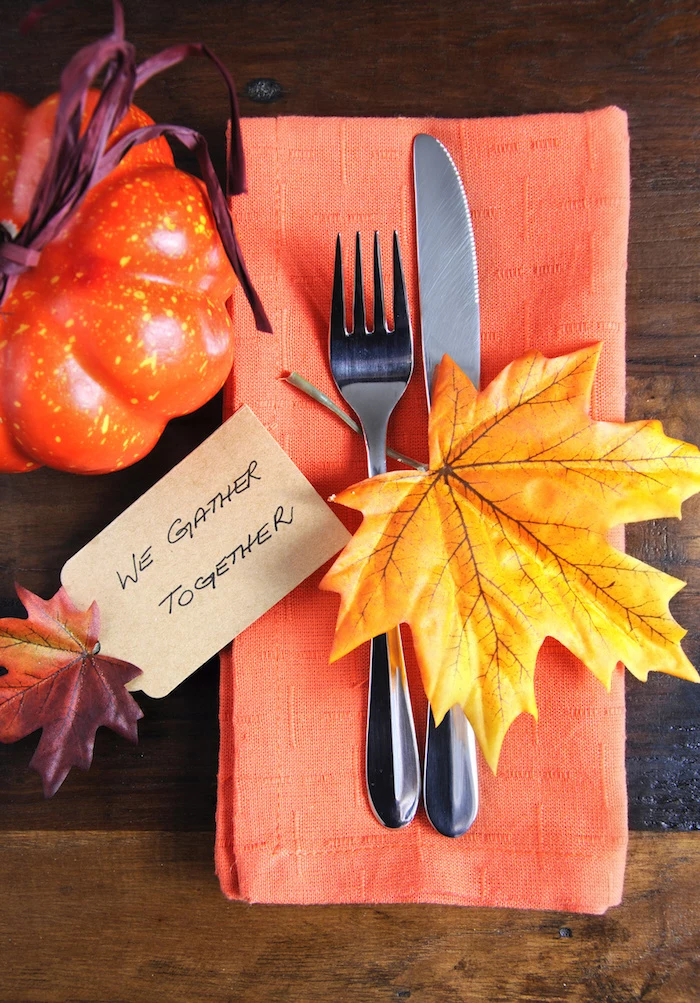
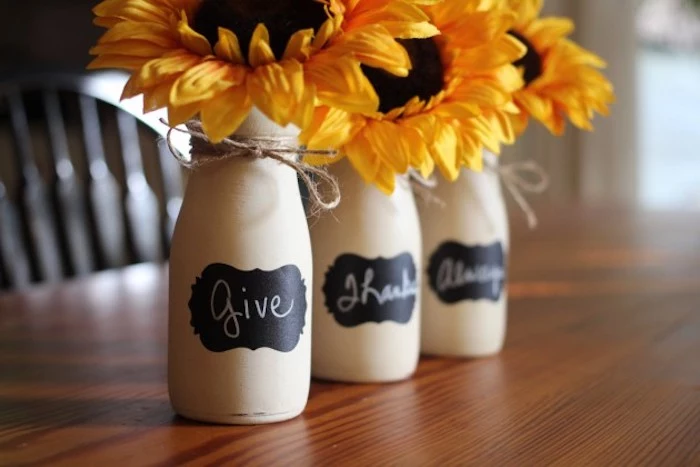
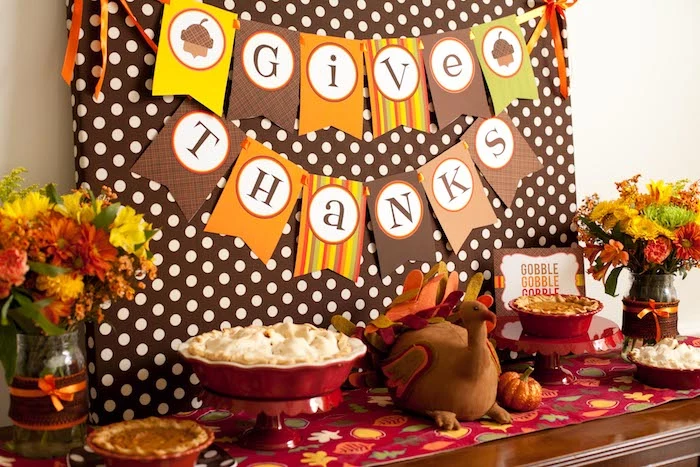
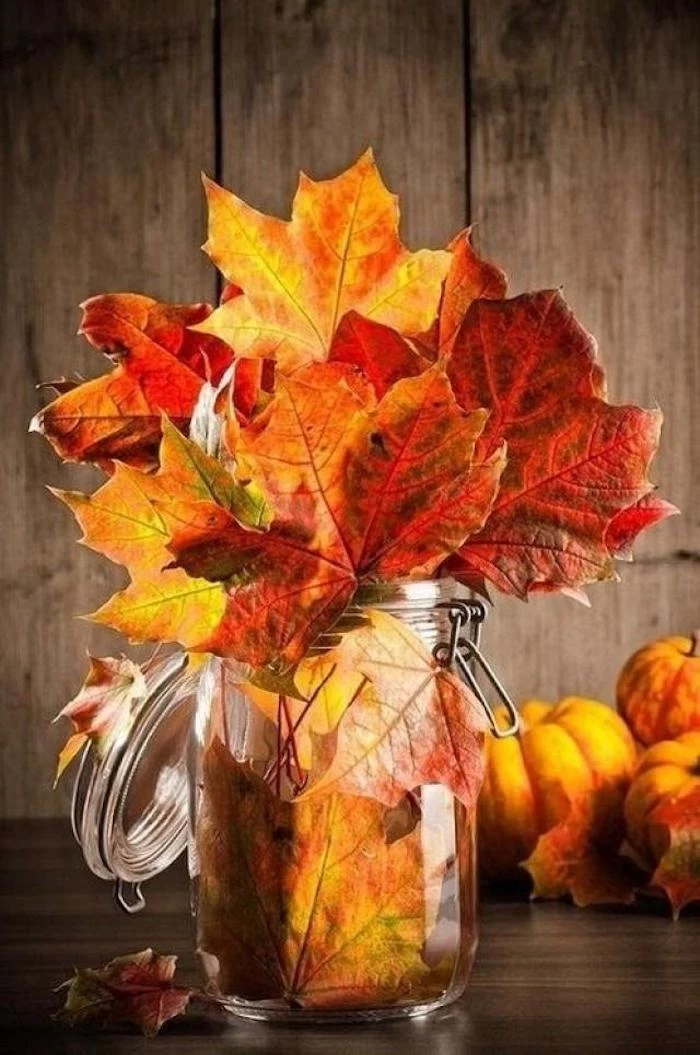
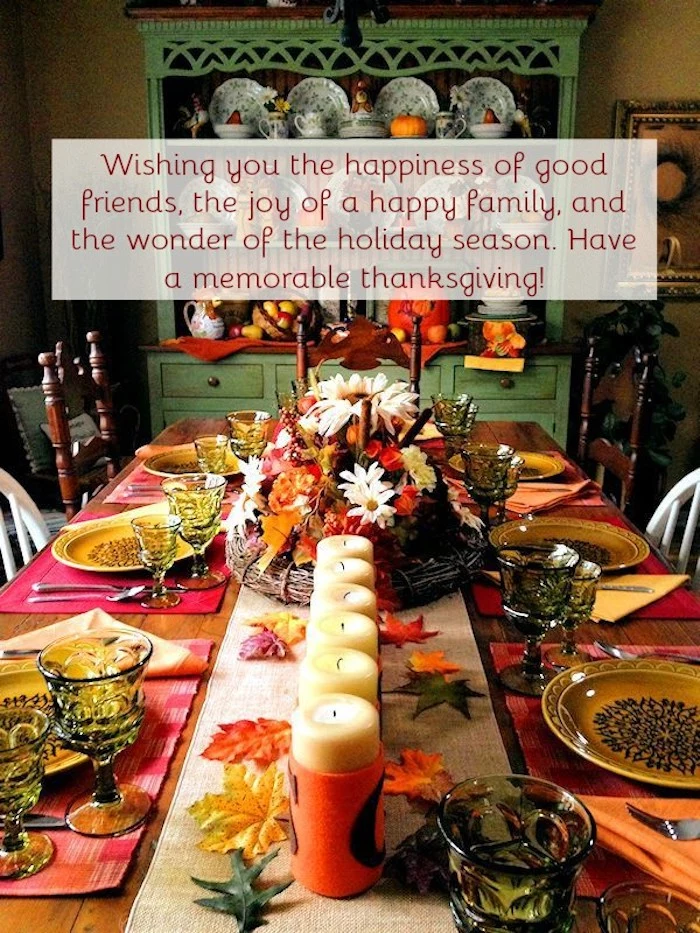
Inspiration Gallery
For that coveted matte, chalky finish on your pumpkins, skip the craft acrylics. A can of Rust-Oleum Chalked spray paint in ‘Linen White’ or ‘Aged Gray’ provides a flawless, high-end coating in minutes. It adheres beautifully to the pumpkin’s waxy skin and gives a soft, velvety look that feels incredibly luxe.
Press fresh autumn leaves between two sheets of wax paper.
Place a heavy book on top and let them sit for a week.
Gently peel away the wax paper.
The result? Beautifully preserved leaves with their vibrant color sealed in, perfect for scattering on a tablescape or stringing into a garland without them crumbling.
A common mistake: Scented candles that fight your feast. A powerful vanilla or pumpkin spice candle can clash with the savory aromas of turkey and sage stuffing. Instead, opt for unscented beeswax tapers for ambiance at the table, and save the scented candles for the entryway or living room.
The cornucopia, or
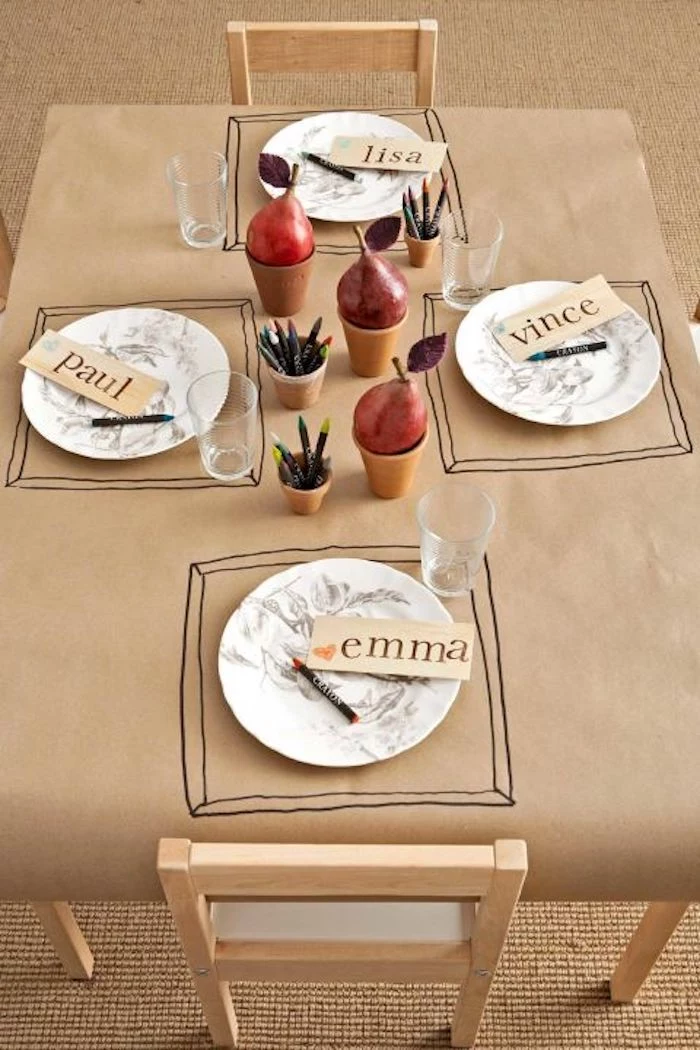
Turn everyday fruit into elegant place settings. Pears, especially Bosc or Anjou varieties, have a beautiful, sculptural shape that’s perfect for the task.
Write your guest’s name on a small cardstock tag.
Punch a hole in the tag and loop a thin, silk ribbon through it.
Tie the ribbon gently around the stem of the pear. It’s a simple, edible, and stunningly chic detail.
How do you create a stunning centerpiece that doesn’t feel like a wall between your guests?
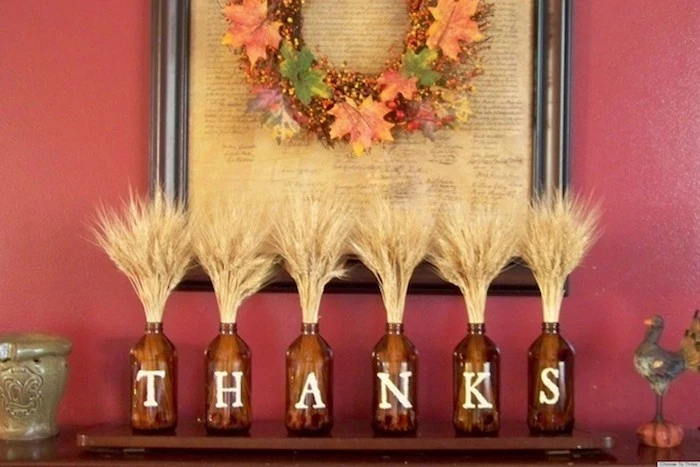
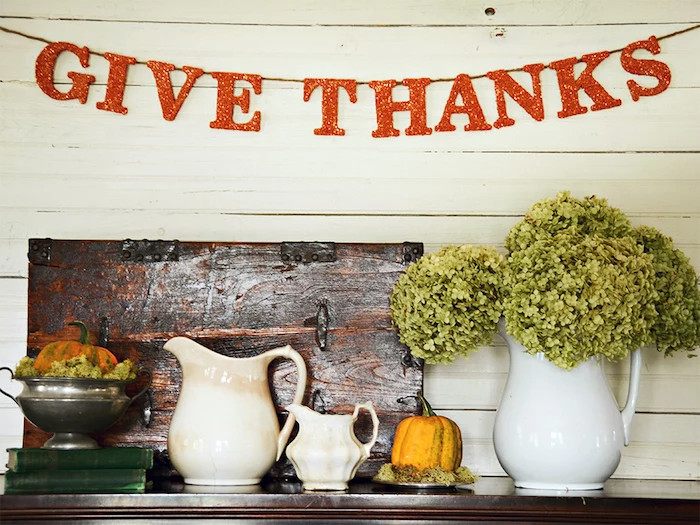
Think low and long, not high and round. String a series of small bud vases down the center of the table, each with a single stem like a dahlia or some dried wheat. Or, lay a garland of eucalyptus and tuck in a few mini white ‘Baby Boo’ pumpkins. This keeps the sightlines clear for conversation while still making a beautiful impact.
Burlap Runner: Provides a rustic, farmhouse charm. It’s incredibly budget-friendly but can shed fibers.
Gauze Runner: Offers a more refined, ethereal look. Look for cheesecloth or cotton gauze fabric, which you can often buy affordably by the yard and dye to a custom color. It drapes beautifully and feels effortlessly elegant.
The scent of cinnamon can improve cognitive functions like attention and memory, according to studies in the North American Journal of Psychology.
Harness this by creating a simple
They add instant architectural drama to a corner or entryway.
They create a natural, rustic scaffold for hanging fairy lights.
They cost absolutely nothing.
The secret? Simply use clean, bare branches foraged from your own yard. Look for interesting shapes, wipe them down, and place them in a sturdy vase or urn.
When foraging for decor, look beyond just leaves. Seek out interesting seed pods, fallen birch bark, milkweed pods, and even unique stones. Before bringing them inside, give them a quick rinse and then bake them on a foil-lined sheet at 200°F (93°C) for about 30 minutes to ensure no unwanted critters join your celebration.
Compost any unpainted pumpkins, gourds, and leaves.
Clean and store painted gourds or faux pumpkins in a labeled bin for next year.
Bundle dried wheat or branches with twine and hang in a shed or garage to prevent mildew.
Wash and press linen napkins and runners before storing to prevent set-in stains.
The Designer’s Trick: Decorate in threes. Instead of one large, central floral arrangement, try a trio of smaller, identical bud vases running down the table. Rather than a jumble of different-sized pumpkins on the mantel, group three of the same variety together. This repetition creates a rhythm that feels intentional and visually cohesive.
According to Etsy’s trend reports, searches for
A bowl of gilded nuts is a classic touch that brings a bit of old-world glamour to any coffee table or sideboard. It’s surprisingly easy to do.
Use a small, stiff paintbrush to apply a thin layer of Mod Podge or craft glue to whole walnuts, almonds, and acorns.
While the glue is tacky, sprinkle them liberally with a fine gold leafing paint or glitter for the best sparkle.
Let them dry completely on wax paper before arranging.
Found the perfect pinecones, but they’ve closed up tight after being brought inside?
This is a natural reaction to indoor humidity. To open them back up and give them a lovely roasted scent, spread them on a baking sheet and bake them in the oven at a low temperature, around 200°F (93°C), for 30-60 minutes. Keep a close eye on them! They will slowly open up to their full, beautiful shape.
Real Wax Tapers: Offer unparalleled ambiance with their natural flicker and warm glow. The downside is fire risk and potential wax drips.
High-Quality LEDs: Brands like Luminara offer incredibly realistic
Don’t overlook the subtle elegance of pheasant feathers. A few tucked into a napkin ring or a floral arrangement adds texture and a touch of nature-inspired luxury. For an ethical choice, look for naturally molted feathers from suppliers on sites like Etsy, ensuring no birds were harmed.
They have a rich, luxurious texture that catches the light beautifully.
You can customize them to match any non-traditional color scheme.
They feel incredibly high-end and are soft to the touch.
The secret is wrapping faux pumpkins in stretch velvet. You can find affordable fabric remnants at craft stores. Simply cut a circle of fabric, place the pumpkin in the middle, and gather the fabric tightly around the stem, securing it with a hot glue gun.
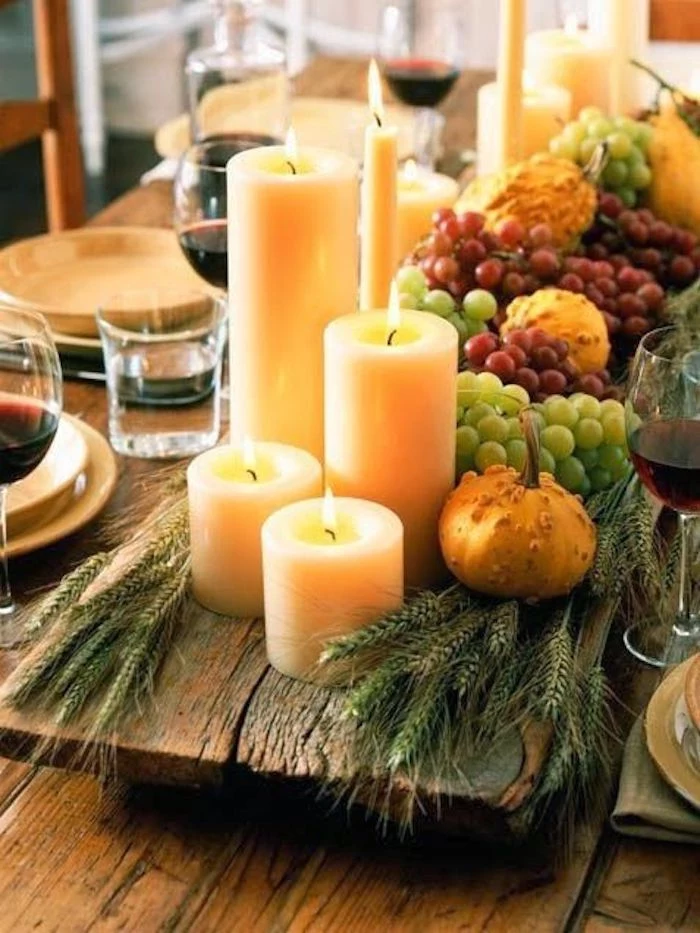
Creating a tablescape that looks expensive is all about layering textures. Start with your base (a wood table or a linen cloth). Add a contrasting runner (burlap or gauze). Then layer on placemats (woven hyacinth or slate). Finally, add the plates, a folded cotton napkin, and a small natural element like a sprig of rosemary. Each layer adds depth and visual interest.
Too Much Orange: Break it up with creams, deep greens, and metallic accents.
Plastic-Looking Foliage: Opt for real preserved leaves, dried eucalyptus, or high-quality faux stems from shops like Afloral.
Ignoring Lighting: Dim the overheads and rely on lamps, candles, and fairy lights for a cozy glow.
Clutter: One well-executed centerpiece is better than ten small, unrelated decorations.
The biggest impact for the smallest cost? Upgrading your napkins. Ditch the paper and invest in a set of real cloth napkins. Look for washed linen or 100% cotton in a deep color like rust, olive green, or charcoal. The weight and texture instantly elevate each place setting, making the whole table feel more considered and special.
Unlike their softer pumpkin cousins, many hard-shelled gourds, once properly cured, can last for years. The
Your entryway is the first impression. It doesn’t need much to feel festive and welcoming for Thanksgiving.
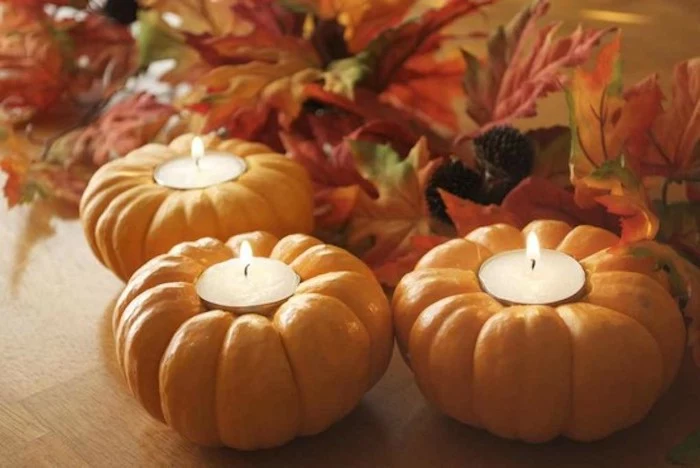
Place a single, perfect ‘Cinderella’ pumpkin by the door.
Lean a cinnamon broom in the corner for a subtle, spicy scent.
Hang a simple wreath of dried wheat or bay leaves on the door.
Are craft store pumpkins ever a good choice?
Absolutely, if you choose wisely. Avoid the shiny, bright orange plastic ones. Instead, look for the more realistic, resin-based ‘Funkins’ or similar brands that have natural-looking imperfections and matte finishes. They are a fantastic, reusable base for painting or decoupaging and can be a smart investment you bring out year after year, blending them seamlessly with real gourds and leaves.
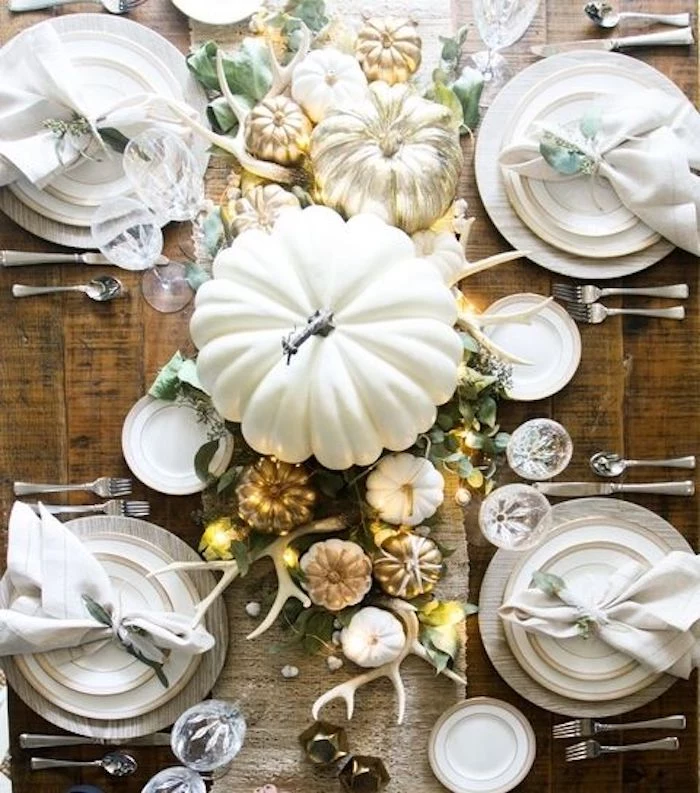
Monochromatic Palette: Use varying shades of a single color, like white, cream, and beige. This creates a serene, sophisticated, and modern look. Think white pumpkins, cream linens, and beige ceramic vases.
Analogous Palette: Use colors that sit next to each other on the color wheel, like red, orange, and yellow. This is the classic, warm, and energetic choice for a traditional harvest feel. Both can look expensive; the key is commitment.
John combines 12 years of experience in event planning, interior styling, and lifestyle curation. With a degree in Visual Arts from California Institute of the Arts and certifications in event design, he has styled luxury weddings, corporate events, and celebrity celebrations. John believes in creating memorable experiences through innovative design and attention to detail.
To provide the best experiences, we use technologies like cookies to store and/or access device information. Consenting to these technologies will allow us to process data such as browsing behavior or unique IDs on this site. Not consenting or withdrawing consent, may adversely affect certain features and functions.
Functional
Always active
The technical storage or access is strictly necessary for the legitimate purpose of enabling the use of a specific service explicitly requested by the subscriber or user, or for the sole purpose of carrying out the transmission of a communication over an electronic communications network.
Preferences
The technical storage or access is necessary for the legitimate purpose of storing preferences that are not requested by the subscriber or user.
Statistics
The technical storage or access that is used exclusively for statistical purposes.The technical storage or access that is used exclusively for anonymous statistical purposes. Without a subpoena, voluntary compliance on the part of your Internet Service Provider, or additional records from a third party, information stored or retrieved for this purpose alone cannot usually be used to identify you.
Marketing
The technical storage or access is required to create user profiles to send advertising, or to track the user on a website or across several websites for similar marketing purposes.