Your Secret Weapon for Holiday Appetizers: Dips That Actually Work
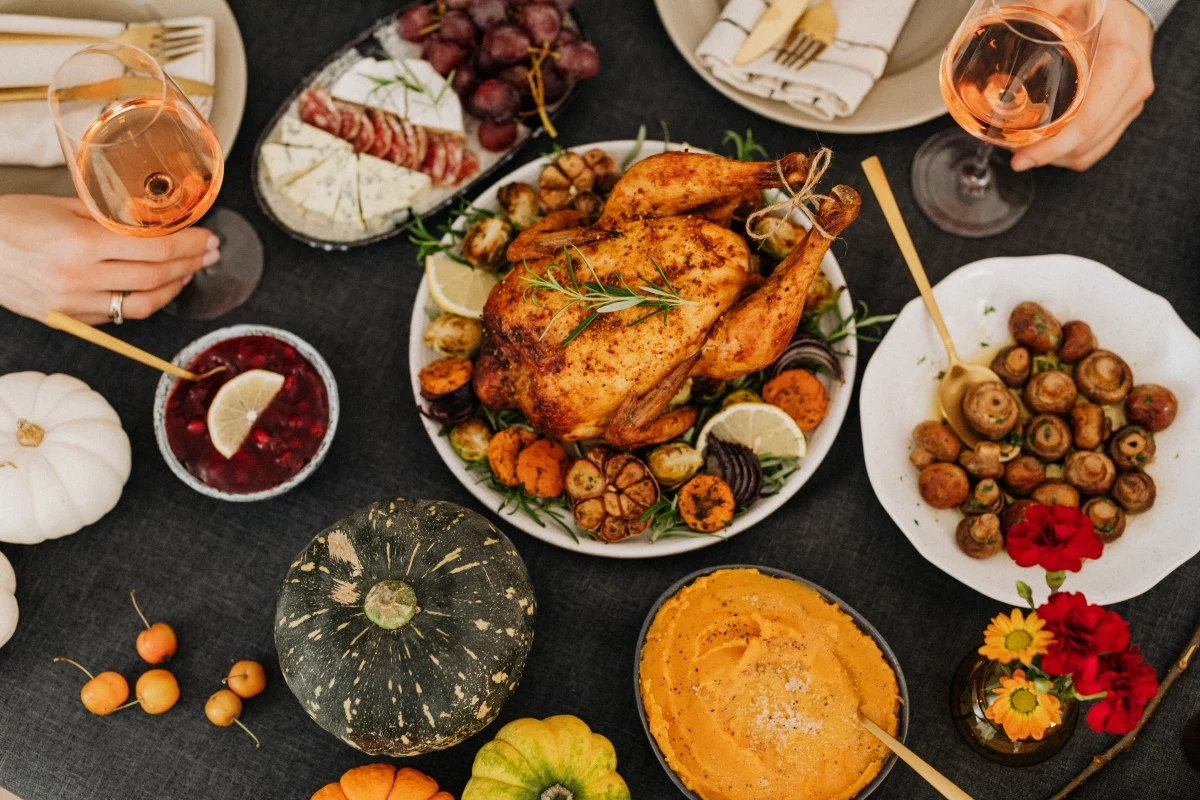
I’ve worked my fair share of holiday parties, from cozy family get-togethers to big corporate shindigs. And let me tell you, the one thing that can make or break the vibe is the appetizer situation. If you get it wrong, your guests are either too stuffed to enjoy the main event or they’re cranky and starving. But when you nail it? You create this perfect, welcoming atmosphere that sets the tone for the whole day.
In this article
Honestly, a great dip is a host’s best friend. It can be prepped ahead of time, it can feed a crowd, and you can tweak it to fit anyone’s taste. But a bad dip… that’s a whole other story. I’m not just talking about flavor, either. I mean dips that separate into a greasy puddle, add a ton of last-minute stress, or, even worse, pose a food safety risk.
So, this isn’t going to be a list of trendy, overly complicated recipes. Think of this as a guide from someone who’s been in the trenches. We’re going to cover the simple science that makes a dip stable, how to prep like a pro, and how to turn basic ingredients into something truly special. Let’s get into it.
First, Which Dip is Right for You?
Before you start pulling out ingredients, think about your schedule. What do you need most? A make-ahead miracle or a last-minute showstopper? Here’s the quick rundown:
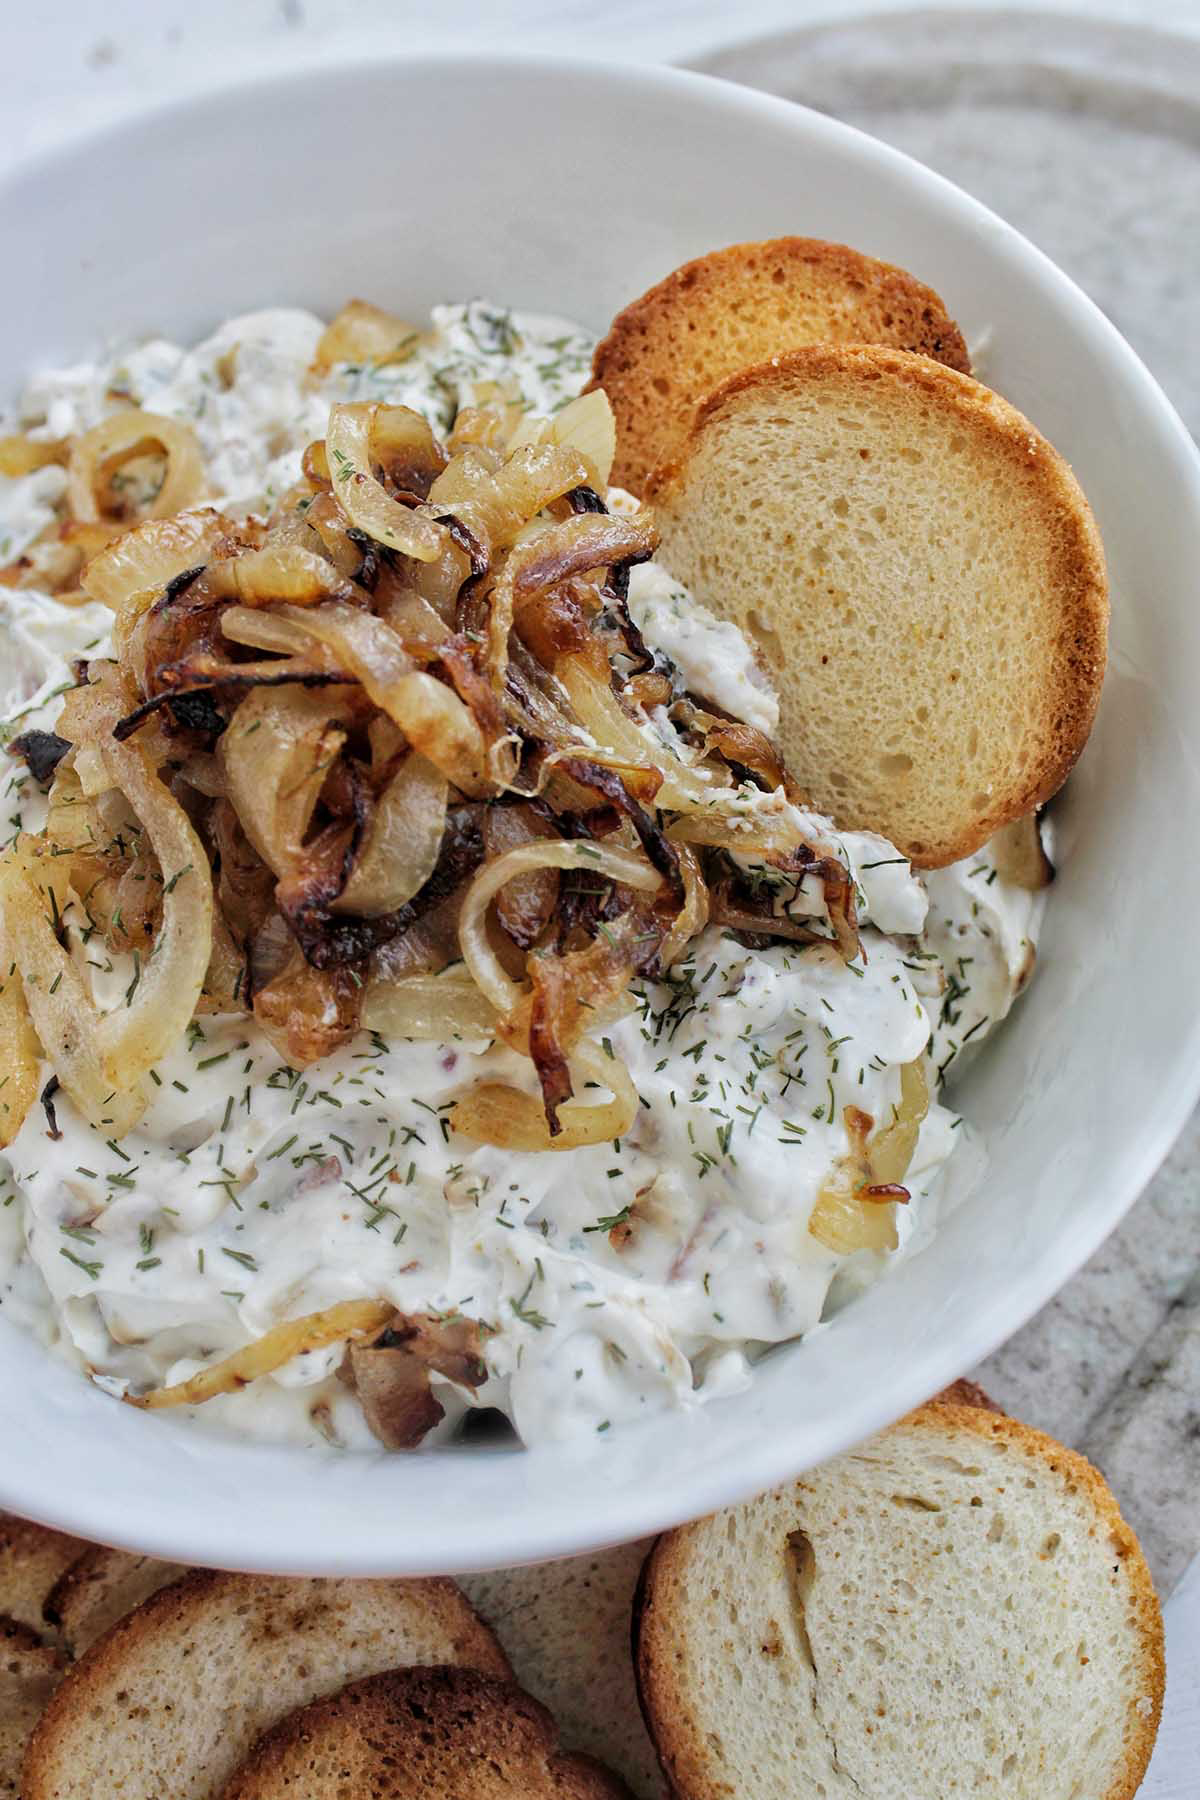
- The Make-Ahead King: Our Caramelized Onion and Bacon Dip is your best bet for prepping in advance. You can make the entire base up to three days before your event. It’s best served warm (and tastes incredible), but it’s also delicious at room temperature.
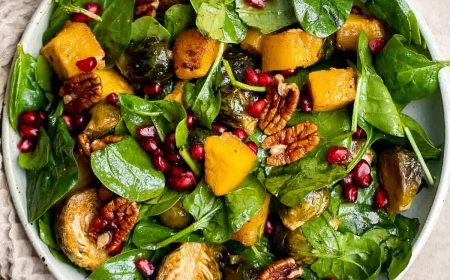
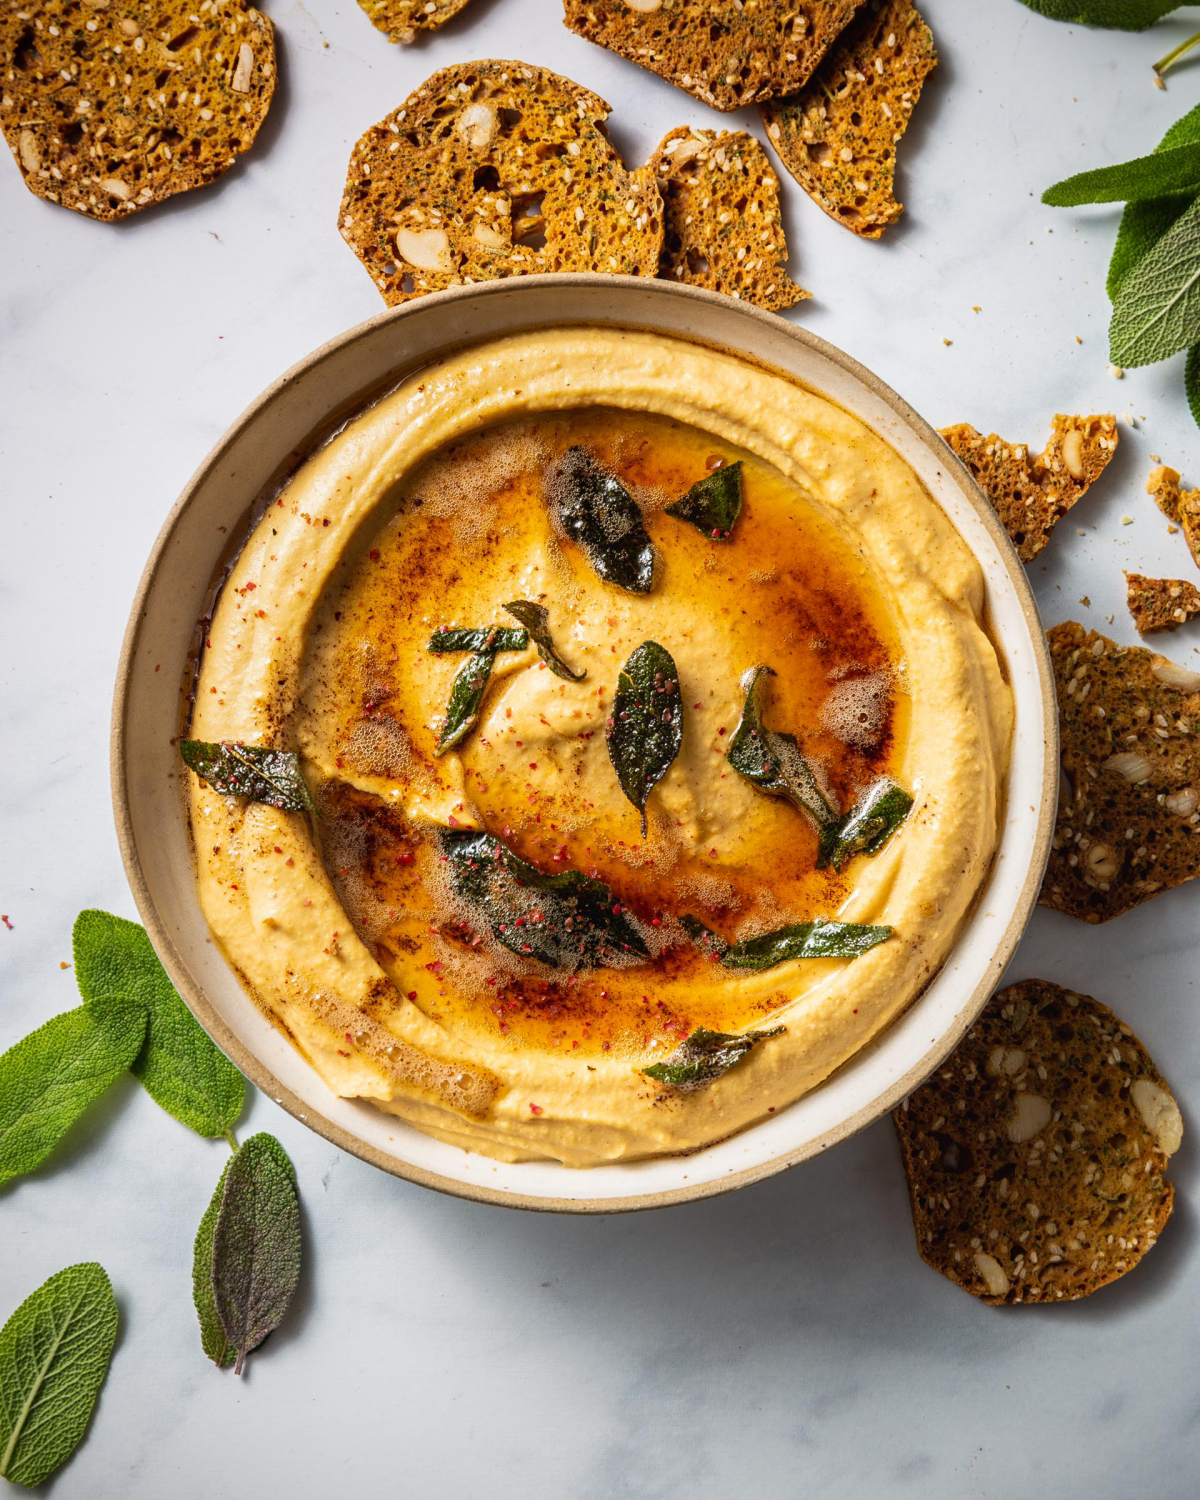
- The Healthy, Modern Choice: The Roasted Butternut Squash Hummus can also be made a few days ahead. In fact, the flavor gets even better as it sits. It’s always served cold or at room temp, making it super low-maintenance on the big day.
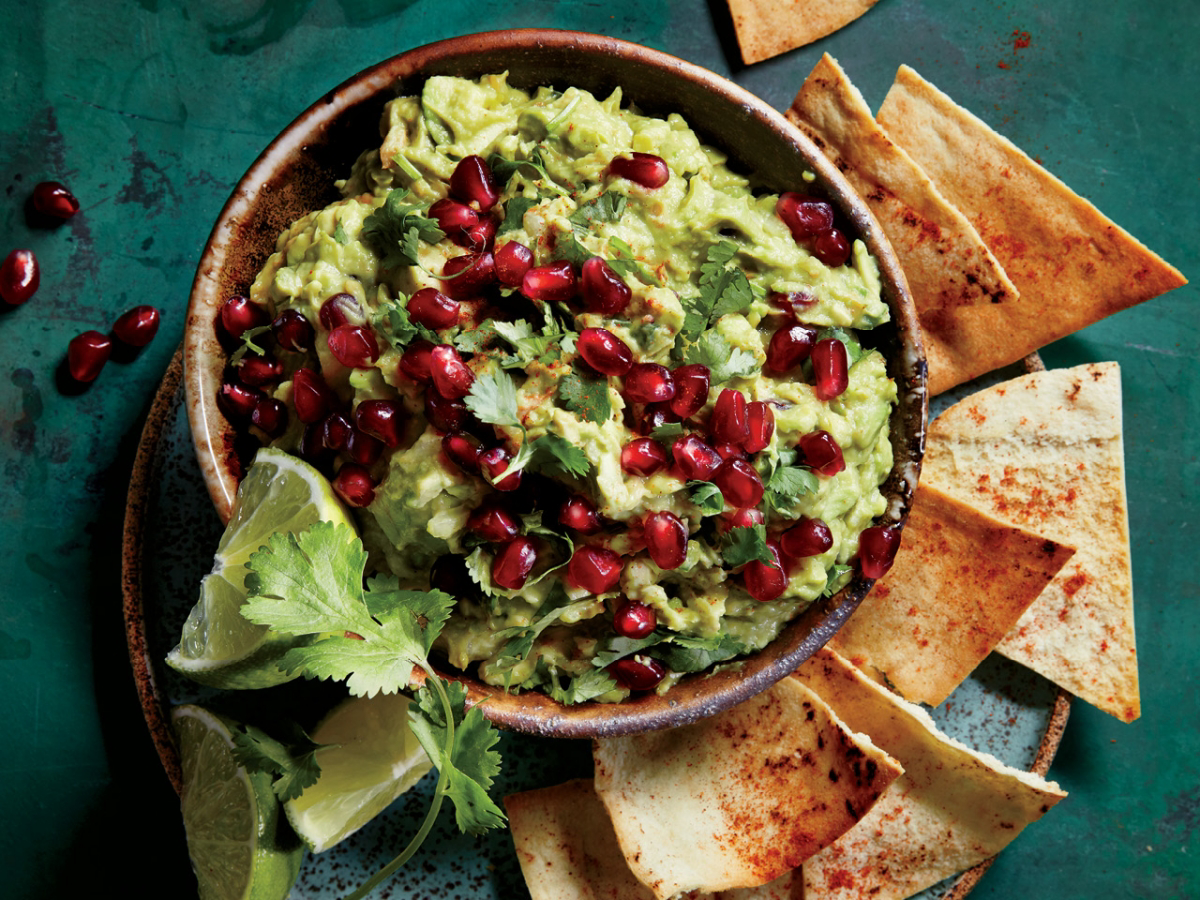
- The Fresh, Last-Minute Star: Let’s be real—guacamole is a diva. The Pomegranate Guacamole has to be made right before serving, ideally no more than an hour before guests walk in. It’s served cold and is absolutely worth the fresh prep.

What Makes a Dip Great (and Not a Greasy Mess)
Okay, before we get to the recipes, we need to talk about what actually makes a dip work. A good dip has a solid structure and balanced flavor. Nailing this is the difference between a creamy, delicious dip that lasts for hours and one that turns into a separated mess on the table.
The base for most creamy dips is some kind of fat—think cream cheese, sour cream, mayo, or Greek yogurt. Cream cheese brings a thick, sturdy body, while sour cream and yogurt add a nice tang. When you mix them, you’re creating an emulsion. Heads up! Temperature is everything here. If a dairy-based dip gets too warm, the fats can liquefy and separate. That oily puddle you sometimes see? That’s a broken emulsion. (We’ll get to keeping things at the right temp in a bit).
A common mistake I see is a dip that just tastes… flat. To avoid that, you need to balance a few key elements:
- Salt: It’s a flavor enhancer. Use kosher salt—the larger crystals give you more control.
- Acid: This is the secret weapon! A squeeze of lemon or a dash of vinegar cuts through the richness and makes everything pop. Without it, a creamy dip can taste heavy.
- Umami: This is that deep, savory flavor that makes you want another bite. You get it from things like Worcestershire sauce, soy sauce, or caramelized onions.
- Heat: Just a little bit of warmth from cayenne or hot sauce can add a fantastic background note. Don’t go crazy, just a touch.
The key is to taste and adjust as you go. Add your stuff, mix, and have a taste. Does it need more salt? A little more lemon? This is what the pros do, and it makes all the difference.
Pro-Level Classic: Caramelized Onion and Bacon Dip
This dip is a classic for a reason, but the difference between a pretty good version and an amazing one is all about patience. The star of the show is caramelized onions, and you simply cannot rush them. I don’t care what you read online—you can’t do this in 15 minutes. True caramelization takes a good 45 to 60 minutes, minimum.
By cooking onions slowly over low heat, you’re breaking down their sugars and creating hundreds of new, deeply sweet and nutty flavor compounds. High heat just burns the outside and leaves the inside raw and bitter. Trust the process.
Here’s what you’ll need:
- 3 large Yellow Onions, thinly sliced
- 2 tbsp Unsalted Butter
- 1 tbsp Olive Oil
- 8 oz Thick-Cut Bacon, diced (about $5-7 a pack)
- 8 oz full-fat Cream Cheese, softened (about $3)
- 1/2 cup full-fat Sour Cream
- 1/4 cup Mayonnaise
- 1 cup grated Gruyère Cheese (Swiss or sharp white cheddar work too)
- 2 tsp Worcestershire Sauce
- 2 tbsp Fresh Chives, finely chopped
- Kosher Salt and Freshly Ground Black Pepper
Step-by-Step Guide:
- Get the Bacon Crispy: I like to cook bacon on a foil-lined sheet pan in a 400°F oven for 15-20 minutes. It’s less messy and gets super crispy. Scoop it out and let it drain on paper towels. Important: save about a tablespoon of that glorious bacon fat.
- Caramelize the Onions (The Main Event): In a big, heavy-bottomed pot, melt the butter, olive oil, and that reserved bacon fat over medium-low heat. Add the onions and a pinch of salt. Now, just let them do their thing, stirring every 5-10 minutes. They’ll go from soft to golden to a deep amber brown. This takes at least 45 minutes. If they start to stick, just add a splash of water to scrape up the good bits from the bottom of the pan.
- Build Your Base: While the onions are cooking, mix the softened cream cheese, sour cream, and mayo in a bowl until smooth. The cream cheese MUST be at room temperature, or you’ll get a lumpy dip.
- Combine and Season: Let the finished onions cool down a bit, then fold them into the cream cheese base. Stir in the cheese, most of the bacon (save some for the top!), Worcestershire sauce, and chives. Now, taste it! You might not need much salt because of the bacon and cheese.
- Serve It Up: This recipe easily serves 8-10 people. You can serve it cold, but it’s best warm. Pop it in a baking dish, top with the extra bacon and a little more cheese, and bake at 375°F for about 20 minutes until bubbly.
Quick Tip: To keep this dip warm throughout the party, a mini-crockpot is your best friend. You can find them online or at Target for around $20, and they are a game-changer for entertaining. Serve with sturdy kettle-cooked potato chips or rye crackers.
Trust me on this: Early in my career, I tried to rush the onions for a big party. The dip had this bitter, burnt edge I just couldn’t fix. It was a painful lesson. Don’t be me!
A Modern Twist: Roasted Butternut Squash Hummus
Everyone loves hummus, but this seasonal version with roasted butternut squash is something special. The secret is roasting the squash instead of boiling it. Roasting gets rid of excess water and concentrates the natural sugars, giving you a much richer flavor and a thicker dip.
Here’s what you’ll need:
- 1 small Butternut Squash (about 2 lbs)
- 3 tbsp Olive Oil, divided
- 1 can (15 oz) Chickpeas, rinsed and drained
- 1/2 cup Tahini (more on this below)
- 1/4 cup Fresh Lemon Juice
- 1-2 cloves Garlic
- 1 tsp Ground Cumin & 1/2 tsp Smoked Paprika
- Kosher Salt to taste
- For garnish: Toasted pumpkin seeds (pepitas), fresh sage
The Pro Technique for Smoothness:
- Roast the Squash: Toss the cubed squash with 1 tbsp of olive oil and a pinch of salt. Roast at 400°F for 20-25 minutes until tender and a little brown. Let it cool completely. Don’t skip the cooling!
- Whip the Tahini: In a food processor, blend the tahini and lemon juice for about a minute. It’ll get thick and pasty. This step is crucial for creamy, fluffy hummus. Good to know: When you’re buying tahini, look for one that is “runny” and where the oil easily stirs back in, not one that’s a solid brick at the bottom of the jar. The 365 brand from Whole Foods is a solid, accessible choice.
- Blend It All Together: Add the cooled squash, chickpeas, garlic, and spices to the processor. Blend until it’s super smooth, which might take a couple of minutes.
- Make it Rich: With the processor running, slowly stream in the last 2 tbsp of olive oil. If it’s too thick, add a tablespoon or two of cold water to get the consistency you like.
- Taste and Adjust: Always taste it at the end. It might need more salt or another squeeze of lemon.
This makes enough for about 6-8 people and is fantastic with warm pita bread, carrot sticks, and cucumber slices. You can also roast the garlic cloves along with the squash for an even deeper, sweeter flavor.
Bright and Fresh: Pomegranate Guacamole
Guacamole might feel like a summer thing, but adding pomegranate seeds makes it feel festive and perfect for the holidays. That sweet-tart pop of the seeds against the creamy avocado is just incredible.
The biggest challenge with guac? It turns brown. This is caused by an enzyme that reacts with oxygen. Your best defense is acid (lime juice!) and limiting air exposure.
Here’s what you’ll need:
- 3 large, ripe Hass Avocados
- 3/4 cup Pomegranate Seeds
- 1/4 cup Red Onion, finely diced
- 1 Jalapeño, seeded and minced (optional)
- 1/2 cup Fresh Cilantro, chopped
- Juice from 2 Limes (about 1/4 cup)
- 1 tsp Kosher Salt
Timing is Everything:
- Prep Your Mix-Ins FIRST: This is the ultimate time-saving trick. Chop your onion, jalapeño, and cilantro the day before and store them in an airtight container in the fridge. On party day, your prep time goes from 15 minutes to about 3.
- Mash and Season: Don’t cut those avocados until you’re ready to make it. Once you do, scoop the flesh into a bowl and immediately add the lime juice and salt. Mash it up with a fork—I like to leave it a little chunky for texture.
- Fold and Serve: Gently fold in your pre-chopped veggies and about half of the pomegranate seeds. Transfer it to a serving bowl, top with the rest of the pomegranate seeds, and get it out there.
To be frank: Guacamole is not a make-ahead dip. I’ve tried every trick in the book. This needs to be made no more than an hour before guests arrive. If you absolutely must let it sit for that hour, press a piece of plastic wrap directly onto the surface of the guac, pushing out every single air bubble. This recipe serves about 6 people and is a classic with tortilla chips.
Quick Fixes & Food Safety (Don’t Skip This!)
Things can go wrong, even with the best recipes. Here are a couple of quick fixes:
- “My dip tastes bland!” It almost always needs more salt or a squeeze of acid (like lemon or lime juice). Add a little of each, stir, and taste again. Repeat until it sings.
- “My cream cheese dip is lumpy!” This usually means your cream cheese was too cold. You can try beating it with an electric mixer to smooth it out or—carefully—microwaving the base for 15-20 seconds before stirring like crazy.
- “I’m in a pinch and have no time for caramelized onions!” Okay, look. If you are absolutely desperate, you can use a packet of onion soup mix. But promise me you’ll still use a quality base of cream cheese and sour cream and add a squeeze of lemon and some Worcestershire to wake it up. It’s not the same, but it’s better than nothing.
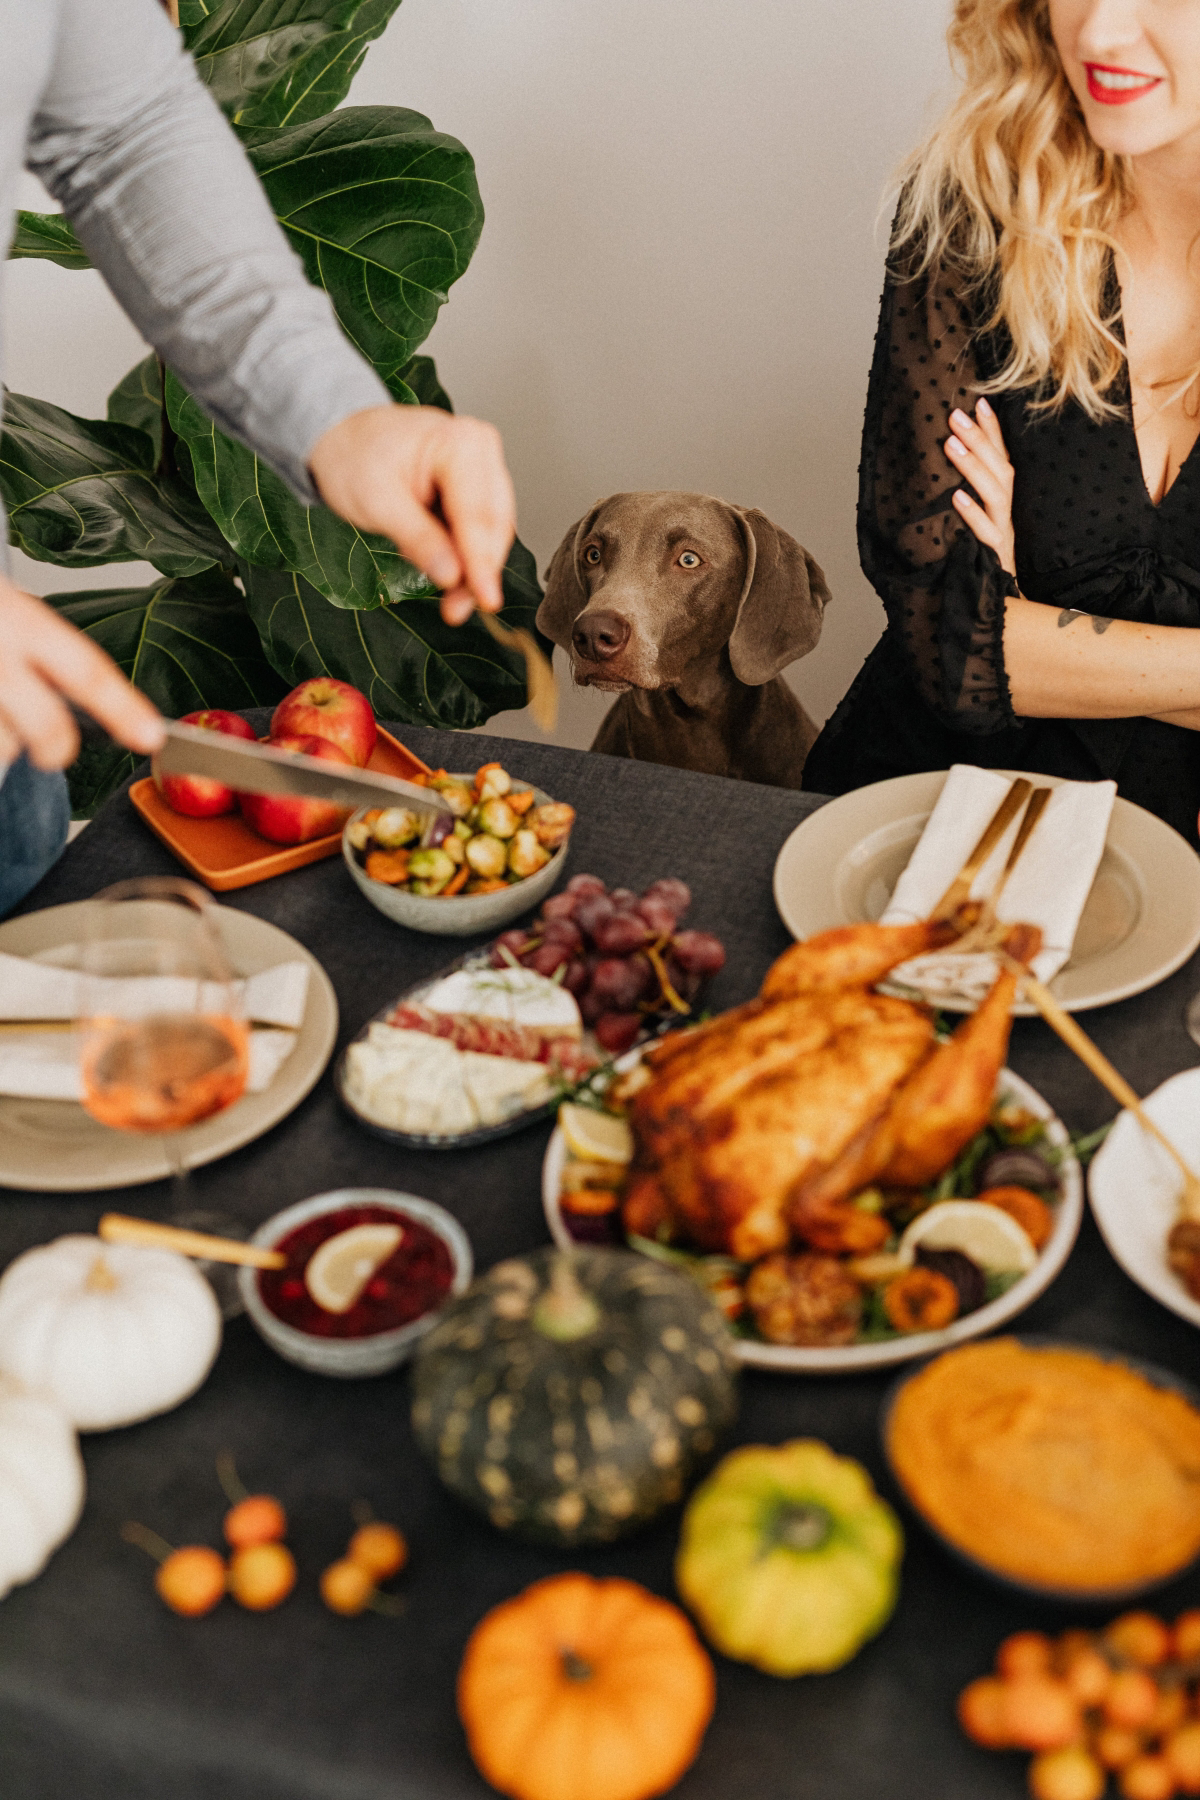
Finally, let’s talk safety. Holidays are long days, and food often sits out for hours. The most important rule is the 2-Hour Rule. Perishable food (like these dips) should not be left out at room temperature for more than two hours. Why? Because of the “temperature danger zone,” which is between 40°F and 140°F. In this range, bacteria can multiply like crazy.
To keep things safe, serve cold dips in a bowl nestled inside a larger bowl of ice. For warm dips, that mini-crockpot on the “warm” setting is perfect. A little planning here goes a long way to making sure everyone has a good—and safe—time.
Inspirational Gallery
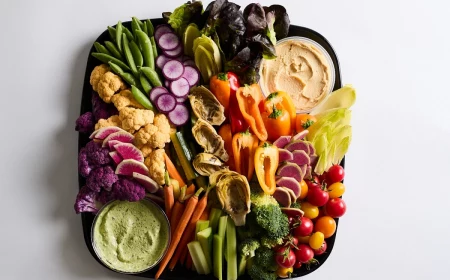
A dip is only as good as what you serve with it. Move beyond basic potato chips and think about texture and flavor pairings. Sturdy, seeded crackers like La Panzanella’s Croccantini offer a satisfying crunch, while soft, warm pita bread is perfect for scooping. For a healthier, colorful option, try endive leaves, blanched asparagus spears, or thick-cut bell pepper sticks.
A 2009 study at Clemson University found that double-dipping can transfer tens of thousands of bacteria from a person’s mouth to the dip.
It’s a real party foul for a reason! To avoid this, provide plenty of small serving spoons for each dip or portion some into individual ramekins for a more elegant and hygienic setup.
Feel like your creamy dip is missing something?
The secret is often a touch of acidity. A squeeze of fresh lemon or a splash of white wine vinegar can cut through the richness of ingredients like cream cheese or sour cream, instantly brightening the entire flavor profile. For a bacon and onion dip, a hint of balsamic vinegar adds a welcome tangy complexity.
For warm, cheesy dips: A stoneware or cast-iron dish is your best friend. Brands like Le Creuset or Staub offer mini cocottes that retain heat beautifully, keeping your dip melty and inviting on the buffet table. Just be sure to place it on a trivet to protect your surfaces.
For fresh, cold dips: A ceramic or glass bowl is perfect. The material stays cool and won’t react with acidic ingredients like those in guacamole. A beautiful, shallow bowl from a brand like Crate & Barrel allows for more surface area for attractive garnishes.
- Prevents guests from getting too full before the main course.
- Caters to different tastes and dietary needs simultaneously.
- Creates an interactive and visually stunning centerpiece.
The secret? A
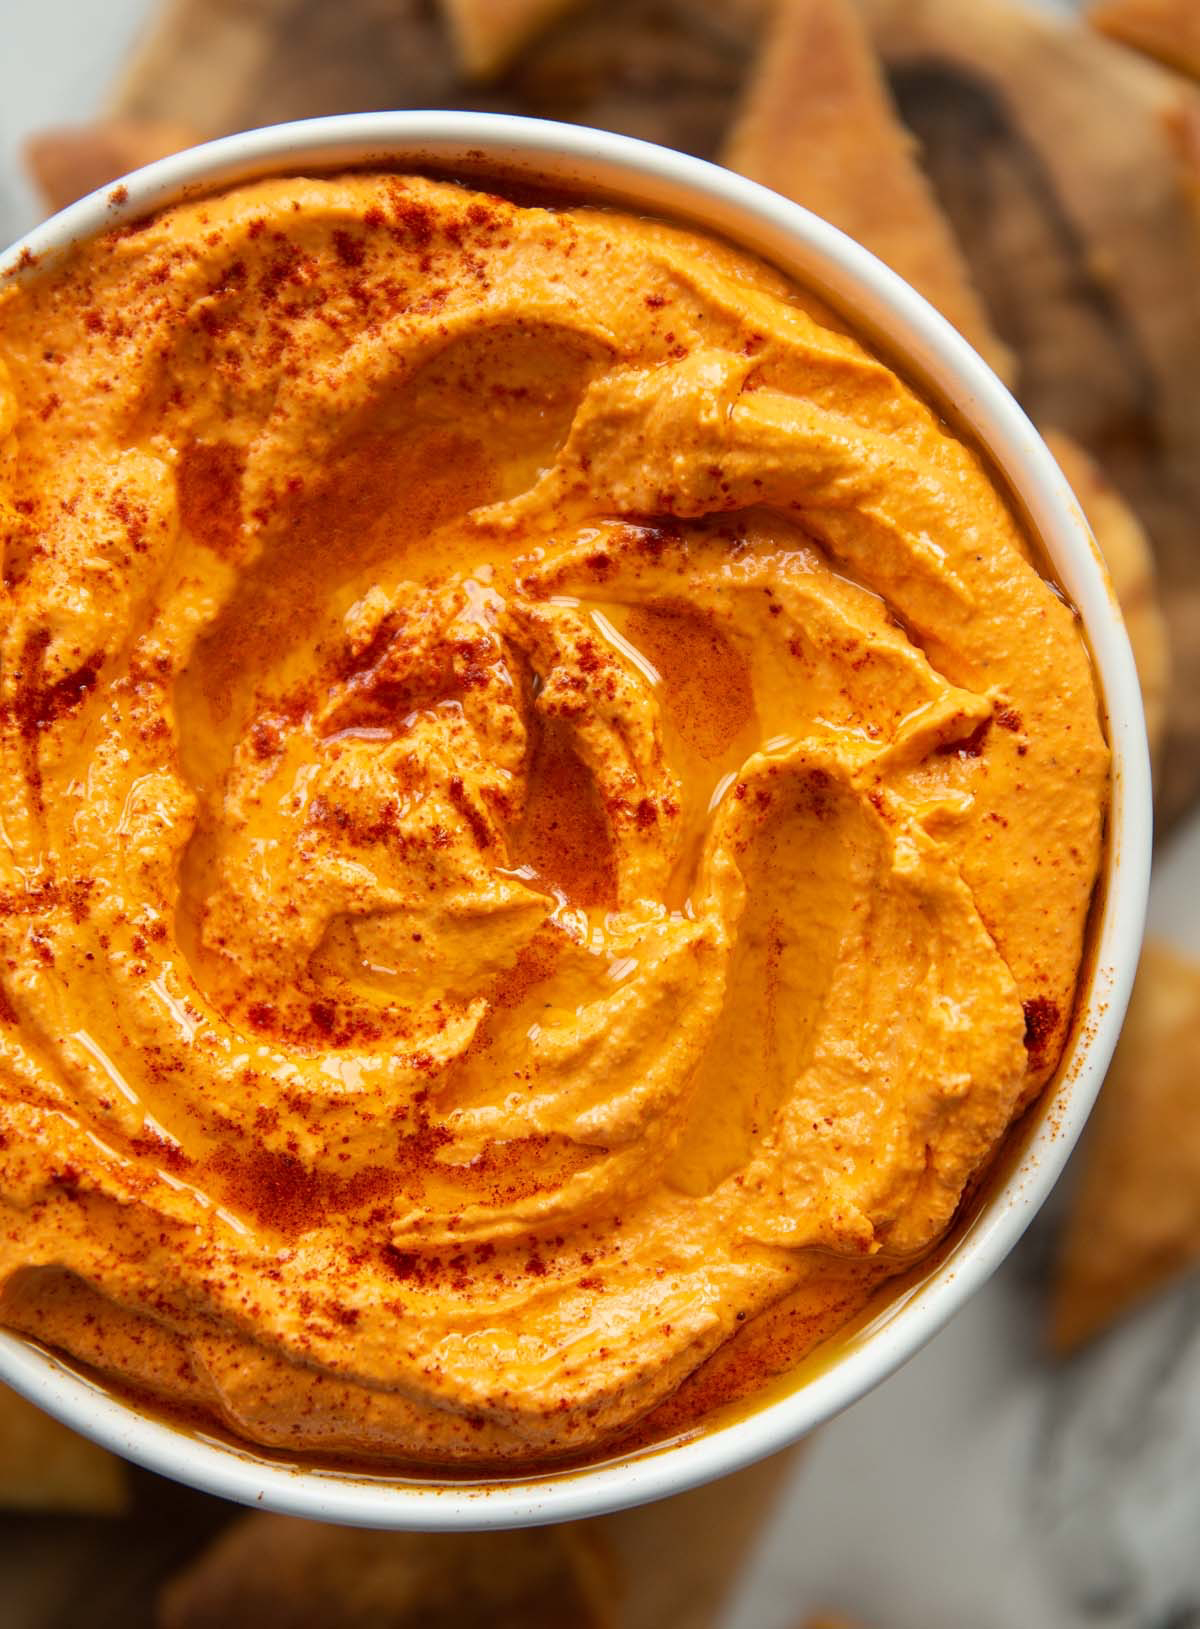
Don’t underestimate the power of garnish. It’s the final touch that makes a dip look intentional and appetizing. Before serving your hummus or any creamy dip, use the back of a spoon to create a deep swirl. Drizzle high-quality extra virgin olive oil, like California Olive Ranch, into the well, and finish with a sprinkle of smoked paprika, fresh parsley, or crunchy toasted pine nuts.
Important Food Safety Tip: Remember the two-hour rule for any dips containing dairy, eggs, or meat. These should not be left at room temperature for more than two hours (or one hour if the room is over 90°F). To extend their life on the buffet, place the serving bowl inside a larger bowl filled with ice.
In a total time crunch and reaching for a store-bought dip?
No problem. Elevate it instantly by transferring it to your own nice bowl and giving it a homemade touch. Stir in a handful of freshly chopped herbs (dill in ranch, cilantro in salsa), a zest of a lemon or lime, or top it with something crunchy like chili crisp or toasted breadcrumbs. No one will ever know.
Tired of the same old onion dip? Travel with your tastebuds and try Muhammara, a classic Syrian dip made from roasted red peppers, walnuts, pomegranate molasses, and breadcrumbs. It’s smoky, tangy, slightly sweet, and utterly addictive with warm flatbread.
- For stability: Use full-fat ingredients. A base of full-fat cream cheese, like the classic Philadelphia brand, is much less likely to become watery or separate than its low-fat counterparts.
- For flavor: Always taste and adjust seasoning right before serving. A dip’s flavor can mellow as it chills, so it might need an extra pinch of salt or squeeze of lemon to wake it back up.