The Real Reason Your Homemade Chocolate Bark Is a Disappointment
I’ve spent more time in professional kitchens than I’d care to admit, and I’ve seen food trends come and go. But one thing that never goes out of style is good, simple chocolate bark. The problem is, most homemade bark is… well, kind of sad. It’s often waxy, dull-looking, and starts melting the second you pick it up.
In this article
You melt some chocolate, you spread it, you toss some stuff on top. Easy, right? But that’s exactly why it so often fails. The glossy, snappy, deeply satisfying bark you’d pay $10 a slice for at a fancy shop isn’t about some secret ingredient. It’s all about technique.
Honestly, it’s about respecting the chocolate. When I’m showing new cooks the ropes, we don’t start with fancy layered cakes. We start here. Because if you can master this, you can understand how chocolate truly works. This guide goes way beyond a basic recipe—we’re diving into the pro methods that make all the difference.
Oh, and by the way, if all of this sounds like too much for a Tuesday night, here’s the single easiest thing you can do to level up your chocolate game instantly: add a sprinkle of flaky sea salt. It’s a game-changer.
First, Let’s Talk About That Snap
Before you even open a bag of chocolate, you gotta understand what you’re working with. The magic, and the main source of frustration, is an ingredient called cocoa butter. On a microscopic level, cocoa butter can harden into a few different crystal shapes. Think of it like water freezing into either a perfect snowflake or just a messy ice cube.
If you just melt chocolate and let it cool on the counter, it’ll harden with a jumble of weak, unstable crystals. This is what causes that dreaded greyish, streaky look called “bloom.” The chocolate will be soft, maybe a little crumbly, and won’t have that clean, satisfying snap when you break a piece off. It’s still edible, but it’s not great.

Our entire goal is to force the cocoa butter to form one specific, strong, and stable crystal structure. This process is called tempering. When chocolate is properly tempered, it’s glossy, shrinks just a tiny bit as it cools (which is why it pops out of molds so easily), and melts closer to body temperature—meaning it melts in your mouth, not all over your fingers. This is the first real step into the world of professional candy making.
The Most Important Choice: Couverture vs. Compound
This is where most people go wrong right from the start. The chocolate chips or “melting wafers” you grab at the grocery store are often not what you think they are. They’re usually something called compound chocolate.
- Compound Chocolate: This stuff has had some or all of its cocoa butter replaced with other vegetable fats, like palm oil. The upside? It’s cheap and requires zero tempering. You just melt and go. The massive downside is that it tastes waxy and lacks that rich, complex flavor of real chocolate. It’s fine for a quick project with kids, but for quality bark, it’s a hard pass.
- Couverture Chocolate: This is the good stuff. The term just means it’s a high-grade chocolate with a higher percentage of cocoa butter. This extra fat makes the chocolate incredibly fluid and smooth when melted, which is perfect for coating and creating things like bark. You’ll have to temper it, but the payoff is a world of difference in flavor and texture.
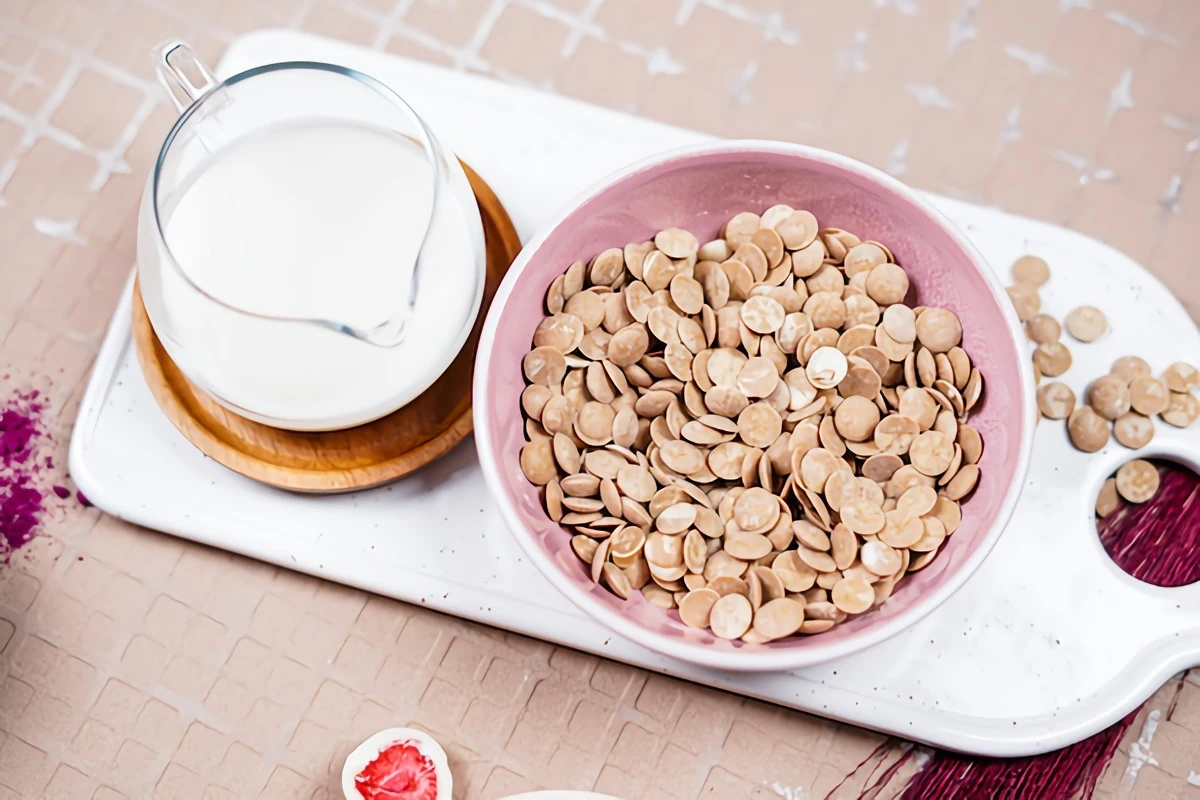
Heads up: You probably won’t find couverture in the regular baking aisle. You’ll need to look online or at a specialty kitchen store. Expect to pay somewhere between $12 and $20 per pound for quality couverture, often sold as little discs or wafers that are super easy to melt. It’s an investment, for sure, but it’s the only way to get that professional result.
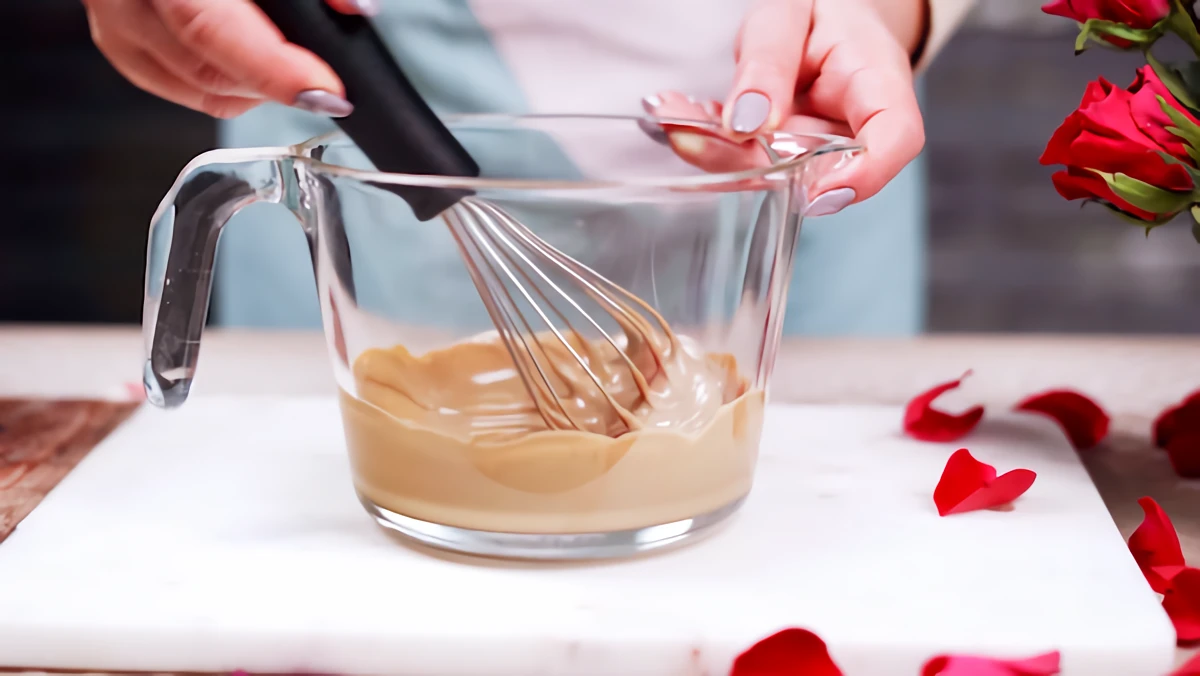
The Art of Tempering: It’s Easier Than It Looks
Tempering is just a fancy word for a process of heating and cooling chocolate to very specific temperatures. It sounds scary, but once you do it a couple of times, it becomes second nature. The key is finding the method that works for you.
First, let’s get our tools in order. You don’t need a ton of fancy gear.
- Bare Minimum Kit: A good digital thermometer (a meat thermometer works fine) and a silicone spatula. That’s it.
- Level-Up Kit: Add a large offset spatula for spreading and a bench scraper if you want to try the classic “tabling” method.
Good to know: Don’t have a double boiler? No problem. Just put an inch or so of water in a small saucepan and bring it to a simmer (not a boil!). Then, place a heatproof bowl on top. The key is making sure the bottom of the bowl doesn’t actually touch the water.

The target temperatures are slightly different depending on what you’re using. Here’s a quick breakdown:
- For Dark Chocolate, you’ll melt it to around 115-120°F, cool it down to 82-84°F, and then gently re-warm it to a working temperature of 88-90°F.
- For Milk Chocolate, the targets are a bit lower: melt to 110-115°F, cool to 80-82°F, and then bring it back to 86-88°F.
- And for White Chocolate, go even lower: melt to 105-110°F, cool it to 78-80°F, and re-warm to a final working temp of 84-86°F.
CRITICAL NOTE: Water is the mortal enemy of chocolate. Even a single drop of water or a bit of steam will cause your beautiful, smooth chocolate to “seize” into a thick, grainy, unusable sludge. Make sure every single tool and bowl is bone dry.
Method 1: The Seeding Method (Your Best Bet for Home)
This is my go-to recommendation for anyone working in a home kitchen. It’s reliable and doesn’t require a giant marble slab. The idea is to add solid, already-tempered chocolate (the “seed”) into melted chocolate to coax the new crystals into forming correctly.
SUPER IMPORTANT: Your “seed” chocolate must be in temper to begin with. This means using chocolate from a brand-new, well-stored bag or bar that isn’t bloomed or discolored. If you use bloomed chocolate as your seed, you’re just introducing the wrong kind of crystals, and the whole process will fail.
- Prep Your Chocolate. Let’s say you’re using 500 grams (about 1.1 pounds). Finely chop about 25% of it (125g) and set it aside. This is your seed.
- Melt the Rest. Gently melt the other 75% (375g) over your double boiler or in the microwave in 30-second bursts. Use your thermometer to make sure you hit that initial high temperature (like 115°F for dark chocolate).
- Add the Seed. Take the bowl off the heat and dump in your finely chopped seed chocolate. Now, just stir. Stir gently and consistently. The solid chocolate will melt, bringing the temperature of the whole batch down.
- Cool It Down. Keep stirring until you reach the target cooling temperature (e.g., 82°F for dark). Most of the seed should be melted. If a few stubborn lumps remain, you can fish them out.
- Gently Re-warm. The chocolate will probably be too thick to work with now. Put the bowl back over the warm water (with the heat off!) or pop it in the microwave for just 5 seconds. Stir and check the temp. You want to nudge it up to that final working temperature (like 88-90°F for dark). Don’t go over, or you’ll have to start all over again.
How to Know If It Worked: The Temper Test
Before you pour, you need to check your work. Dip a spoon or a small strip of parchment paper into the chocolate and set it on the counter. If it’s in temper, it should harden up in 3 to 5 minutes at room temperature and have a nice, even sheen. If it’s still soft or looks streaky after 5 minutes, it’s not in temper. Time to start over. (Don’t worry, it happens!)
Your first mission: Just try to nail the temper test. Seriously. Don’t even worry about making bark yet. Just melt a small amount of chocolate, try the seeding method, and see if you can get a spoonful to set perfectly. Once you unlock that skill, the rest is easy.
Let’s Make Some Bark!
Once your chocolate is in temper, you need to move with a purpose. Have all your toppings chopped, measured, and ready to go before you start.
1. Get Your Surface Ready: Line a baking sheet with parchment paper or, even better, a silicone mat. A silicone mat will give the bottom of your bark a super smooth, professional finish. For scale, a 500g batch of chocolate will nicely cover a standard half-sheet pan.
2. Pour and Spread: Pour the tempered chocolate right into the middle of the mat. Use an offset spatula to spread it into an even layer. Don’t worry about making a perfect rectangle; rustic, organic shapes are part of the charm. I usually aim for about 1/4-inch thick. Too thin and it’s flimsy; too thick and it’s hard to eat.
3. Add Your Toppings: Now for the fun part. Sprinkle your toppings evenly over the wet chocolate. If you’re using larger items like pretzels or whole nuts, give them a gentle press to make sure they stick.
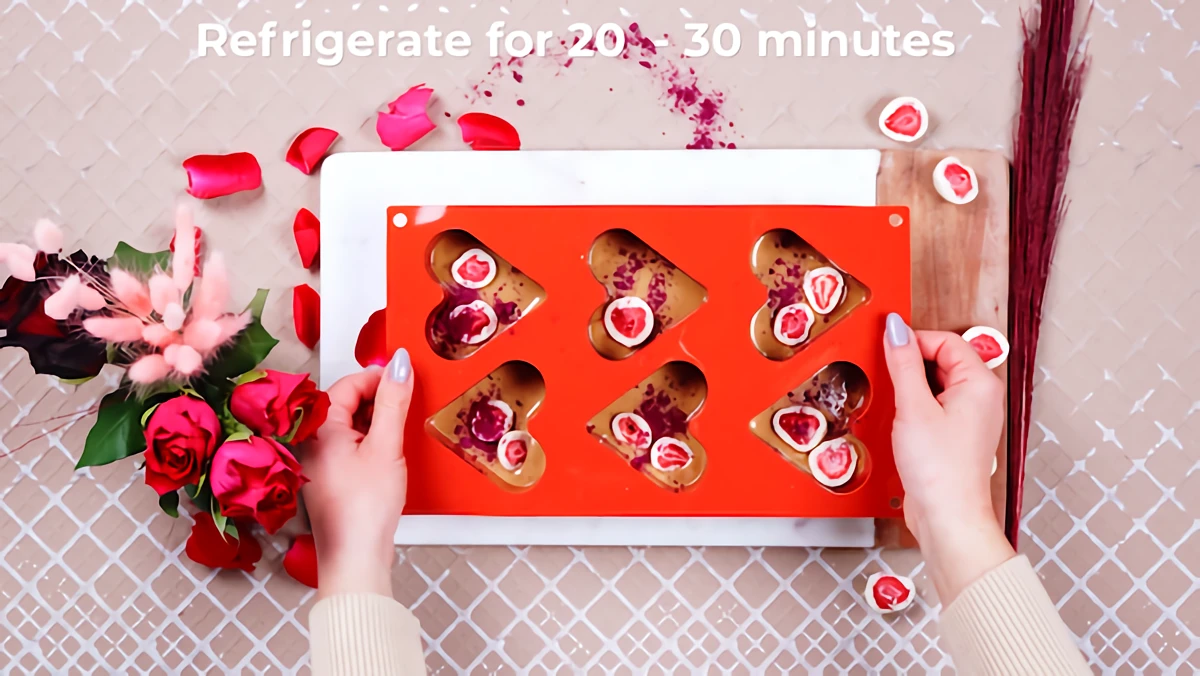
4. Let It Set (The Right Way): Ideally, you should let the bark set at a cool room temperature (around 65-68°F). This is the best way to get a great finish. But what if your house is hot? We’ve all been there. DO NOT just stick it in the fridge for an hour. The humidity can cause condensation and ruin that glossy shine. Instead, here’s the pro workaround: put the tray in the fridge for just 5-10 minutes to kickstart the setting process. Then, pull it out and let it finish setting at room temperature. This little jump-start is usually enough to get the job done without causing issues.
5. Break and Store: Once it’s fully hardened (which can take a few hours), you can break it up. For rustic shards, just use your hands. For cleaner pieces, use the heel of a large knife to press down firmly. Store your masterpiece in an airtight container in a cool, dark, and dry place. It’ll last for weeks, though toppings like nuts or pretzels might go stale after a week or two.
Flavor Combos That Actually Work
The best bark is all about contrast. You want that smooth chocolate base to play off something with a different texture or flavor profile.
- Get Crunchy: This is a must. Think toasted almonds or pistachios, crunchy pretzel pieces, puffed rice cereal, or crushed-up toffee bits.
- Salty & Sweet: We already mentioned flaky sea salt, but roasted, salted nuts or seeds are fantastic, too. That little bit of salt makes the chocolate flavor pop.
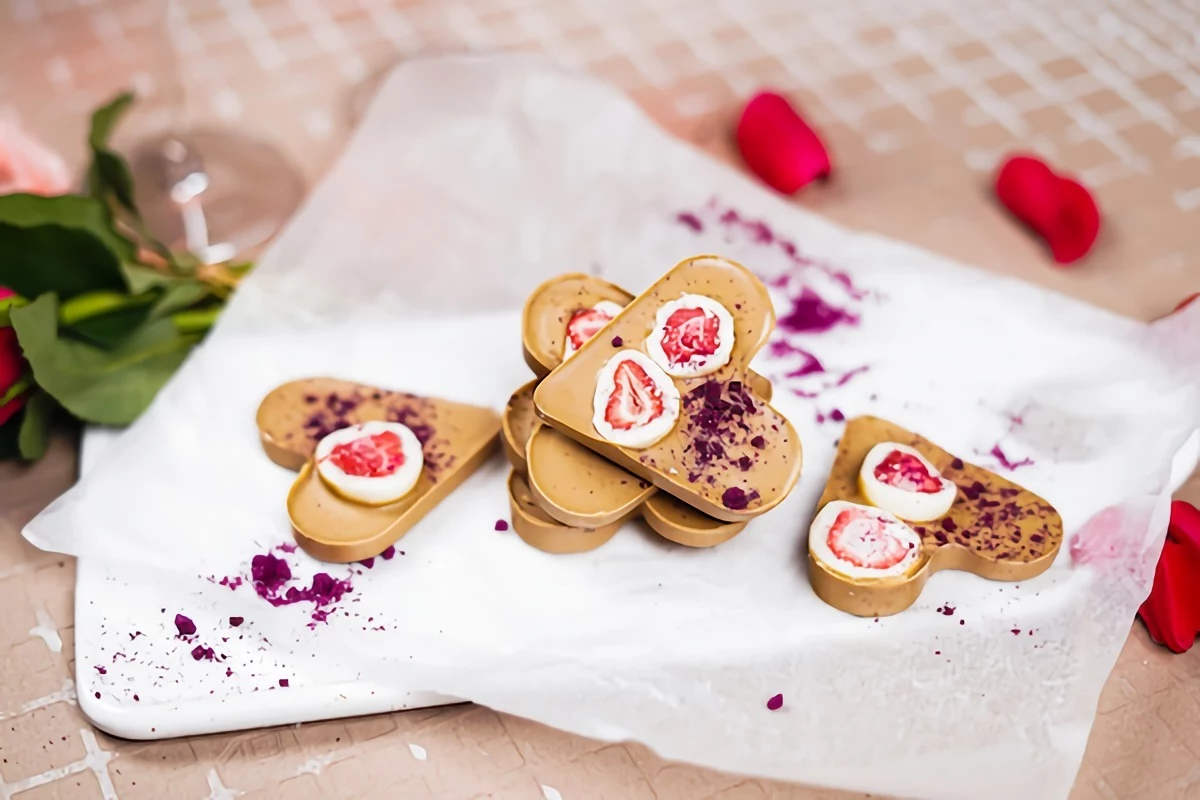
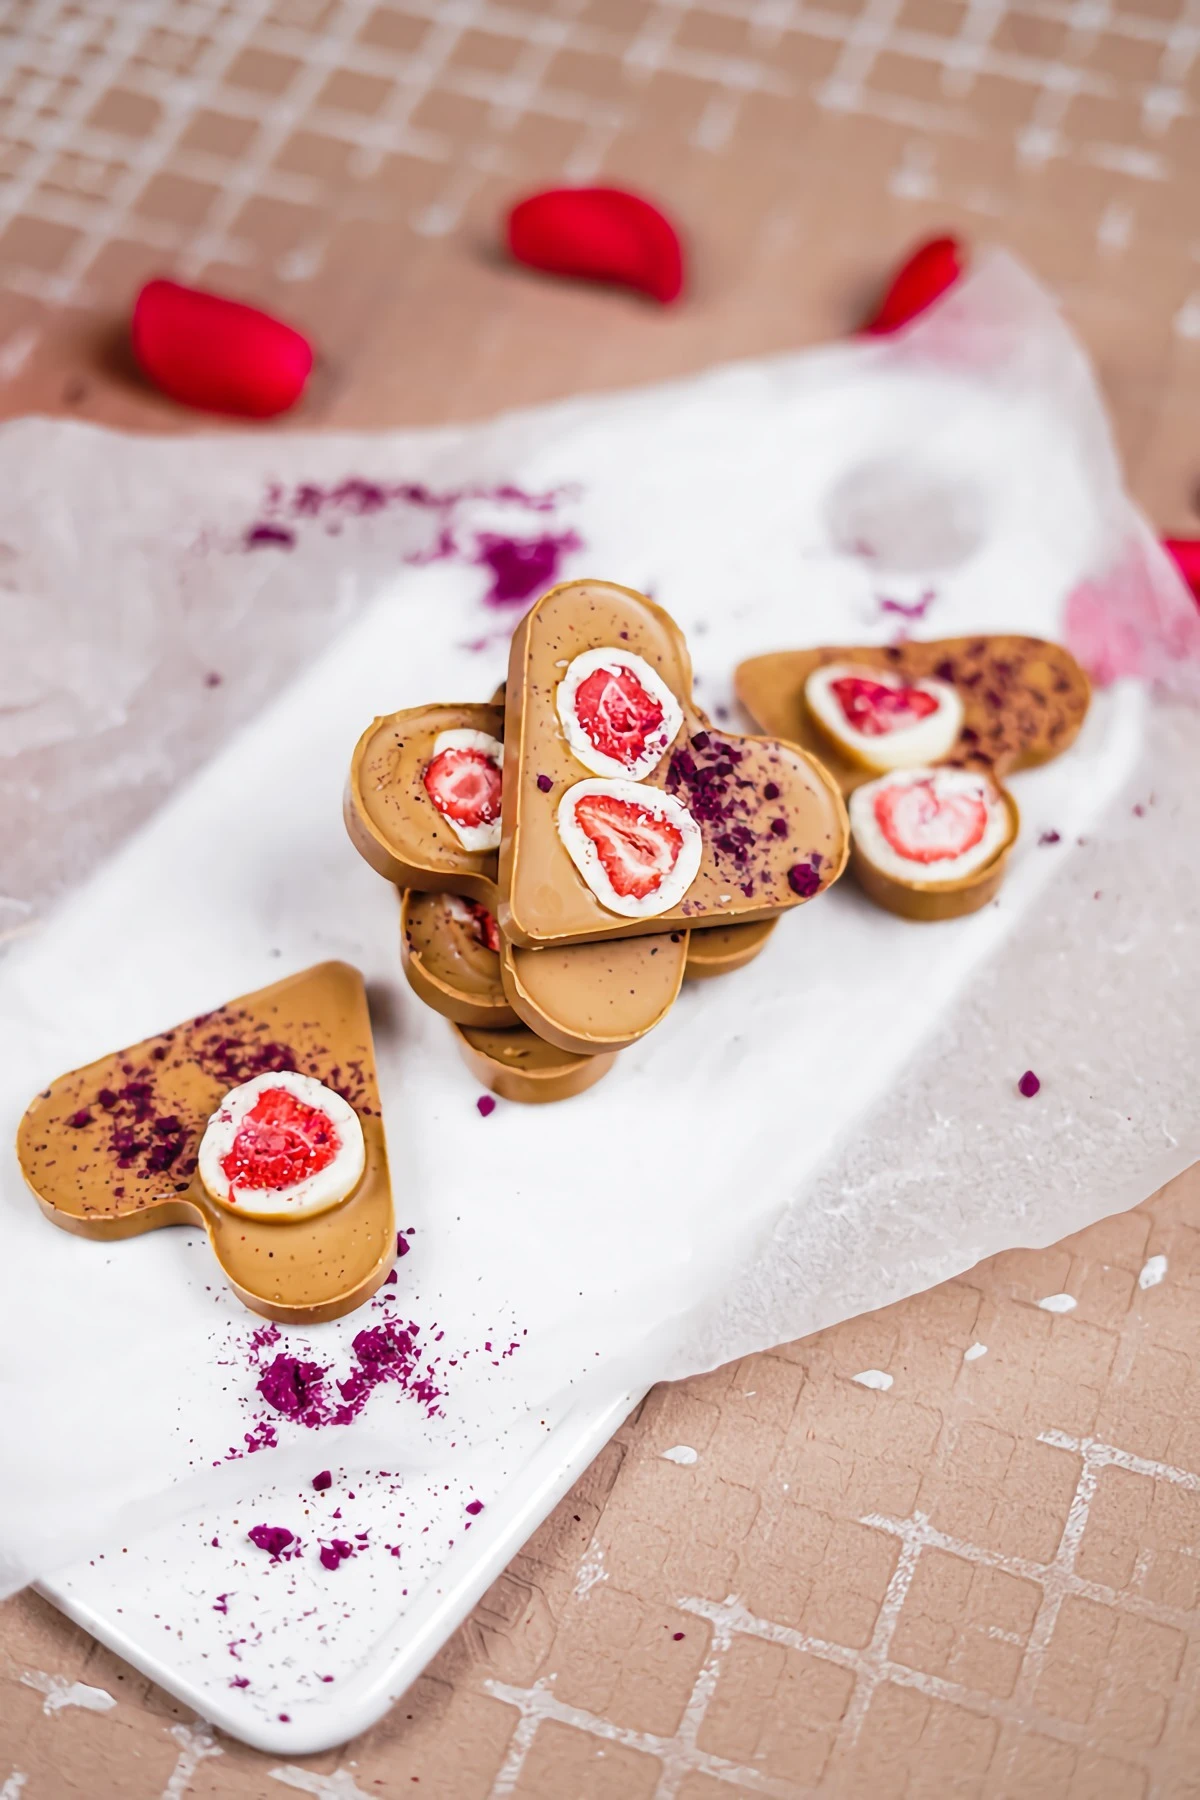
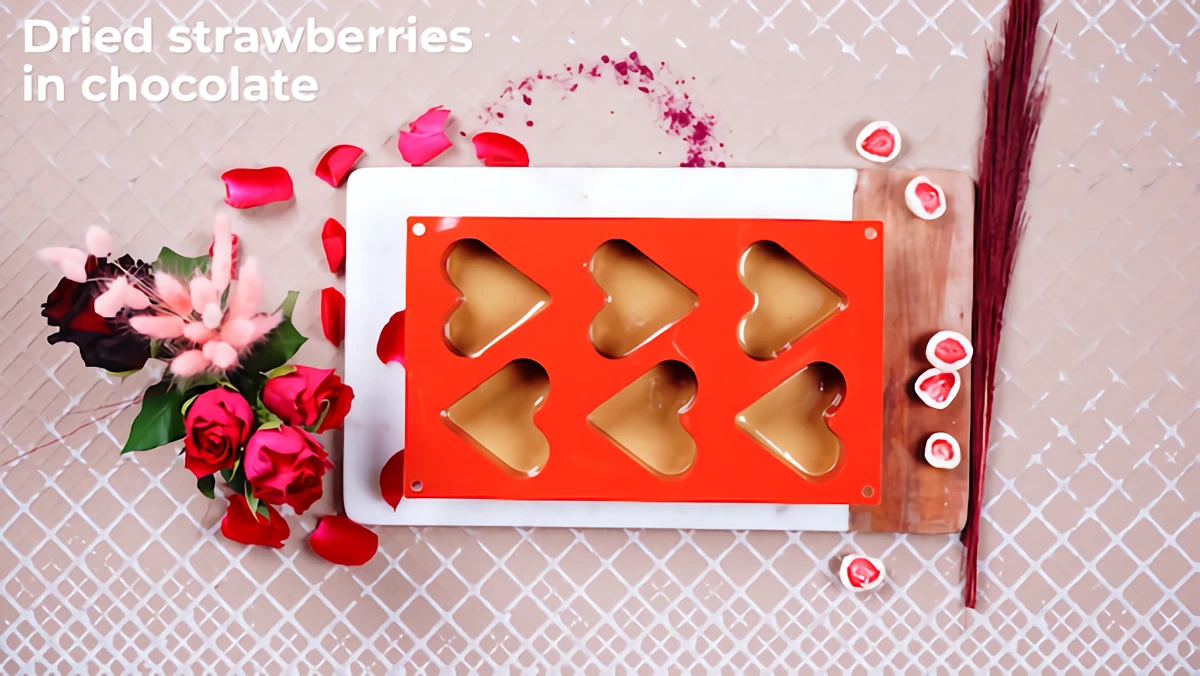
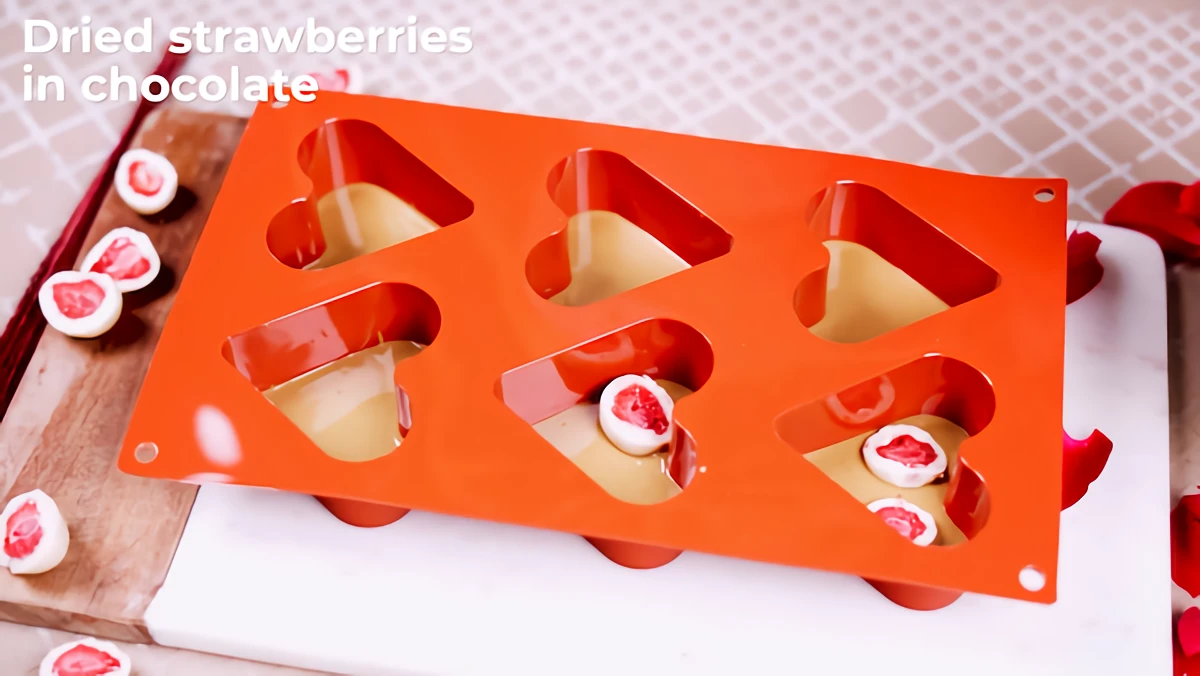
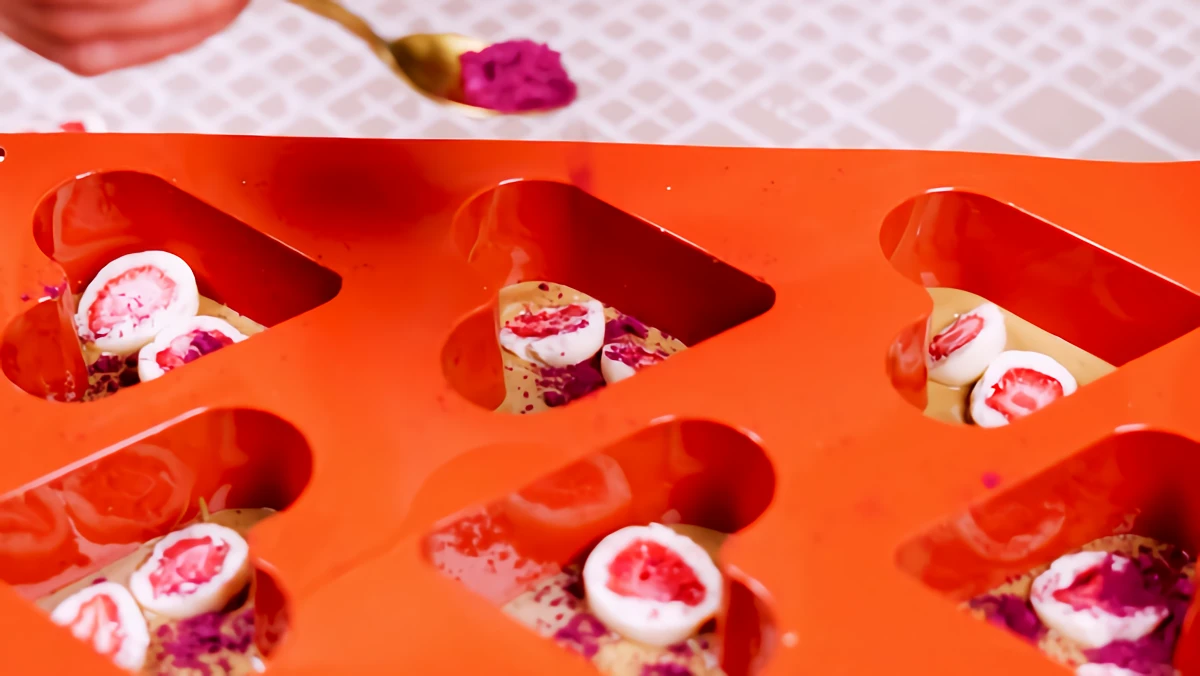
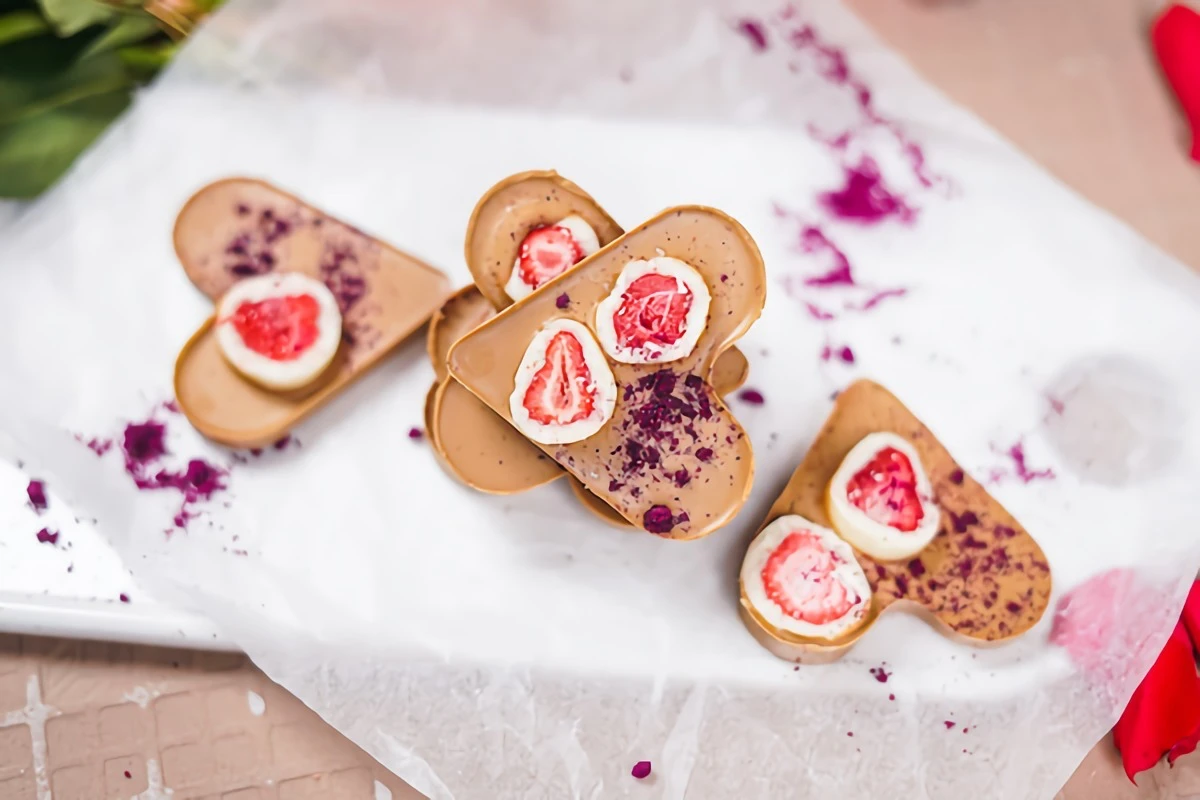
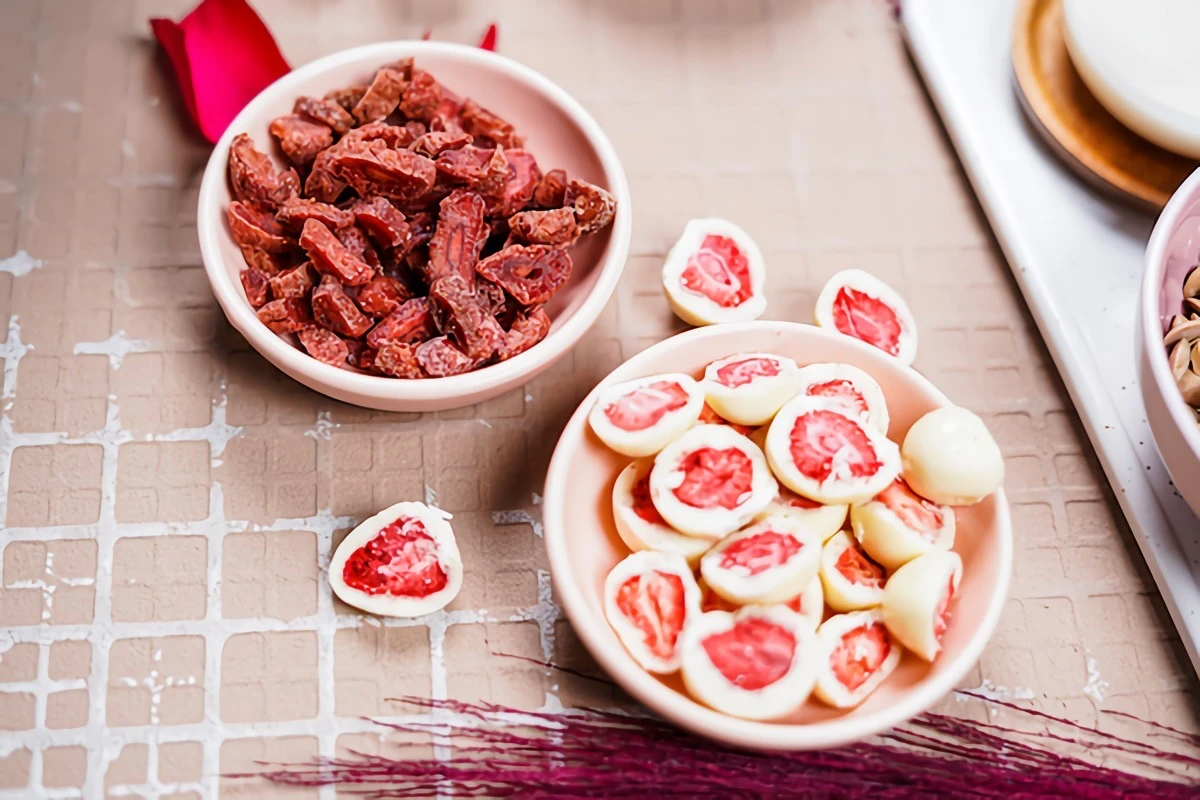
- Fruity & Fun: Freeze-dried fruits are a chocolatier’s secret weapon. They deliver intense fruit flavor and a light, crispy texture without adding any moisture that could ruin your chocolate. Freeze-dried raspberries, strawberries, and mango are incredible.
Thinking about a white chocolate bark with coconut and berries? A classic! To do it right, you’d temper your white chocolate, then gently swirl in some warmed coconut butter (also called coconut manna), being careful not to mix it in completely. For the fruit, use freeze-dried raspberry powder and strawberry slices for intense flavor without the sogginess.
Troubleshooting: When Things Go Wrong
Even the pros mess up. Here’s how to fix the most common problems.
- Problem: My chocolate turned into a grainy, thick paste!
Cause: It seized. A tiny bit of water got in. I’ll never forget the time I seized a whole kilo of expensive chocolate because of one careless splash. I wanted to cry.
Solution: Sadly, you can’t temper seized chocolate. But DON’T throw it out! You can save it by stirring in a little melted butter or neutral oil. It won’t work for bark anymore, but it makes a perfectly good, if slightly rustic, hot fudge sauce or a dip for fruit. - Problem: My finished bark is dull and has grey streaks.
Cause: This is fat bloom. Your temper was off. The crystals didn’t line up right.
Solution: Nothing you can do for the finished bark, unfortunately. The only fix is to remelt the whole thing and try tempering it again. This is why that temper test is so important! - Problem: My chocolate is getting thick and hard to spread in the bowl.
Cause: It’s cooling down too much and starting to set.
Solution: Just give the bowl a quick 5-second burst in the microwave or a few seconds over your warm water. Stir it vigorously to bring the temperature back up into that perfect working range.
Making great chocolate bark is a journey from a simple recipe to a real craft. It teaches you to be patient and precise, but the result—that beautiful shine and a snap you can hear across the room—is absolutely worth it.
Inspiration:
The Unforgiving Enemy: Water. Even a single drop of water, whether from a wet spoon or steam from a double boiler, can cause your melted chocolate to ‘seize.’ It will instantly become a thick, grainy, unworkable paste. Always ensure your bowl, spatula, and all tools are bone-dry before you begin. This is a non-negotiable rule in every professional kitchen.
Finished your beautiful bark… now what? Fridge or counter?
Resist the urge to store it in the refrigerator long-term! The cold, humid environment can cause sugar bloom (a gritty, white coating) and make the chocolate absorb other food odors. Your perfectly tempered bark is best stored in an airtight container in a cool, dark, and dry place, like a pantry. It should last for several weeks, maintaining its snap and shine.
The melting point of cocoa butter is just below human body temperature—around 93°F (34°C).
This isn’t just a random fact; it’s the entire reason high-quality chocolate feels so luxurious. It’s literally designed to melt in your mouth, not in your hand. Proper tempering, the technique this article champions, locks in this exact property, ensuring that silky, smooth sensation every time.
Move beyond just nuts and raisins. Think like a chocolatier by balancing flavors and textures for a truly gourmet experience.
- Spicy & Sweet: Dark chocolate (70%) with candied ginger, dried chili flakes, and toasted pumpkin seeds.
- Fruity & Floral: White chocolate with freeze-dried raspberries, crushed pistachios, and a sprinkle of edible rose petals.
- Savory & Rich: Milk chocolate with crushed potato chips, salted caramel bits, and a dusting of espresso powder.
Couverture Chocolate: This is the pro’s choice. It contains a higher percentage of cocoa butter (over 31%), which allows for that beautiful gloss and sharp snap when tempered. Look for brands like Valrhona, Callebaut, or Guittard, often sold as ‘fèves’ or callets.
Compound Chocolate (‘Melting Wafers’): This type replaces cocoa butter with other vegetable fats. It hardens without tempering but lacks the rich flavor and satisfying texture of true chocolate. It’s the source of that ‘waxy’ mouthfeel the article warns against.
For the results you’re aiming for, investing in couverture is the single biggest upgrade you can make.