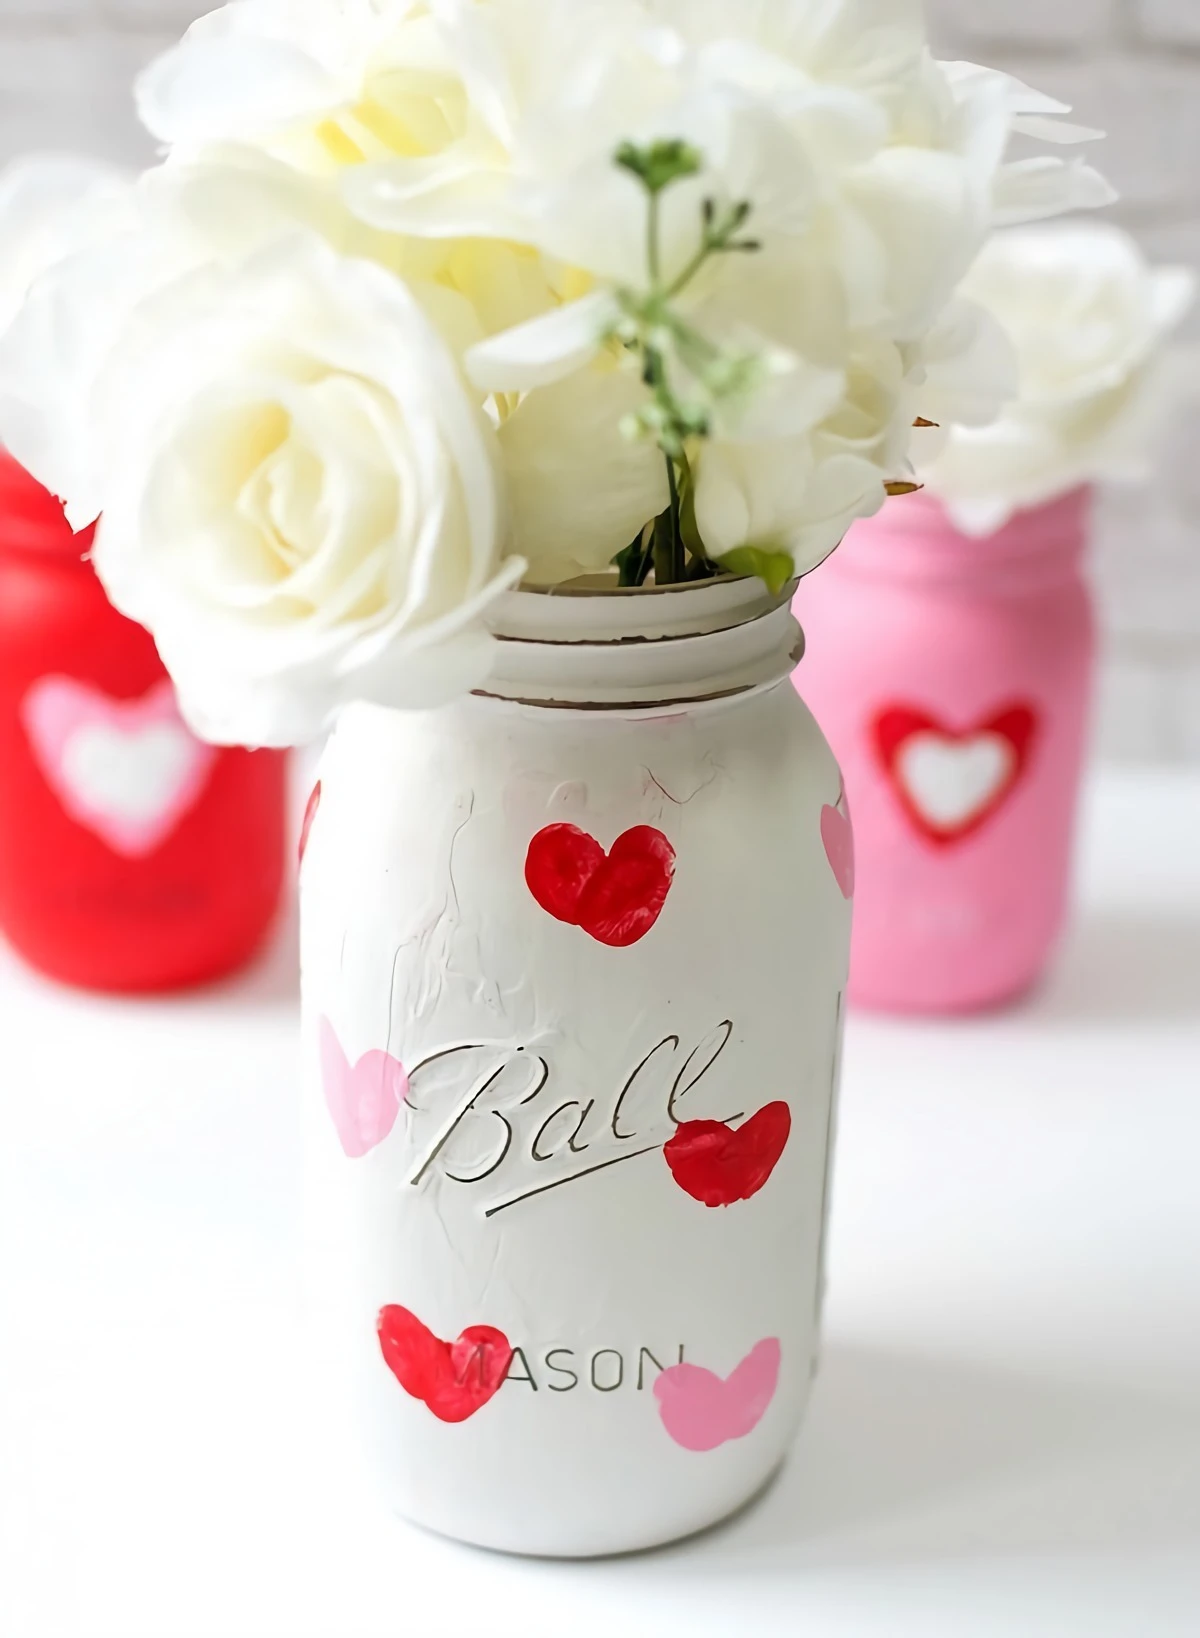
Handmade Gifts That Actually Last: My Workshop Guide to Quality Crafts
Over the years, I’ve spent more time than I can count in my workshop, selling at craft fairs, and teaching people who’ve never held a tool in their life. I’ve seen all the crafty trends come and go. But one thing is for sure: a gift made with your own two hands just hits different. It’s a physical piece of your time and attention, and honestly, that’s way more valuable than just saving a few bucks.
In this article
So many online tutorials show you quick, cutesy crafts that are fun for an afternoon but don’t really last. The glue gives out, the paint flakes off, and the whole thing just feels… temporary. I want to show you something else. These three projects are my go-to recommendations for anyone wanting to dip their toes into a real, satisfying craft. We’re talking apothecary blending, leatherworking, and polymer clay art.
You can get started with any of these for a pretty modest investment, usually under $50. But more importantly, you’ll learn a core skill and create something that feels durable and looks genuinely professional. We’re not rushing here. We’re focusing on the right materials and the little details that take something from “homemade” to a true handmade treasure.
1. The Apothecary’s Craft: Blending Bath Soaks and Fizzing Bombs
I first got into making bath products to get away from the weird chemicals in store-bought stuff for my family. Pretty soon, friends were asking for them, and a little side business was born. There’s a beautiful science to it, and understanding why you’re mixing certain things together is the key. It’s not just about dumping stuff in a bowl.
The Simple Science Behind the Fizz
So what makes a bath bomb, well, bomb? It’s a classic acid-base reaction. We use baking soda (a base) and citric acid (an acid). When they’re dry, they just hang out. But the second they hit water, they react and release carbon dioxide gas. Those are the bubbles! It’s a totally safe and controlled fizz that delivers all the other goodies into your bath.
Cornstarch is the trusty sidekick here; it helps hold the bomb together and slows down the reaction so you get a nice long fizz instead of a quick poof. And Epsom salts? They aren’t for fizzing at all. They just dissolve and release magnesium, which many people find incredibly soothing for sore muscles.
Your Pro Shopping List
Good ingredients are non-negotiable. You can find most of this online or at craft stores like Michael’s, but for the best price and purity, I buy my main ingredients in bulk from soap-making suppliers like Bramble Berry or Bulk Apothecary. It’s way cheaper in the long run.
Your Starter Kit Budget: Around $40-$50 for ingredients that will make multiple batches.
- The Base Mix: You’ll want a 2:1 ratio of sodium bicarbonate (baking soda) to citric acid. This is the engine of the fizz. A kitchen scale (about $10 on Amazon) is your best friend for accuracy. But in a pinch, you can think of it as roughly 1 cup of baking soda to a ½ cup of citric acid.
- The Fillers: Add about a ½ cup each of Epsom salt (fine grain dissolves best) and cornstarch to that base mix.
- The Moisture: You’ll need a light carrier oil. I love sweet almond or fractionated coconut oil because they don’t leave a greasy ring in the tub. Olive oil can be a bit heavy, just a heads up. You’ll also need a small spray bottle of witch hazel or 91% isopropyl alcohol—this is what binds the mix without setting off the fizz reaction.
- The Fun Stuff (Optional): For scent, use pure essential oils, not synthetic fragrance oils. 10-20 drops of lavender or eucalyptus is perfect. For color, ONLY use cosmetic-grade micas or clays. I learned this the hard way… never, ever use food coloring. A friend’s bathtub was stained bright blue for a week, and it took serious bleach to fix. Dried botanicals like lavender buds or calendula petals look gorgeous, but use them sparingly to avoid clogging the drain.

The Perfect Press: A Step-by-Step Guide
The secret here is getting the texture just right. You’re aiming for the feel of damp sand that clumps when you squeeze it. This whole process, from mixing to molding, should take about 30-45 minutes, but you’ll need a full day for drying.
1. Dry First: Whisk all your dry ingredients (baking soda, citric acid, salt, cornstarch) in a glass or metal bowl. Get all those clumps out.
2. Then Wet: In a separate tiny bowl, mix your carrier oil and essential oils together. Drizzle this into the dry mix slowly, whisking as you go. Then get your hands in there (gloves are a good idea) and work it all together.
3. The Magic Spritz: This is the make-or-break step. Hold the spray bottle of witch hazel about a foot away and give the mix 2-3 light spritzes. Mix thoroughly. Repeat. Go SLOW. Once the mixture holds its shape when you squeeze it, STOP. One spray too many and you’ll trigger the reaction early.
4. Mold It: Overfill both halves of a bath bomb mold (the stainless steel ones are great) and press them together firmly, giving a little twist to lock them in. Scrape off the excess that squishes out the side.
5. Patience is Key: Let the bomb sit in the mold for about 5-10 minutes before gently tapping it out onto a soft towel. Let it air dry for at least 24 hours in a non-humid spot.
Quick Tip: If your bombs crack while drying, the mix was too dry. If they expand and look like a muffin top, the mix was too wet. It’s all about that spritzing step!
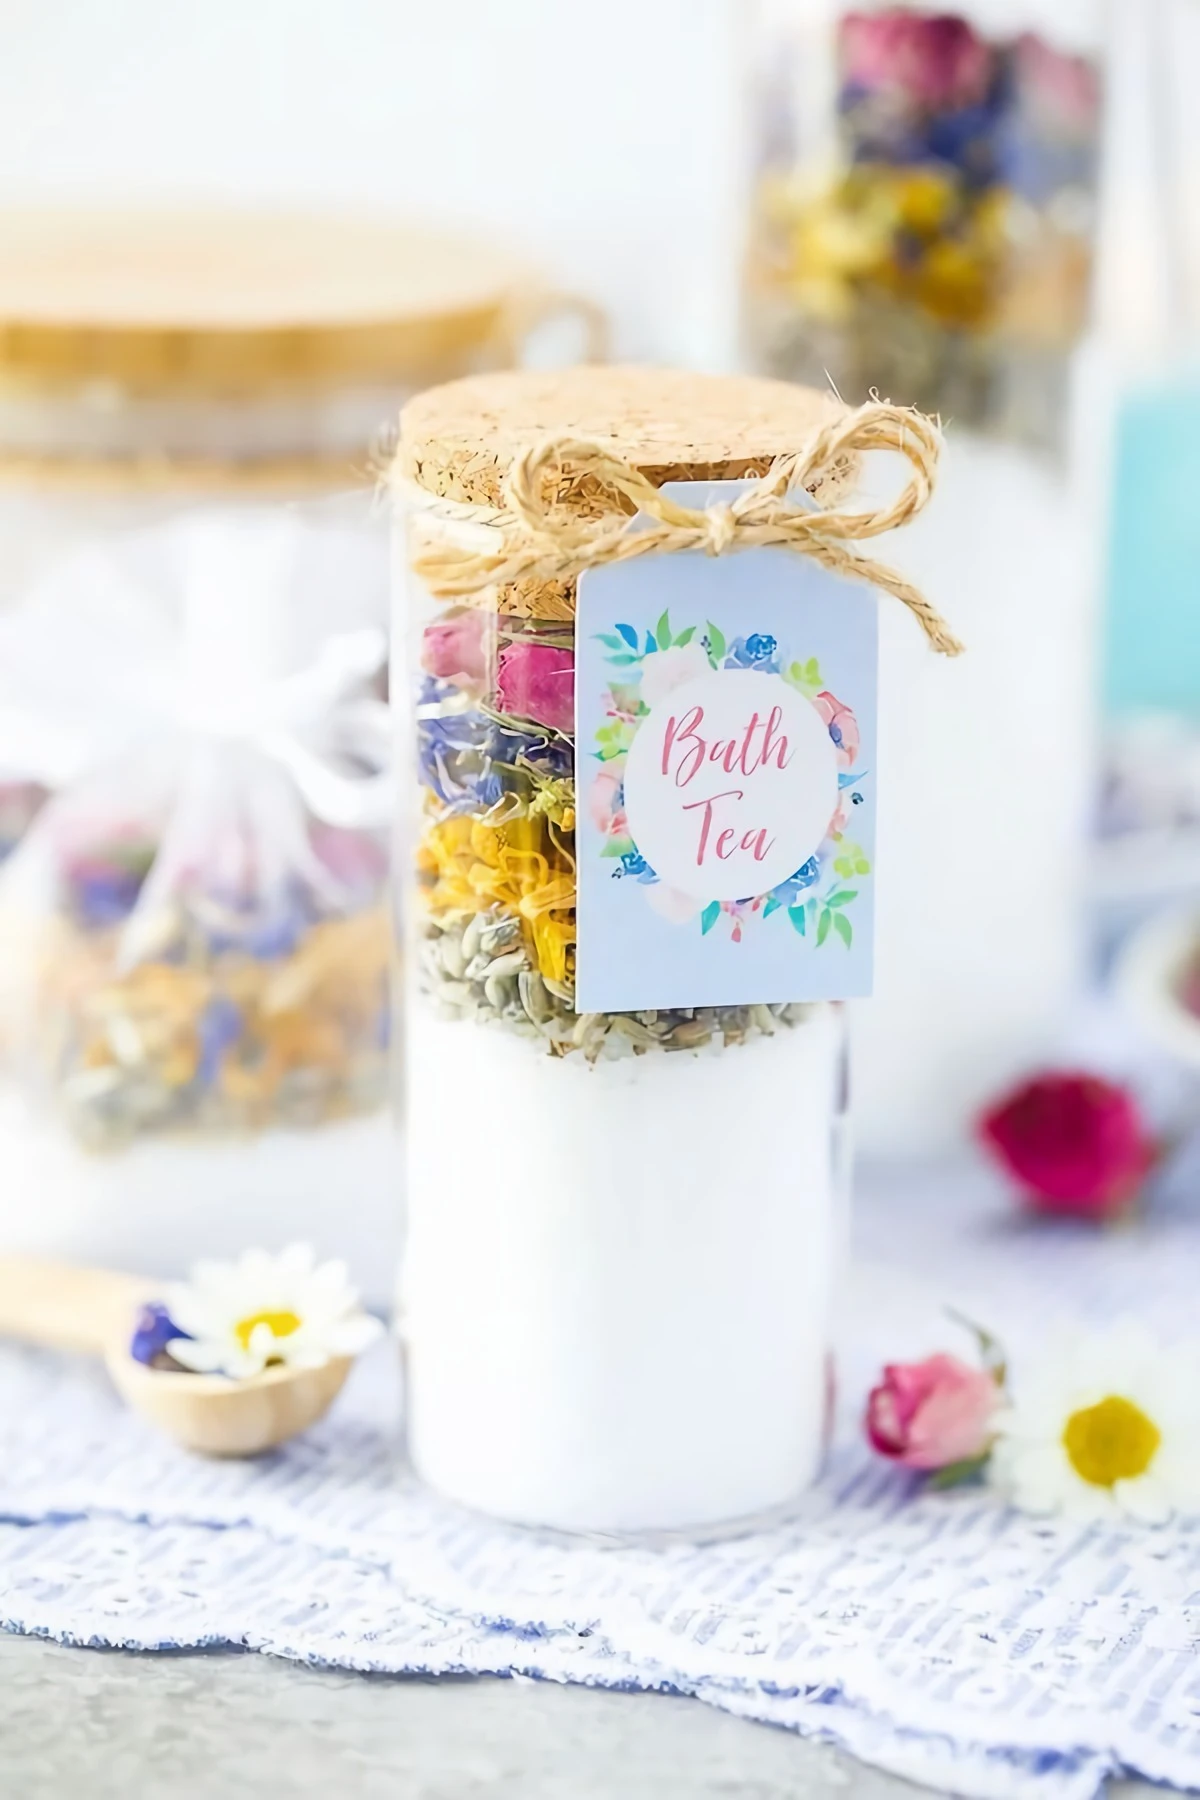
For a foolproof alternative, just mix all the dry ingredients and botanicals together and put them in a pretty jar with a small wooden scoop. Call it a “bath soak.” All the benefits, zero molding stress!
2. The Leatherworker’s Touch: A Stamped Veg-Tan Keychain
I fell for leatherwork because it’s so durable and timeless. This keychain project is the perfect entry point. It teaches you how to cut, stamp, and finish vegetable-tanned leather—the same stuff used for sturdy belts and saddles.

The Right Material: Veg-Tan is a Must
Heads up! You can’t just use any leather. You absolutely need vegetable-tanned (veg-tan) leather for this. It’s tanned with natural plant matter, which makes it firm and able to hold a stamped impression forever once it’s dry. Most leather you see (like for jackets or couches) is chrome-tanned, which is soft and won’t hold a stamp. A 4-5 ounce thickness is perfect for keychains. You can often buy small pre-cut pieces or even bags of veg-tan scraps for cheap, which is great for practice.
Your Minimalist Tool Kit
You don’t need a huge workshop, but the right tools are critical to avoid frustration.
Beginner’s Shopping List (around $50-60):
- A Sharp Knife & Ruler: A basic utility knife and a steel ruler are all you need. Don’t use a plastic ruler; you’ll just slice it up.
- Stamping Surface: This is non-negotiable. You need a hard, heavy surface. A small granite or marble slab is perfect. Lesser-known trick: go to a countertop supplier and ask for an offcut (often free!) or buy a single marble tile from Home Depot for under $5. A wooden table just won’t work; it absorbs the impact.
- Mallet & Stamps: Get a poly or rawhide mallet ($15-$20). Never use a steel hammer! It will destroy your metal stamps. A basic alphabet stamp set will run you about $15-$30 on Amazon or at a store like Tandy Leather.
From Raw Hide to Finished Keychain
Once you have your gear, making one of these is a quick 20 to 30-minute project.
1. Cut the Blank: Cut your leather into a strip, maybe 1 inch wide and 4 inches long. Use your ruler and make a few shallow passes with the knife for a clean, safe cut.
2. Case the Leather: This is the secret to a crisp stamp. Dampen a sponge and wipe it evenly over the smooth side of the leather. You’ll see the color darken. Wait a minute or two until the original lighter color just starts to return. The inside is now perfectly damp, but the surface isn’t wet. That’s the sweet spot.
3. Stamp It: Place the leather on your stone slab. Position your stamp perfectly vertical and give it ONE firm, solid whack with the mallet. Don’t do a bunch of little taps—that’s how you get a blurry “ghost” image. One good hit is all it takes. Practice on a scrap piece first!
4. Punch & Burnish: Punch a hole for the keyring. Now for the step that makes it look pro: burnishing. Dip a finger in water and wet just the cut edge of the leather. Then, rub it vigorously with a piece of canvas or denim. The friction creates heat and pressure, compressing the fibers into a dark, slick, sealed edge. The difference is incredible—you go from a fuzzy, cheap-looking edge to something that looks polished and intentional.
5. Seal It: Let the leather dry completely for a few hours. Then rub in a light coat of a leather conditioner or a sealant like Resolene to protect it. Add a metal keyring, and you’re done. Small imperfections are part of the charm, so don’t stress about perfection. Aim for character.
3. The Artisan’s Medium: Crafting Polymer Clay Jewelry
Polymer clay is one of the most forgiving and versatile materials out there. I’ve taught total beginners who walk out of a two-hour class wearing gorgeous earrings they made themselves. The key to success isn’t artistic genius; it’s technical precision, especially when it comes to baking.
The Science of Curing Clay
First off, polymer clay isn’t natural earth clay. It’s a PVC-based plastic that feels like modeling clay but will never air-dry. It has to be heated to a specific temperature to “cure,” which causes the plastic particles to fuse together into a hard, durable solid. Get this part right, and your creations will last for ages.
What You’ll Need to Get Started
You can get everything you need for under $30. It’s a very low-cost hobby to start.
Your Shopping List:
- Clay: A multi-pack of a good brand like Sculpey Premo or Fimo is about $15-$20. These are strong and great for jewelry.
- Tools: A craft knife, an acrylic roller (a smooth glass jar works too), and some earring-making supplies like posts, jump rings, and small pliers.
- The Most Important Tool: An oven thermometer. I’m serious. It costs about $7 at any grocery store or online. Your oven’s built-in dial is almost always wrong, and temperature accuracy is EVERYTHING.
Creating Pro-Level Earrings
Let’s make some simple marbled earrings. This should take about an hour, plus baking and cooling time.
1. Condition the Clay: Warm up two or three colors of clay by kneading and rolling them in your hands until they’re soft and pliable. This is called conditioning and it prevents cracking later.
2. Create the Slab: Roll each color into a snake, twist them together, fold, twist again, and then roll it into a ball. Use your roller to flatten it into a slab about ⅛ inch thick. You’ll have a beautiful, unique marbled pattern.
3. Cut Your Shapes: Use small cookie cutters or a craft knife to cut out your earring shapes. You can also poke holes with a needle tool before baking if you plan to connect pieces with jump rings.
4. Bake with Precision: And here we are, the most critical step. Place your clay pieces on a piece of cardstock or a ceramic tile (this prevents shiny spots on the back) and put them in the oven. Check your clay package for the exact temperature. For Sculpey Premo, it’s 275°F (130°C). Bake for at least 30 minutes for a ⅛ inch thick piece. Don’t guess! Use that oven thermometer.
Troubleshooting Tip: Under-baking is the #1 reason for broken jewelry. It will be brittle and snap easily. Over-baking can burn the clay and release nasty fumes, so set a timer and keep an eye on things.
5. The Final Assembly: Once your pieces are completely cool, it’s time to assemble. And please, listen to me on this: DO NOT use super glue to attach earring posts. It will seem fine, and then it will pop right off in a week. You need something with more strength and a bit of flex. I recommend a strong gel adhesive like E6000 or, even better, a two-part epoxy. It creates a permanent chemical bond that won’t fail. It’s the pro’s choice for a reason.
Inspiration:
My homemade bath bombs keep crumbling. What am I doing wrong?
This is the most common frustration, and it’s all about moisture. Your mix is likely too dry. While recipes use water, it can prematurely activate the fizz. The pro-trick is to use witch hazel or pure isopropyl alcohol in a fine mist spray bottle. Spritz the mixture 2-3 times and mix thoroughly. Keep spritzing and mixing until the mixture holds its shape when squeezed in your hand, like damp sand. This adds just enough moisture to bind without starting the reaction.

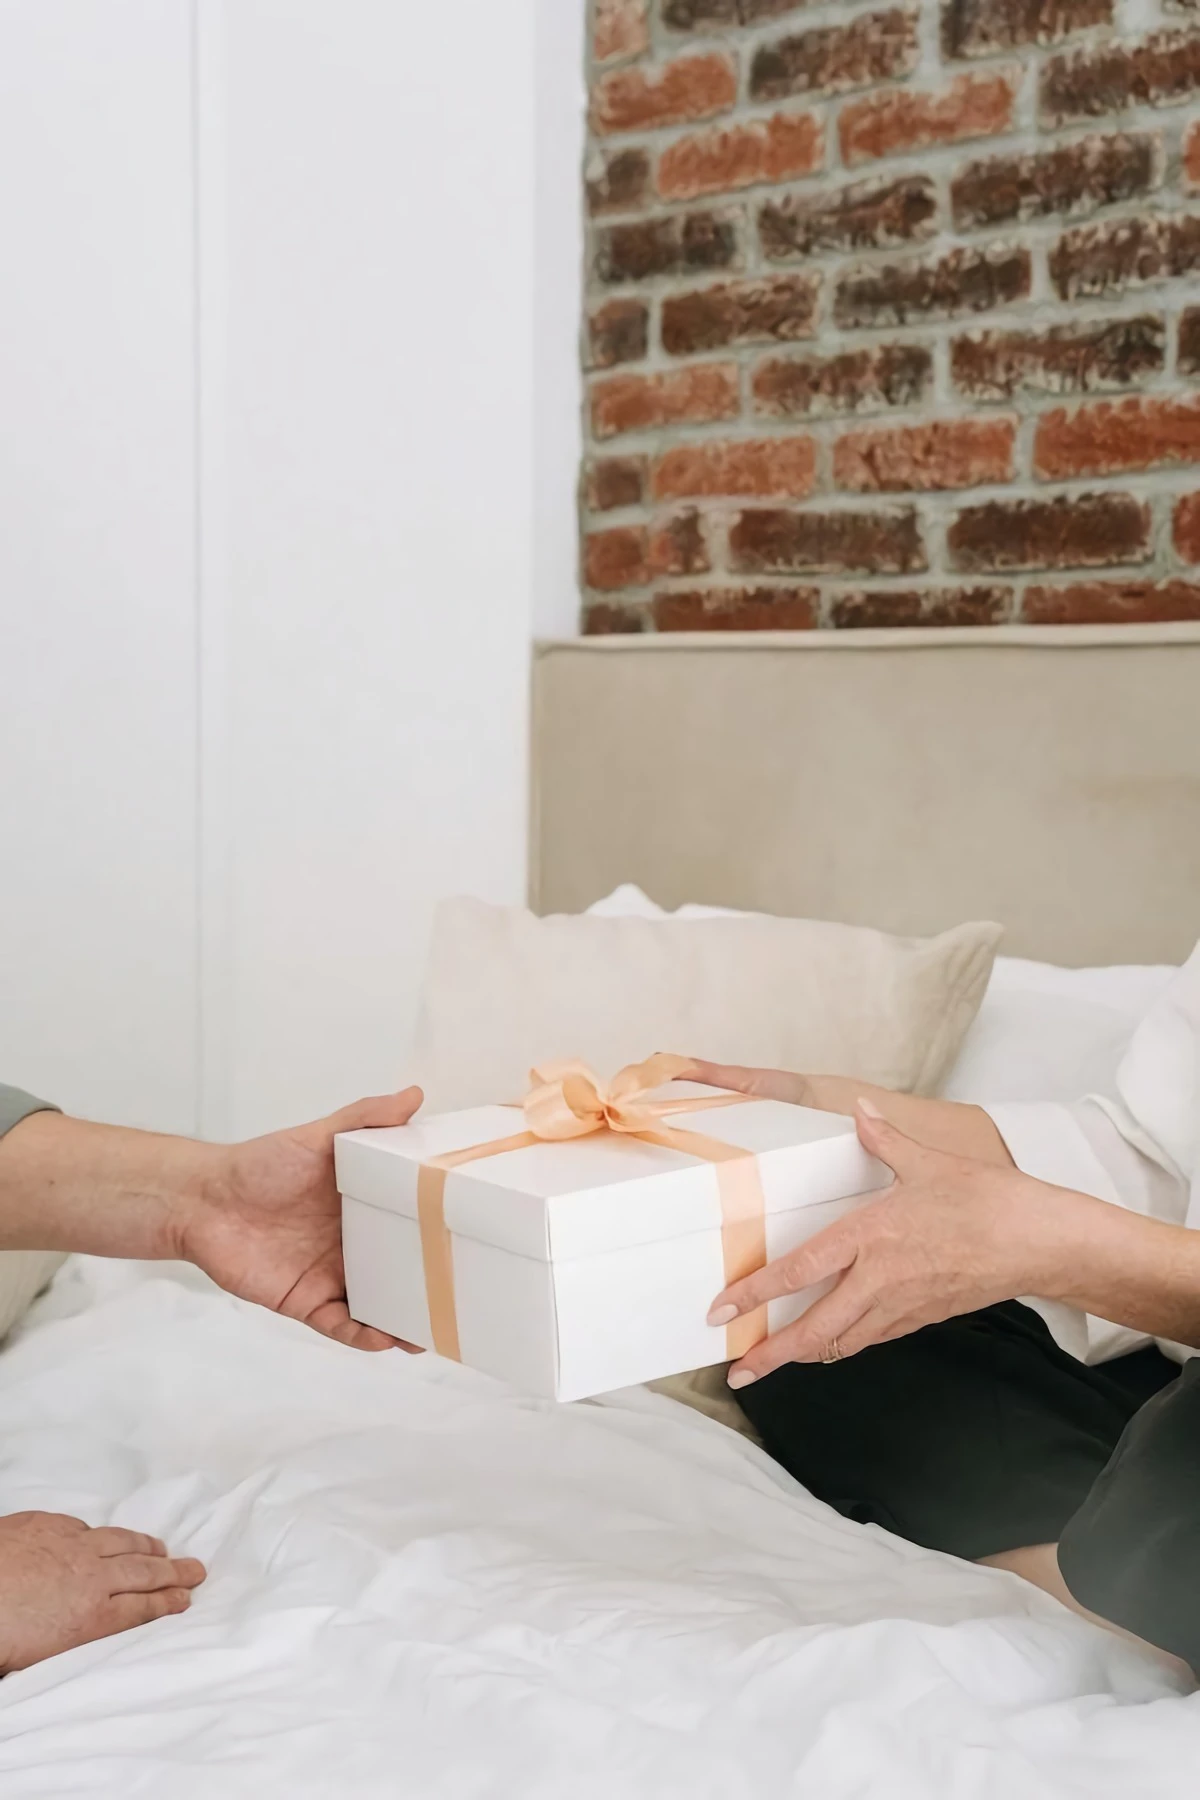
A 2013 study in the Journal of Marketing found that consumers perceive handmade products as being “made with love” and are willing to pay more for them.
This feeling is the secret ingredient in any gift you craft. The recipient isn’t just getting an object; they’re receiving a tangible piece of your time and affection, which is something no factory can replicate.
Vegetable-Tanned Leather: This is a firm, natural leather that softens over time. It’s perfect for tooling, stamping, and dyeing, making it ideal for personalized keychains or coasters.
Chrome-Tanned Leather: This leather is softer, more flexible, and often pre-dyed in a wide range of colors. It’s better suited for projects that need to be supple from the start, like a simple cardholder or a glasses sleeve.
For a first project that feels truly custom, start with a small piece of veg-tan leather.
To make your polymer clay creations truly last, a little after-care goes a long way. Once baked and cooled, you can enhance and protect your work:
- For a glossy, protective finish, apply a thin coat of a water-based varnish like Sculpey Glaze.
- Clean pieces gently with a damp cloth; avoid harsh chemical cleaners which can degrade the clay.
- While durable, polymer clay isn’t indestructible. Store jewelry and delicate items carefully to avoid scratches.