I’ve been crafting for a long time—playing with clay, folding paper, stitching things together. For me, it’s never been about just making something cute for a holiday. It’s about pouring a bit of care into an object that you’ll be happy to pull out year after year. Let’s be real, Valentine’s Day can feel a bit… disposable. But it doesn’t have to be. Creating something with your own hands is a powerful way to show you care.
I’ve taught a ton of workshops, and almost everyone wants the same thing: to make stuff that looks polished and intentional, not like a kid’s school project. And here’s the secret: it has nothing to do with being ‘naturally talented.’ It’s all about knowing your materials and learning a few core techniques. So, this isn’t going to be a list of flimsy crafts you’ll toss out in March. I’m going to show you how a pro approaches these projects, so you can create decor that feels special and is built to last.
First Things First: Let’s Talk Materials
Before you even dream of cutting or gluing anything, we need to talk about supplies. Honestly, this is where most DIYs go wrong from the very start. Choosing the wrong paper or glue can doom your project to warping, falling apart, or just looking… off. Spending a few extra minutes on material selection saves you so many headaches down the road.
Paper Is More Than Just a Pretty Color
Ever wonder why your paper projects droop or tear? It’s probably the weight. Paper thickness is measured in pounds (lb) or grams per square meter (GSM). Picking the right one is a game-changer.
Lighter Text Weight (around 20-70 lb): Think standard printer paper. It’s thin and flexible, which makes it perfect for delicate things like origami or the honeycomb hearts we’ll tackle later. The downside? It’s easy to tear, so be gentle.
Sturdy Cardstock (around 80-110 lb): This is your go-to for most decorations. It’s strong enough for garlands and 3D shapes without flopping over. For something like a branch centerpiece with hanging hearts, a 65-80 lb cardstock is the sweet spot.
Watercolor Paper (140 lb and up): If you plan on painting your paper creations, you need this. It’s designed to handle water without turning into a bubbly, warped mess like cardstock would.
Oh yeah, and here’s a little pro secret: paper has a grain, just like wood. It bends and folds much more easily with the grain. If you try to force a curve against the grain, you can get ugly cracks. You can find it by giving the paper a gentle bend in both directions; the path of least resistance is with the grain. Good to know, right?
Choosing Your Clay: Air-Dry vs. Polymer
For making cute little trinket dishes or ornaments, clay is fantastic. But the two main types you’ll find at a craft store are worlds apart. Air-dry clay is earthy and easy to shape, but it’s brittle when dry and can crack if it dries too fast. It’s great for a rustic look but it’s definitely not waterproof. Polymer clay, on the other hand, is a plastic-based clay (like Sculpey or Fimo) that you bake to harden. It’s incredibly durable, holds fine details beautifully, and is waterproof after baking. For anything you want to last or handle frequently, polymer is the way to go.
The Right Glue for the Right Job
Your beautiful project is only as strong as its glue. And trust me, a hot glue gun isn’t always the answer, even though it’s fast.
Hot Glue: It’s perfect when you need a quick bond on a rough surface, like sticking fabric to a grapevine wreath. But it leaves thick, blobby seams and can melt delicate stuff. A dual-temp gun is a good investment; the low setting is much safer for foam.
PVA Craft Glue (like Aleene’s Tacky Glue): This is my workhorse for paper and felt. It dries clear, stays a little flexible, and creates a super strong, clean bond. Because it’s thick, it doesn’t soak into paper and cause wrinkles.
Super Glue: Use this for bonding non-porous things, like a metal hook to a baked polymer clay ornament. It’s strong but rigid. Heads up! The fumes are intense, so make sure you’re in a well-ventilated space.
Project 1: The Forever Ring Dish
A simple heart-shaped dish is beautiful, useful, and makes a fantastic gift. We’ll use polymer clay to make sure it’s a durable keepsake, not a crumbly mess. Plan for about an hour of hands-on time for this one, plus baking and cooling.
For this project, you’ll want to grab a block of polymer clay. A standard 2oz block of Sculpey or Fimo is perfect for one or two small dishes and will only set you back about $3-4 at a craft store. You’ll also need a rolling pin, some parchment paper, a craft knife or cookie cutter, and an oven-safe bowl to shape it in.
The Pro Technique
Condition the Clay: This is the most important step, seriously. Straight from the package, the clay is stiff. You have to knead it, warm it with your hands, and work it until it’s soft and pliable. If you have a dedicated pasta machine for crafts, run it through a few times. Don’t have one? No worries! An acrylic roller or even a straight-sided glass jar works just fine; it just takes a bit more elbow grease. Properly conditioned clay won’t crack during baking.
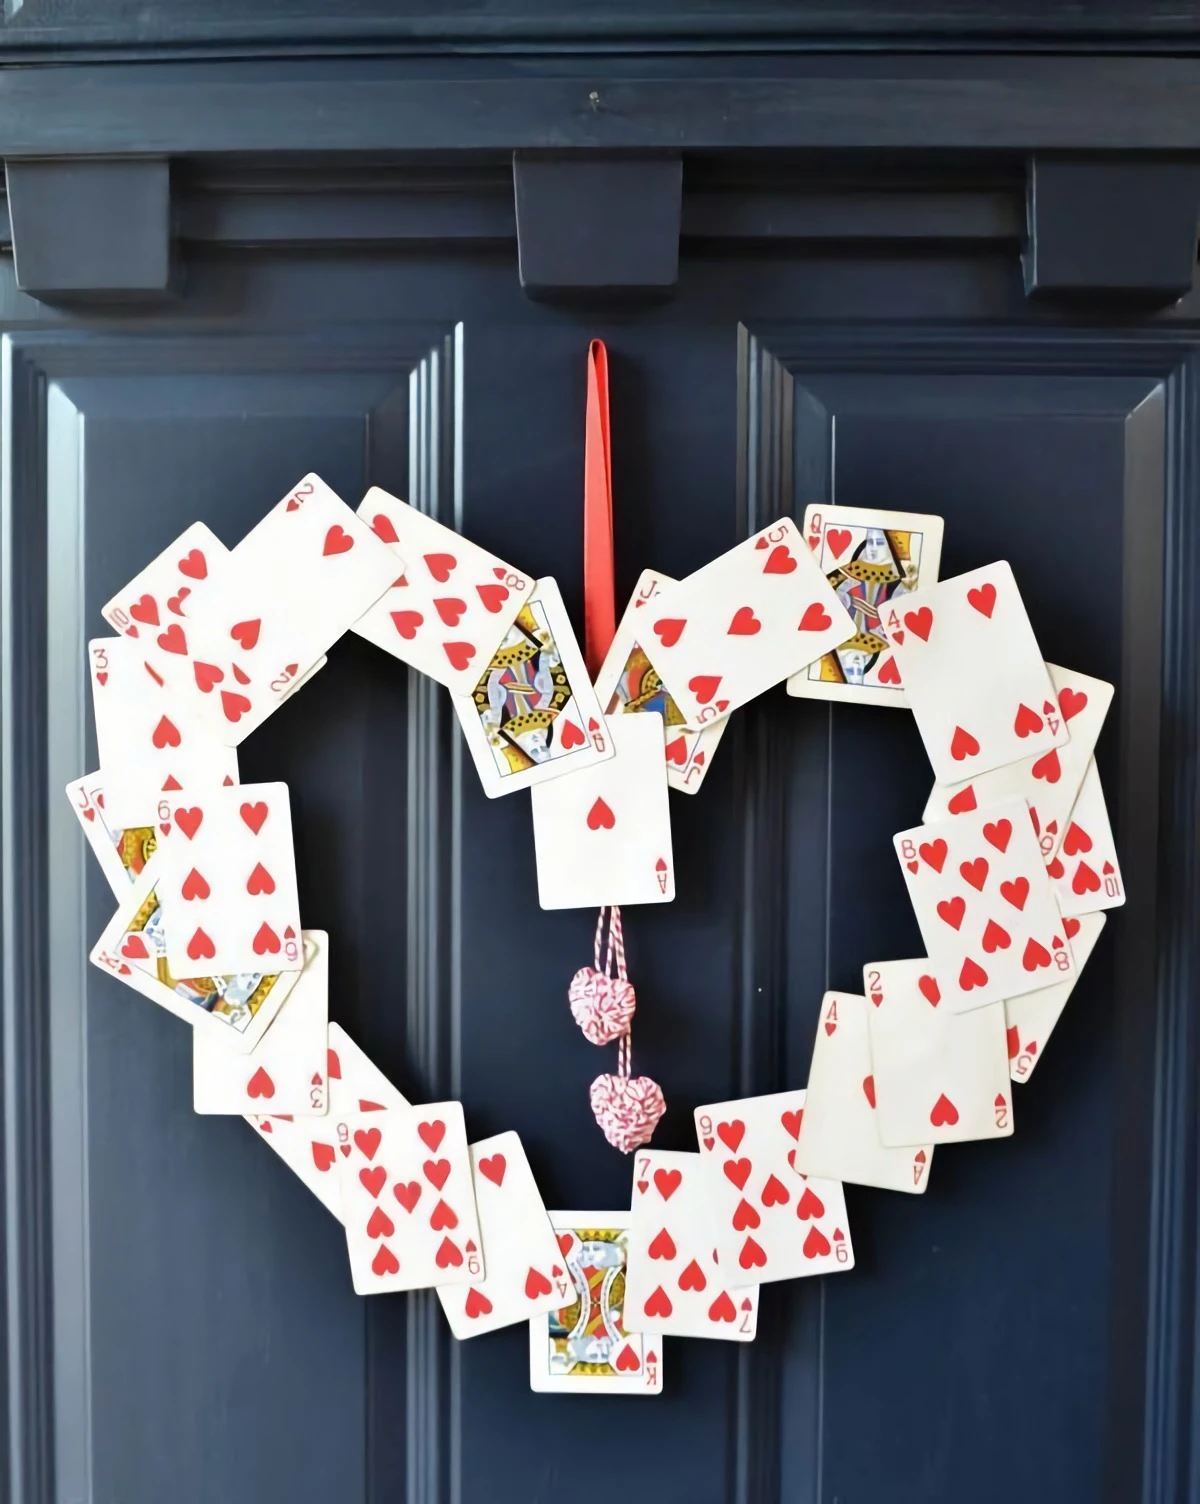
Get an Even Sheet: To get a perfectly even ¼-inch thickness, roll your clay between two sheets of parchment paper. A neat trick is to place two identical dowels or stacks of playing cards on either side to act as guides for your roller.
Shape and Smooth: Cut your heart shape. To get rid of fingerprints before baking, you can gently wipe the surface with a cotton swab dipped in a tiny bit of rubbing alcohol. Then, gently press the heart into a small, oven-safe bowl to give it that dish-like curve.
Bake with Precision: Follow the package directions! Home ovens can be wildly inaccurate, so I recommend using a separate oven thermometer to be sure. I bake my pieces on a ceramic tile to distribute heat evenly and sometimes make a little foil ‘tent’ over the top to keep light colors from browning.
A quick safety warning: Never microwave polymer clay, and always work in a well-ventilated area. While it’s non-toxic, the fumes during baking can be irritating. I use a small, dedicated toaster oven for my clay work to be extra safe. And remember, finished pieces are not food-safe!
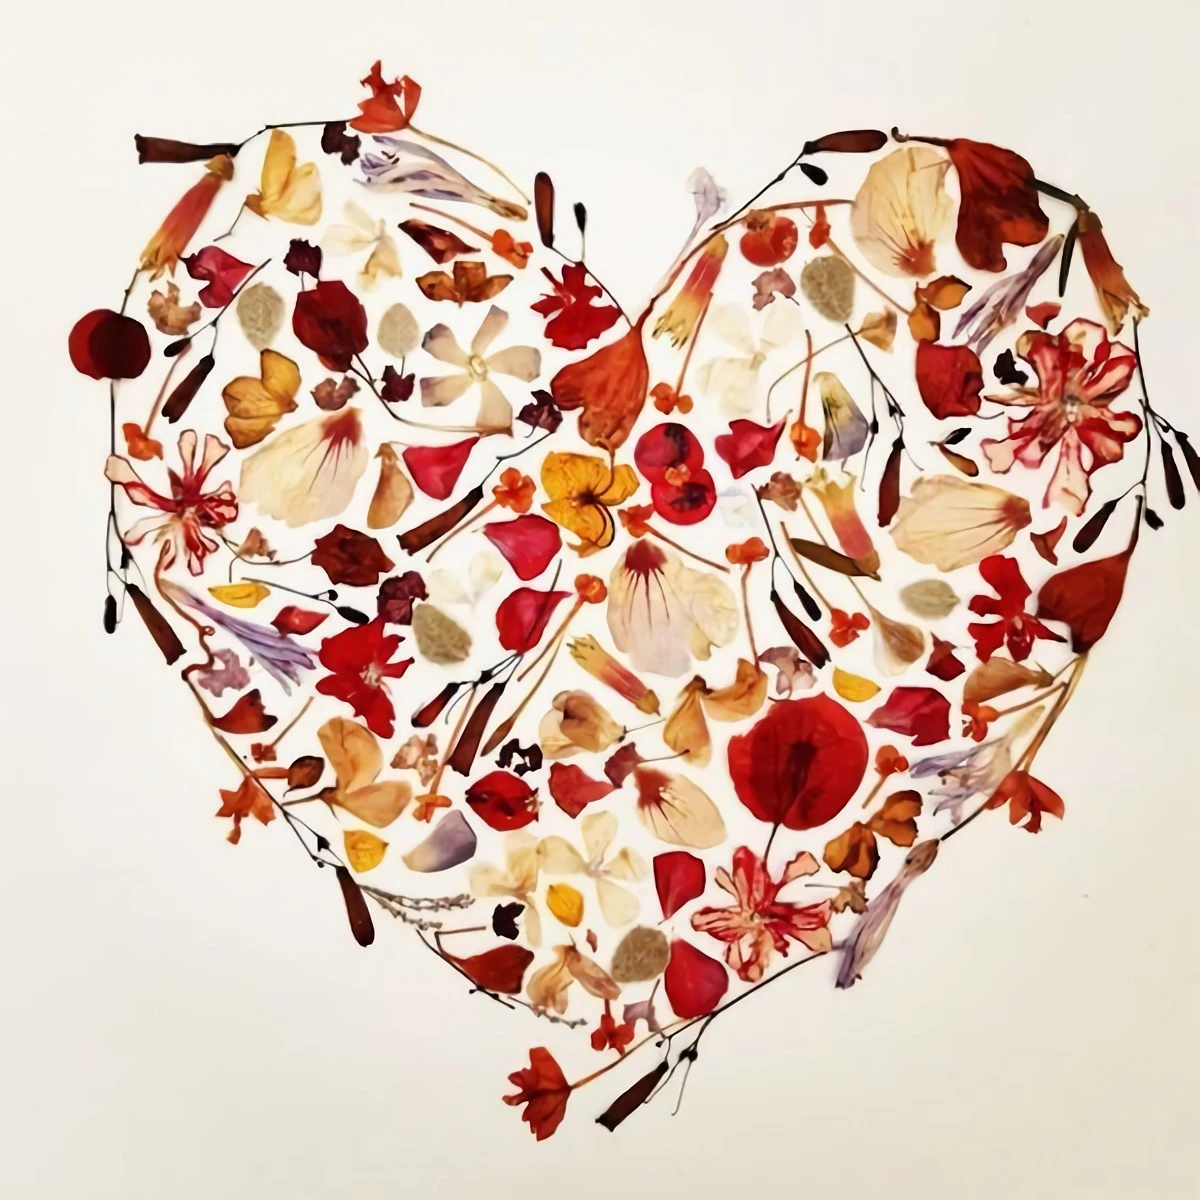
Project 2: Modern Pressed Flower Art
Pressing flowers is a timeless art. The goal is to get the moisture out as fast as possible to preserve the color. This project is pretty quick on the hands-on front—maybe 30 minutes of active work—but the pressing itself can take time.
You’ll need flowers, some absorbent paper (blotting paper is ideal), and a frame. For a modern look, I love using a floating frame. A nice UV-protective one will probably run you between $15 and $25, but it’s worth it to keep the colors vibrant for longer.
The Pro Technique
Pick Your Flowers: The best flowers for pressing have naturally flat faces, like pansies, cosmos, lavender, and ferns. Thick, watery flowers like big roses are tough to press whole, but you can press their individual petals.
Press Them Fast: The traditional book method works, but it can take 2-4 weeks. For brighter colors, I prefer the microwave method. Sandwich your flowers between paper towels and two ceramic tiles, secure with rubber bands, and microwave in 30-second bursts. The ceramic wicks away moisture super fast, and they’re usually perfectly dry and flat in just a few minutes.
Arrange and Mount: This is where you need a delicate touch. The dried flowers are as thin as paper. Quick tip: Use tweezers to place the delicate, dried petals! Your fingers have oils and can be clumsy, leading to heartbreak and petal-shatter. Use a toothpick to apply a teeny-tiny dot of clear glue to a few key spots to hold them in place on the glass.
And be realistic: even with UV glass, all-natural pigments will fade a little over time. That’s just part of the beauty of a natural object. Just be sure to keep it out of direct sunlight!
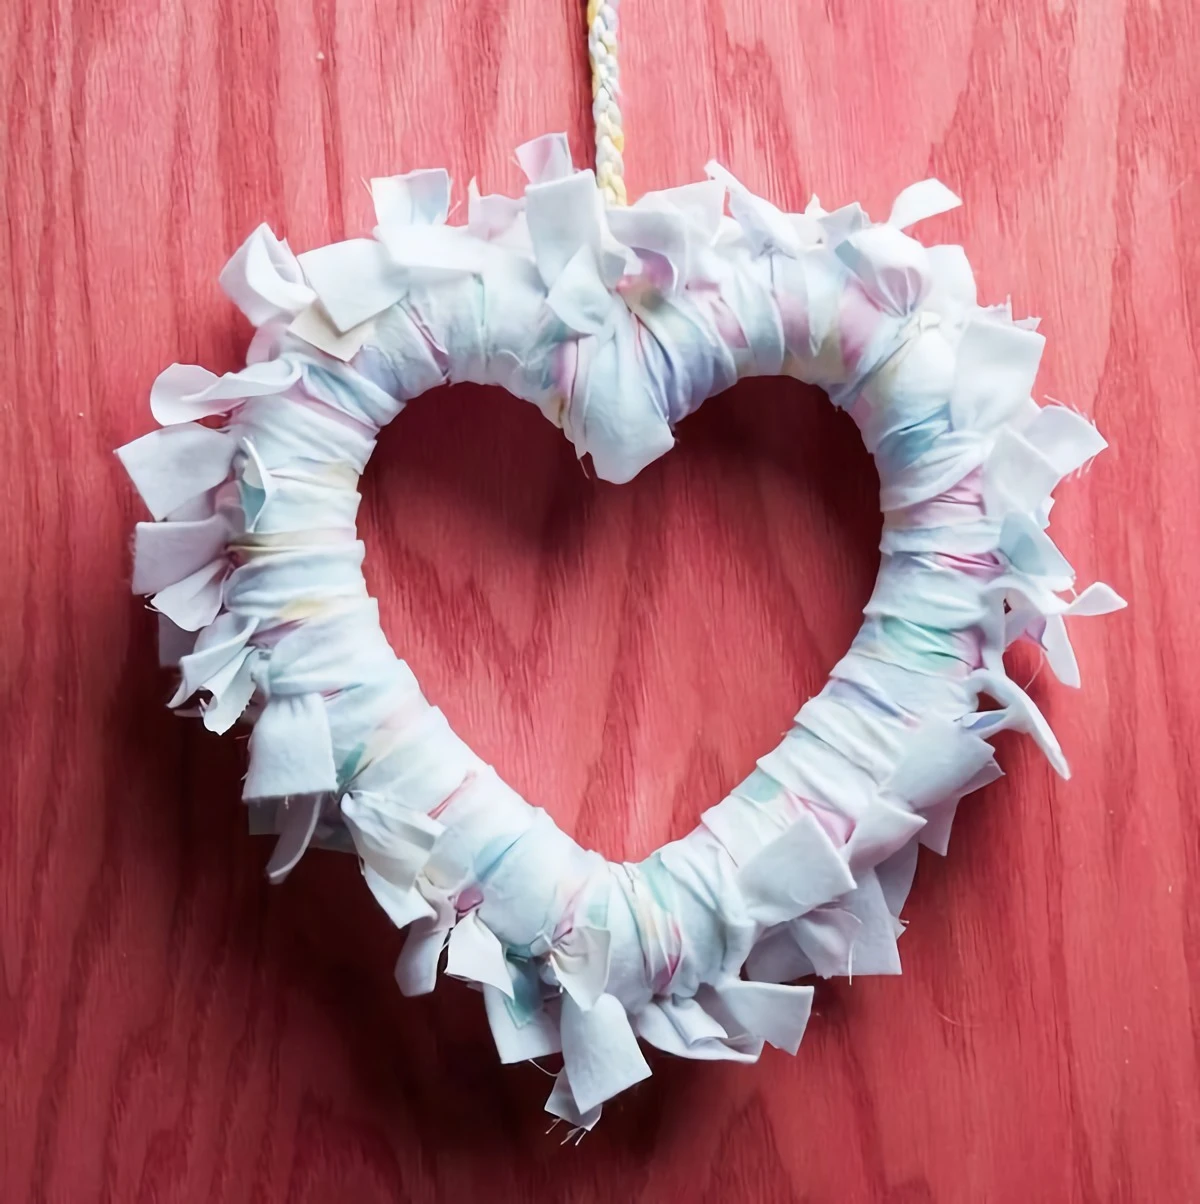
Project 3: The Cozy Fabric Wreath
A wreath is such a welcoming touch. You can make one that looks incredibly chic and cozy. For this project, set aside a good hour or two, especially if it’s your first time. You’ll need a wreath form—foam, wire, or grapevine—which you can get for about $5-10 at any craft store, plus your fabric.
For a standard 12-inch foam wreath form, you’ll need about 1.5 to 2 yards of fabric. This is a fantastic upcycling project! An old large-sized adult flannel shirt is usually the perfect amount of material.
The Pro Technique: The Perfect Wrap
Prep Your Fabric: Cut your fabric into long strips, about 2-3 inches wide. A rotary cutter and mat will give you the cleanest edges.
Start Securely: Use a pin or a dot of hot glue to attach the end of your first strip to the back of the wreath form.
Wrap with Tension: This is the key to a professional look. Pull the fabric taut as you wrap, overlapping each pass by about half. This keeps the strip flat and ensures no foam peeks through.
Hide Your Seams: When you finish a strip, secure it on the back and start the next one right on top of it. Always start and end your strips on the back of the wreath.
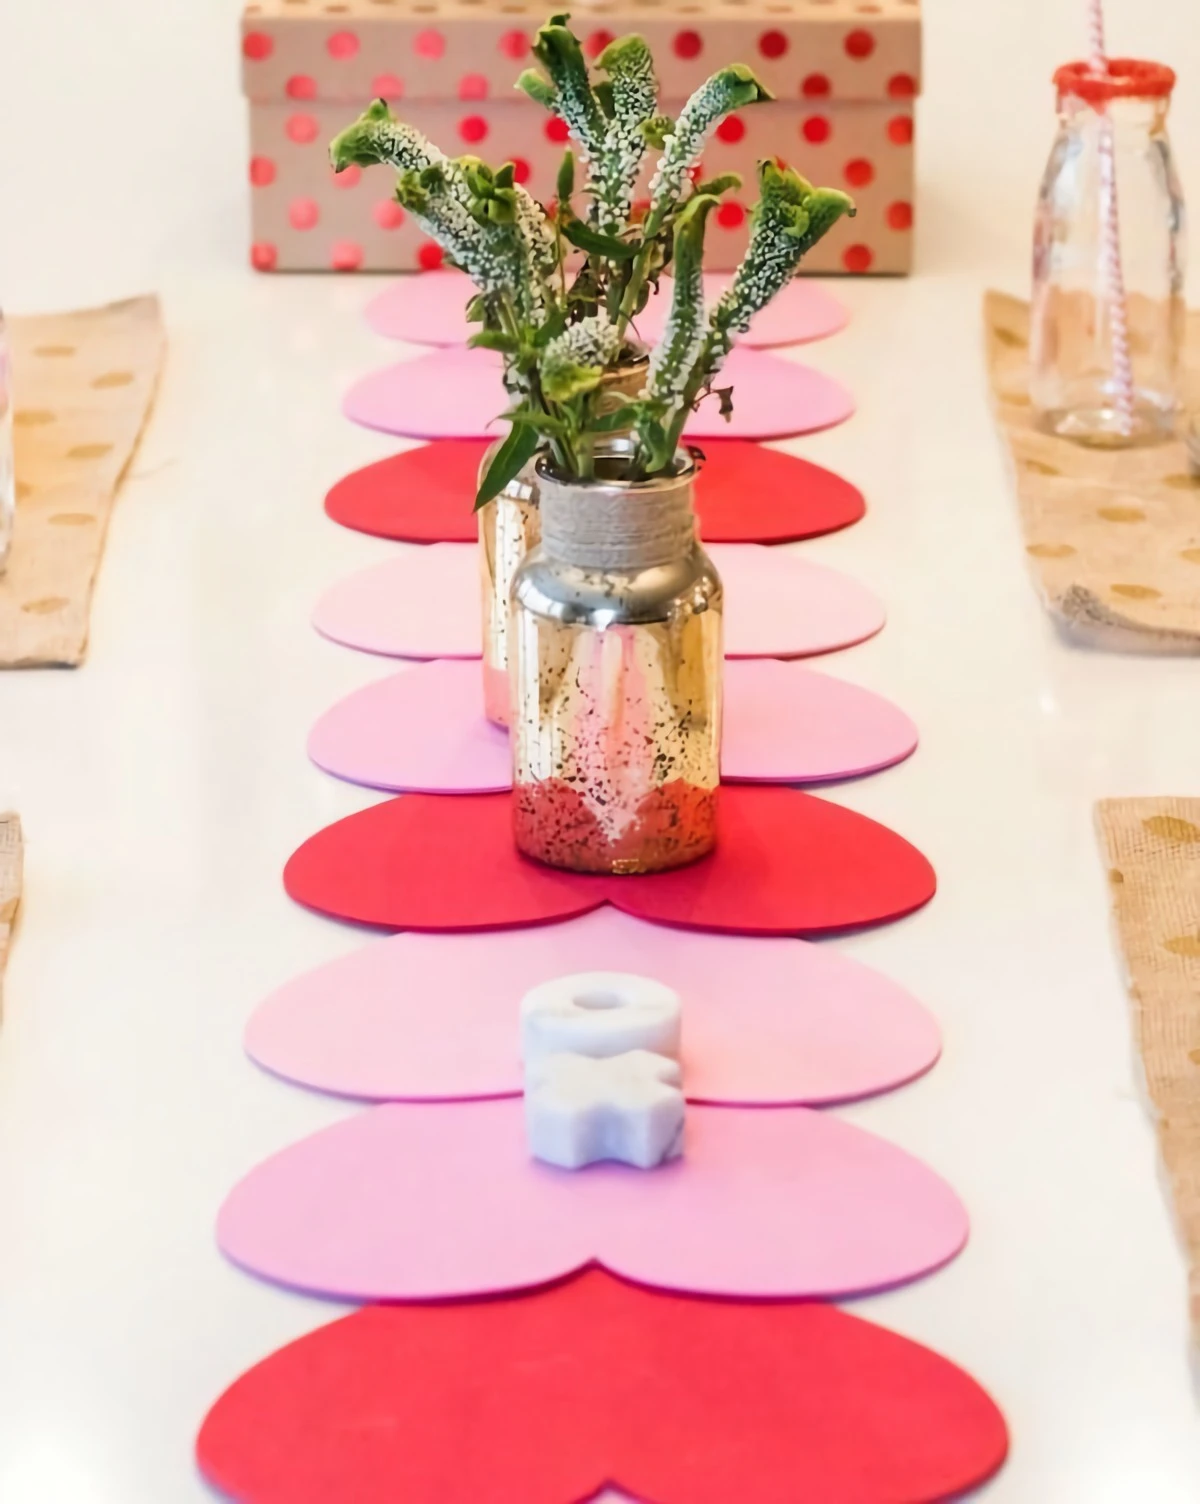
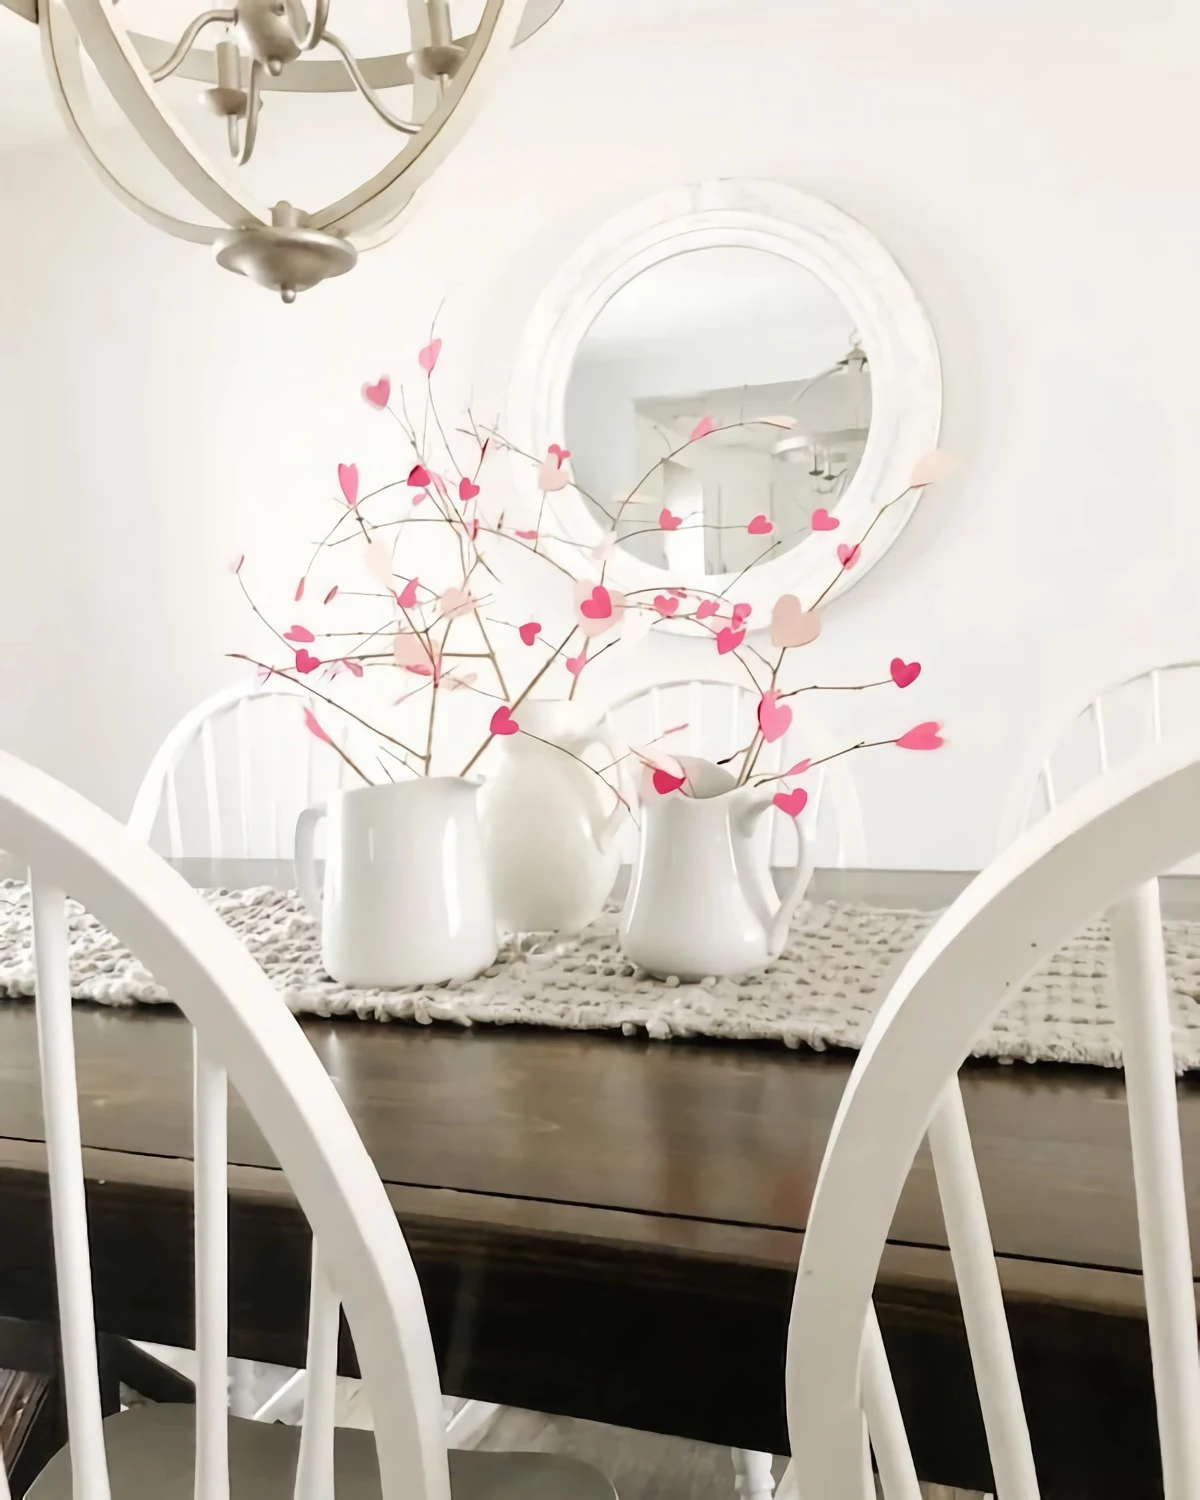
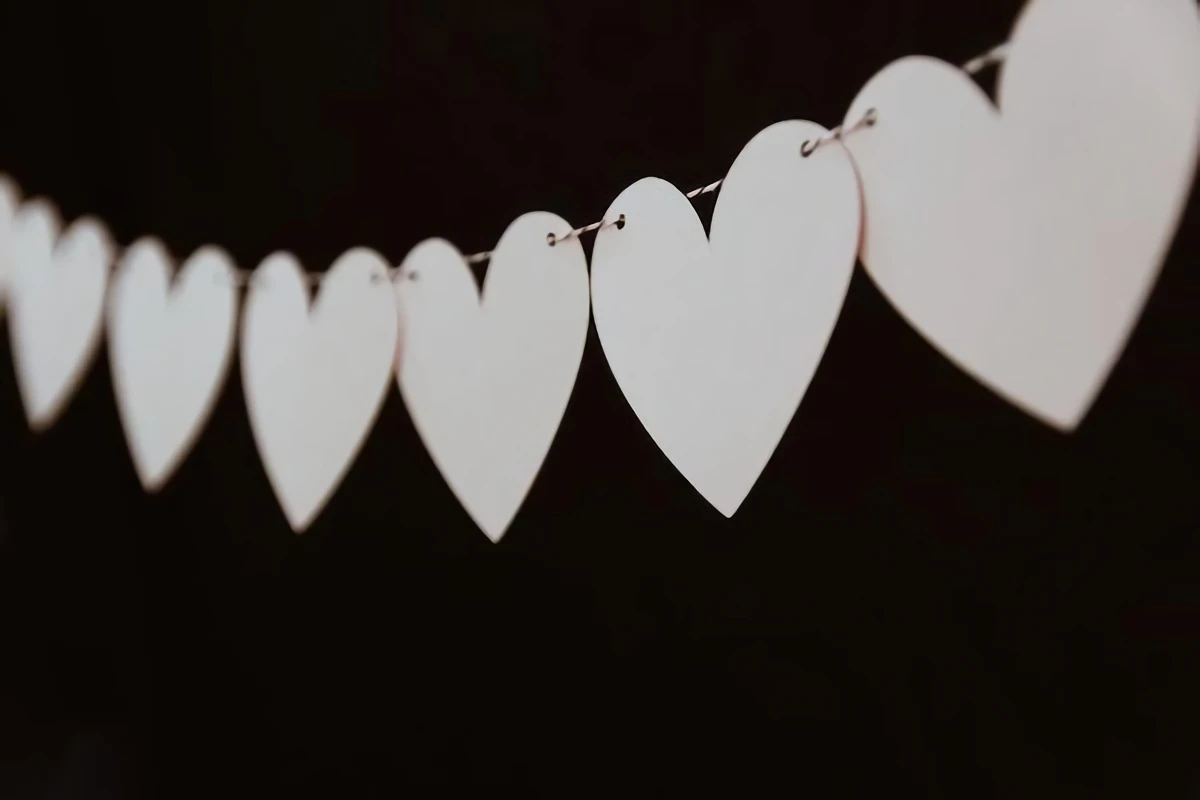
By the way, feeling a bit intimidated by a full project? Here’s a 5-minute win. Grab a cool-looking branch from your yard, use a hole punch and some twine to hang three simple hearts cut from cardstock. Instant, effortless style.
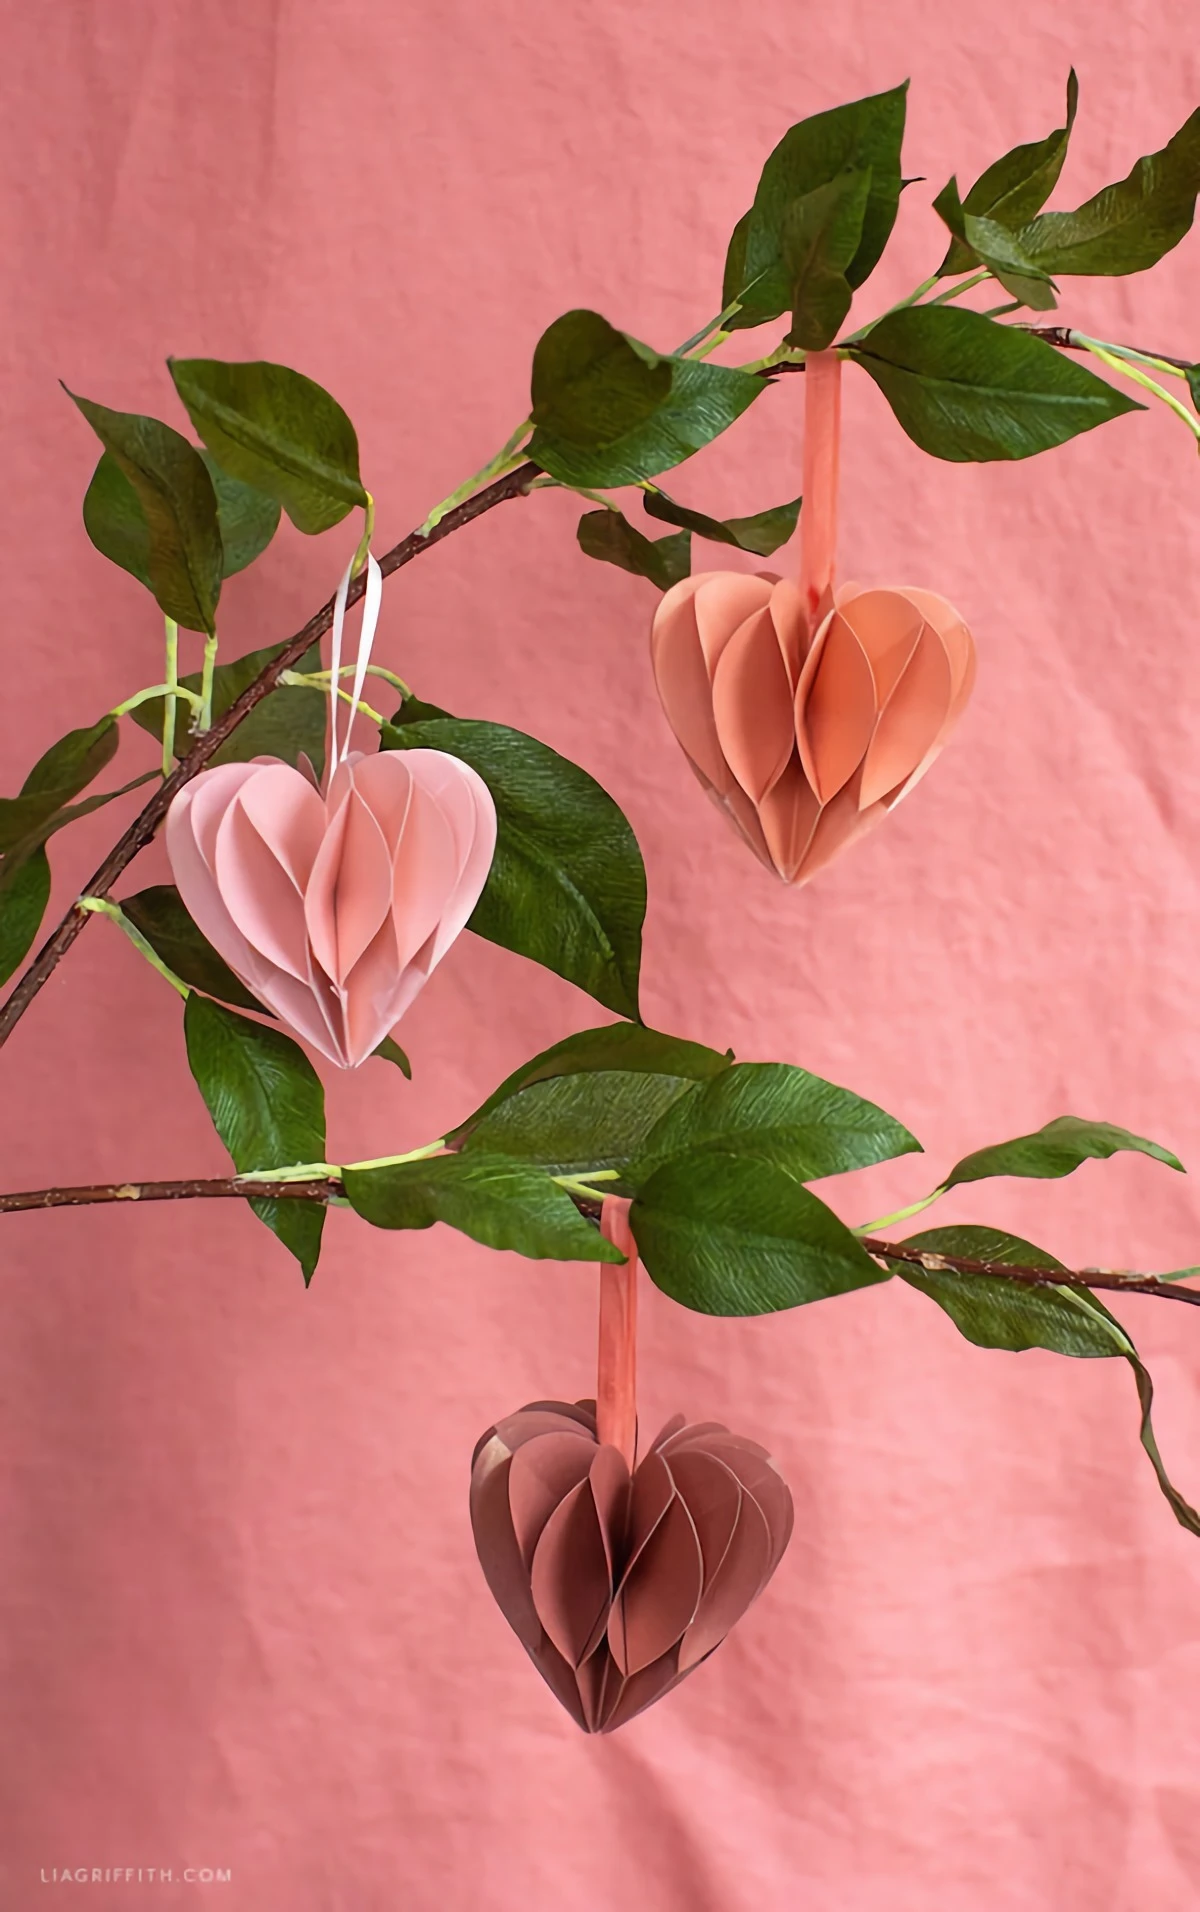
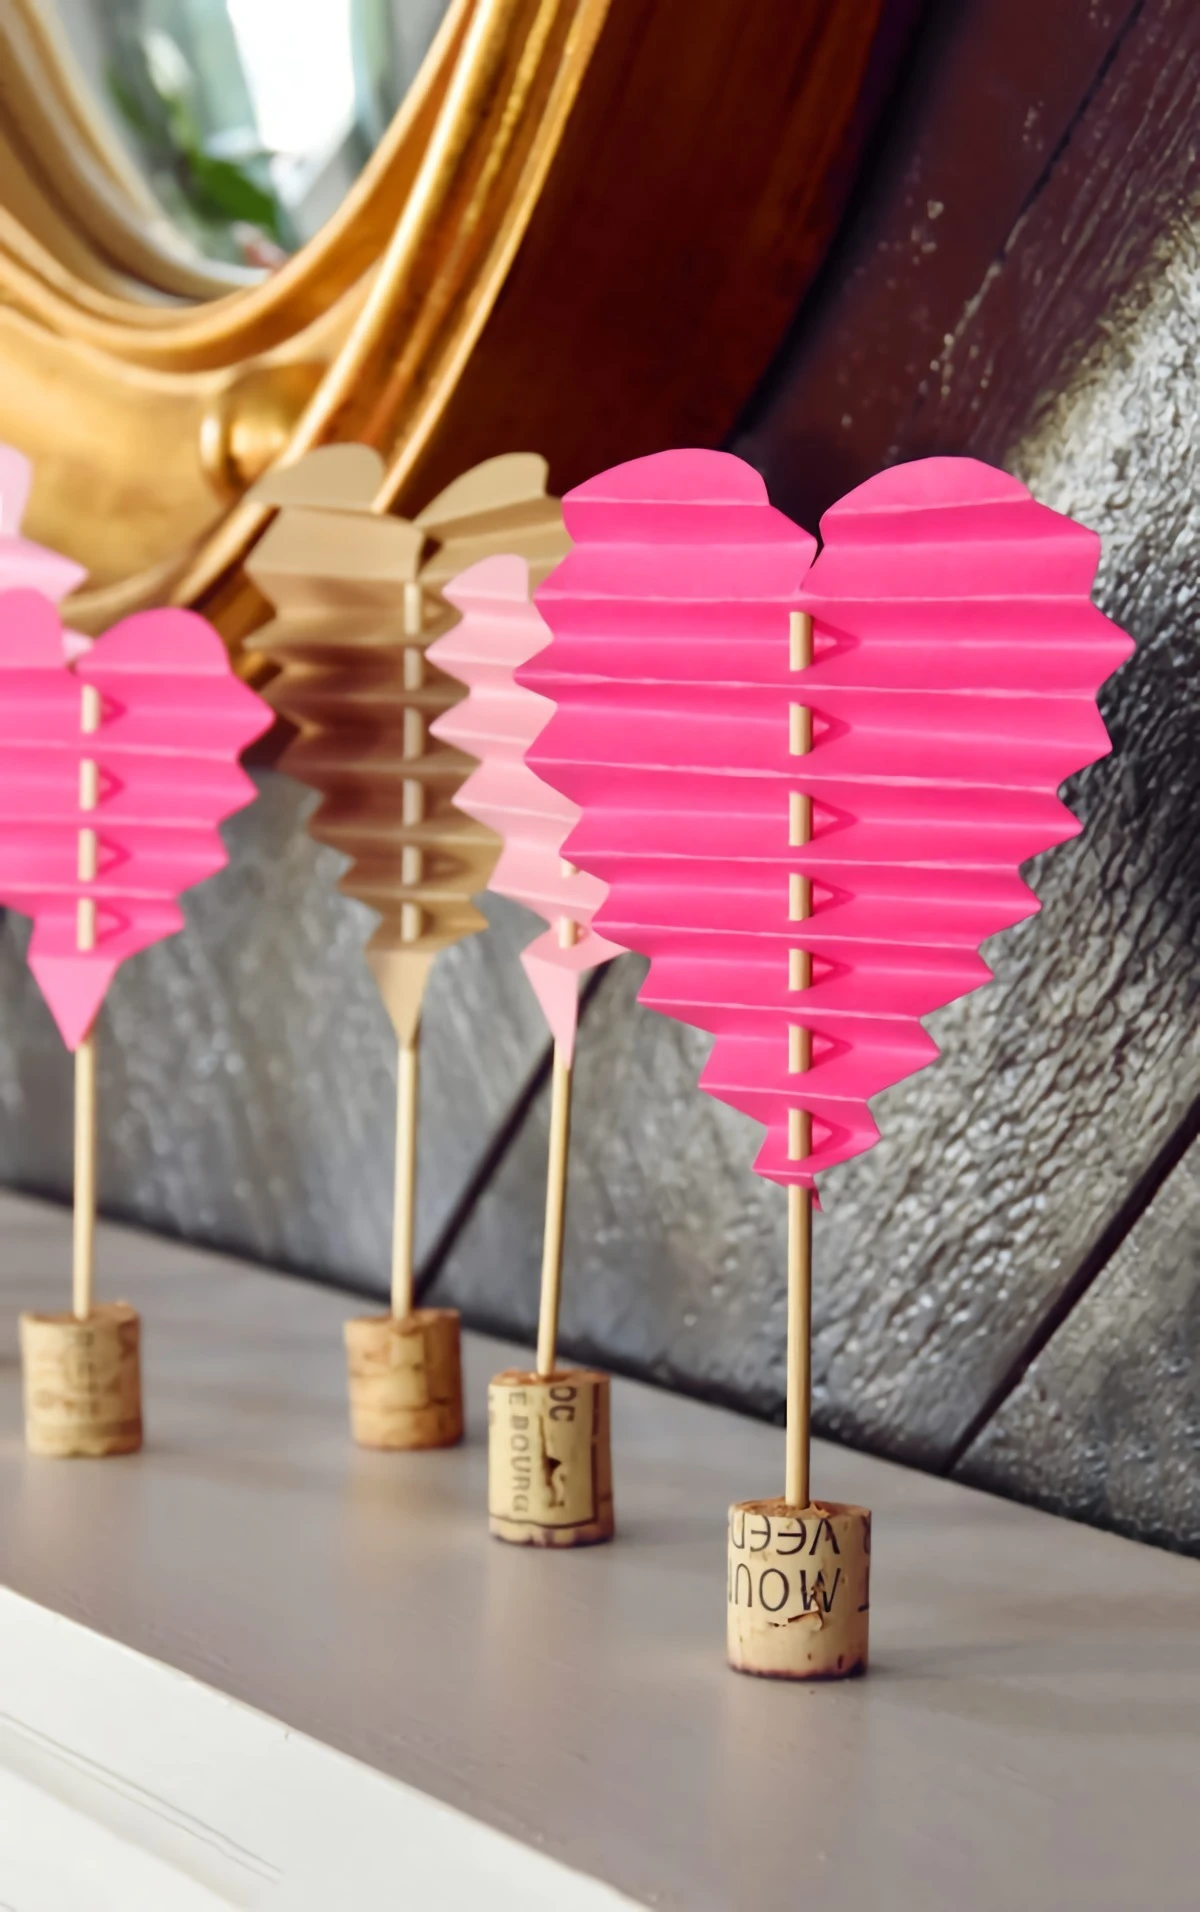
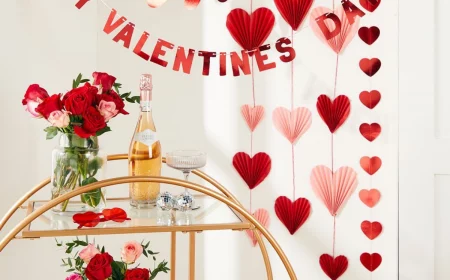
Advanced Project: Stunning Honeycomb Hearts
Okay, these look incredibly complicated, but they’re all about precision. Once you get the hang of it, it’s so satisfying. This one’s a bit more involved, so give yourself a solid 2-3 hours. The best part? This project costs next to nothing—just some thin paper and glue!
You need thin paper for this to work. Standard 20 lb printer paper is perfect. Cardstock is way too thick and won’t fan out. You’ll need about 40-50 identical sheets for a nice, full heart.
The Pro Technique
Make a Glue Template: Take a piece of cardstock the same size as your paper sheets. Draw parallel lines across it, about 1 inch apart. Number them in an alternating pattern: 1, 2, 1, 2, etc. This is your guide.
Layer and Glue: Place your first sheet of thin paper on the template. Run a thin line of craft glue along all the lines marked ‘1’. Place your second sheet on top and press down. Now, run glue along all the lines marked ‘2’. Place a third sheet on top. Repeat this process, alternating between the ‘1’ lines and ‘2’ lines, until you’ve layered all your sheets. Let the whole stack dry completely under a heavy book.
The Magic Cut: This is the crucial step! Once the stack is bone dry, draw half a heart shape on the top sheet. The straight, flat side of your half-heart should be along one of the folded edges of your paper stack (think of it as the ‘spine’).
Be Brave: Using a very sharp craft knife and a metal ruler, carefully cut through the entire stack of paper, following your half-heart outline. A fresh blade is non-negotiable here. Press hard and go slow.
The Reveal: Gently pull the front and back sheets apart, and the honeycomb will magically fan out into a full 3D heart! You can glue the front and back covers together to make a full circle or add a cardstock cover and a string to hang it. Voilà!
Inspiration:
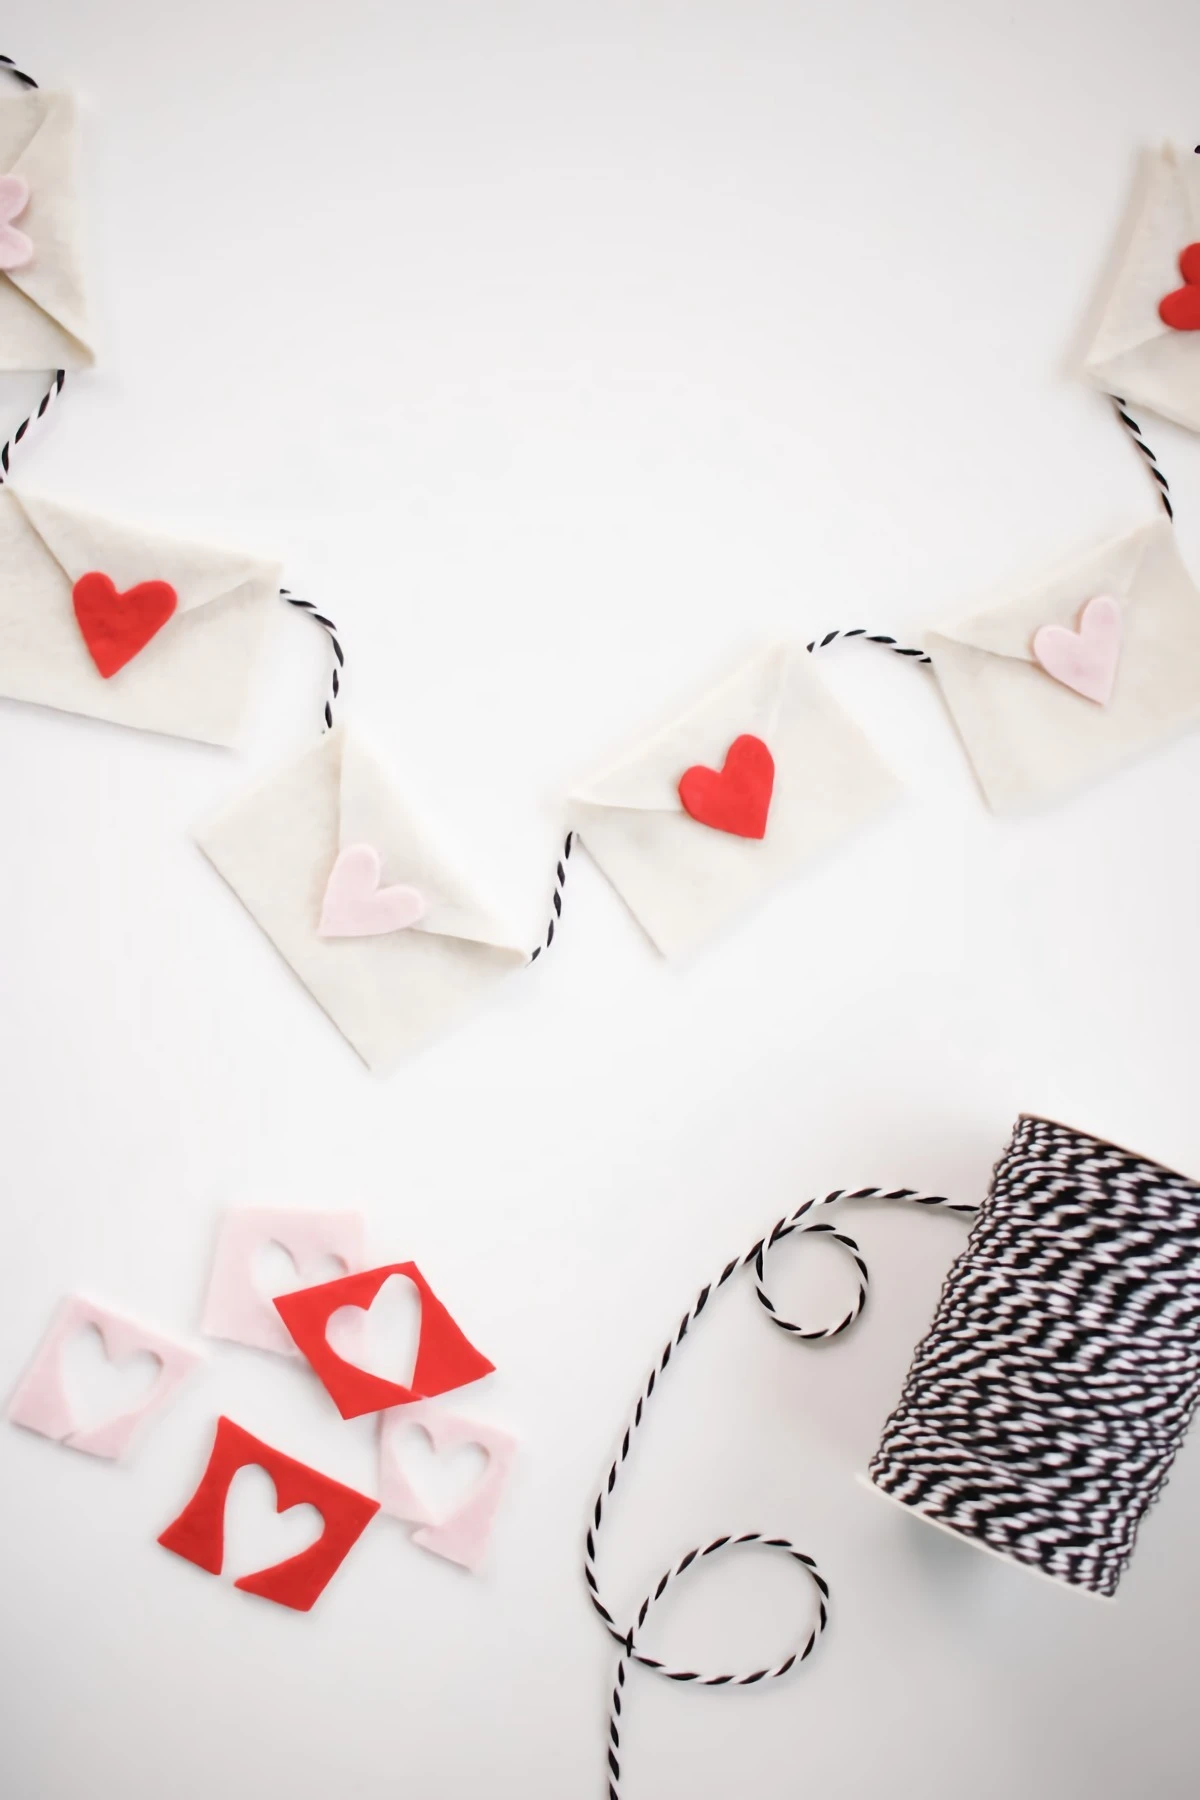
The right adhesive is a non-negotiable secret weapon. For lasting paper crafts, skip the school glue stick. A pH-neutral PVA glue like Aleene’s Original Tacky Glue provides a strong bond without yellowing over time. For fabric elements like felt hearts on a twig centerpiece, Beacon Fabri-Tac is brilliant as it won’t soak through and dries quickly. For joining heavier or non-porous materials, a small dab of E6000 industrial adhesive creates a permanent, waterproof bond that will last for years.
According to a study in the Journal of Marketing, the
Tired of the simple, flat paper heart?
Elevate it by focusing on dimension and texture. Try scoring and folding a heart down the middle for a subtle 3D effect on a garland. For a touch of luxury, apply gold leaf to the edges of a thick, cream-colored cardstock heart. A kit like Speedball’s Mona Lisa Metal Leaf provides all you need. Another professional touch is layering; place a slightly smaller heart cut from translucent vellum paper over a deep burgundy one to create depth and softness.
Your beautiful creations deserve a safe hibernation. To prevent crushing and color fading, store your decorations by wrapping them individually in acid-free tissue paper. Avoid plastic bags, which can trap moisture. A sturdy, clearly labeled photo storage box is perfect for keeping everything organized and protected from dust and light in a cool, dry closet until next February.
Moody Romance: Think deep burgundy, dusty rose, and touches of black, accented with brushed gold. This palette feels sophisticated and passionate, perfect for a romantic dinner setting.
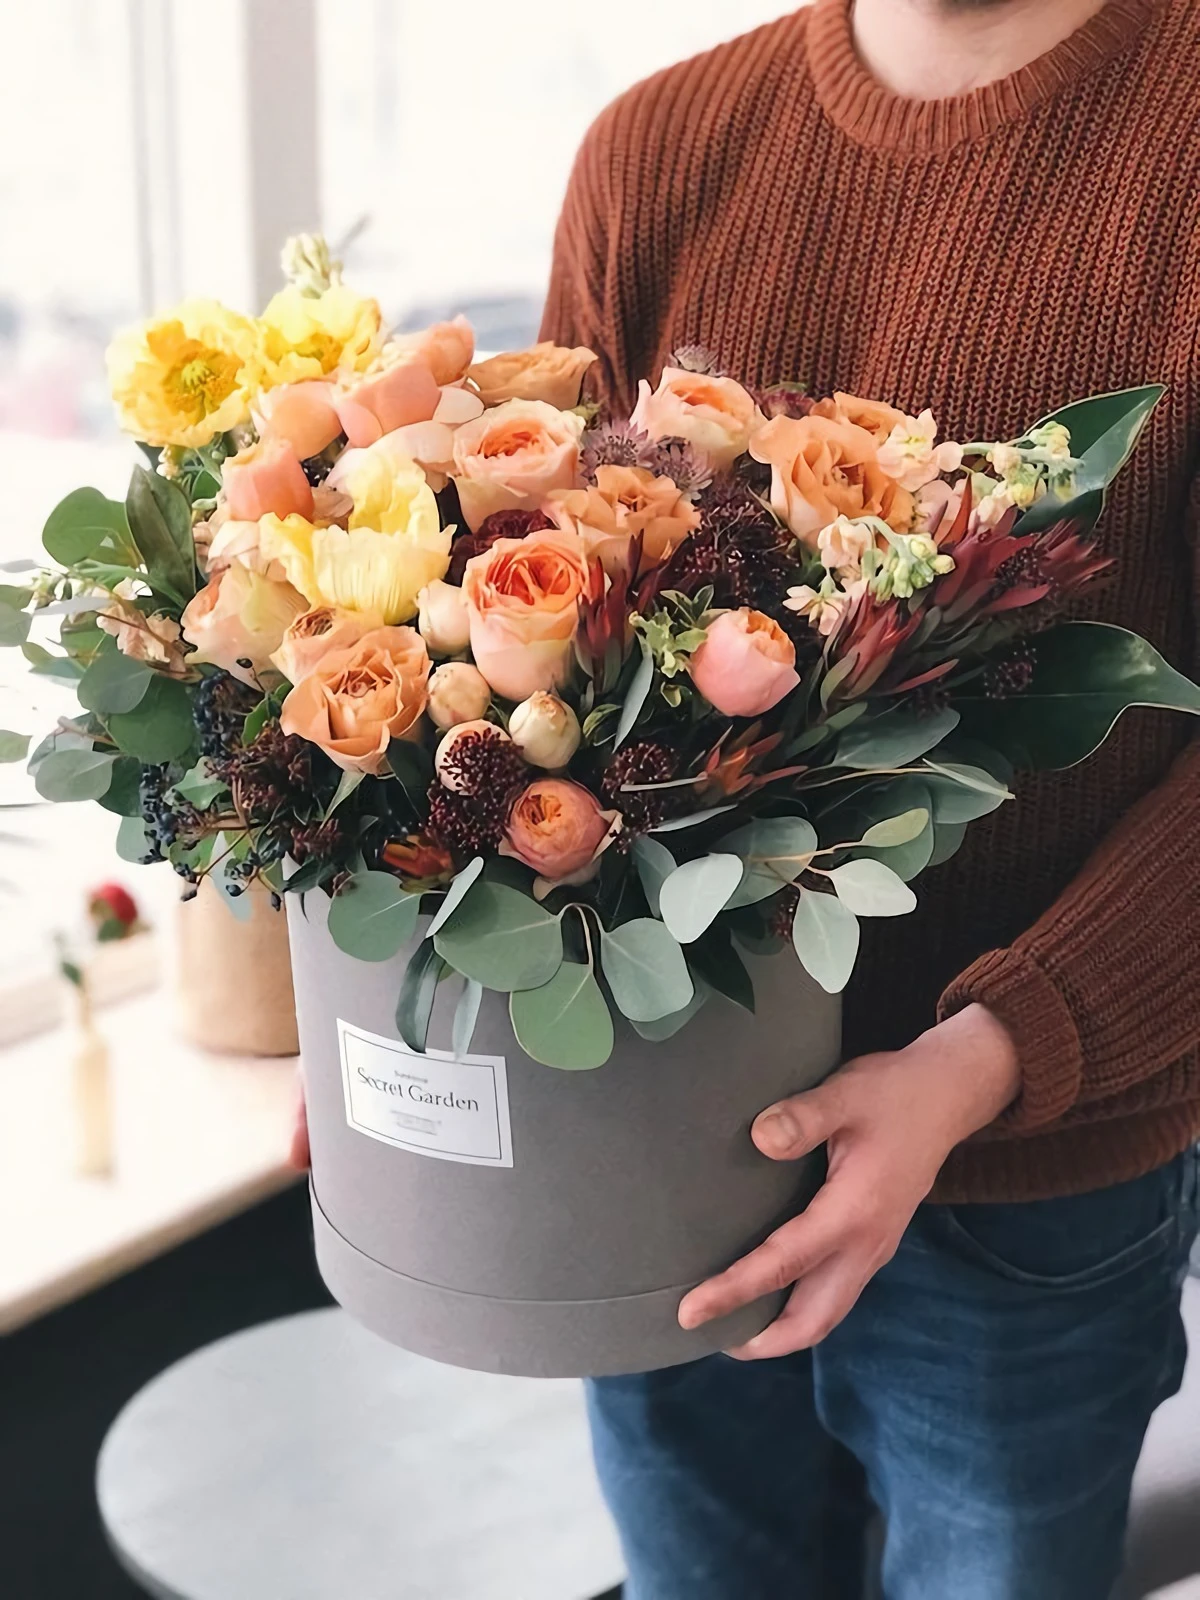
Fresh & Modern: Combine soft peach, mint green, and creamy whites with metallic copper details. This combination is light, unexpected, and moves away from traditional holiday colors.
Both palettes instantly elevate your decor beyond the expected candy-aisle look.
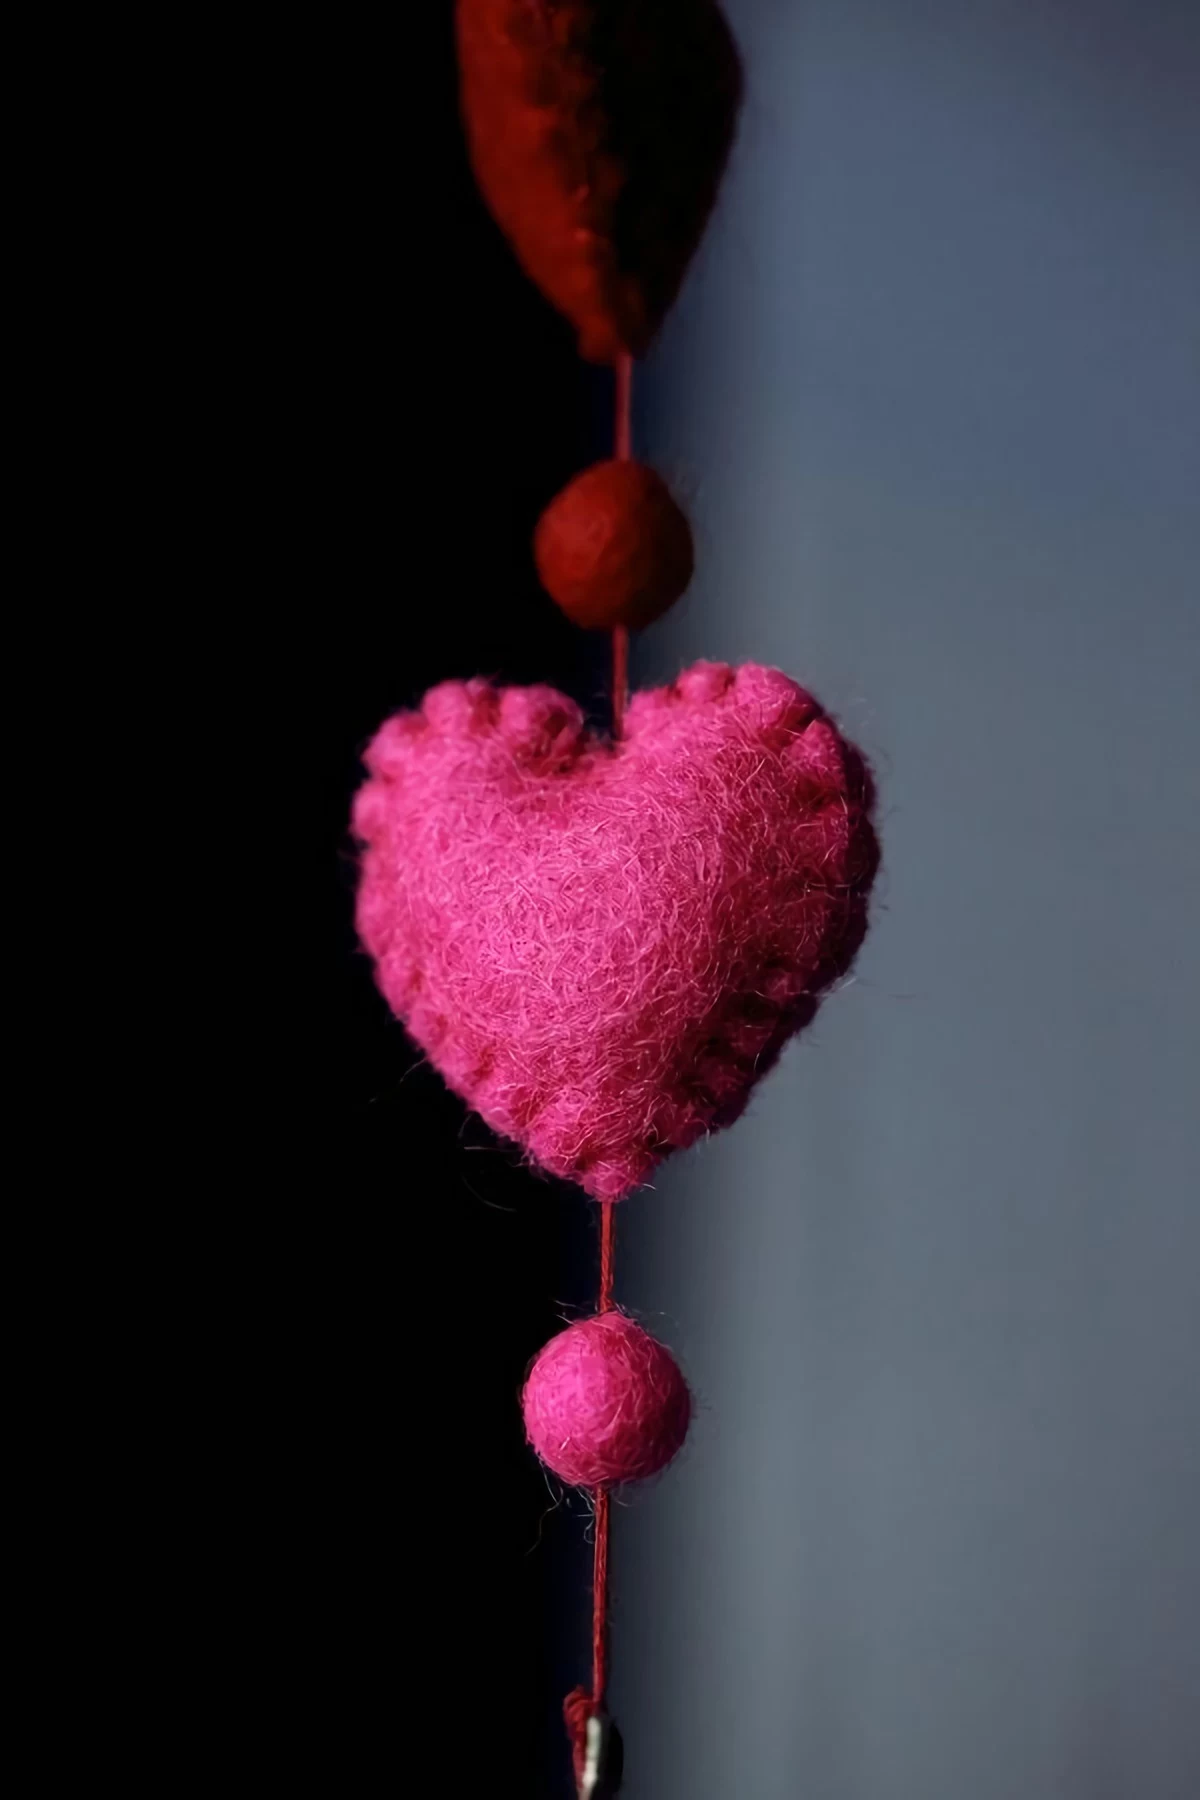
They hold their shape without drooping.
They feel substantial and luxurious to the touch.
The colors are richer and more saturated.
The secret? Using 100% wool felt instead of the common acrylic craft-store version. For high-quality, lasting felt ornaments and garlands, sourcing from specialty suppliers like Benzie Design makes a world of difference.
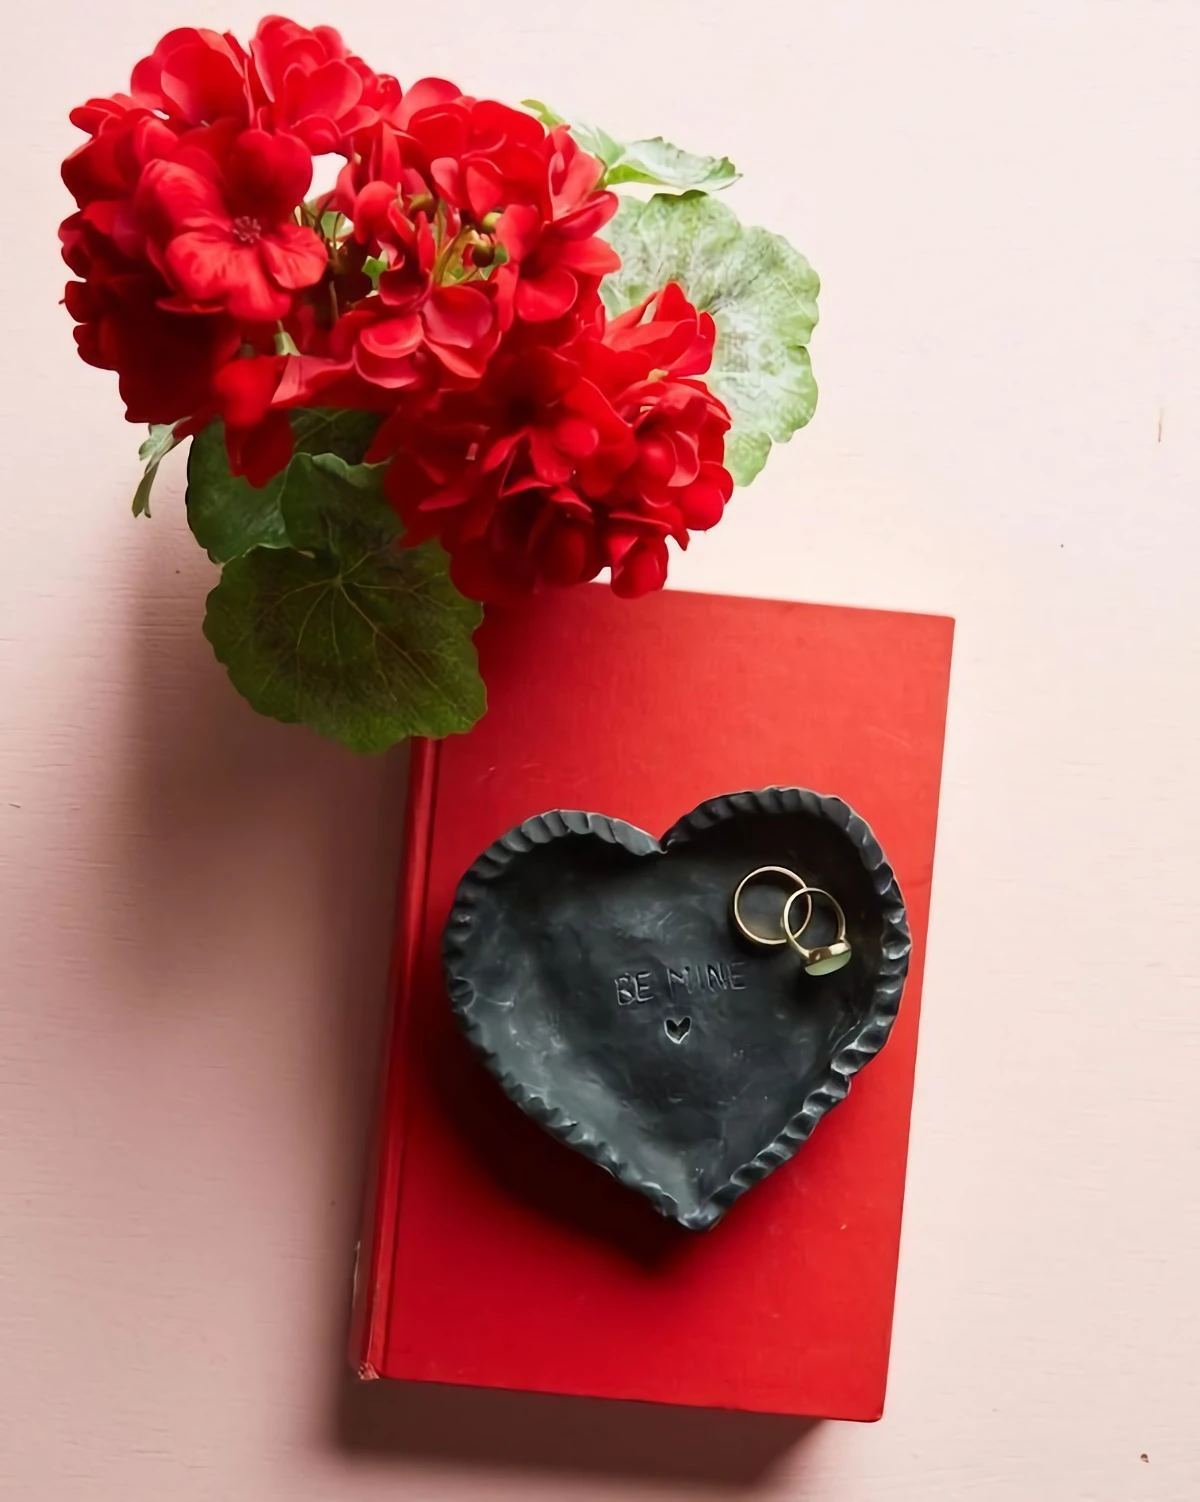
For a truly unique piece, draw inspiration from Kintsugi, the Japanese art of mending broken pottery with gold.
This philosophy celebrates imperfection as part of an object’s history. Create your own version with a plain ceramic heart. Carefully break it, glue the pieces back together, and then use a fine gold paint pen, like a Pebeo Porcelaine 150 marker, to trace the cracks. It becomes a beautiful symbol that love can be found in healing.
Using a dull craft knife or scissors, which results in fuzzy, torn edges on paper.
Forgetting to score paper before folding, which prevents a crisp, professional-looking crease.
Applying hot glue directly to thin paper; the heat will cause it to warp and ripple instantly.
Choosing a ribbon that’s too heavy for a lightweight paper garland, causing it to sag.
John combines 12 years of experience in event planning, interior styling, and lifestyle curation. With a degree in Visual Arts from California Institute of the Arts and certifications in event design, he has styled luxury weddings, corporate events, and celebrity celebrations. John believes in creating memorable experiences through innovative design and attention to detail.
To provide the best experiences, we use technologies like cookies to store and/or access device information. Consenting to these technologies will allow us to process data such as browsing behavior or unique IDs on this site. Not consenting or withdrawing consent, may adversely affect certain features and functions.
Functional
Always active
The technical storage or access is strictly necessary for the legitimate purpose of enabling the use of a specific service explicitly requested by the subscriber or user, or for the sole purpose of carrying out the transmission of a communication over an electronic communications network.
Preferences
The technical storage or access is necessary for the legitimate purpose of storing preferences that are not requested by the subscriber or user.
Statistics
The technical storage or access that is used exclusively for statistical purposes.The technical storage or access that is used exclusively for anonymous statistical purposes. Without a subpoena, voluntary compliance on the part of your Internet Service Provider, or additional records from a third party, information stored or retrieved for this purpose alone cannot usually be used to identify you.
Marketing
The technical storage or access is required to create user profiles to send advertising, or to track the user on a website or across several websites for similar marketing purposes.