Your Guide to Aluminum Christmas Trees: From Buying to Glowing
I’ve spent more than two decades immersed in the world of vintage holiday decorations, and let me tell you, nothing gets me more excited than an aluminum Christmas tree. I’ve restored and set up hundreds of them, from dusty estate sale finds to pristine, boxed treasures. My very first was a classic six-footer, complete with all its original paper sleeves. The moment I held it, I was hooked. These aren’t just decorations; they’re shining artifacts of a uniquely optimistic and futuristic design era.
In this article
So, you’ve got your hands on one—or you’re thinking about it. Awesome! But a lot of people grab these for the cool retro vibe and then, honestly, have no idea what to do next. You can’t just fluff the branches and toss on some lights like you would with a modern tree. That’s a fast track to damaging a beautiful classic, or worse, creating a serious safety issue.
My goal here is to share everything I’ve learned from years of hands-on work. We’ll go through it all, so you can set up your tree correctly and make it look absolutely stunning.
First Things First: A Quick Shopping List
To get started on the right foot, here’s a basic rundown of what you’ll need. It makes the whole project feel a lot more manageable.
- An Aluminum Tree
- A Color Wheel (this is non-negotiable!)
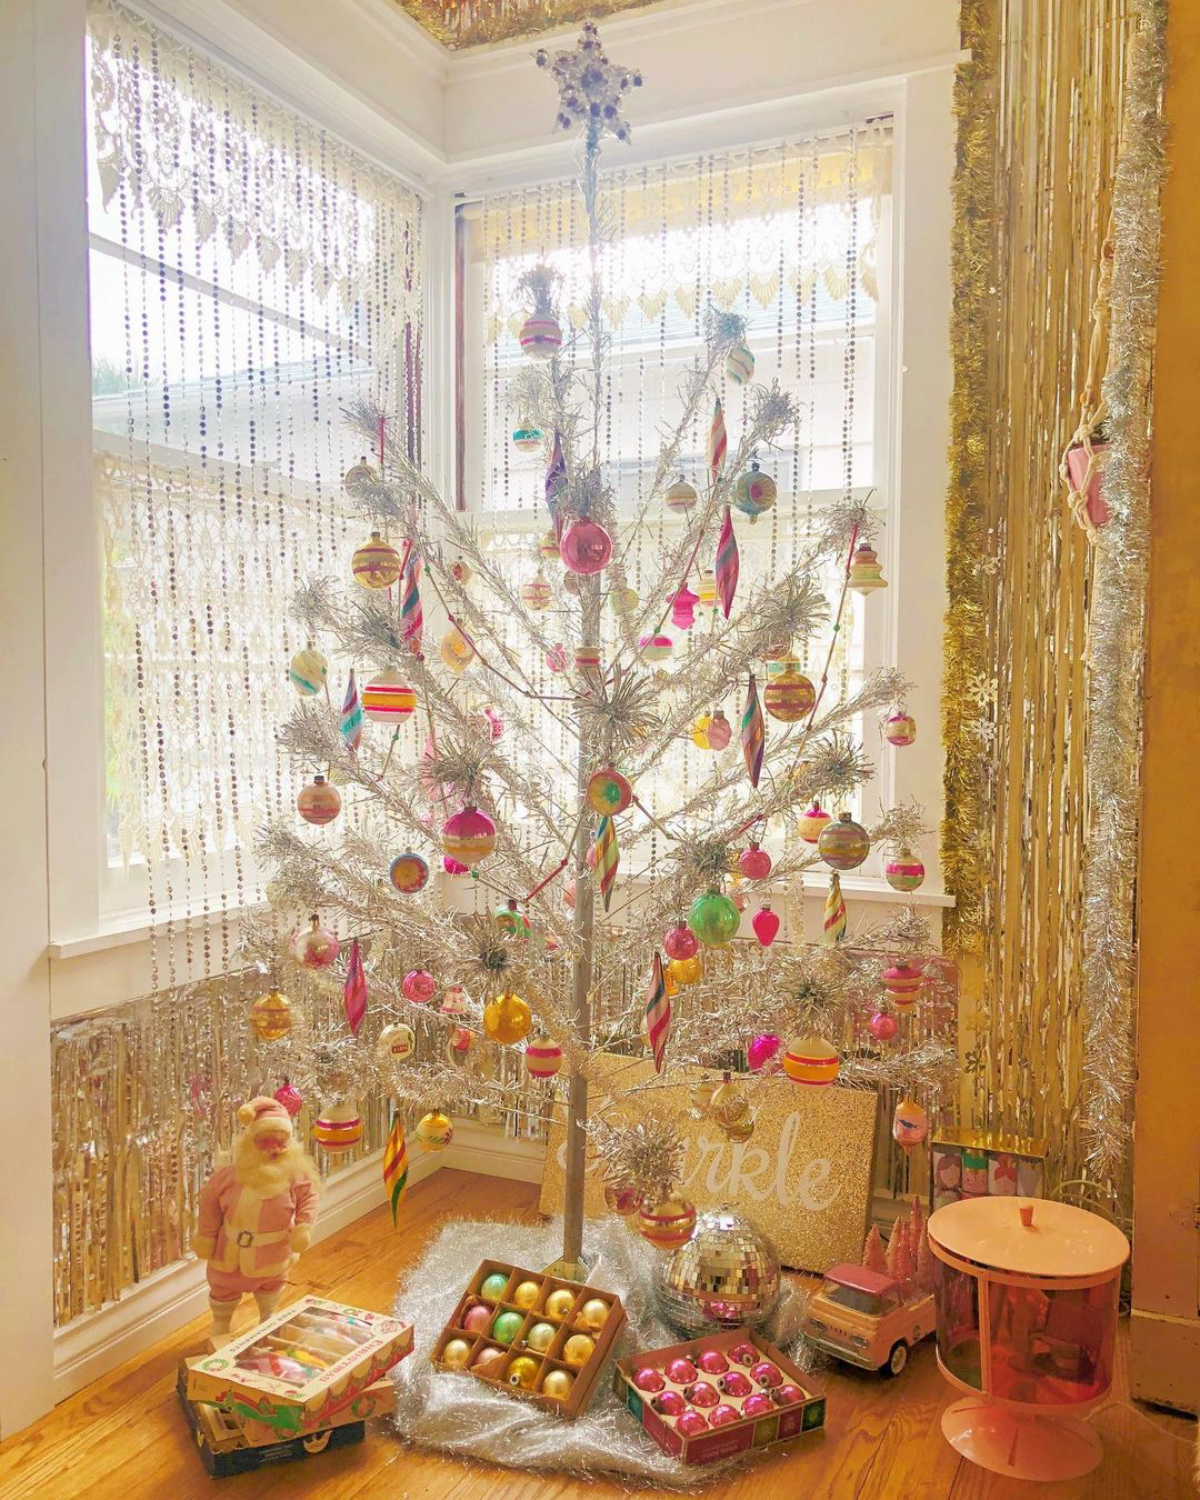
- Lightweight Ornaments (think vintage glass balls or modern shatterproof ones)
- Clean Cotton or Nitrile Gloves
- Acid-Free Tissue Paper (for storage, if you don’t have the original sleeves)
What to Look For When Buying a Vintage Tree
Before we even talk about setup, let’s talk about buying. You want a treasure, not a project that will break your heart. Whether you’re at a flea market or browsing online, here are some red flags to watch for:
- Price Check: What’s a fair price? It varies a lot. For a common 6-foot tree in good shape with its box, you might pay between $150 and $300. If it’s a rare color like pink or a highly sought-after model, that price can easily jump to $500 or more. If a deal seems too good to be true, inspect it closely.
- Corrosion: Look for white, chalky, or black spots on the aluminum needles. A little tarnish is one thing, but widespread corrosion is nearly impossible to fix.
- Missing Branches: Count them! Ask the seller if it’s a complete set. Finding exact replacement branches can be a real headache.
- The Center Pole: Check the holes where the branches insert. Are they stripped or enlarged? If branches are loose and wobbly, it’s a sign the pole is damaged.
- The Stand: Does it have the original stand? Is it stable? A wobbly tree is a disaster waiting to happen.
The Secret to Their Sparkle (And How NOT to Mess It Up)
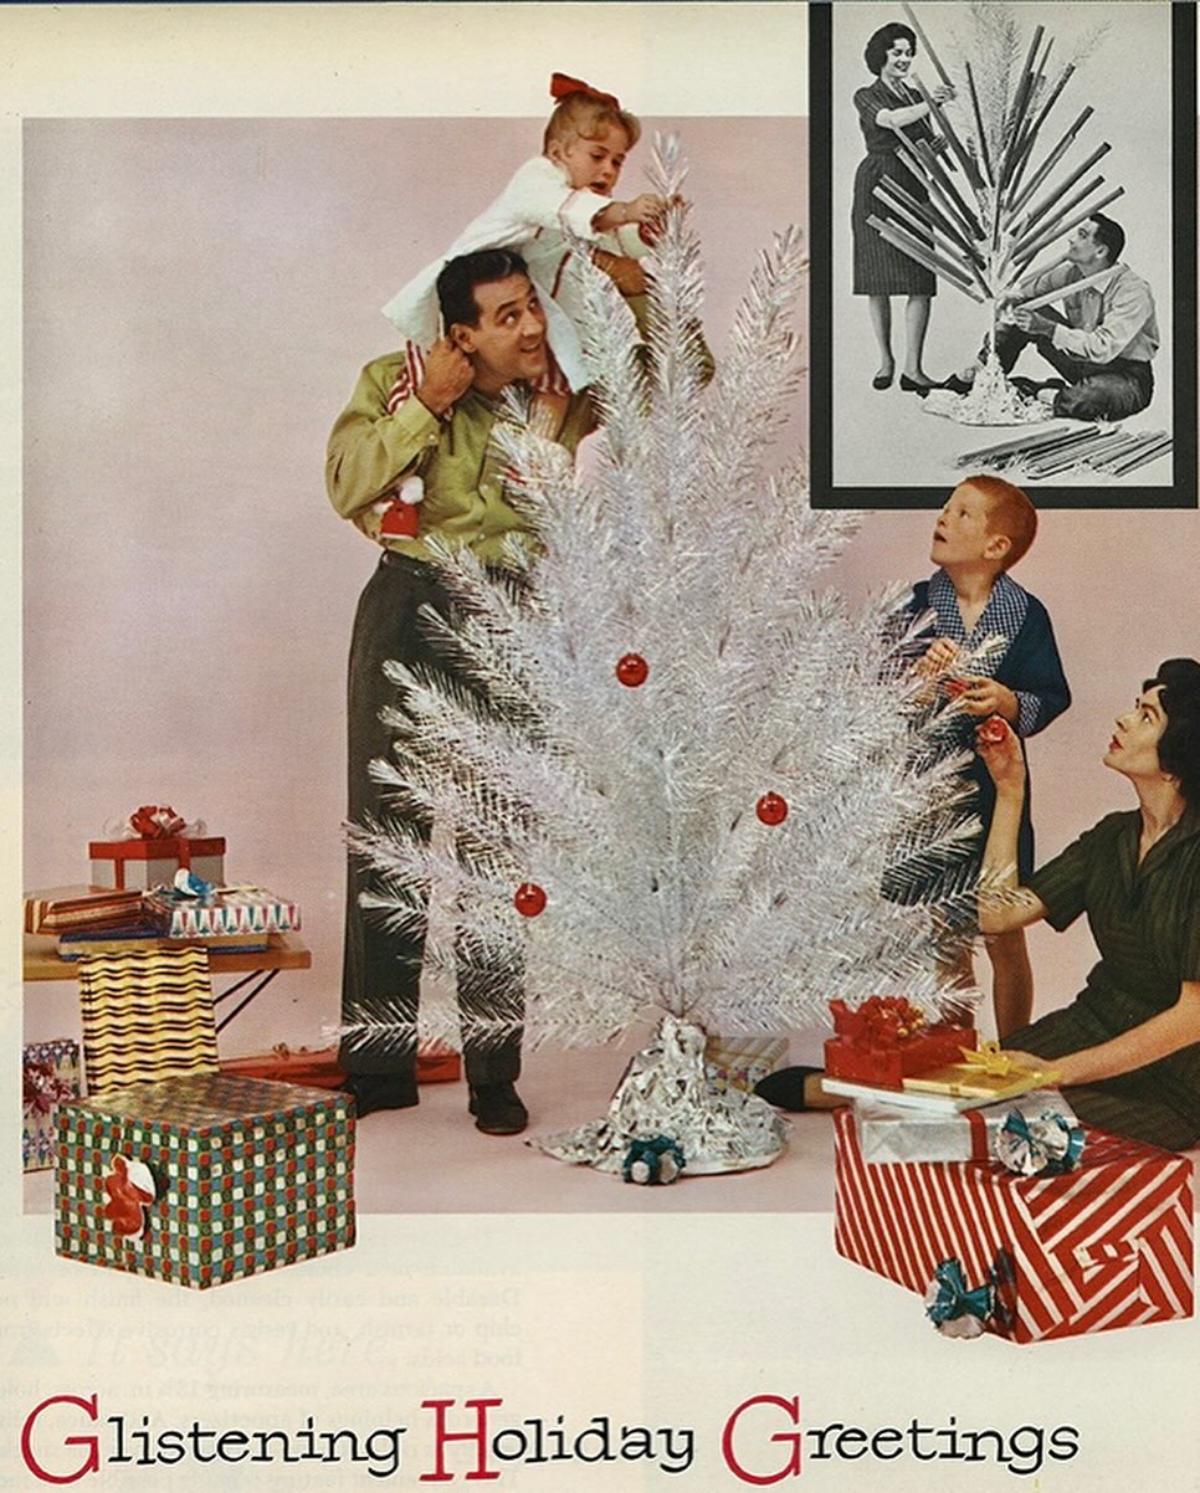
Ever wonder why these trees shine so intensely? It’s not just because they’re silver. The “needles” are actually thin strips of aluminum foil, precision-cut and wrapped around a wire. Each of these thousands of flat surfaces acts like a tiny mirror, creating a focused, shimmering reflection that you just don’t get from a normal tree.
Understanding this is key to lighting it properly. And this brings me to my most important point. I’m going to say it in bold because it’s a life-or-death safety rule:
NEVER, EVER WRAP STRING LIGHTS AROUND AN ALUMINUM TREE.
I cannot stress this enough. Aluminum is a metal, and it conducts electricity. If you have a frayed wire or a faulty bulb on that string of lights, the entire tree can become electrified. It’s a massive shock and fire hazard. The original trees even came with explicit warnings about this.
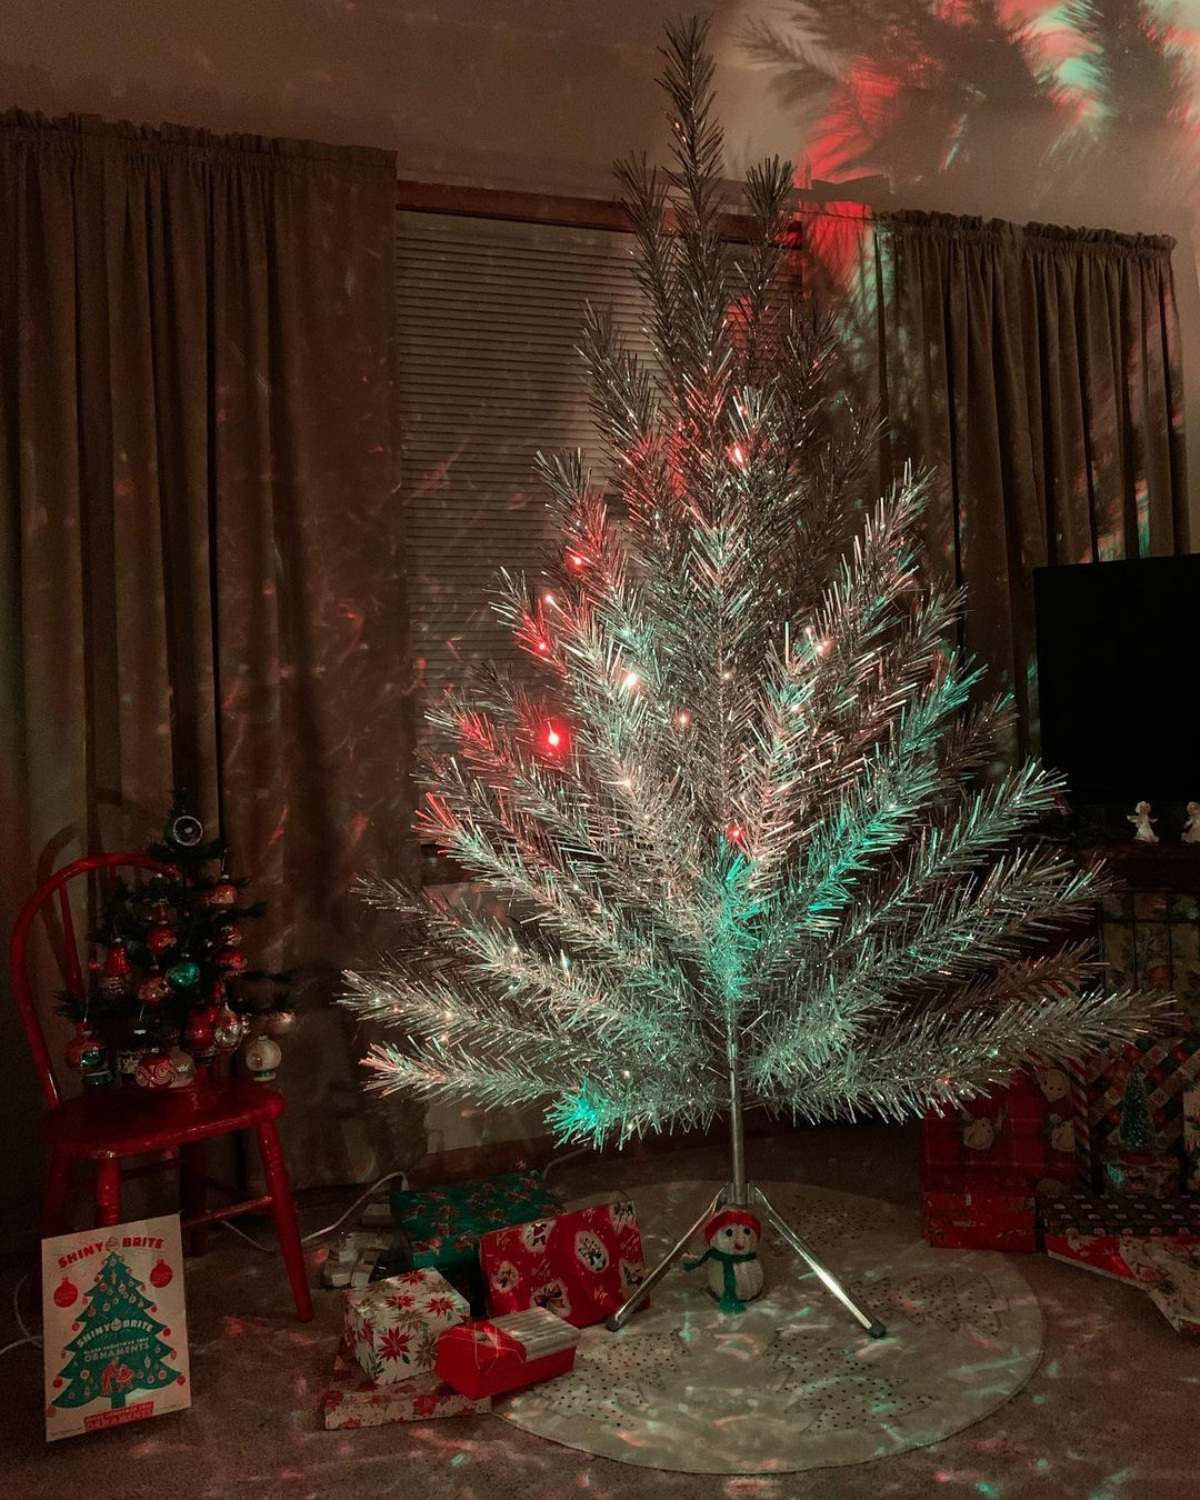
So how do you light it? With an external spotlight called a color wheel. It’s a simple lamp with a slowly rotating wheel of colored plastic gels—usually red, green, blue, and yellow. You place it on the floor a few feet away, and it bathes the tree in a gorgeous, shifting wash of color. This isn’t just a retro quirk; it’s the entire basis of the tree’s design and its most critical safety feature.
Good to know: Vintage color wheels are cool, but their old wiring can be a major fire risk. I once bought one where the cord literally crumbled in my hands. A safer bet is a modern reproduction. You can find excellent LED versions online for around $40 to $70 that run cooler and have quiet motors.
Assembling Your Tree Like a Pro
Okay, let’s get this beauty set up. A little patience here goes a long way. First, put on a pair of clean cotton gloves. The oils from your hands can tarnish the aluminum over time, leaving fingerprints that are a pain to remove.
The assembly is pretty straightforward: a stand, a two-piece center pole (usually wood), and a whole bunch of branches. My method is to always work from the bottom up.
- Build the Base: Insert the branches into the lowest row of holes on the pole.
- Fan Each Branch: This is the secret. Take one branch and gently spread the aluminum needles apart, creating a flat, feather-like shape. You’re aiming for what some call a “peacock” or “fountain” look. Be gentle, as the foil can crease.
- Position the Branch: Angle the fanned-out branch so it sits mostly parallel to the floor. You aren’t trying to mimic a pine branch; you’re creating a full, modern, symmetrical shape.
- Work Your Way Up: Repeat this for every branch, row by row. The branches usually get shorter as you move up the tree. A six-foot tree can easily have around 100 branches, so plan for this to take a good 45 to 60 minutes. Put on some music!
Quick Tip: Feeling overwhelmed or short on time? Just assemble the bottom two or three rows and place the tree on a tabletop. It creates a really cool, minimalist display, and you can always finish the rest later.
Decorating for Maximum Impact
When it comes to decorating an aluminum tree, less is truly more. The tree itself is the star of the show.
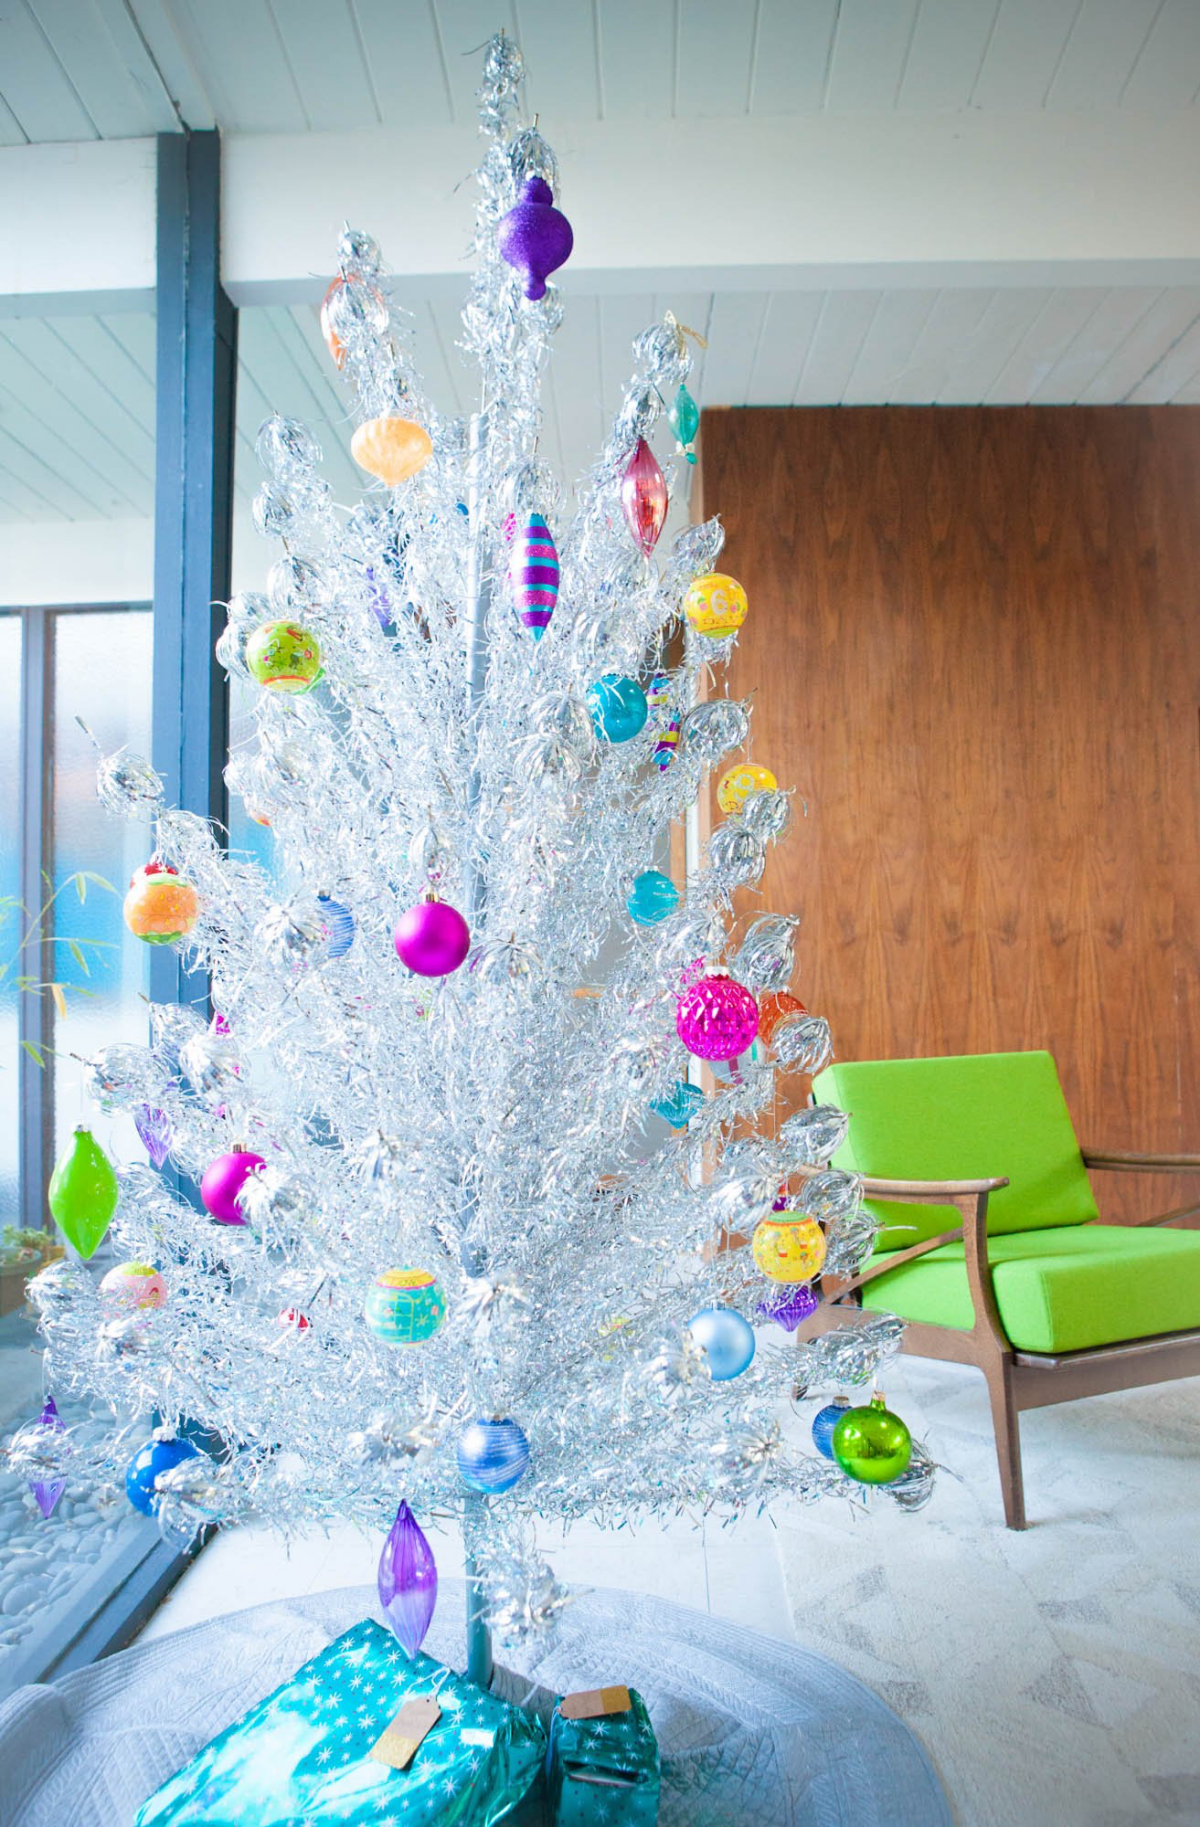
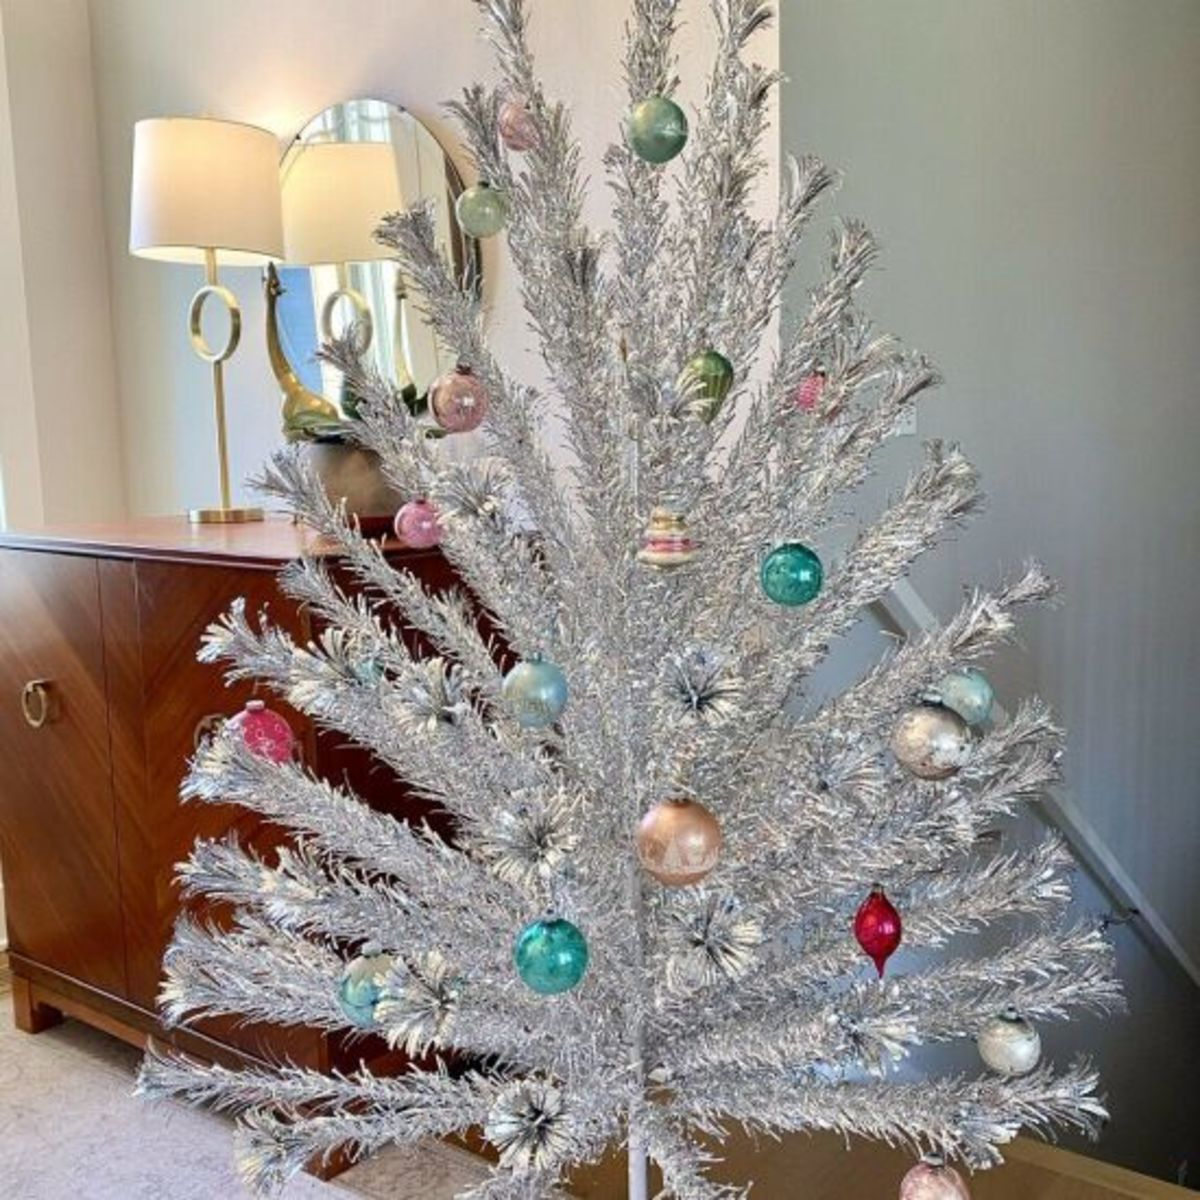
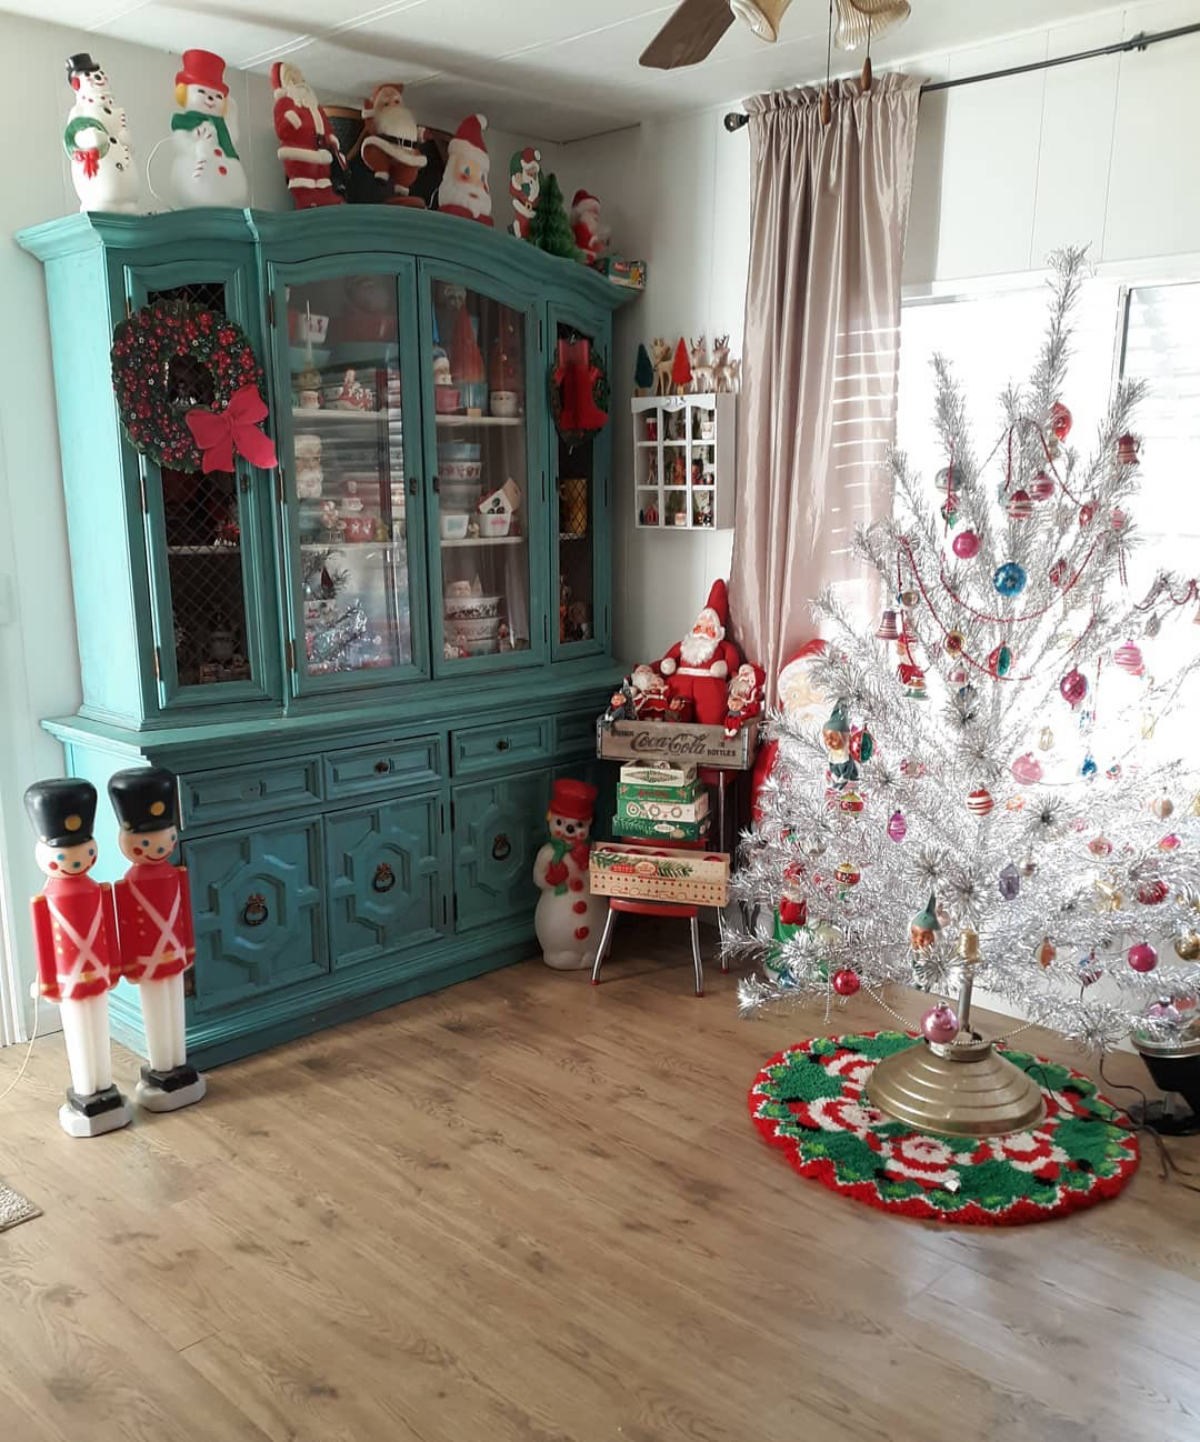
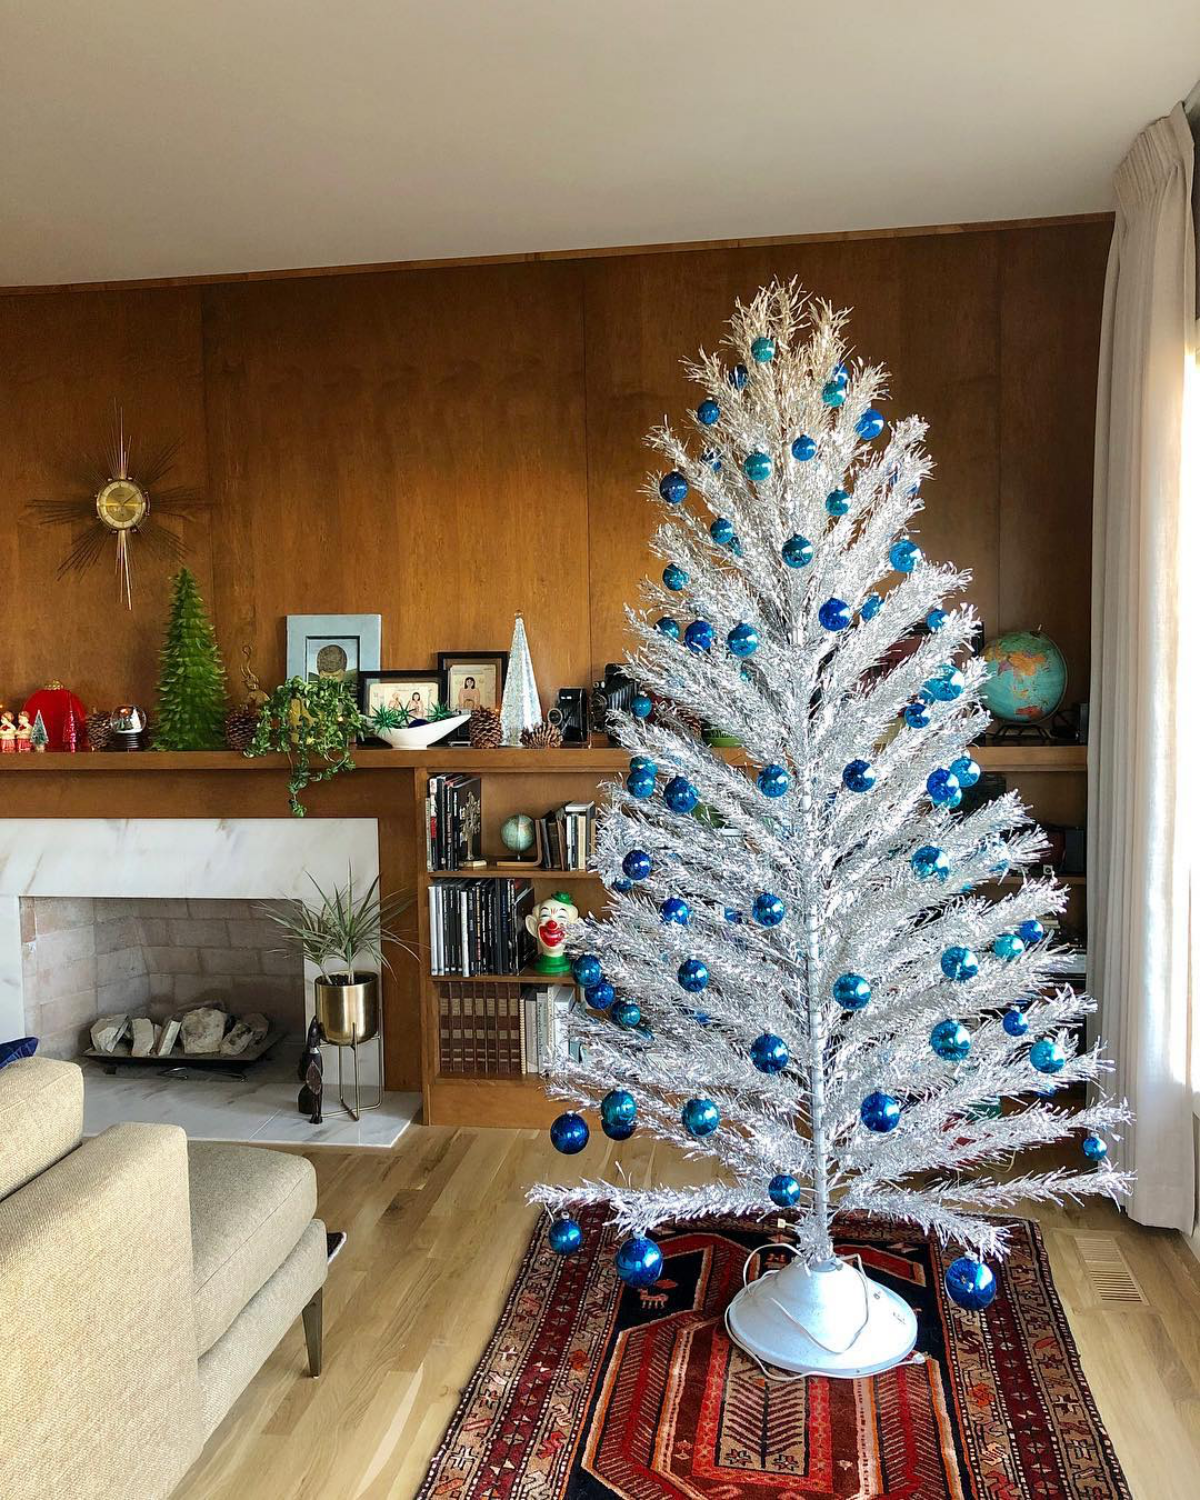
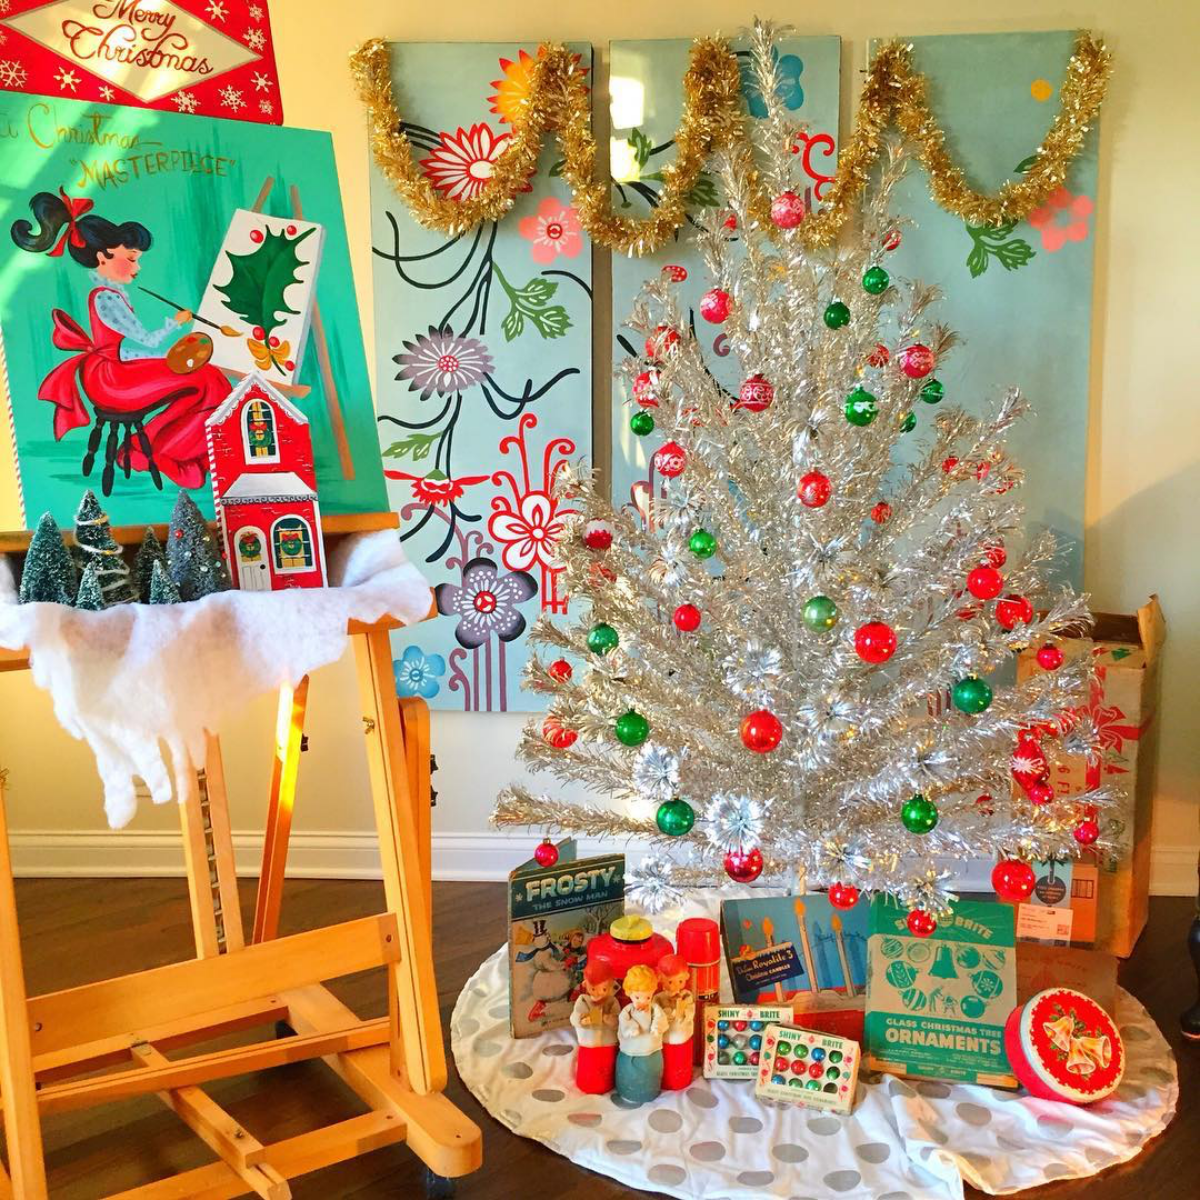
The best approach, in my experience, is a monochromatic color scheme. Pick one bold color and stick with it. Imagine how stunning a pop of solid cherry red, aqua blue, or hot pink looks against the shimmering silver. It’s a graphic, clean look that totally works with the tree’s modern vibe. The color wheel then does its magic, projecting shifting hues onto both the tree and your single-color ornaments.
Here’s what to look for in ornaments:
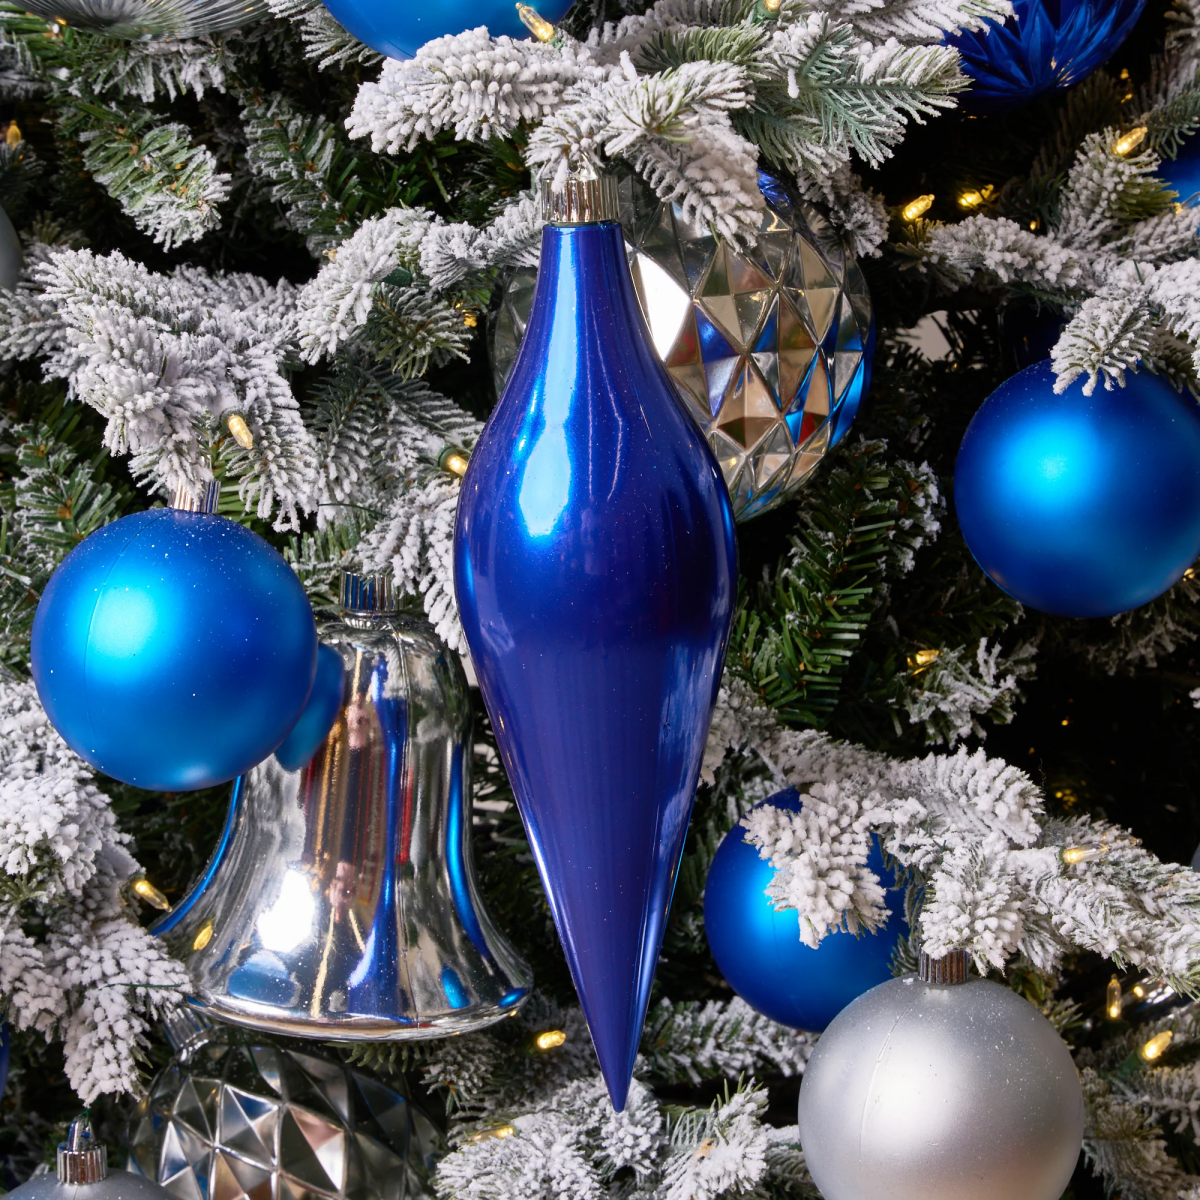
- Lightweight is Key: The branches can’t hold much weight. Heavy ornaments will make them sag. Lightweight glass balls are perfect. You can find boxes of beautiful vintage-style ornaments online for $20 to $60, depending on the brand and condition. Modern shatterproof ornaments work great, too, as long as they’re not bulky.
- Simple Hooks: Use simple wire hooks, not heavy clips. Hang the ornaments toward the outer third of the branch so they can move and catch the light.
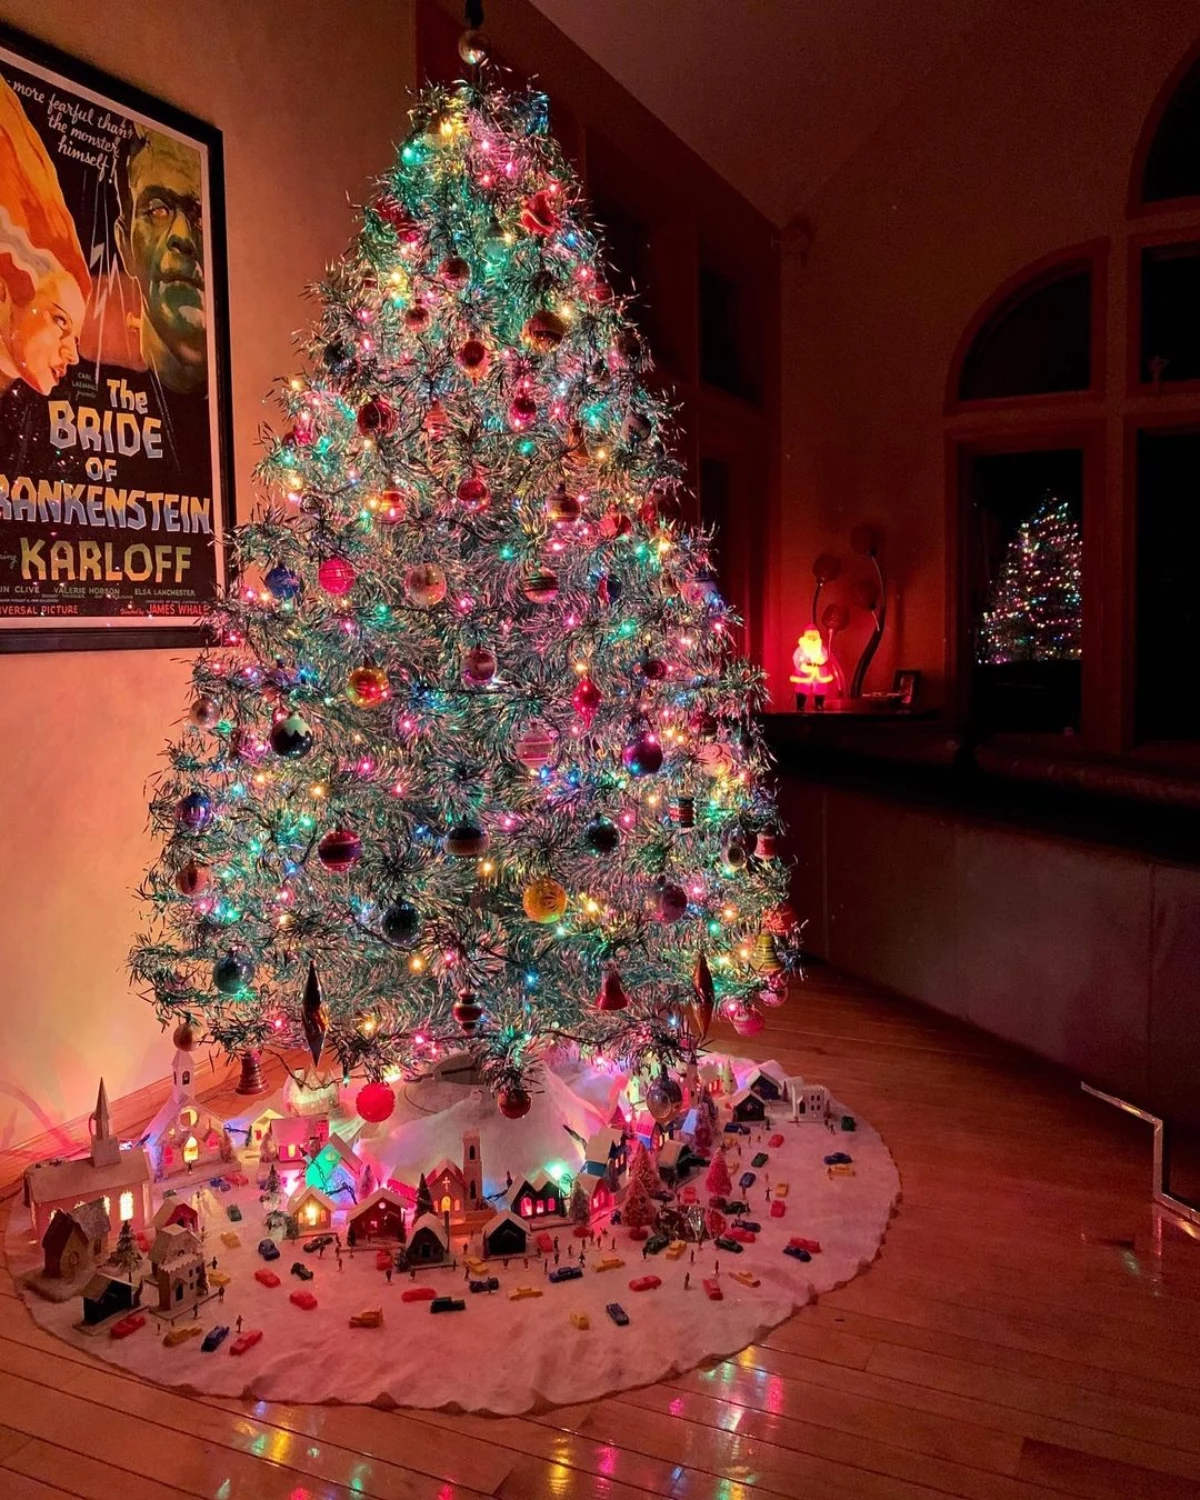
And a few things to absolutely avoid: Never add tinsel (it’s redundant!) and skip any kind of heavy garland. It just weighs the branches down and clutters the sleek look.
Long-Term Care and Storage
Taking care of your tree is how you keep it looking amazing for decades. The biggest enemy is improper off-season storage. Never, ever store your tree in a hot attic or a damp basement—that’s a recipe for corrosion.
For cleaning, if it’s just a little dusty, a soft feather duster will do. For a deeper clean, you have to be incredibly careful. I once tried a shortcut on a grimy branch and ended up stripping its protective coating, dulling the shine forever. The right way is slow: remove one branch, gently wipe it from the center out with a soft cloth slightly dampened with water, then pat it completely dry. It’s tedious—cleaning a full 6-foot tree can take a couple of hours—but it’s the only safe way.
When it’s time to put it away, slide each branch back into its paper sleeve if you have them. If not, you can wrap them individually in acid-free tissue paper. (Heads up: don’t use plastic wrap, which can trap moisture). Store the box in a climate-controlled space, like a closet or under a bed. It’s a bit of work, but it’s totally worth it to preserve this unique piece of design history.
Galerie d’inspiration
Wondering how to clean decades of dust off your vintage find?
Handle with care. Start by gently dusting each branch with a soft, dry microfiber cloth, always wiping from the center pole outwards. For more stubborn grime, you can use a slightly damp cloth with a very mild solution of water and dish soap. Never use abrasive cleaners or polishes, as they will scratch the delicate aluminum foil and strip its shine. Always ensure branches are completely dry before storage.
The Aluminum Specialty Company of Manitowoc, Wisconsin, produced over one million ‘Evergleam’ trees between 1959 and 1969, making it the most prolific manufacturer of the era.
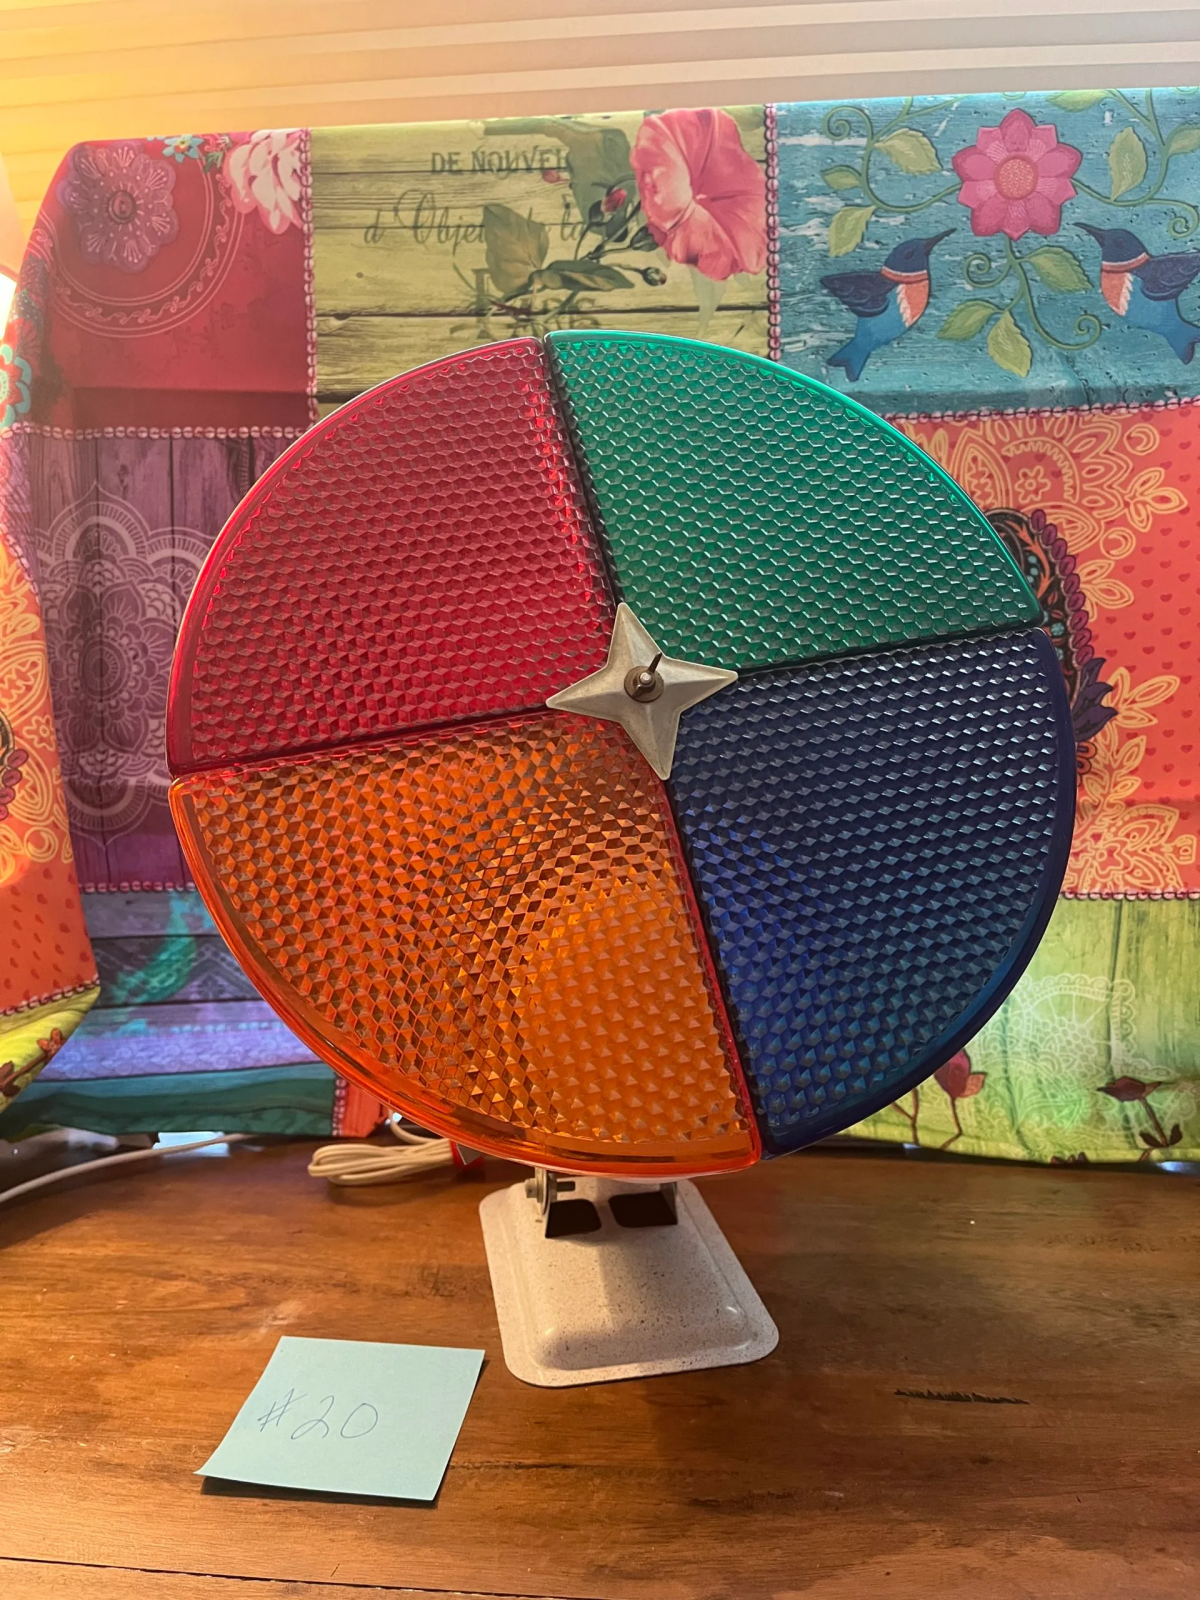
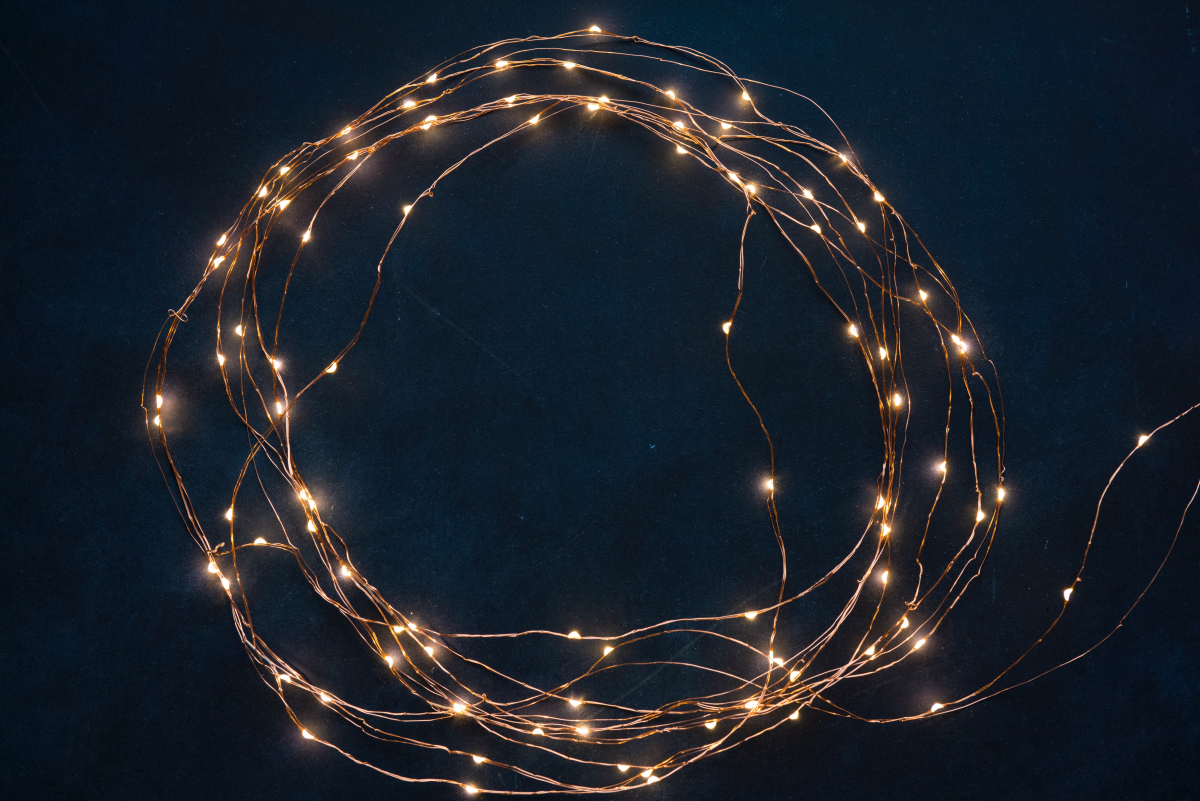
Vintage Color Wheel: Delivers the authentic, slow-transitioning pools of ruby, blue, and emerald light. The gentle hum of its motor is part of the classic mid-century experience.
Modern LED Projector: Offers a silent, more energy-efficient option. Many, like those from Philips Hue, allow you to choose from millions of colors or create dynamic light shows via an app.
For pure nostalgia, the vintage wheel is unmatched; for convenience and versatility, modern LEDs win.
The tree skirt is more than a base; it’s a reflective surface. The sleek metal of the tree will amplify whatever is beneath it. For a truly retro look, skip the fabric and opt for a bed of ‘angel hair’—spun glass fibers (handle with gloves!)—to create a dreamy, cloud-like foundation that was popular in the 60s.

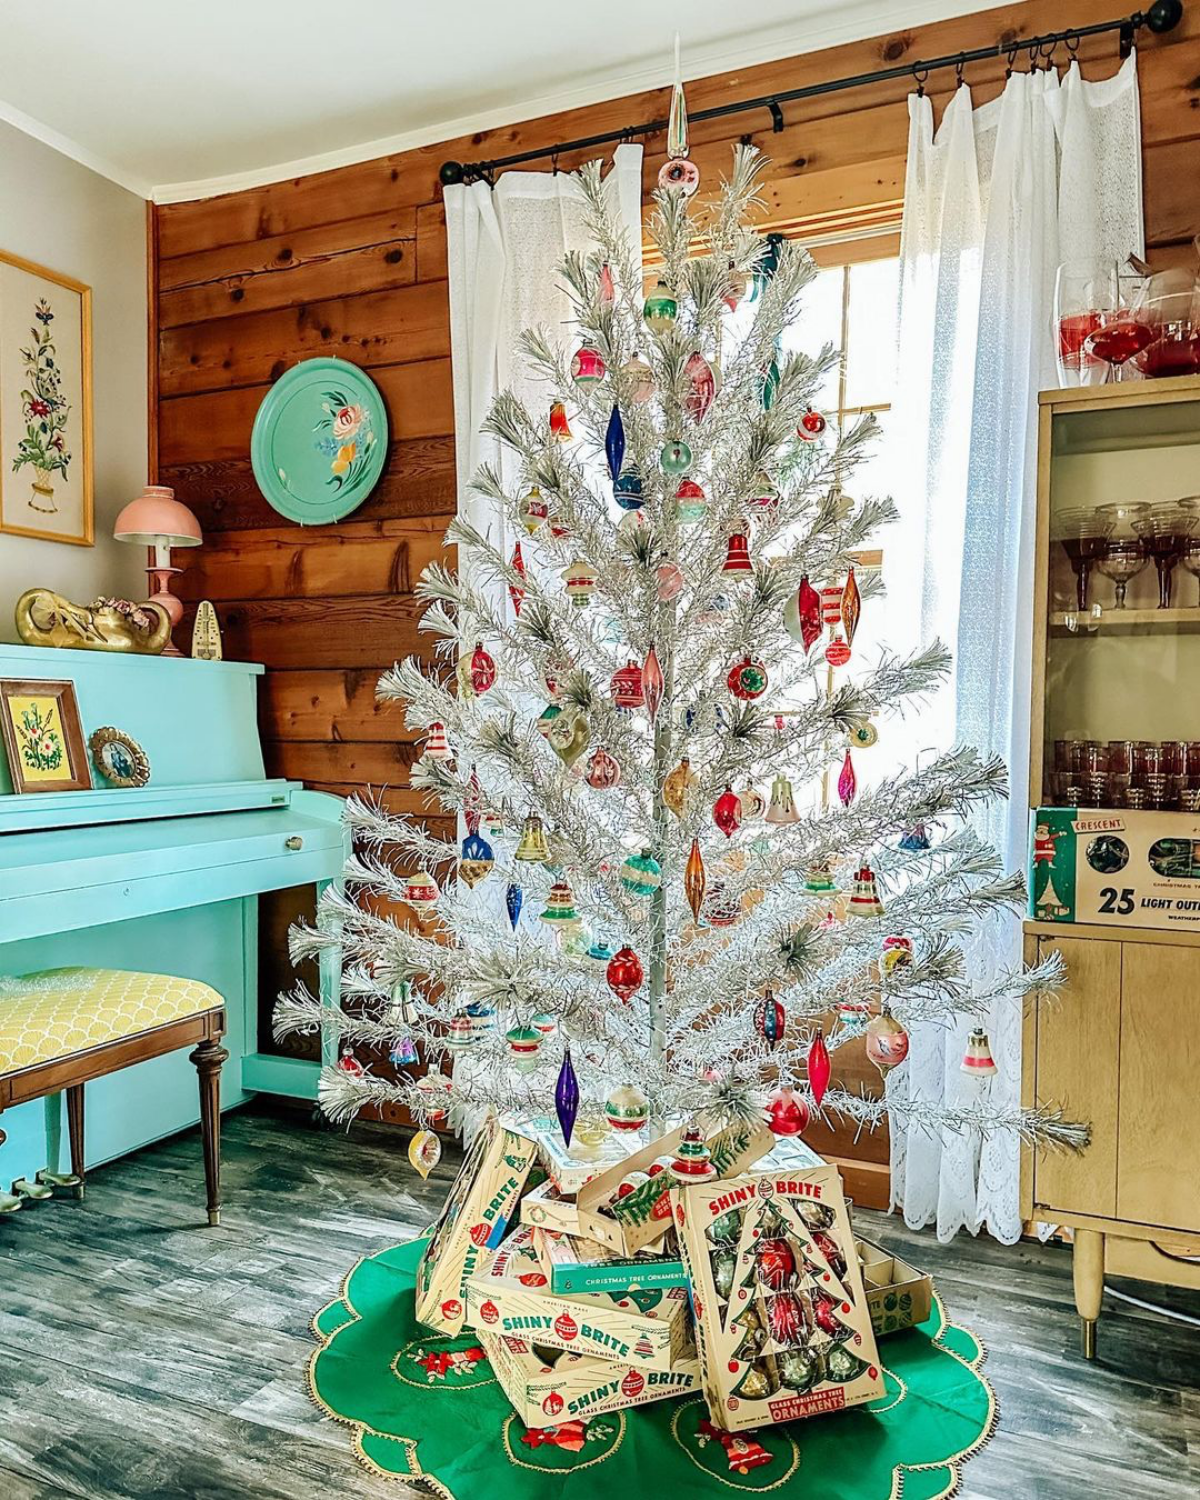
Important ornament rule: Think light as a feather. The delicate aluminum branches were not designed for heavy ornaments. Stick to vintage hollow glass balls from brands like Shiny Brite or modern, lightweight shatterproof options. Avoid anything made of solid wood, heavy ceramic, or dense metal, which can permanently bend the foil needles and strain the branch structure.
Beyond the classic ball ornaments, seek out shapes that scream ‘Space Age.’ Look for vintage or reproduction ornaments shaped like satellites, planets, and starbursts. These ‘Sputnik’ style decorations were incredibly popular when these trees first debuted and perfectly capture the futuristic optimism of the time.
A 1965 Sears catalog advertised a 7-foot aluminum tree for $13.88, while the rotating color wheel was sold separately for $5.88.
This highlights how accessible this piece of modern design was to the average American family. Today, finding a complete set in good condition is a true collector’s quest, with prices often soaring into the hundreds of dollars.
- Prevents needle creasing and oxidation.
- Keeps branches free from dust during off-seasons.
- Makes assembly significantly faster and safer for the tree.
The secret? The original paper sleeves. If your tree is missing them, you can easily create new ones by rolling acid-free craft paper or archival tissue paper into tubes and sliding them over each branch before boxing.
The unique shimmer of an aluminum tree is best appreciated at night, in a dimly lit room, with only the color wheel providing illumination. The way the light bounces off the thousands of metallic surfaces creates a mesmerizing, kinetic effect that modern pre-lit trees simply can’t replicate. It’s not just a decoration; it’s a light show.
If you love the look but can’t find a vintage tree, modern reproductions offer a great alternative. Companies like Treetopia or The Vermont Country Store offer new aluminum trees in silver, pink, and even black. They provide the same retro glamour without the hunt or potential for age-related damage, often with sturdier construction.
- Atomic Aqua & Orange: Combine turquoise, tangerine, and white ornaments with starburst accents for a classic ‘Jetsons’ feel.
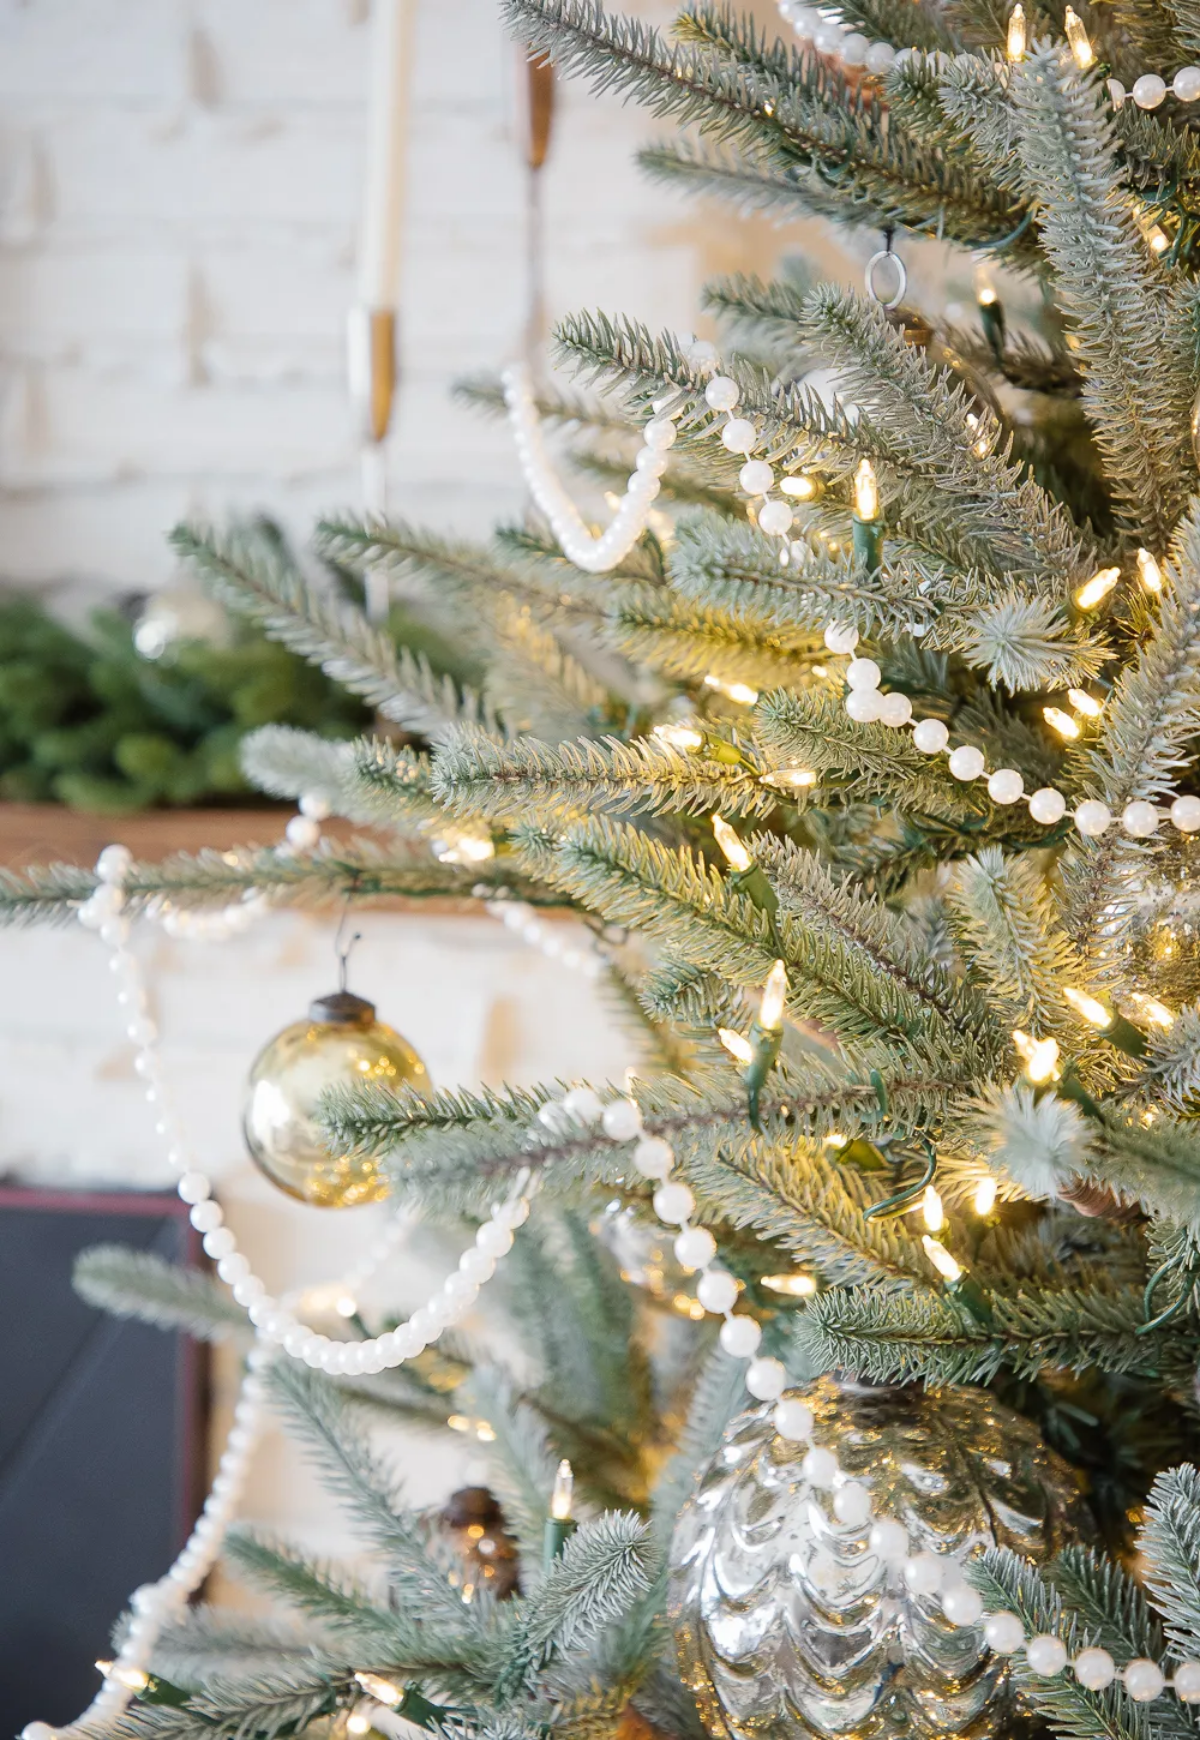
- Hollywood Regency Pink: Perfect for a pink or silver tree. Use shades of blush and gold, adding faux pearl garlands for a touch of glamour.
- Monochromatic Metals: Emphasize the tree’s futuristic nature with only silver, chrome, and white ornaments in different textures—matte, shiny, and glittered—to create depth.


