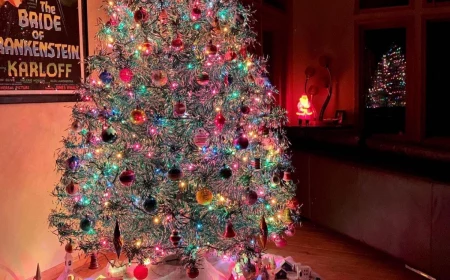
A Real-Talk Guide to Handmade Holiday Decor That Lasts
You know the holidays are truly on their way when a certain smell hits the air. For me, it’s not gingerbread cookies, but the sharp, clean scent of fresh-cut pine boughs. It’s the earthy aroma of melting beeswax. These are the smells of creating things with your own two hands, a tradition that connects you to the season in a way that clicking ‘add to cart’ just never will.
In this article
I’ve spent years making decorations for my home, for friends, and for local markets. And along the way, I’ve learned what works and, more importantly, what really doesn’t. We’re not talking about flimsy crafts that fall apart by New Year’s Day. We’re going to dig into making beautiful, lasting items you’ll be proud to display year after year.
So, let’s get into it. We’ll cover three classic projects: a foraged wreath that won’t sag, some charming upcycled ornaments, and your very own hand-printed gift wrap. I’ll share the ‘why’ behind each step and point out the common pitfalls so you can skip the frustration and get right to the fun part.
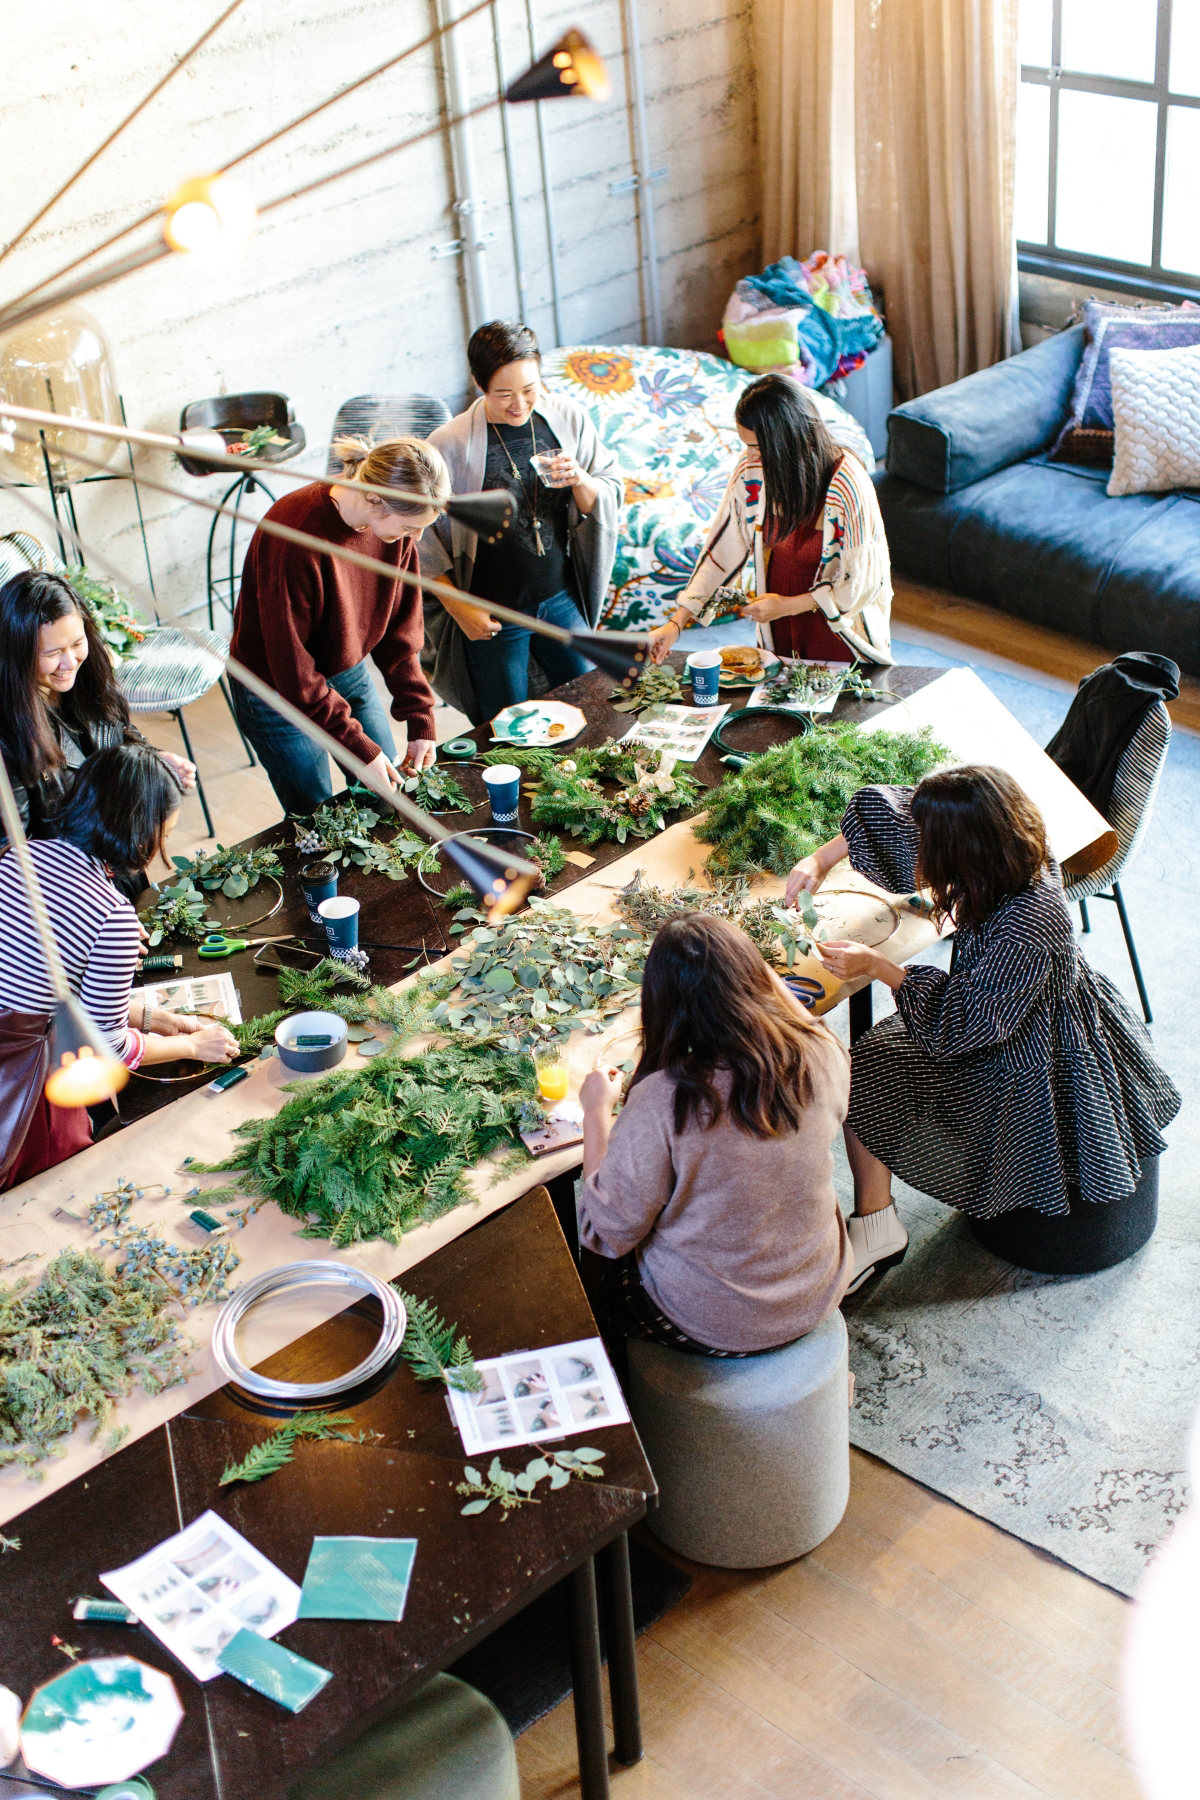
The Foraged Wreath: Building with Nature
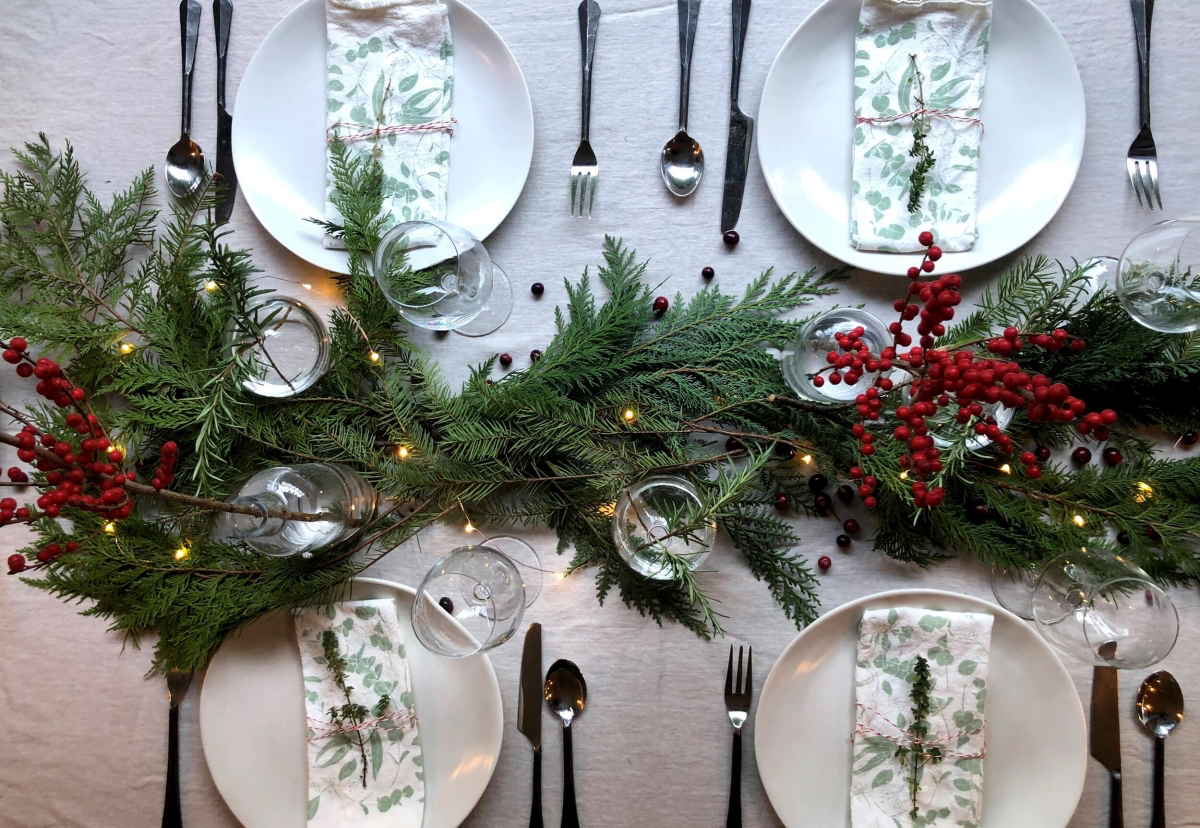
A store-bought wreath is fine, but one you make yourself with materials from your own surroundings? That tells a story. It’s a snapshot of your local landscape in winter. Honestly, it’s my favorite way to kick off the season, but it has to be built right.
Why Most DIY Wreaths Fail (and How to Fix It)
The number one frustration is a wreath that droops into a sad oval shape a week after you hang it. I learned this the hard way. I once made a gorgeous, dense fir wreath for a client’s front door on a thin wire frame. After one heavy, wet snow, they called me. The whole thing had sagged. It was an embarrassing lesson in basic physics I never forgot.
The secret is the base. A weak base simply cannot support the weight. You have a few great options, and what you choose depends on your project:

- Grapevine or Willow: These are my absolute favorite. They’re strong, organic, and look beautiful even if parts of them peek through. You can buy one for about $5 to $12 at a craft store like Michael’s or Hobby Lobby. They’re perfect for a rustic, natural look.
- Wire Frame: This is the standard for professional florists for a reason. A double-rail wire frame is incredibly strong and gives you tons of attachment points. Expect to pay around $4 to $8 for one. Heads up: Avoid the flimsy single-wire frames from dollar stores for anything with fresh greens. They just can’t handle the weight.
- Straw Base: These are really best for lightweight dried flowers or indoor decor. They can get waterlogged and rot in a damp climate, so I’d skip them for an outdoor wreath unless you live somewhere very dry.
The Pro Method: Wiring, Not Gluing
Forget the hot glue gun for assembly. We’re going to build this wreath in layers, securing everything mechanically. This is the key to a long-lasting piece that can handle the elements. Plan for about 1-2 hours for this project—it’s a perfect cozy afternoon activity.
Here’s what you’ll need to grab:
- A sturdy wreath base: A 14-inch grapevine base is a great starting point.
- Floral paddle wire: Get the 22-gauge, green-coated kind. It costs about $5 and a single paddle will last you for ages.
- Pruning shears and a good pair of work gloves.
- A variety of fresh greens: Think pine, fir, cedar, or juniper. If you have to buy them, a few bunches from a local nursery or even Trader Joe’s during the holidays will do the trick.
- Accents: Pinecones, dried berries, whatever catches your eye.
The Assembly Line Method:
- Prep Your Bundles: Cut your evergreen boughs into smaller, 6- to 8-inch pieces. Group them into little hand-sized bundles. A great combo is a piece of full fir, a sprig of drapey cedar, and a bit of juniper for texture. Making all your bundles first makes the whole process go so much faster.
- Anchor Your Wire: Wrap the end of your paddle wire around the wreath base three or four times and twist it tight. Don’t cut the wire from the paddle! You’ll be using one continuous piece.
- Attach the First Bundle: Lay your first bundle of greens on the base, stems pointing in the direction you’ll be wrapping. Hold it firmly and wrap the wire TIGHTLY around the stems and base three times. This is the most crucial step. A loose wrap means a floppy wreath.
- Overlap and Repeat: Place your second bundle so its leafy tops completely cover the wrapped stems of the first one. This overlapping is what makes it look lush and professional. Wrap the wire tightly around the new stems.
- Continue and Check Tension: Keep adding bundles, overlapping each time to hide the wire. After every few bundles, give the greens a gentle tug. Nothing should wiggle. You’ll get a feel for the right tension—firm, but not so tight you’re snapping branches.
- Finish the Circle: When you get back to the start, gently lift the foliage of your first bundle and tuck the stems of your last bundle underneath. Secure these last stems with several tight wraps of wire. Finally, cut the wire, leaving a 4-inch tail. Tuck this tail deep into the back of the wreath and twist it to secure it.
Quick tip for decorations: For heavy things like big pinecones, hot glue won’t cut it. Drill a tiny hole in the base of the pinecone, thread a piece of wire through, and use that to tie it directly to the frame. For a final touch, how do you hang it? Use a sturdy over-the-door wreath hanger ($5-$10 at any hardware store). Don’t trust suction cups, especially on a cold door.
By the way, a fresh wreath like this will last a good 3-4 weeks outdoors in a cool climate, sometimes longer. You can give it a light misting of water every few days to help it stay fresh.
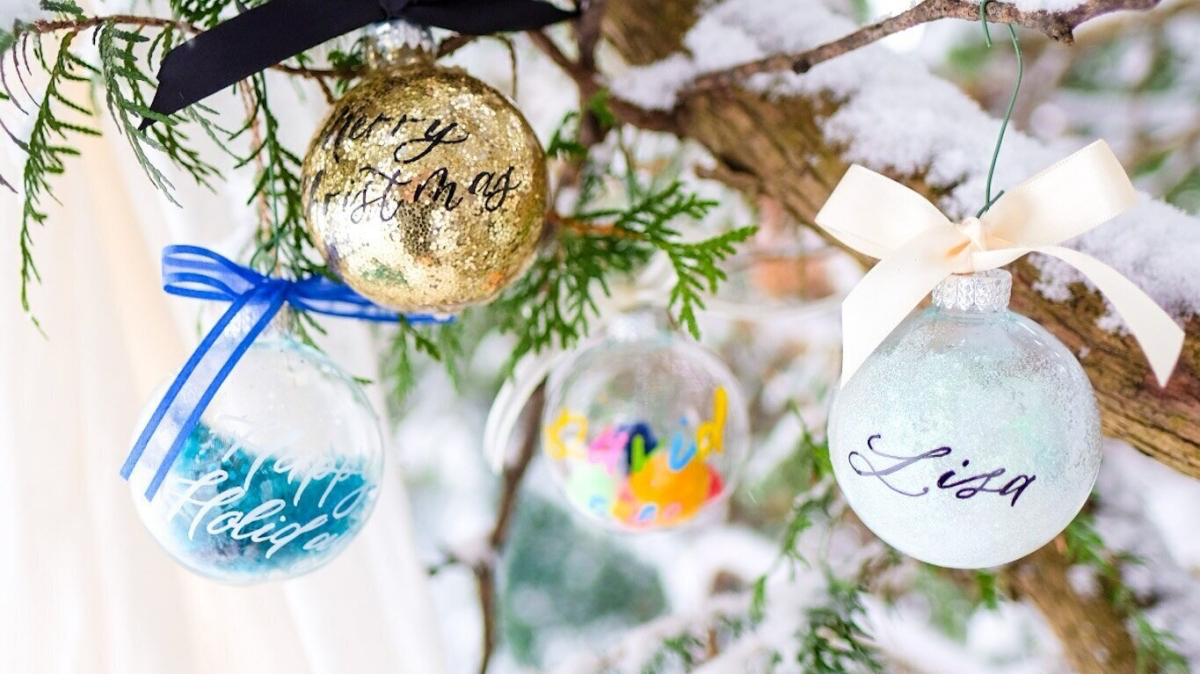
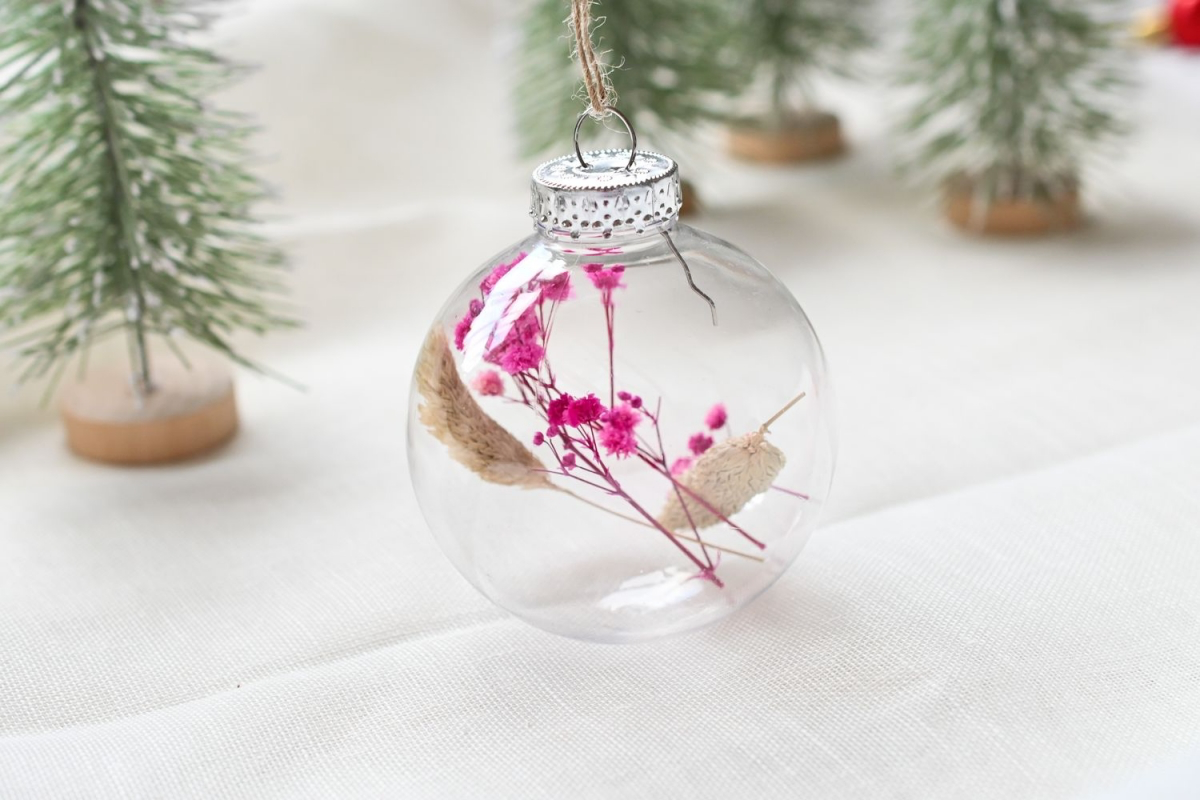
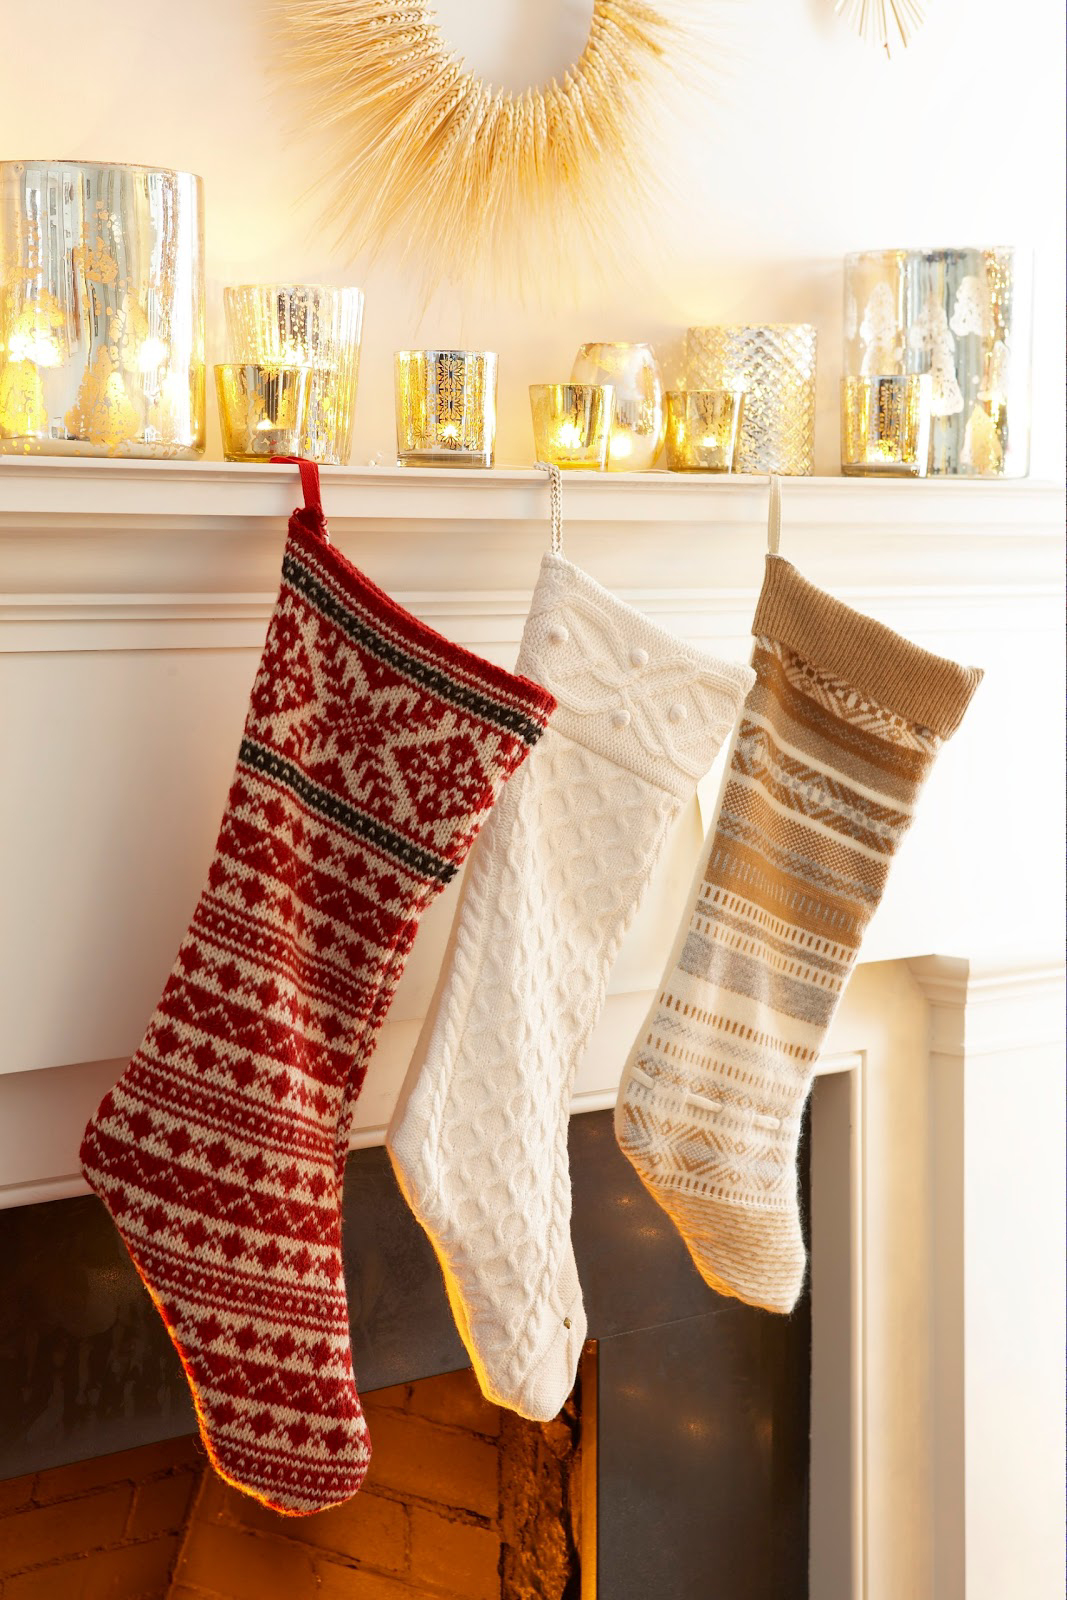
Upcycled Fabric Ornaments: A Quick Win Project
Fabric adds a warmth to holiday decor that nothing else can. And the best materials might already be in your closet. Old wool sweaters, flannel shirts, and even denim can be transformed into the most charming ornaments.
Looking for a project you can finish in under an hour? This is it. It’s a fantastic way to get a quick taste of success.
Choosing the Right Fabric
The key to a good upcycling project is knowing your material. I once tried making stockings from some cute, loosely knit acrylic sweaters. The second I cut into them, the edges unraveled into a total mess. Now I always test a little swatch first.
- Felted Wool: The Gold Standard. Find a sweater that’s 100% wool (not ‘superwash’ or machine-washable). Wash it in hot water and dry it on high heat. The fibers will shrink and lock together, creating a thick, soft fabric that won’t unravel when cut. This is perfect for ornaments because you don’t need to hem the edges!
- Fleece and Flannel: Both are stable, cozy, and very beginner-friendly. They won’t fray much, making them great for simple shapes and stockings.
- Other Knits: If you’re using a standard acrylic or cotton knit sweater, you have to stabilize it. You can either use an iron-on fusible backing before you cut or plan on sewing the edges with a machine’s stretch stitch.
Making a No-Fray Star Ornament
Let’s make a simple, high-quality star using a felted wool sweater. A single adult sweater can easily give you enough material for a dozen 4-inch ornaments. The best part? This project is practically free if you use an old sweater and some floss you already have.

What You’ll Need:
- One felted wool sweater
- Cardstock for a template
- Sharp fabric scissors
- Embroidery floss and a needle ($1 for floss)
- A handful of polyester fiberfill ($5 for a whole bag)
- A bit of ribbon for a hanging loop
The Simple Steps:
- Make a Template: Draw and cut out a 4-inch star shape from cardstock. This ensures all your ornaments will be uniform.
- Cut Your Fabric: Lay your felted sweater flat and cut out two star shapes for each ornament. Since the wool is felted, the edges will be perfectly clean.
- Add the Hanger: Cut a 6-inch piece of ribbon, fold it into a loop, and pin the ends between the two star pieces at one of the top points.
- The Blanket Stitch: This hand-sewn stitch is what gives it that classic, crafty look. It’s easy, I promise! Just push your needle from back to front through both layers of fabric. Before you pull the thread tight, loop your needle through the slack of the thread right at the edge. When you pull it snug, it creates a neat little border. Repeat this all the way around.
- Stitch and Stuff: Stitch around the star, making sure your first few stitches secure the ribbon hanger. Leave a 1.5-inch opening. Gently push small pinches of fiberfill inside. A chopstick is great for getting stuffing into the points. You want it plump, not rock-hard.
- Close It Up: Finish the blanket stitch to close the opening. Tie a small knot, then push the needle back through the ornament and out the other side before snipping the thread. This hides the tail perfectly!
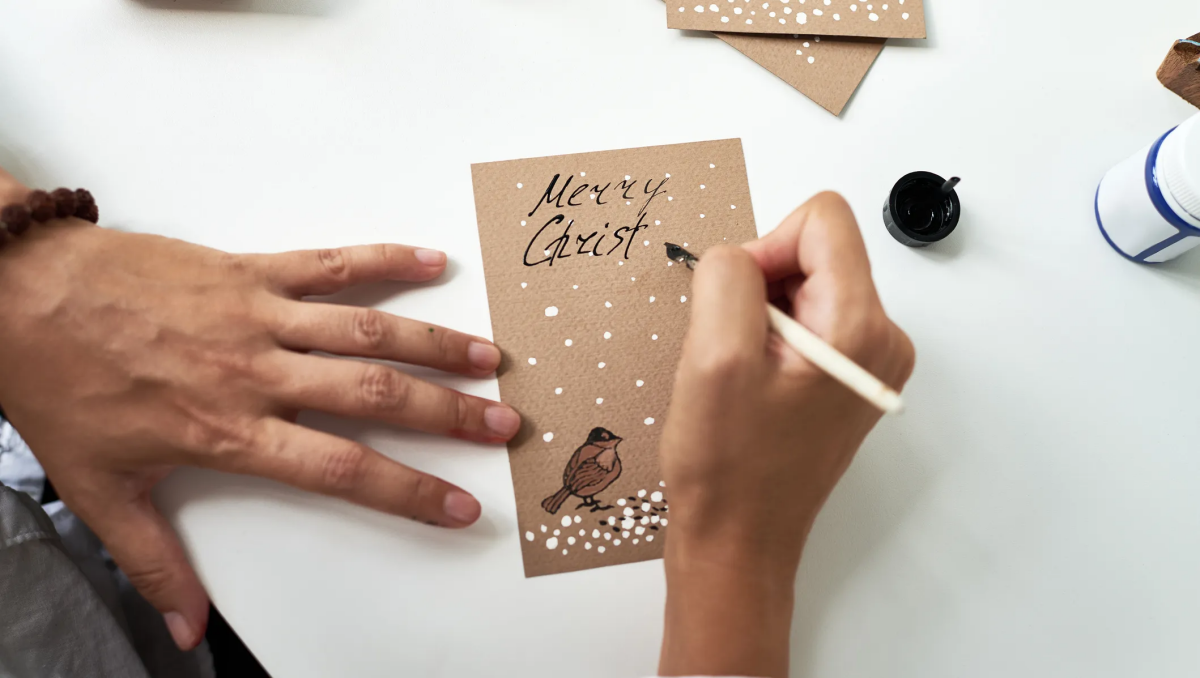
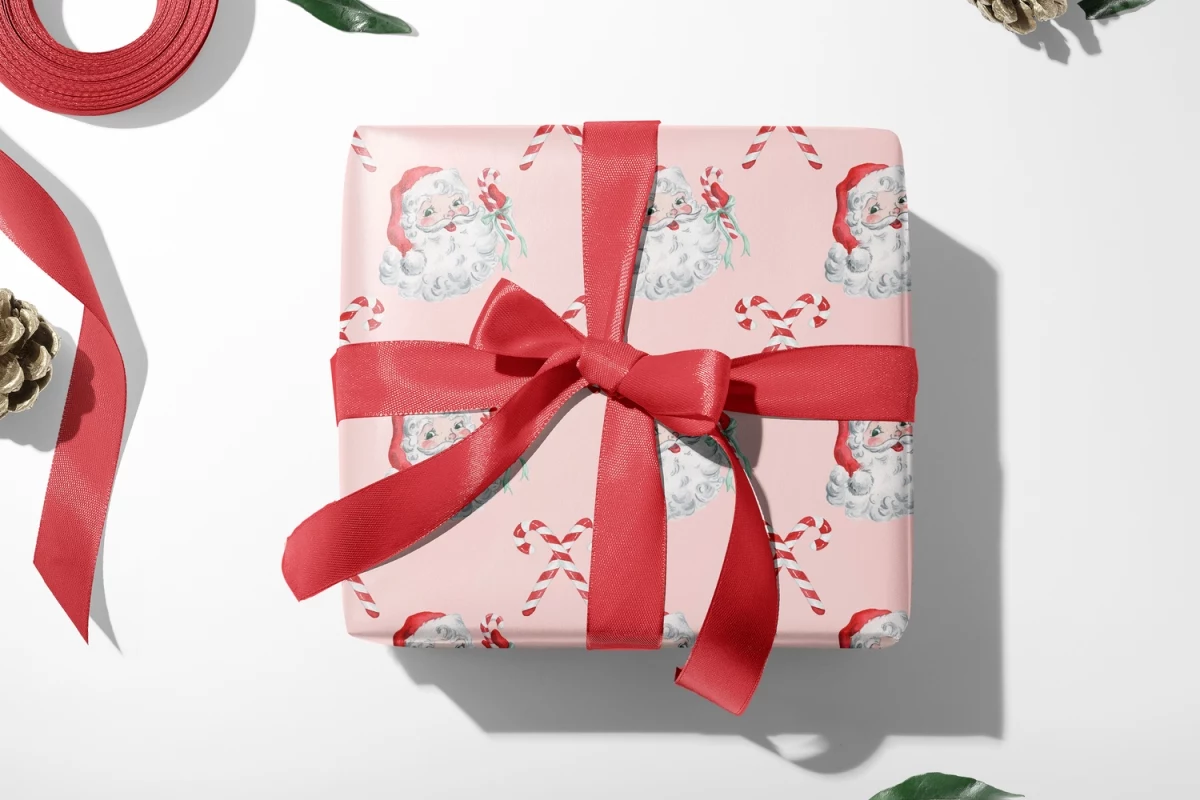
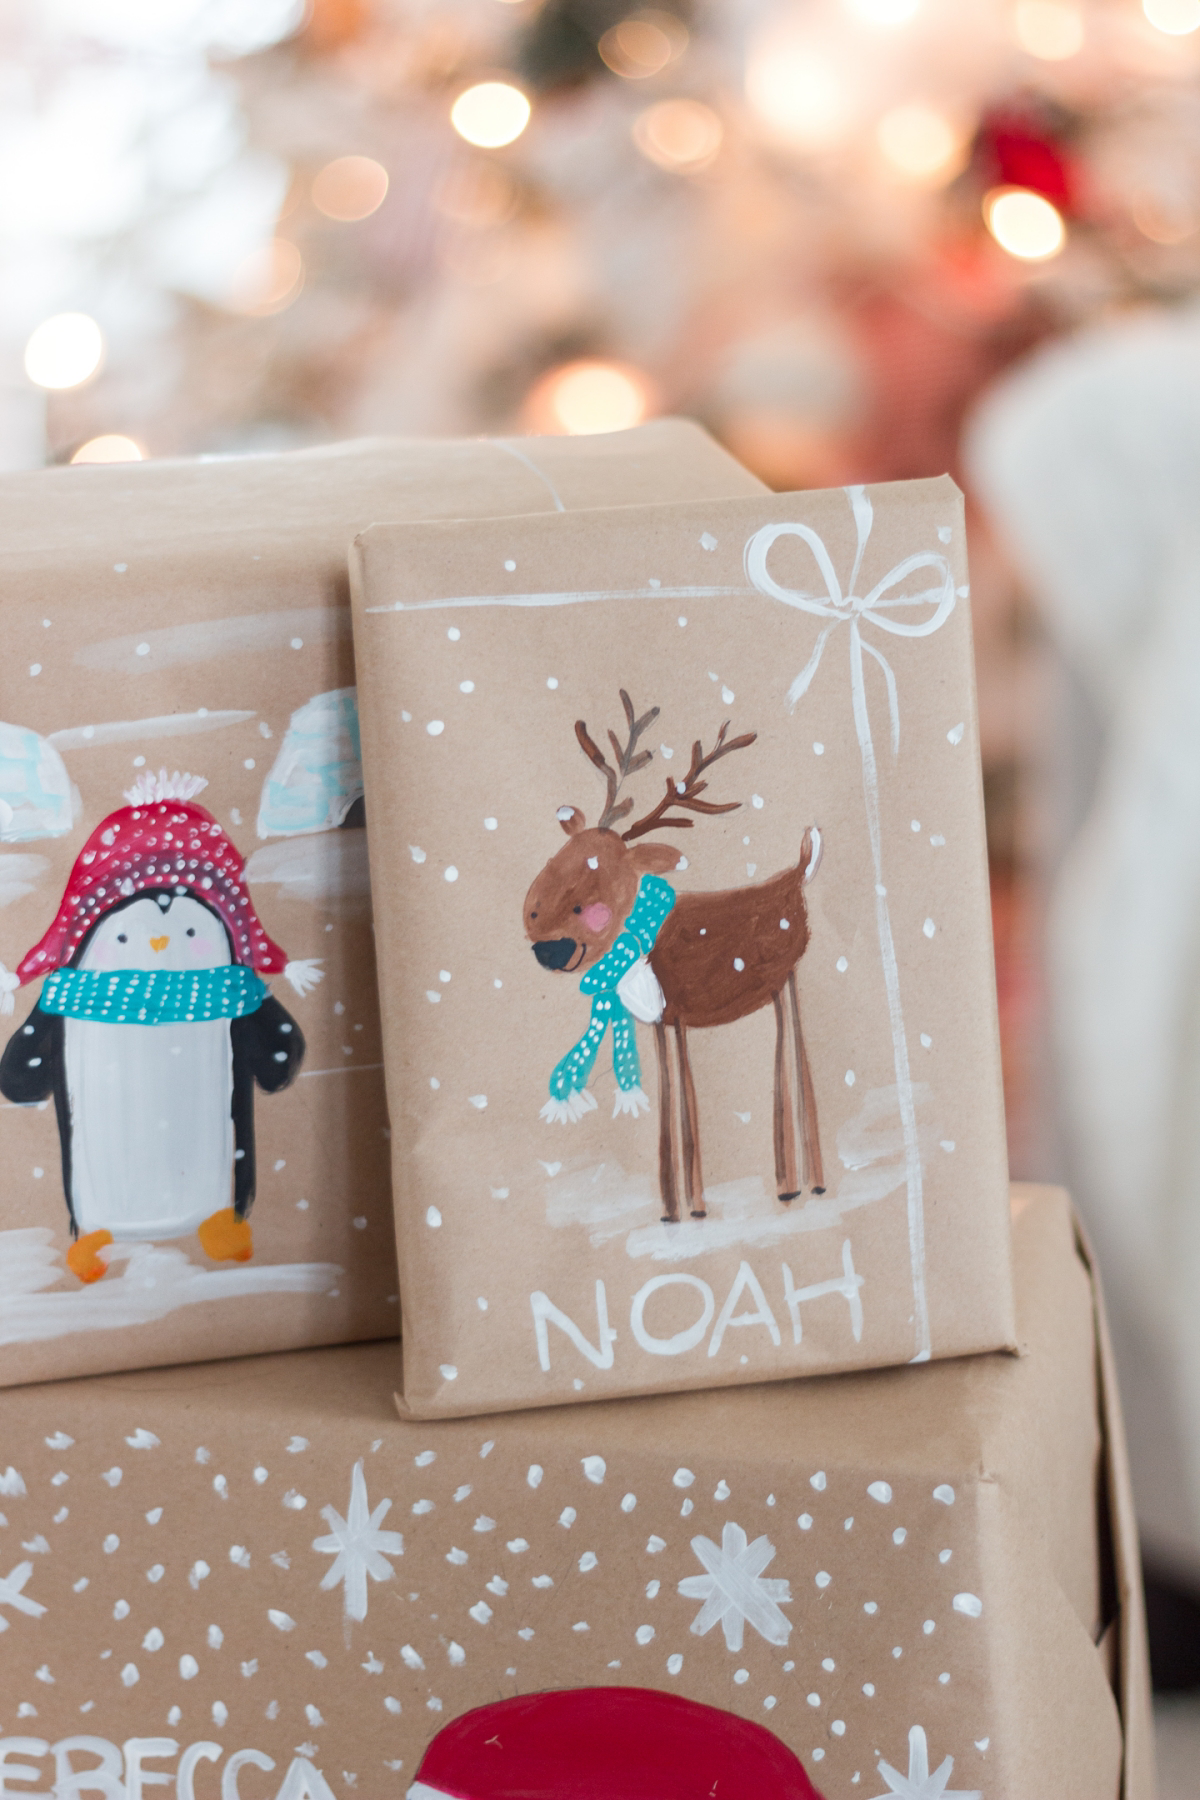
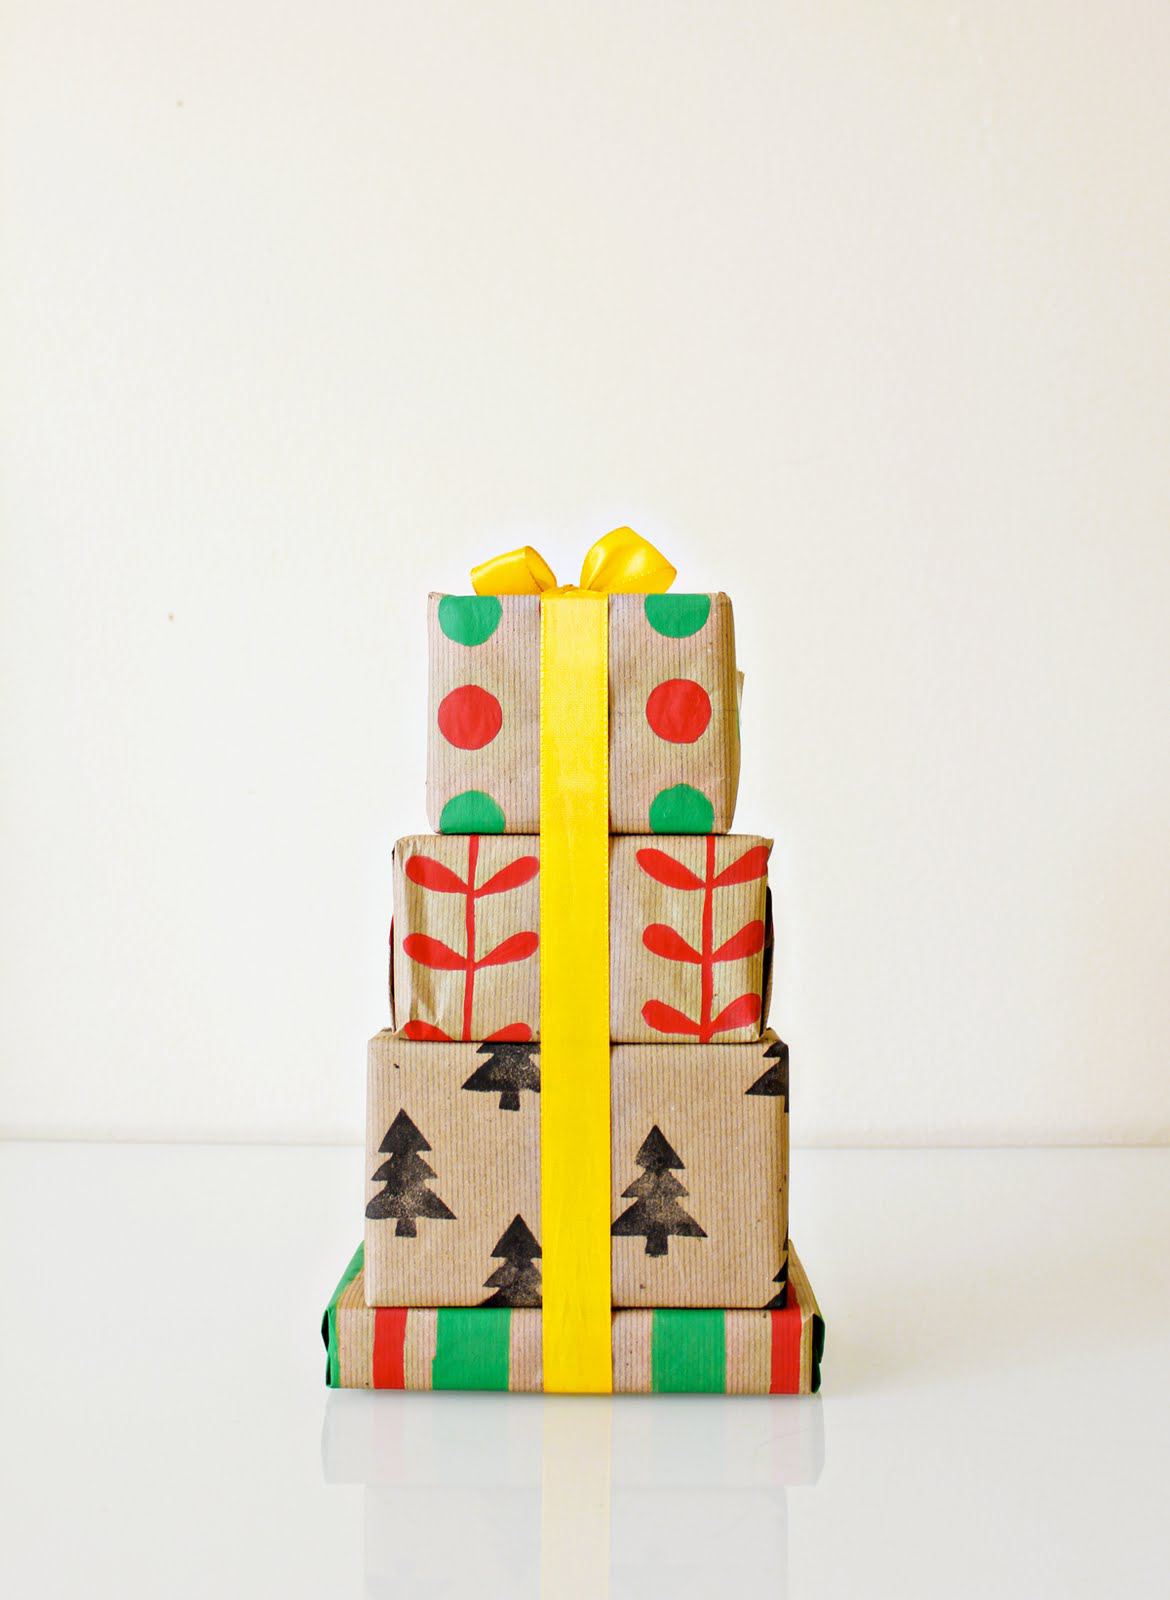
Hand-Printed Textiles: Your Own Custom Gift Wrap
Block printing is a fantastic way to create professional-looking, unique wrapping paper, gift tags, and cards without having to be a master painter. You carve a stamp (a block) and use it to create a repeating pattern. It feels like a ‘next-level’ craft, but the startup cost is surprisingly low. You can get a beginner’s kit with everything you need for around $20-$30 online or at a big art supply store.
The Tools for a Crisp, Clear Print
Getting a good print is all about managing pressure and the amount of ink. The right tools make all the difference.
- The Block: Start with a soft rubber carving block (often sold as ‘Speedy-Carve’). It’s soft, forgiving, and easy to cut.
- Carving Tools: A basic lino cutter set with interchangeable blades is perfect. It’ll cost about $15. You’ll mainly use the small V-shaped gouge for outlines and the U-shaped one for clearing away bigger areas.
- The Ink: To start, definitely use water-soluble block printing ink. It’s a breeze to clean up. A tube costs about $5-$8 and will last for tons of projects.
- The Brayer: This is the little rubber roller. It’s essential for applying a thin, even layer of ink. Don’t try using a paintbrush—it’ll be a streaky mess.
- The Paper: Plain brown kraft paper has a wonderful rustic look and is very affordable. For cards, use heavy, smooth cardstock.
A quick safety reminder: These carving tools are sharp. Always, always cut away from your body and keep your other hand behind the tool’s path. Go slow and stay in control.
The Block Printing Process from Start to Finish
Let’s print a simple pine tree pattern.
- Design and Transfer: Draw your design on paper. Place it face down on your rubber block and rub the back firmly. This transfers a faint, reversed image to the block. Remember: Your print will be a mirror image of what you carve!
- Carve Your Block: Use your V-gouge to carefully carve along the lines of your design. The parts you carve away will be white space, and the parts you leave raised will be your stamp.
- Ink the Plate: Squeeze a pea-sized amount of ink onto a flat, non-porous surface (a small sheet of glass or an old ceramic tile works great). Roll your brayer through it until you have a thin, even layer of ink on the roller. You’re looking for a sound like sticky tape and a texture like orange peel—that’s the sweet spot.
- Ink the Block: Gently roll the inked brayer over your carved block. You want to coat the raised surface evenly without getting ink down into the carved-out areas.
- Print! Carefully press your inked block straight down onto your paper. Apply firm, even pressure with your hands all over the back of the block. Lift it straight up to reveal your print.
Good to know: Cleanup is simple with water-based inks. Just rinse your block, brayer, and plate under warm water immediately after you’re done. As for drying, be patient. The ink on kraft paper should be dry to the touch in an hour or so, but I’d give it a full 24 hours before you fold it to wrap a gift. There’s nothing worse than a smudged masterpiece.

Galerie d’inspiration
The secret to everlasting dried oranges: low and slow. To get those beautiful, translucent citrus slices for garlands or ornaments without any browning, bake them on a wire rack at your oven’s lowest setting (around 170-200°F or 75-95°C) for 4 to 6 hours. Flip them every hour. The patience pays off with vibrant color that lasts all season and beyond.
A 2013 study in the British Journal of Occupational Therapy found that 81% of participants with depression reported feeling happy after knitting, with more than half reporting feeling “very happy.”
This feeling, known as ‘flow state,’ isn’t limited to knitting. The focused, repetitive motions of crafting—whether it’s wrapping a wreath or painting an ornament—have a demonstrably calming and restorative effect on our minds, making the process itself a gift.
How do I create a cohesive holiday look without it feeling stiff or overly-matched?
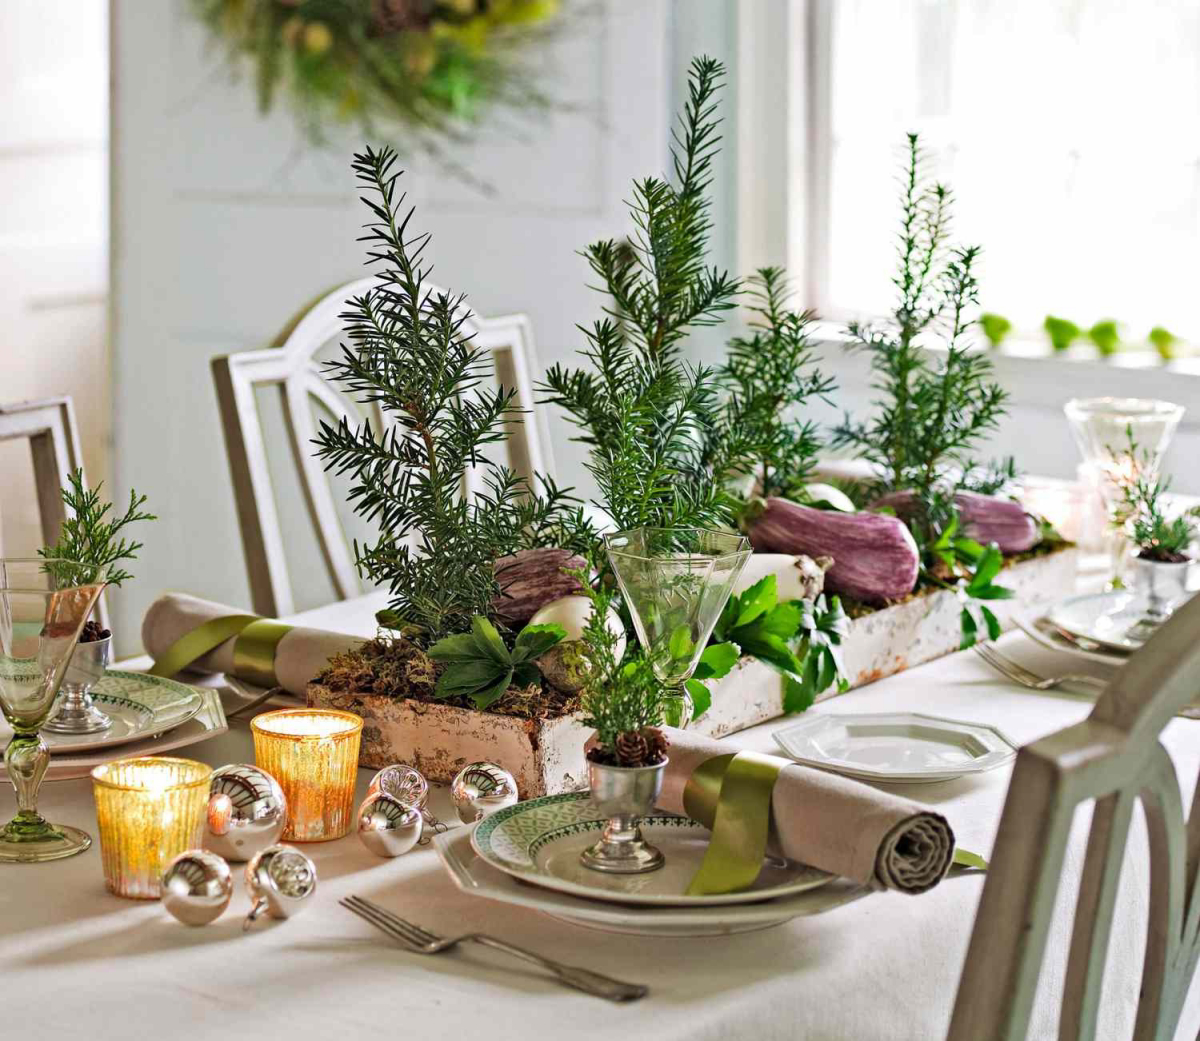
Think in terms of a limited, nature-inspired palette. Instead of just ‘red and green,’ choose specific shades. For example, pair the deep forest green of fir with the muted, earthy red of dried rosehips. Add a warm neutral like unbleached linen or the soft grey of a wool sweater. Introduce a single metallic—like aged brass or soft silver—for a touch of light. This focused approach feels intentional yet effortlessly natural.
- Create a cozy, welcoming scent without artificial sprays.
- Use ingredients you likely already have.
- Fill your home with the authentic aroma of the season.
The secret? A simple simmering potpourri. In a small saucepan, combine water, a few orange peels, a cinnamon stick, a teaspoon of whole cloves, and a sprig of rosemary or pine. Let it gently simmer on the stovetop, adding water as needed. It’s the most effortless way to set a festive mood.
For a truly professional finish on hand-painted wood or ceramic ornaments, the right tool is everything. Ditch the clunky craft brushes for fine-tipped paint pens. Brands like Posca or Artistro offer incredible opacity and control for detailed work like snowflakes, lettering, or delicate patterns. For longevity, finish with a light spray of Krylon Matte Finish to seal the design and prevent smudging or chipping year after year.
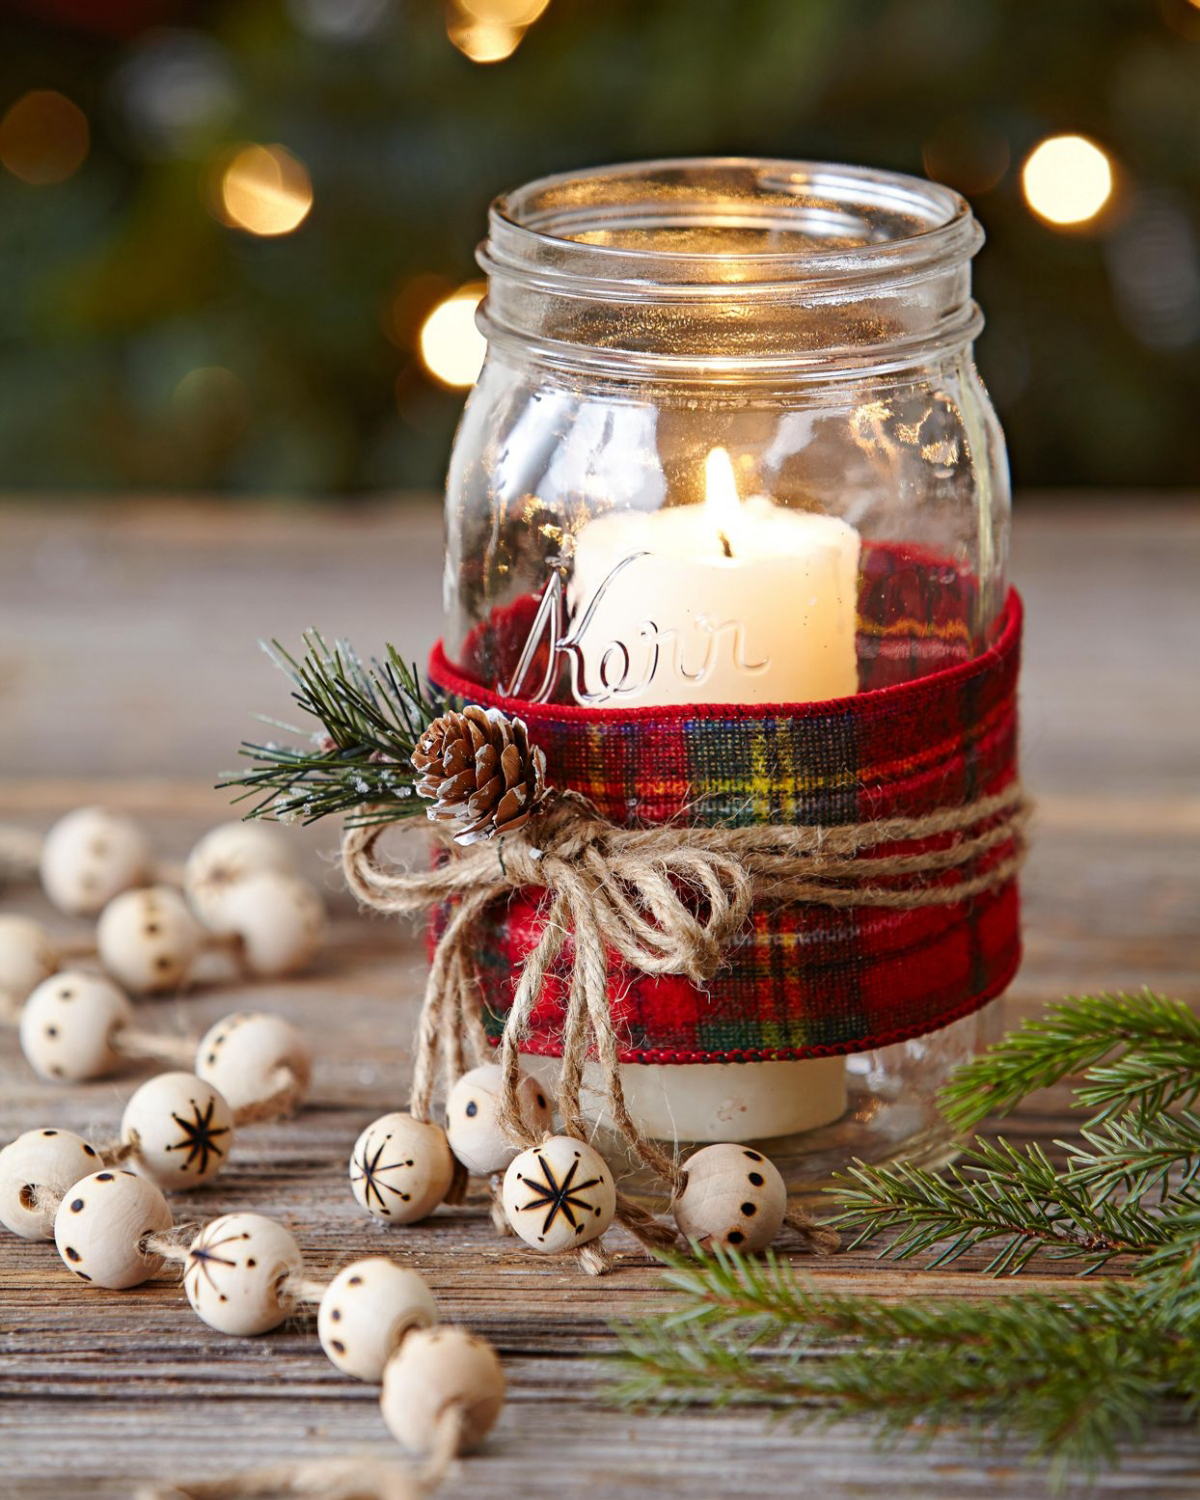
Velvet Ribbon: Its lush pile catches the light beautifully, adding a touch of old-world luxury and depth. It’s perfect for a dramatic bow on a wreath or for hanging a special, single ornament. It pairs best with smooth or metallic surfaces.
Raw-Edge Silk or Linen Ribbon: This option offers an organic, rustic elegance. The slightly frayed edges and natural texture complement foraged elements, kraft paper, and handmade clay tags perfectly. It’s less about perfect bows and more about effortless, beautiful knots.
Don’t overlook the humble pinecone. To ensure they are clean and free of any lingering pests, bake them on a foil-lined sheet for about 30 minutes at 200°F (95°C). This also helps them fully open up. Once cooled, they are the perfect base for countless projects: cluster them into a centerpiece, tuck them into wreaths, or let kids add a touch of white paint to the tips for a ‘snow-dusted’ effect.
Foraging for decor is not just about saving money; it’s an act of seasonal storytelling.
Think beyond pine and holly. Look for interesting seed pods, sculptural bare branches, winter grasses, and even colorful lichen on fallen twigs. These unique textures tell the specific story of your local environment in winter, creating decorations that are deeply personal and impossible to replicate from a store shelf.
My salt dough ornaments always crack or puff up! What am I doing wrong?
The classic recipe (1 cup salt, 2 cups flour, 1 cup water) often holds too much moisture. For crisper, more durable ornaments, slightly reduce the water and, most importantly, bake them at a very low temperature—no more than 200°F (95°C)—for at least 2-3 hours, flipping halfway through. For a porcelain-like finish, try a cornstarch-based recipe instead. And always seal your finished, painted pieces with a clear sealant like Mod Podge to protect them from humidity.
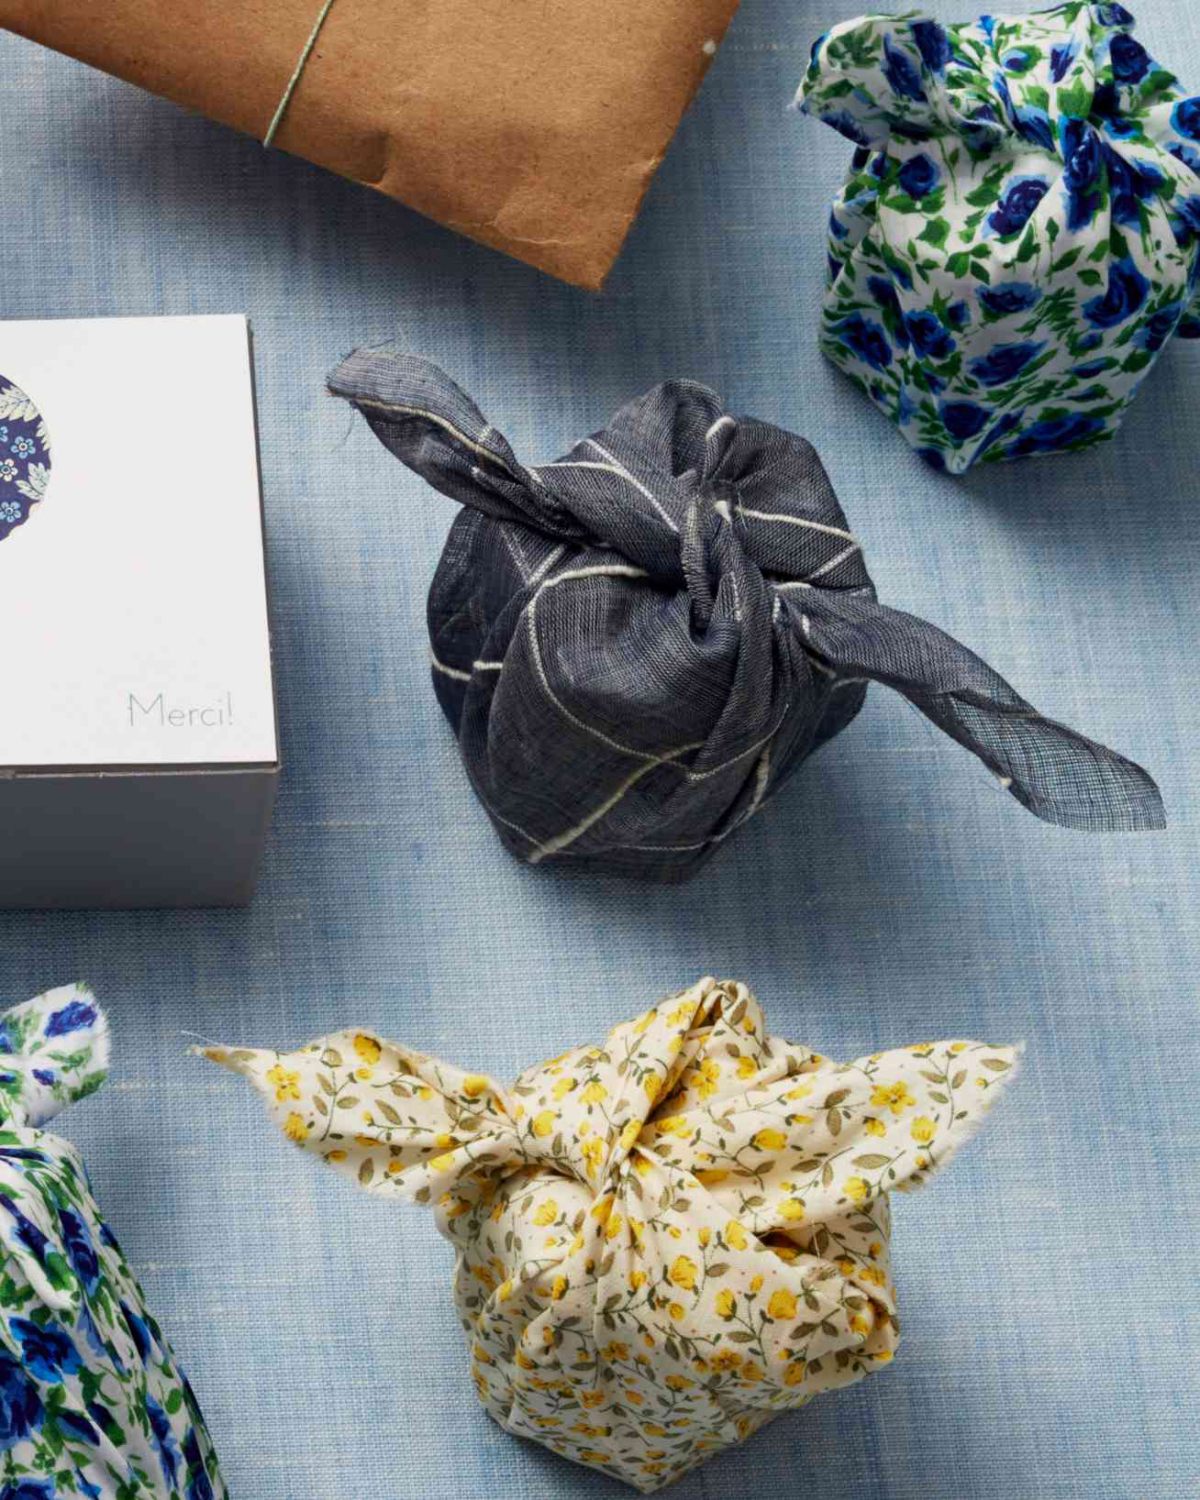
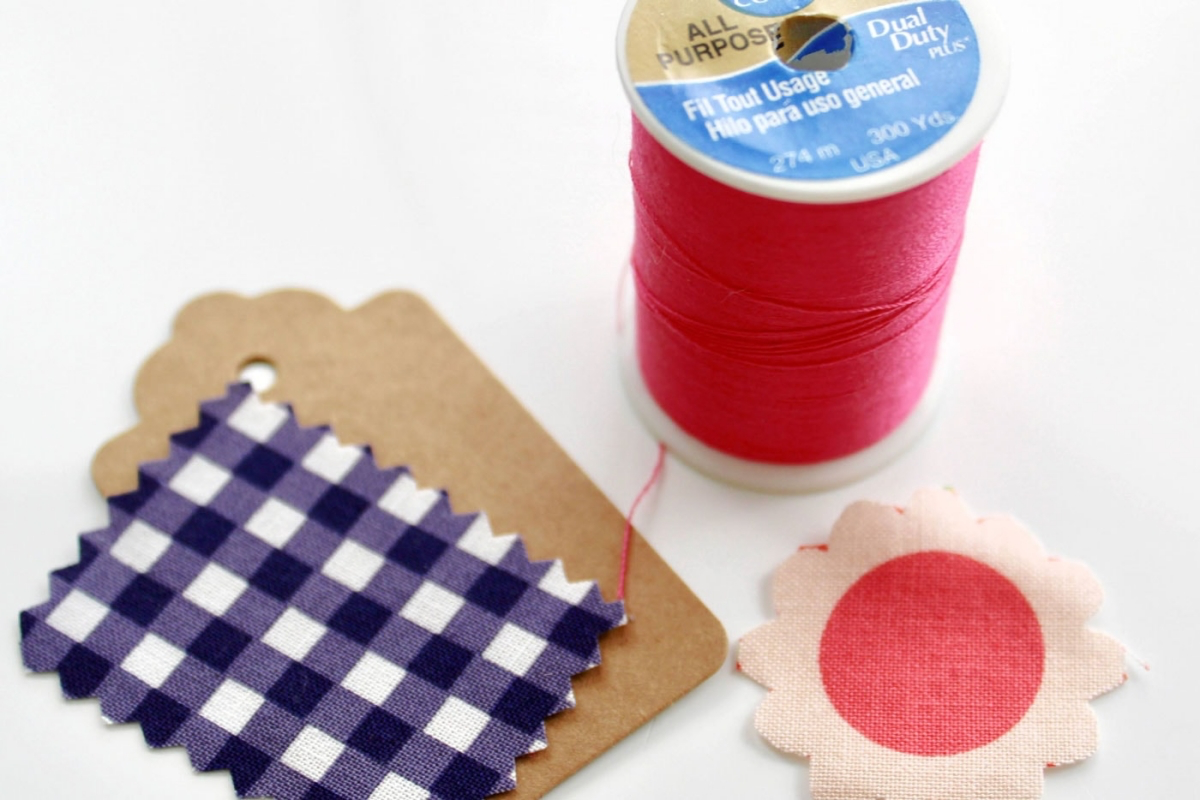
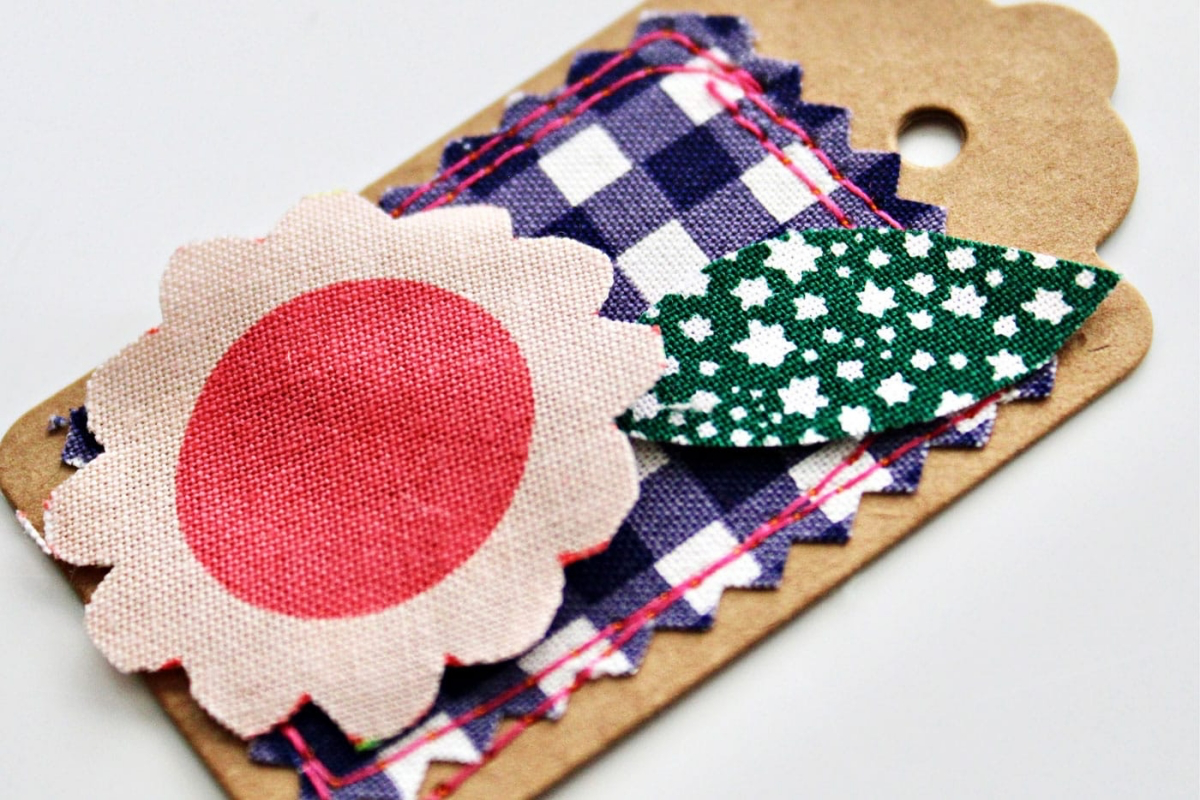
For an effortlessly charming and eco-friendly gift tag, look no further than your fabric scrap bin. A small rectangle of canvas, linen, or even a nostalgic pattern from an old shirt adds instant warmth.
- Use pinking shears for a decorative, no-fray edge.
- Stamp a simple ‘To/From’ on it with a StazOn ink pad, which works beautifully on fabric.
- Punch a hole with a small grommet for a polished finish before threading with twine.

The key to lasting beauty: proper storage. Don’t just toss your handmade treasures into a box. Wrap delicate ornaments individually in acid-free tissue paper—standard newspaper ink can transfer over time. Egg cartons are perfect for protecting small, fragile items. For wreaths, store them flat in a dedicated box or bag to prevent gravity from misshaping them over the next 11 months.

Embrace the Japanese aesthetic of ‘wabi-sabi’ in your holiday decor. This philosophy finds beauty in imperfection, asymmetry, and the natural cycle of growth and decay. Instead of a perfectly symmetrical wreath, try an asymmetrical swag of branches on your door. Let the beautiful grain of a handcrafted wooden star show through a thin wash of paint. It’s a shift in perspective that celebrates the authentic, handmade quality of your creations.
Beeswax candles release negative ions when they burn, which helps to purify the air.
Unlike paraffin candles (a petroleum byproduct), pure beeswax candles burn cleaner, brighter, and longer, without releasing soot or toxins. The gentle, natural honey scent creates a calming, warm atmosphere that perfectly complements other natural decor elements like pine and dried citrus. Investing in a few pure beeswax tapers or pillars is a simple upgrade for a healthier, more beautiful holiday ambiance.