Stress-Free Christmas Crafts for Kids That You’ll Actually Want to Keep
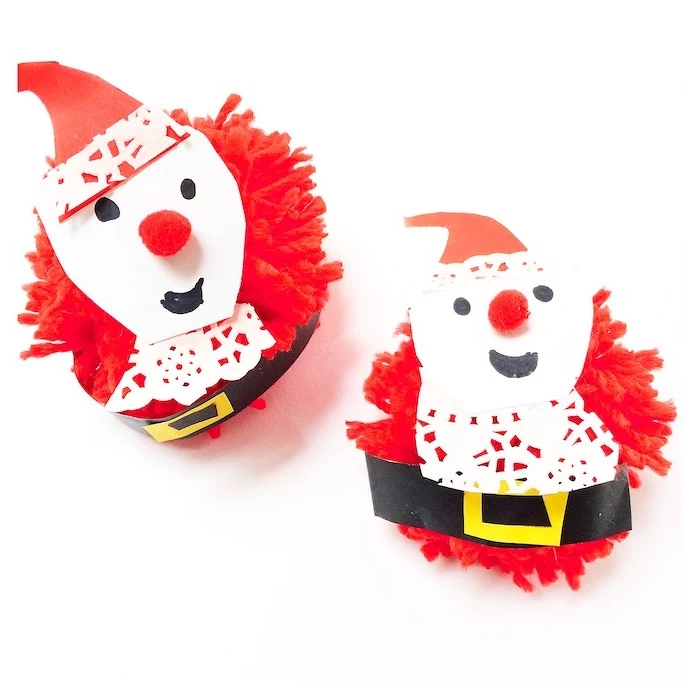
For years, my life has been filled with the chaotic joy of crafting with kids. I’ve seen it all—the glitter explosions that seem to multiply overnight, the glue-covered fingers, the wonderfully lopsided Santas that somehow become the most prized ornament on the tree. What I’ve learned is that making things with children isn’t really about creating a perfect, store-bought-looking product. It’s about making memories, one sticky, wonderful project at a time.
In this article
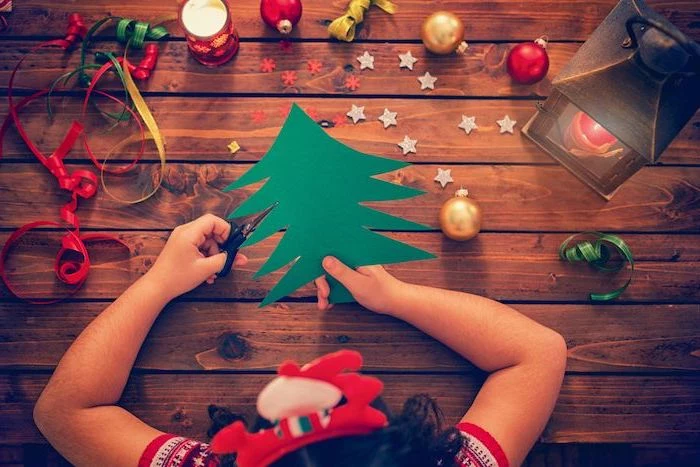
So many of us see those flawless craft projects online and immediately feel discouraged. Let’s be real, that’s not what it looks like at most kitchen tables. The real magic is in the process. It’s watching a kid finally master the scissors, figure out how to mix colors, or patiently tie a knot. This guide is all about making that process fun and meaningful, not stressful. We’ll cover a few classic projects, but more importantly, we’ll dive into how to set up for success, manage the mess, and turn simple supplies into decorations that last.
First Things First: Setting Up Your Crafting Zone
A little prep work before the paint comes out is honestly the secret to a good time. The goal is to create a space where kids can explore without you hovering and worrying about every little spill. A stressed-out parent is the fastest way to kill the creative vibe.
The Workspace
Your kitchen table is probably the best command center. For younger kids, even the floor can be great. My absolute go-to for protecting surfaces is a cheap plastic tablecloth from a party store, which you can get for a couple of bucks. They’re waterproof, wipeable, and you can reuse one for months. Old newspaper works in a pinch, but be warned, paint can soak right through. A flattened cardboard box is another fantastic—and free—option.
And don’t forget good lighting! It helps with detailed work and prevents eye strain. If the overhead light is dim, just bring over a desk lamp. Make sure everyone is comfy, too. Fidgeting kids are distracted kids.

Your Essential Crafting Toolkit
You don’t need to buy out the entire craft store. A solid starter kit will probably run you between $30 and $50, but these supplies will cover dozens of projects and last you a good while.
- Something to Stick Stuff Together: You’ll want a couple of options. A basic glue stick is perfect for simple paper projects, especially with toddlers. For anything with more weight, you need PVA glue (that’s the classic white school glue). It dries clear and holds strong. For instant bonds on natural items like pinecones or twigs, a low-temperature hot glue gun is a game-changer. Heads up! A low-temp gun still gets hot enough to cause a nasty burn, so it’s strictly for adult use. Always supervise closely when it’s plugged in.
- Something to Cut With: A pair of blunt-tipped, kid-safe scissors is a must. A great way to help little ones learn is to give them strips of construction paper to just practice snipping. For cutting cardboard, an adult with a utility knife and a metal ruler is the best combo. I always do this kind of prep before the kids even enter the room.
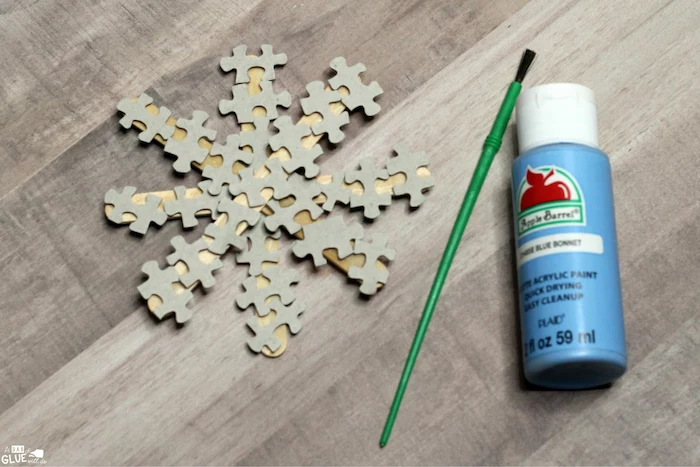
- Paints and Brushes: So, what paint should you get? For most day-to-day crafting with little kids, washable tempera paint is your best friend. It’s affordable, non-toxic, and—most importantly—cleans up with just water. But if you’re making an ornament you want to pass down, you’ll want to use acrylic paint. It’s much more durable and vibrant. The catch? Acrylic is basically plastic once it’s dry, so it’s permanent. Old t-shirts or aprons are non-negotiable when the acrylics come out.
- Paper and Cardboard: Keep a stash of colored construction paper and some heavier cardstock. Cardstock is key for anything that needs to be sturdy, like cards or wreath bases. And please, start saving your cardboard! Cereal boxes and shipping boxes are amazing free building materials.

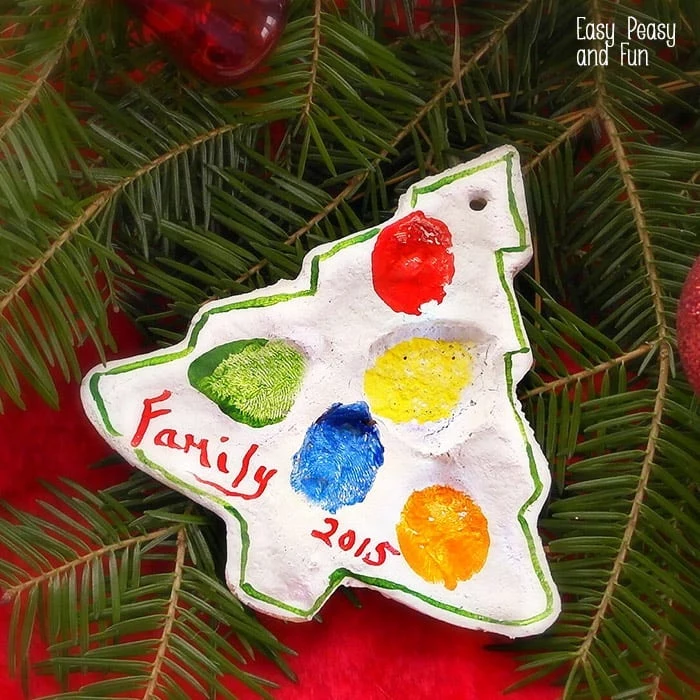
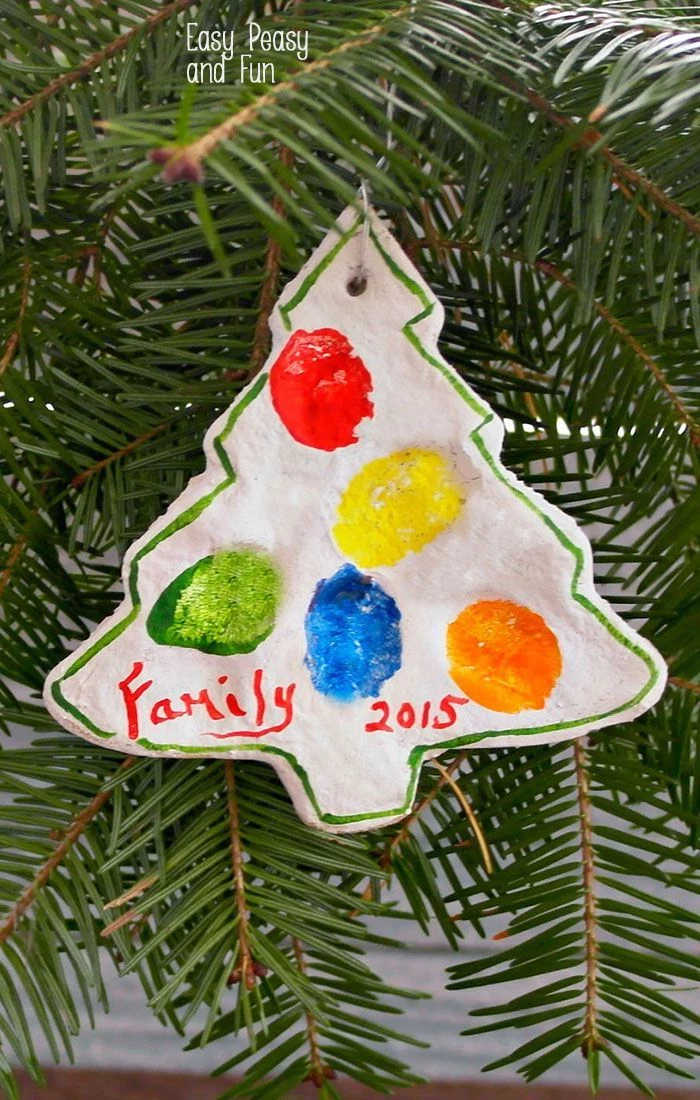
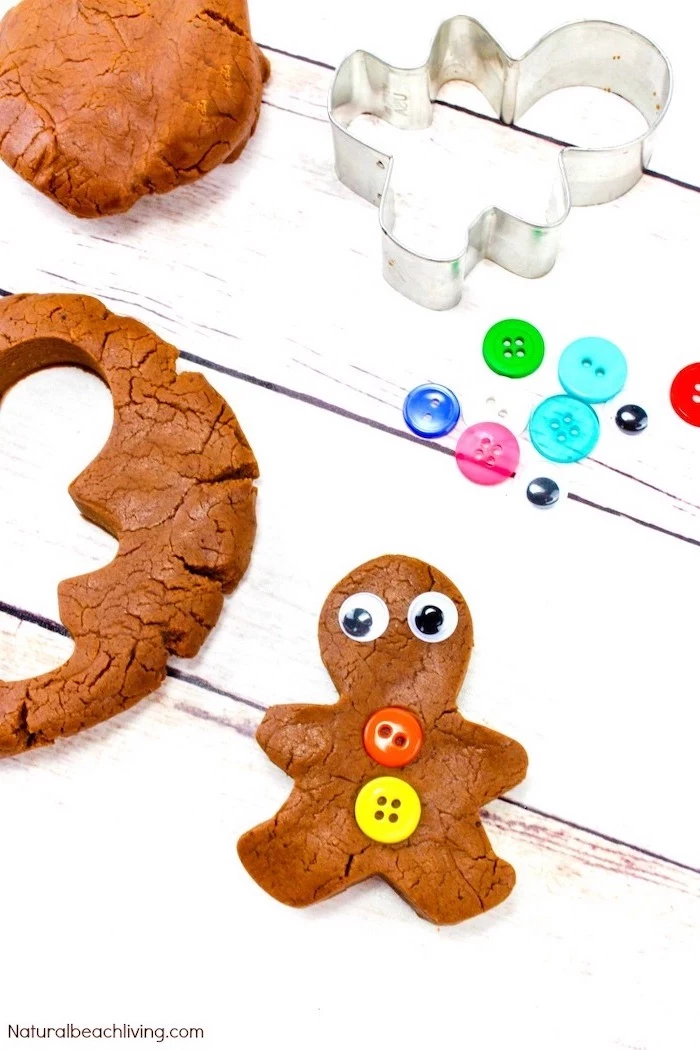
Project 1: The Classic Salt Dough Ornaments
Salt dough is a timeless craft for a reason. It’s a super simple, non-toxic modeling clay you can whip up in your kitchen. These are my favorite for capturing a moment in time, whether it’s a tiny handprint or a child’s first attempt at painting a gingerbread man.
Good to know: You can absolutely make this dough ahead of time. Just wrap it tightly in plastic wrap, and it’ll keep in the fridge for up to three days. Let it come to room temperature for about 30 minutes before you use it.
Getting the Dough Just Right
The recipe is simple: 2 parts all-purpose flour, 1 part table salt, and 1 part warm water. A great batch size is 2 cups of flour, 1 cup of salt, and 1 cup of water. The salt is the magic ingredient—it preserves the dough and helps it dry into a hard, durable finish.

If your dough is too sticky, add a bit more flour and salt (at that 2:1 ratio) until it’s smooth. Too crumbly? Add water one teaspoon at a time. It should feel like a nice, smooth play-dough.
Oh yeah, here’s a lesser-known trick: add a tablespoon of cinnamon to the dry ingredients. It gives the ornaments a lovely holiday scent! For toddlers, you can even add a few drops of food coloring to the water to pre-color the dough, which lets you skip the painting mess entirely.
Pro-Tips for Ornaments That Last
- Roll It Evenly: To avoid brittle spots, roll the dough to a consistent quarter-inch thickness. You can place two identical rulers on either side of your dough to act as guides for your rolling pin.
- The Perfect Hole: Always make the hole for the ribbon before you dry it. A simple drinking straw is the best tool for this. It punches out a perfect, clean circle.
- Drying Them Out: You can air-dry them, but it takes several days, and you have to flip them daily so they don’t curl. I prefer the oven method. Set your oven to its lowest temperature, around 200°F (95°C), and bake for 2-3 hours, flipping them halfway through.
- Common Pitfall: Rushing the drying process. If the oven is too hot, the dough will puff up and brown. I once rushed a batch for a workshop, and they looked like burnt cookies. Patience is everything.
- Seal the Deal: To make them last for decades, you have to seal them. After the paint is totally dry, an adult should give them a coat of clear acrylic sealer spray or brush on some Mod Podge. An unsealed ornament will eventually get soft by absorbing moisture from the air.
Project 2: Natural Pinecone Crafts
Using elements from nature is a beautiful and free way to decorate. But you can’t just bring pinecones in from the yard and start crafting. They can be full of tiny bugs, dirt, and mold.
The All-Important Prep Step
This is the step most guides skip, and it’s essential. First, soak the pinecones in a sink of warm water with a splash of vinegar for about 30 minutes. This cleans them and evicts any critters. You’ll notice they close up tight—that’s normal!
Next, preheat your oven to 200°F (95°C). Spread the wet pinecones on a foil-lined baking sheet and bake them for 1-2 hours. This kills anything left on them and beautifully re-opens the scales as they dry. By the way, if your oven’s lowest setting is a bit higher, say 225°F, just crack the oven door a little and keep a close eye on them. The goal is to dry, not cook.
Safety first: Pinecones contain flammable resin, so never, ever leave the oven unattended. If they start to feel a bit sappy after cooling, just pop them back in the oven for another 30 minutes. Once they’re cool and dry, they’re ready to go.
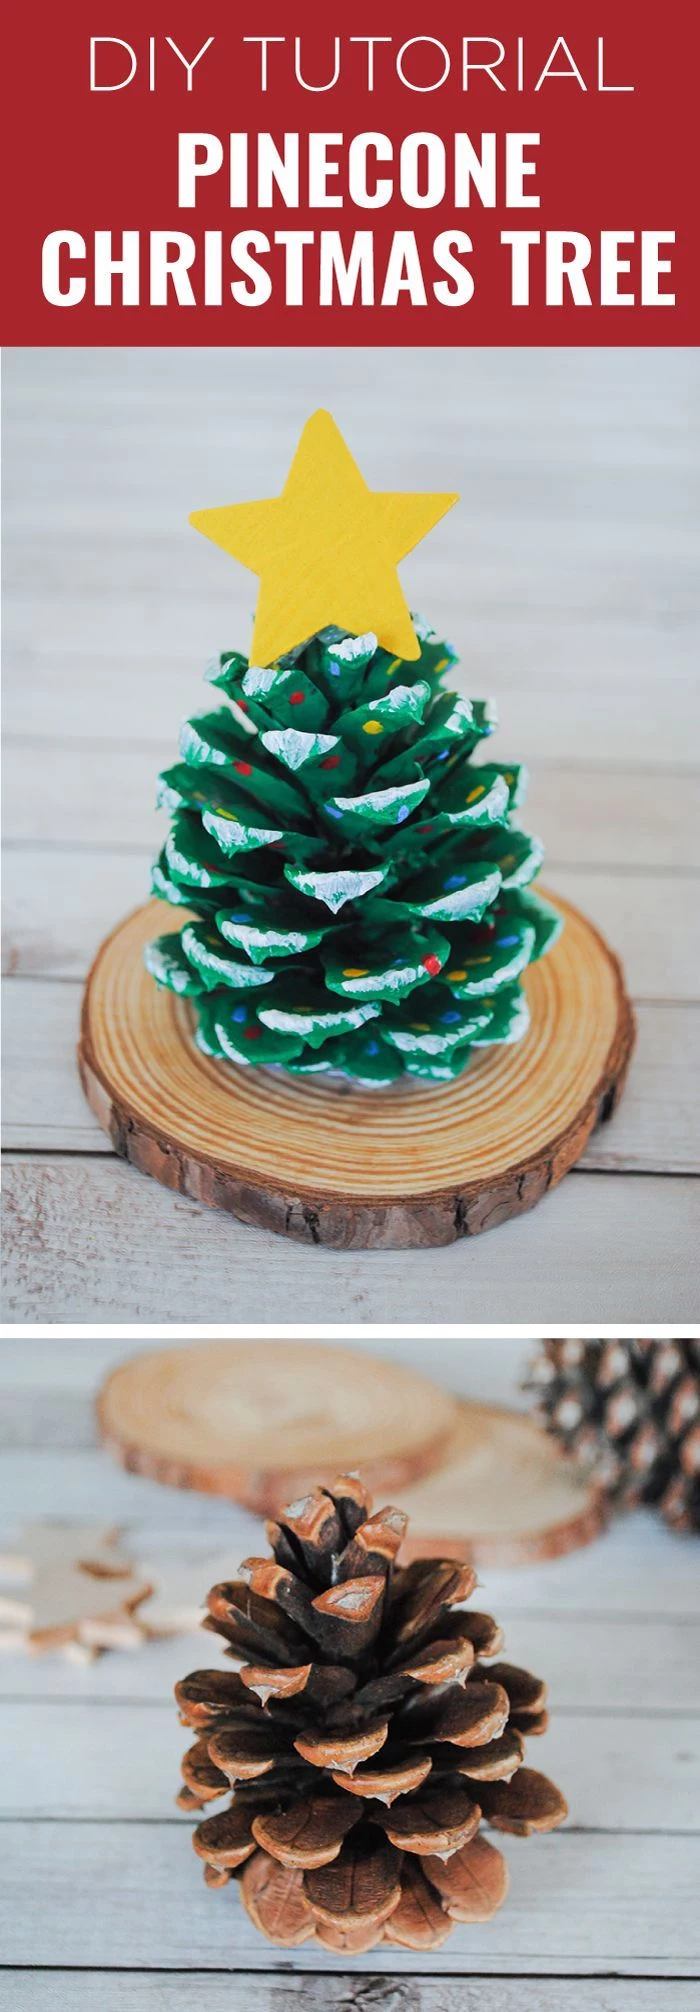
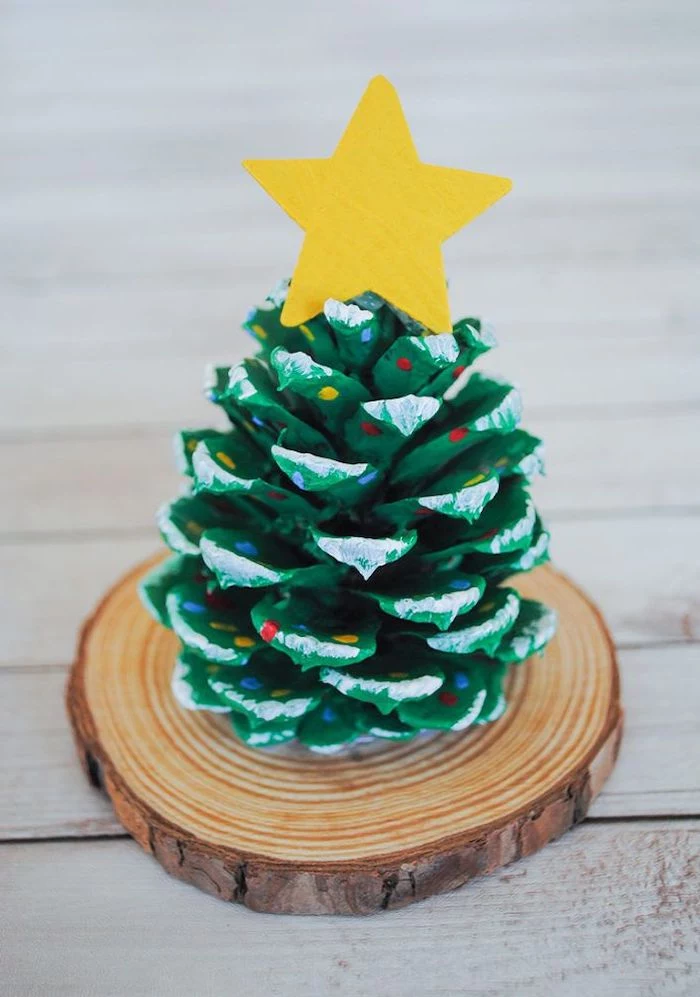
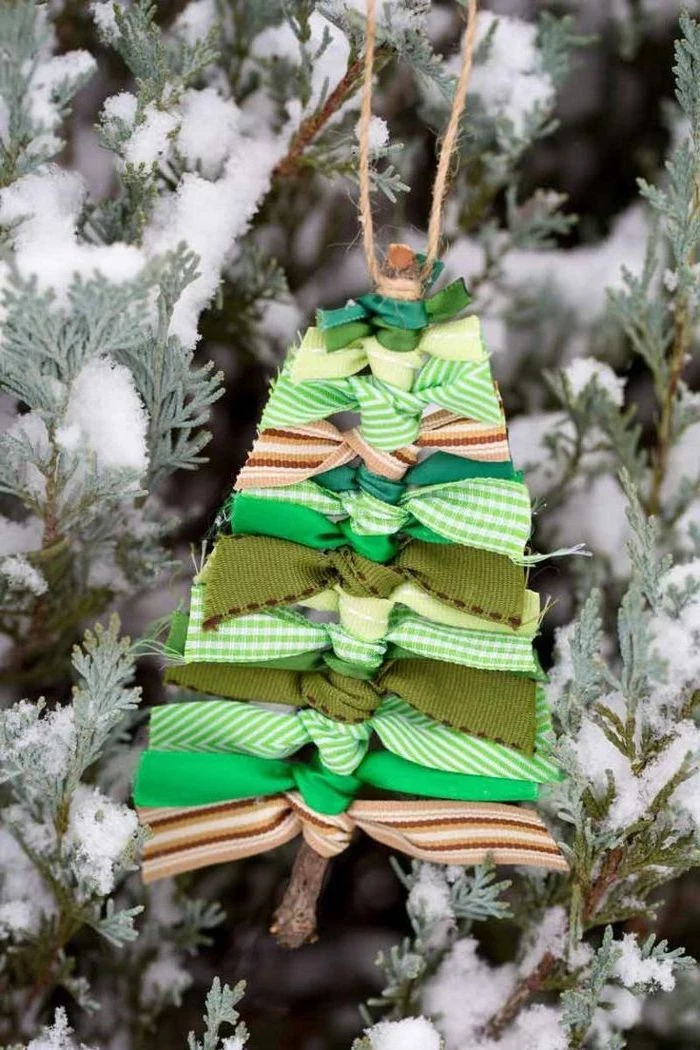
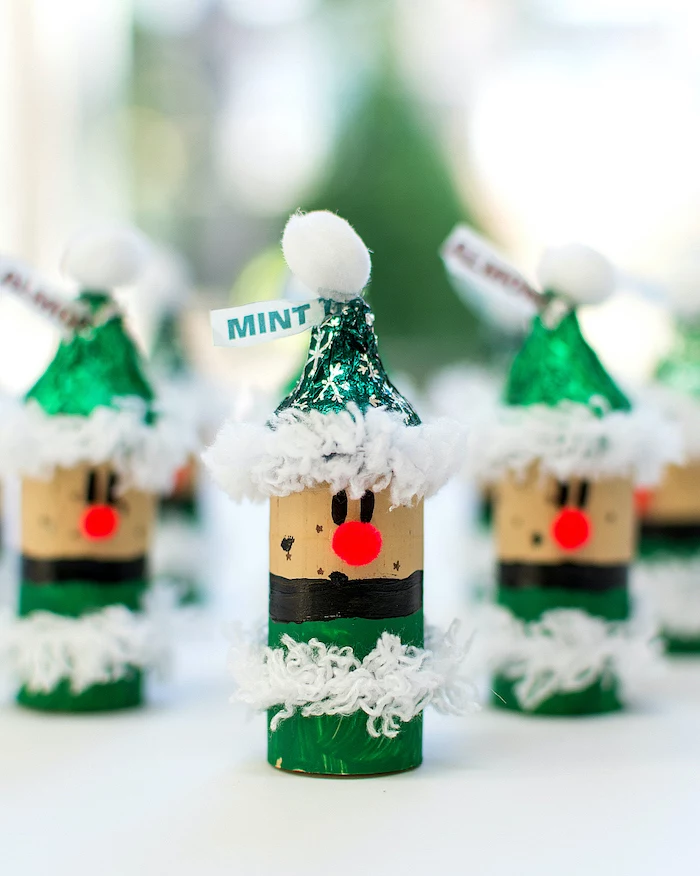
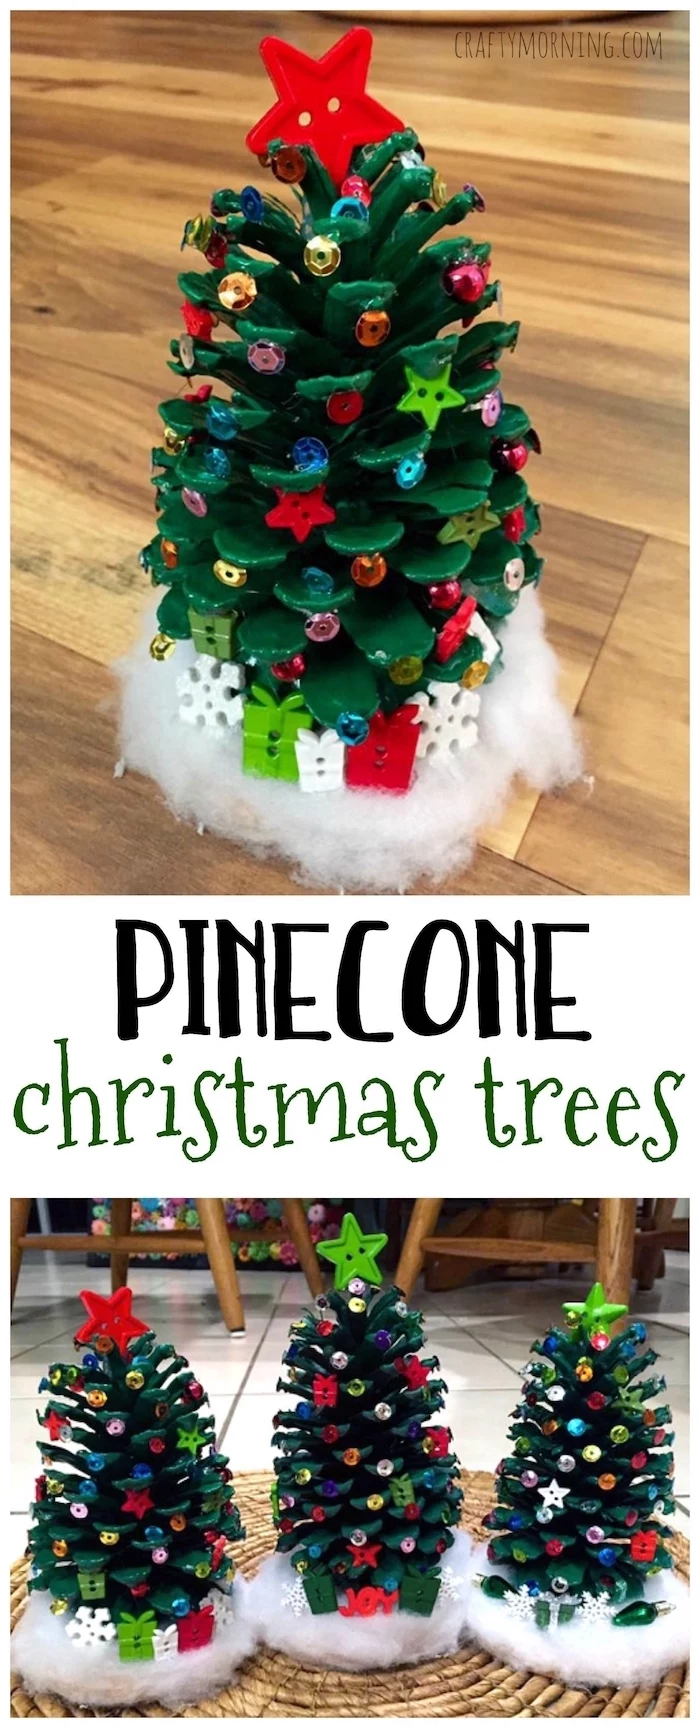
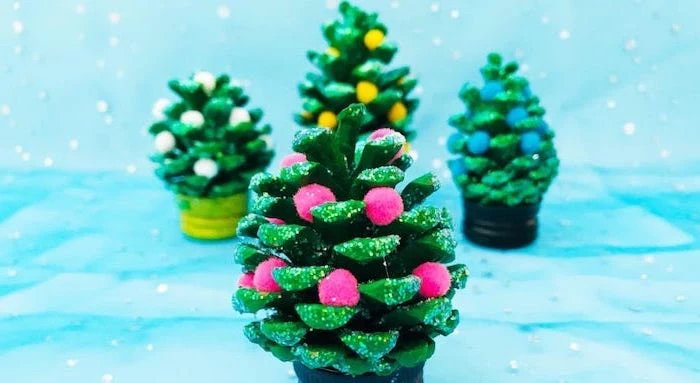
Making a Tiny Pinecone Christmas Tree
This is a charming craft that’s great for fine motor skills.
- What you’ll need: Prepared pinecones, green paint, small colorful pom-poms or beads, PVA glue, and a small wood slice or cork for the base. You can find bags of wood slices at craft stores like Michael’s or Jo-Ann, or online for about $10.
- How to do it: Paint the pinecone green and let it dry. Then, have your child dip the little pom-poms in glue and tuck them into the scales like ornaments. An adult can then use a hot glue gun to attach the base and a tiny star on top. Simple and so cute!
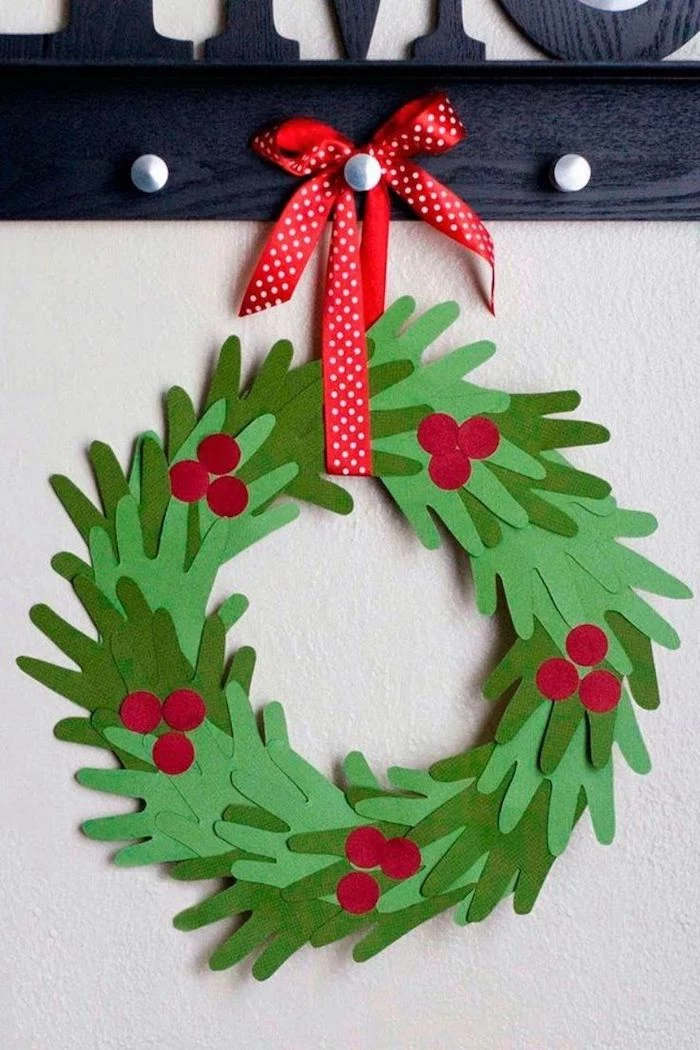
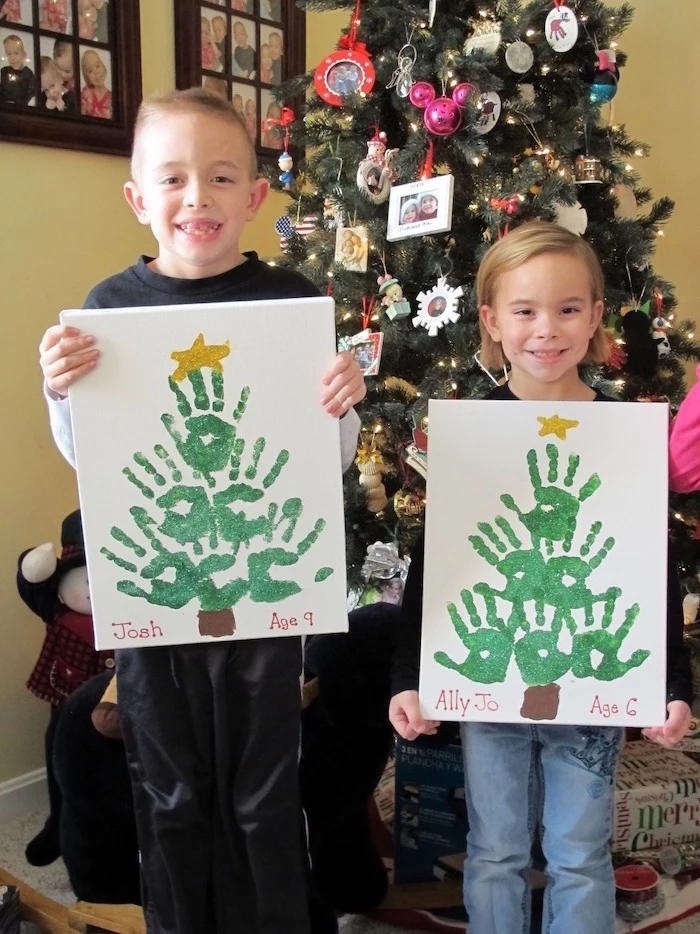
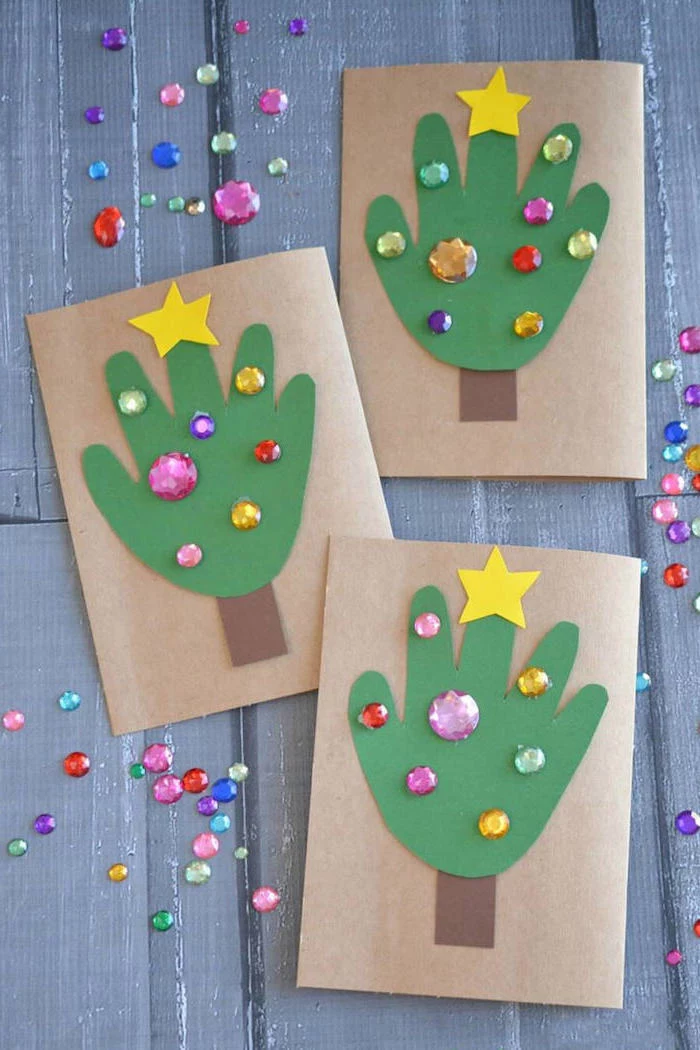
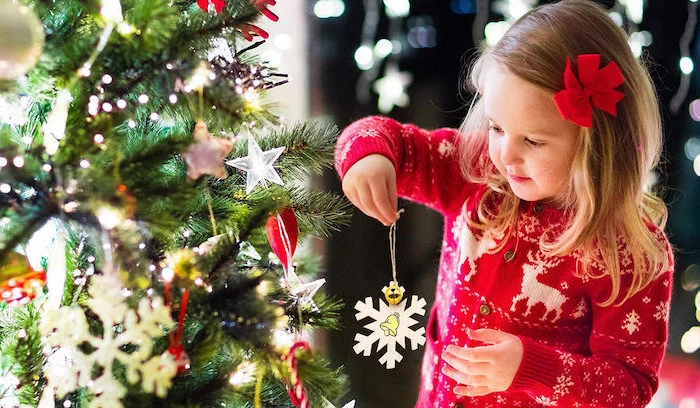
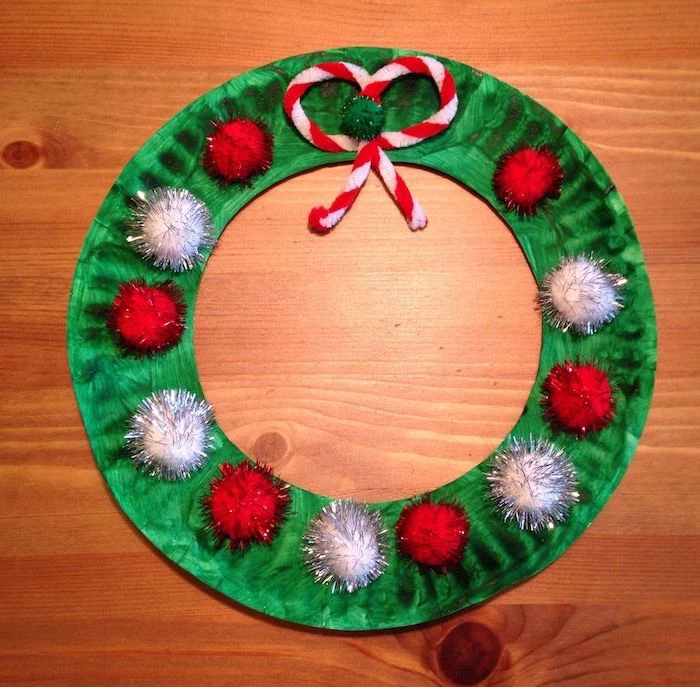
Project 3: The Handprint Christmas Wreath
Of all the crafts out there, this is the one that gets parents right in the feels. It’s a perfect snapshot of how small your child once was. I see the one we made for my son’s first Christmas in preschool, and it just brings all the memories flooding back.
Tricks for a Wreath That Doesn’t Flop
A common pitfall here is using a glue stick. It just won’t hold up over time. You need to use white PVA glue for this project to last. And trust me on this: use cardstock, not regular construction paper. I made one with construction paper one year, and by Christmas Day it looked like a sad, wilted salad hanging on the door.
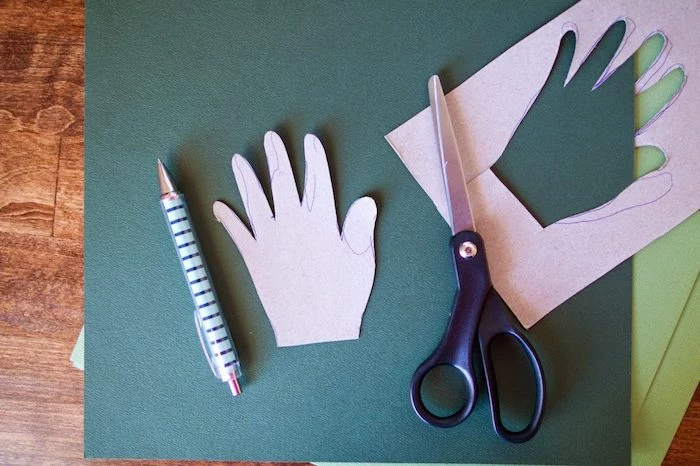
You’ll need more handprints than you think—for a full-looking 12-inch wreath, plan on a total of about 20-25 handprints. Use two or three different shades of green cardstock for a richer, more layered look. Tracing is great fine motor practice for kids, but an adult or older child should probably do the cutting for clean lines.
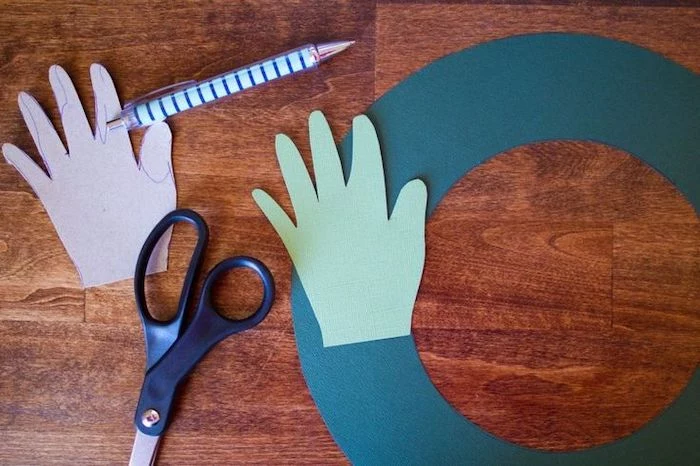
For the base, you can just cut a ring out of a shipping box. Then, before you glue, gently curl the fingers of each paper handprint around a pencil. This gives them a fantastic 3D, leafy look. Layer the hands all around the ring, pointing in the same direction, and then add a second layer tucked in between the first. Finish with some red paper
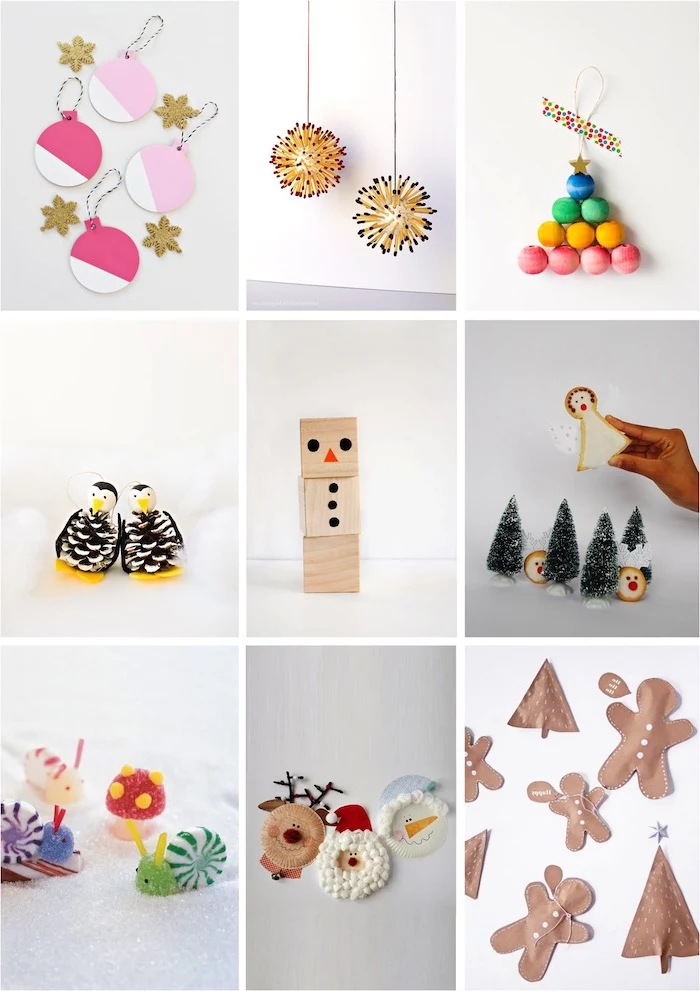
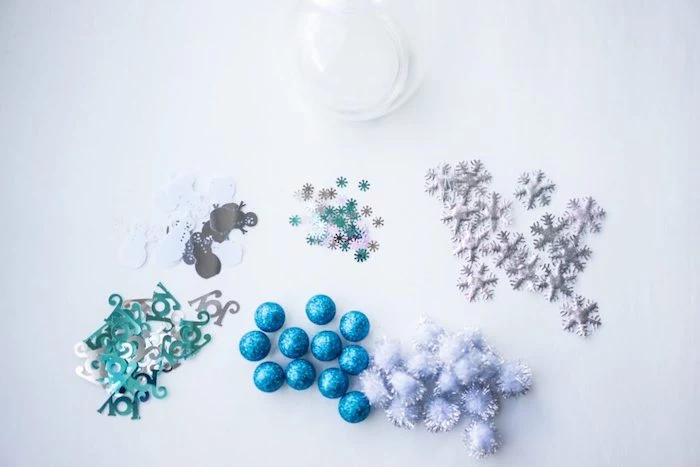
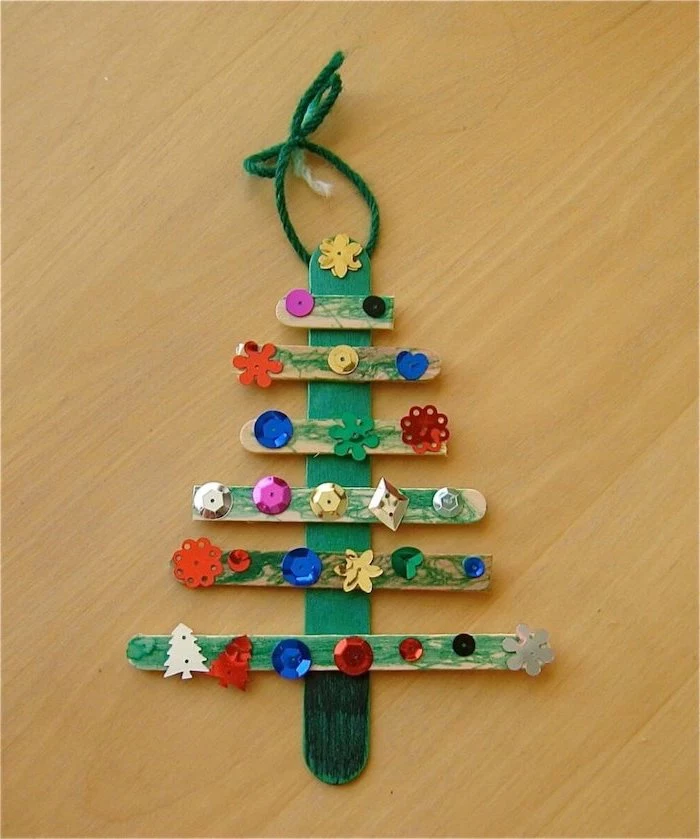
Inspiration Gallery
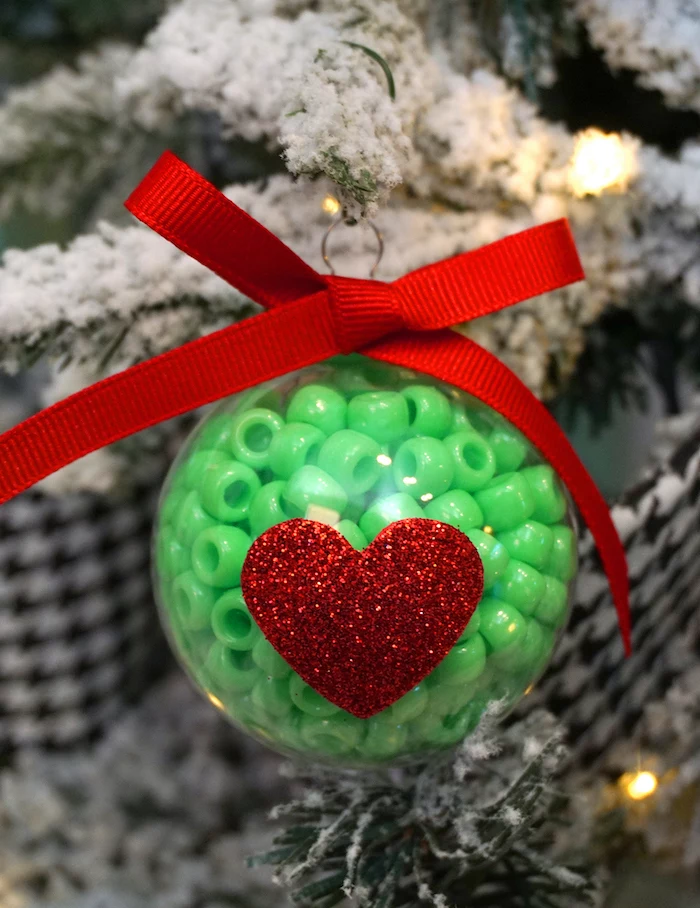
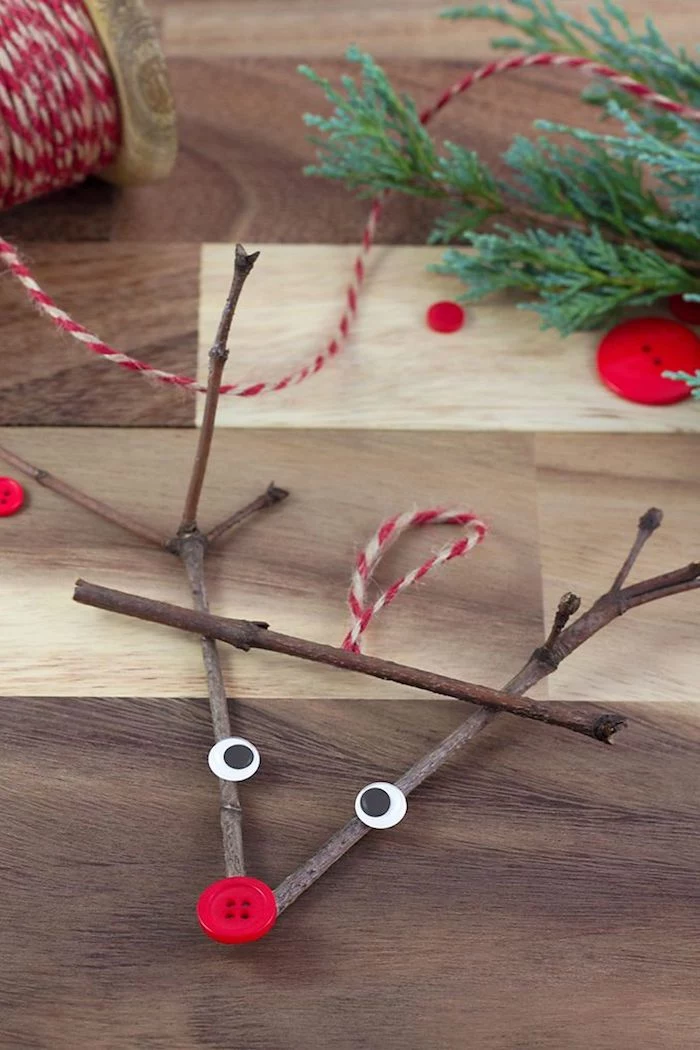
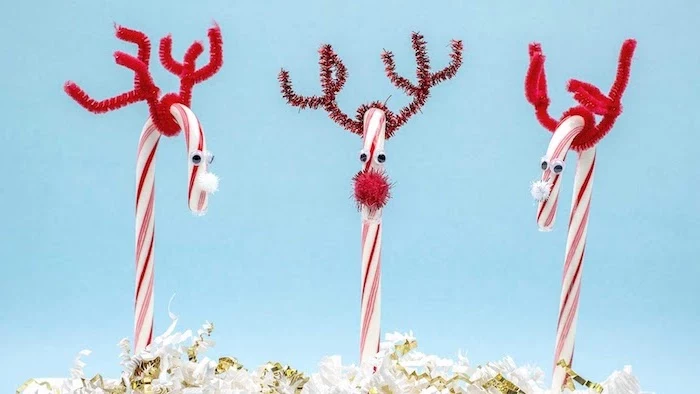
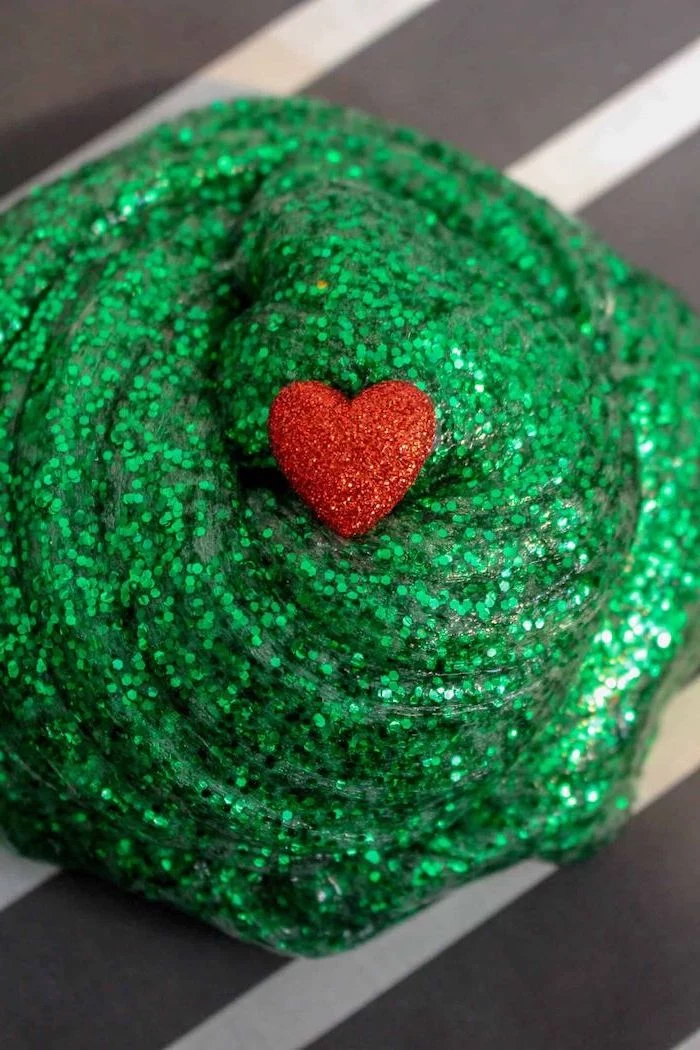
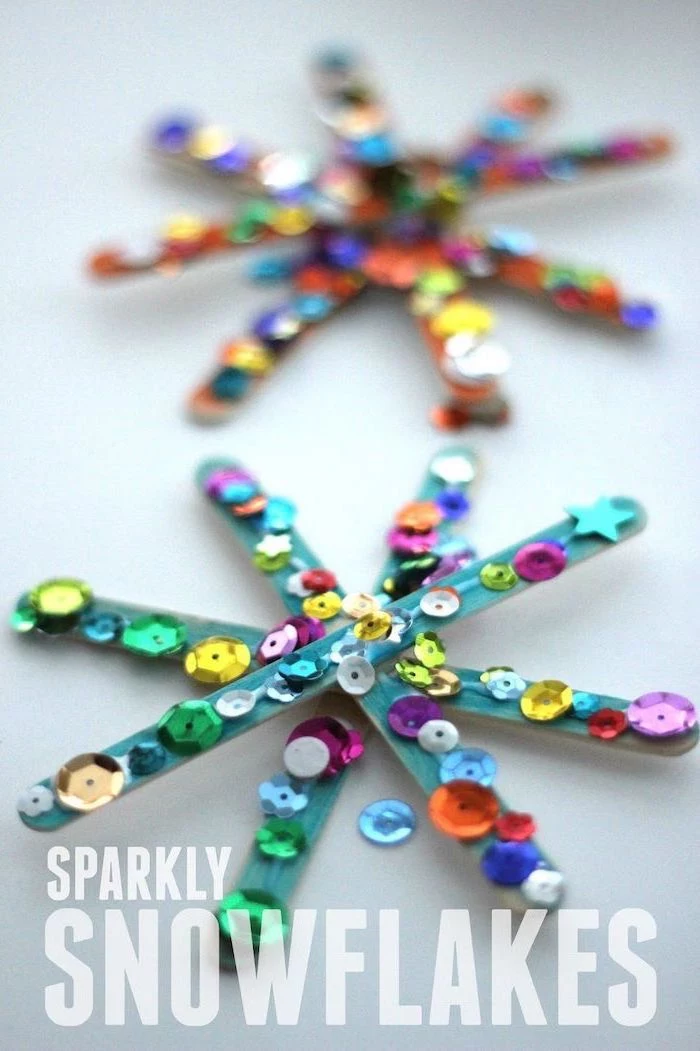
The secret to stress-free glitter? A lint roller. Instead of wiping glitter and spreading it further, simply roll it up from clothes, tables, and even the floor. It’s a game-changer for quick clean-ups after making sparkly reindeer and glittering baubles.
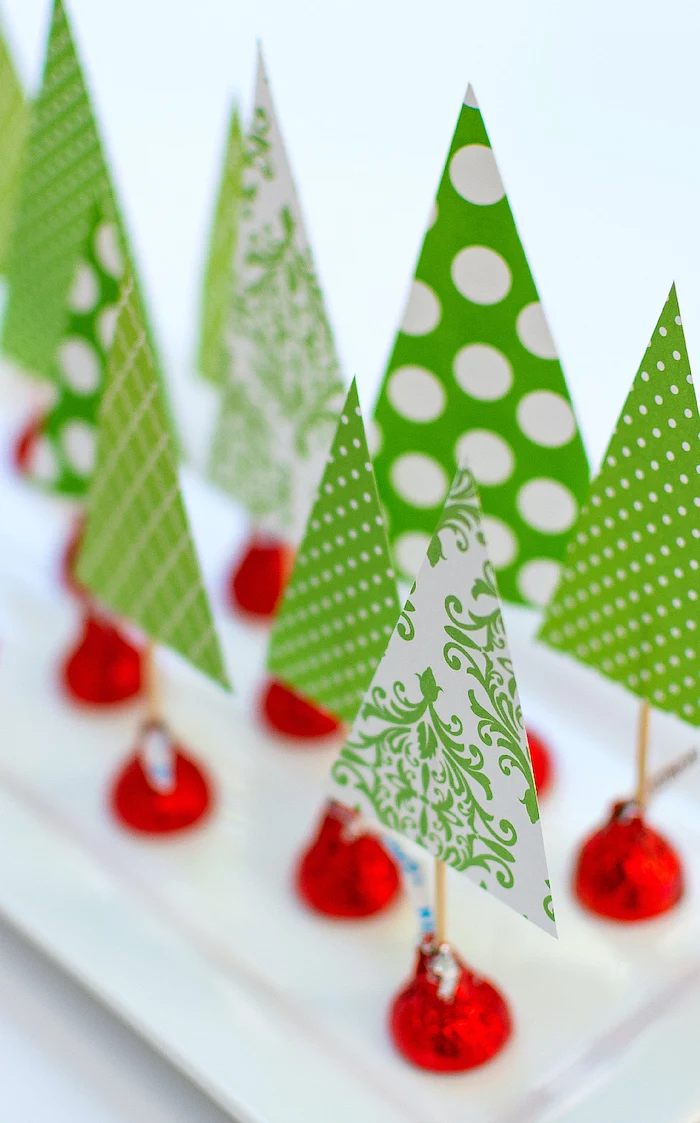
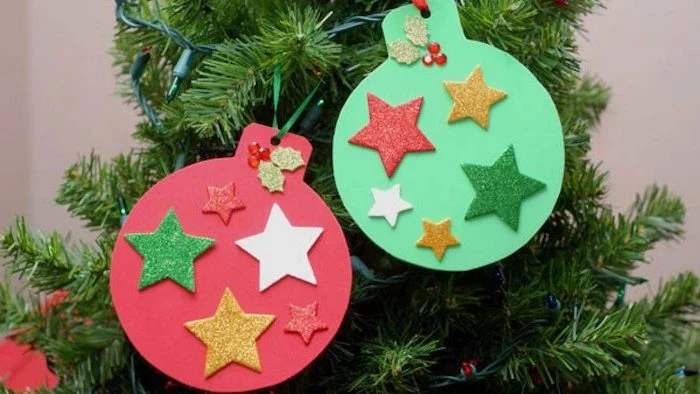
- Create a more harmonious tree by choosing a limited color palette for your crafting session.
- Think beyond red and green! Try frosty blues and silvers, or warm golds and creams.
The trick? Pre-select the paints, papers, and pom-poms you put out. This gently guides your child’s creation to fit a cohesive aesthetic without stifling their creativity.
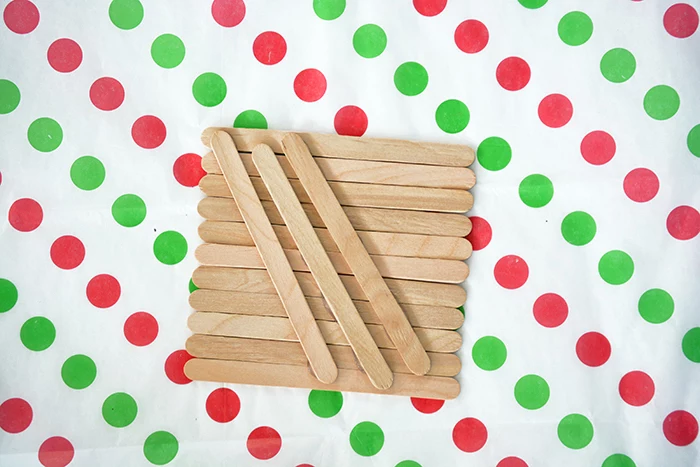
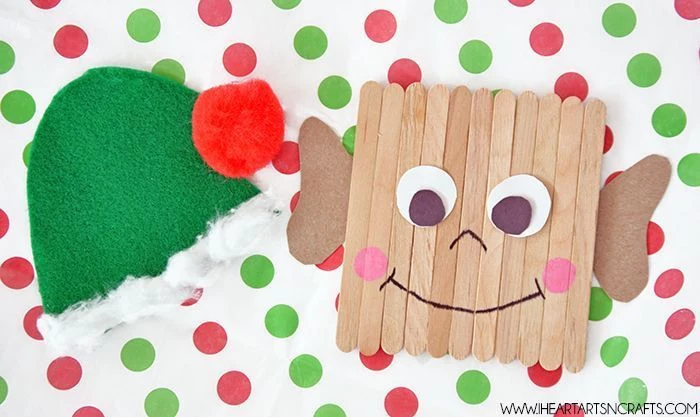
A study from the University of London found that engaging in a creative activity, even for a short period, can reduce stress and improve mood.
This is as true for kids as it is for adults. That shared moment of focus over popsicle sticks and glue isn’t just making a decoration; it’s a small act of wellness for the whole family during a busy season.

How do I make salt dough ornaments last for years?
The key is sealing them properly after they’re baked and painted. Once the acrylic paint is completely dry (give it 24 hours), apply a thin, even coat of a clear sealant. Mod Podge (Gloss or Matte finish) is a fantastic, kid-safe option. Apply one coat, let it dry, then add a second for extra durability. This protects the paint from chipping and prevents moisture from softening the dough over time.
Incorporate the scents of the season right into your crafts. Add a few drops of peppermint extract to white paint for candy-cane themed projects, or mix a dash of cinnamon or nutmeg into your salt dough recipe before baking. It creates a multi-sensory experience that makes the memories even stronger.
Elmer’s Glue Stick: Perfect for young toddlers. It’s low-mess and great for sticking paper to paper. The bond isn’t super strong, so it’s not ideal for heavier items like buttons or twigs.
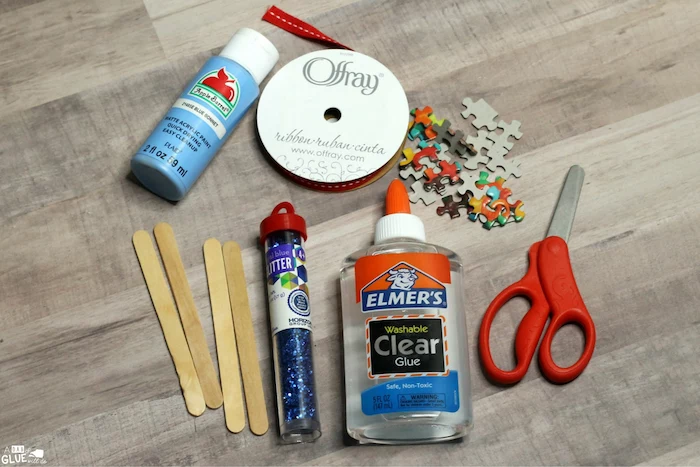
Elmer’s School Glue (PVA): The versatile champion. It holds paper, felt, pom-poms, and googly eyes securely. It takes longer to dry but creates a much more permanent bond. A small bowl and a Q-tip can help little fingers apply it without squeezing the whole bottle out.
A pro tip for little hands: Don’t underestimate the power of a simple hole punch. For any craft that needs to be hung, like a salt dough ornament or a paper plate angel, let your child punch the hole for the ribbon *before* they start decorating. It’s much easier than trying to poke a hole through layers of dry paint and glue.
Turn your recycling bin into a treasure chest for crafting. You’ll be amazed at what you can create with:
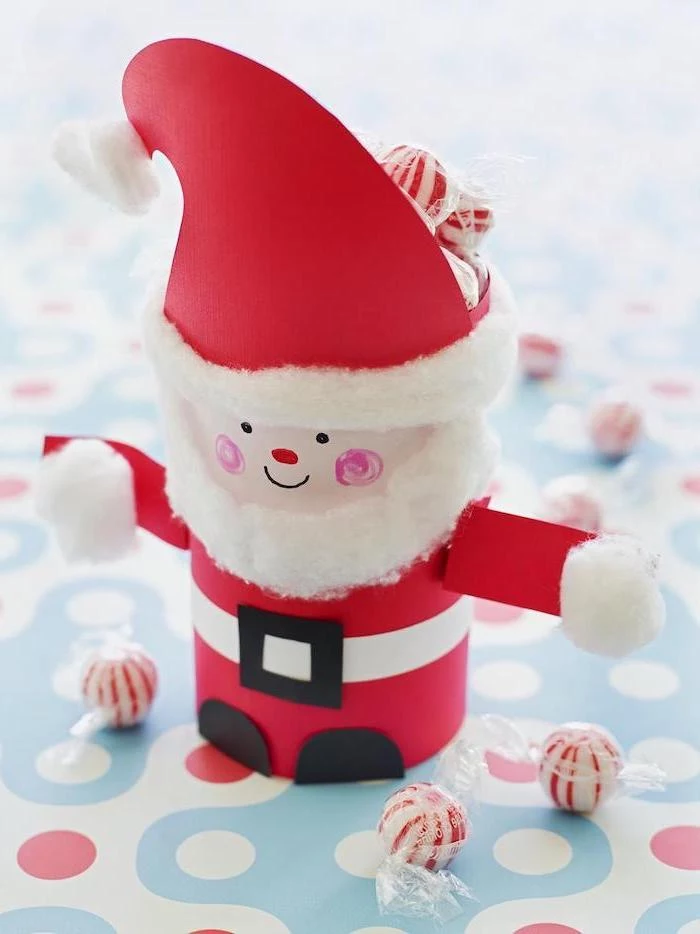
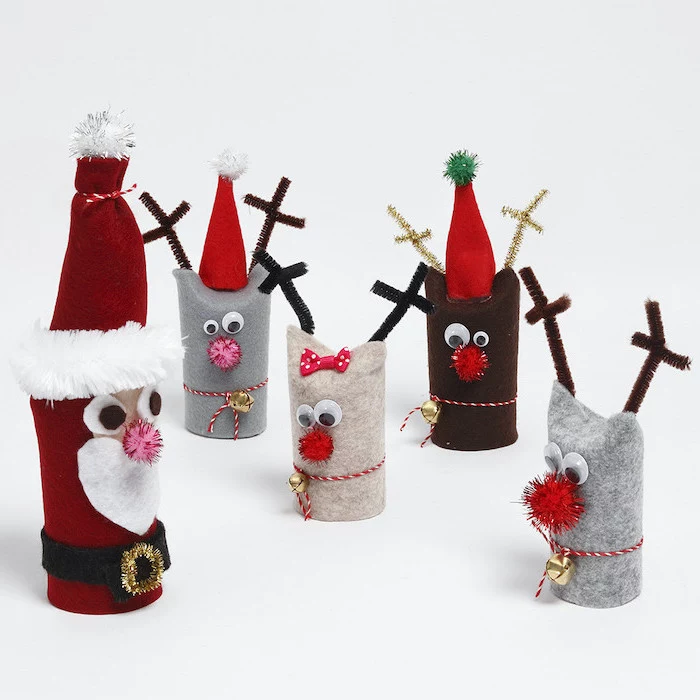
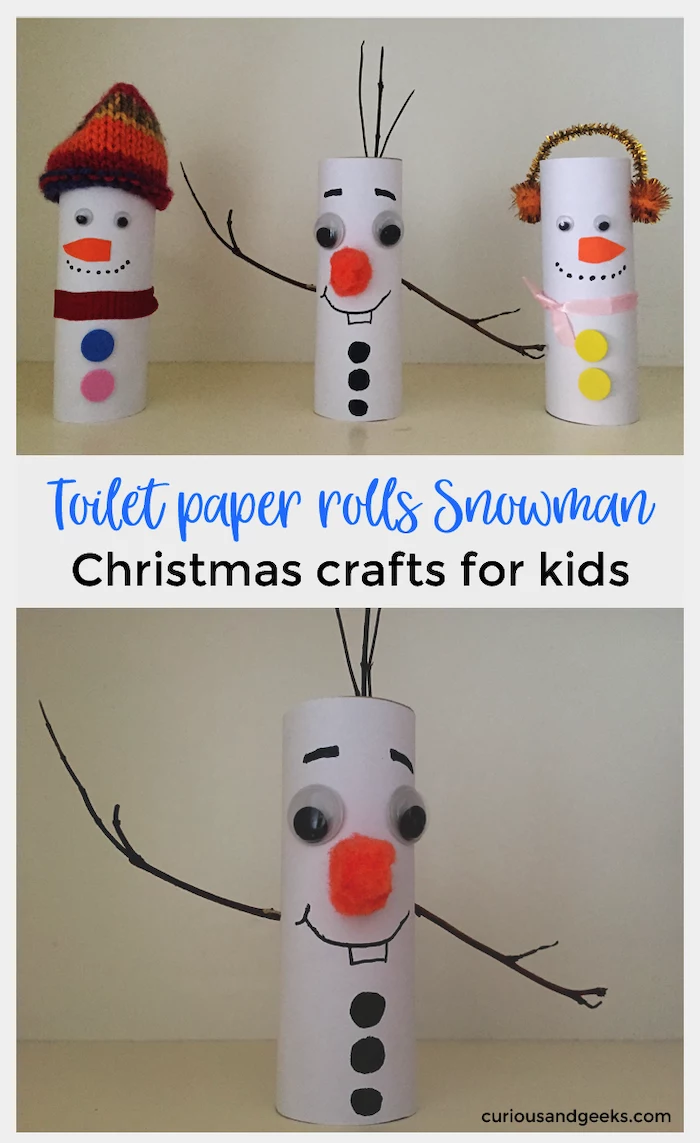
- Cardboard tubes: They can become reindeer, angels, or even a whole nativity set.
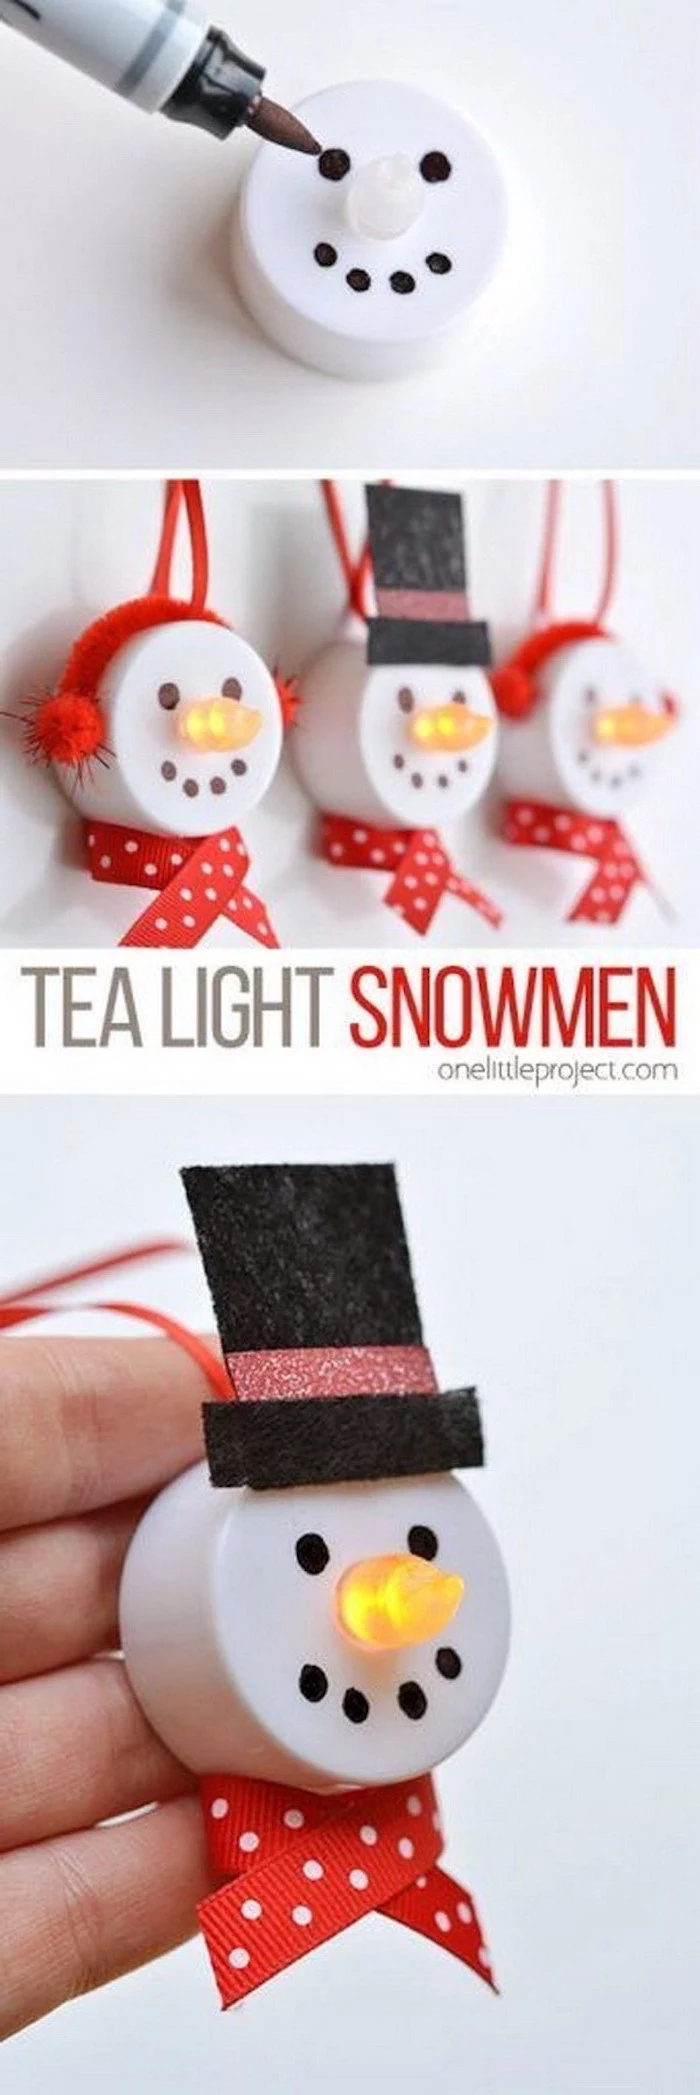
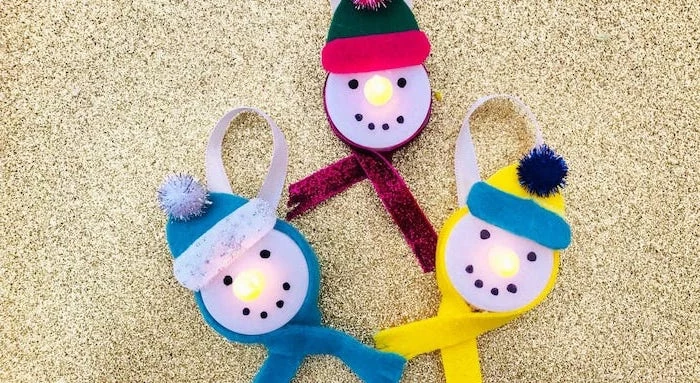
- Bottle caps: Perfect for snowman buttons or tiny ornament bases.
- Old Christmas cards: Cut them up to create collage pictures or gift tags.
- Egg cartons: The individual cups make great bells or heads for little characters.
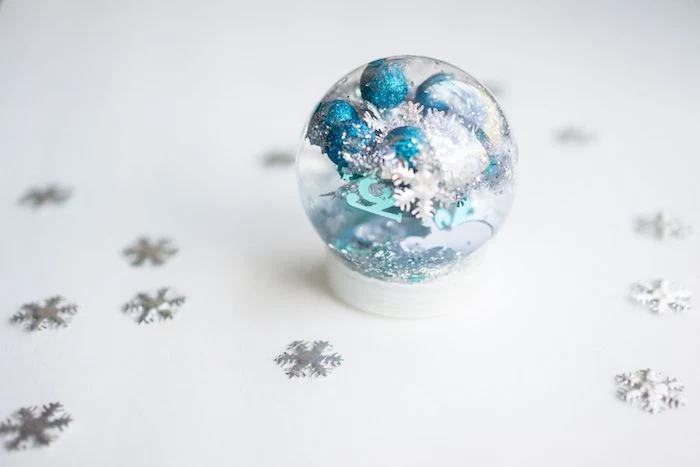
Globally, it is estimated that over 5.25 trillion plastic particles are floating in the ocean. A significant portion of this is microplastics, which includes traditional plastic glitter.
Consider eco-friendly alternatives! Biodegradable glitter, made from plant cellulose, offers all the sparkle without the environmental impact. Brands like Today Glitter or Bio-glitter are great options. Or, skip the glitter and use metallic paints, shiny paper, or even crushed rock salt for a frosty effect.
- Keeps their hands busy and focused.
- Creates beautifully textured patterns with minimal effort.
- Perfect for little ones who aren’t yet skilled with a paintbrush.
The secret? Potato stamping. Cut a potato in half, carve a simple shape like a star or a tree, dip it in Crayola washable paint, and let the kids create their own wrapping paper or greeting cards.
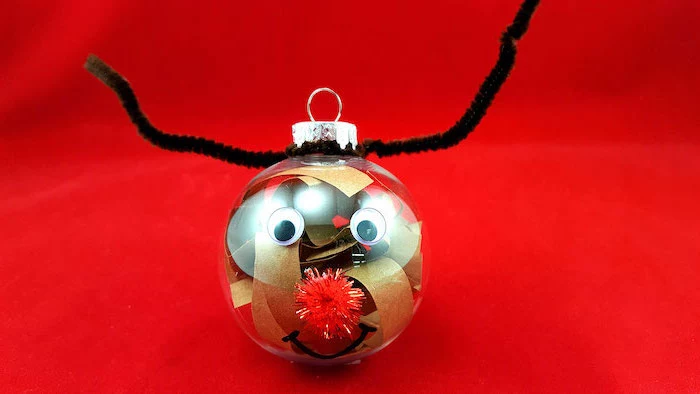
A simple white or brown paper lunch bag can be the start of a classic reindeer puppet. Lay the bag flat with the square bottom facing up—this flap will be the reindeer’s mouth. Have your child color the bag brown, then glue on twig antlers, googly eyes, and a red pom-pom nose right on the flap.
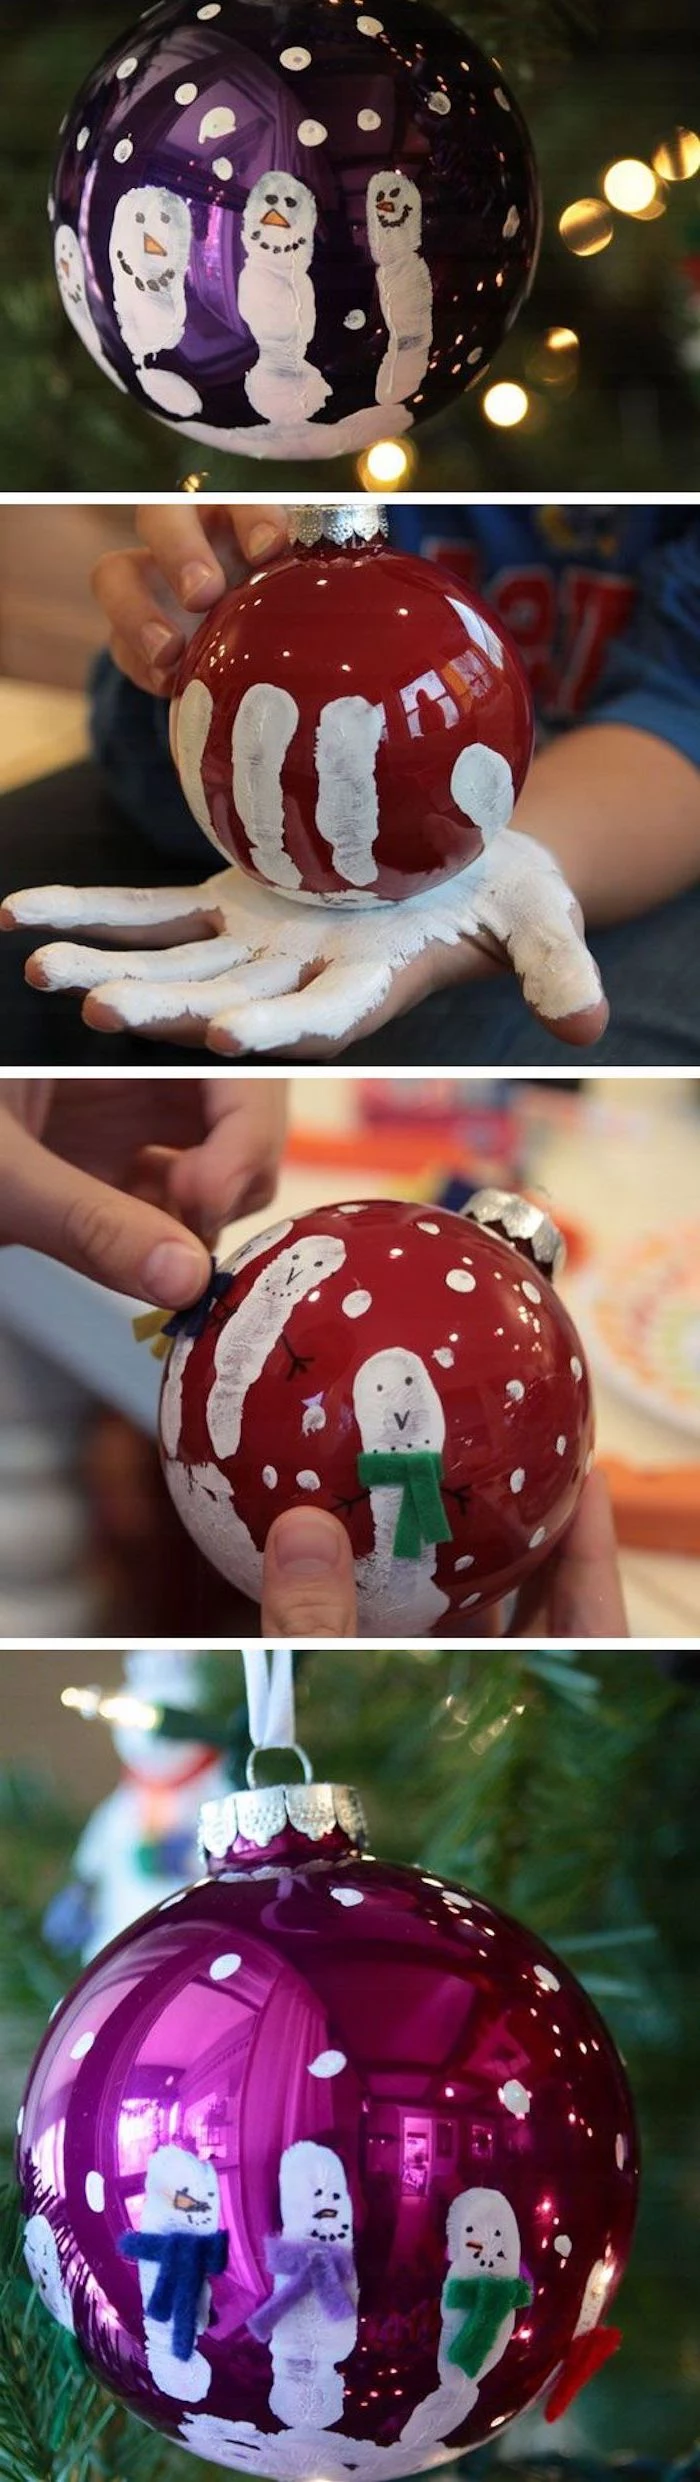
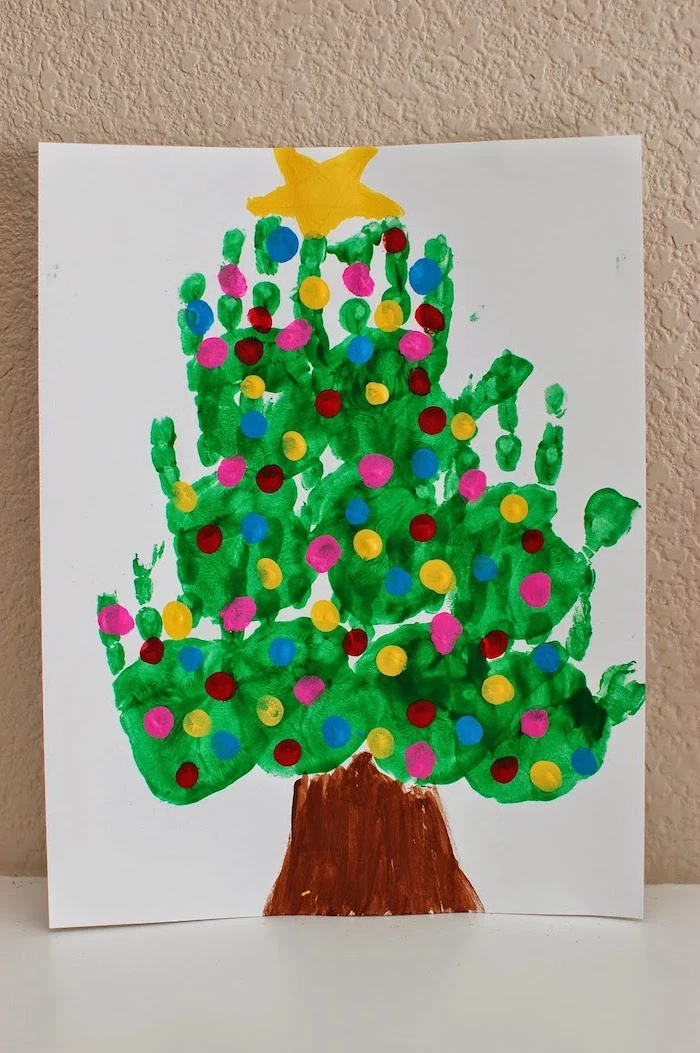
What’s the best way to capture those tiny handprints for posterity?
Use non-toxic, water-based acrylic paint, like the Crayola Artista II Tempera. Paint your child’s hand with a foam brush—it tickles less than a bristle brush. Press their hand down firmly and lift straight up to avoid smudges. Have baby wipes on hand for immediate cleanup. And don’t forget to write their name and the year on the back once it’s dry!
Important note: Always supervise a crafting session, but try not to intervene unless asked. A lopsided star or a blue-and-purple Santa is a reflection of your child’s unique vision. The goal is their enjoyment and self-expression, not a picture-perfect result. Letting them make creative choices builds confidence.
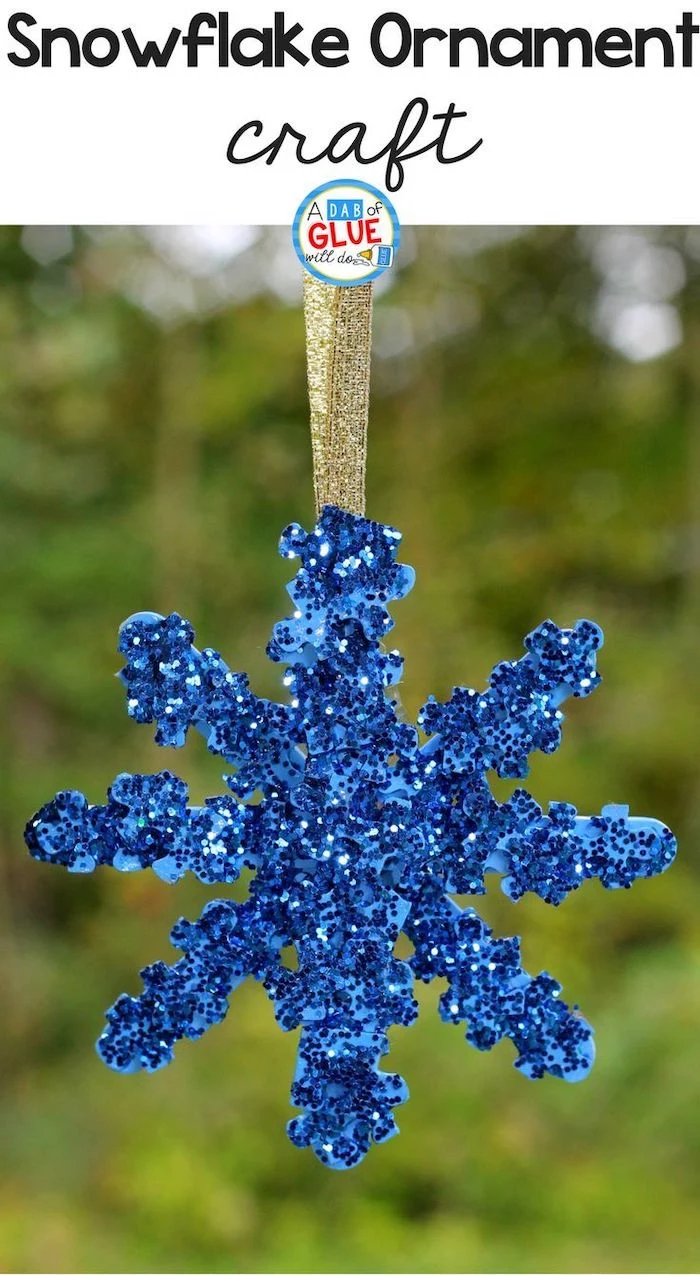
The iconic paper snowflake design is believed to have originated in Victorian England, where ‘papercutting’ or ‘scherenschnitte’ was a popular parlour craft for ladies.
Embrace this simple, elegant tradition. All you need is plain white printer paper and kid-safe scissors. The magic of unfolding the paper to reveal a unique design is a timeless joy that connects us to generations past.
For an easy, rustic-chic garland, you’ll need twine and a bag of cinnamon sticks. Let your kids help you tie the sticks onto the twine every few inches. You can also have them thread on dried orange slices (bake thin slices in the oven at 200°F/95°C for 2-3 hours) or wooden beads for a beautiful, fragrant decoration.
- Go on a ‘materials hunt’ in the backyard. Look for fallen twigs, pinecones, and interesting leaves.
- Assemble your nature finds into charming reindeer (twigs for antlers) or woodsy owls (pinecones for bodies).
- A hot glue gun (for adult use only!) is best for securing these natural, bumpy textures together.
Mistake to avoid: Rushing the drying process. Applying a second color of paint or gluing on details before the base coat is fully dry leads to smudged, muddy colors. Set up a designated ‘drying station’ on a counter with wax paper. Teach kids patience by having a second, simpler activity (like coloring) to do while they wait.
Don’t throw away those broken crayon pieces! Peel off the paper, place the bits into a silicone mold (Christmas tree or star shapes are perfect), and bake at 230°F (110°C) for 15-20 minutes. Once cooled, you’ll have new, multi-colored crayons that are fun to use and make great little gifts.
My child’s drawing is so cute, how can I turn it into a durable ornament?
Have them draw a special Christmas picture on a piece of white cardstock. Cut it out and laminate it for durability. Punch a hole at the top and add a festive ribbon. For a sturdier option, you can use Shrinky Dinks paper. They draw on the special plastic, you cut it out and bake it, and it shrinks into a hard, permanent plastic charm.
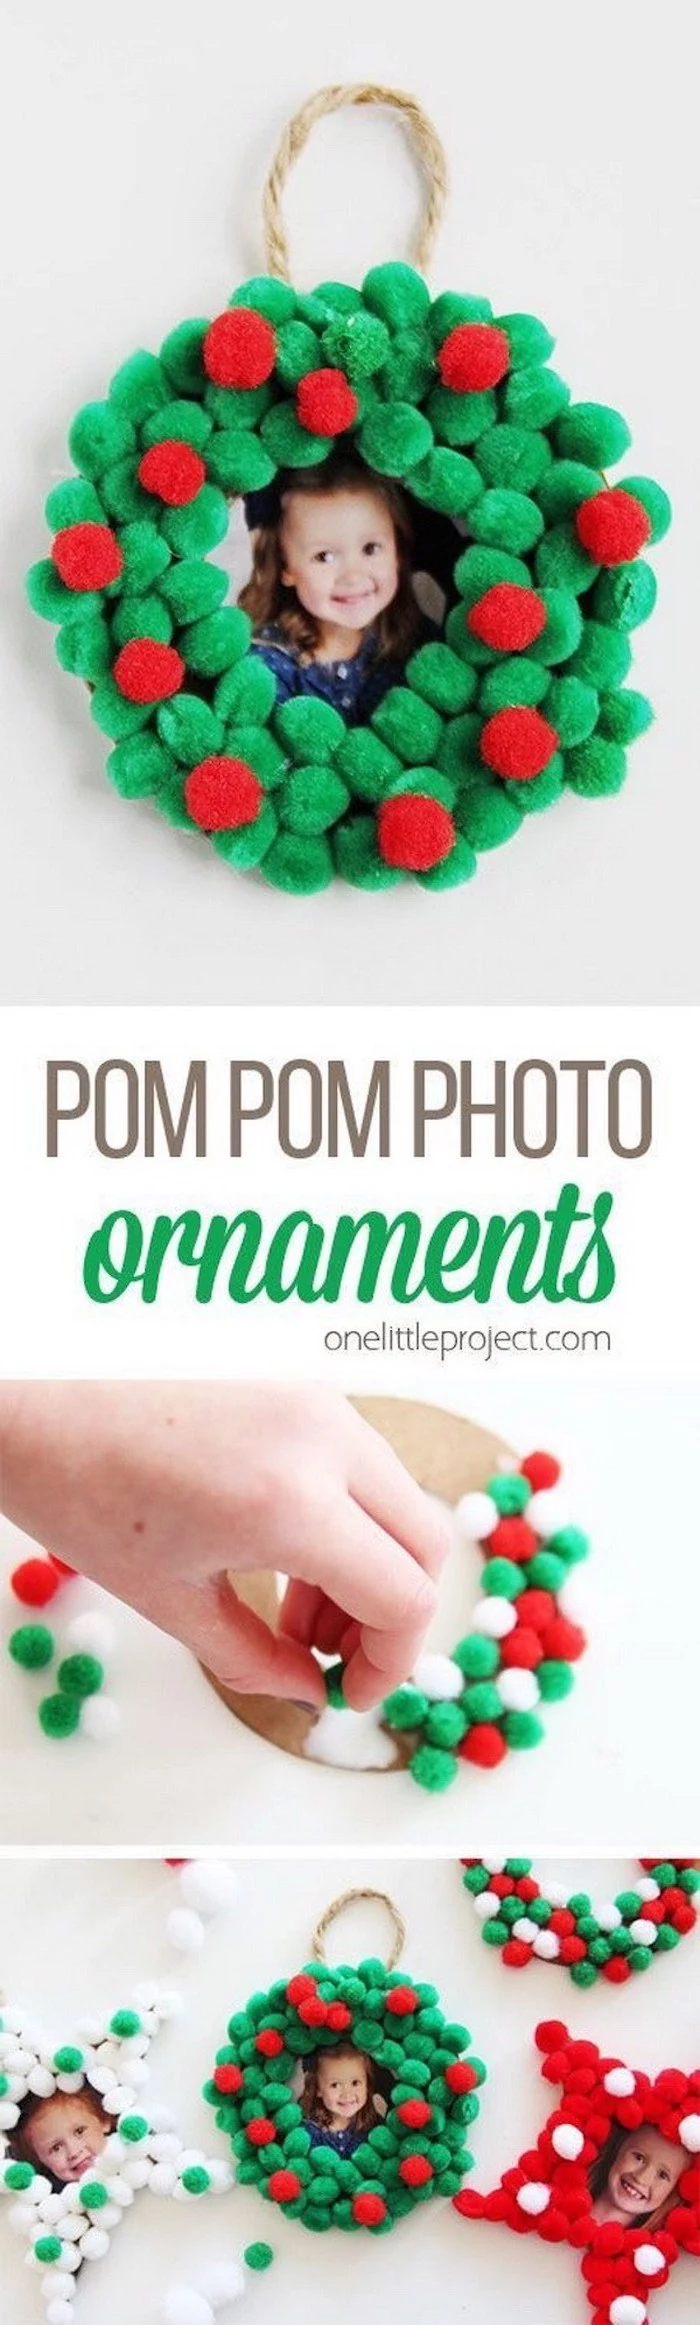
A single pom-pom can be a reindeer’s nose, a snowman’s button, a berry on a holly leaf, or the top of a tiny Santa hat.
Keep a multi-colored, multi-sized bag of craft pom-poms on hand. They are the ultimate versatile craft supply, adding texture, color, and a touch of whimsy to almost any project with just a dab of glue.

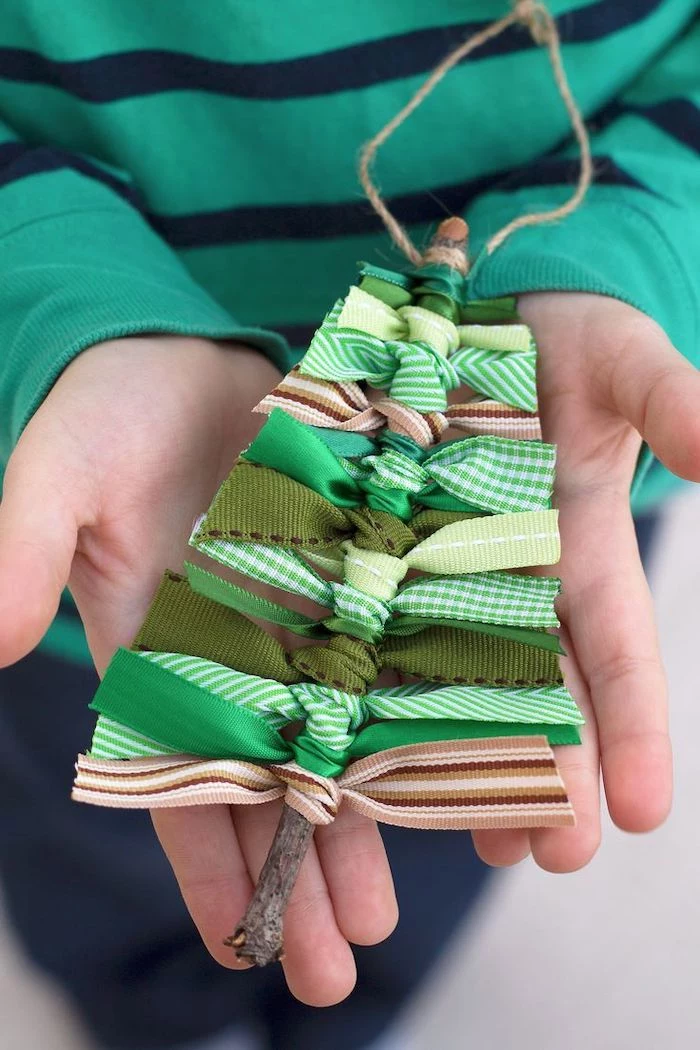
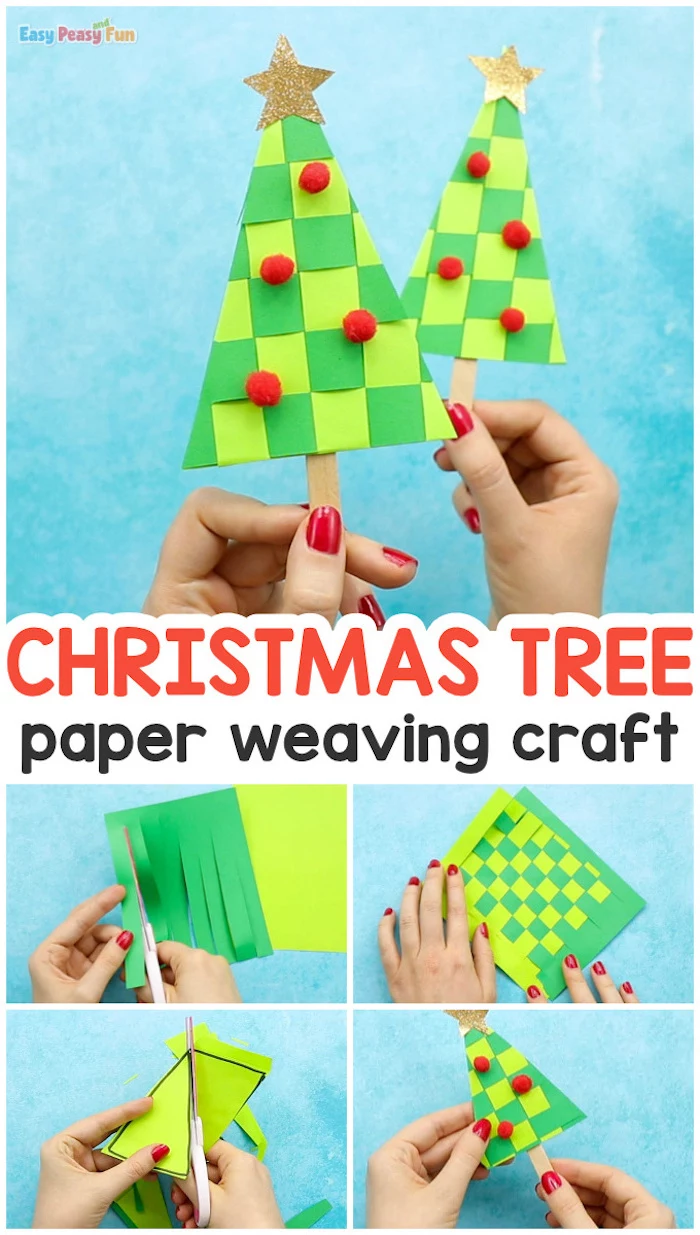
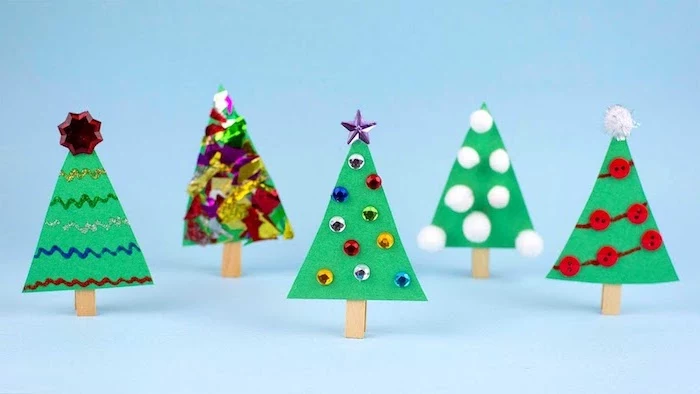
- Sturdy and vibrant for flat projects like cards and paper chains.
- Can be difficult for little hands to fold into 3D shapes.
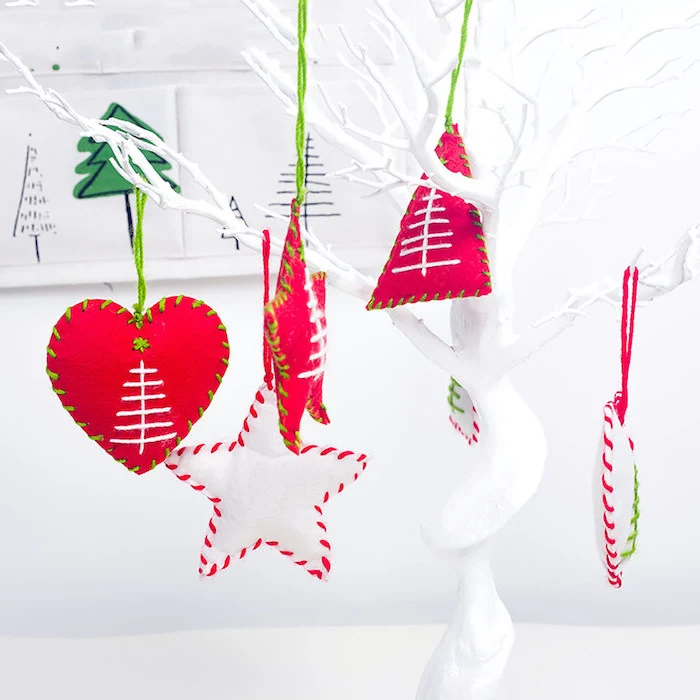
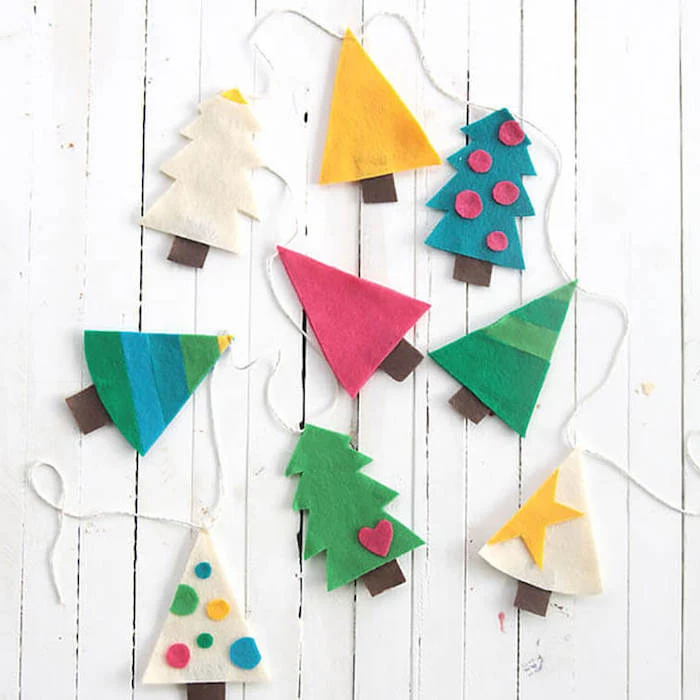
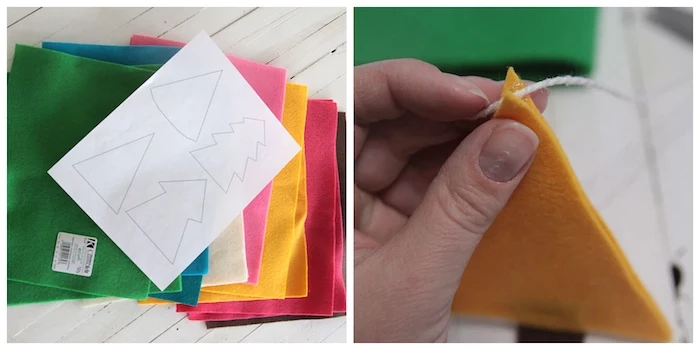
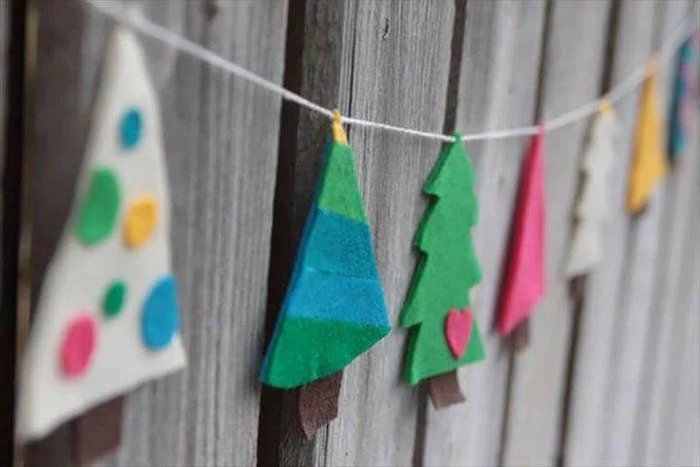
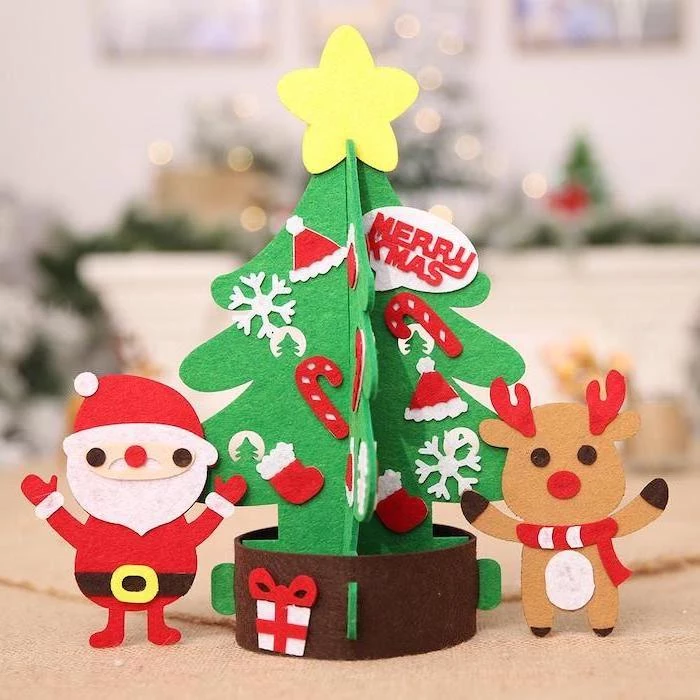
The often-overlooked hero? Felt. It’s soft, it doesn’t tear, the colors are rich, and it’s incredibly forgiving. It’s perfect for simple stuffed ornaments or garlands, and glue holds it beautifully.
Create a tradition: Designate a special, sturdy box as the ‘Christmas Keepsake Box’. Every year, after the decorations come down, have a little ceremony where your child places their new creations inside. As they get older, opening the box becomes a trip down memory lane, unwrapping not just crafts, but the story of their childhood Christmases.
To elevate simple paper or salt dough shapes, introduce a metallic touch. A gold or silver Sharpie is perfect for adding details, names, or dates. Alternatively, metallic acrylic paints (like FolkArt Metallic) can be dabbed on with a sponge to give a project an expensive-looking, shimmery finish with very little effort.
The most cherished things on my Christmas tree are the things the kids have made.
This sentiment, shared by parents everywhere, is the heart of holiday crafting. It’s not about perfection; it’s about love made visible, hanging from a branch.
Set up a ‘hot chocolate and craft’ invitation. The promise of a warm, sweet treat after the crafting is done can be a powerful motivator for both starting the project and helping with the cleanup. It turns a simple activity into a memorable, cozy event.


