My Guide to Building Holiday Yard Decor That Actually Lasts
I’ve been working with wood for a long, long time, building everything from custom cabinets to backyard sheds. But let me tell you, some of my most rewarding—and humbling—projects have been for the holidays.
In this article
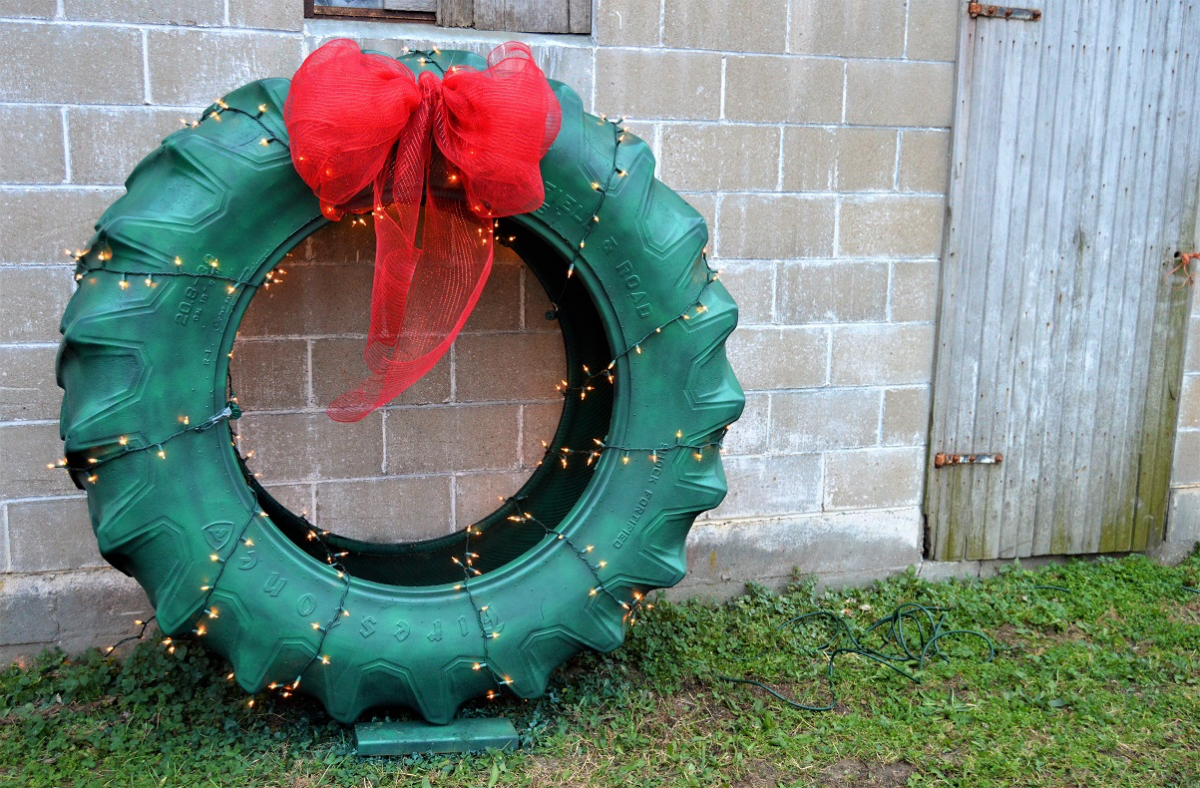
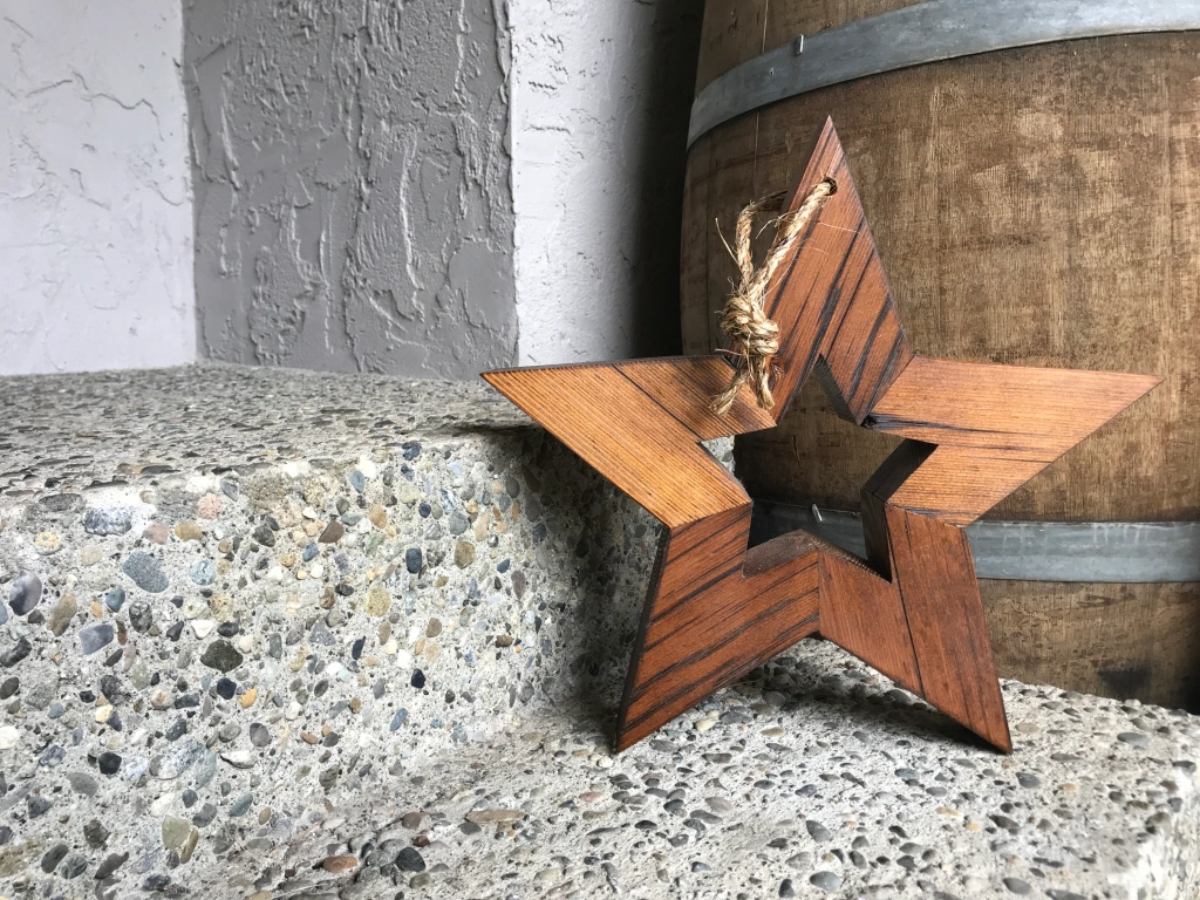
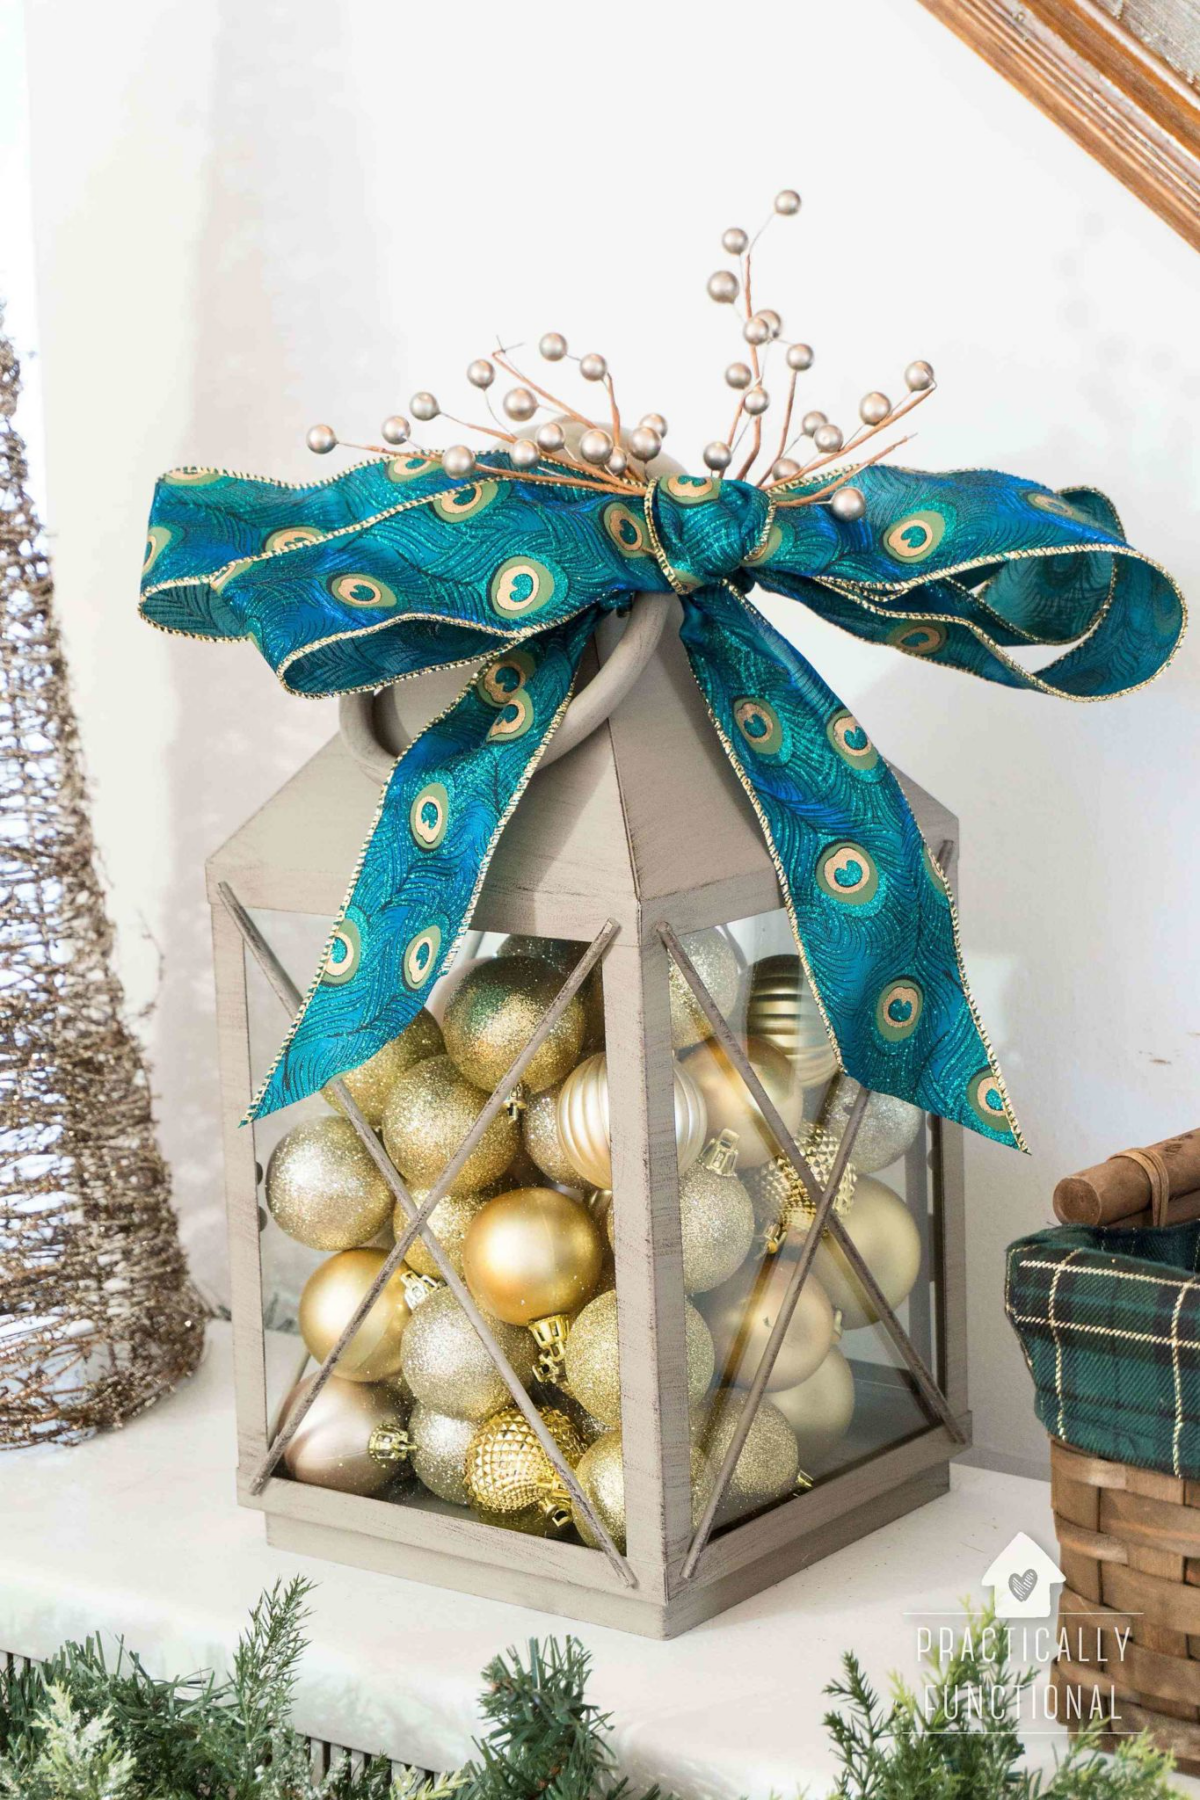
My first attempt at a big outdoor display was a masterclass in what not to do. I crafted this beautiful, life-sized Santa from a standard sheet of plywood. I mean, I spent a whole weekend cutting and painting him. He looked absolutely fantastic sitting on my lawn. And then the first wet snow of the season arrived.
Within three days, my proud Santa looked like a soggy, peeling disaster. The plywood layers were separating, and the paint was blistering off in sad little sheets. It was a total failure, but honestly, it taught me the most important lesson: building for the outdoors is a completely different ballgame.
Anything you put outside is in a constant fight with moisture, sun, and wild temperature swings. The cute, delicate crafts that look great inside will literally fall apart. So, this guide is all about building things that last. It’s about using the right stuff and the right techniques to create decorations you can be proud of for years, not just for a few weeks.
Let’s Talk Materials: Your First Line of Defense
Before you even think about cutting a piece of wood, you have to get your materials right. A project’s lifespan is pretty much decided before the first screw goes in. Ignore this, and you’ll be rebuilding your display every single year.
Choosing Wood That Can Handle Winter
Not all wood is created equal. For outdoor projects, you need something that naturally fights off rot and bugs. Here’s the breakdown:
- Cedar and Redwood: These are the gold standard, in my opinion. They have natural oils that make them resistant to moisture and decay. Yes, they are more expensive, but they’ll last for ages even without a drop of paint. Plus, the smell of freshly cut cedar in the workshop is just fantastic.
- Pressure-Treated (PT) Pine: This is your budget-friendly workhorse. It’s pine that’s been chemically treated to stand up to the elements. It’s perfect for structural parts that won’t be seen or for any project you plan on painting. Heads up! Always wear a mask and gloves when cutting PT wood, and never, ever burn the scraps. The chemicals are no joke. Check the tag on the lumber; for anything that will touch the ground, you want a rating of UC4A or higher.
- Exterior-Grade Plywood: Okay, so what if you really want to make cutouts like my ill-fated Santa? You need the good stuff: a true exterior-grade product, often called marine-grade plywood or MDO (Medium Density Overlay). Standard interior plywood will delaminate when it gets wet—trust me. MDO has a special resin-treated paper face that creates a perfect, smooth surface for paint. Be prepared for a little sticker shock, though. A sheet of MDO can run you $90-$120, while a standard interior sheet is closer to $40. It’s an investment in not having a soggy Santa.
Fasteners That Won’t Fail You
The screws holding your project together are just as critical. Using the wrong ones is a rookie mistake that will ruin your work.
- Stainless Steel: The absolute best choice. They will not rust. Period. They cost more, but they save you from the ugly black and orange streaks that appear when water reacts with cheaper metals.
- Hot-Dip Galvanized: A very solid and more affordable alternative. A thick zinc coating protects the steel from rust. Make sure the box says “hot-dipped,” not just “electro-plated” or “zinc-coated.” The hot-dipped version has a much thicker, more durable shield.
- What to Avoid: Whatever you do, NEVER use black phosphate drywall screws outdoors. They will rust almost overnight, bleed stains all over your beautiful paint job, and eventually just snap.
The Right Way to Weatherproof Your Work
Even the best materials need a good finish. A proper paint job is what separates pro-level work from the amateur stuff. Think of it as a system, not just a single coat.
First, preparation is everything. Lightly sand all your surfaces with 150-grit sandpaper to rough them up just a tiny bit. This helps the primer grab on. Wipe all the dust off with a damp cloth.
Next, you must prime. Always. Primer seals the wood from moisture and gives your paint a uniform surface to stick to. Use a high-quality exterior primer. Pay special attention to the cut ends of the boards! End grain is like a bundle of tiny straws that will suck up water. A pro tip: I apply two or even three coats of primer just to the end grain. This one step can easily double the life of your decoration.
Finally, the topcoat. Apply at least two coats of a quality exterior acrylic latex paint. Let each coat dry completely—usually 4-6 hours. If you rush this, you’ll trap moisture, and the paint will peel. And don’t paint in direct sun or if it’s below 50°F (10°C), because the paint won’t cure correctly.
A Serious Chat About Electrical Safety
Okay, let’s get serious for a minute. Water and electricity are a deadly mix, and there’s absolutely no room for shortcuts when you’re wiring up your display. This is non-negotiable.
Every single outdoor outlet you use MUST be protected by a Ground Fault Circuit Interrupter (GFCI). This little device is a lifesaver. It shuts off the power in a split second if it detects a problem. Most modern homes already have them on outdoor and garage circuits. You can check yours by pressing the ‘TEST’ button; the ‘RESET’ button should pop out. If it doesn’t, do not use that outlet until you get it fixed by an electrician.
Use only outdoor-rated products. Every cord and light string needs a UL tag that clearly says ‘For Outdoor Use.’ Indoor cords have thin insulation that will crack and fail in the cold and sun, creating a massive fire hazard.
And don’t overload a circuit. Wondering what your circuit can handle? Go look at your home’s circuit breaker panel. Find the switch for the circuit you’re using—the number printed on it (usually ’15’ or ’20’) is the max amperage. To be safe, you should only load it to 80% of that. Modern LEDs use so little power this is rarely an issue, but it’s good to know.
Oh yeah, a quick tip: Protect your connections! Where your lights plug into an extension cord is a weak spot. Wrap each connection tightly with good electrical tape. For real peace of mind, you can buy weatherproof cord protectors for about $5-$10 online. They’re little plastic clamshells that snap around the plug and keep it bone dry.
Your 10-Minute Safety Win: Go grab all your outdoor extension cords right now. Unroll them and carefully check for any cracks, frayed wires, or bent plugs. If you find even one bit of damage, throw it out. Seriously, do it now. A new cord costs $20. A house fire costs everything.
Project Ideas to Get You Started
Alright, let’s put these rules into practice with a few fun projects.
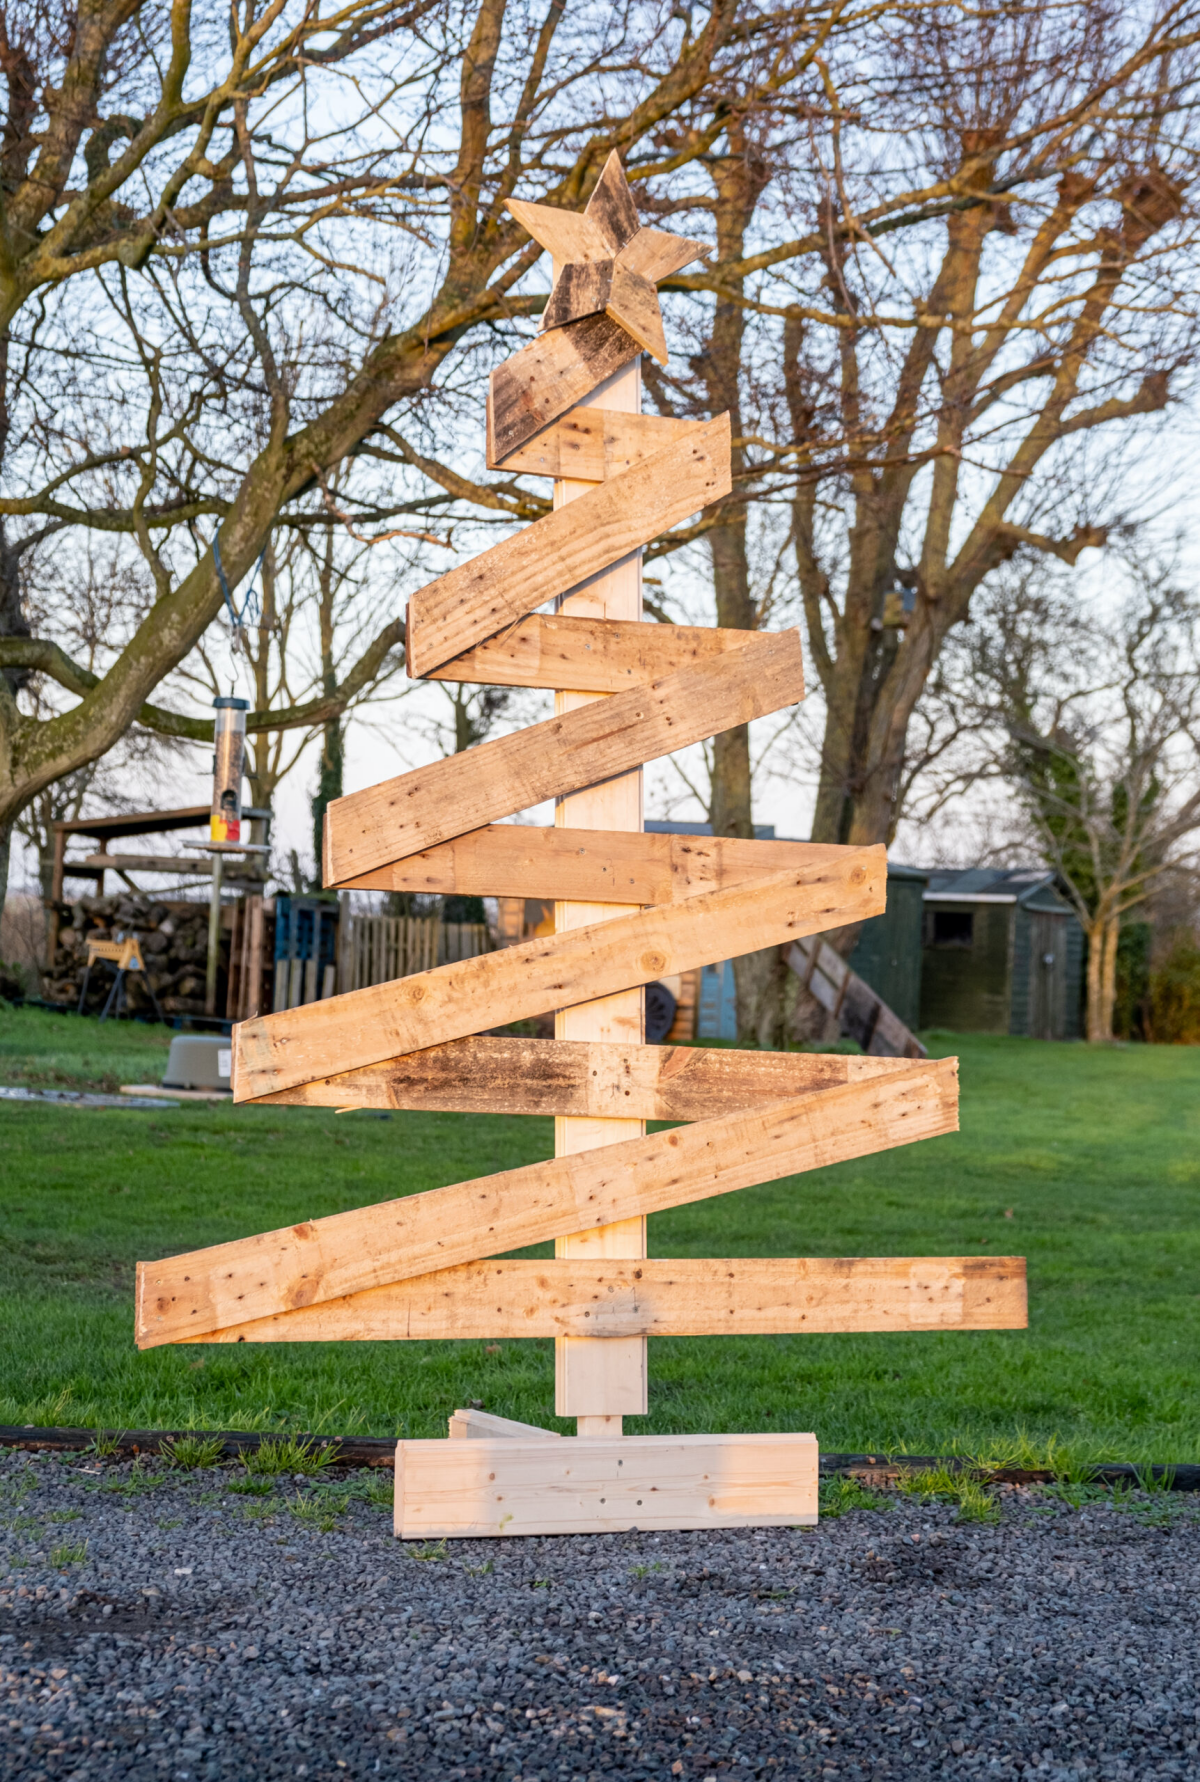
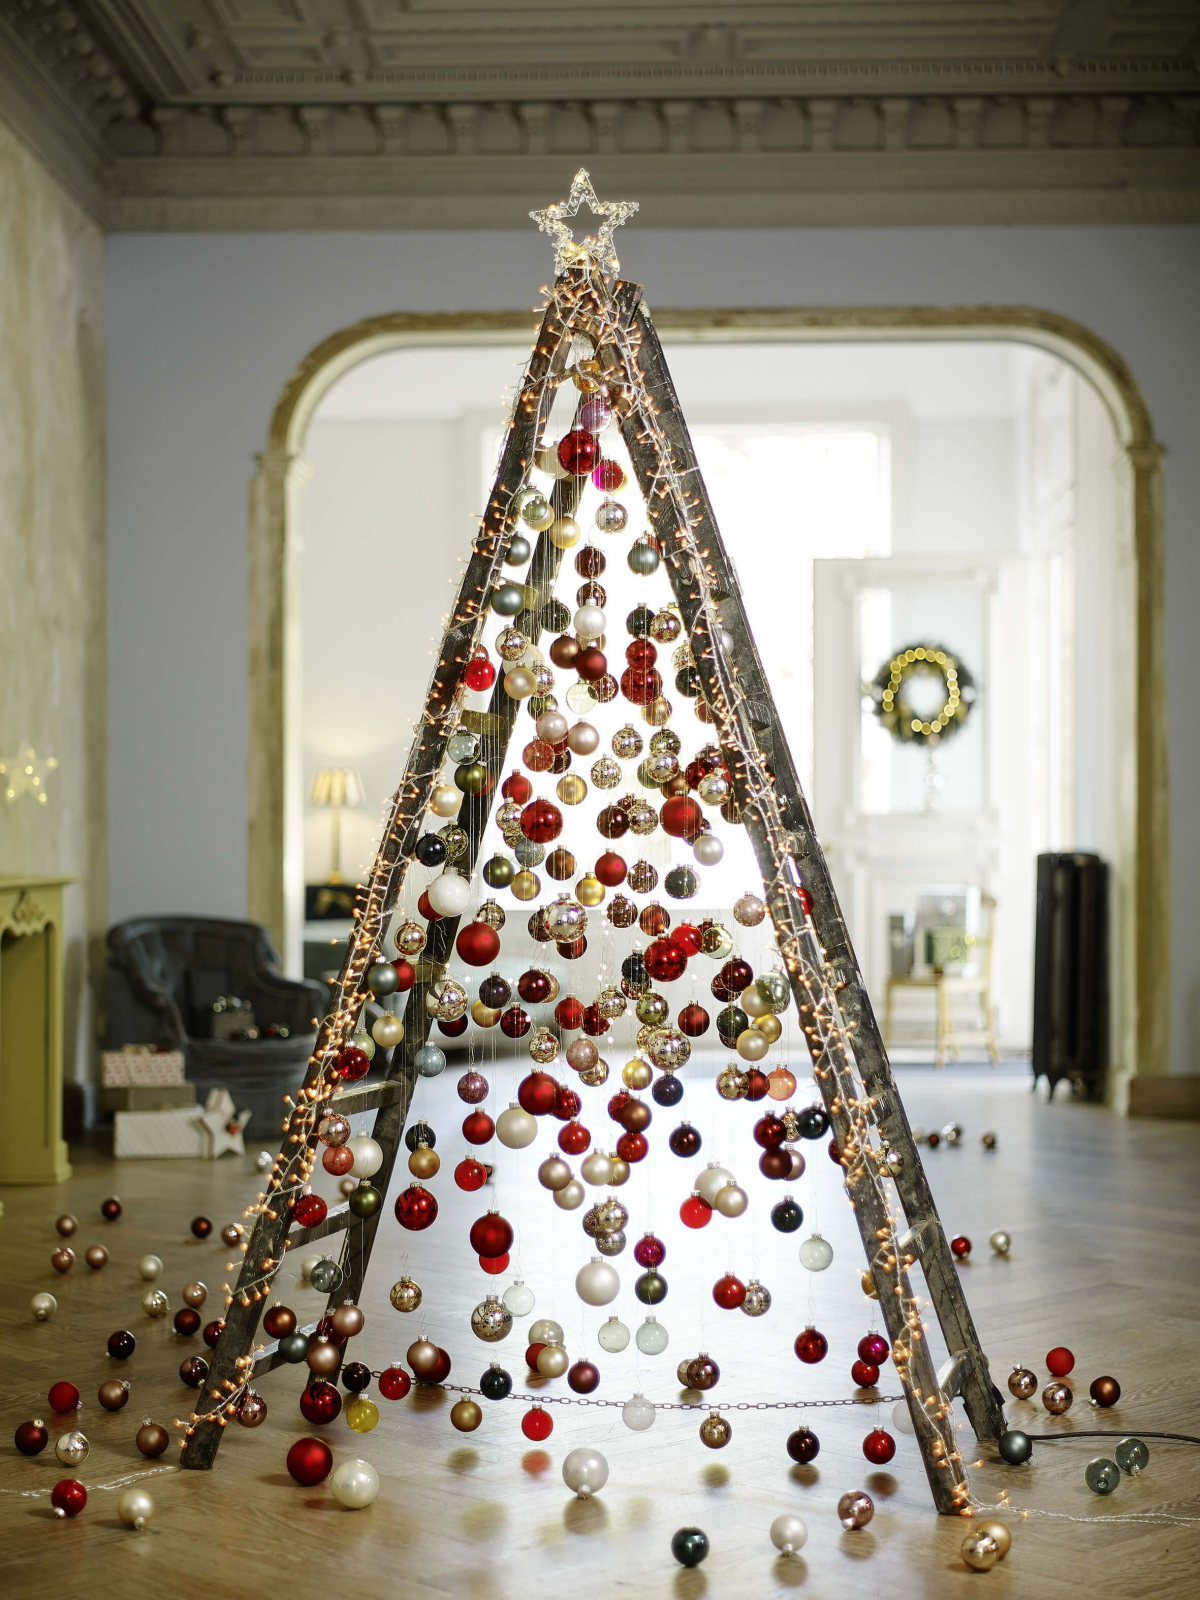
The Rustic Pallet Christmas Tree
This is a great way to make a big impact without spending a ton of money. You can often find free pallets if you know where to look.
What You’ll Need:
- Materials: 1 clean ‘HT’ stamped pallet, 1.25-inch exterior deck screws (stainless or galvanized), exterior primer, exterior paint.
- Tools: Reciprocating saw with a metal/wood cutting blade, circular saw or miter saw, drill, safety glasses, gloves.
First, find a pallet stamped with ‘HT,’ which means it was heat-treated, not chemically treated. Avoid anything marked ‘MB’ (Methyl Bromide) or anything that looks oily or stained. Check with local garden centers or small businesses; they often have extras they’re happy to give away.
Now, to take it apart. Prying boards off usually just splits the wood. The clean way is to use a reciprocating saw. Slide the blade between the top board and the support block and just cut right through the nails. You’ll get perfect boards every time.
A standard pallet is usually 48×40 inches. To design your tree, lay out your boards. Your bottom board will be the full 40-inch width. Your top ‘peak’ board might be just 6 inches wide. Use a chalk line to connect the corners of the bottom board to the center of the top board to get your perfect triangle shape. Cut the boards, then lay them face down, spaced an inch apart. Use one of the thicker pallet boards as the ‘trunk’ down the middle and screw each plank to it. Once it’s built, it’s time to prime and paint! Remember that end grain.
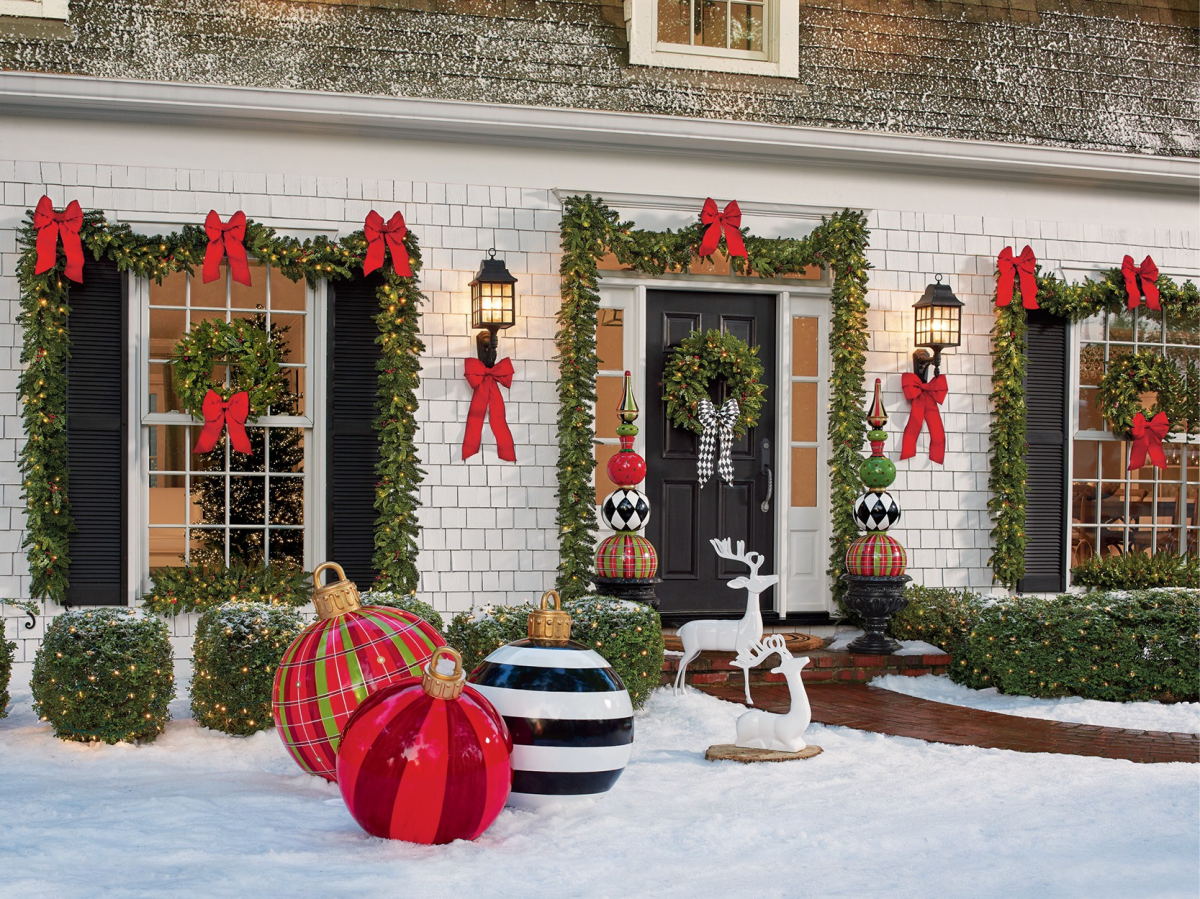
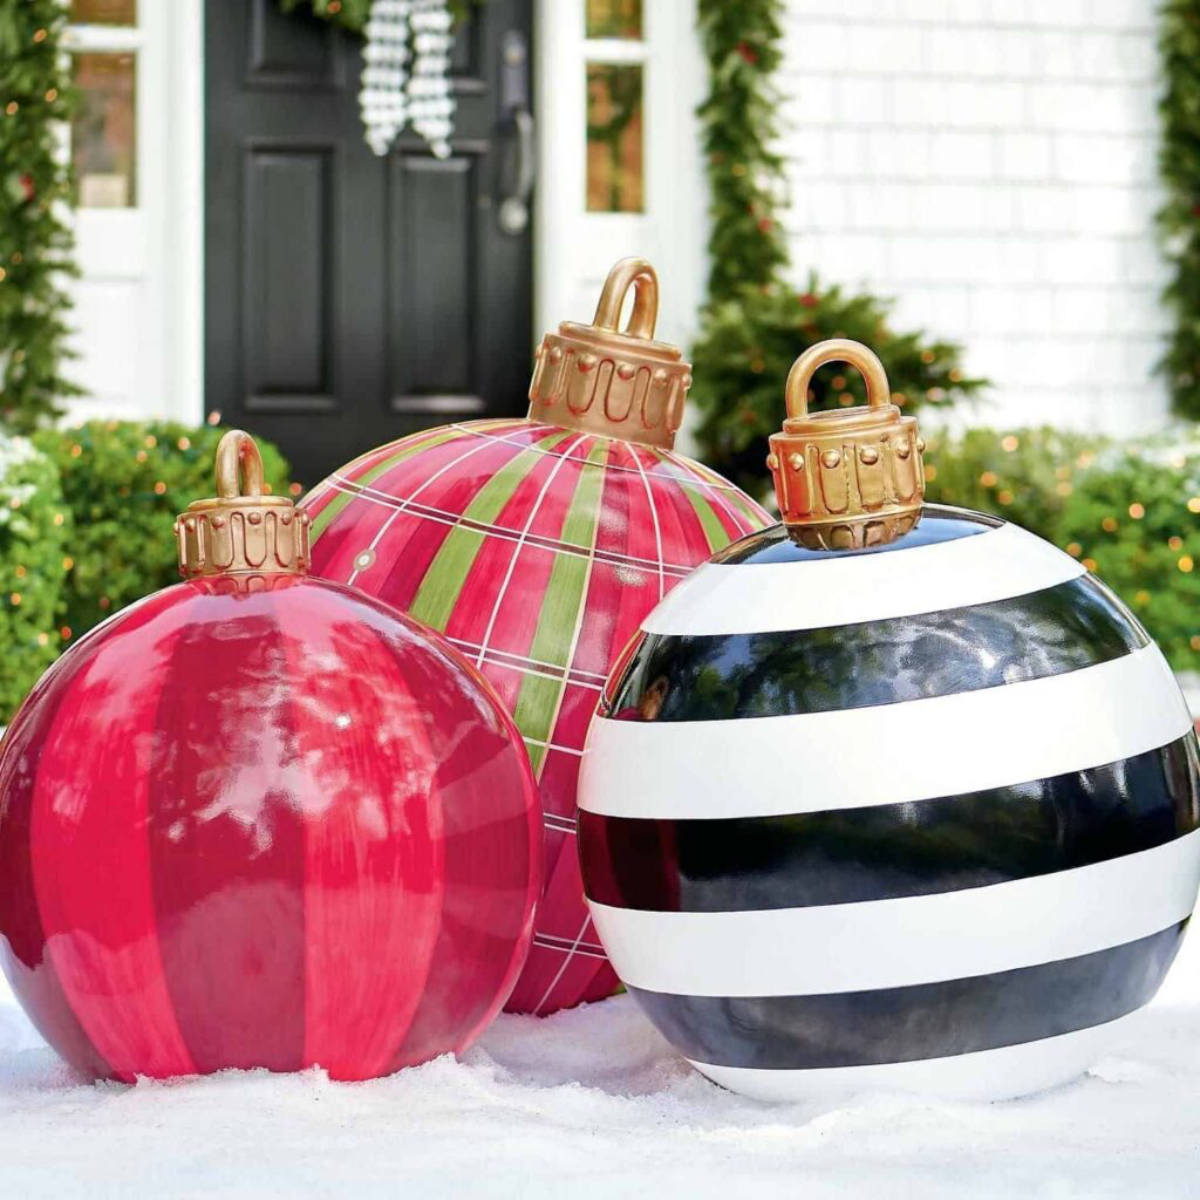
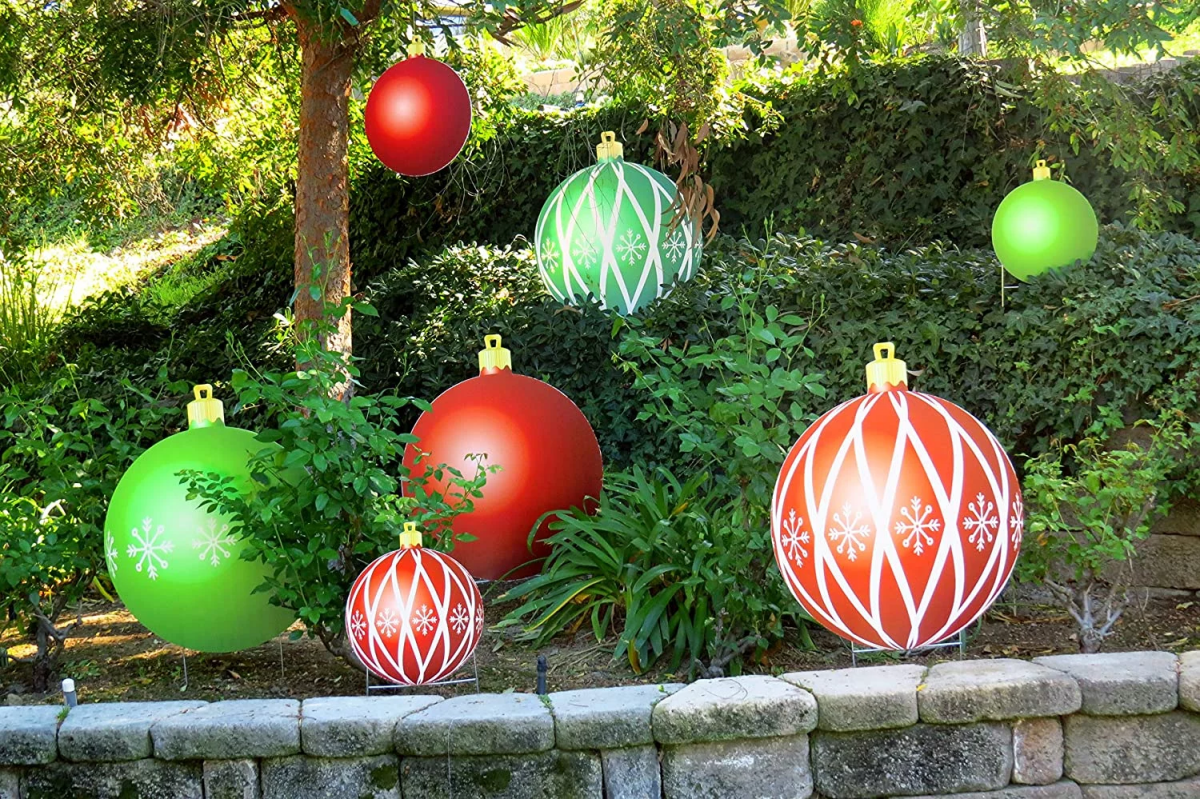
Giant Yard Ornaments
This project is all about turning something unexpected into a showstopper. The trick is in the prep work.
What You’ll Need:
- Materials: A large plastic playground ball or an old bowling ball, degreaser, 220-grit sandpaper, spray paint made for plastic (like Krylon Fusion), one 1/4-inch by 3-inch toggle bolt with an eye nut, a large fender washer.
- Tools: Drill.

Where do you find a giant ball? Try toy stores online for plastic ones, or check out Goodwill, flea markets, or Facebook Marketplace for old bowling balls. Clean it with a degreaser, then scuff the entire surface with sandpaper. You just want to dull the finish so the paint has something to grip.
After wiping it clean, use a spray paint made specifically for plastic. Several light coats are way better than one thick, drippy one. Now for the hanger. Please, don’t just screw an eye hook into it; it will pull right out. Drill a hole in the top. Pinch the wings on your toggle bolt, push them through the hole so they open up inside, and tighten the eye nut on the outside over a fender washer. This clamps the plastic between the washer and the wings, creating a super-strong anchor.
Rebuilding Santa the Right Way
So, what about that original, soggy Santa? If I were to build him today, knowing what I know now, it would be a whole different story. It perfectly illustrates how all these rules come together.
I’d start with a sheet of that MDO plywood, which costs more but is designed for this exact purpose. After cutting out the shape, every single edge—especially the cut edges—would get two thick coats of high-quality exterior primer.
Then, I’d use two full topcoats of a premium exterior acrylic latex paint, letting it cure completely. All the pieces would be assembled with stainless steel screws that will never rust or streak. Finally, I’d probably add a clear coat of non-yellowing spar urethane to protect the detailed paint work from the sun.
This new Santa wouldn’t just last the season; he’d last a decade. By taking the time to use the right materials and techniques, you’re not just making a decoration. You’re crafting a future heirloom. So build it well, build it safely, and have fun with it.
Galerie d’inspiration
The single biggest mistake after choosing the wrong wood? Using the wrong paint. Interior latex paint will blister and peel in a matter of weeks. For a finish that lasts, you need a high-quality exterior acrylic latex paint. For the ultimate armor, look at marine-grade paints like Rust-Oleum Marine Coatings, designed to withstand constant moisture and UV exposure on boats.
- Stainless Steel Screws: Your best bet for preventing ugly rust streaks on light-colored paint. They cost more, but the clean finish is worth it.
- Hot-Dip Galvanized Fasteners: A solid, more affordable choice. The thick zinc coating offers excellent corrosion resistance, essential for pressure-treated wood. Avoid electro-galvanized—they’ll rust outdoors.
When water freezes, it expands by about 9%.
This may not sound like much, but when that water is inside a tiny crack in your plywood or a joint in your wooden reindeer, that expansion acts like a tiny wedge, prying your creation apart from the inside out. This is why sealing every single surface—especially cut ends—is non-negotiable.
Don’t let your hard work be ruined by faulty lights. When choosing illumination,
My paint job looked perfect, so why did the wood rot underneath?
The culprit is almost always unsealed end grain. Wood acts like a bundle of straws, sucking up moisture most aggressively from the cut ends. Even if the flat surfaces are painted, water wicking up from damp ground or melting snow will get in through the bottom edges. Always apply multiple coats of a good quality sealer or primer to every single cut edge before you paint.
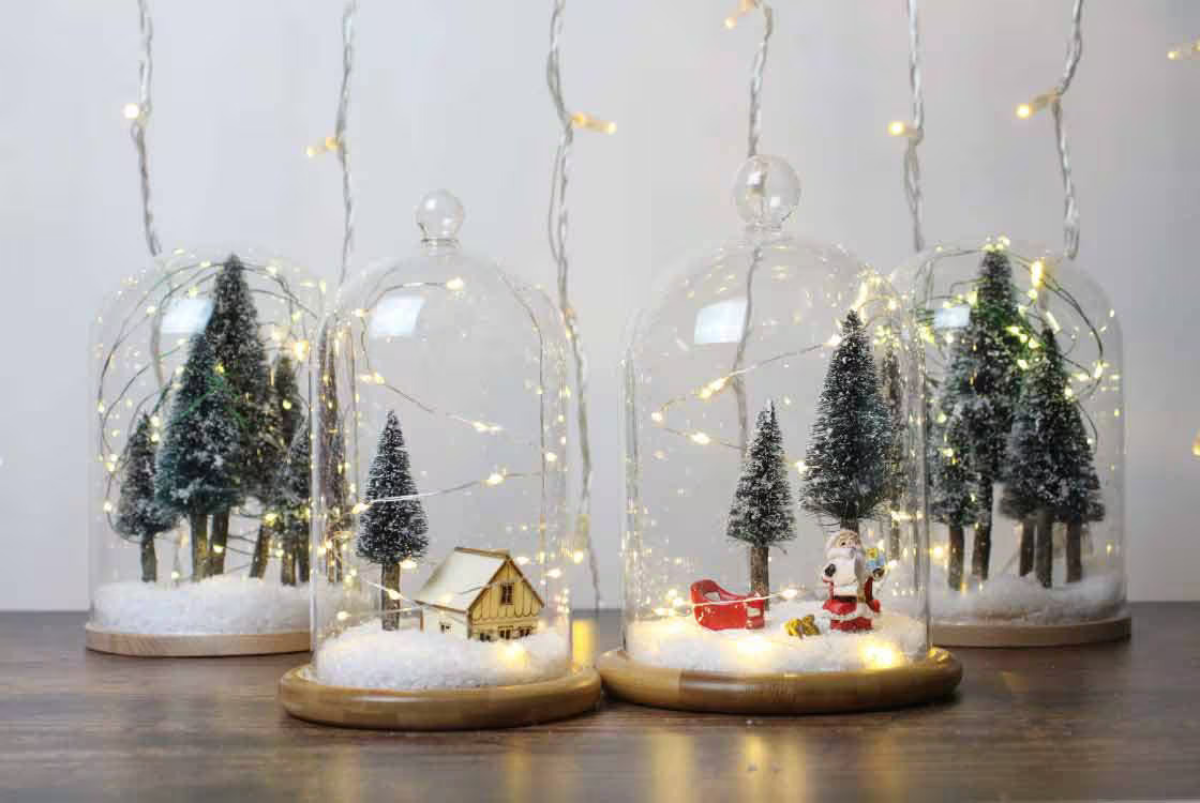
PVC Trim Board: This cellular plastic material won’t rot, ever. It’s lightweight, easy to cut with standard woodworking tools, and holds paint beautifully. It’s perfect for cut-out figures like snowmen or lettering.
Composite Decking Scraps: Got leftovers from a deck project? They are incredibly dense, heavy, and resistant to everything winter can throw at them. They are harder to cut but make for indestructible bases and structural supports.
For detailed cutouts, go PVC. For rock-solid bases, use composite.
The life of your holiday decor doesn’t end when you pack it away. How you store it is just as crucial as how you build it. Never just lean your creations against a damp garage wall. Stack them flat, elevated off the concrete floor on a pallet or some scrap 2x4s. This allows air to circulate and prevents moisture from wicking up, ensuring your hard work is ready to shine again next year without any moldy or rotten surprises.
- Perfectly crisp lines on your candy cane stripes.
- No frustrating color bleed on Santa’s suit.
- A professional-looking finish that makes your work pop.
The secret? After applying your painter’s tape (like FrogTape), brush a thin coat of your base color along the tape’s edge. This seals the edge, so if any paint does bleed under, it’s the color that’s already there. Let it dry, then paint your new color over it.
A study by the National Institute of Standards and Technology found that some paints can lose up to 50% of their gloss after just one year of sun exposure.
That dulling is a sign that UV radiation is breaking down the paint’s binder, making it brittle and prone to cracking. To protect your vibrant colors, finish your project with a coat of UV-blocking clear sealer. A product like Minwax Helmsman Spar Urethane is designed for this, creating a protective shield against the sun’s relentless rays.