Your No-Stress Guide to a Flawless Holiday Dinner
I’ve spent more than two decades in professional kitchens, and let me tell you, the holiday rush is like a well-choreographed hurricane. But the most chaotic, high-stakes meal I ever cooked? My very first Christmas Eve dinner for the whole family. I was fresh out of culinary school, armed with fancy techniques and a whole lot of ego. The result was a kitchen full of smoke, a dinner served two hours late, and one very stressed-out cook.
In this article
- Your Game Plan: A Stress-Free Kitchen Timeline
- The Main Event: A Truly Foolproof Roast Turkey
- Alternative Main: Effortless Honey Glazed Ham
- Sides That Steal the Show
- Help! Kitchen Disasters & How to Fix Them
- The Ultimate Holiday Dinner Shopping List
- The Grand Finale: Drinks & Dessert
- Final Words from the Kitchen
- Inspirational Gallery
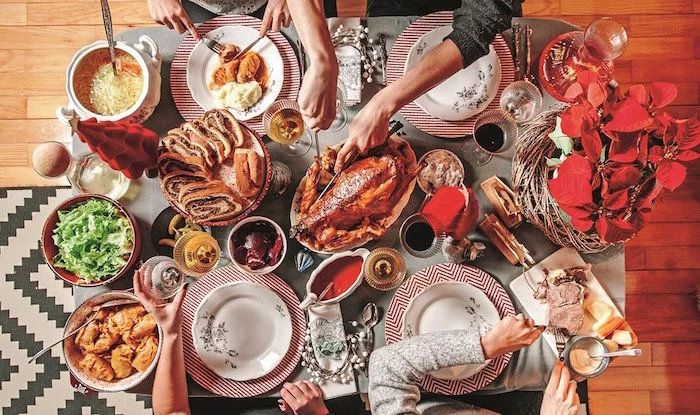
That night taught me something crucial: a truly great holiday meal isn’t about showing off. It’s about smart planning, solid techniques, and focusing on the good stuff—the people you’re sharing it with. That’s what this guide is all about. It’s my complete playbook for pulling off a traditional holiday feast, designed to serve 8-10 people, without you losing your mind in the process. We’ll cover the game plan, the main event, and sides that people will actually talk about for years. So, you can spend less time panicking and more time making memories.
By the way, a meal like this doesn’t have to break the bank. Depending on your choices, you can likely pull together this entire feast for around $150-$200, especially if you shop smart for the turkey or ham.
Your Game Plan: A Stress-Free Kitchen Timeline
In the restaurant world, we live by a system called ‘mise en place’—a fancy way of saying ‘get your stuff together.’ It’s the secret to staying calm when things get busy. For a big meal like this, your timeline is your best friend. The trick is to work backward from the moment you want to eat.
Let’s say dinner is at 6:00 PM on Christmas Eve.
Two to Three Days Out: The Thaw & Shop Mission
This is when you do your big grocery run and, most importantly, start the thaw. If you’ve got a frozen turkey, it needs a long, slow thaw in the fridge. The rule of thumb is about 24 hours for every 4-5 pounds. So, a 12-pound bird needs a solid three days. A quick tip: Place it in a big roasting pan or a rimmed baking sheet on the bottom shelf of your fridge. This catches any drips and prevents raw poultry juices from contaminating everything else. It’s a simple food safety step that, trust me, you don’t want to learn the hard way.
The Day Before: Your Prep Power Day
This is where the magic happens! You can get so much done today, which frees you up for tomorrow.
- Crank out the Cranberry Sauce: Homemade sauce is a thousand times better, and its flavor actually improves overnight. Let it cool, then pop it in an airtight container in the fridge.
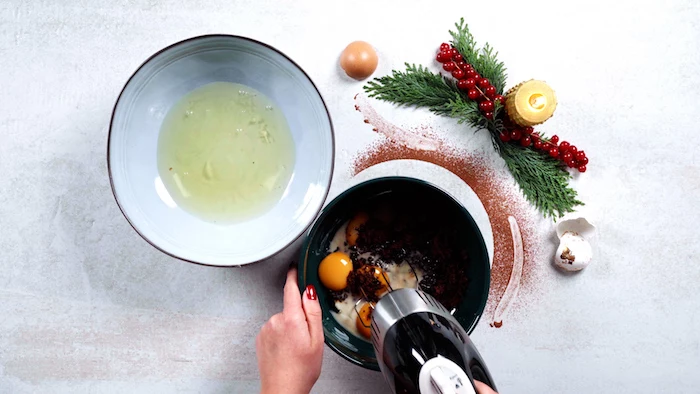
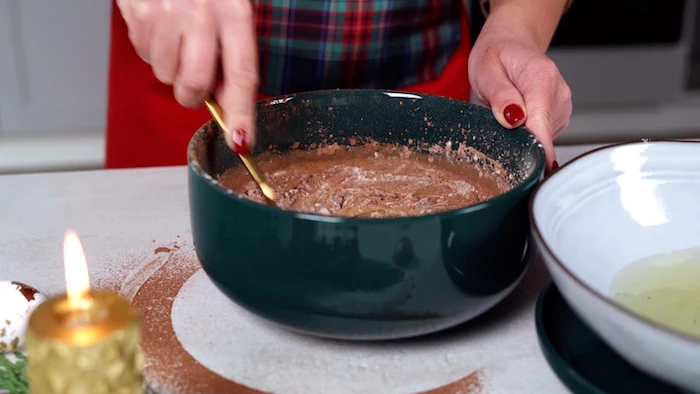
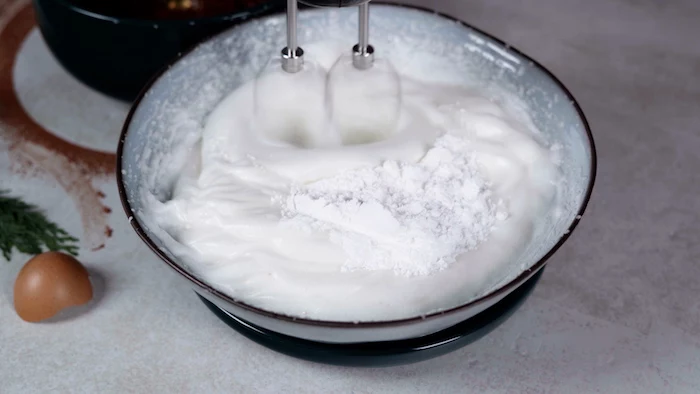
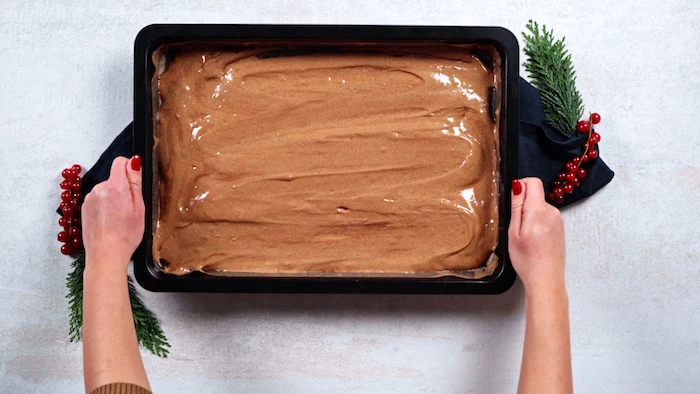
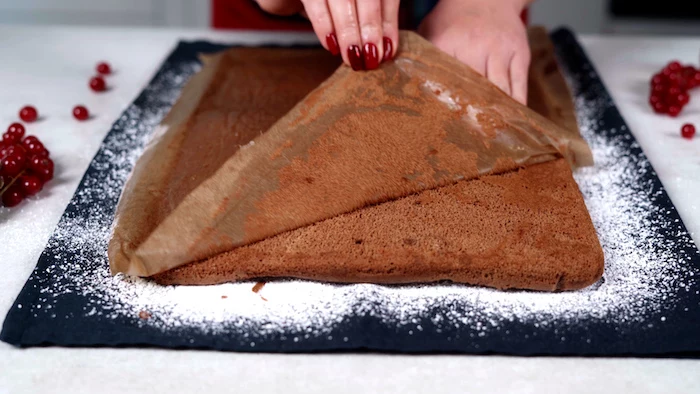
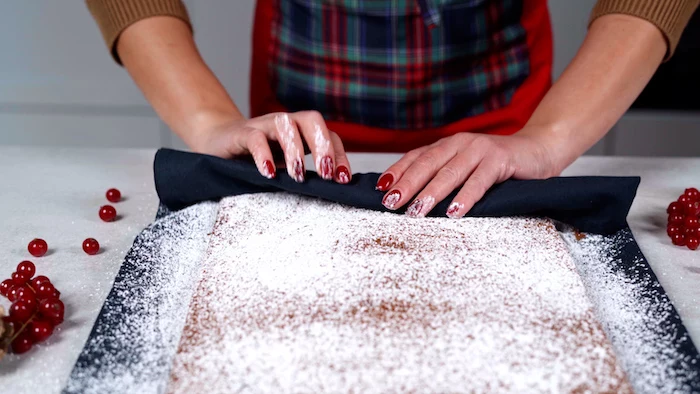
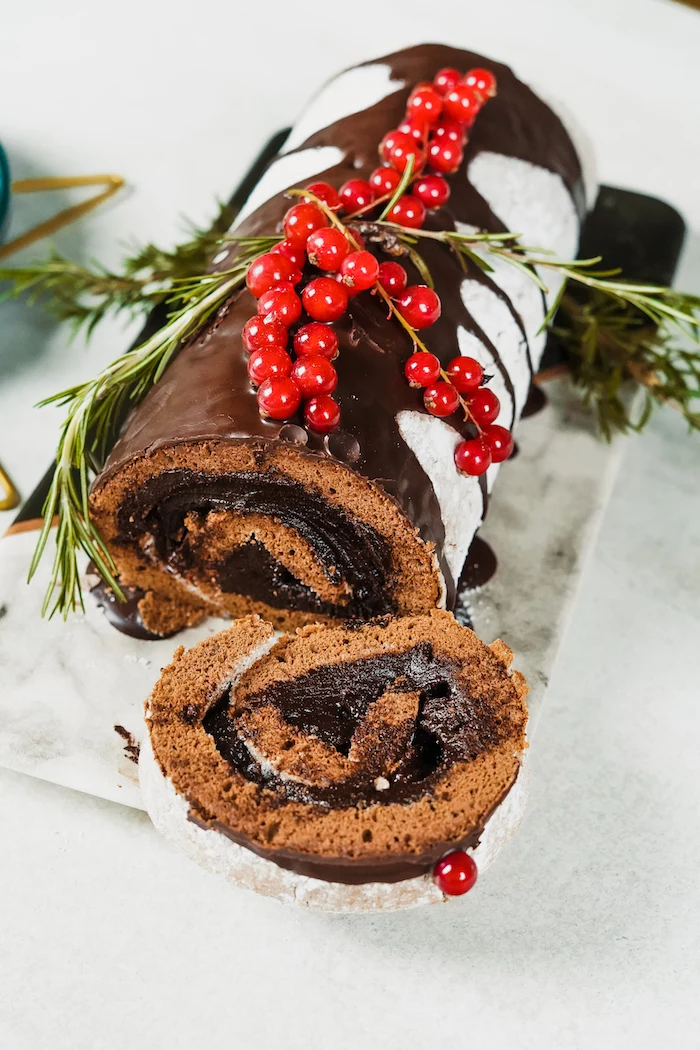
- Get Dessert Ready: If you’re doing something like a Yule log or a layered trifle, you can assemble it completely. Chilling it overnight not only saves time but also makes it easier to slice and serve.
- Prep Your Veggies: Go ahead and chop the onions, celery, and carrots for your stuffing or gravy base. You can trim your green beans, too. Store them in zip-top bags with a tiny piece of damp paper towel to keep them from drying out.
- Start the Dry Brine: This is THE most important step for a juicy, flavorful turkey. We’ll get into the details below, but today’s the day to get that bird salted and seasoned.
- Make the Eggnog Base: You can cook the custard base for your eggnog, let it cool, and store it in a sealed jar in the fridge. This way, you just have to give it a quick whisk before serving.
Christmas Eve Morning (9:00 AM – 12:00 PM)
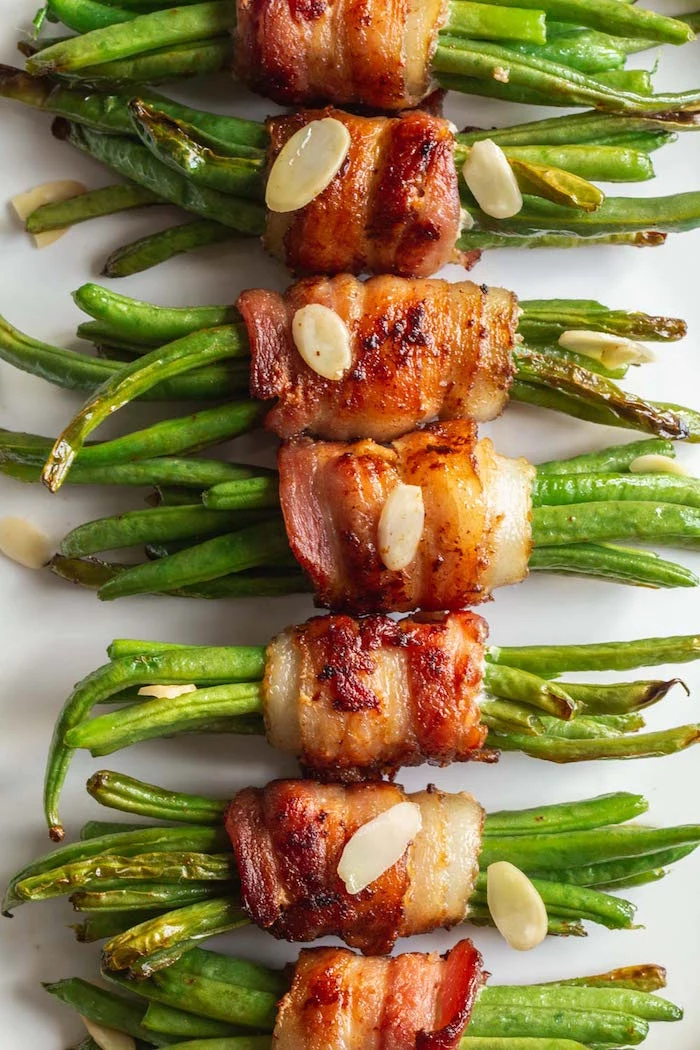
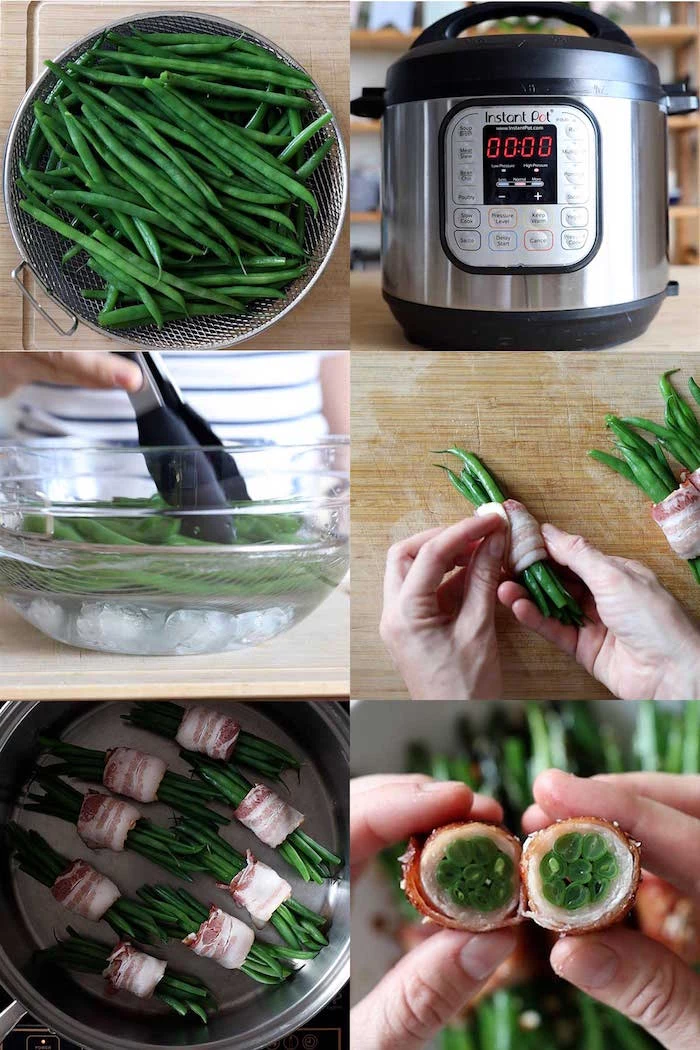
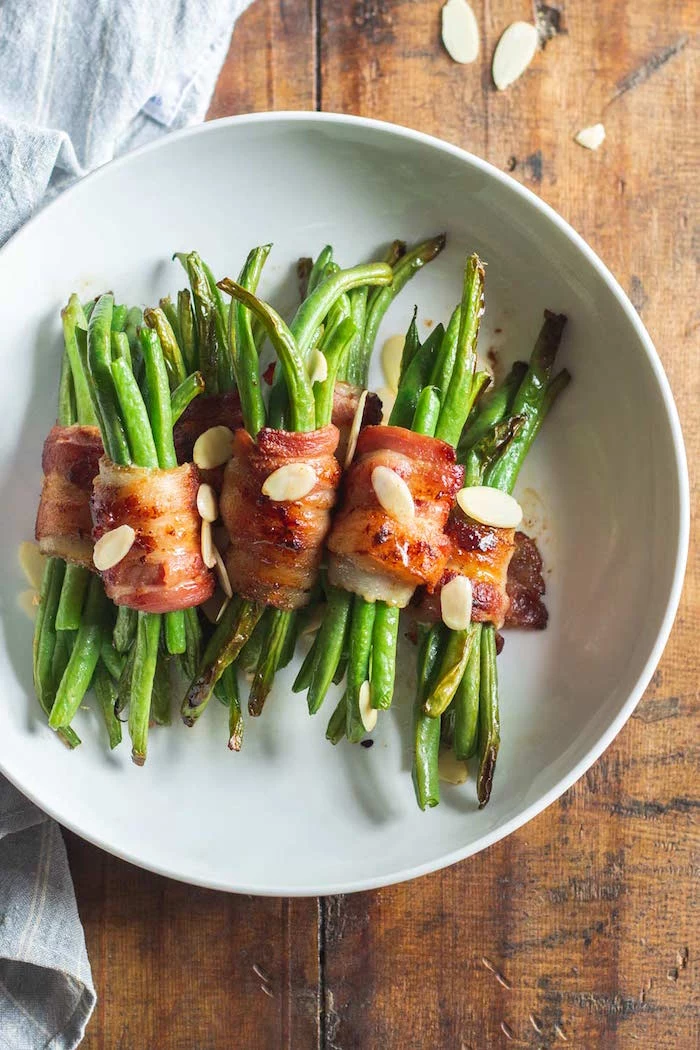
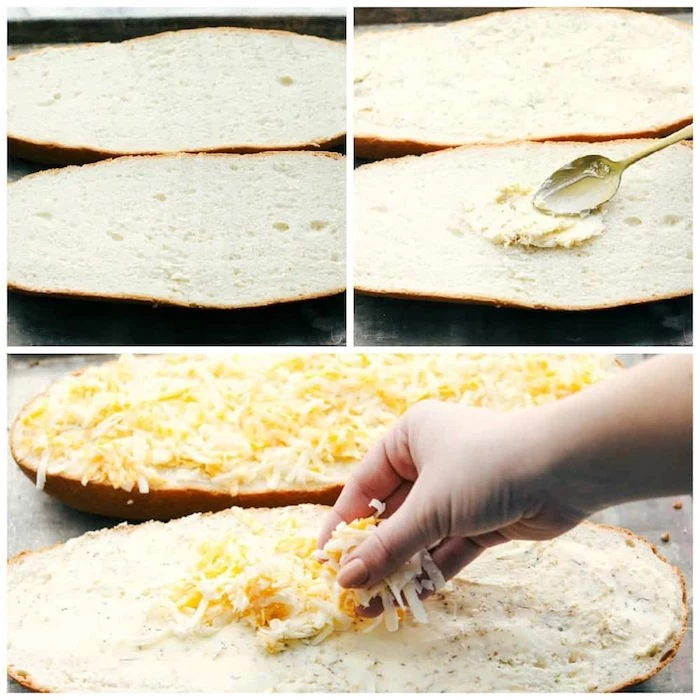
- Assemble the Sides: You can build your entire macaroni and cheese right up to the baking step. Get the sauce made, mix it with the pasta, and spread it in the baking dish. Cover it tightly with foil and stick it in the fridge. Same goes for bacon-wrapped green beans—get them blanched and wrapped, then lay them on a tray ready for cooking.
- Set the Table: Seriously, do this now. Get out the plates, polish the silverware, set out the glasses. It feels SO good to have this checked off the list early.
Christmas Eve Afternoon: The Cooking Window (12:00 PM – 5:00 PM)
This is go-time. The turkey (or ham) is your pacer. A 12-pound turkey will need about 3 hours in the oven.
- 3:00 PM: Turkey goes into the preheated oven.
- 4:30 PM: Put the mac and cheese in the oven to bake.
- 5:00 PM: If you’re making pull-apart bread or rolls, this is a good time to get them ready. They bake up fast at the end.
The Final Hour: Bringing It All Home (5:00 PM – 6:00 PM)
- 5:30 PM: Take the turkey out of the oven. This is non-negotiable! It MUST rest for at least 30 minutes. Tent it loosely with foil. This not only makes for a juicier bird, but it also frees up your oven for the final push.
- 5:35 PM: Now that the oven is free, crank up the heat. Slide in your cheesy garlic bread or finish off any other sides that need a final blast of heat. This is also when you can cook those bacon-wrapped green beans on the stovetop.
- 5:45 PM: Time to make the gravy using those glorious pan drippings. (Recipe below!)
- 5:55 PM: Gently warm the cranberry sauce on the stove. Toss your salad with the dressing. Time to carve the turkey.
- 6:00 PM: Done. You did it. Everything hits the table, and you actually have the energy to enjoy it.
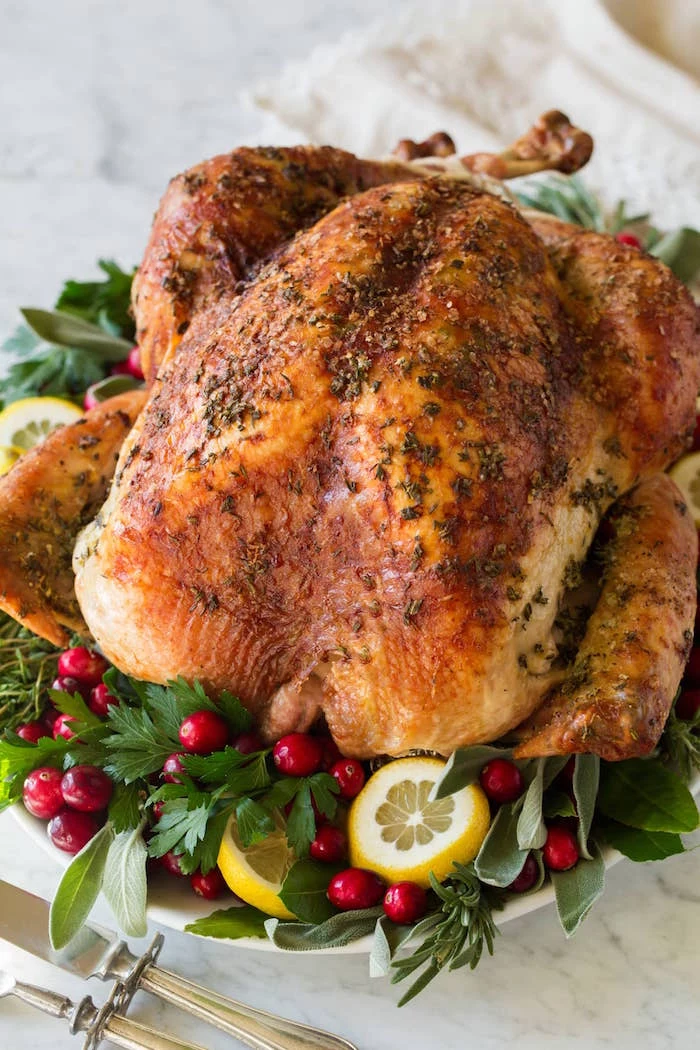
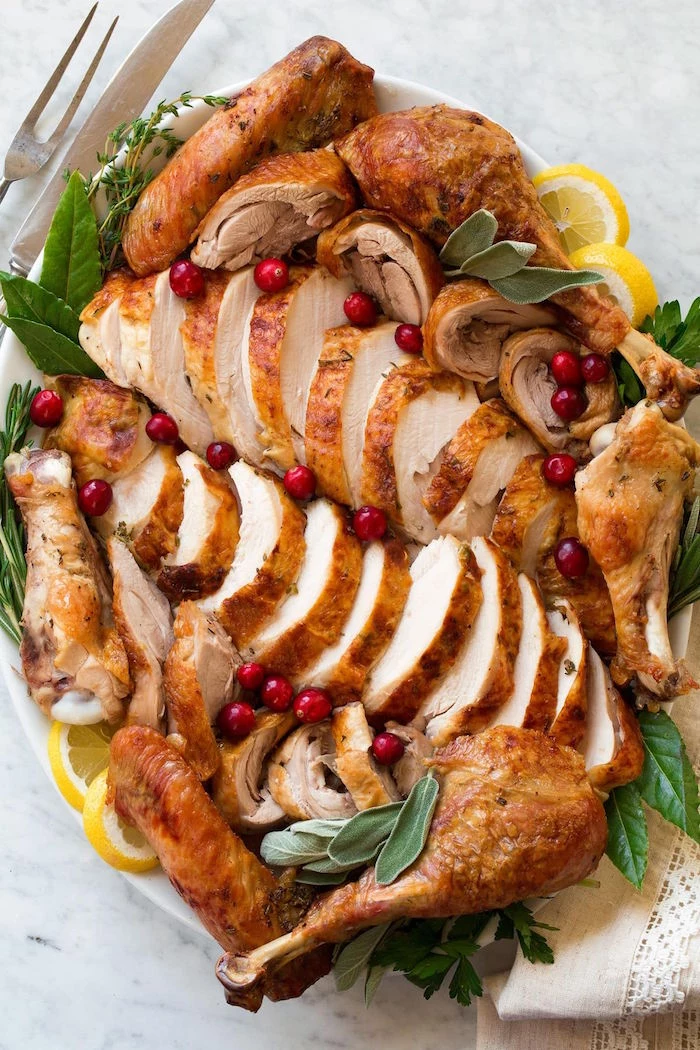
The Main Event: A Truly Foolproof Roast Turkey
Let’s talk turkey. The secret to the best bird you’ll ever make isn’t basting or fancy injectors. It’s a simple, pro-level technique called a dry brine.
Why Dry Brining Beats Wet Brining
So, you’ve probably heard of wet brining, where you soak the turkey in a big bucket of salt water. It works, but honestly, it can make the meat a bit watery and the skin rubbery. Plus, it takes up a ton of fridge space. A dry brine, on the other hand, is just a mix of salt and seasonings rubbed directly onto the bird. The salt draws out the turkey’s own moisture, which then dissolves the salt and gets reabsorbed back into the meat. This seasons the bird from the inside out and leaves the skin incredibly dry. And dry skin is the key to that perfectly crisp, golden-brown finish we all crave.
Recipe: The Best Dry-Brined Roast Turkey
Good to know: A good rule of thumb for salt is about 1 tablespoon of kosher salt for every 4 pounds of turkey. Don’t use table salt—its fine grains make it way too easy to oversalt.
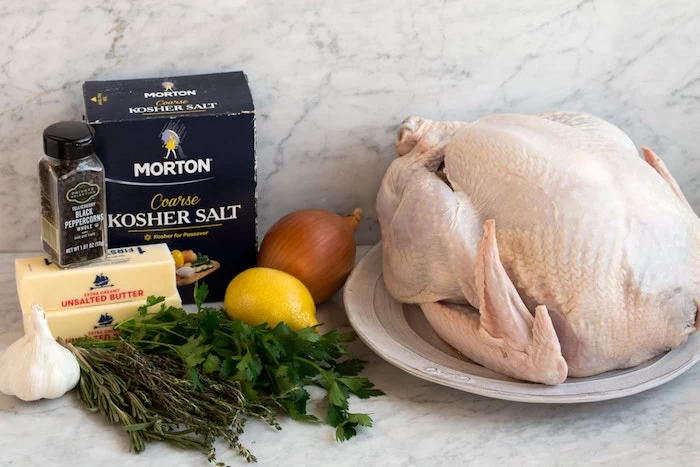
Ingredients:
- 1 whole turkey (12-14 pounds), fully thawed and patted bone-dry. You can find one at most grocery stores for about $25-$50, depending on the type.
- 1/2 cup kosher salt
- 2 tablespoons coarse black pepper
- 1 tablespoon fresh thyme leaves
- 1 tablespoon chopped fresh rosemary
- 4 tablespoons unsalted butter, softened
- Aromatics for the cavity: 1 large onion (quartered), 1 head of garlic (sliced in half), and a bunch of parsley
Instructions:
- The Day Before: First, get those giblets and the neck out of the turkey cavity—save them for the gravy! Pat the turkey completely dry with paper towels. In a bowl, mix your salt, pepper, thyme, and rosemary. Rub this mix all over the turkey—get it under the skin over the breasts, inside the cavity, everywhere.
- The Chill Out: Place the seasoned turkey on a wire rack set inside a baking sheet and leave it uncovered in the fridge for at least 24 hours (up to 48 is even better). The circulating air will make that skin perfectly dry.
- Roasting Day: Preheat your oven to 425°F. Take the turkey out of the fridge. Don’t rinse it! Just pat it dry again if you see any wet spots. Rub the softened butter all over the skin.
- Stuff the Cavity: Pop the onion, garlic, and parsley inside the bird. These are just for flavor; you won’t be eating them. Tuck the wings under the body and tie the legs together with kitchen twine to help it cook evenly.
- The Roast: Roast the turkey at 425°F for 30 minutes to get the skin crisping, then reduce the oven temperature to 350°F. Continue roasting for about 10-12 minutes per pound.
- Temperature Check (CRITICAL!): Your eyes can lie, but a thermometer can’t. A digital instant-read thermometer is your best friend. It should read 165°F in the thickest part of the thigh, without touching bone. Those pop-up timers are notoriously unreliable, so please don’t trust them.
- The Rest: Transfer the turkey to a cutting board and tent it loosely with foil. Let it rest for a solid 30 minutes before you even think about carving. This lets the juices redistribute, meaning they’ll stay in the meat instead of running all over your board.
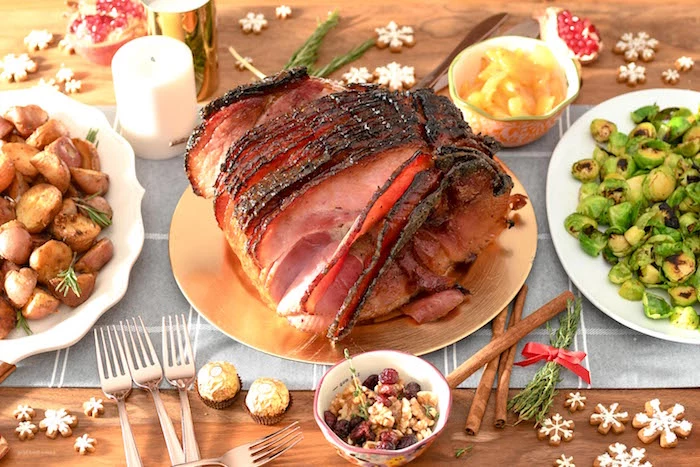
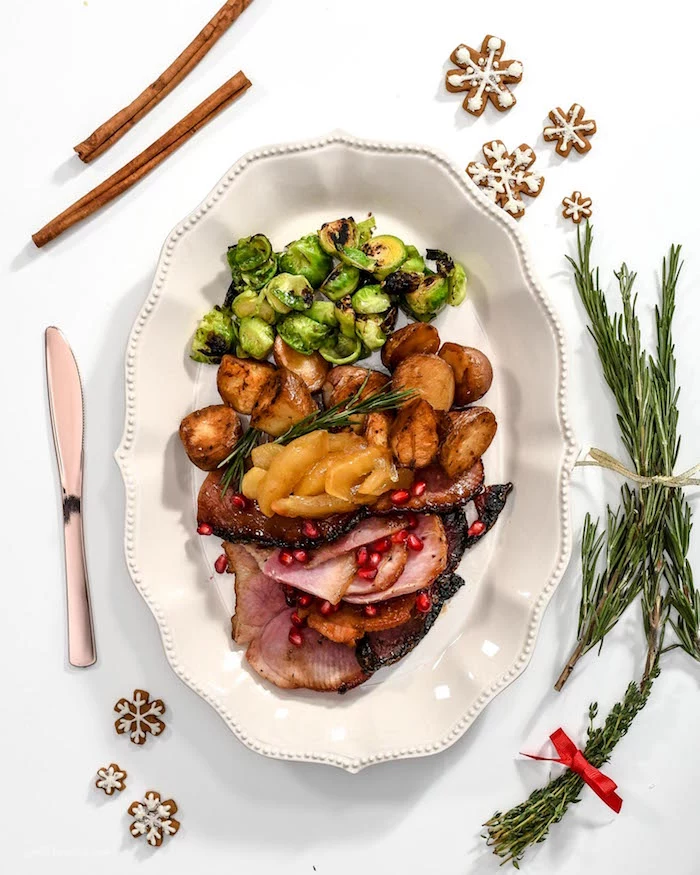
Alternative Main: Effortless Honey Glazed Ham
Not a turkey family? No problem. A glazed ham is a showstopper, and frankly, it’s way easier. Most spiral-cut hams are already cooked, so you’re just heating it through and adding a killer glaze. An 8-10 pounder will usually cost between $30 and $60.
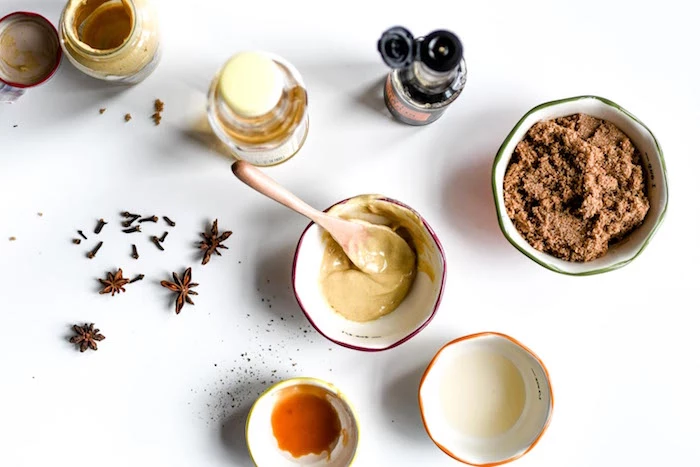
Recipe: Simple Honey-Dijon Glazed Ham
Ingredients:
- 1 bone-in, spiral-cut ham (8-10 pounds)
- 1 cup packed brown sugar
- 1/2 cup honey
- 1/4 cup Dijon mustard
- 2 tablespoons apple cider vinegar
- 1/2 teaspoon black pepper
Instructions:
- Preheat your oven to 325°F. Place the ham cut-side down in a roasting pan with about a cup of water in the bottom. Cover it tightly with foil and bake for 10-12 minutes per pound, or until it hits about 120°F internally.
- While it bakes, whisk together the brown sugar, honey, Dijon, vinegar, and pepper in a small saucepan over low heat until it’s smooth.
- Once the ham is heated, take it out, remove the foil, and crank the oven to 400°F. Brush about half the glaze all over the ham.
- Bake it uncovered for another 15-20 minutes, brushing on more glaze every 5 minutes or so, until it’s bubbly and caramelized and reads 140°F. Let it rest for 15 minutes before serving.

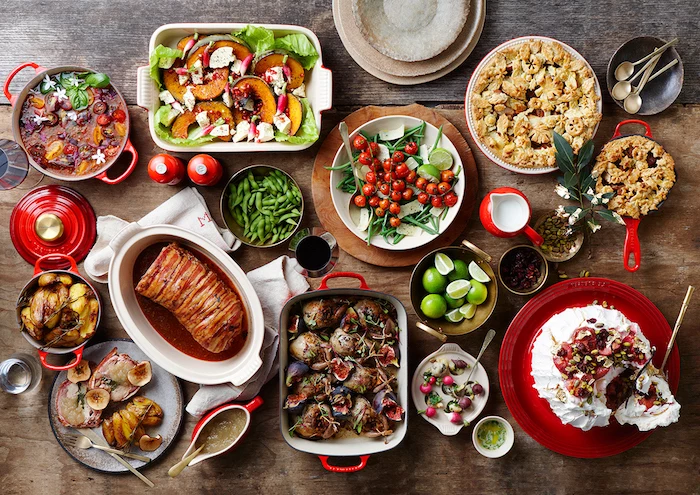
Sides That Steal the Show
Let’s be real, the sides are just as important as the main event. Here’s how to make them unforgettable.
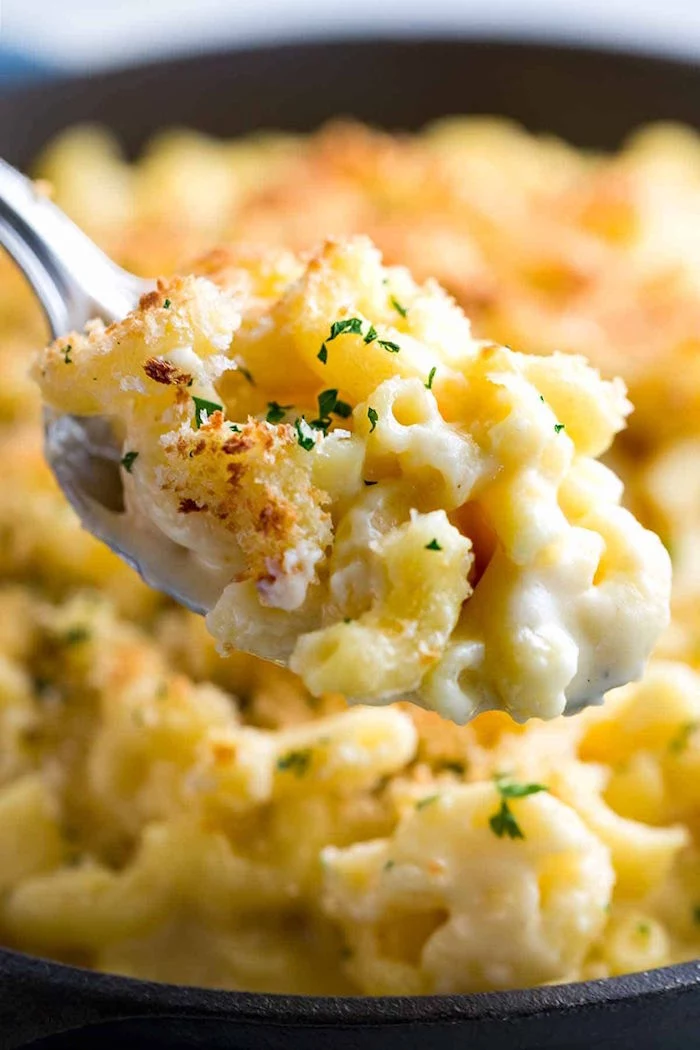
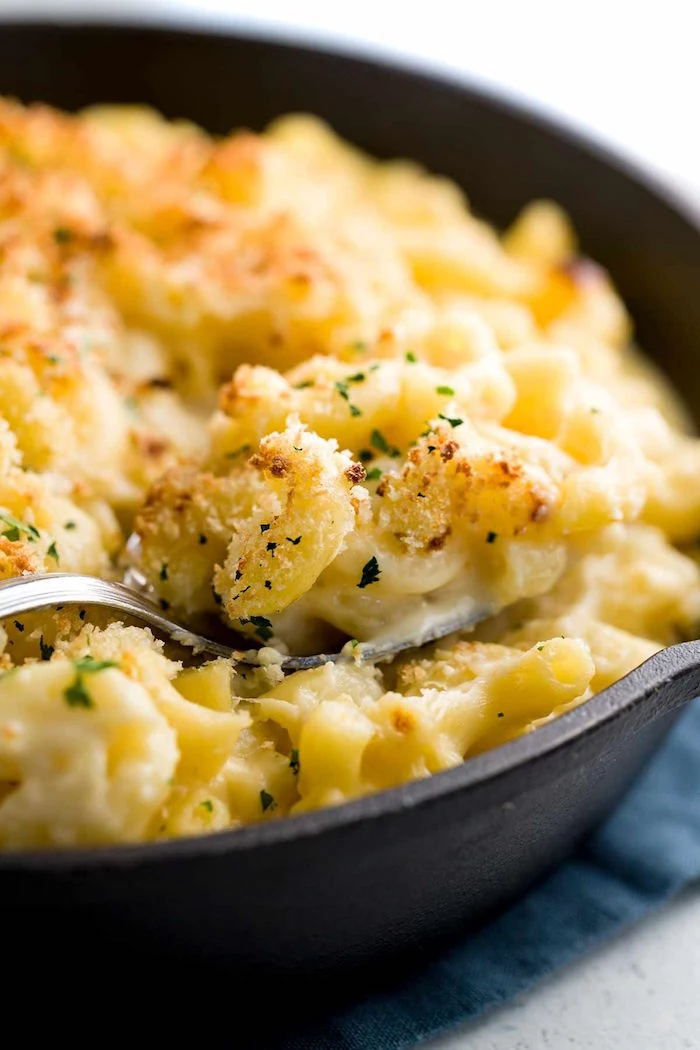
The Creamiest Baked Mac & Cheese
The secret here is a proper cheese sauce and, I’m begging you, DO NOT use pre-shredded cheese. It’s coated in stuff like potato starch to prevent caking, and it will make your sauce grainy. I learned that lesson the hard way catering an event once. It was a lumpy, embarrassing mess. Spend the five extra minutes shredding your own from a block. A mix of a good melter like Gruyère and a flavor-punch like extra-sharp cheddar is perfect.
Ingredients:
- 1 lb elbow macaroni
- 5 tbsp unsalted butter
- 5 tbsp all-purpose flour
- 4 cups warm whole milk
- 1 tsp salt
- 1/4 tsp each of fresh nutmeg and black pepper
- 8 oz sharp cheddar, shredded
- 8 oz Gruyère or Monterey Jack, shredded
Instructions:
- Cook the pasta 1 minute less than the package directions. Drain and set aside.
- In a big pot, melt the butter over medium heat. Whisk in the flour and cook for a minute or two until it smells a bit nutty—this is your roux.
- Slowly pour in the warm milk while whisking like crazy to keep it smooth. Let it gently simmer for 5-7 minutes until it’s thick enough to coat a spoon.
- Take it off the heat and stir in the salt, nutmeg, and pepper. Then, add the cheese a handful at a time, stirring until each batch is melted before adding more.
- Fold in the cooked pasta, pour it into a 9×13 inch baking dish, and bake at 375°F for 25-30 minutes until golden and bubbly.
The Absolute Best Pan Gravy
You can’t have a turkey dinner without amazing gravy. Don’t let those delicious pan drippings go to waste!
Ingredients:
- Turkey giblets and neck (from the cavity)
- 4 cups low-sodium chicken or turkey broth
- Pan drippings from the roasted turkey (about 1/4 cup)
- 1/4 cup all-purpose flour
- Salt and pepper to taste
Instructions:
- While your turkey roasts, simmer the giblets and neck in the broth in a small pot for about an hour to create a super-flavorful base. Strain it and set the broth aside.
- Once the turkey is out of the oven and resting, pour the drippings from the roasting pan into a glass measuring cup. Let the fat rise to the top. Spoon off about 1/4 cup of that beautiful turkey fat and put it back into the roasting pan.
- Place the roasting pan over two burners on your stovetop on medium heat. Whisk the flour into the fat to create a paste (a roux) and cook for a minute until it’s golden.
- Slowly whisk in the flavorful broth you made earlier. Keep whisking to break up any lumps. Bring it to a simmer, scraping up all the browned bits from the bottom of the pan—that’s pure flavor!
- Let it simmer for 5-10 minutes until it has thickened to your liking. Season with salt and pepper. If it’s still a bit lumpy, don’t sweat it—just pour it through a fine-mesh sieve before serving. No one will ever know.
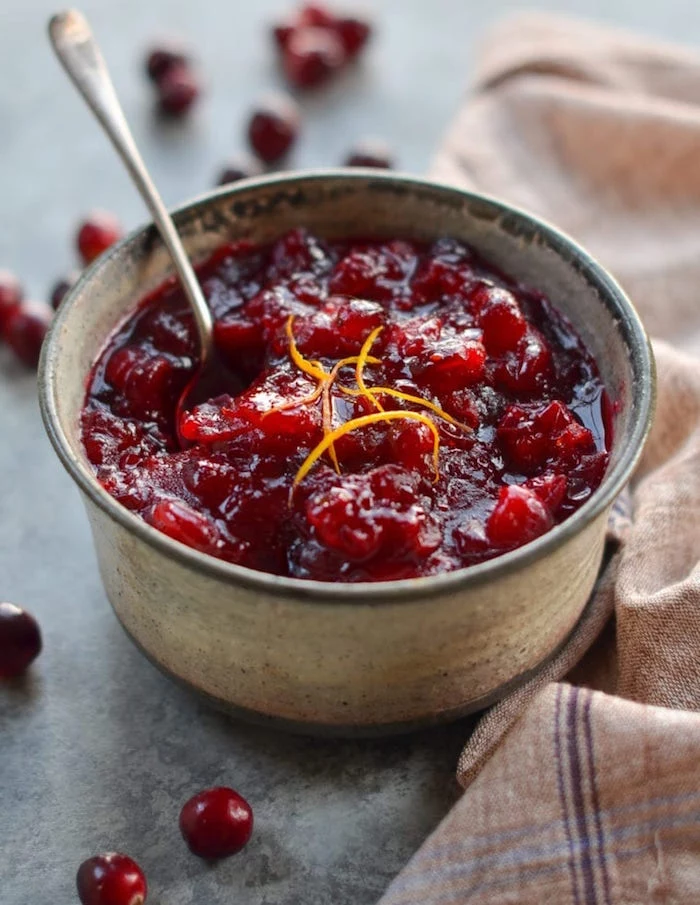
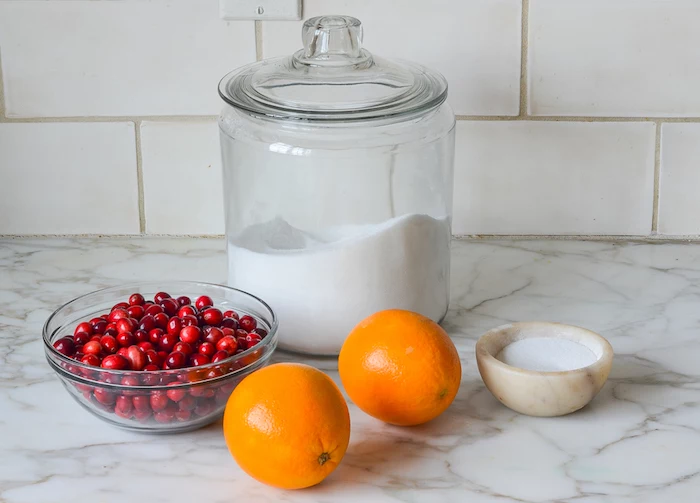
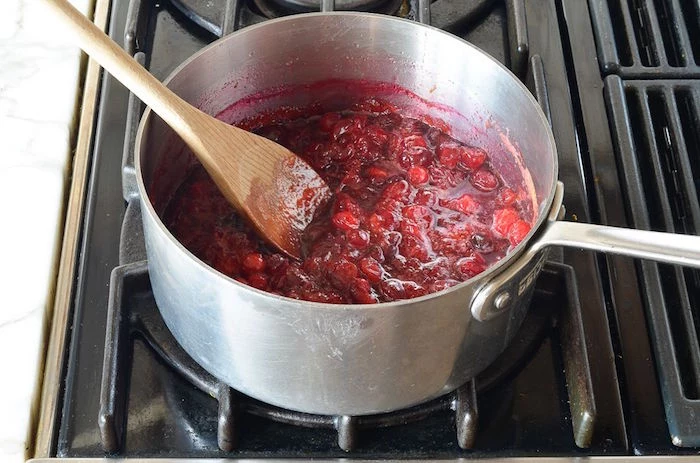
Fresh Cranberry-Orange Sauce
This is so easy, you’ll never buy the canned stuff again. Just combine a 12-ounce bag of fresh cranberries, 1 cup of sugar, 1 cup of orange juice, the zest of one orange, and a cinnamon stick in a pot. Bring to a boil, then simmer for about 15 minutes until the berries pop and the sauce thickens. It gets even thicker as it cools. Easy peasy.
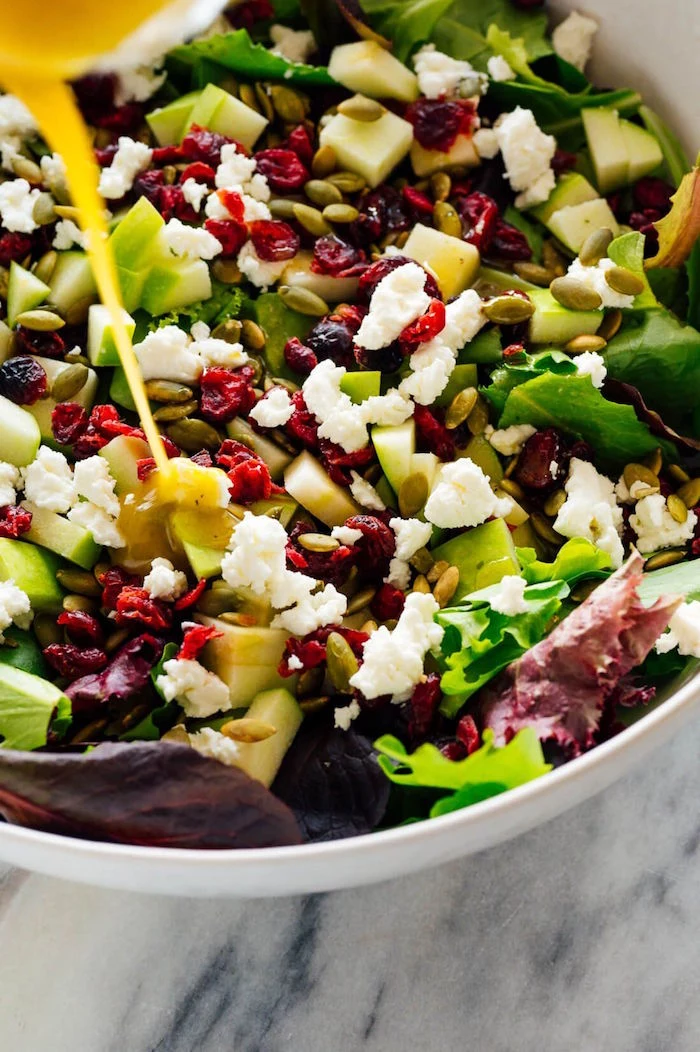
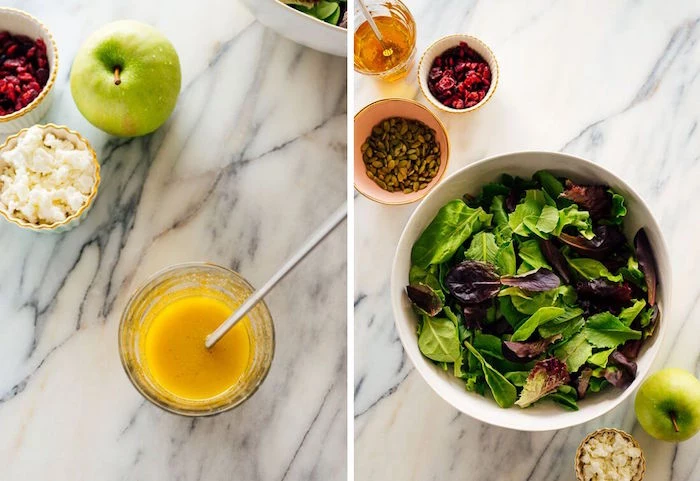
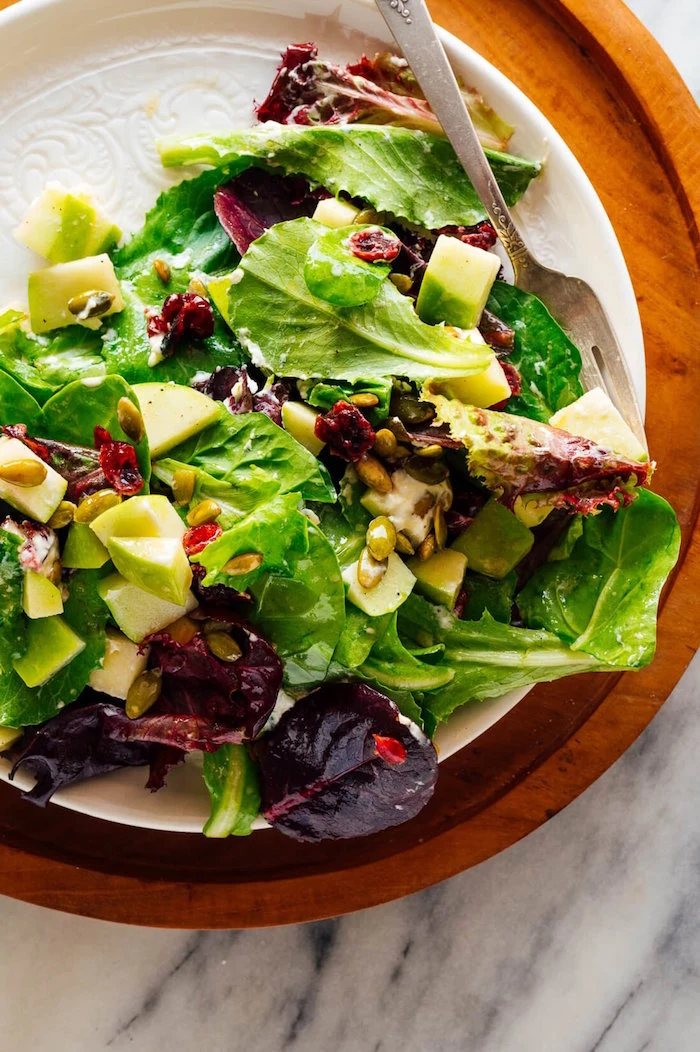
A Simple, Zesty Salad
You need something fresh to cut through all that richness. Don’t overthink it. A big bowl of mixed greens with a simple homemade vinaigrette is perfect. Just whisk together 1/3 cup olive oil, 3 tablespoons lemon juice, 1 teaspoon Dijon mustard, a pinch of salt and pepper. Done.
Help! Kitchen Disasters & How to Fix Them
Even the pros run into trouble. Here’s a quick guide for common holiday cooking emergencies.
- “My gravy is lumpy!” Pour it through a fine-mesh strainer into your gravy boat. Your secret is safe with us.
- “My turkey skin isn’t crispy!” If the turkey is cooked but the skin is pale, take the foil off and blast it in a 425°F oven for the last 10-15 minutes. Watch it like a hawk so it doesn’t burn!
- “My turkey came out a little dry…” It happens! Just slice it up and serve it with plenty of that delicious gravy you just made. Gravy is the great equalizer.
- “My ham is too salty!” Slice it thin and make sure to serve it alongside something mild, like simple mashed potatoes or dinner rolls, to balance out the saltiness.
The Ultimate Holiday Dinner Shopping List
To make life easier, here’s everything you’ll need, organized by store section. Print this out and take it with you!
Meat Counter
- 1 whole turkey (12-14 lbs) OR 1 spiral-cut ham (8-10 lbs)
- Turkey giblets & neck (should come with the bird)
Produce
- 1 large yellow onion
- 1 head of garlic
- Fresh herbs: Thyme, Rosemary, Parsley
- 1 bag (12 oz) fresh cranberries
- 1 large orange
- 1 lemon
- Bag of mixed salad greens
Dairy & Eggs
- Unsalted butter (you’ll need about 1.5 sticks)
- Whole milk (at least 6 cups)
- Heavy cream (1 cup for eggnog, optional)
- Block cheese: 8 oz sharp cheddar, 8 oz Gruyère or Monterey Jack
- 6 large eggs (for eggnog)
Pantry & Dry Goods
- Kosher salt
- Black peppercorns (for fresh ground pepper)
- All-purpose flour
- Brown sugar
- Granulated sugar
- Honey
- Dijon mustard
- Apple cider vinegar
- Chicken or turkey broth (low-sodium)
- Elbow macaroni (1 lb box)
- Spices: Nutmeg (whole is best!), cinnamon stick
- Olive oil
- Vanilla extract
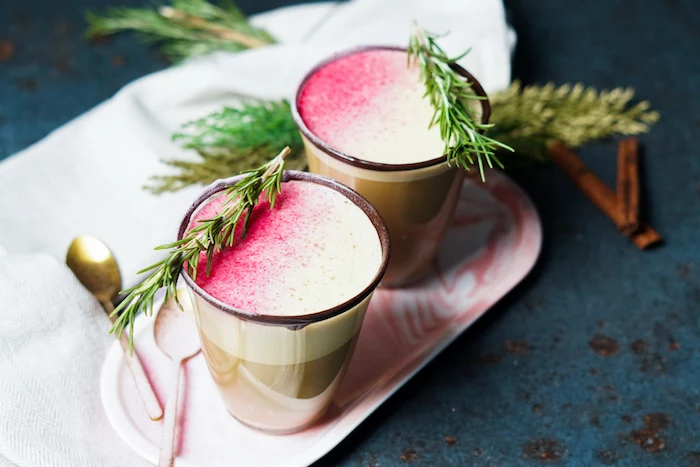
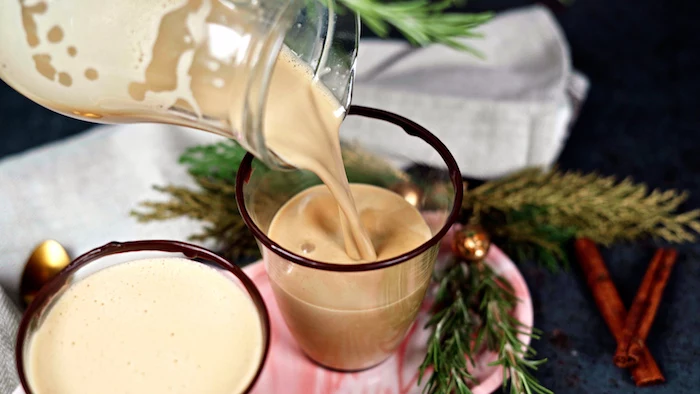
The Grand Finale: Drinks & Dessert
You made it! Time for something sweet. A rich, creamy eggnog is the perfect holiday tradition, especially when it’s made safely.
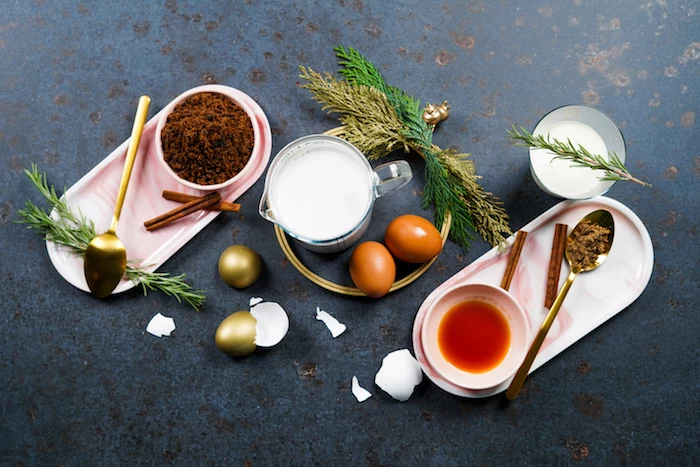
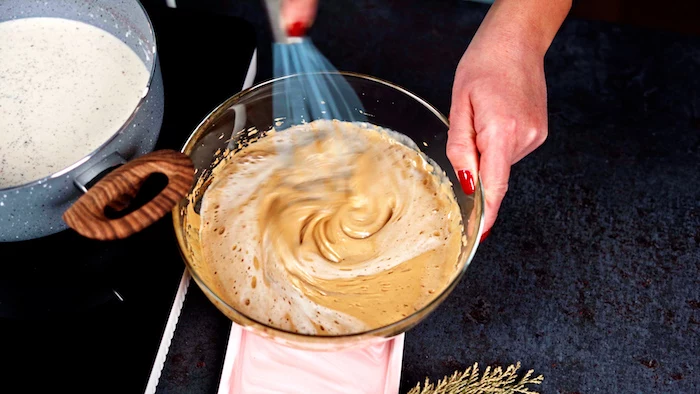
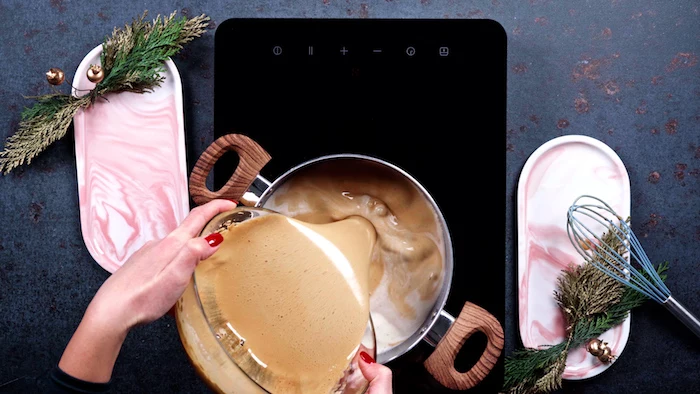
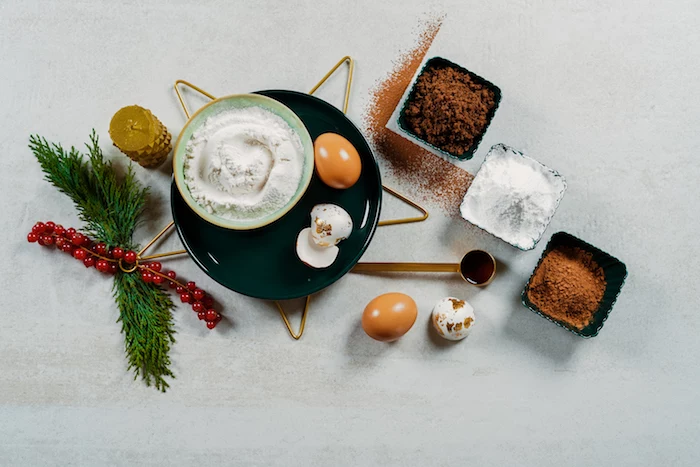
Safely Delicious Custard Eggnog
We never use raw eggs in a pro kitchen; the risk just isn’t worth it. Instead, we make a cooked custard base by gently tempering the eggs. It sounds fancy, but it just means you slowly heat the yolks so they don’t scramble. The key is using your thermometer to make sure the base reaches 160°F, which is hot enough to be perfectly safe for everyone.
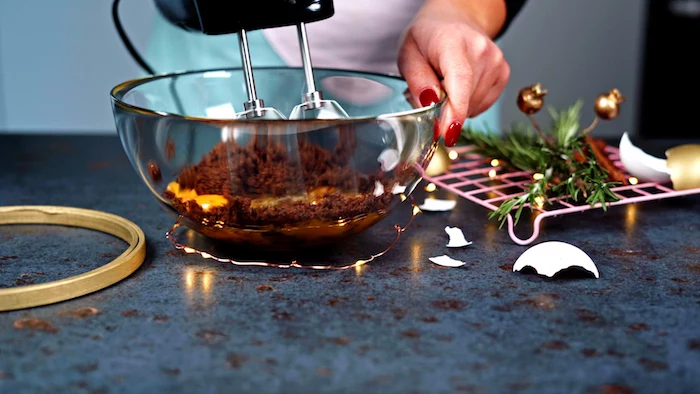
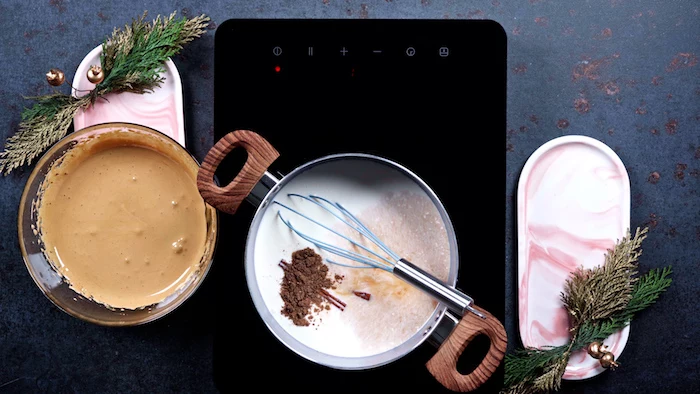
Just whisk 6 egg yolks with 1/2 cup of sugar until pale. Gently heat 2 cups of whole milk, 1 cup of heavy cream, and a teaspoon of nutmeg in a saucepan. Slowly whisk a little of the hot milk into the yolks, then pour that mixture back into the pot. Cook over low heat, stirring constantly, until it hits 160°F and coats the back of a spoon. Strain it into a bowl, stir in some vanilla, and chill for at least 4 hours. When you’re ready to serve, you can stir in rum, brandy, or bourbon if you’d like!
Final Words from the Kitchen
Heads up: Carving the bird can be the most intimidating part. Don’t try to be a hero and wing it. Just hop on YouTube and search for “how to carve a turkey.” Watching a quick 5-minute video from a pro is a total game-changer and will make you look like you’ve been doing it for years.
Remember, cooking a big holiday meal is an act of love. Things might not be perfect—an oven has hot spots, a sauce might need a little tweaking. That’s totally okay. The methods here are tested and true, but the real goal is to gather your favorite people around the table. That’s a success no recipe can measure.
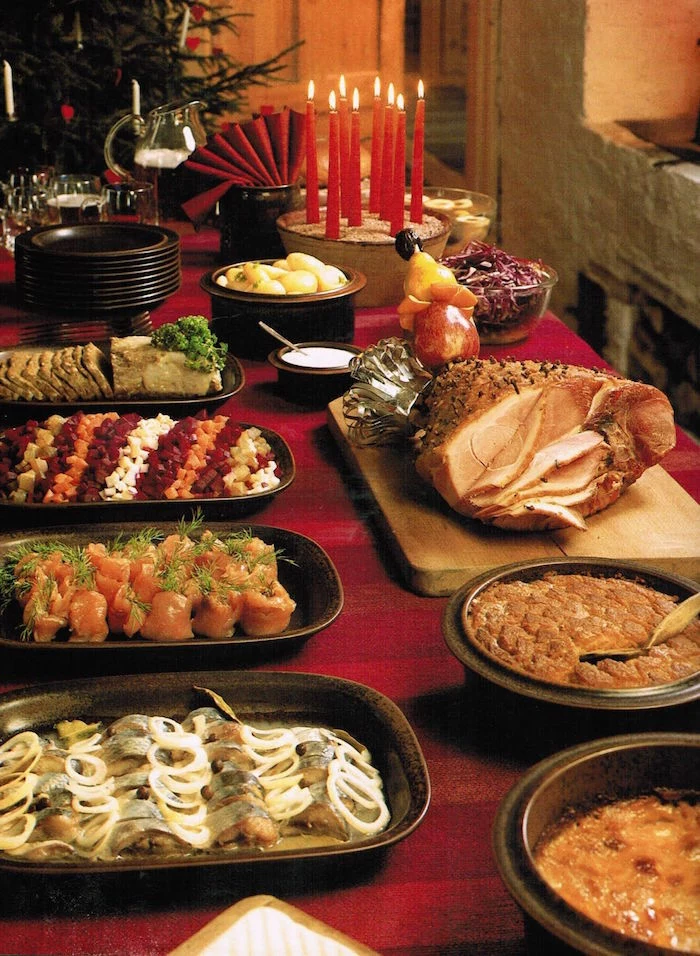
Inspirational Gallery
The Golden Rule of Resting: Your turkey or ham isn’t ready the moment it leaves the oven. Tent it loosely with foil and let it rest for at least 20-30 minutes before carving. This allows the juices, which have been pushed to the center by the heat, to redistribute throughout the meat, ensuring every slice is moist and flavorful. Carve too soon, and you’ll have a puddle of juice on your cutting board and dry meat on the platter.

- Create a simple simmering potpourri on the stove with orange peels, cranberries, a cinnamon stick, and cloves. It fills the house with a festive scent without clashing with the cooking aromas.
- Sharpen your carving knife the day before. A sharp knife makes for clean, beautiful slices and is much safer to use.
- Set out and label all your serving dishes and utensils. You’ll thank yourself when you’re not rummaging through cabinets at the last minute.

The National Turkey Federation estimates that Americans eat approximately 46 million turkeys at Thanksgiving and another 22 million at Christmas.
That’s a lot of pressure to get it right! One professional secret for a perfect bird is a dry brine. A day or two before cooking, rub the turkey all over (and under the skin) with a mix of kosher salt, sugar, black pepper, and dried herbs. It results in incredibly moist meat and the crispiest skin imaginable, with less mess than a wet brine.
My gravy is always a last-minute panic. Any tips?
Absolutely. The key is to prep your flavor base while the turkey roasts. Sauté some chopped onions, carrots, and celery in the bottom of a small saucepan. Once the turkey is out and resting, pour the drippings from the roasting pan into your saucepan (use a fat separator if you have one). Whisk in a tablespoon or two of flour or cornstarch slurry, then slowly add warm chicken or turkey stock until you reach the perfect consistency. Let it simmer gently while you carve.
Digital Thermometer: Your most valuable tool for the main event. A reliable instant-read thermometer, like a Thermapen ONE, is a worthy investment. It takes the guesswork out of cooking meat to the perfect temperature (165°F in the thickest part of the thigh for turkey), preventing dry, overcooked results or unsafe, undercooked poultry.
Don’t let mashed potatoes become a headache. To make them ahead and keep them perfectly warm and creamy, use your slow cooker. Prepare your potatoes up to two hours in advance, then transfer them to a slow cooker set on the ‘Warm’ setting. Stir in a splash of warm milk or a pat of butter right before serving to refresh the texture.
Dry Brine: A salt and spice rub applied directly to the meat 1-3 days ahead. It draws out moisture and then reabsorbs it, seasoning the meat deeply and drying the skin for maximum crispiness.
Wet Brine: Submerging the meat in a saltwater solution. It adds moisture, but can sometimes result in a slightly spongy texture and makes it harder to get crispy skin.
For a foolproof holiday turkey, the dry brine often yields better results with less fuss.
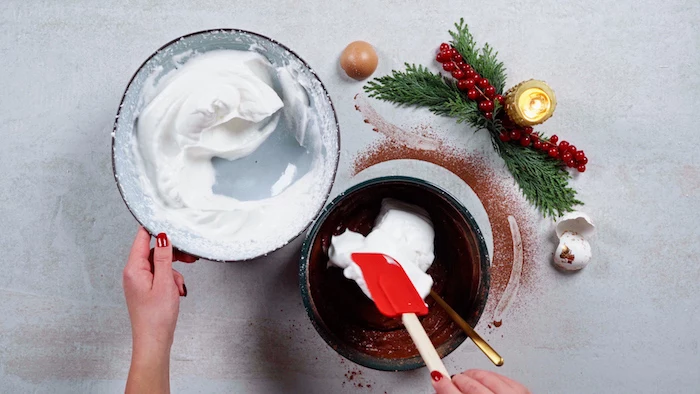
That beautiful Yule log, or *Bûche de Noël*, has its roots in a medieval French tradition where a specially chosen log was burned on the hearth on Christmas Eve to bring good fortune for the coming year. The edible version, popularized by Parisian bakers in the 19th century, carries on that festive symbolism.
- Adds a rich, savory depth that store-bought versions lack.
- Gives you complete control over the sodium and seasoning.
- Uses up vegetable scraps and the turkey neck, reducing waste.
The secret? A homemade stock. Simmer the turkey neck, an onion, a carrot, a celery stalk, and a bay leaf in water for a few hours in the days leading up to the feast. Strain it and store it in the fridge; it’s liquid gold for your gravy.

A note on salt: Not all salt is created equal. For brining and general seasoning, use Diamond Crystal Kosher salt; its unique shape dissolves easily and is harder to over-salt with. For finishing a dish, like sprinkling over carved meat or roasted vegetables, a flaky sea salt like Maldon adds a delightful crunch and clean saline flavor that elevates the final bite.
Elevate your bread basket with a simple compound butter. A day or two ahead, soften a stick of unsalted butter and mix in your chosen flavorings. Think finely chopped rosemary and thyme, roasted garlic and parsley, or even orange zest and cranberry for a sweet and savory twist. Roll it into a log in parchment paper and chill. Slice and serve for an effortlessly gourmet touch.

The oven is full! How can I manage my side dishes?
Think beyond the oven. Your other appliances are your support staff. Braised greens or cranberry sauce can simmer on the stovetop. Mashed potatoes, as mentioned, are perfect for the slow cooker. Even a countertop electric roaster can be used for a small casserole. Strategic delegation to different appliances is the key to managing a packed cooking schedule.

Don’t neglect the final touch. A simple garnish makes any dish look intentional and special. Finely chopped fresh parsley, chives, or dill can brighten up potatoes and vegetables. A scattering of ruby-red pomegranate seeds on a salad or roasted carrots adds a jewel-like festive pop. It takes seconds but makes a world of difference.
- Keep your Brussels sprouts crisp-tender, not mushy.
- Get a beautiful, deep caramelization on your carrots and parsnips.
- Achieve that coveted crispy, golden-brown turkey skin.
The secret? The Maillard reaction. This is the chemical process that gives browned food its distinctive flavor. To encourage it, make sure your roasting pan isn’t overcrowded and that your ingredients are patted dry before they go into the hot oven. Moisture creates steam, which is the enemy of browning!
For your vegetable sides:
Cast Iron Skillet: Unbeatable for achieving a hard, fast sear. Use it for Brussels sprouts or pan-roasting potatoes to get those deeply browned, crispy edges. A classic Lodge skillet is a kitchen workhorse.
Stainless-Steel Sauté Pan: Excellent for dishes that require more finesse, like gently sweating onions and celery for stuffing. High-quality brands like All-Clad offer superior, even heating.
A signature non-alcoholic drink ensures everyone feels included in the toast. Try a Cranberry-Rosemary Spritzer: combine 1 part cranberry juice, 2 parts sparkling water or ginger ale, a squeeze of fresh lime, and garnish with a fresh cranberry and a sprig of rosemary. It looks just as festive as any cocktail.
According to a 2019 study, an estimated 200 million pounds of turkey meat is thrown out over the Thanksgiving holiday alone.
Plan for leftovers, don’t create excess. For 8-10 guests, a 12-15 pound turkey is plenty, providing generous servings and enough for next-day sandwiches. When it comes to sides, estimate about a half-cup to one cup of each dish per person. It’s better to have a perfect amount of five amazing sides than a wasteful excess of ten.
Running out of refrigerator space is a classic holiday problem. A simple solution for drinks or hardy produce is to use a cooler. Filled with ice, it can act as a backup fridge on your porch or in the garage, freeing up precious shelf space for the dishes that need to be chilled.
Last 30-Minute Checklist:
- Transfer warming dishes (like potatoes) to serving bowls.
- Whisk your gravy and pour it into a gravy boat.
- Toss the salad with its dressing.
- Slice the bread and fill the butter dish.
- Light the candles on the dinner table.
What’s the best wine for a traditional holiday dinner?
Versatility is key. For whites, you can’t go wrong with a dry Riesling or a Sauvignon Blanc; their acidity cuts through the richness of the meal. For reds, a Pinot Noir or a Beaujolais is a classic choice. Their bright fruit notes and lighter body complement turkey and ham without overpowering them. Offer one of each so guests can choose.

Give leftover cranberry sauce a new life. Stir it into plain yogurt or oatmeal for breakfast, spread it on a turkey sandwich with brie, or use it as a glaze for pork chops or meatballs. It also makes a fantastic base for a vinaigrette when whisked with olive oil and balsamic vinegar.
The spatchcocking trend: For those short on time, spatchcocking (or butterflying) the turkey is a game-changer. By removing the backbone and flattening the bird, you dramatically increase the surface area exposed to heat. This can cut roasting time nearly in half and ensures both the breast and thigh meat cook evenly to perfection.
Create a kitchen-only playlist to keep your energy up. Choose upbeat, cheerful music that makes you happy, whether it’s classic soul, 90s pop, or instrumental jazz. It’s your space—the soundtrack should fuel your cooking and keep the mood light, saving the traditional carols for the dinner itself.
Don’t overcrowd your oven.
Roasting requires hot air to circulate freely around the food. If you pack too many dishes in at once, they will steam instead of roast, leading to pale, soggy results. Stagger your cooking times, use all your appliances, and let some dishes be served at room temperature, like a winter grain salad.


