Your Ultimate Guide to Making a Legendary DIY Ugly Christmas Sweater
I’ve been working with fabrics for what feels like a lifetime, from fancy costume designs to simple everyday repairs. But every year, like clockwork, my workshop transforms. The silks and patterns get pushed aside for mountains of felt, jingle bells, and, yes, a whole lot of hot glue. It’s ugly Christmas sweater season, and my friends start calling, asking for help to create the most outrageously wonderful monstrosities imaginable.
In this article
And let’s be real, an ugly Christmas sweater isn’t just a gag. It’s a creative playground. It’s your chance to do all the things with fabric and construction that good taste normally forbids.
Over the years, I’ve seen the triumphs and the tragedies. I’m talking light-up, music-playing, ring-toss-game sweaters. But I’ve also seen the sad, droopy reindeer heads and the hot glue that gives up an hour into the party. So, this is the guide I wish I had from the start. We’re going beyond just sticking stuff on a sweater. We’re talking about building something that’s not only hilarious but also well-made and—dare I say it—durable.

The Foundation: Picking Your Sweater Canvas
Everything starts with the sweater itself. A bad choice here can doom your project from the get-go, leaving you with a floppy, uncomfortable mess. I’m incredibly picky when I’m hunting at the thrift store, and here’s what I look for. A good base sweater usually costs between $5 and $10, by the way.
The fabric is, without a doubt, the most important factor. It determines what glues will work, how much weight it can actually hold, and whether you’ll be sweating through the party. Always check the tag, but if it’s missing, here’s the rundown:
- Acrylic & Blends: Honestly, this is the holy grail for ugly sweaters. Acrylic is tough, lightweight, and holds its shape like a champ. Hot glue absolutely loves it; the plastic-based fibers bond perfectly. A 70/30 acrylic-cotton blend is also a fantastic choice, giving you a bit of softness with that crucial structure.
- Wool: I tend to steer clear of 100% wool. It can scorch easily with a hot glue gun, leaving you with brown marks and a lovely burnt-hair smell. It also sags under the weight of heavy decorations. If you’re set on using wool, plan on sewing everything on. Quick tip: Hold any secondhand wool sweater up to a light to check for tiny moth holes before you buy.
- Cotton: A 100% cotton sweater is super comfy, but it’s not built for heavy lifting. It works great with fabric glues but doesn’t create that super-strong bond with hot glue. It’s your best bet for lightweight designs, like attaching simple felt cutouts or pom-poms.
Before you do anything else, wash your sweater on a gentle cycle and let it air dry. This gets rid of any grime that might resist your glue and, more importantly, pre-shrinks it. You don’t want your perfectly placed snowman to get all warped after one wash. If it’s wrinkly, use a steamer, not an iron—a hot iron can melt acrylic fibers instantly.

Your Crafter’s Toolkit: The Right Tools for the Job
Making a sweater that survives the night requires a few key supplies. Using the wrong glue is probably the #1 mistake people make. Let’s break down your adhesive options, most of which you can find at craft stores like Michaels or even online.
So, which glue is for what? Think of it this way. Hot glue is your champion for speed and for attaching bulky, non-fabric items like plastic ornaments or cardboard structures. It sets in less than a minute but stays pretty stiff. A dual-temp glue gun is a great investment; use the high heat for a super-strong bond and the low-heat setting for delicate foam or tinsel. Heads up! Hot glue is, well, hot. I’ve got the little scars to prove it. Keep a bowl of cold water nearby, and if you get some on your skin, plunge it in the water immediately. Don’t pull the glue off; let it cool completely first.
My personal secret weapon is a good fabric glue, like Beacon’s Fabri-Tac. It’s what the pros use. Unlike hot glue, it dries clear and stays flexible, so your sweater moves with you. It’s perfect for felt cutouts. The only catch is the drying time—it can take a few hours to fully cure, so you need a little patience.
For the really heavy-duty stuff, like metal or hard plastic, you need an industrial adhesive like E6000. It creates an insanely strong bond, but you HAVE to use it in a well-ventilated area. Seriously, open a window and turn on a fan; the fumes are no joke. This one is not for kids.
And don’t forget the power of a simple needle and thread! Gluing is fast, but sewing is forever (or at least for a few more parties). You don’t need fancy skills. A simple running stitch is fine for big felt pieces, and a few strong tacking stitches with upholstery thread are perfect for securing bulky 3D items like stuffed animals.

Choose Your Adventure: Three Levels of Sweater-Making
Okay, let’s get to the fun part. You can go as simple or as wild as you want. I usually break it down into three levels of difficulty based on your time, budget, and ambition.
Level 1: The Surface Decorator (The 1-Hour Wonder)
This is the classic approach. The goal is to cover your sweater in festive chaos. It’s fast, fun, and perfect for beginners. The whole project should take about an hour and cost you under $25, including the sweater.
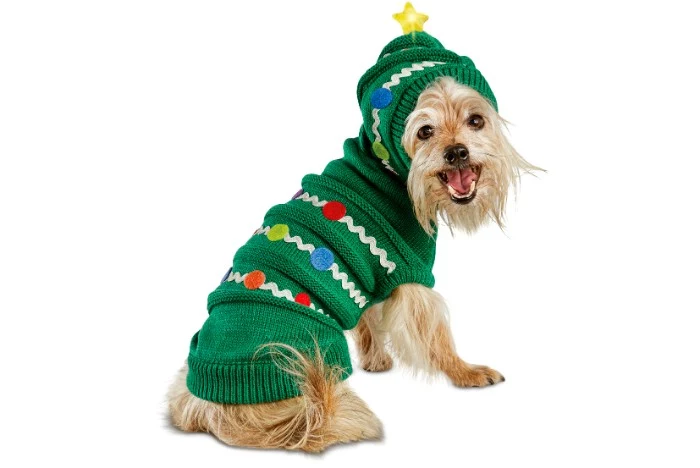
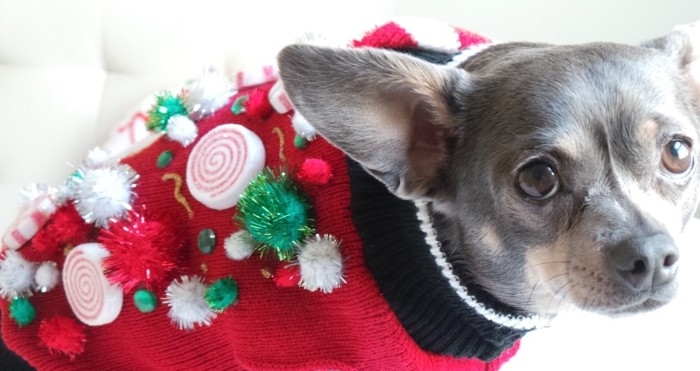
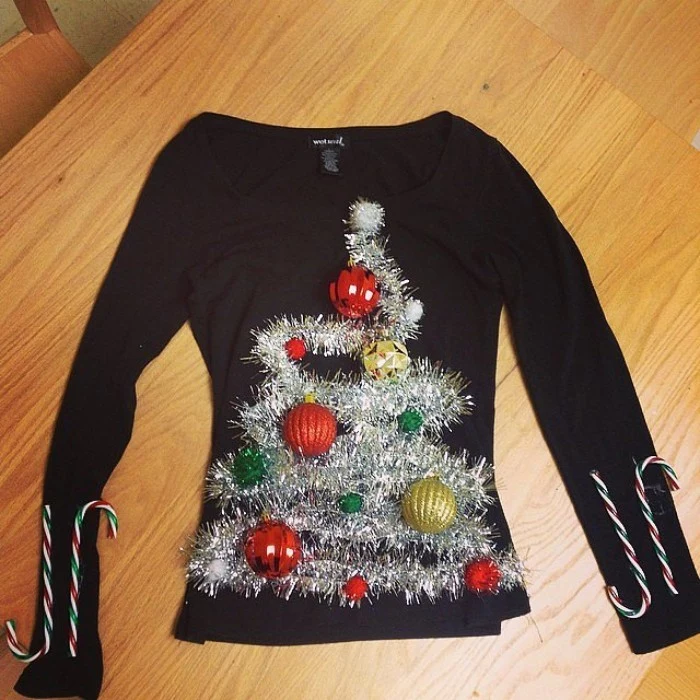
- The Project: The Tacky Tree. Grab a green sweater. Cut a brown felt rectangle for the trunk and hot glue it to the bottom. Now, take a tinsel garland and zig-zag it across the front to create a tree shape, securing it with dabs of hot glue every few inches. Finally, go nuts gluing on pom-poms, small plastic ornaments, and jingle bells. The key is density—more is more!
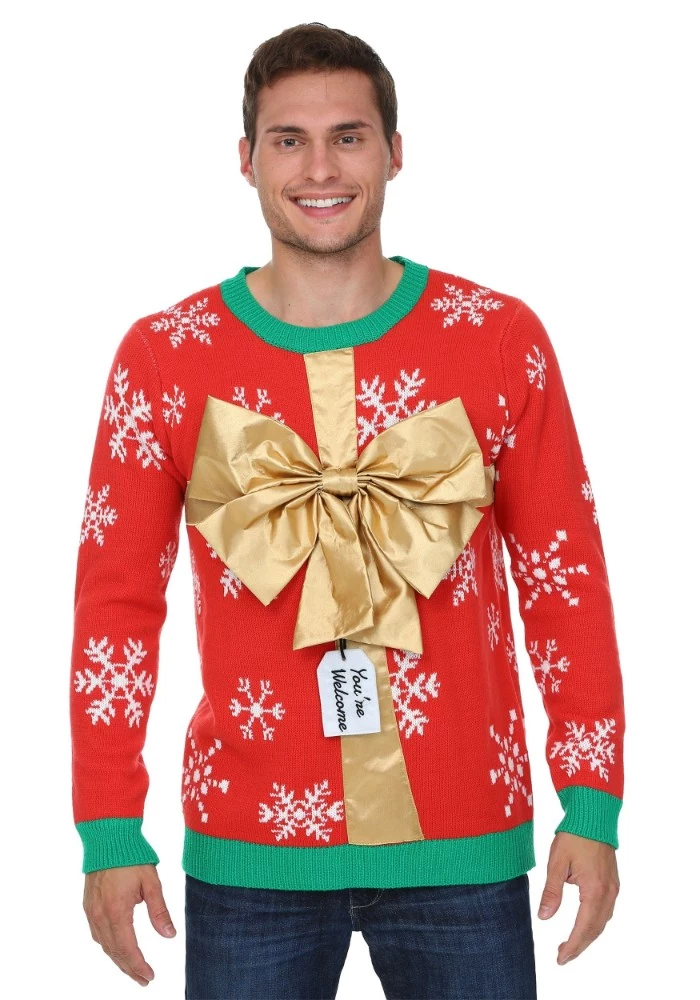
- 5-Minute Emergency Sweater: In a real pinch? Go to the dollar store, buy a few packs of those self-adhesive gift bows, and cover your sweater with them. Done. You’re welcome.

Level 2: The Structural Artist (The Weekend Project)
Ready to go 3D? This level involves adding things that pop off the sweater. This is where you might want to use a combination of hot glue and sewing for extra security.
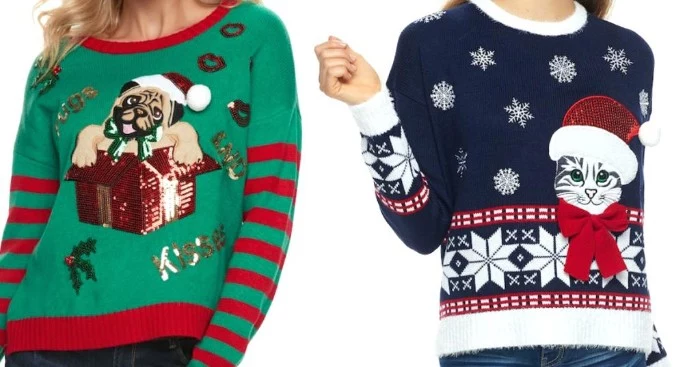
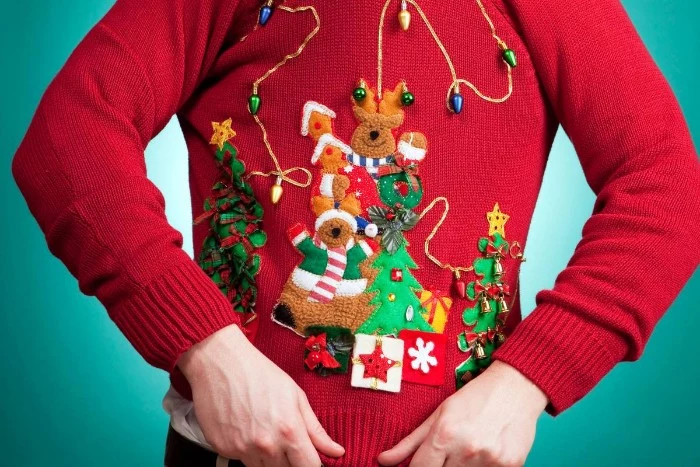
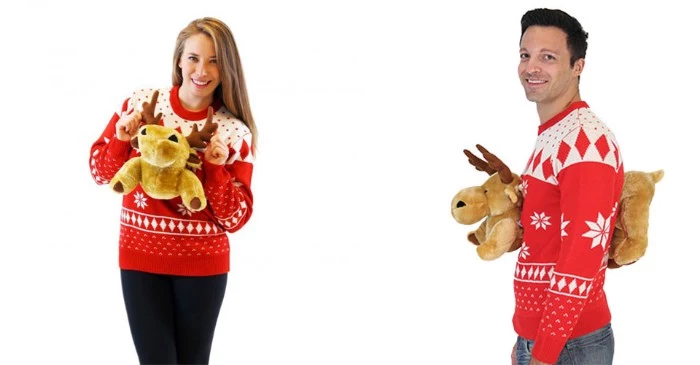
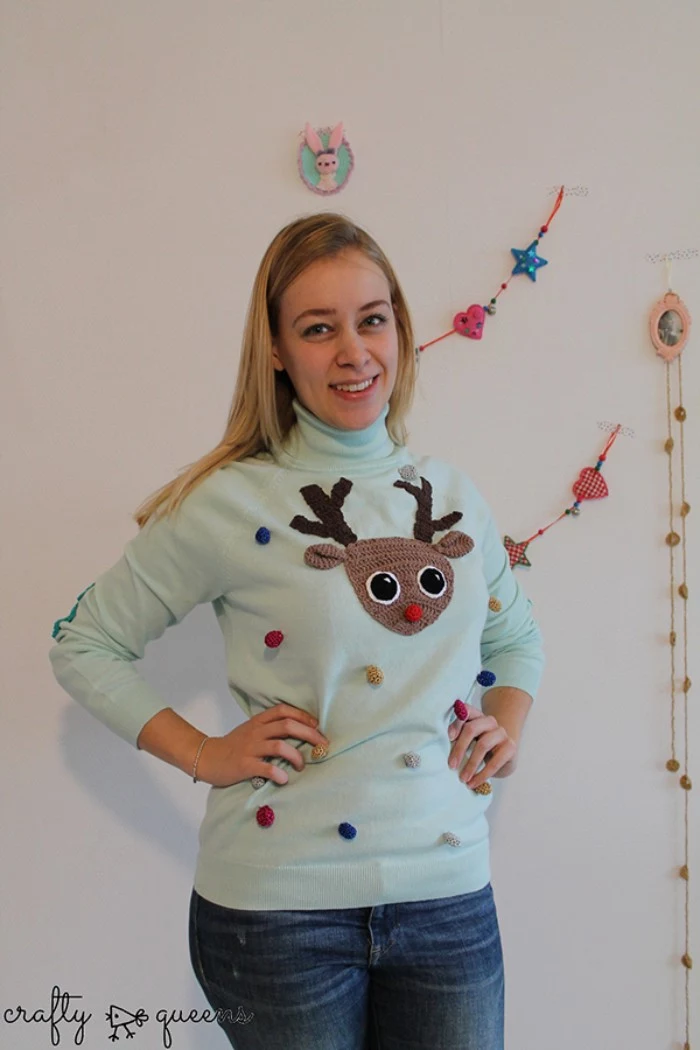
- The Project: Reindeer Ring Toss. Find a small, lightweight stuffed reindeer head (plush ornaments work great for this). Securely sew its base to the upper chest of your sweater. Use tacking stitches in multiple spots for stability. Then, use brown and red pipe cleaners to create antlers that are big and loopy. You can even make rings out of green pipe cleaners for a fully functional game!
- Pro Tip for Comfort: When you sew bulky things onto your sweater, the inside can get scratchy. A great trick is to iron a small piece of soft fabric (like an old t-shirt scrap) on the inside to cover your stitches and glue blobs.

Level 3: The Electronics Expert (The Grand Champion)
This is how you win the competition. Adding lights takes a bit of planning but is totally worth it. You’ll want a string of battery-powered micro LED fairy lights—they’re lightweight and the wires are easy to hide.
- The Project: The Walking Light Show. First, decide where your battery pack will live. An inside pocket or clipped to the bottom hem of the sweater is ideal. You can even sew a little felt pocket for it on the inside. Before you attach anything, TEST THE LIGHTS. Trust me on this. Then, starting from the battery pack, carefully poke the light string from the inside of the sweater to the outside. Weave the wire through the knit of the sweater, securing it with small stitches or dabs of low-temp hot glue every few inches. Outline a festive shape, like a snowflake or star, or just create a random pattern of twinkles.
The Aftermath: How to Clean Your Creation
So, the party’s over, and your sweater… smells like a party. What now? Whatever you do, DO NOT just throw it in the washing machine. You’ll have a tangled, heartbreaking mess.
Spot-cleaning is your best friend. Use a damp cloth with a tiny bit of mild soap to gently dab at any spills. For more serious situations, a very careful hand-wash is your only option. Fill a tub with cool water and a little detergent, gently submerge the sweater, swish it around, and rinse. Squeeze out the excess water (don’t wring it!) and lay it flat on a towel to dry. This is only for sweaters without electronics, obviously! For storage, always fold your sweater. Hanging it will cause the weight of the decorations to stretch it out of shape. Good luck, and have fun creating your masterpiece!
Inspiration Gallery

The Adhesive Trinity: While hot glue is the undisputed king, don’t underestimate its partners. For heavy or non-porous items like plastic ornaments or battery packs, a tube of E6000 Craft Adhesive provides an industrial-strength, flexible bond that hot glue can’t match. For delicate fabrics or felt-on-felt details, Aleene’s Fabric Fusion is your best friend—it dries clear, remains flexible, and won’t leave those hard, crusty spots.


- Create a stable, comfortable base for 3D elements.
- Prevent heavy decorations from sagging or tearing the knit.
- Provide a smooth surface for gluing.
The secret? A simple felt panel. Cut a piece of stiff felt slightly larger than your main decoration (like a stuffed reindeer head) and sew or glue it to the *inside* of your sweater first. Then, attach your decoration to the front, stitching through both the sweater and the felt backing.


The first “ugly Christmas sweater party” is widely believed to have been held in Vancouver, Canada, in 2002. From a small local gathering, it has snowballed into a global holiday tradition.
This little piece of trivia is a great icebreaker at the party! Knowing your sweater is part of a relatively new but explosive cultural phenomenon adds another layer of fun to the festivities. You’re not just being tacky; you’re participating in modern folklore.

How do I add lights without creating a tangled, uncomfortable mess?
The key is control and planning. Opt for battery-powered micro LED fairy lights on a thin wire (copper or silver). Before attaching anything, map out your light path with chalk. Use a large darning needle to carefully weave the wire through the knit of the sweater. Secure the wire every few inches on the inside with a small dab of hot glue or a few stitches of matching thread. The battery pack can be tucked into an iron-on patch pocket adhered to the inside hem.

When you want to go beyond simple decorations, think in textures. A tube of Tulip Puffy Paint can create amazing 3D lettering or snowflake details that stand out. For a snowy landscape, don’t just use cotton balls; try a can of spray-on Aleene’s True Snow for a more realistic, slightly glittery texture that won’t fall off as you move.

Last-Minute Lifesavers: Panic mode? No time to sew or glue? You can still create a masterpiece.
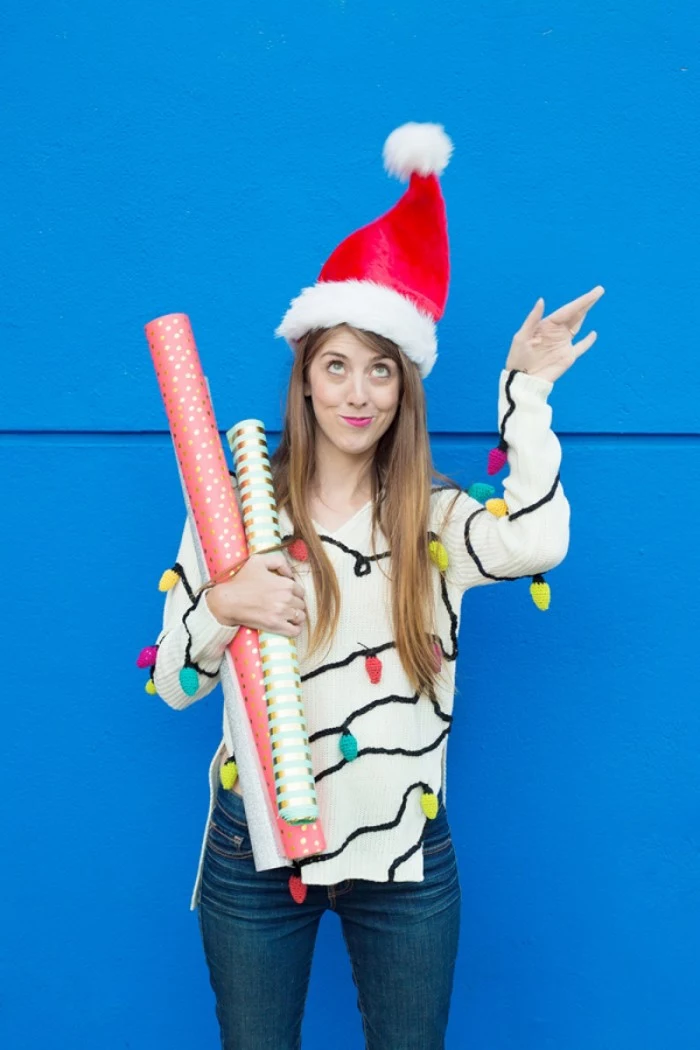
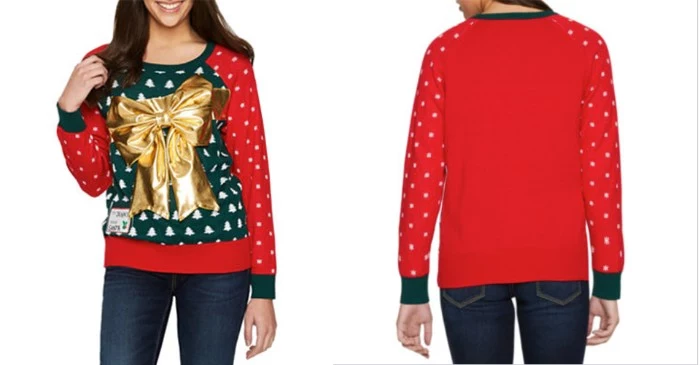
- The Gift-Wrapped Sweater: Use safety pins to attach wrapping paper to the entire front of your sweater. Finish with a giant, pre-made bow pinned in the center.
- Tinsel Monster: Buy several garlands of cheap tinsel. Drape and wrap them around your torso and arms, securing them to each other with more safety pins.
- Ornament Overload: Pin a dense cluster of lightweight, shatterproof ornaments directly onto the chest area. More is more!

A single jingle bell produces a sound level of around 60-70 decibels, similar to a normal conversation. A sweater covered in 20 of them can create a constant festive jingle that announces your arrival from rooms away.

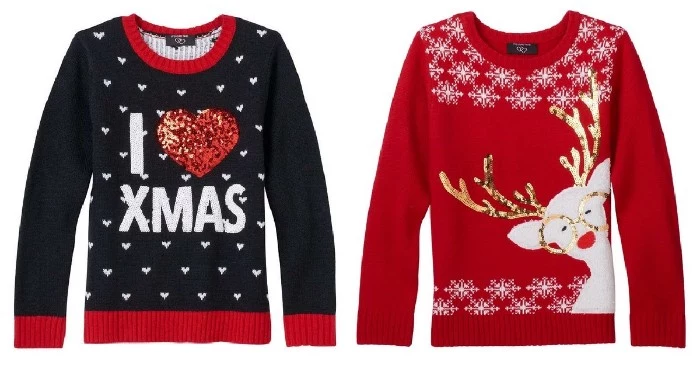
Felt Cutouts: Inexpensive, easy to cut, and lightweight. Perfect for creating classic characters like snowmen, gingerbread men, or lettering. They offer a charming, flat, cartoonish look.
3D Plastic Ornaments: Provide immediate depth, shine, and a satisfyingly gaudy feel. Ideal for creating a Christmas tree effect or for dangling elements that move. They are, however, heavier and require stronger attachment methods.
For maximum impact, use both! A felt Christmas tree becomes much more dynamic with a few real mini-ornaments sewn onto its branches.

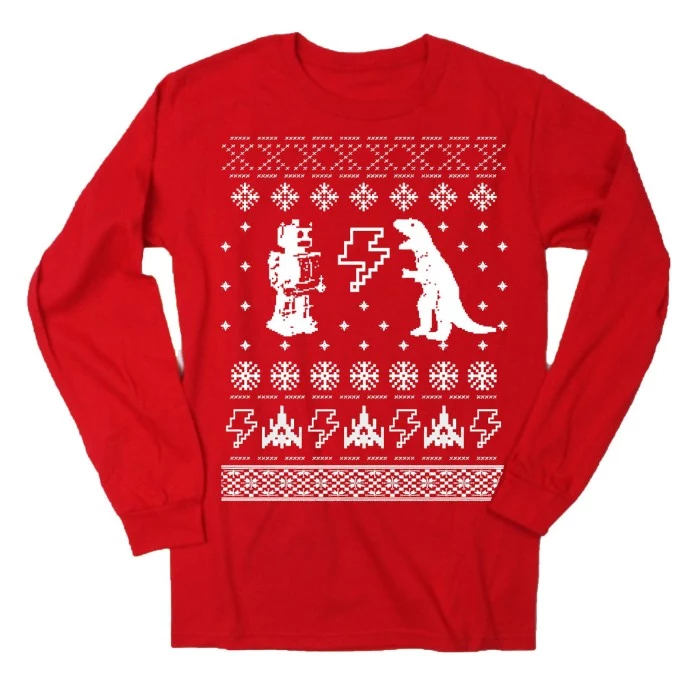
Think beyond the craft store. Your house is a treasure trove of ugly sweater materials. The kitchen offers a wealth of options: dry pasta (farfalle for bows, ziti for garlands), green-dyed pot scrubbers for mini-wreaths, or even a strategically placed egg carton for a 3D effect. The toy box is another goldmine: old army men can be painted to look like elves, and small plastic dinosaurs with Santa hats are always a hit.
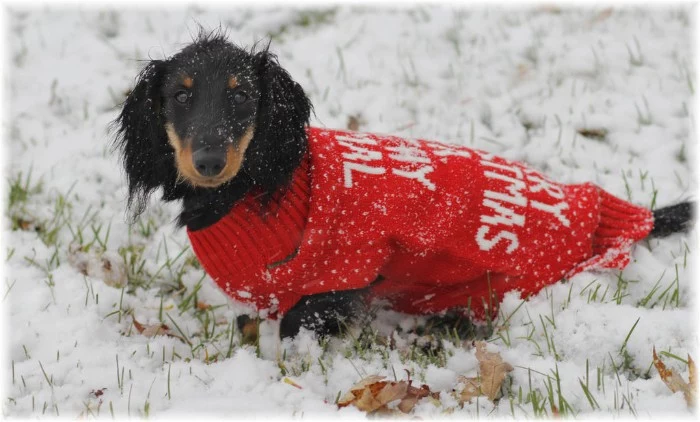
A critical mistake: Focusing all your creative energy on the front of the sweater. A truly legendary ugly sweater is a 360-degree experience. Even a small detail on the back—a simple “Merry Christmas Ya Filthy Animal” in fabric marker, a lone reindeer that got separated from the herd, or a dangling piece of mistletoe—elevates your creation from good to great and ensures you make an impression even when you’re walking away.


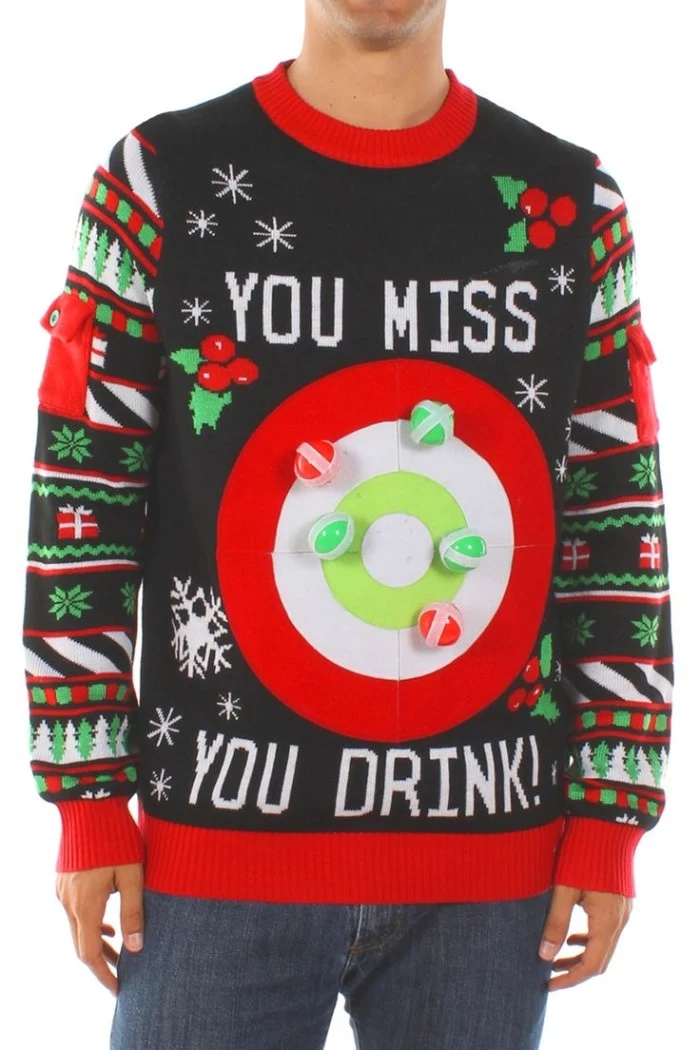
- An instant conversation starter.
- A guaranteed way to win a contest.
- A method to keep people engaged with your creation all night.
The secret? Make it interactive. A felt target with velcro balls for a game of toss, a working beer-pong rack made of plastic cups, or a “Pin the Nose on the Reindeer” game (with a blindfold you can offer to others) makes your sweater the life of the party.


I found the perfect design, but I can’t find a good base sweater! Help!
Don’t despair! A long-sleeved t-shirt or a simple sweatshirt can work just as well, and sometimes even better. A cotton sweatshirt is fantastic for sewing and holds glue well. You can even create the *illusion* of a sweater by gluing or sewing a ribbed fabric collar and cuffs (cut from an old, unsalvageable sweater) onto a plain crewneck sweatshirt. This gives you the classic silhouette with a more stable, comfortable base.
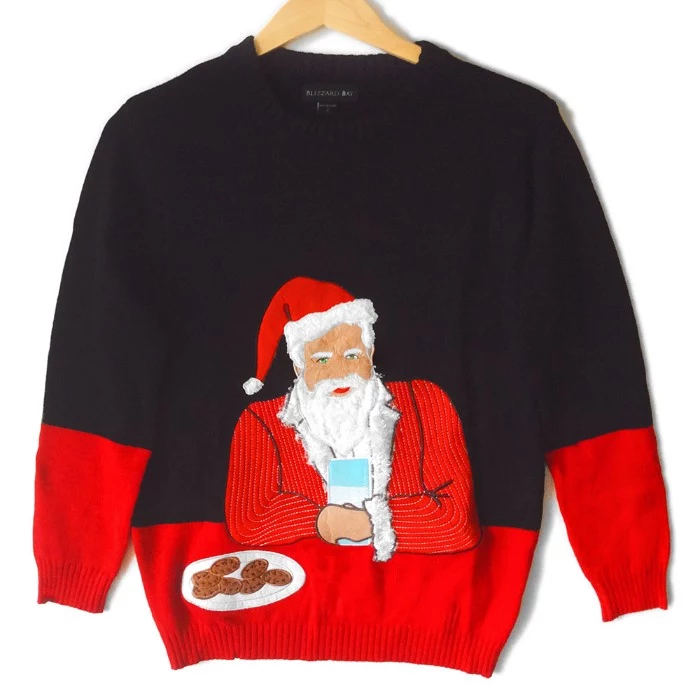
Give your sweater a theme and a backstory. It’s not just a collection of random objects; it’s “Santa’s Workshop After a Reindeer Stampede” or “The Christmas Tree That Fought Back.” This narrative approach helps guide your design choices and gives you a hilarious story to tell when someone asks, “What is going on with your sweater?”


According to Goodwill Industries, donations can increase by up to 20% during the holiday season, making November and December the absolute best time of year to thrift for sweater canvases and vintage decorations.
This seasonal influx means a wider selection of colors, sizes, and wonderfully tacky 80s and 90s knits. Hit the thrift stores early in the season for the best picks before the ugly sweater rush begins.

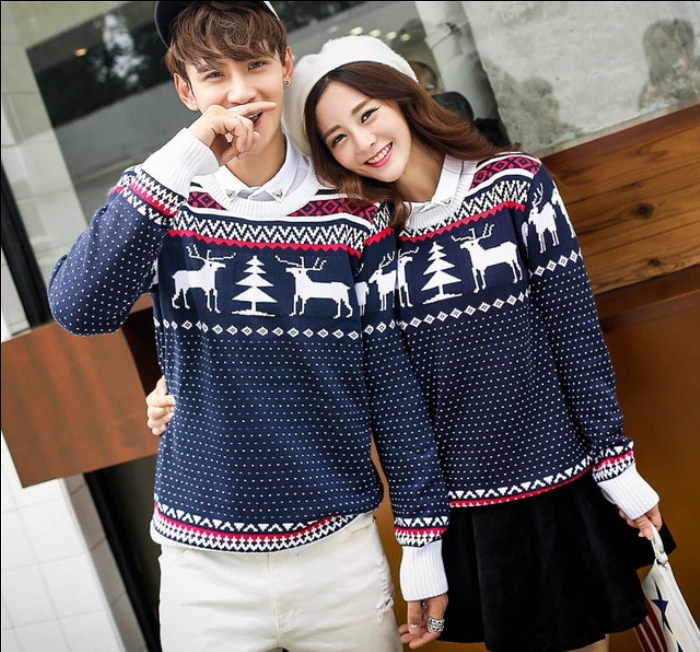
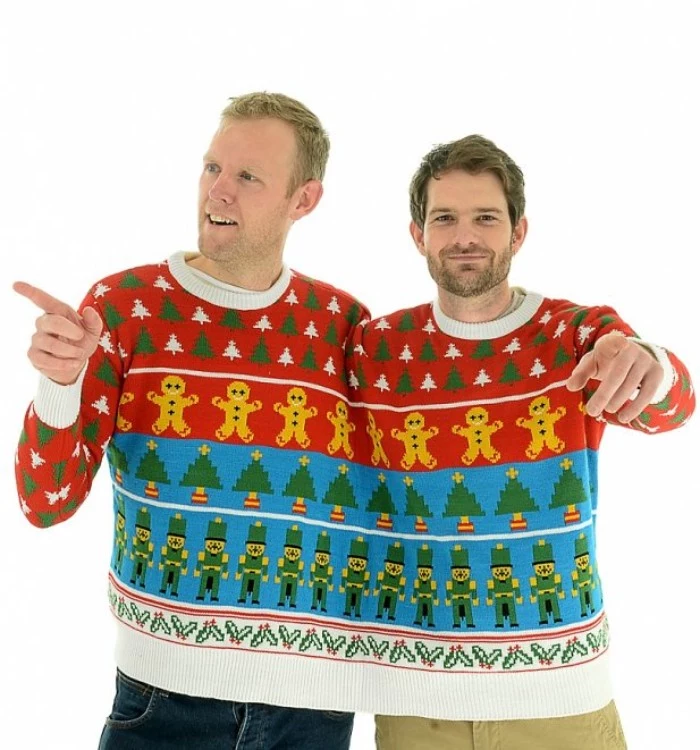
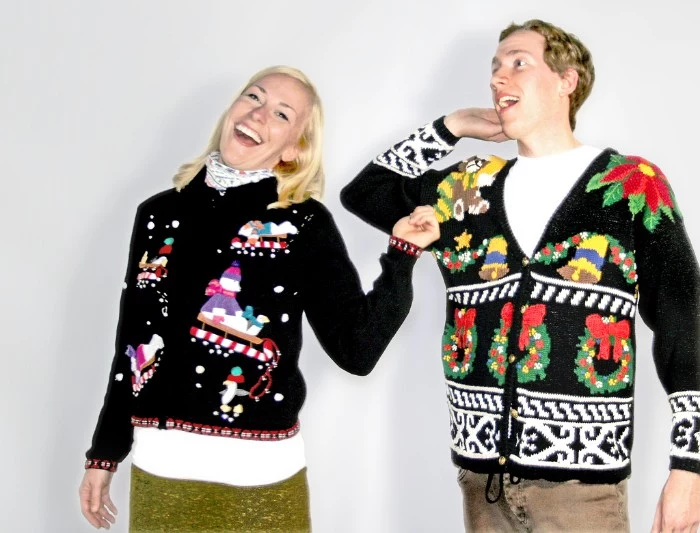
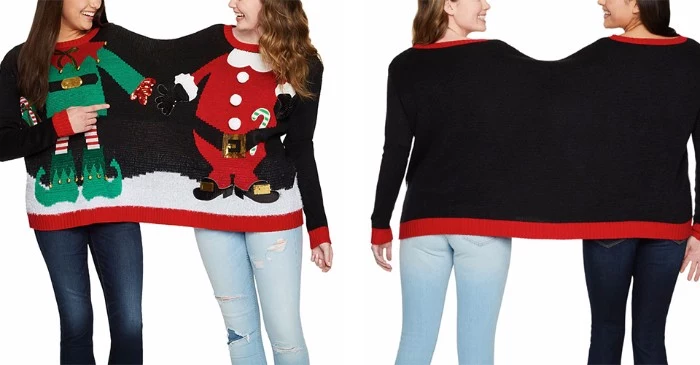
For the couple that’s perfectly in sync (or perfectly chaotic):
- Connect-the-Dots: One sweater features a reindeer, the other a sleigh. A red ribbon or yarn string physically connects the two when you stand side-by-side.
- Milk & Cookies: One person is the cookie (a big felt circle with chocolate chip pom-poms), and the other is a carton of milk (a white sweater with clever fabric marker branding).
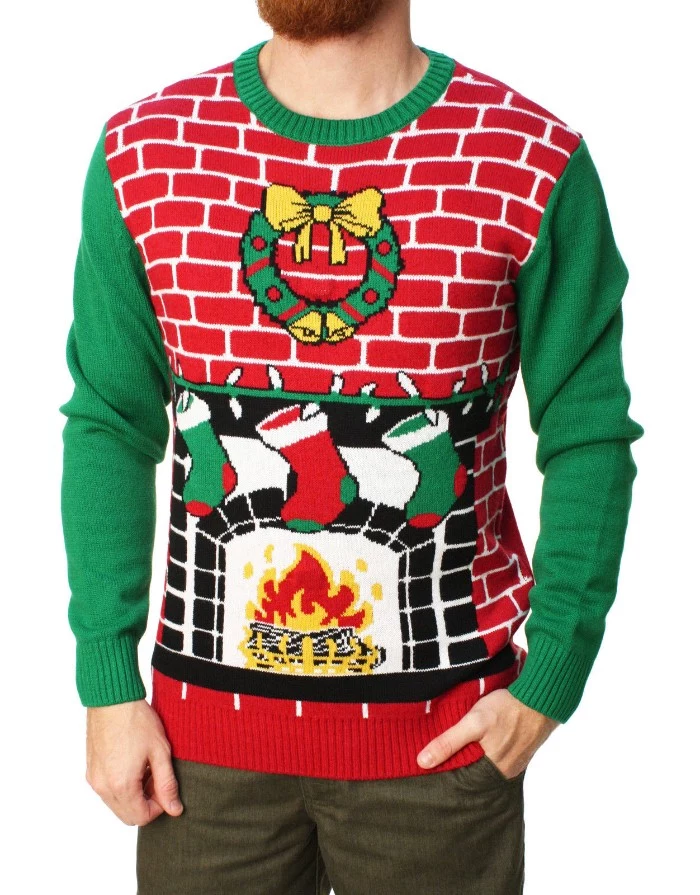
- Fireplace & Mantle: One sweater features a roaring felt fire, while the other is a brick-patterned mantlepiece adorned with stockings bearing your names.

Important consideration: Don’t sacrifice comfort completely. All your hard work is for nothing if the sweater is too itchy or poky to wear for more than ten minutes. If you’ve used a lot of stitching or hot glue, the inside can become a landscape of scratchy knots and glue drips. A simple solution is to wear a thin, long-sleeved t-shirt underneath. For true dedication, you can even tack a soft fabric liner to the inside front panel.
Can I wash my masterpiece after the party?
Almost certainly not. A washing machine will destroy your hard work, and even hand-washing is risky. The best approach is spot-cleaning any spills with a damp cloth and a bit of mild soap. To freshen it up for next year, let it air out, then lightly spritz the inside with a fabric refresher like Febreze and store it flat in a box, not on a hanger, to prevent stretching.
If you’re attaching a larger, semi-heavy object like a stuffed animal or a collection of FloraCraft Styrofoam balls, sewing is superior to gluing. Use a sturdy upholstery thread or even fishing line and a large, curved needle. Stitch through the object and the sweater multiple times from different angles. This distributes the weight and is far more reliable than a single glue bond, especially after a few hours of wear.
- A needle-nose plier for manipulating wires and opening ornament hooks.
- A pair of utility scissors or tin snips for cutting through thick plastic or stubborn garland wire.
- A pack of assorted safety pins for quick fixes and attaching last-minute additions.
These aren’t typical sewing tools, but an ugly sweater is not a typical project. Having them on hand will save you a world of frustration.

“Good taste is the enemy of creativity.” – Pablo Picasso
While Picasso probably wasn’t thinking of tinsel-covered sweaters, the sentiment is perfect for this craft. The ugly sweater is your annual hall pass to ignore every rule of fashion and design. Embrace the clash, celebrate the garish, and let your imagination run wild.


DIY from scratch: The ultimate creative freedom. Your design is 100% unique. It’s often cheaper, but requires more time, effort, and a small stash of craft supplies.
Store-bought kits: A great middle-ground. Comes with a plain sweater and a curated selection of decorations (felt, pom-poms, glue). It’s faster and easier, but your design will be similar to others who bought the same kit.
For a first-timer, a kit can be a great confidence booster. For a seasoned veteran, nothing beats the thrill of the hunt at a thrift store.


Want to add a little jingle but tired of bells? Look for small, recordable sound modules online, often sold for greeting cards or stuffed animals. You can record a 10-second clip of your favorite Christmas song, a line from a holiday movie (“Hallelujah! Holy s***! Where’s the Tylenol?”), or just a hearty “Ho Ho Ho!” and sew the module and its trigger button into your sweater for a hilarious, unexpected surprise.

- It adds a wonderfully obnoxious shine that catches every light.
- It can be used to hide seams, staples, or messy glue spots.
- It’s incredibly cheap and fills a lot of space quickly.
The material? Classic Christmas tinsel garland. A single strand can be wrapped, draped, or bunched to create borders, texture, or even a full tinsel-monster effect. Don’t be afraid to mix colors for maximum chaos.

Take inspiration from vintage Christmas aesthetics. The 1960s were all about sleek, silver aluminum trees and pastel-colored ornaments. The 1970s embraced earthy tones, macrame, and homemade-looking ceramic figures. A sweater inspired by a specific decade, using felt in avocado green and harvest gold, can be a unique and surprisingly stylish take on “ugly.”
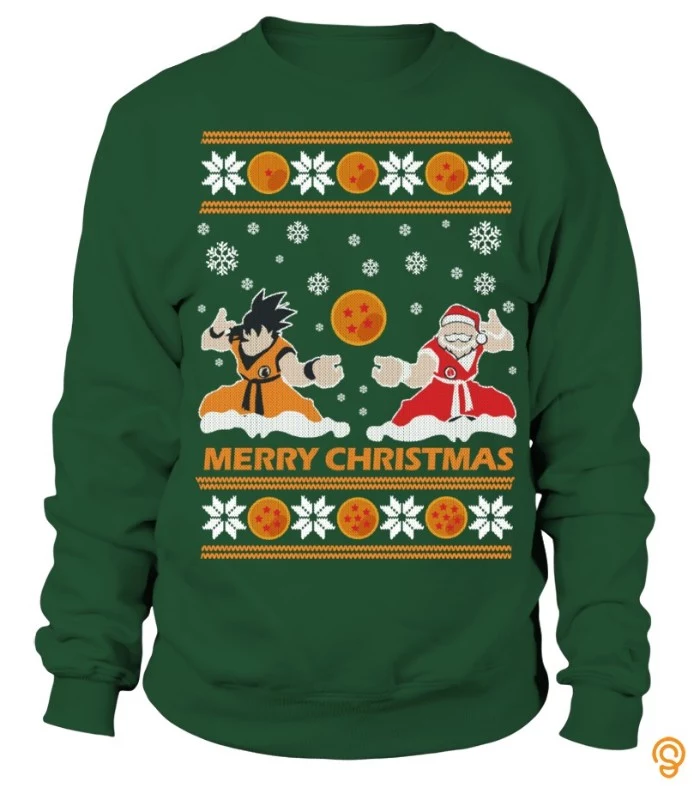
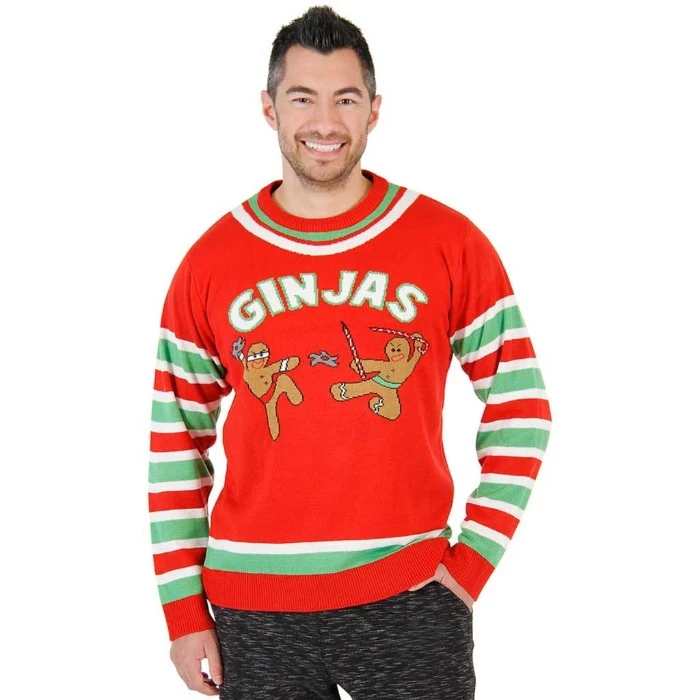
A guaranteed laugh: The punny sweater. It’s a classic for a reason. Think simple but clever.
- Glue on some gingerbread men in suggestive Kamasutra-like poses: “The Ginger-sutra.”
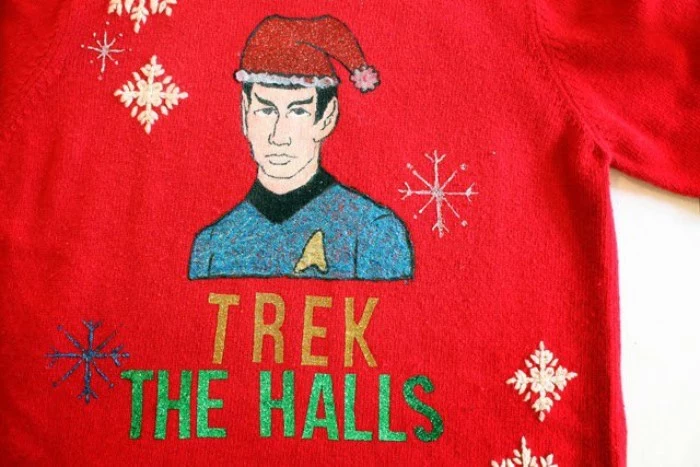
- Attach a large photo of a celebrity (like The Rock) with a Santa hat on: “Rockin’ Around the Christmas Tree.”
- Stick with a simple phrase in felt letters: “Oh, Chemis-tree” surrounded by scientific beaker ornaments.


