For as long as I can remember, my hands have been covered in something—paint, wax, wood dust, you name it. There’s just a special kind of pride that comes from giving a gift you’ve poured your own time and skill into. It’s more than just an object; it’s a piece of your attention and care, captured in physical form.
But let’s be honest, a lot of people get nervous about making gifts. They have this fear that what they make will look clumsy, or worse, cheap. And you know what? That can happen, but only when you’re following flimsy tutorials or using the wrong materials for the job. The real difference between a charming, professional-looking gift and something that ends up in the back of a closet is all in the technique. It’s about knowing why you should use a specific glue or how heat is going to affect your project.
So, this isn’t going to be a list of quick, disposable craft ideas. Instead, we’re taking a look at the core methods that make handmade items last. We’ll walk through a couple of classic projects, but the real focus is on the pro-level techniques that set them apart. My goal is to help you create gifts that are not only beautiful when they’re unwrapped but will be genuinely cherished for years.
The Foundation: Good Work Starts with Good Materials
Before you even sketch out an idea, you need to get your materials sorted. A brilliant concept can be completely tanked by a poor foundation. Trust me, I’ve learned over the years that spending an extra dollar or five minutes sourcing the right components will save you from a world of disappointment later.
Choosing Your Glassware: Not All Jars Are Created Equal
Glass seems pretty straightforward, but for projects involving heat like candles or baked-on designs, the type you choose is a huge deal.
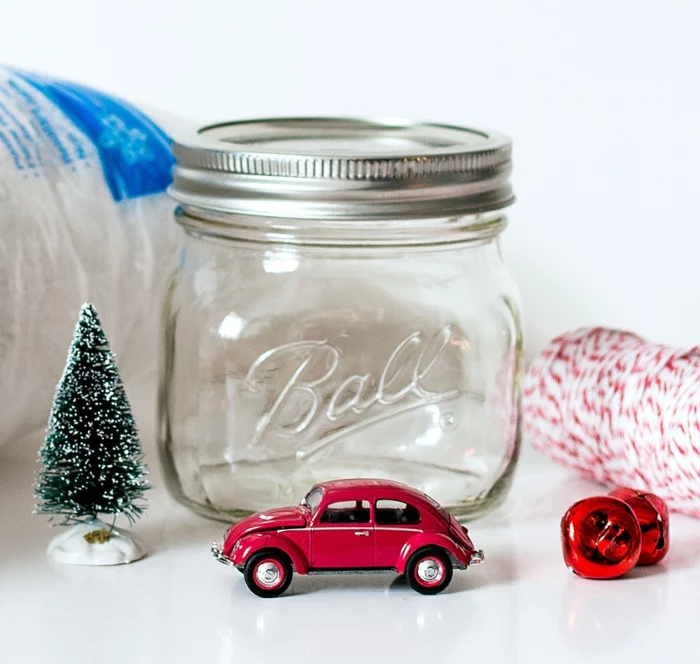
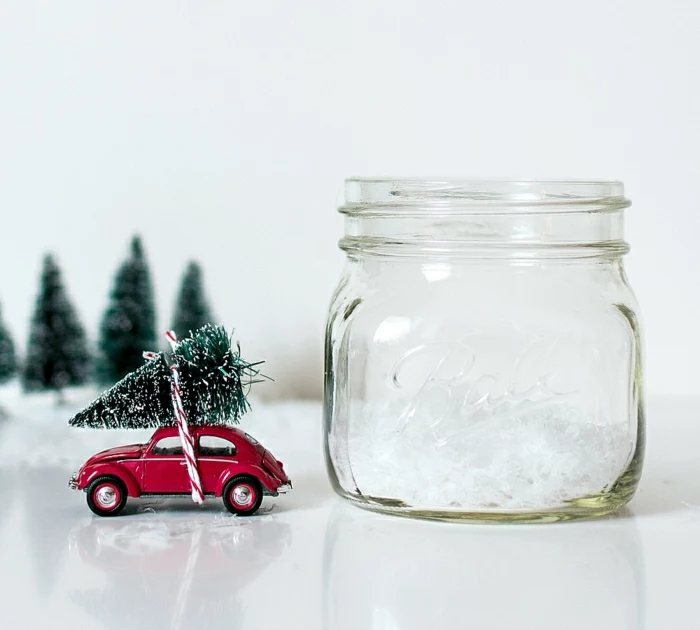
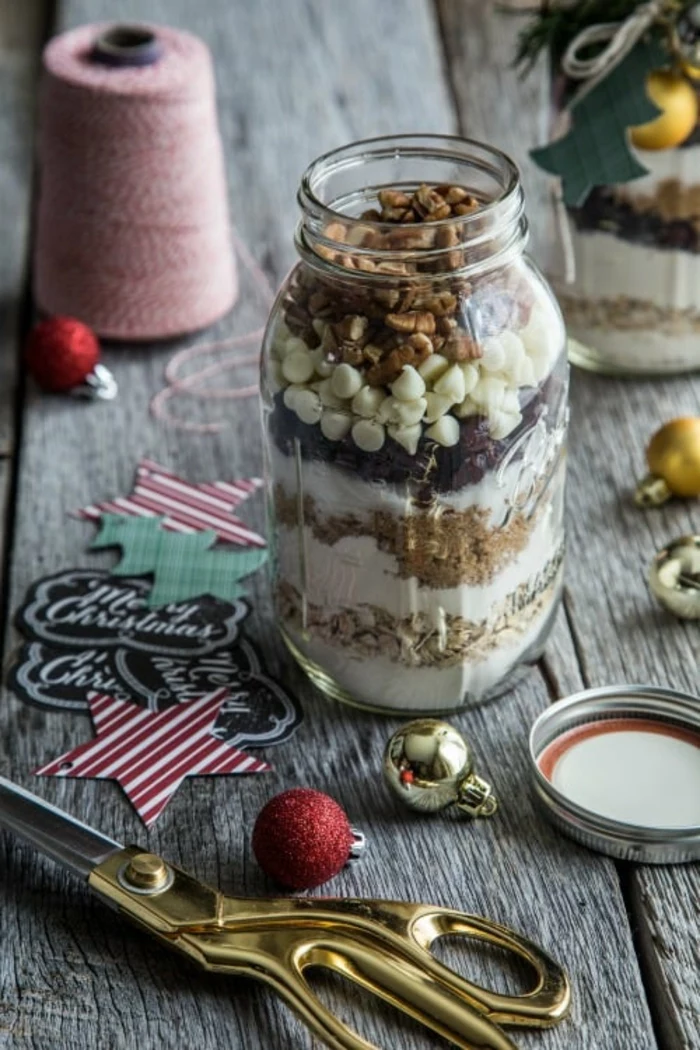
Canning Jars: These are my absolute go-to. Think Ball or Mason jars. They’re specifically designed to handle big temperature swings, which makes them way safer for things like candle making. Their glass is consistent and doesn’t have the invisible weak spots that can cause cheaper jars to crack. You can get a multi-pack for around $15 at most grocery or hardware stores.
Repurposed Food Jars: You can definitely use old pasta sauce or pickle jars, but you have to be smart about it. First, wash them thoroughly. Then, I suggest boiling them for about 10 minutes to sanitize them and, more importantly, test their heat resistance. I learned this the hard way after a thin jam jar I was using for a candle cracked and dumped hot wax everywhere. It was a mess. Oh, and a critical rule: never use a jar with even a tiny chip or crack.
Ceramic Mugs: If you’re painting a mug, look for one with a smooth, even glaze. The super-cheap mugs you find in bargain bins for a dollar or two sometimes have little pits or bumps that will totally mess up your design. You don’t need expensive porcelain, just a solid, smooth surface that gives the paint something to grab onto.
Quick tip: To get stubborn labels off glass, soak the jar in hot, soapy water. For the sticky gunk that’s left behind, rub it with a cloth dipped in regular cooking oil. The oil breaks down that stubborn adhesive way better than alcohol or other harsh chemicals.
Let’s Talk About Glue (The Right Way)
A tutorial that just says “use glue” is setting you up for failure. Glue is a whole category, not a single ingredient! Using the right adhesive is what makes a project permanent and safe.
PVA Glue (White Craft Glue): This is for paper, cardboard, and other porous stuff. It’s water-based, which means it will dissolve if it gets wet. So, it’s a definite no for projects like snow globes.
Two-Part Epoxy: This is the secret weapon for a permanent bond. It’s what you need for securing figurines inside snow globes or dioramas. It creates a powerful, waterproof bond that won’t break down. You have to mix two tubes together, and you usually only have 5-10 minutes to work with it, so have everything ready to go. A small kit will run you about $5 to $10 at any hardware store, and it’s worth every penny.
Silicone Sealant (Aquarium Grade): For a true, liquid-filled snow globe, you need a sealant, not just a glue. Aquarium-grade silicone creates a flexible, 100% waterproof seal around the lid. This is what stops those slow, heartbreaking leaks that ruin so many homemade globes. You can find it right next to the epoxy at Home Depot or Lowe’s.
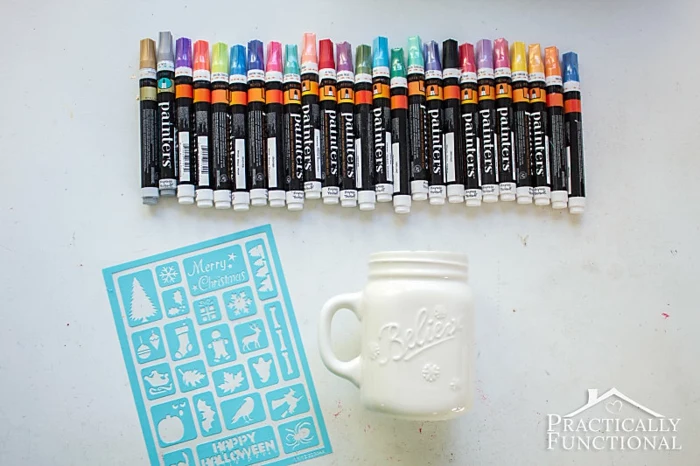
Paints and Inks for Mugs and Glass
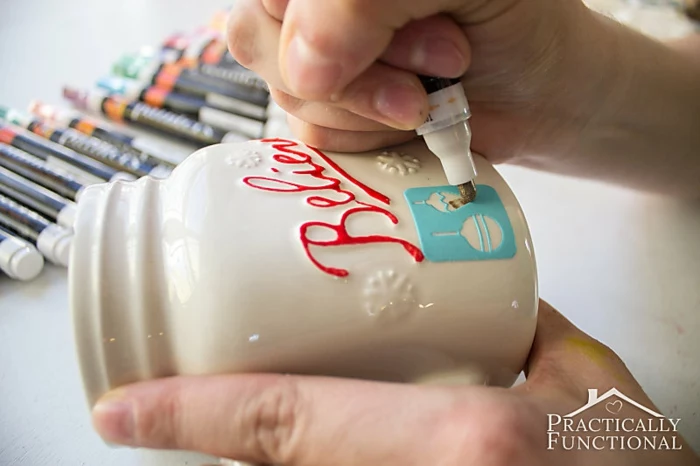
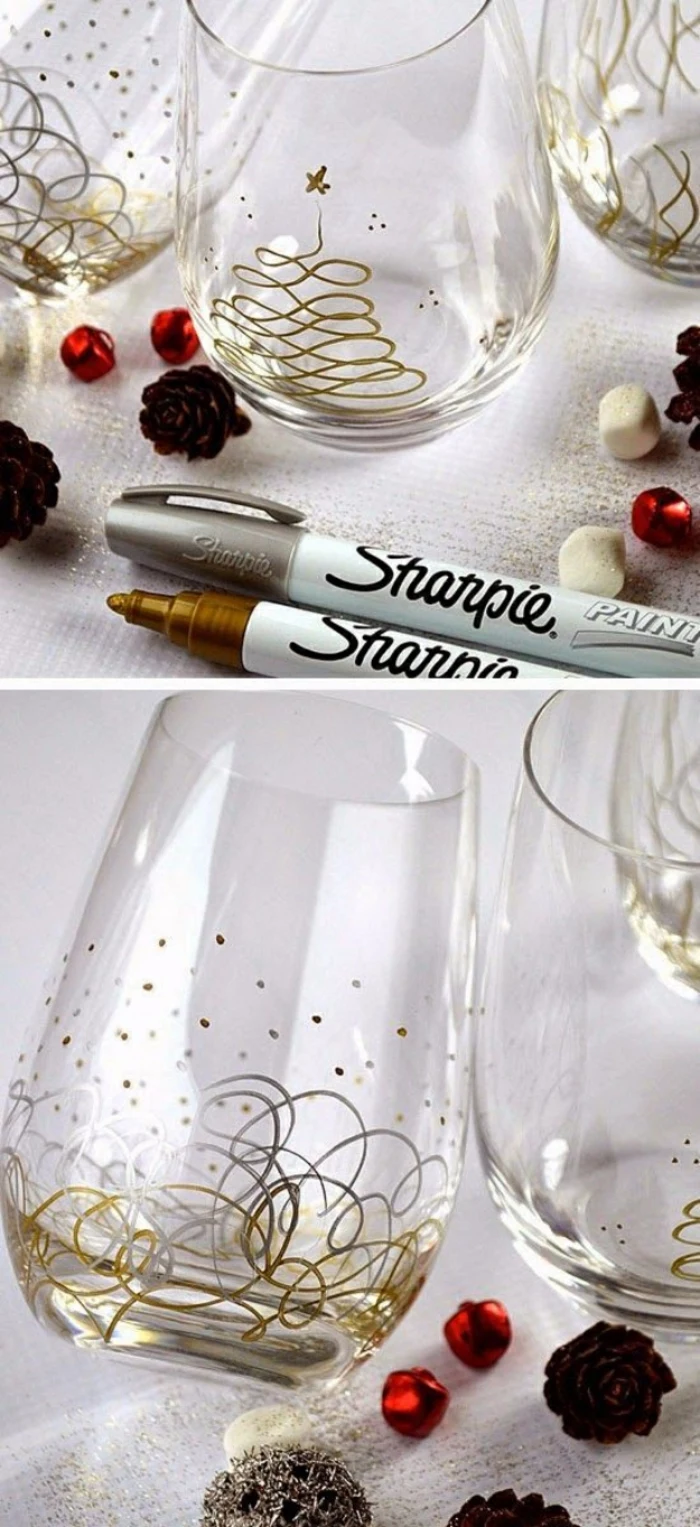
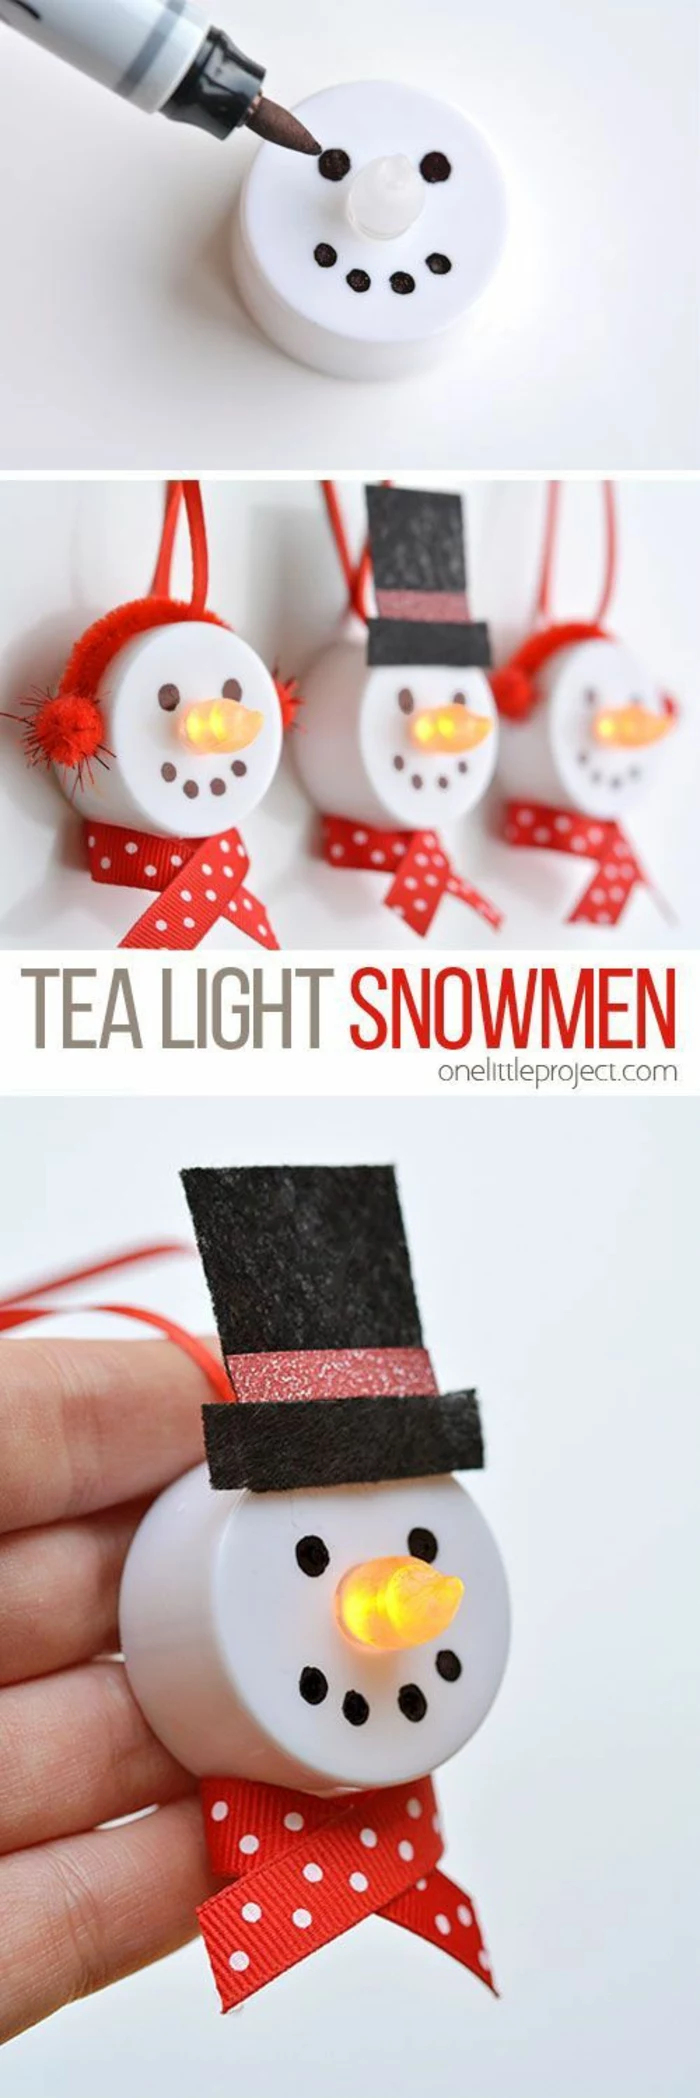
Drawing on a mug is a fantastic gift idea, but a standard Sharpie will rub right off, no matter what you read online. You need the right tool for the job.
Oil-Based Paint Markers: These are your best bet for ceramics and glass. Brands like Sharpie Oil-Based, DecoColor, or Posca are fantastic and easy to find at art supply stores like Michaels or online. They have a rich, opaque pigment that bonds to the surface when you cure it correctly.
Food Safety First. Always. This is the most important rule. Never, ever paint on a surface that will touch food or someone’s mouth. Keep your amazing designs on the outside of the mug and at least an inch below the rim. Even if a marker says it’s “non-toxic,” you don’t want paint chipping off into someone’s coffee over time.
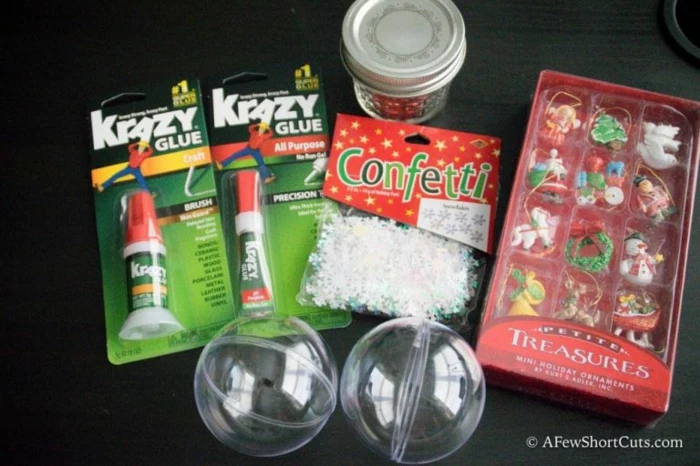
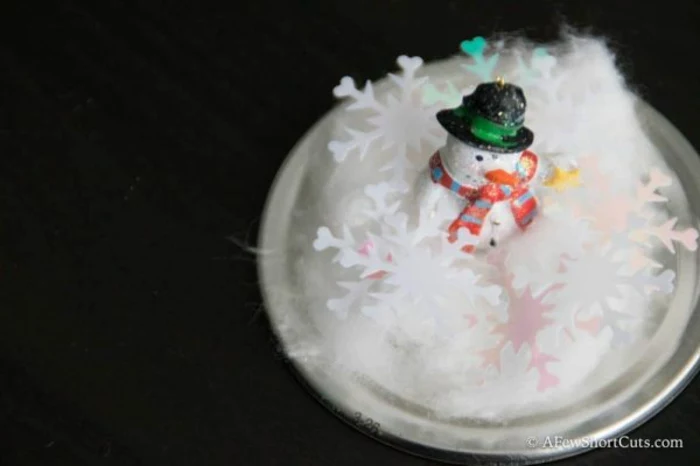
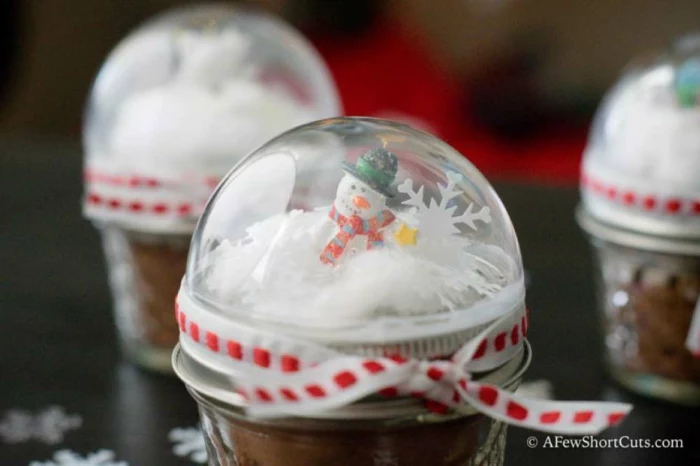
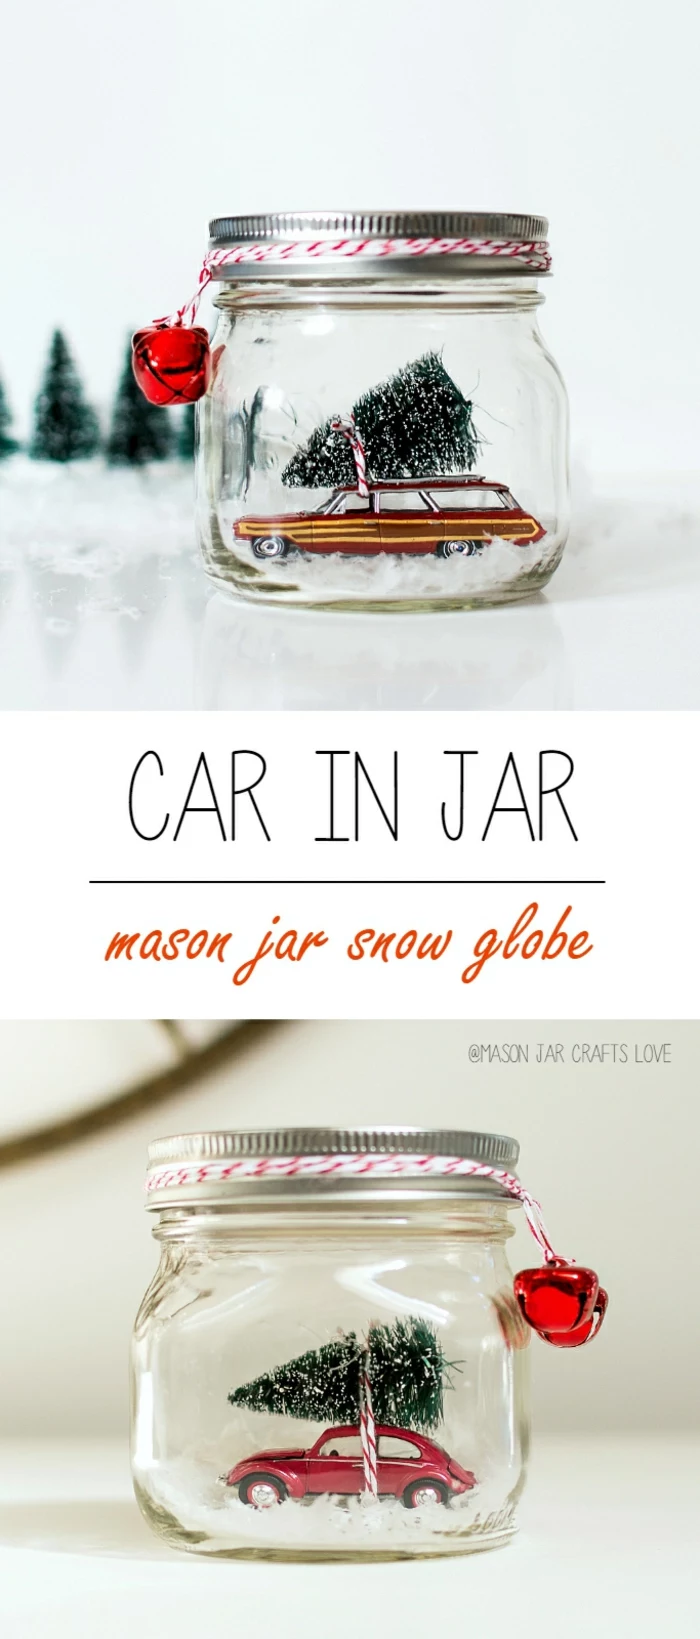
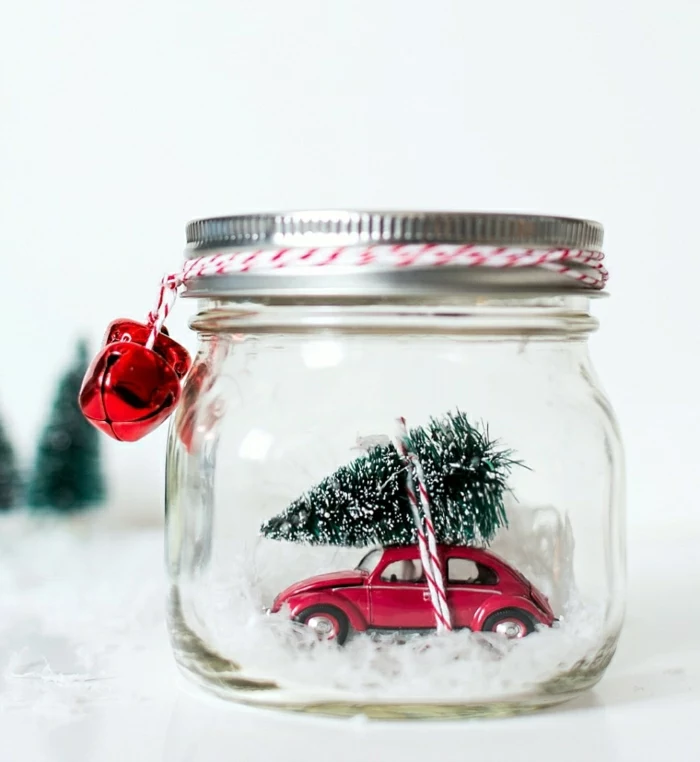
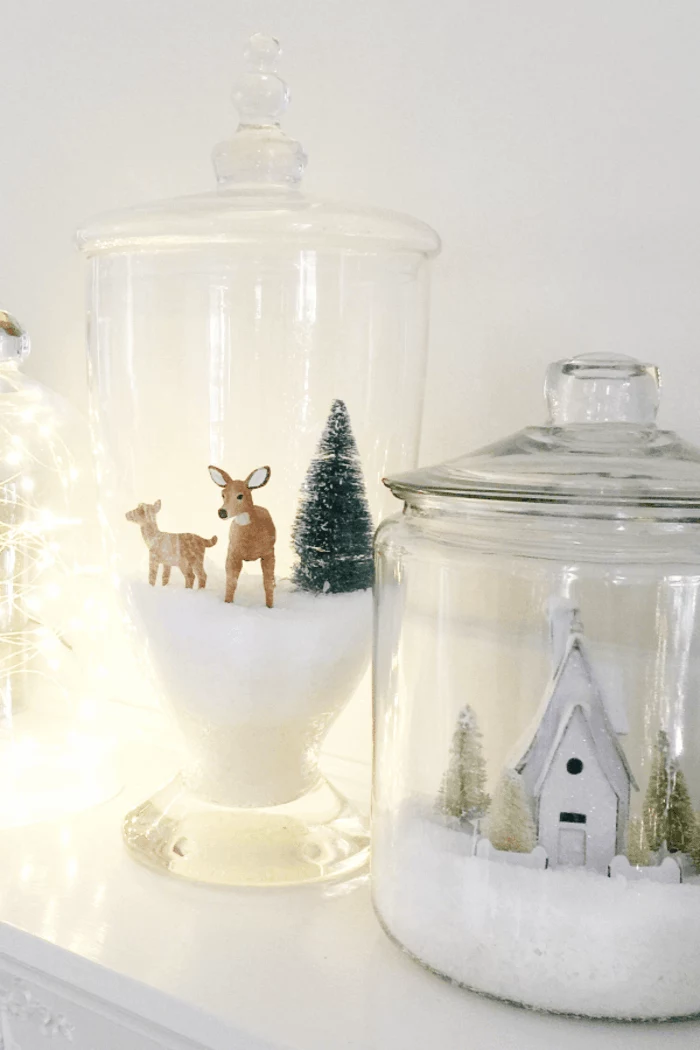
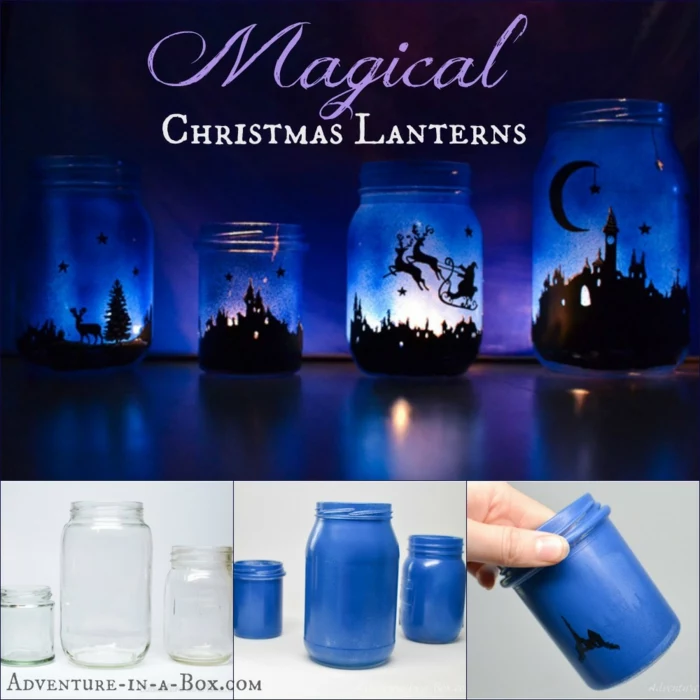
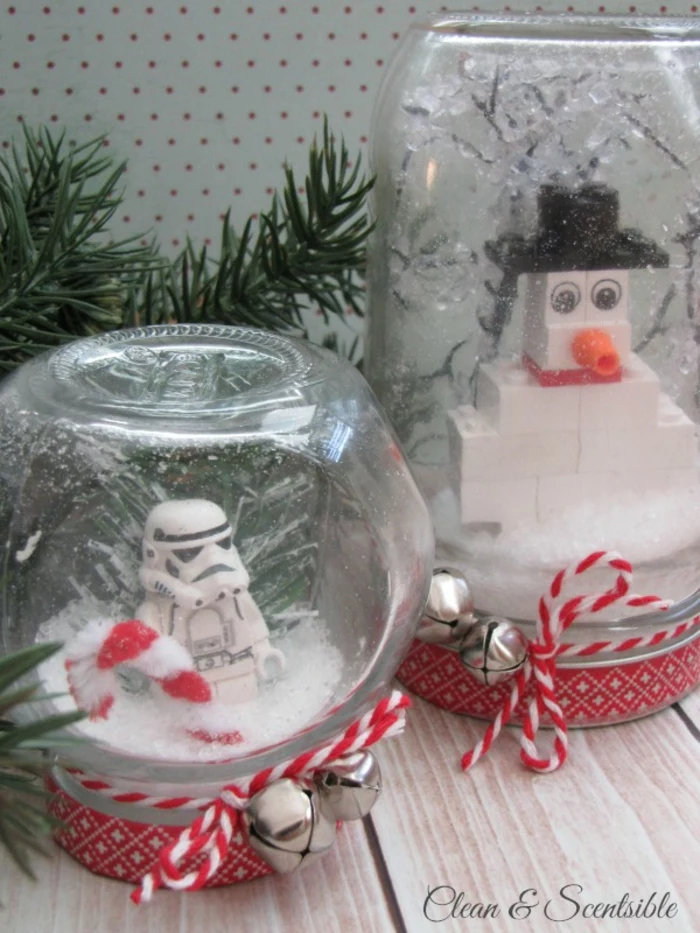
Project 1: The Magical Snow Globe That Won’t Leak
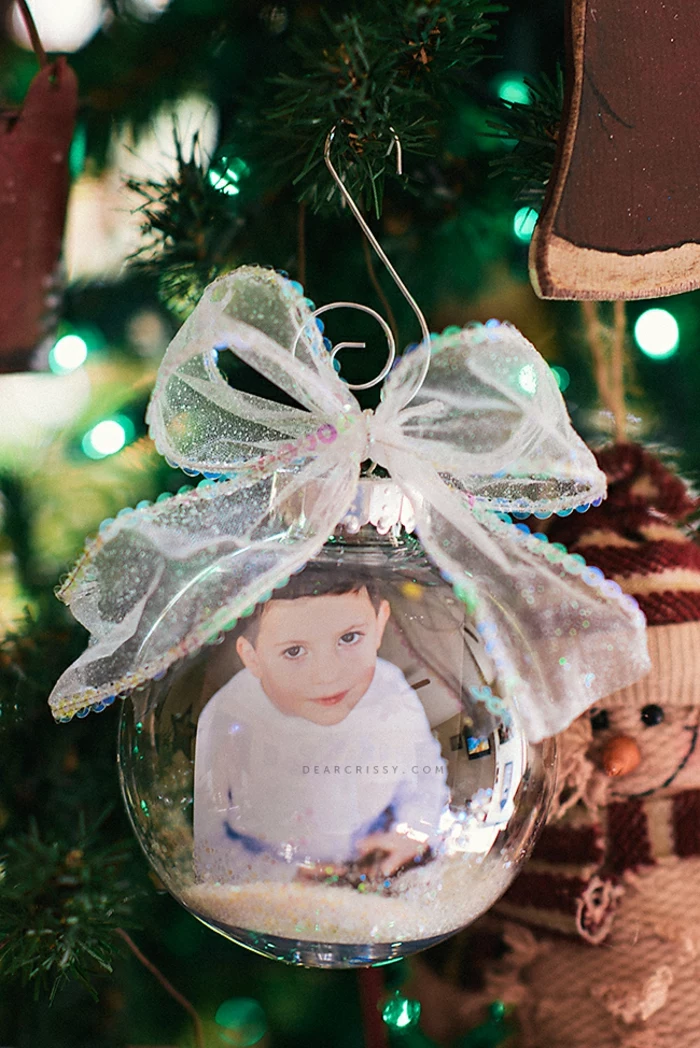
Let’s take that simple “stuff-in-a-jar” idea and turn it into a sealed, liquid-filled snow globe. It’s a bit more involved, but the result is ten times more magical. A dry jar feels temporary; a liquid-filled globe feels like a tiny world you can hold in your hands.
Time Commitment: About 30-45 minutes of active work, plus 3 days of hands-off curing time.
The Secret to a Perfect, Slow Snowfall
You can’t just use water and glitter; everything will sink in a second. The trick is viscosity. To slow down the “snow,” you need to thicken the water. The pro move is a simple mix of distilled water and vegetable glycerin. Distilled water is a must because the minerals in tap water can make your globe cloudy. Glycerin is a clear, thick liquid you can find for a few bucks in the pharmacy or baking aisle. It’s actually a sugar alcohol used in food and soap, which is why it’s totally safe and easy to find!
A good starting ratio is 1 teaspoon of glycerin per cup of distilled water. This creates a gentle, floating snowfall that lasts for a good 10-15 seconds.
How to Assemble It Like a Pro
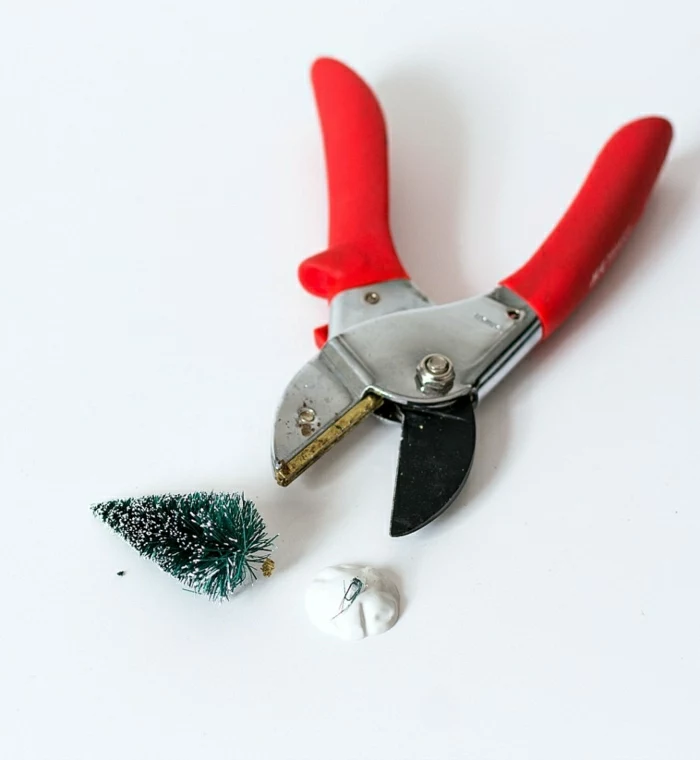
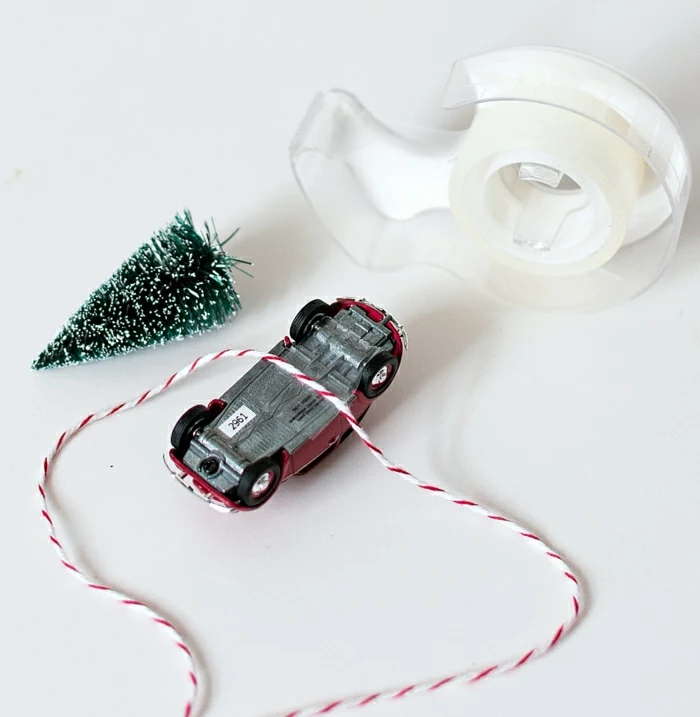
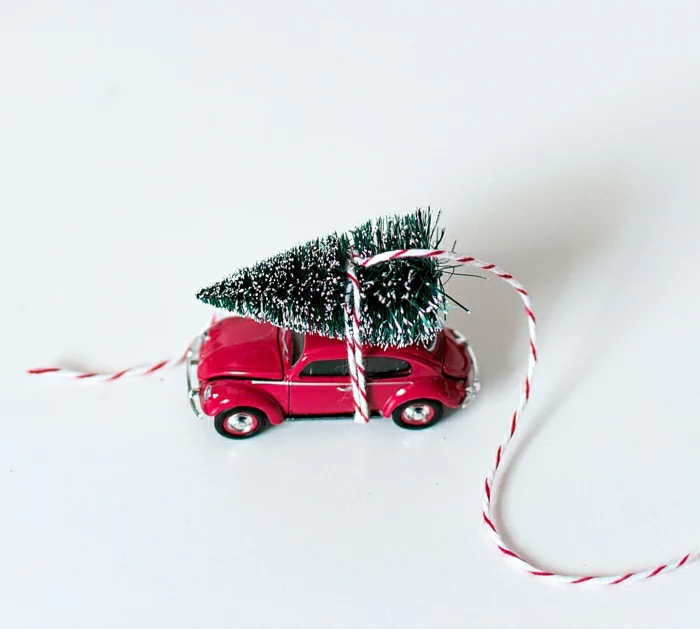
Build Your Scene: First, choose your centerpiece. You want something waterproof, like small plastic toys, ceramic miniatures, or even polymer clay creations that have been properly baked and sealed. A LEGO minifigure? Perfect. That D&D mini you painted? You’ll want to hit it with a waterproof clear-coat spray first, otherwise the paint might bleed. Definitely avoid untreated metal (it can rust) or anything made of paper. Use two-part epoxy to glue your figurine to the inside of the jar’s lid and let it cure for a full 24 hours. Don’t rush this!
Mix Your Magic Solution: In a separate bowl, mix your distilled water, glycerin, and glitter. And please, use proper plastic craft glitter. Paper glitter will turn into a mushy, sad mess. You only need a tiny pinch of fine or iridescent glitter. Too much, and you won’t even be able to see your scene.
Fill ‘er Up: Pour the solution into your clean jar, leaving about a half-inch of space at the top. This air bubble is actually necessary—it helps stir up the snow when you shake it.
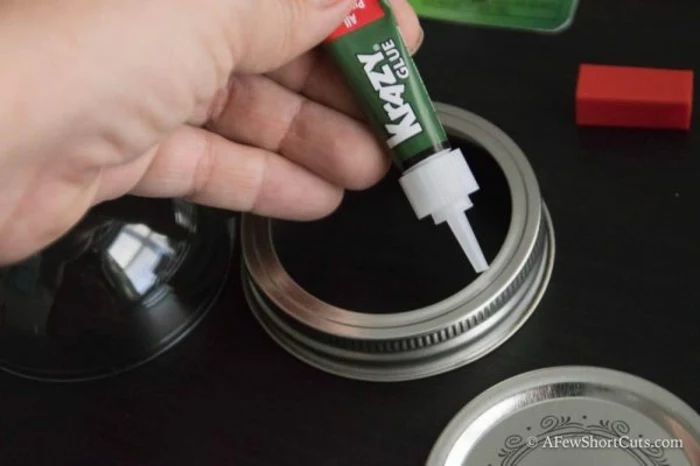
The All-Important Seal: This is where most people go wrong. Apply a thin, even bead of that aquarium-grade silicone sealant to the threads on the jar. Carefully screw the lid (with your figurine attached) on tightly. A little water will probably spill out; that’s totally normal.
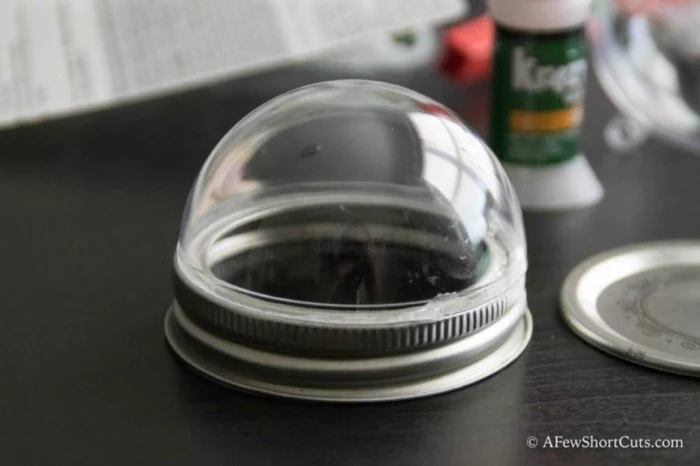
The Hardest Part: Waiting. Wipe any excess silicone off the outside of the jar. Now, set it aside—lid-side up—and leave it completely undisturbed for at least 48 hours, maybe even 72 to be safe. This gives the silicone time to fully cure into a permanent, leak-proof seal. Do not shake it early!
Troubleshooting Common Problems
Help, it’s leaking! Ugh, the worst. This almost always means you either used the wrong glue for the seal or got impatient with the curing time. Unfortunately, the only real fix is to take it all apart, clean everything thoroughly, and start over.
Why is the water cloudy? You either used tap water instead of distilled, or your figurine’s paint is bleeding. Always test your items by soaking them in water for a day before you build your globe.
The air bubble is HUGE! You just underfilled the jar a bit. A small bubble is good, but a giant one is distracting. If the silicone hasn’t fully cured, you might be able to carefully open it, top it off with more distilled water, and reseal it.
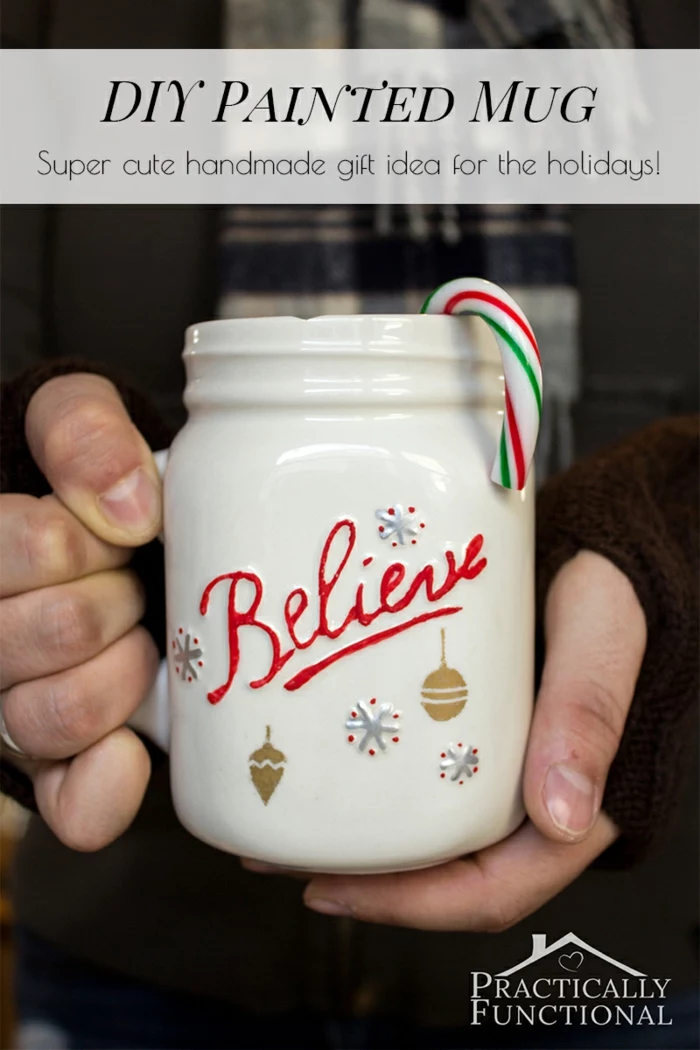
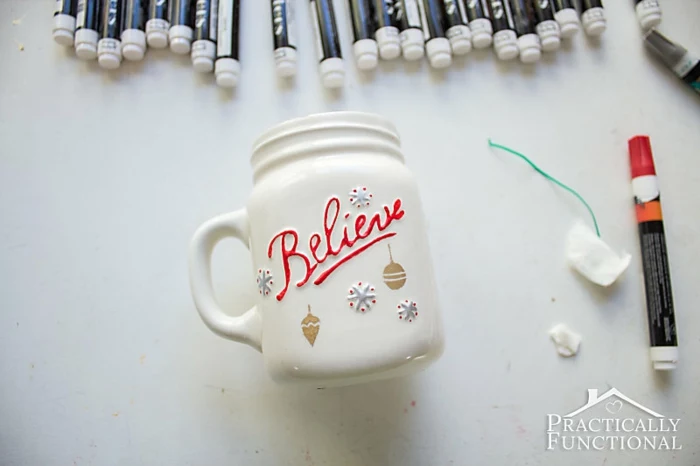
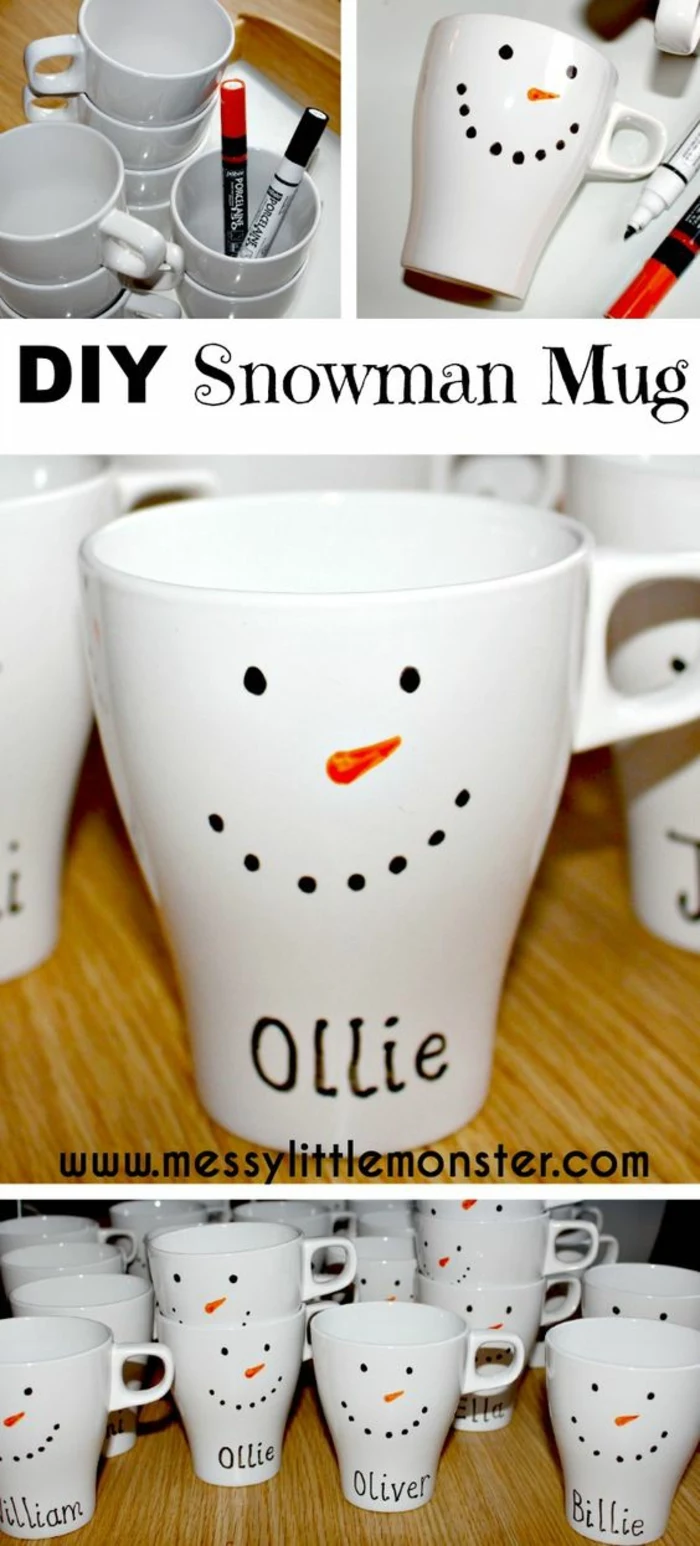
Project 2: The Pro-Quality Painted Mug (That’s Actually Dishwasher-Safe)
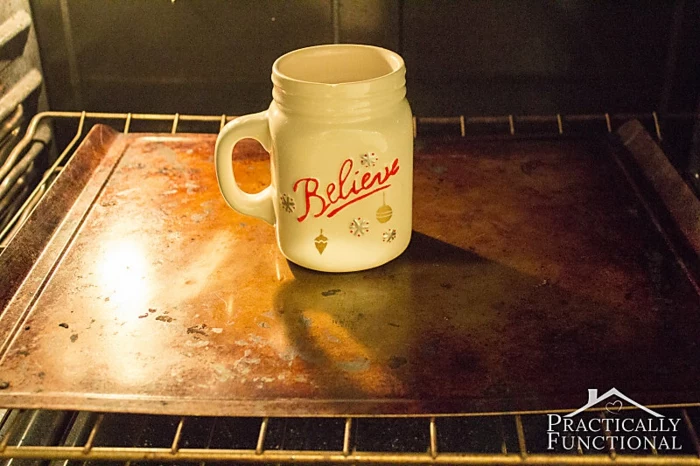
A hand-painted mug is a classic for a reason. But we’re going to make one that can survive daily life. The secret isn’t your drawing skill; it’s all in the curing process. We’re essentially doing a home-version of kiln firing to permanently fuse the paint to the mug’s glaze.
Time Commitment: 30-60 minutes for design, plus a 24-hour air dry and a few hours for baking and cooling.
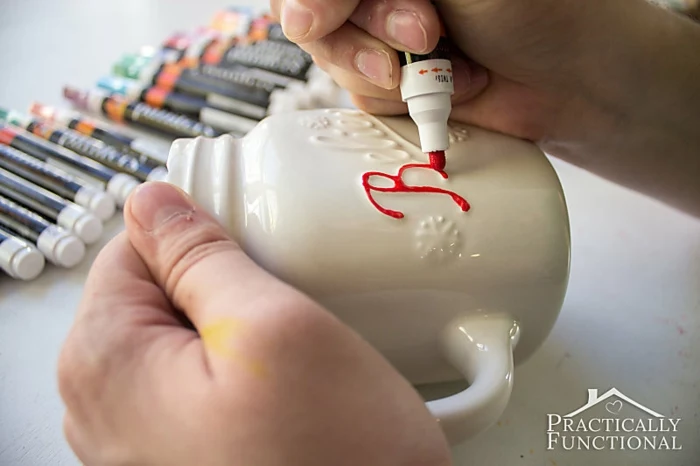
The Science of a Permanent Design
When you use the right oil-based paint markers and apply heat, a chemical reaction happens. The heat softens the paint and lets it form a molecular bond with the ceramic glaze. It’s not just sitting on top; it’s becoming part of the surface. This is why the
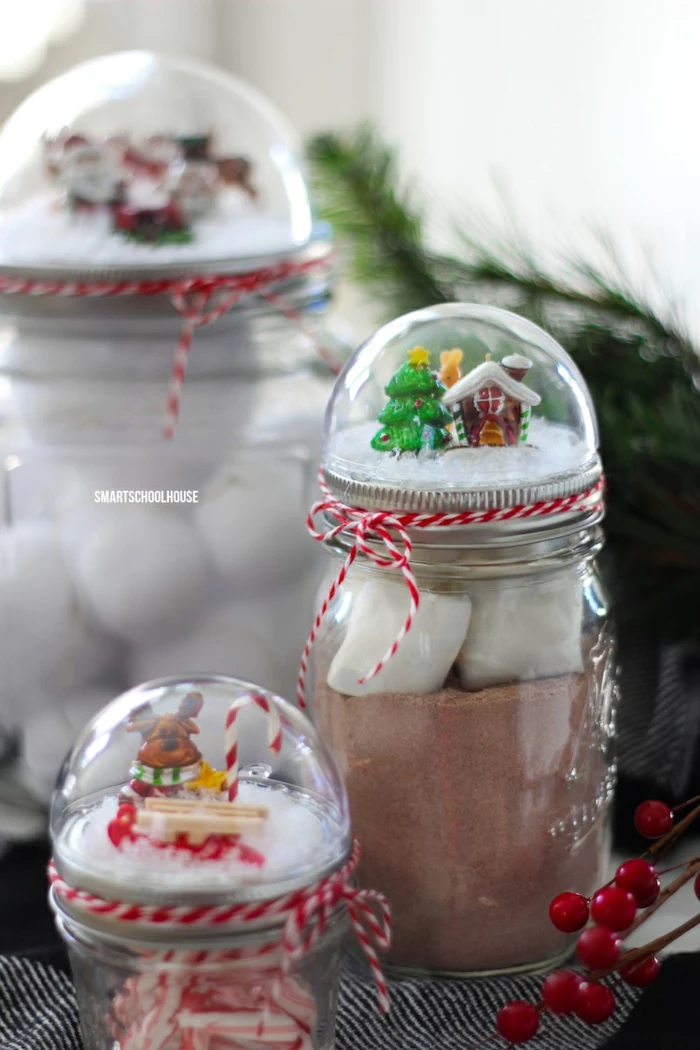
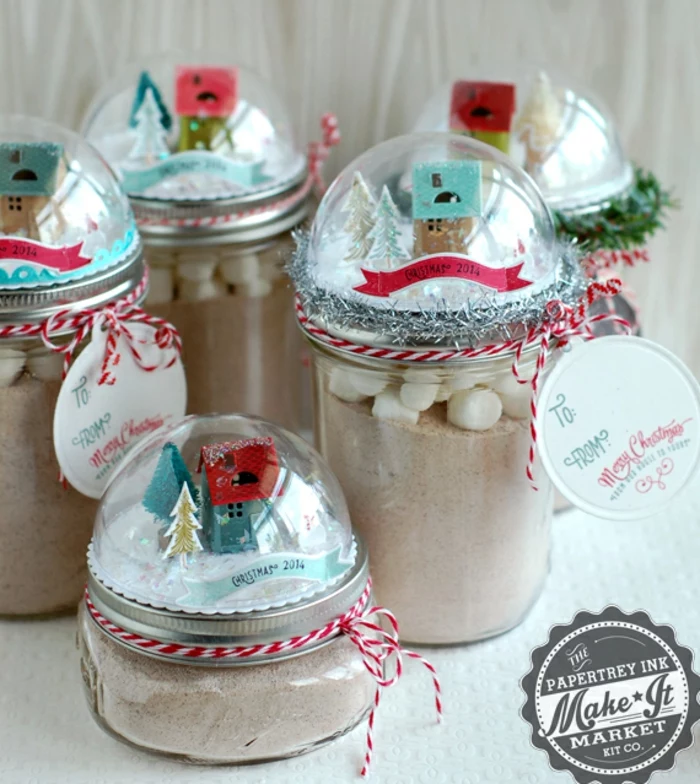
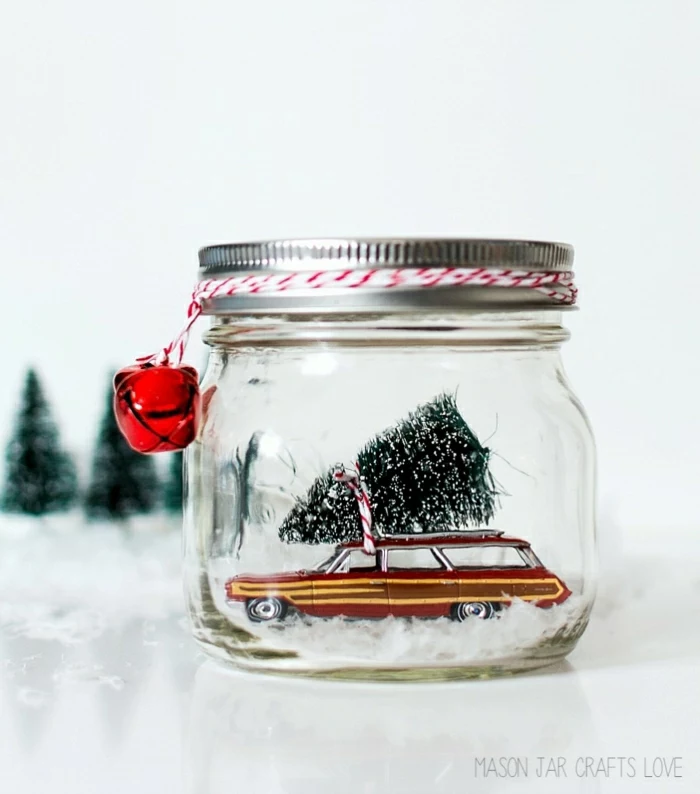
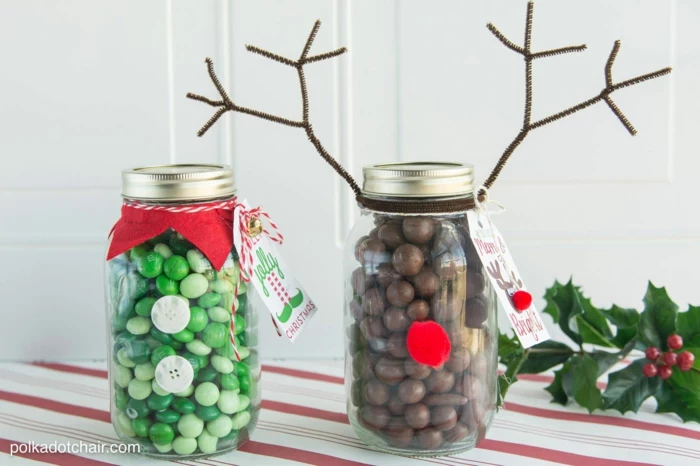
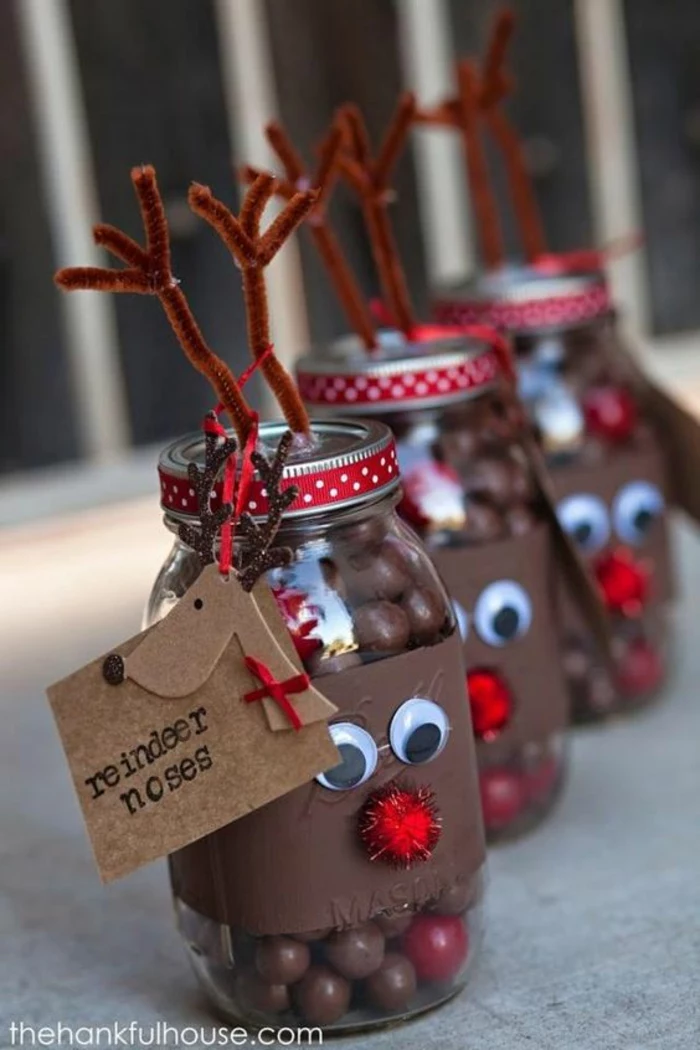
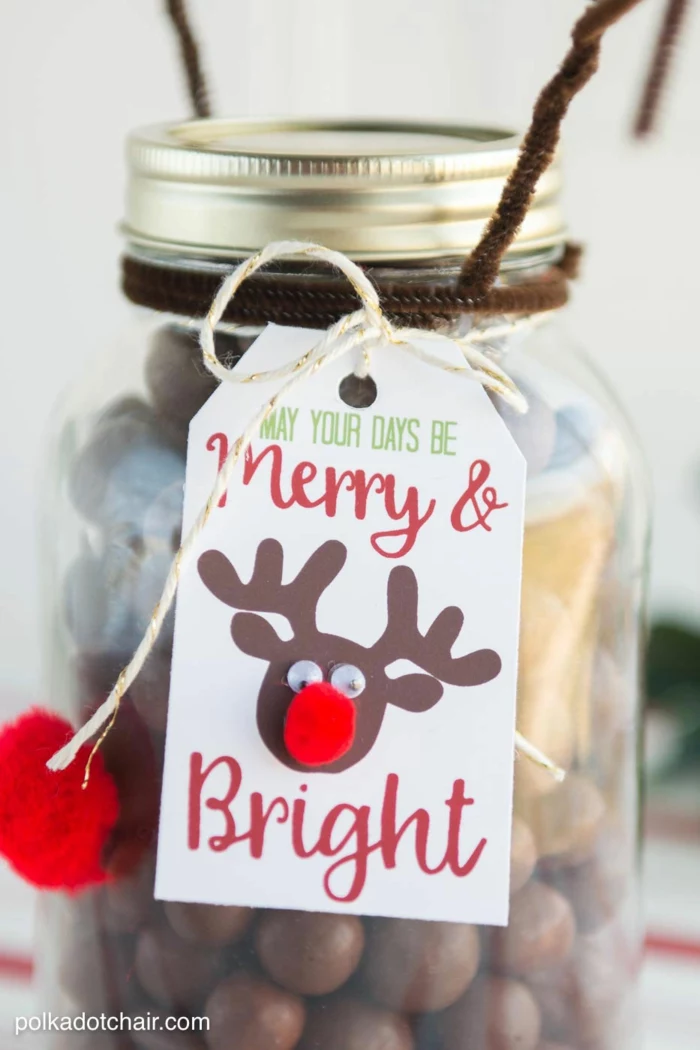
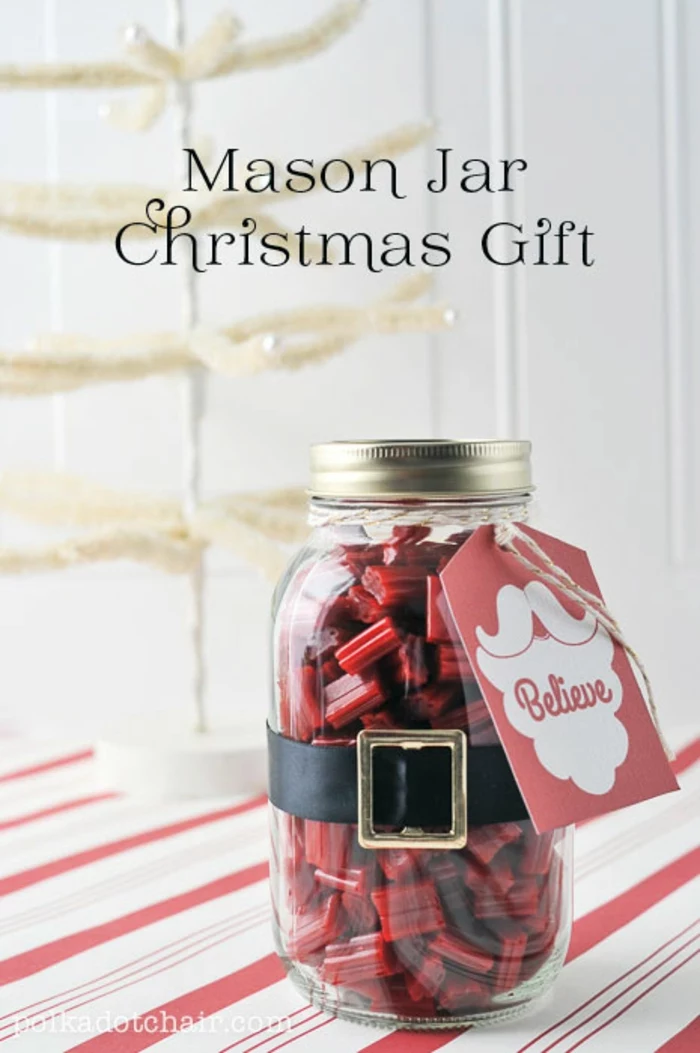
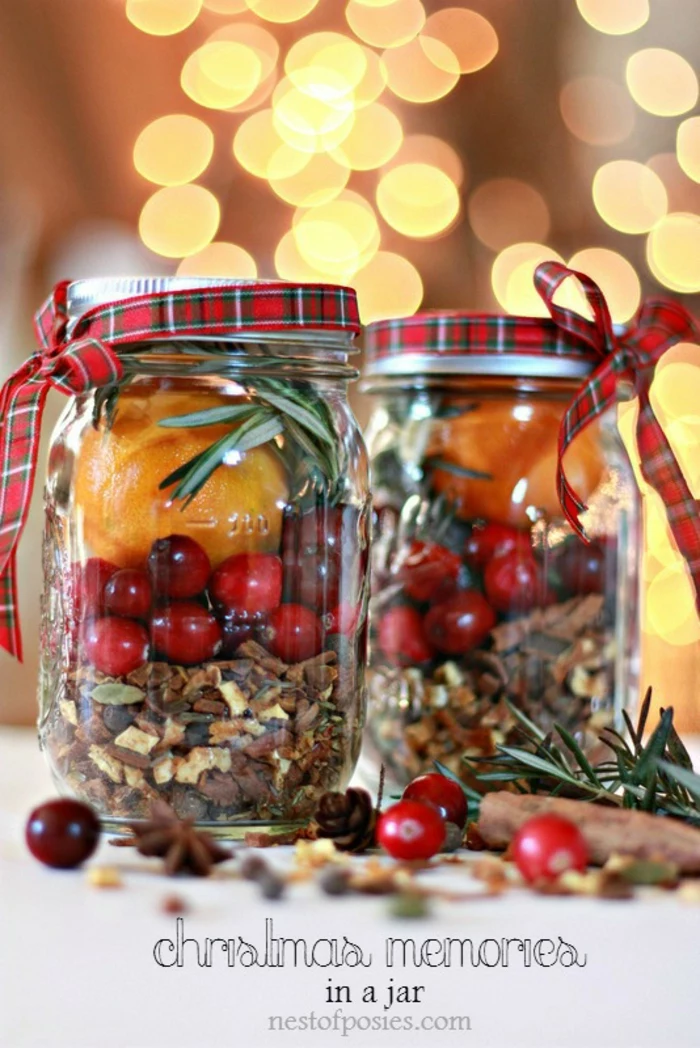
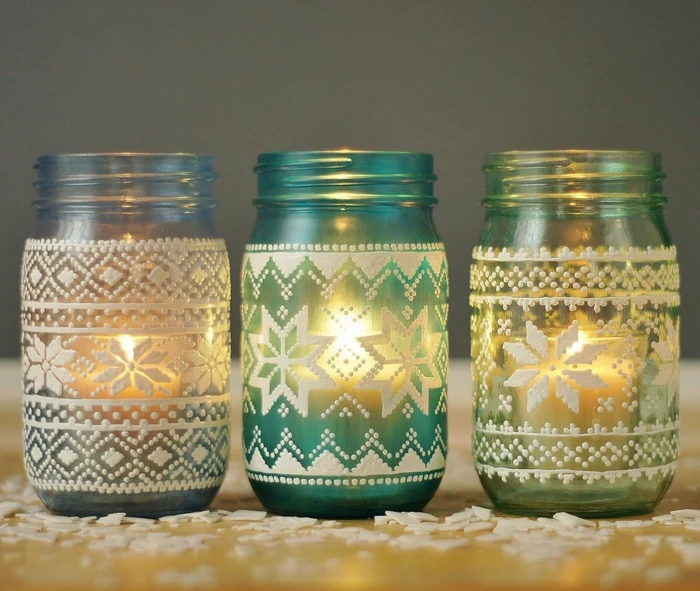
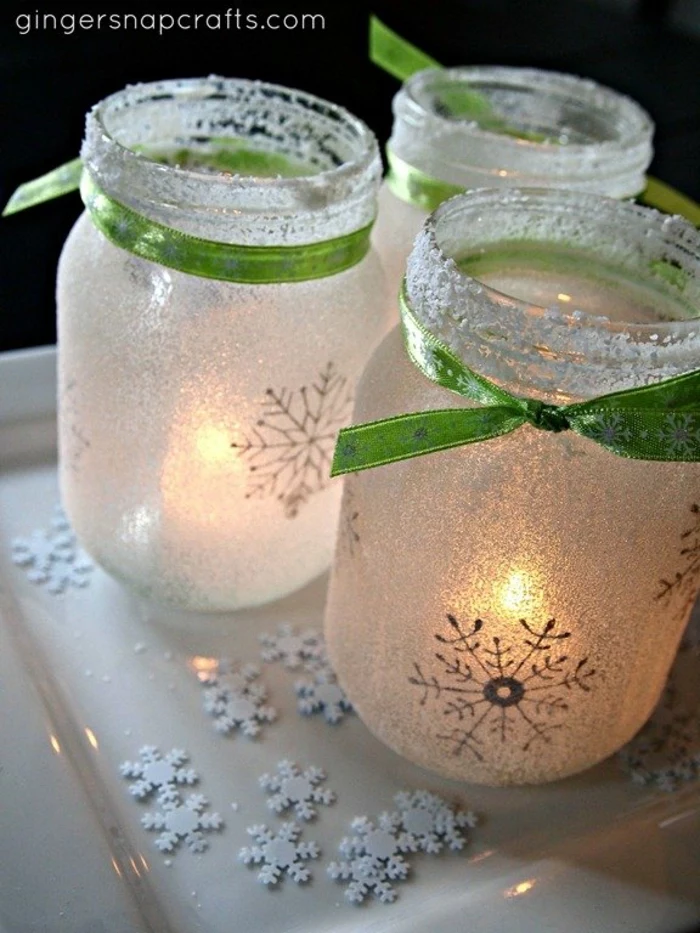
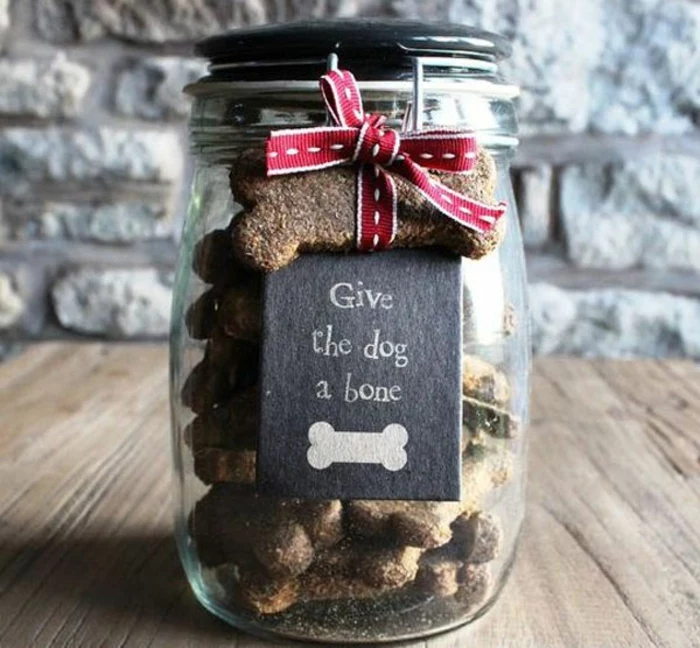
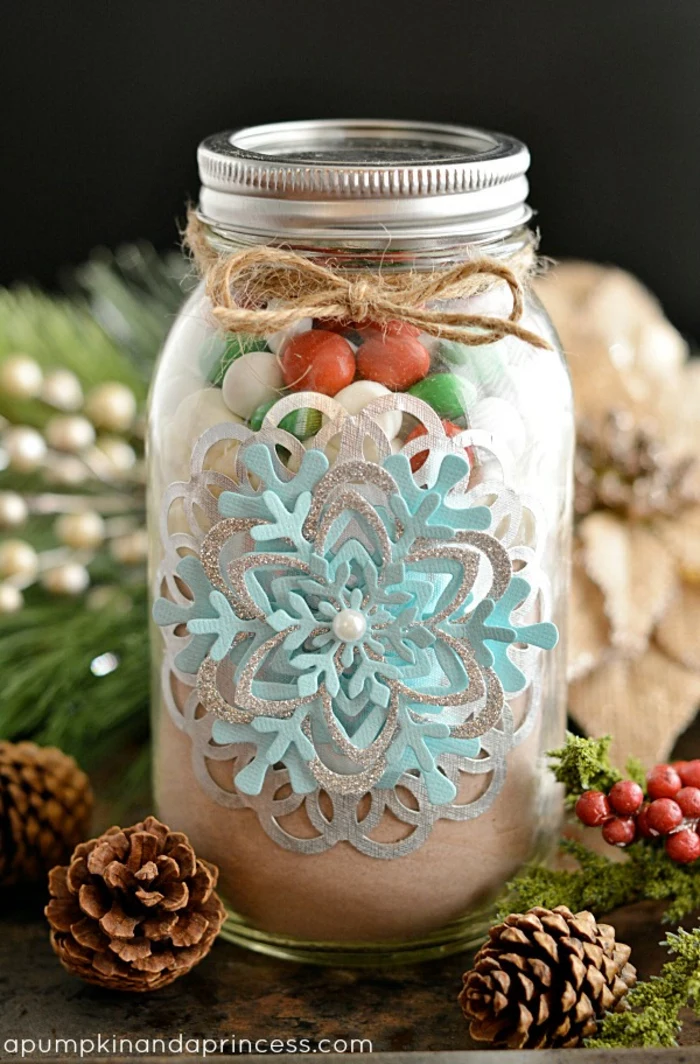
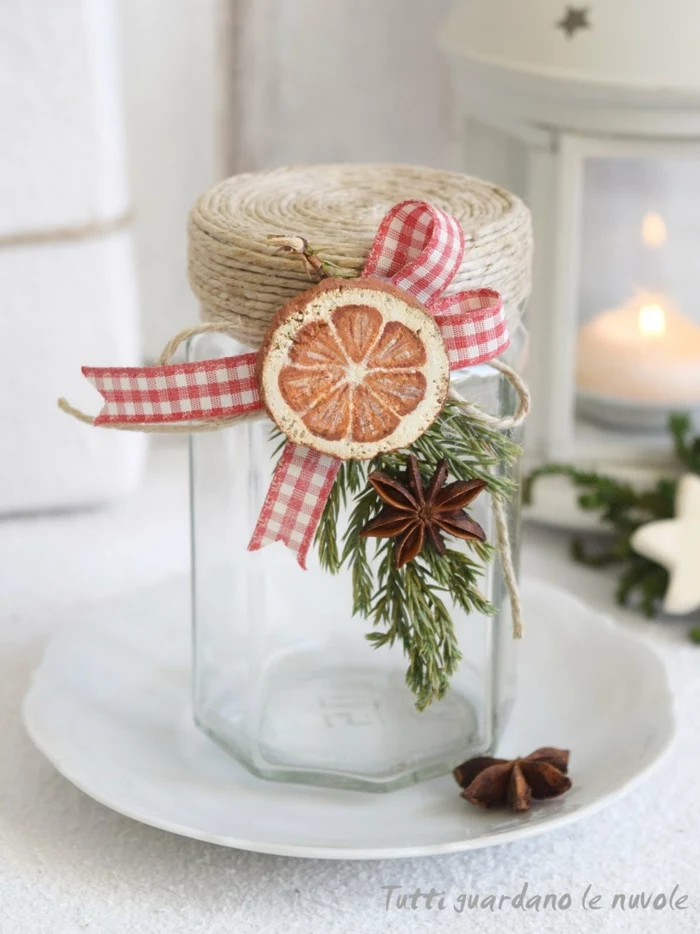
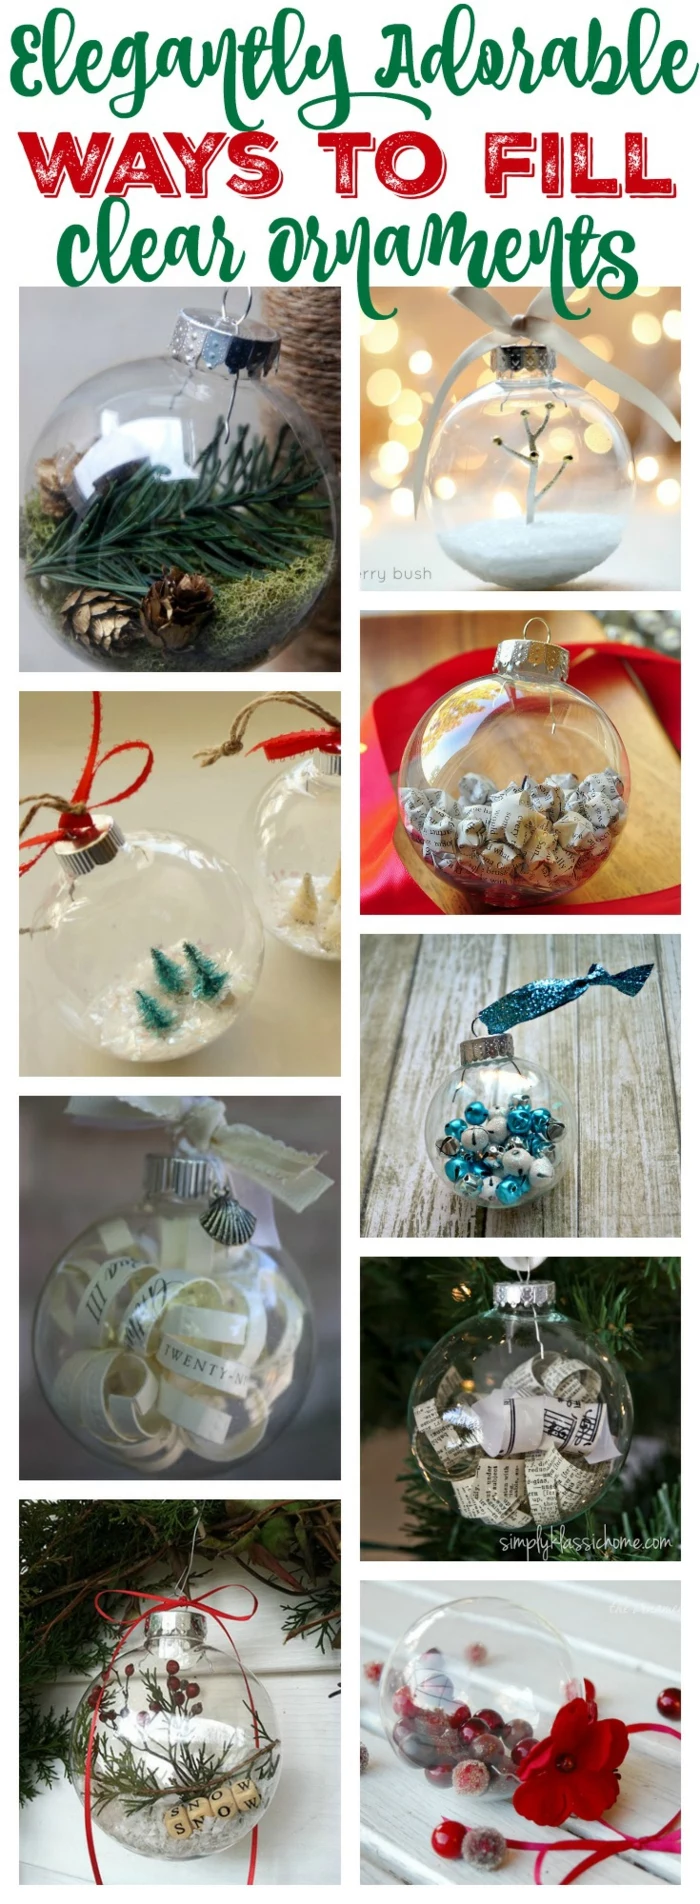
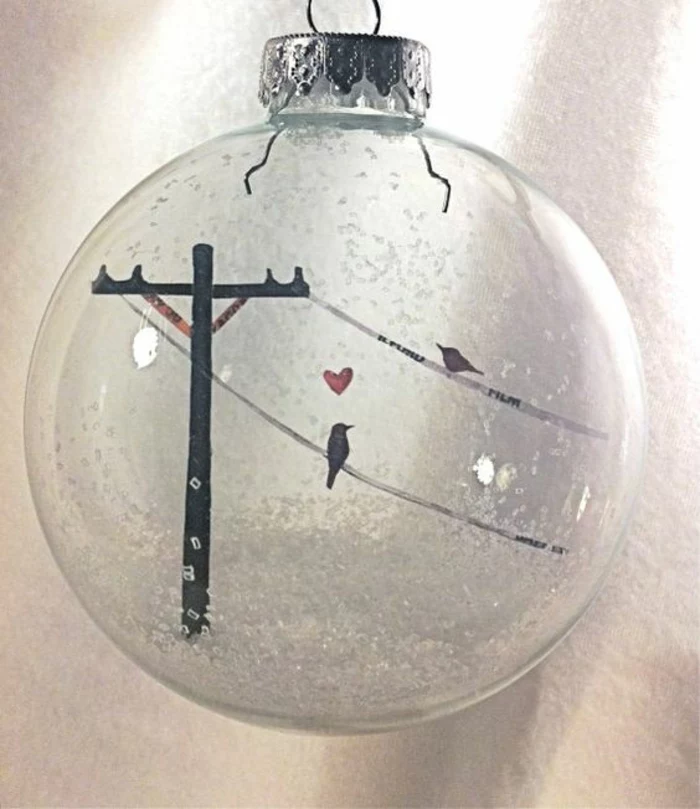
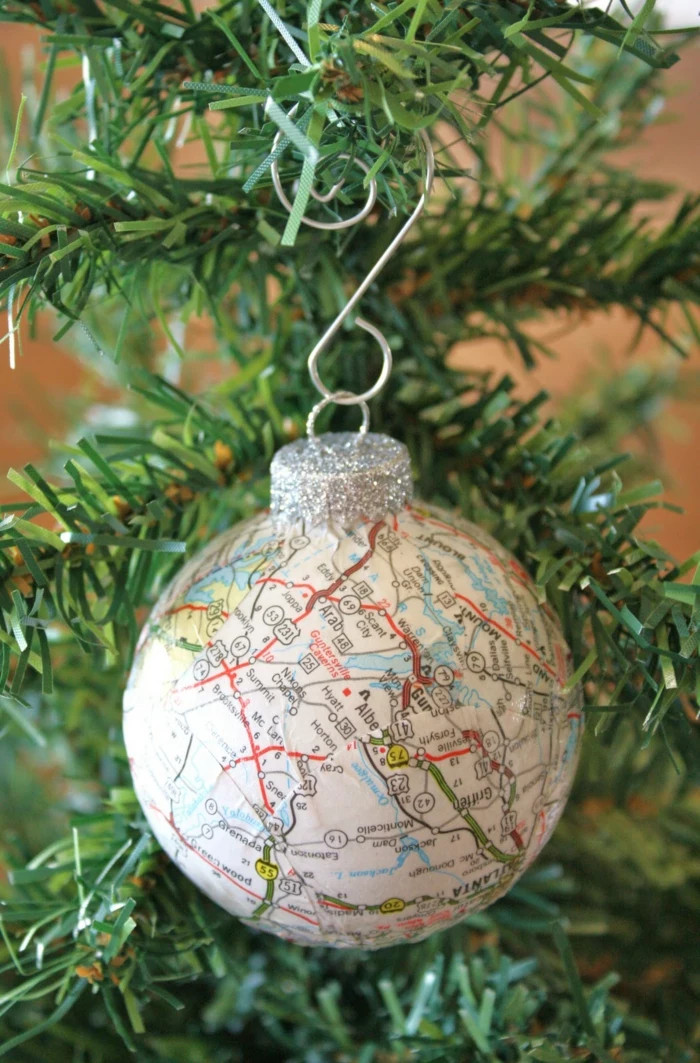
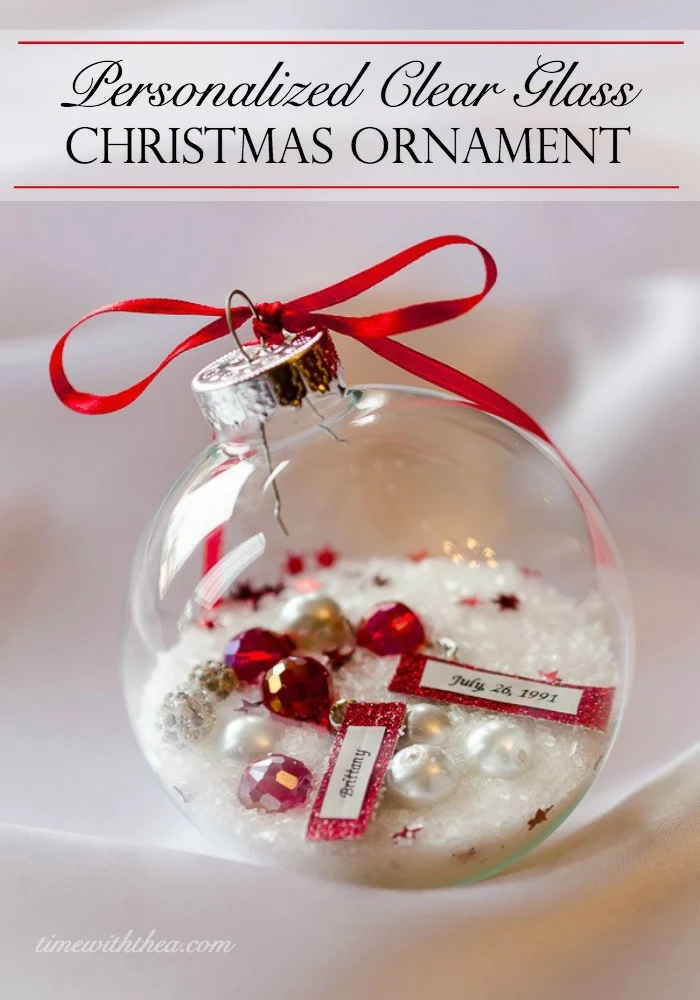
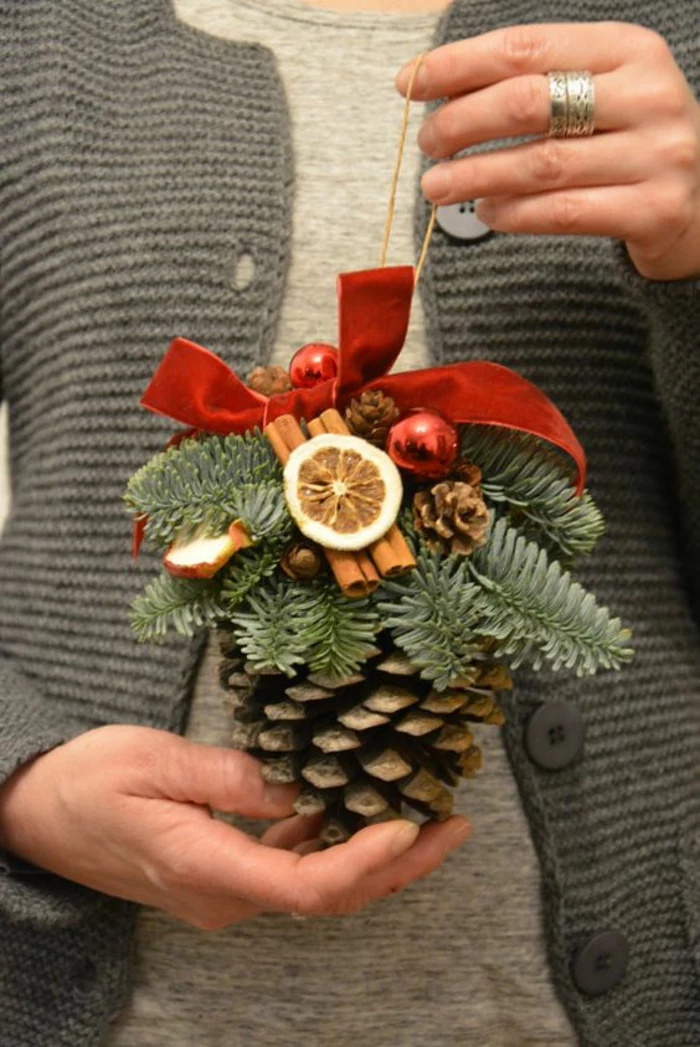
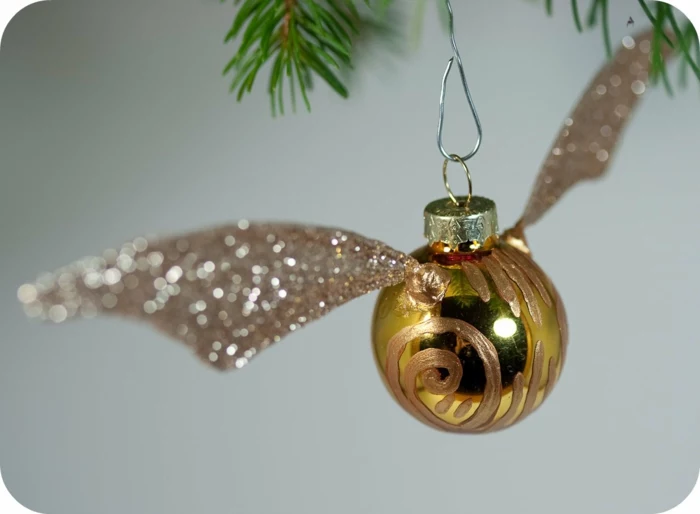
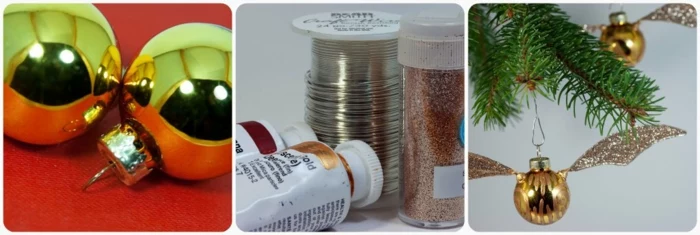
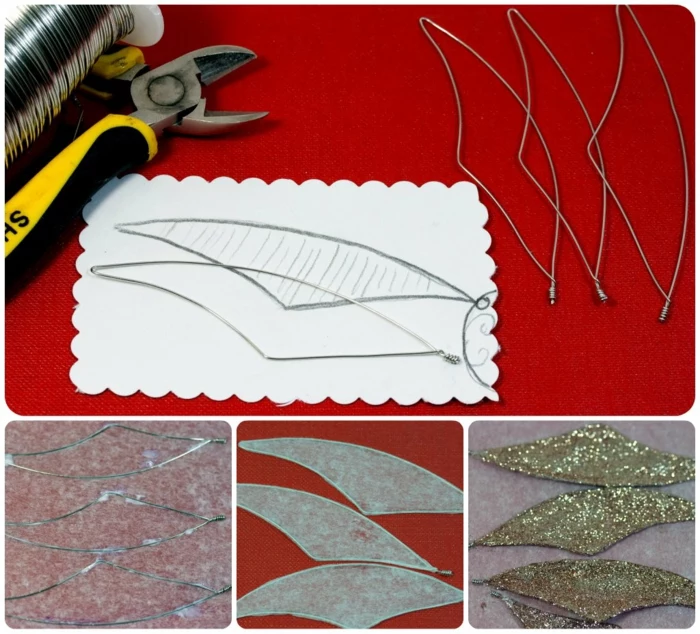
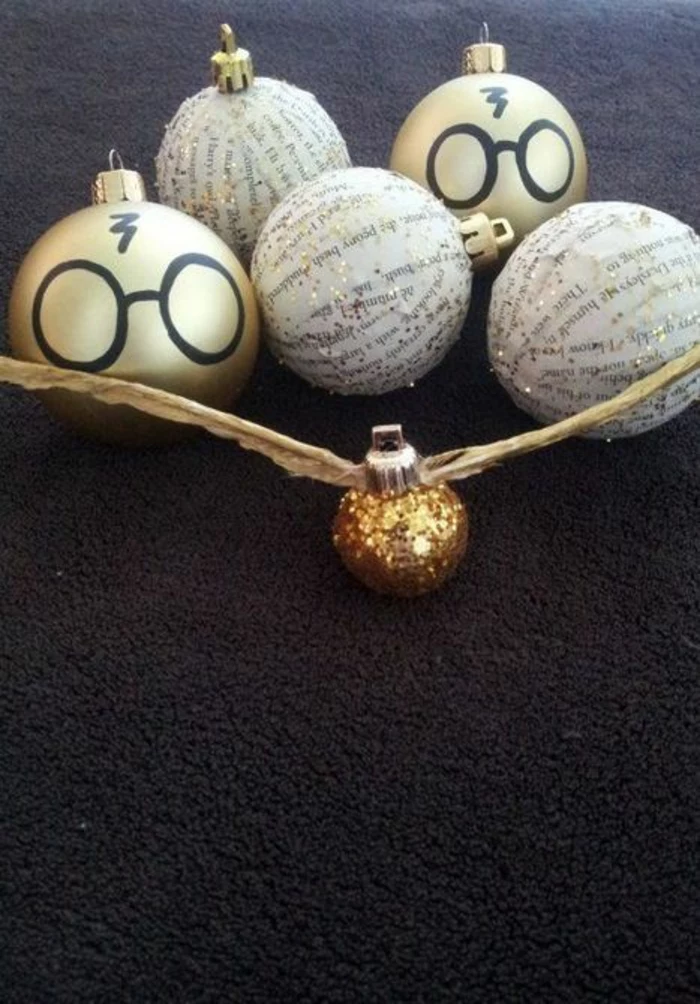
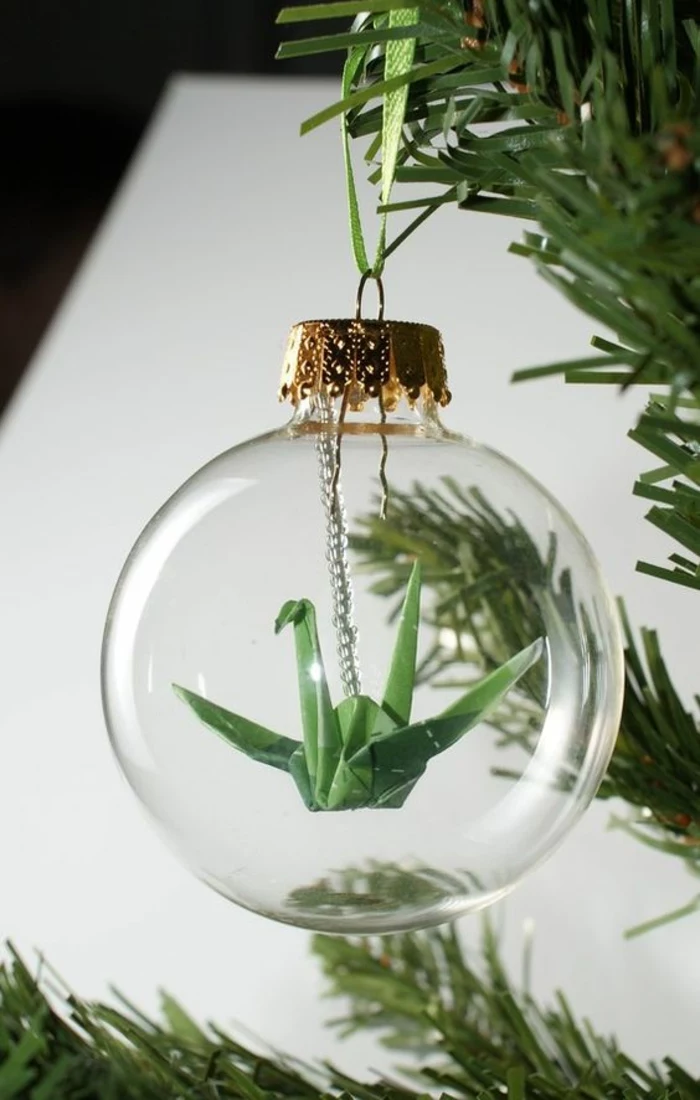
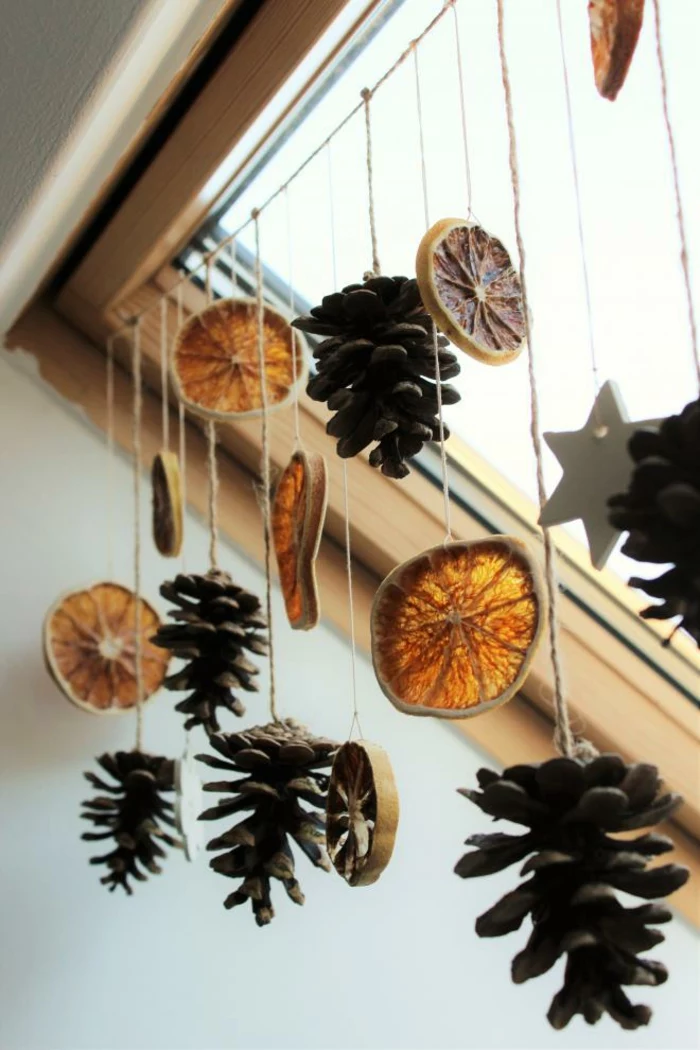
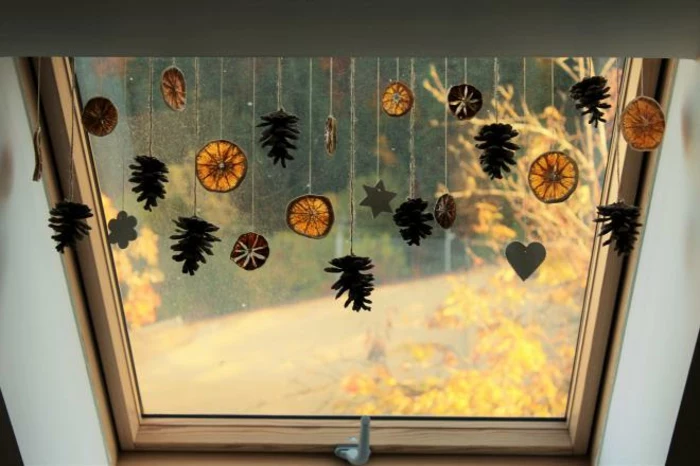
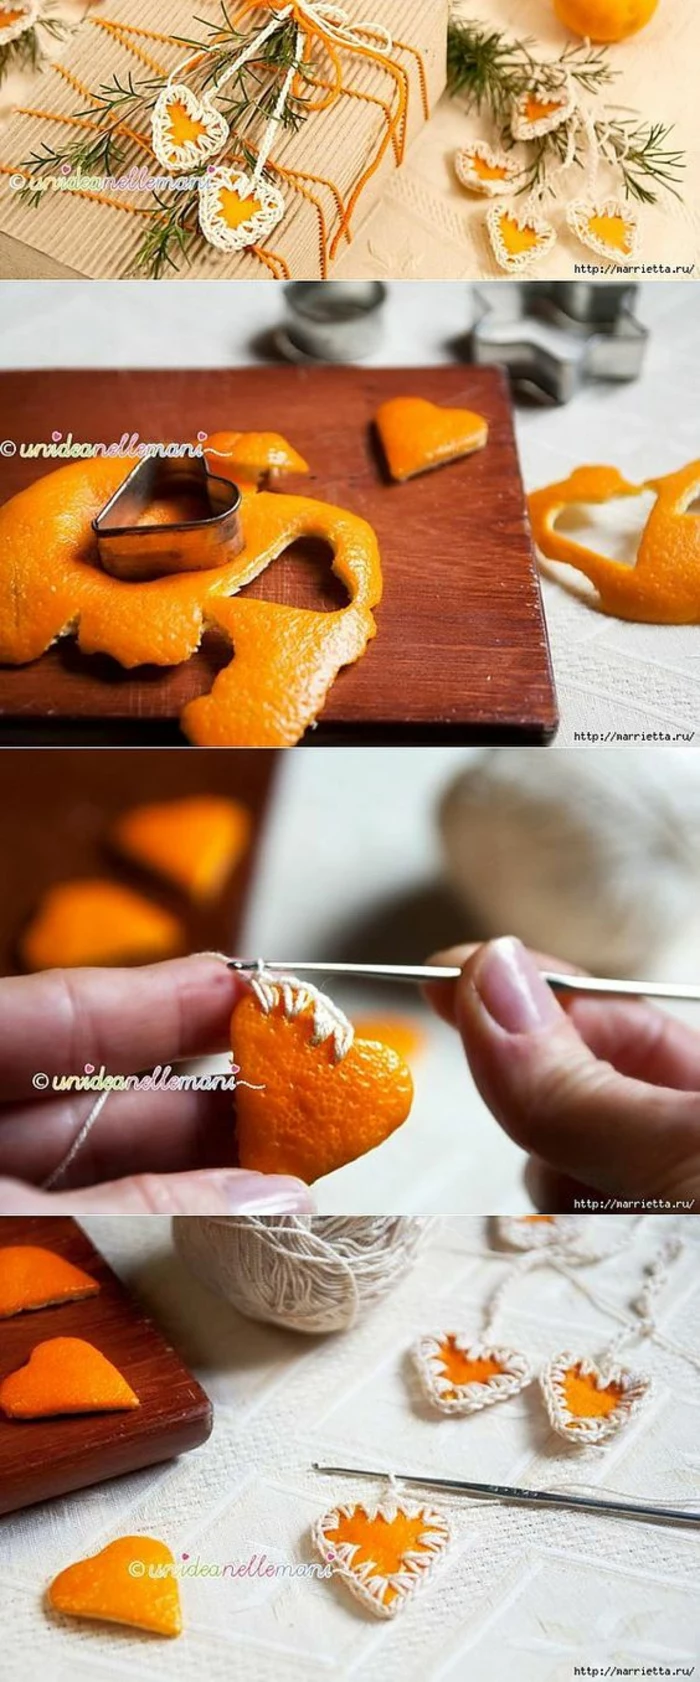
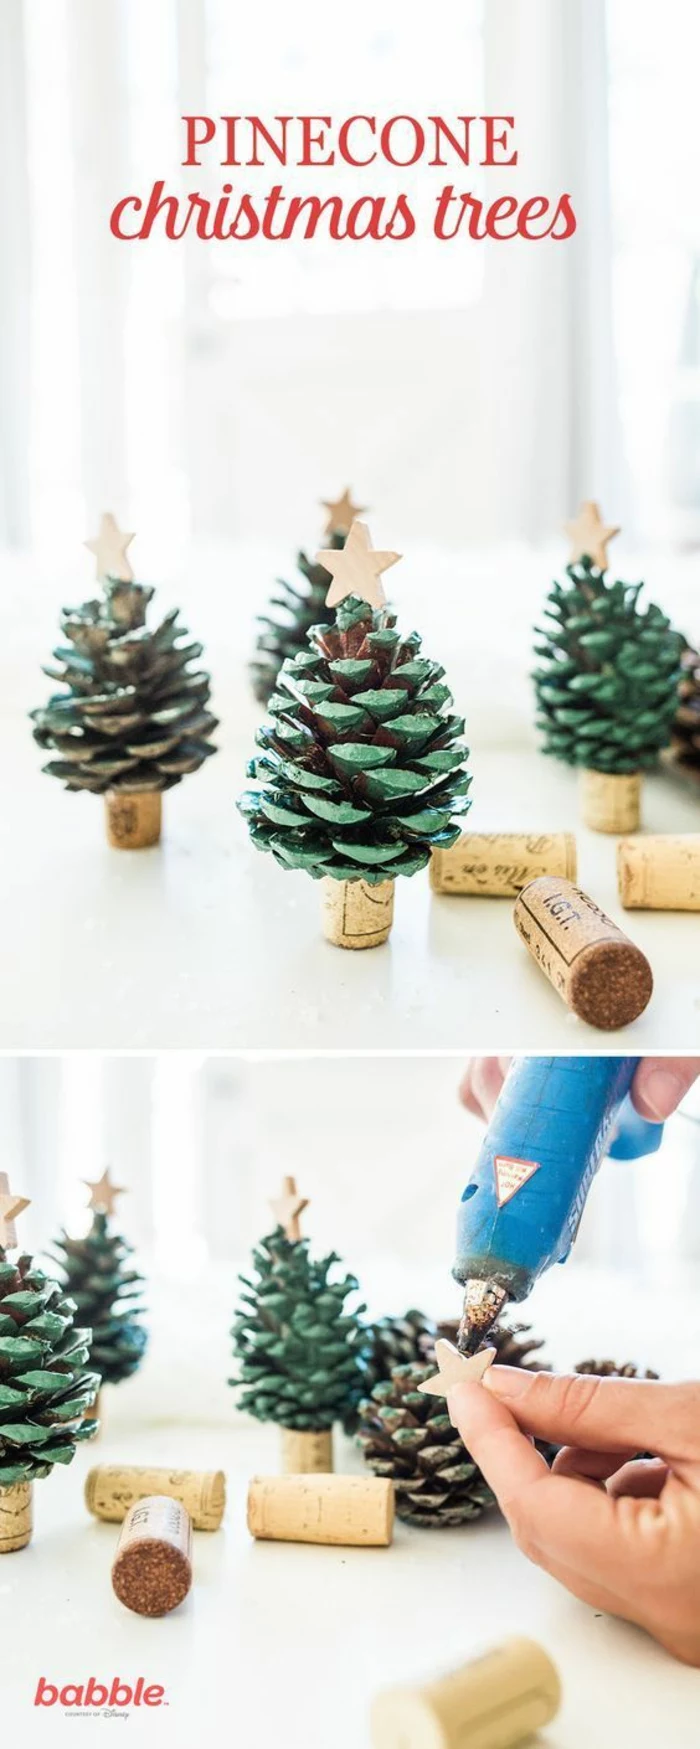
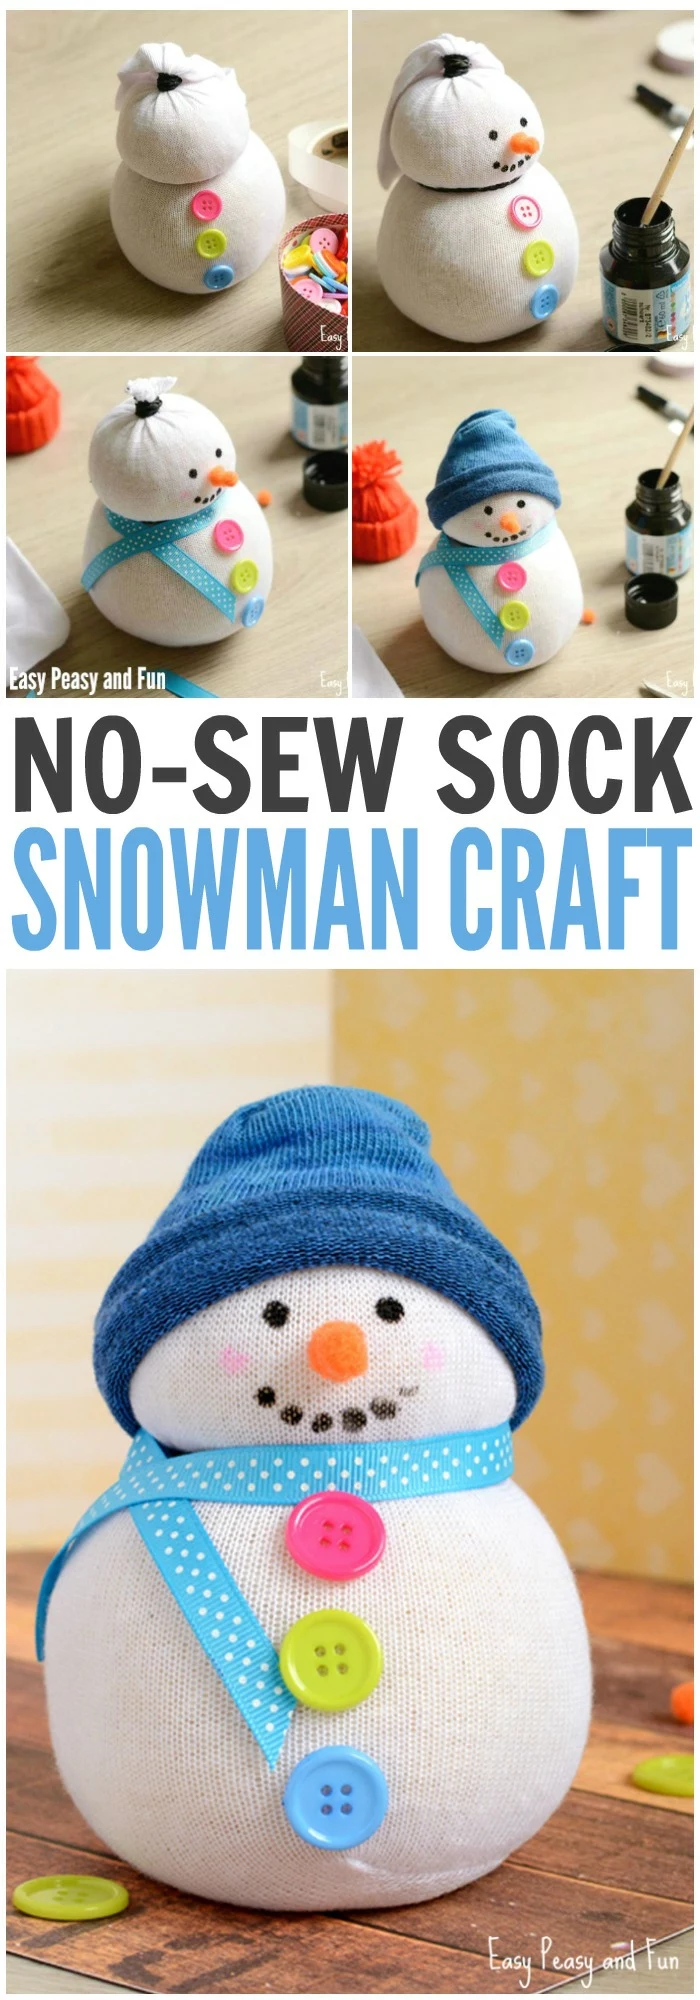
Inspiration Gallery
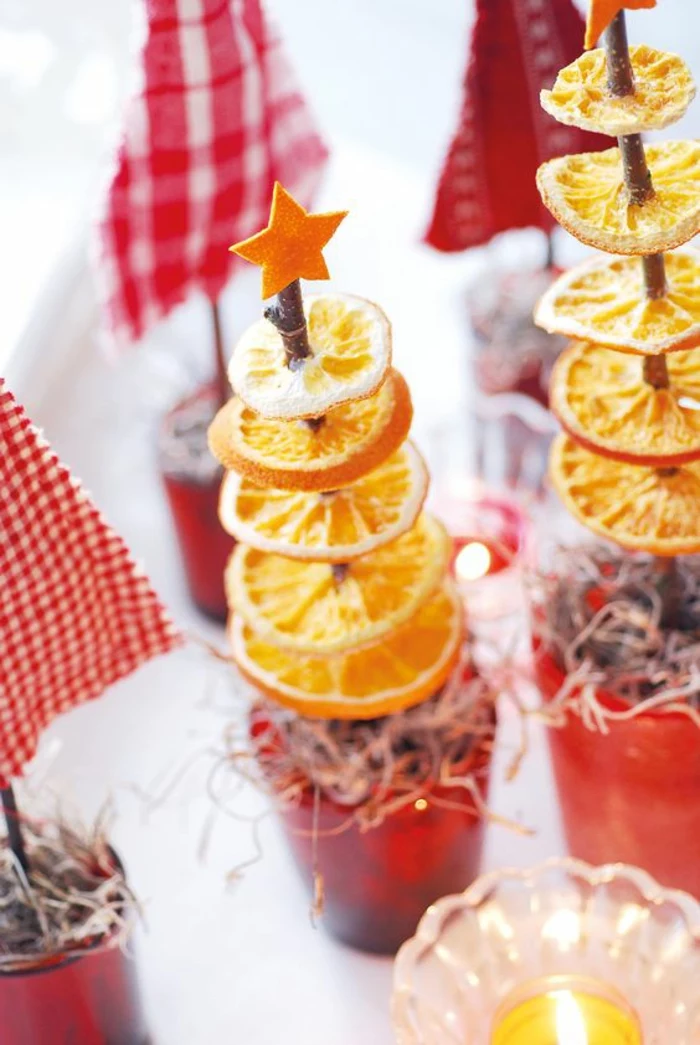
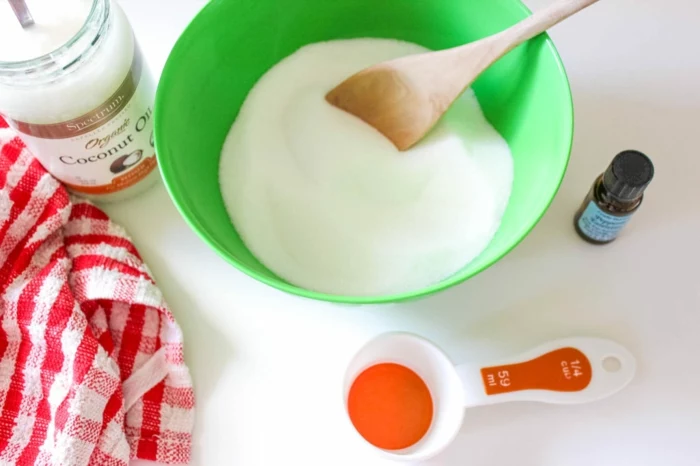
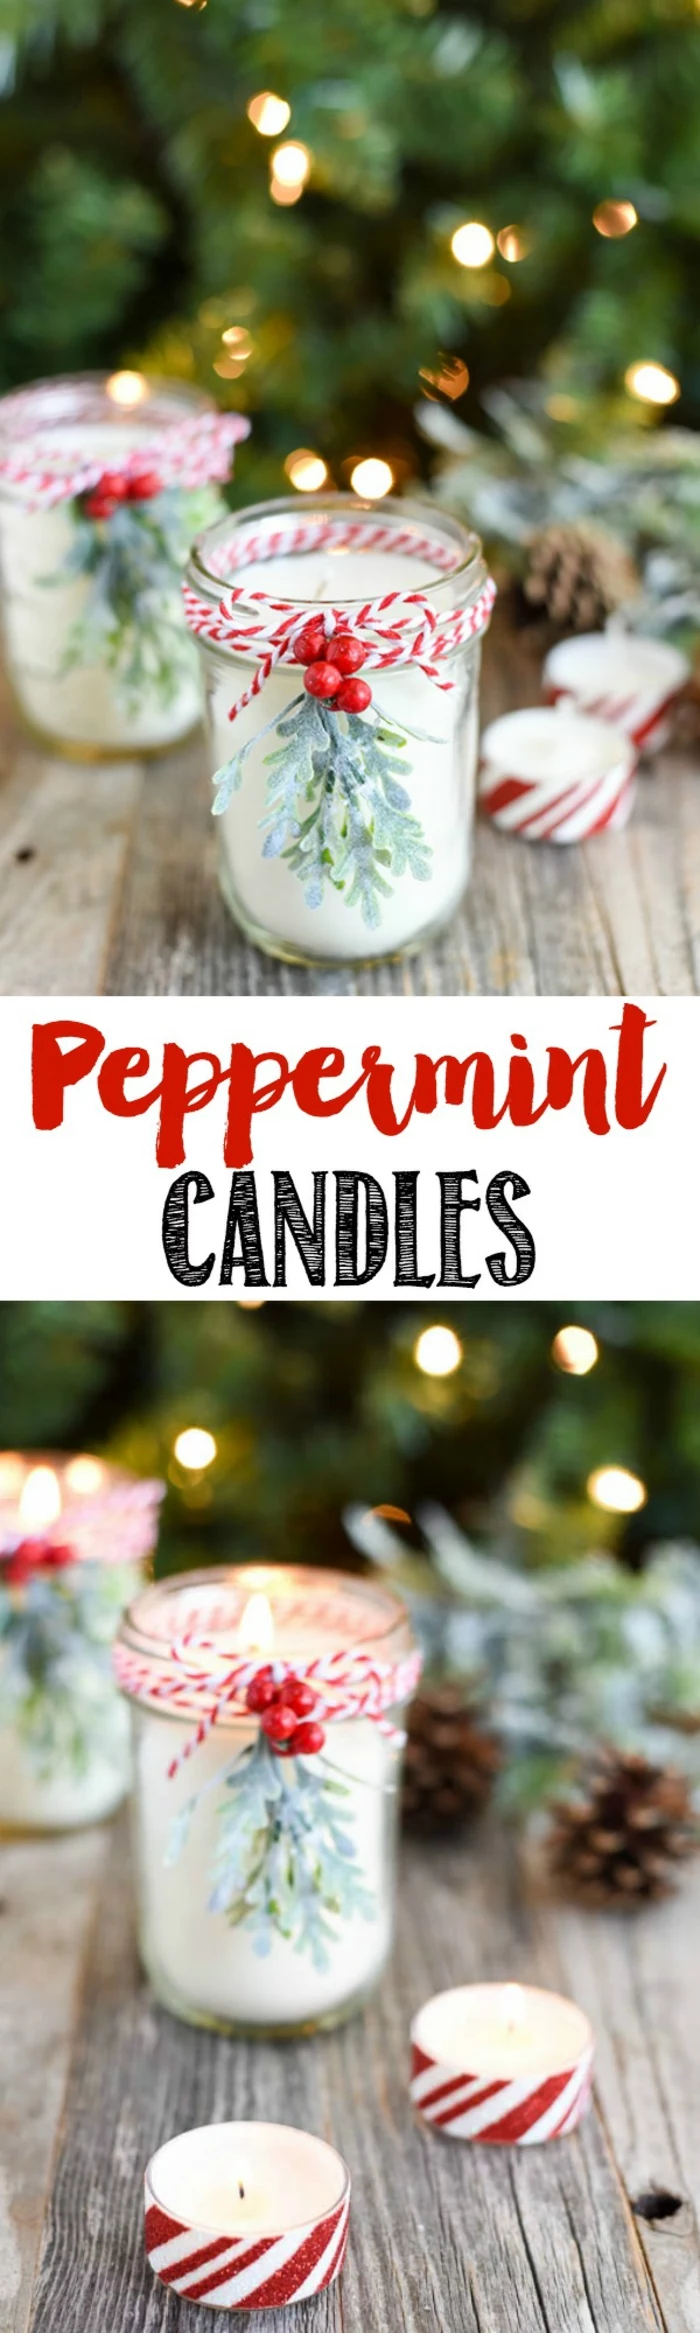
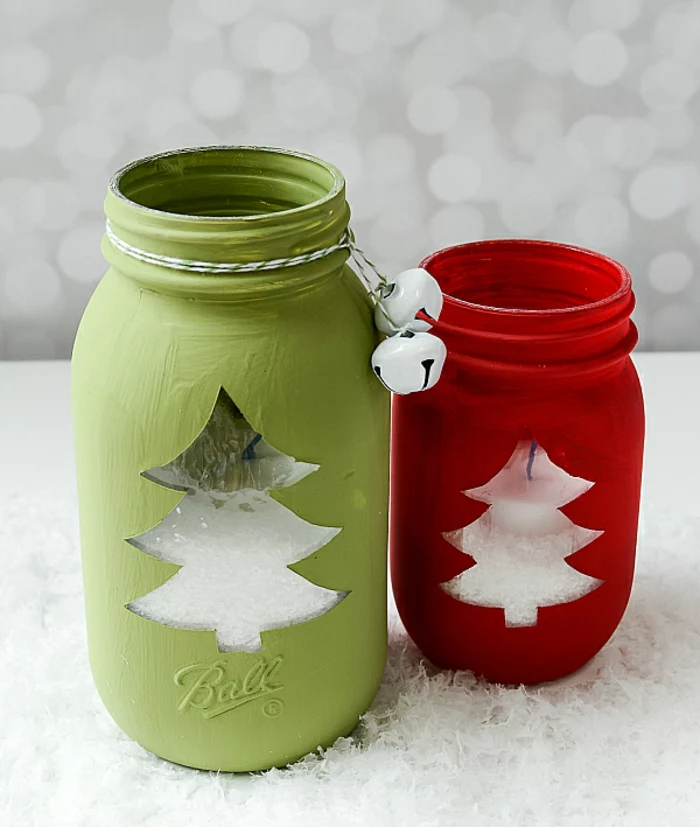
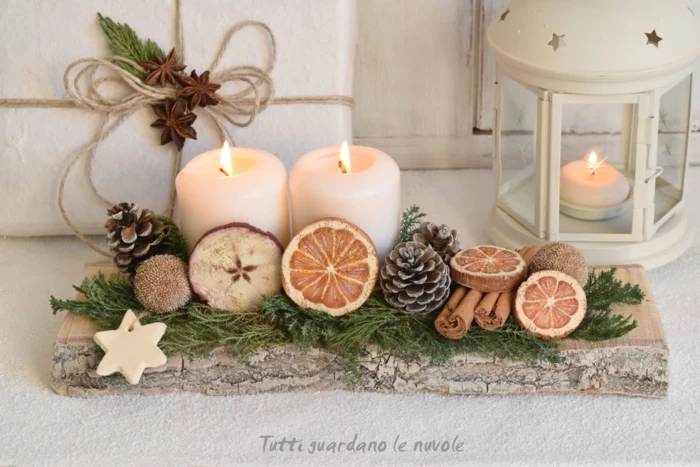
A truly memorable handmade gift engages more than just the eyes. Consider the power of scent. When making candles, skip the artificial fragrances and infuse natural soy or beeswax with high-quality essential oils. A blend of pine, orange, and clove doesn’t just smell like Christmas; it smells like a cherished memory in the making.
Ditch the all-in-one craft kit. A true artisan’s toolkit has a few specialized items.
A set of needle files for smoothing rough edges on wood or polymer clay.
A pin vise (a tiny hand drill) for making precise holes for jewelry or ornaments.
A self-healing cutting mat from a brand like Fiskars or Olfa to protect your surfaces and your blades.
The finishing touch is non-negotiable: A project isn’t done until it’s sealed. For painted objects, miniatures, or anything that will be handled, a light coat of a sealant like Mod Podge in a matte or satin finish, or a spray-on lacquer like Krylon Crystal Clear, protects your hard work from moisture, dust, and fading.
According to a study in the Journal of Consumer Psychology, recipients perceive handmade gifts as demonstrating more love, and this perception is a key driver of how much the gift is appreciated.
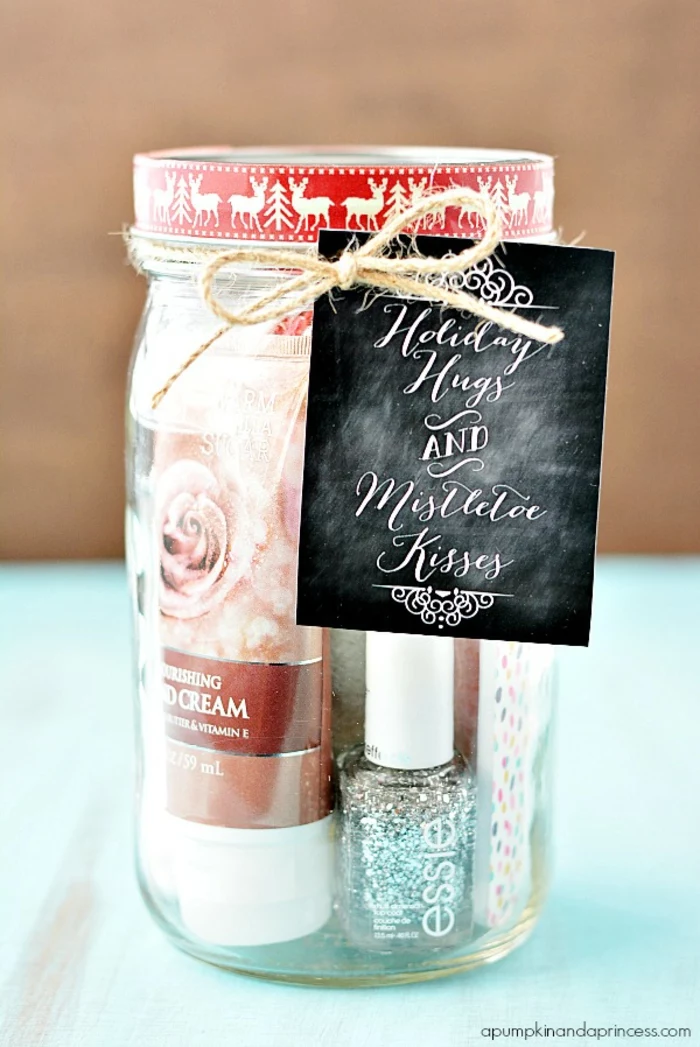
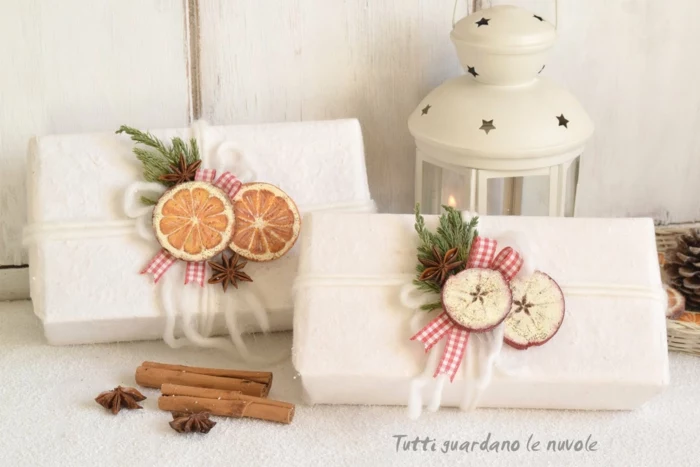
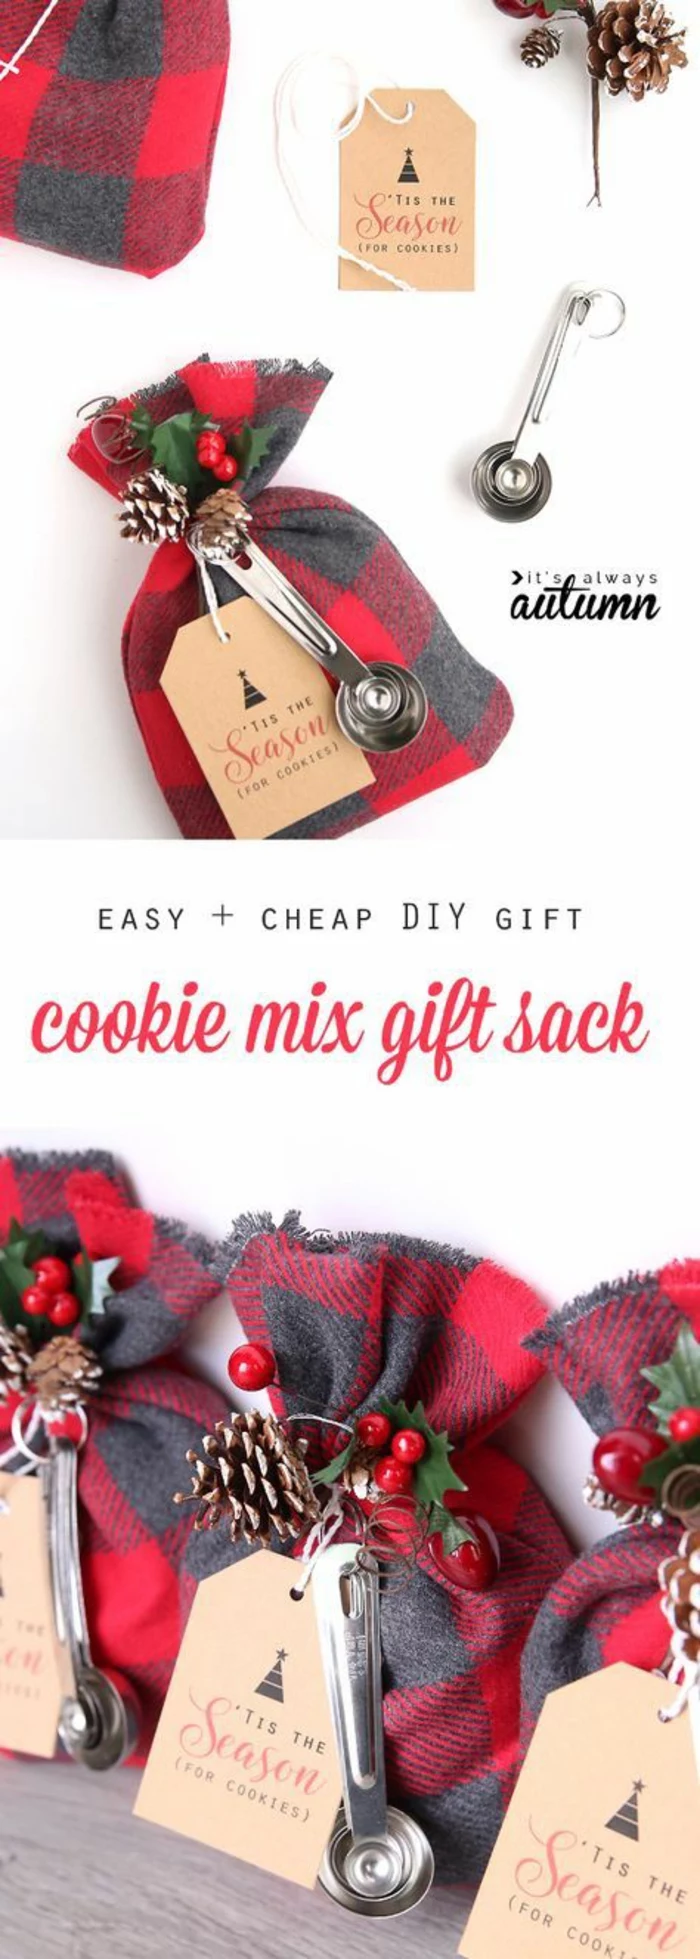
The wrapping is the prelude to the gift itself. Elevate the entire experience with thoughtful presentation:
Use high-quality, textured paper stock for your tags.
Secure your wrapping with a custom wax seal instead of tape.
Tie on a natural element, like a small sprig of dried eucalyptus or a cinnamon stick.
My polymer clay creations look a bit dull and have fingerprints. How do I get that professional, smooth finish?
The secret is in the sanding and buffing. After baking, start sanding your piece with wet-and-dry sandpaper (use it wet to reduce dust) in increasingly fine grits, from 400 up to 2000. Then, use a buffing wheel on a Dremel tool with some polishing compound, or even just a piece of soft denim, to bring out a brilliant, glass-like shine. This single step will elevate your Sculpey or Fimo pieces from ‘craft’ to ‘art object’.
Hot Glue: Your friend for temporary mock-ups, kids’ crafts, and attaching things to rough, porous surfaces. It’s fast but can fail in high heat or on smooth surfaces.
E6000 Adhesive: Your go-to for a permanent, industrial-strength bond. It’s perfect for joining non-porous materials like glass to metal (like in the snow globes) and dries clear and flexible. It takes longer to cure, but the bond is forever.
Did you know? As a natural beeswax candle burns, it releases negative ions that are known to neutralize pollutants in the air.
This means a hand-poured beeswax candle is more than just a beautiful, honey-scented light source; it’s a tiny air purifier. It’s a thoughtful detail that makes the gift feel even more caring and special, especially compared to standard paraffin wax candles.
Achieve perfectly crisp, vibrant painted details.
Ensure your design won’t flake or peel off over time.
Create a smooth, archival-quality surface to work on.
The secret? Priming your surface. A thin layer of gesso before you start painting on wood, canvas, or even air-dry clay makes all the difference. It seals the material and gives the paint something to grab onto.
For a touch of rustic elegance, a wood-burning tool (pyrography pen) is an incredible investment. It allows you to permanently etch initials, dates, or simple line drawings onto wooden spoons, coasters, or ornaments. It’s a far more sophisticated method of personalization than a paint pen.
Don’t underestimate drying times: This is where most handmade gifts fail. Rushing a project causes smudged paint, tacky varnish, and glued parts that fall apart a week later. If the instructions say 24 hours to cure, give it 24 hours. Your patience is the most valuable material you have.
Making custom jewelry? The tiny components, known as ‘findings’, are what separate amateur work from boutique quality. Skip the craft store variety packs and invest in sterling silver or gold-filled clasps, ear wires, and jump rings from a dedicated jewelry supplier. The difference in weight and finish is immediately noticeable.
In Japan, the art of Furoshiki (wrapping objects in fabric) is a beautiful, sustainable tradition. Consider making the wrapping part of the gift. Use a beautiful linen tea towel, a vintage silk scarf, or a hand-dyed piece of cotton to wrap your present. It’s two gifts in one and completely waste-free.
How do I make my hand-poured candles look like they came from a high-end boutique?
It’s all about control. Use a thermometer to pour your wax at the optimal temperature for your specific type (e.g., around 180°F for soy wax). A simple wick centering tool will keep your wick perfectly straight. If the top cools unevenly, a quick blast with a heat gun will melt the top layer just enough to create a perfectly smooth, glossy surface.
Creating the miniature scenes in the jars shown in the gallery requires precision. A pair of fine-tipped reverse tweezers is an absolute game-changer. Unlike normal tweezers that you squeeze to close, these are squeezed to open, meaning they hold an object securely when you release pressure. This frees up your hands to apply glue or make tiny adjustments without fumbling with the car or tree.
Soy Wax: A fantastic choice for container candles. It’s a natural, renewable resource, burns cleaner and longer than paraffin wax, and holds scents exceptionally well, providing what’s known as a great
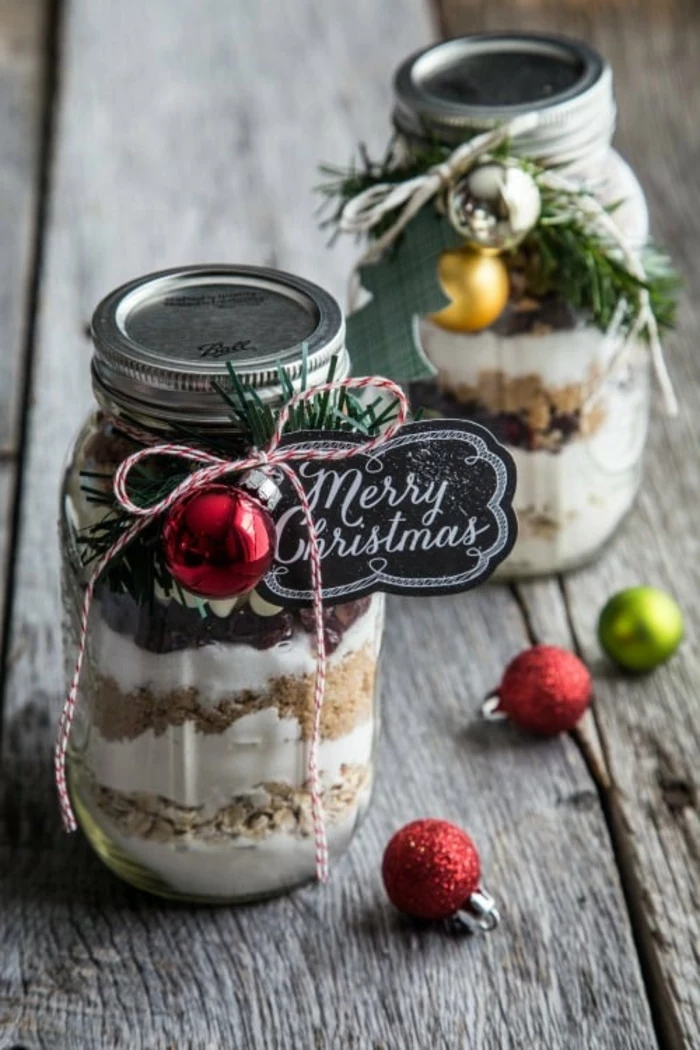
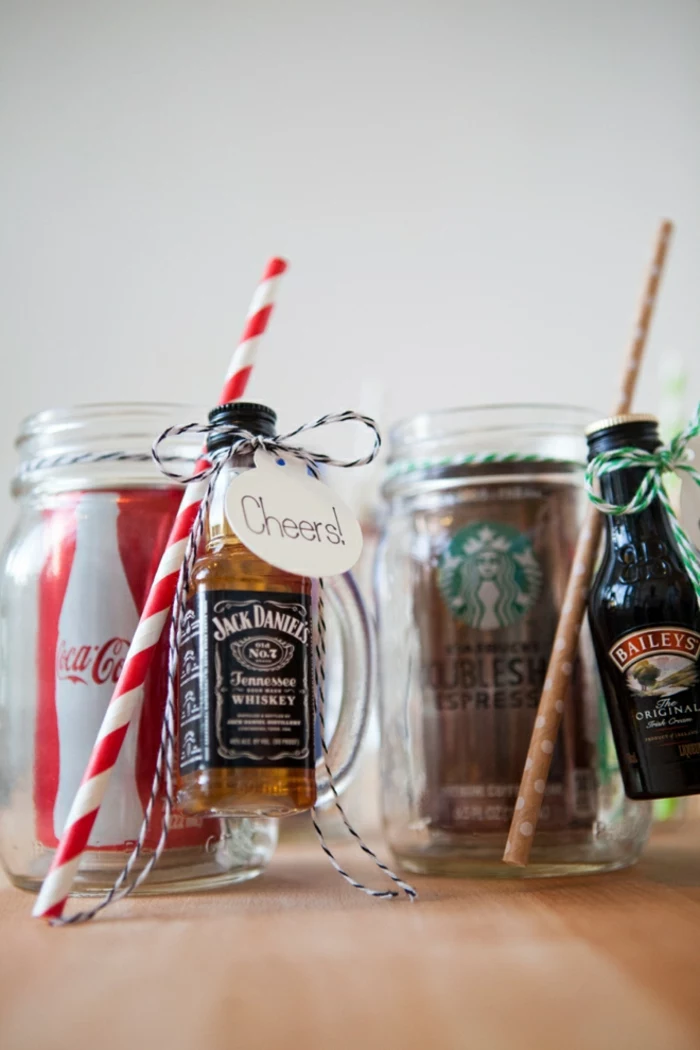
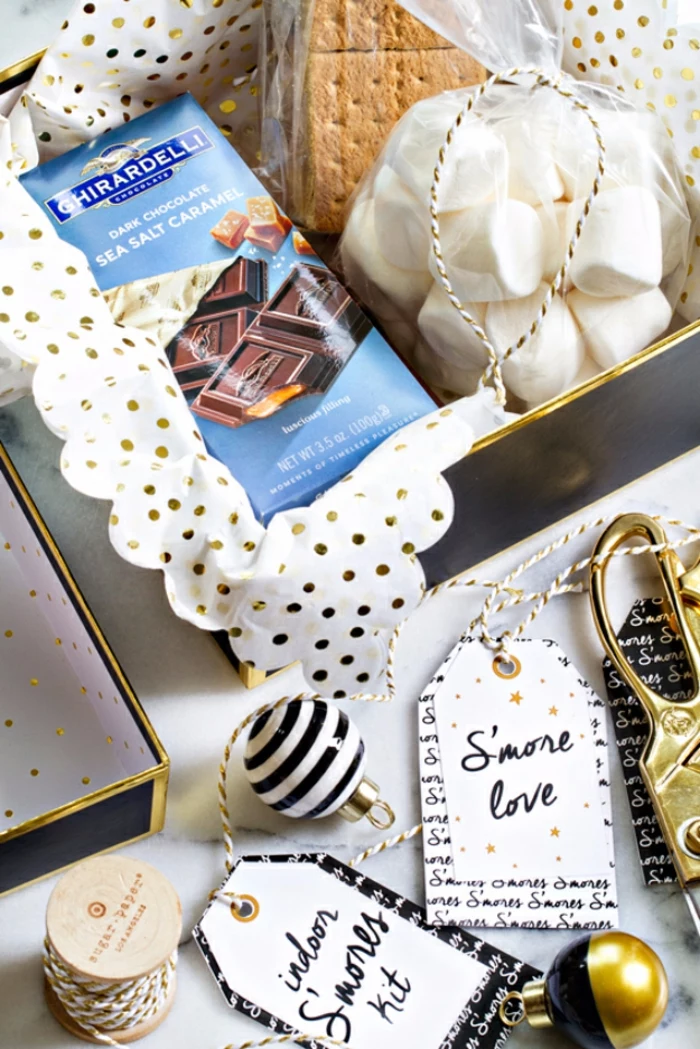
The next level of edible gifts goes beyond cookies in a tin. Think about creating ‘kits’ that are both beautiful and useful.
**Infused Spirits:** A bottle of good quality vodka or gin infused with botanicals like rosemary, pink peppercorns, and grapefruit peel.
**Artisanal Mulling Spices:** Whole spices like star anise, cinnamon sticks, and allspice berries layered beautifully in a glass tube.
**Gourmet Finishing Salts:** Coarse sea salt mixed with dried herbs or finely grated citrus zest.
Your clay won’t crack or become brittle after baking.
The color stays true and doesn’t yellow.
It will have a durable, almost stone-like feel.
The secret is using a professional-grade polymer clay and conditioning it properly. Brands like Sculpey Premo or Fimo Professional are designed for artists and are far more stable and robust than the softer clays intended for kids. Kneading it until it’s soft and pliable is a crucial first step.
Give the gift of cozy with a chunky knit blanket. You don’t even need needles—arm knitting is a simple technique to learn. Use a super-soft merino wool roving for a luxurious, high-end result. It looks impressive and can be made in just a few hours, making it a perfect last-minute but high-impact present.
The ultimate secret for painting on glass or ceramics: Use a paint designed for the job. Standard acrylics will scratch off easily. Look for a product like Pebeo Vitrea 160. You paint your design, let it air dry, then bake it in your home oven. The process makes the paint permanent and even top-rack dishwasher safe. It’s the true mark of a pro.
Want to create personalized stationery or gift tags? Making your own rubber stamp is easier than you think. You just need a linoleum carving block (like Speedball Speedy-Carve), a simple lino-cutter set, and an ink pad. Carve a simple monogram or design, and you can create an entire suite of coordinated, hand-stamped paper goods.
According to Pinterest’s 2023 trend report, searches for
My handmade paper goods (like cards or tags) always feel a bit flimsy. How can I fix that?
The weight of your paper is everything. Instead of standard cardstock, look for cold-press watercolor paper at 140 lb (or 300 gsm). Its subtle texture adds an instant touch of luxury. Also, for perfectly straight edges, always use a sharp craft knife and a steel ruler over scissors. These small changes make a massive difference in perceived quality.
A simple leather cord keeper is a fantastic small gift that feels incredibly luxe. You only need a small scrap of vegetable-tanned leather, a utility knife, a snap-fastener kit, and a mallet. It’s a great introduction to leatherworking, solves the modern problem of tangled earbud wires, and feels much more expensive than it is to make.
John combines 12 years of experience in event planning, interior styling, and lifestyle curation. With a degree in Visual Arts from California Institute of the Arts and certifications in event design, he has styled luxury weddings, corporate events, and celebrity celebrations. John believes in creating memorable experiences through innovative design and attention to detail.
To provide the best experiences, we use technologies like cookies to store and/or access device information. Consenting to these technologies will allow us to process data such as browsing behavior or unique IDs on this site. Not consenting or withdrawing consent, may adversely affect certain features and functions.
Functional
Always active
The technical storage or access is strictly necessary for the legitimate purpose of enabling the use of a specific service explicitly requested by the subscriber or user, or for the sole purpose of carrying out the transmission of a communication over an electronic communications network.
Preferences
The technical storage or access is necessary for the legitimate purpose of storing preferences that are not requested by the subscriber or user.
Statistics
The technical storage or access that is used exclusively for statistical purposes.The technical storage or access that is used exclusively for anonymous statistical purposes. Without a subpoena, voluntary compliance on the part of your Internet Service Provider, or additional records from a third party, information stored or retrieved for this purpose alone cannot usually be used to identify you.
Marketing
The technical storage or access is required to create user profiles to send advertising, or to track the user on a website or across several websites for similar marketing purposes.