Finally Master Christmas Tree Ribbon: A Pro’s Guide to Flawless Results
I’ve decorated hundreds, if not thousands, of Christmas trees over the years. We’re talking everything from towering 15-footers in fancy lobbies to the cozy family tree in the corner of the living room. And through all of that, one thing has become crystal clear: ribbon is the secret weapon.
In this article
Honestly, it’s more than just an accessory. Think of it as the architectural backbone of your tree design. It guides your eye, adds a layer of rich texture, and creates a flow that a bunch of ornaments on their own just can’t match. It’s what turns a random collection of decorations into a cohesive, intentional design.
So many people tell me they’re scared of ribbon. They have visions of a tree that looks messy or like it’s being strangled. I get it! But once you get the hang of the materials and a few core techniques, it’s a total game-changer. This isn’t about chasing some fleeting trend; it’s about learning a timeless craft that will make your tree look amazing, year after year.
Understanding Your Materials (This is a Big Deal)
Before you even think about wrapping that tree, let’s talk about the ribbon itself. Walking into a craft store in November can be a sensory overload, right? There are a million colors, textures, and widths. As someone who does this for a living, my choice is all about performance, not just looks.
The Most Important Thing: Wired Edges are Non-Negotiable
If you remember one thing from this whole guide, let it be this: you MUST use wire-edged ribbon. Seriously. That thin, bendable wire sewn into the edges is what gives the ribbon “memory.” When you shape it into a beautiful, billowy loop, it actually holds that shape. This is the magic trick for getting that full, designer look instead of sad, limp strips hanging off your branches.
Non-wired ribbon, like the kind you use for wrapping birthday presents, will just hang there lifelessly. It has zero structure. Save it for the gifts under the tree. The wire lets you defy gravity and create shapes that seem to float. Understanding this one detail is the first step to making your tree look professionally decorated.

Choosing the Right Fabric and Width
The fabric you choose sets the whole mood for the tree. Here’s a quick rundown of the usual suspects:
- Satin & Faux Silk: These have a gorgeous sheen that bounces light all over the room, giving you a more formal, elegant vibe. They can be a bit slippery to work with, so a tight weave is a good sign of quality.
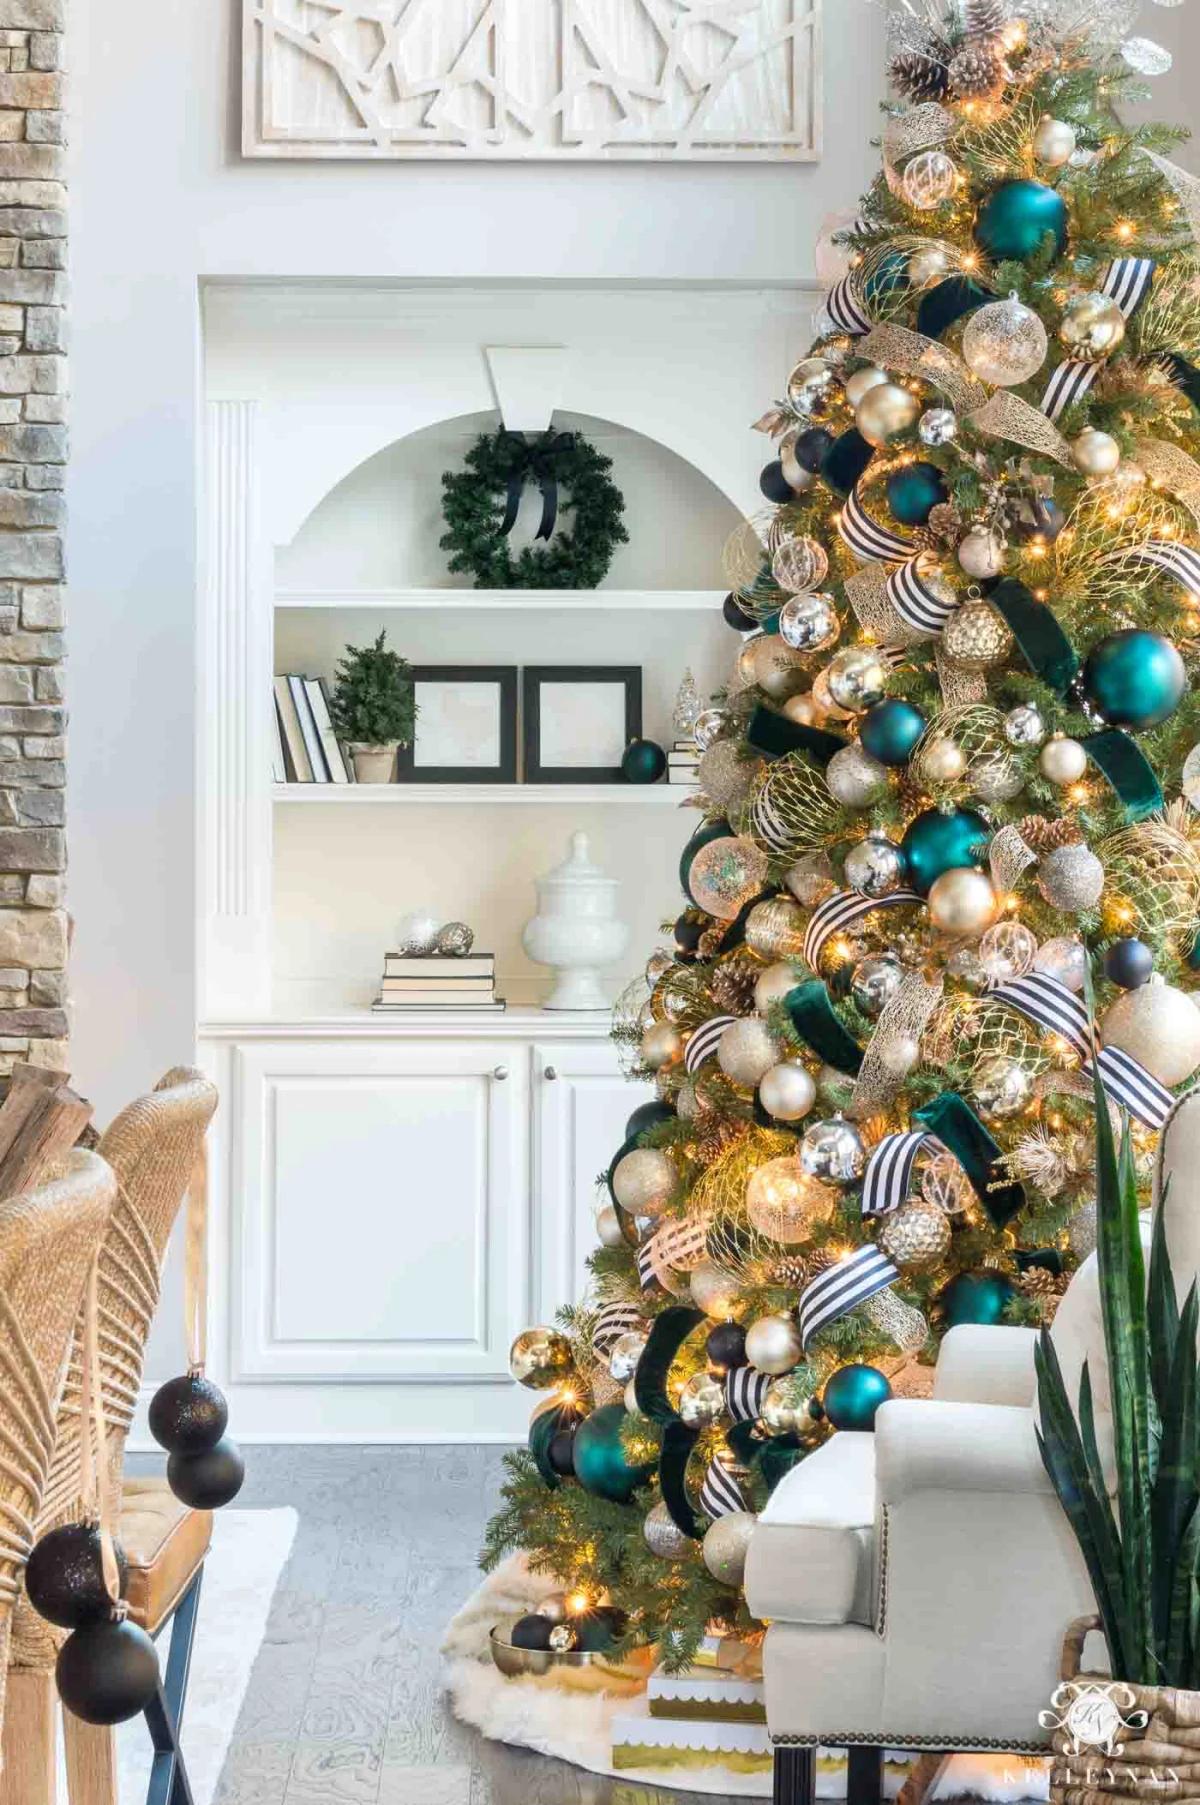
- Velvet: Oh, I love velvet. It just drinks in the light, which creates this incredibly deep, rich color. It feels so luxurious and traditional. Heads up, though: it can be a magnet for pet hair and dust, so be ready for that.
- Burlap & Faux Jute: If you’re going for a rustic, farmhouse, or woodland theme, this is your guy. The coarse texture gives it amazing body and it holds its shape like a champ. The only downside is that cheaper burlap can shed fibers everywhere.
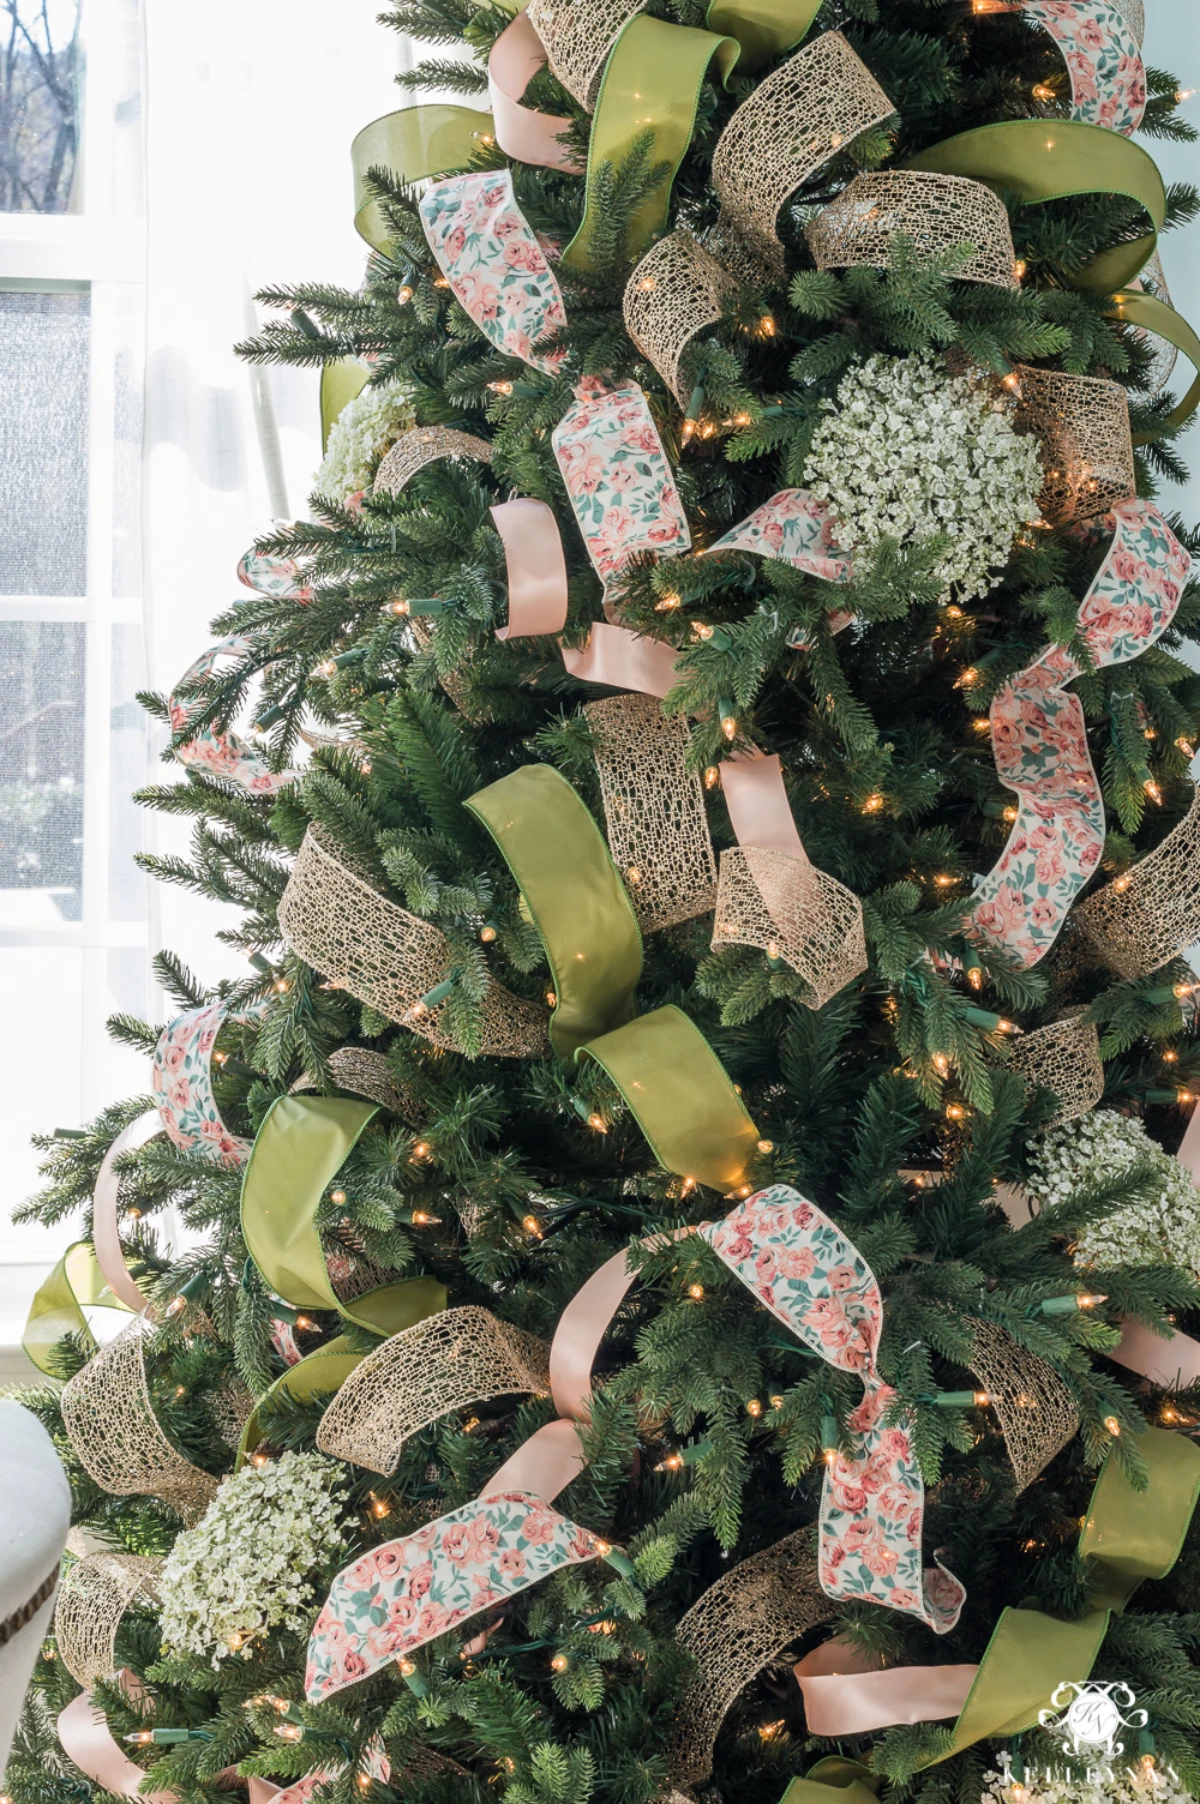
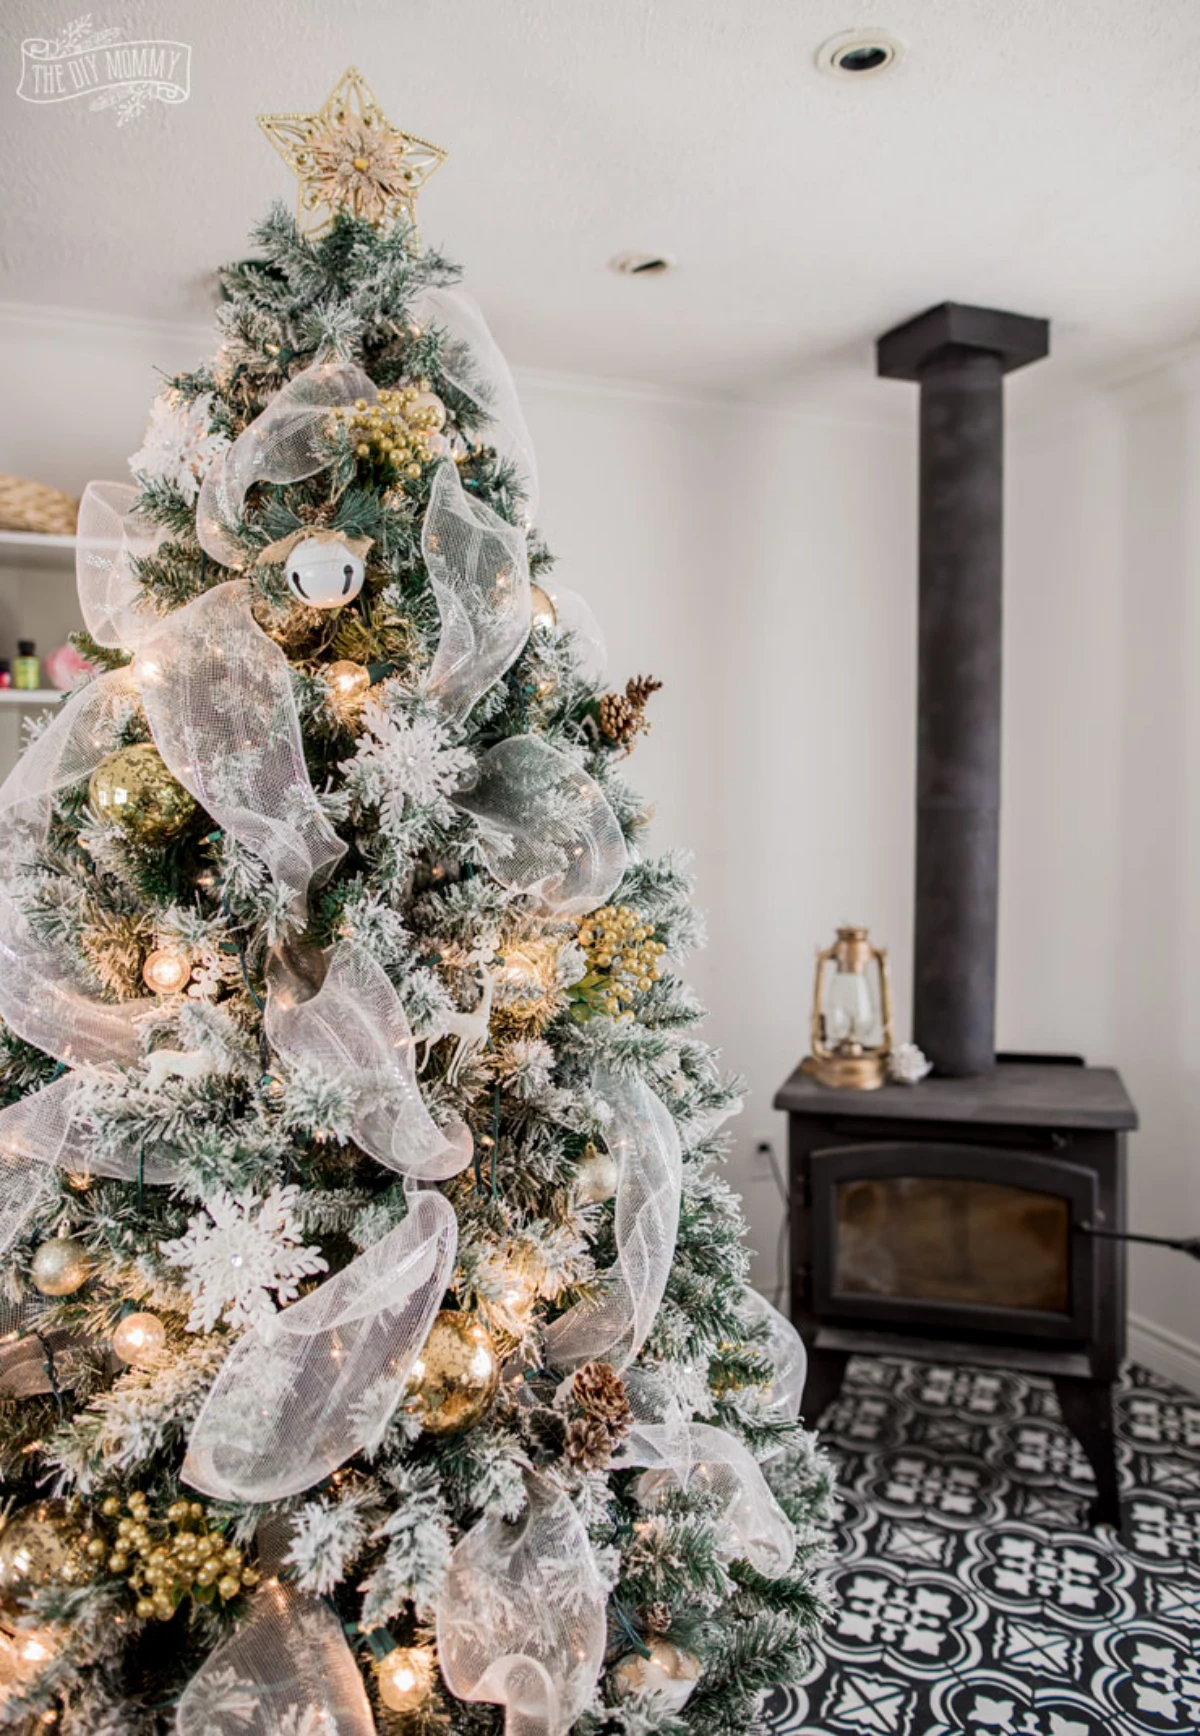
- Sheer & Organza: These are really lightweight and you can see through them. To be frank, I rarely use these as the main ribbon. Instead, I love layering a sheer, patterned ribbon on top of a wider, solid one. It just adds this delicate, complex layer to the whole look.
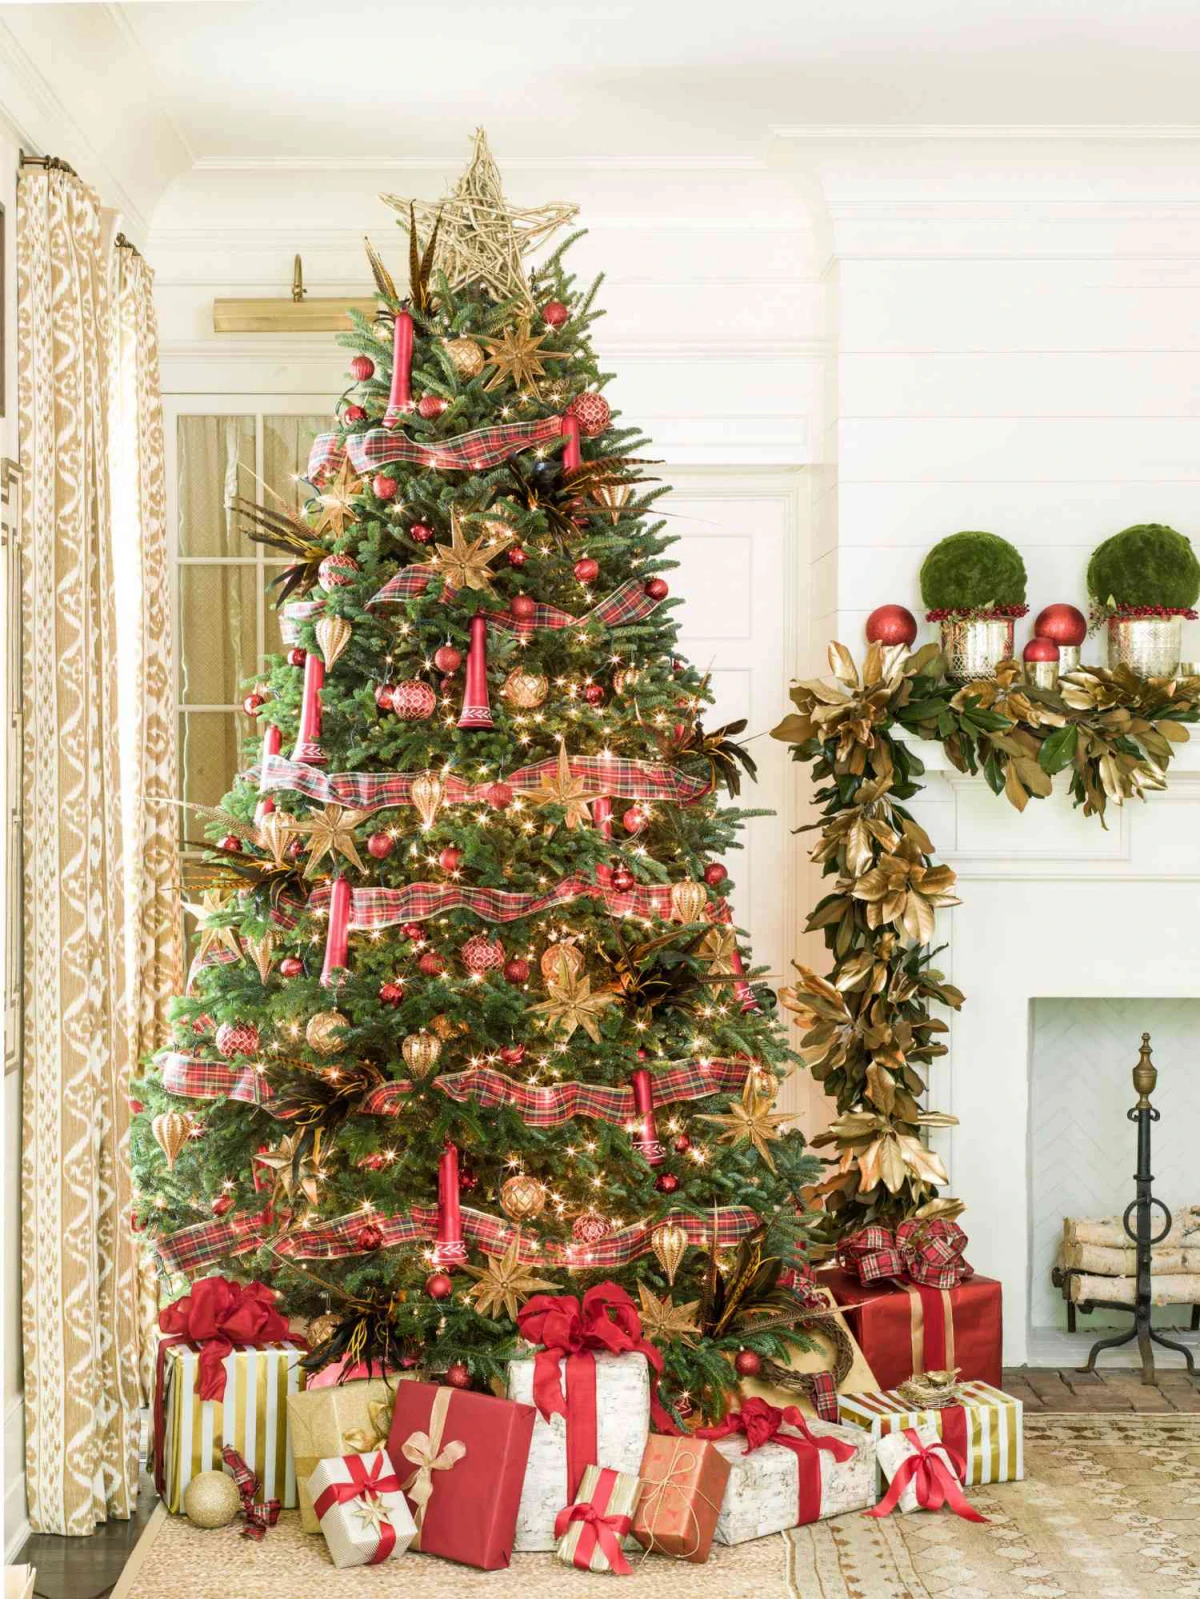
- Plaid & Taffeta: These have a wonderfully crisp, almost papery feel and make a satisfying rustle when you handle them. Plaids are a cornerstone of classic, cottage-style decorating, and they hold sharp folds beautifully, which makes them perfect for bows.
And what about width? For most standard trees (think 7 to 9 feet tall), a 2.5-inch width is your best friend. It’s big enough to make an impact without swallowing your branches. For giant trees, 10 feet and up, I’ll often use a 4-inch ribbon as the base layer. And for tiny tabletop trees, a 1.5-inch ribbon will look much more proportional.
How Much Ribbon Do I Actually Need?
This is the million-dollar question. My go-to rule of thumb is to plan for about 10 yards of ribbon for every vertical foot of your tree. It sounds like a lot, but it’s better to have extra than to run out.
Let’s do the math for a 7-foot tree: 7 feet x 10 yards = 70 feet. Since most spools at places like Michaels or JOANN are 10 yards (which is 30 feet), you’d want to buy at least three spools to be safe. Leftover ribbon is always useful for wreaths or presents. Running out is a nightmare because you might not be able to find the exact same color again.
Budget-Friendly Tip: If your tree is pushed into a corner or against a wall, you don’t need to decorate the back! You can get away with using about two-thirds of the ribbon, which can save you a good chunk of change. Expect to pay between $8 and $15 for a quality 10-yard spool of 2.5-inch wired ribbon. That cheap, non-wired stuff from the dollar store might seem like a bargain, but trust me, it’ll just lead to frustration.
Quick Fix: If your ribbon is creased from being on the spool, a quick blast with a hairdryer on low heat while you gently pull it straight will relax the wrinkles right out.
Safety First: My Non-Negotiable Rules
Before we get to the fun part, let’s talk safety. Holiday decorating should be joyful, not a reason to call the fire department or visit the ER. These are the rules I live by.
Tree & Ladder Stability
Most decorating accidents are just simple falls. Please, always use a proper stepladder—not a wobbly dining chair. Make sure it’s fully open and on a level surface. My golden rule is the ‘three points of contact’ rule: always keep either two feet and one hand, or one foot and two hands, on the ladder. Don’t overreach to place a piece of ribbon. It takes 10 extra seconds to climb down and move the ladder, but it could save you from a serious injury.
Before you put a single thing on the tree, grab the trunk and give it a firm shake. If it wobbles, tighten the stand immediately. For big trees, especially if you have kids or pets, I highly recommend anchoring the top of the tree to the wall or ceiling with some heavy-duty fishing line. It’s practically invisible and prevents a total timber-rrrrr moment.
Fire Safety: Ribbon Meets Lights
This is a big one. While modern lights are much safer than the ones we grew up with, the fire risk is never zero. Fire safety experts all agree: always use lights that have been tested for safety. Look for a certification label (like UL or ETL) on the box.
I pretty much exclusively use LED lights now. They produce almost no heat, which is a massive plus when you’re weaving flammable ribbon all over the place. Older incandescent bulbs can get hot enough to be a problem if they’re in direct contact with fabric for a long time. If you’re using vintage lights for that nostalgic glow, just be extra careful that the ribbon isn’t bunched up right against a bulb. And it goes without saying… never use real candles.

The Core Pro Techniques: Step-by-Step
Okay, let’s make some magic. There are a few tried-and-true methods for applying ribbon, and each one gives a totally different effect. I’ll walk you through my four favorites.
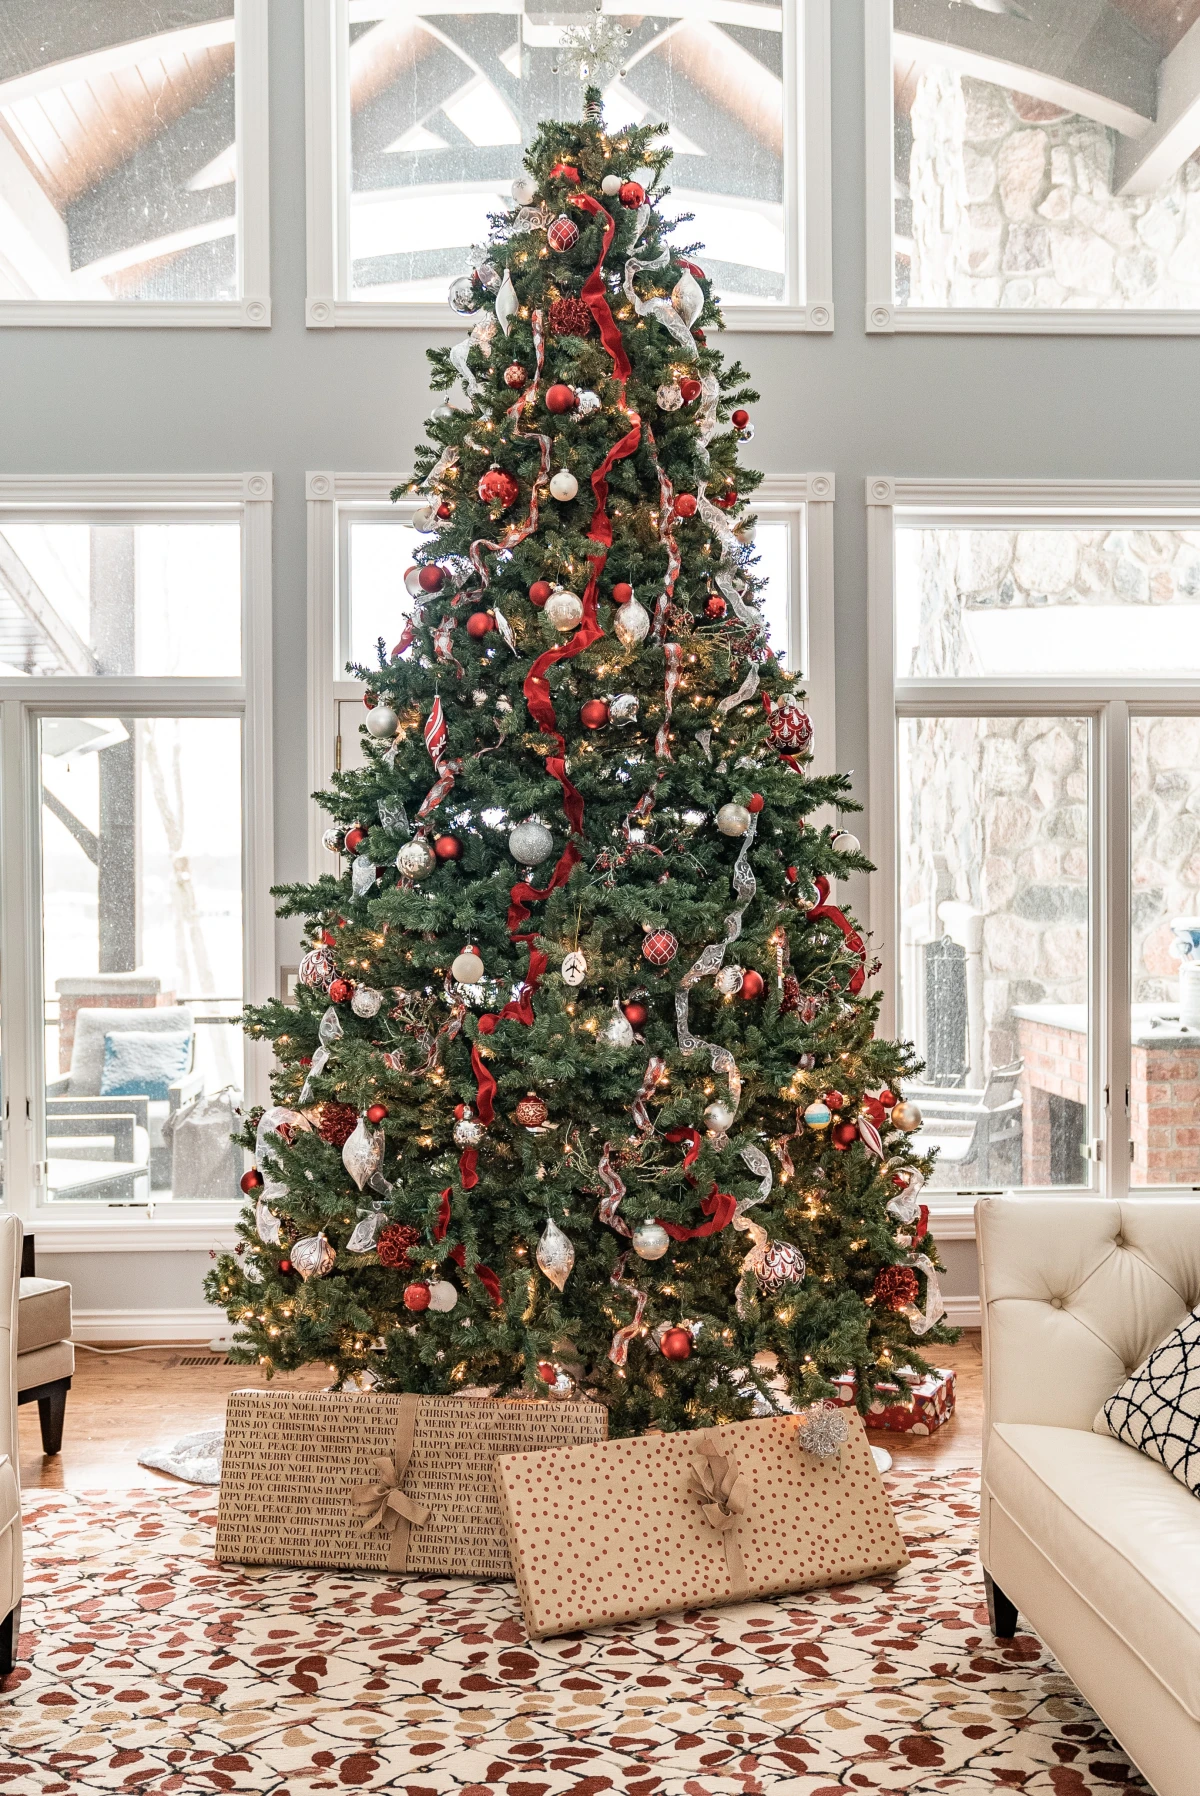
Technique 1: The Classic Horizontal Wrap
This is the cozy, timeless look you probably picture in your head. The ribbon gently winds around the tree, weaving in and out of the branches. It’s perfect for any tree, especially really full ones. Difficulty: I’d give it a 2 out of 5. It’s super approachable for beginners.
- Start at the top, right below where your topper will go. Tuck the end of the ribbon deep into the tree, near the trunk. To secure it on an artificial tree, just twist a branch tip around it. For a real tree, find a sturdy inner branch and wrap the ribbon around it twice to anchor it.
- Now, start working your way around the tree. The key is to NOT pull it tight along the outside—that’s what creates that strangled look. Instead, use the ‘tuck and billow’ method.
- Unspool about 2 feet of ribbon. Let it curve outwards softly (the ‘billow’). Then, about 12-18 inches over, tuck the ribbon deep into the tree again and secure it.
- Repeat this process—billow, tuck, secure—as you work your way around and down the tree in a gentle spiral.
- When a spool runs out, just hide the joint deep inside the tree and start the new spool in the same spot, wrapping both ends around a branch for security.
Common Mistake: If your ribbon sags, your ‘billows’ are too long. Just shorten the distance between your tucks. If it looks flat, you’re not billowing enough! Pull it further out from the tree before you tuck it back in and use the wire to shape it into a nice curve.

Technique 2: The Vertical Drop
This is a more modern, graphic look that really emphasizes your tree’s height. It’s clean and elegant. It works great on taller, more slender trees, but honestly, it looks good on any shape. Difficulty: 2 out of 5. Simple in concept, it just requires a little patience to get the spacing right.
- For this method, don’t work from the spool. First, cut your ribbon into strips. Measure from the top of the tree to the bottom branches and add about a foot of extra length. For a 7-foot tree, your strips will be about 5-6 feet long. Cut as many as you need to go around the tree (usually 5-8 strips is plenty).
- Take one strip and secure it at the top, deep in the branches near the trunk.
- Let the ribbon fall straight down. Now, here’s the artistic part: about halfway down, tuck the ribbon loosely into a branch. This creates a single, soft billow and stops it from looking like a flat stripe. Let it continue to the bottom and tuck the end away in the lower branches.
- Repeat this with your other strips, spacing them evenly around the tree. Use your hands to flare out the wire edges to give them some body.
Common Mistake: If the strips look crooked, your anchor points at the top aren’t spaced evenly. It’s worth the time to adjust them so they look balanced.
Technique 3: The Cascading Waterfall
This is the most dramatic, opulent look. It’s my go-to for a ‘wow’ factor design. It takes some patience, but the result is stunning. Difficulty: 4 out of 5. This is the advanced move, but you can do it!
- This method starts right at the top. Cut 4 to 8 long strips of ribbon, each at least the height of your tree. A wider, 4-inch ribbon works best here.
- Gather the ends of all your strips together. You’re going to create a ‘ribbon topper’ that all the tails will flow from. To make it, you’ll form a big bow to sit at the top.
- Quick Pro-Topper Bow: Take another piece of ribbon. Make a 6-inch loop and pinch the base. Make another 6-inch loop on the opposite side and pinch it into the first one. Repeat this a few more times, alternating sides, until you have a full-looking bow. Cinch the center tightly with floral wire, leaving long wire ‘legs’. Now, use another piece of wire to attach the gathered ends of your long ribbon tails to the base of this bow.
- Secure this entire bundle firmly to the top trunk of your tree using the floral wire.
- Now, take one ribbon tail and guide it down the tree in a loose ‘S’ shape. At each curve of the ‘S’, use a branch tip or another piece of floral wire to loosely secure it. This holds the flowing shape.
- Repeat this for each tail, draping them down different sides of the tree so they look like they’re naturally flowing from the top.
Common Mistake: Pulling the ribbon too tight. This look is all about softness and volume. If it looks stiff, your anchor points are too tight. Loosen them up! It takes practice to get the flow right, so don’t get discouraged.
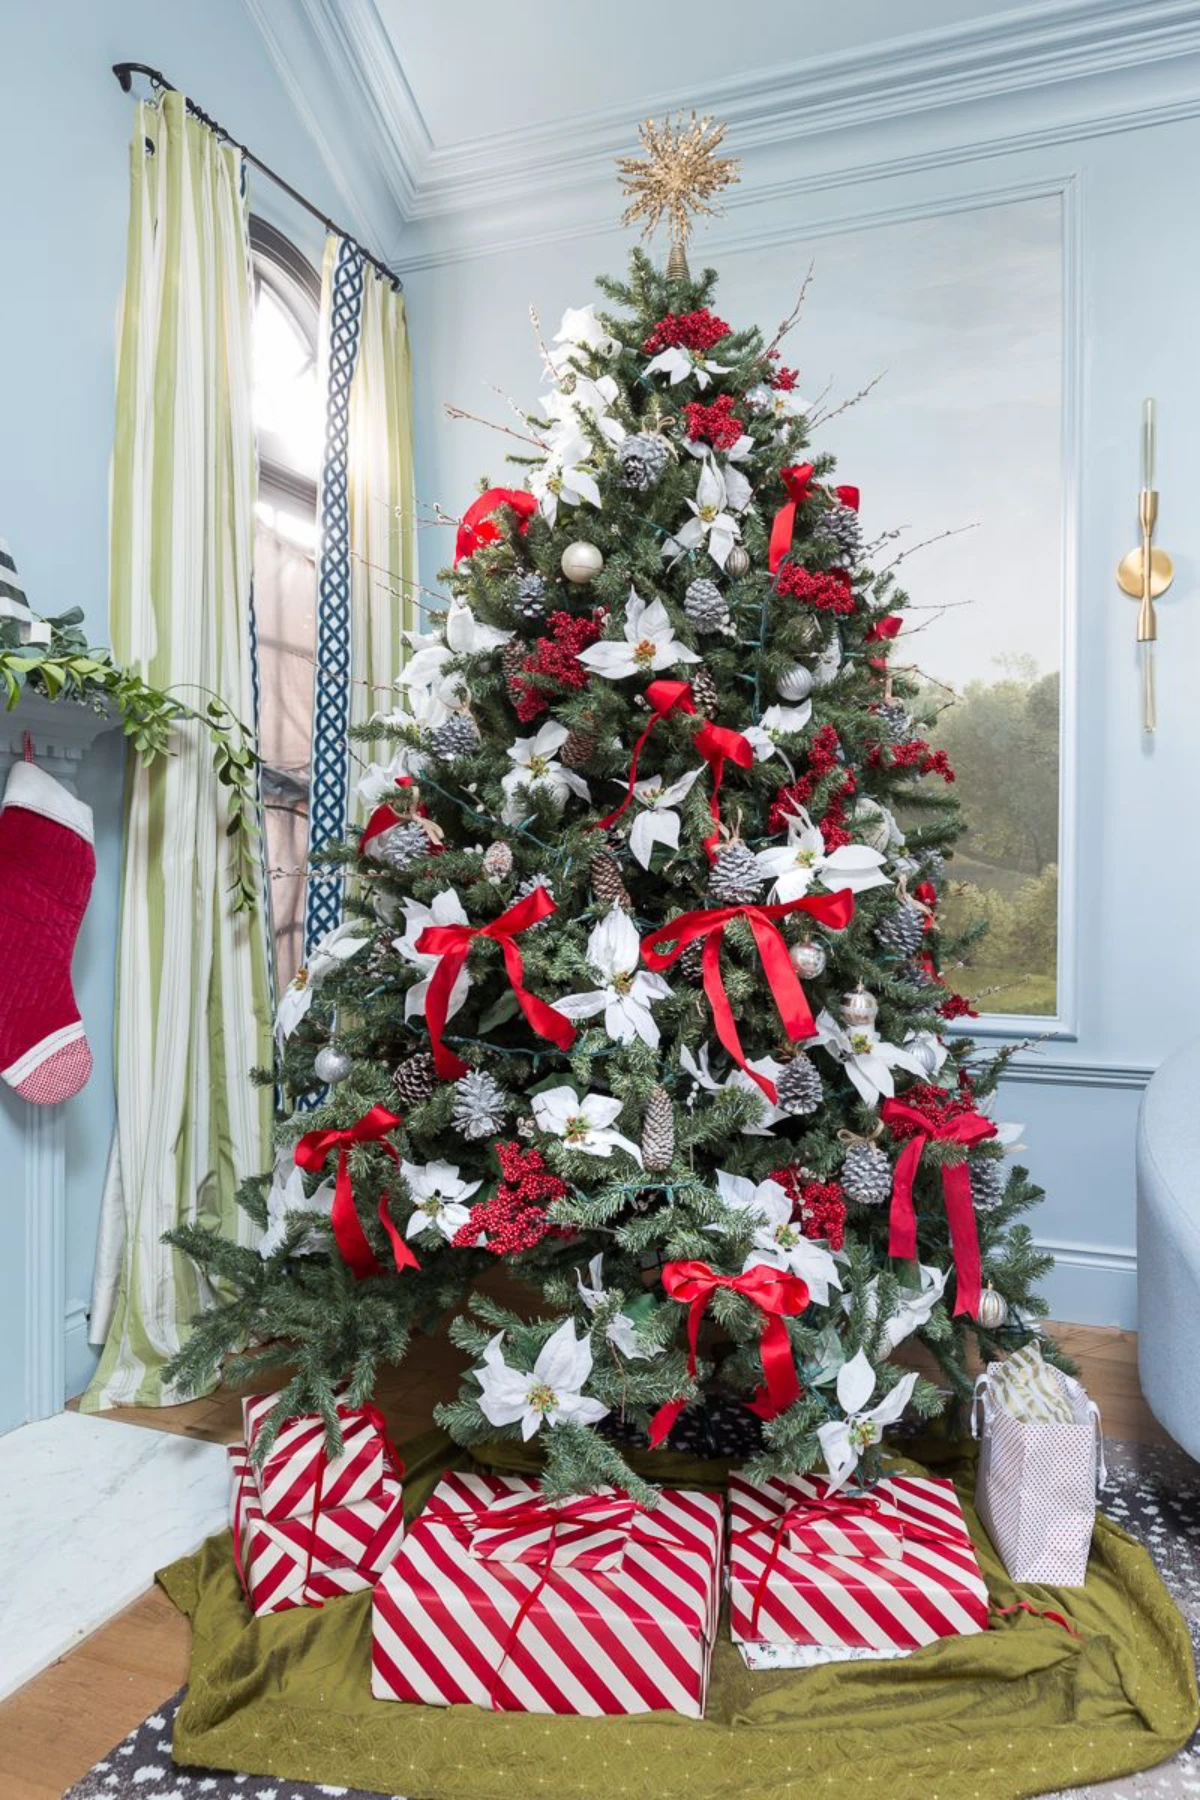
Technique 4: Individual Bows & Loops
This is a fun, whimsical technique that’s perfect for filling in gaps on a sparse tree or just adding pops of texture and color. Difficulty: 3 out of 5. It’s not hard, just a bit repetitive—a great task for while you’re watching a holiday movie.
- Cut your ribbon into a bunch of 24-inch strips.
- Take one strip and make a simple two-loop bow. Don’t tie a knot! Instead, just pinch it in the center and wrap it tightly with a 6-inch piece of floral wire, leaving the wire ends like long legs.
- Make dozens of these. Seriously, make a pile of them.
- Place the bows all over the tree using the wire legs to attach them to branch tips. The key is to vary the placement—put some deep inside the tree and others on the outer edges to create a sense of depth.
Common Mistake: The bows look flat. After you attach a bow, stick your fingers inside the loops and fluff them out. Use those wire edges to make them look full and round.
The Can’t-Mess-It-Up Decorating Order
Pros always work in a specific order to be efficient and get the best results. It might feel a little rigid, but it works.
- Tree Setup & Fluffing: If you have an artificial tree, you MUST fluff every single branch. It takes time but it’s the single most important step for a full-looking tree.
- Lights: Lights always go on first. It’s a nightmare trying to string them over decorations. And please, test them before you put them on!
- Tree Topper: Secure your topper now. It provides a great anchor point for your ribbon, especially if you’re doing the waterfall method.
- Ribbon & Garland: This is your next layer. The ribbon creates the structure for everything else.
- Large Ornaments: Your biggest, heaviest ‘statement’ ornaments go on next. Push some deep into the branches to create depth.
- Filler Ornaments: Finally, fill in all the remaining gaps with your smaller, standard ball ornaments and other little treasures.
What About Next Year? Storing Your Ribbon
After all that hard work, don’t just shove your beautiful ribbon in a box! You can absolutely reuse it for several years if you store it properly. The goal is to avoid creases and tangles.
The best way I’ve found is to get an empty paper towel roll or a small cardboard tube. Secure one end of the ribbon to the tube with a pin or a small piece of tape. Then, simply roll the ribbon flat and smooth around the tube, just like it was on the original spool. Once it’s all rolled up, stick another pin through the end to keep it from unraveling. Store the rolls in a dry, sealed container to keep them from getting dusty or musty.
Your Homework (The Fun Kind)
Feeling a little more confident? Good. Here’s a final tip.
Before you even go near the tree, do this: cut a 2-foot piece of your wired ribbon and just play with it. Don’t try to make anything specific. Just feel it. Make a loop. Make an S-curve. Twist it. See how the wire holds the shape you give it? Getting comfortable with how the material works is half the battle.
At the end of the day, the goal isn’t a flawless, magazine-perfect tree. It’s about creating something that feels like you and brings a little bit of magic into your home for the season. Have fun with it!


