Elf on the Shelf Without the Meltdown: A Parent’s Survival Guide
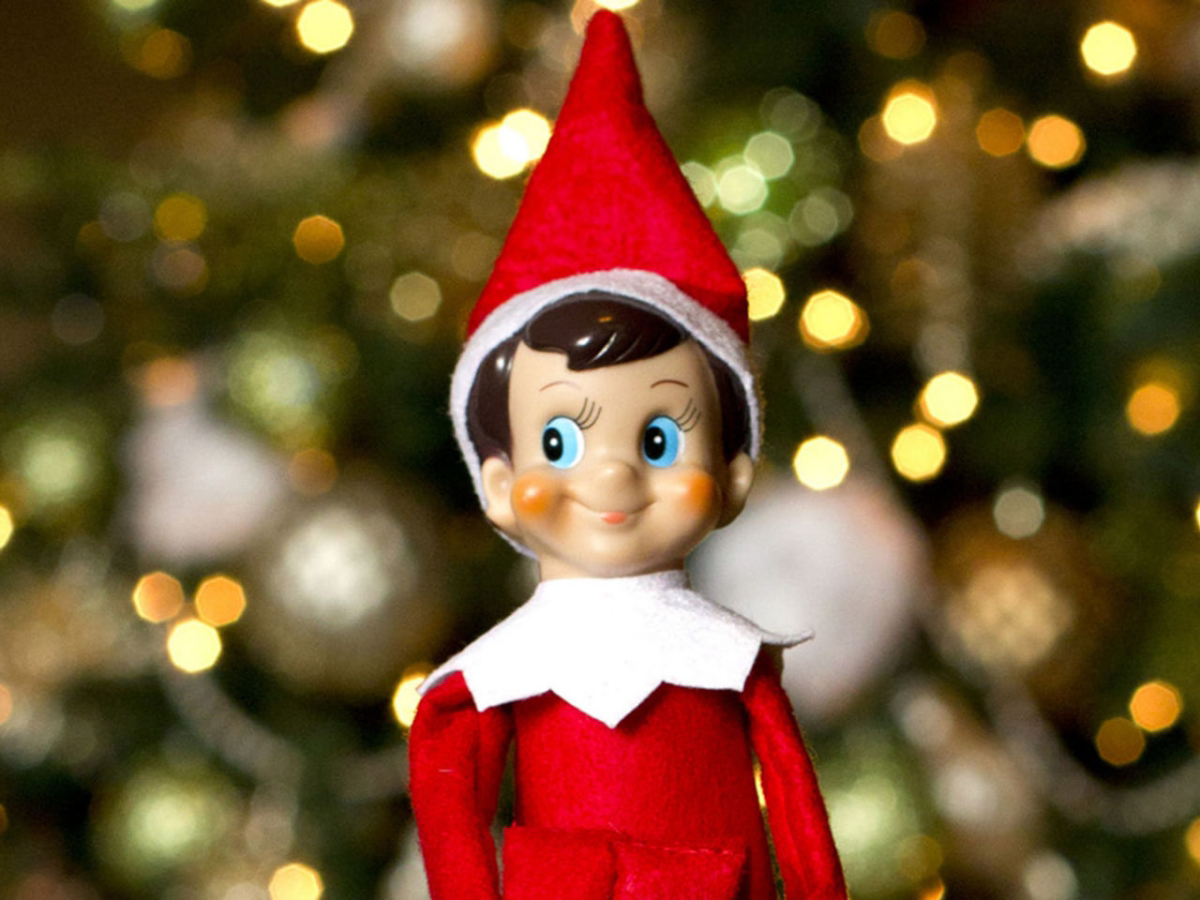
I can still picture it: the first year our scout elf showed up. He arrived in that classic box with the storybook, and the kids were instantly obsessed. That first night, I just plonked him on the mantelpiece. Easy. The next morning, the kids were electric with excitement. Night two, I moved him to a bookshelf. By night three… panic started to set in. I had zero plan, no props, and a looming sense of dread about keeping this up for a whole month.
In this article
Sound familiar? That was a long time ago, and since then, I’ve learned a ton about how to make this tradition genuinely fun instead of a soul-crushing chore. This guide is all the stuff I wish I’d known back then.
Forget those impossibly perfect scenes you see online. This is about real life. We’ll cover the simple tricks for posing your elf, the handful of tools you actually need, and how to keep it all safe and, dare I say, enjoyable. The goal here is happy holiday memories, not another thing on your to-do list.
Getting Started: Your Elf’s First Week & Toolkit
A little prep work now will save your sanity later, trust me. The first week is all about setting the stage and finding your groove.
Quick Win: Feeling overwhelmed already? Go grab a toy car from the kids’ room and a bottle cap from the recycling bin. Boom. You’ve got two props and two nights of ideas ready to go. See? You can do this.
The Big Arrival
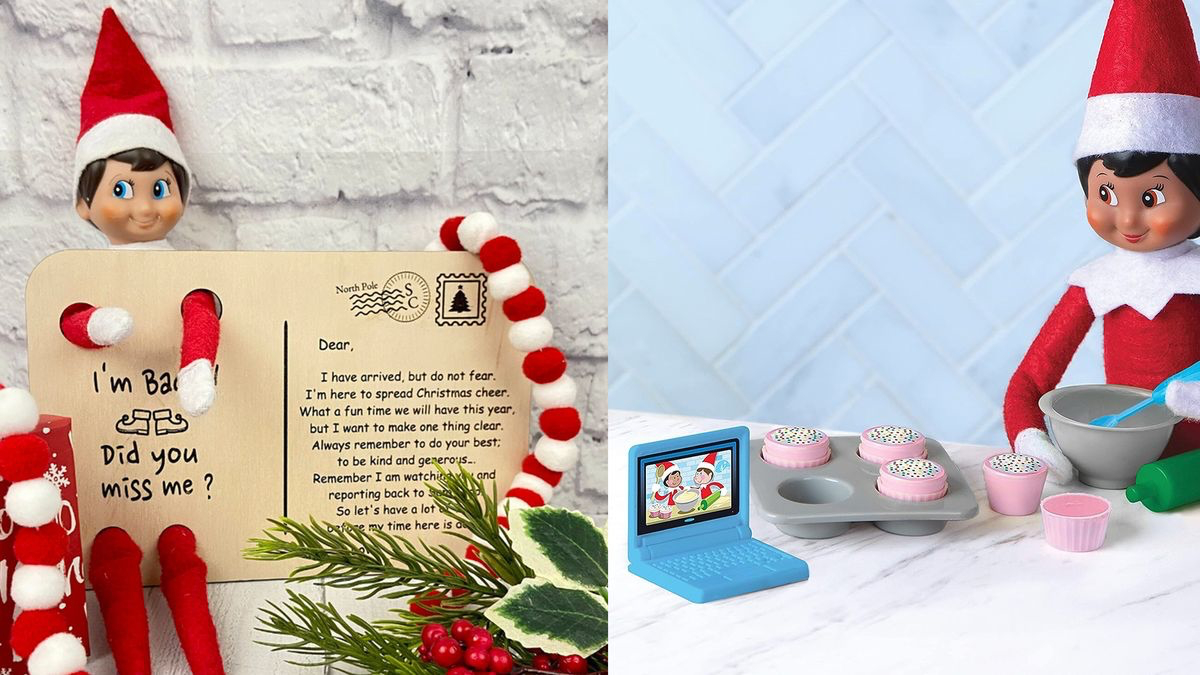
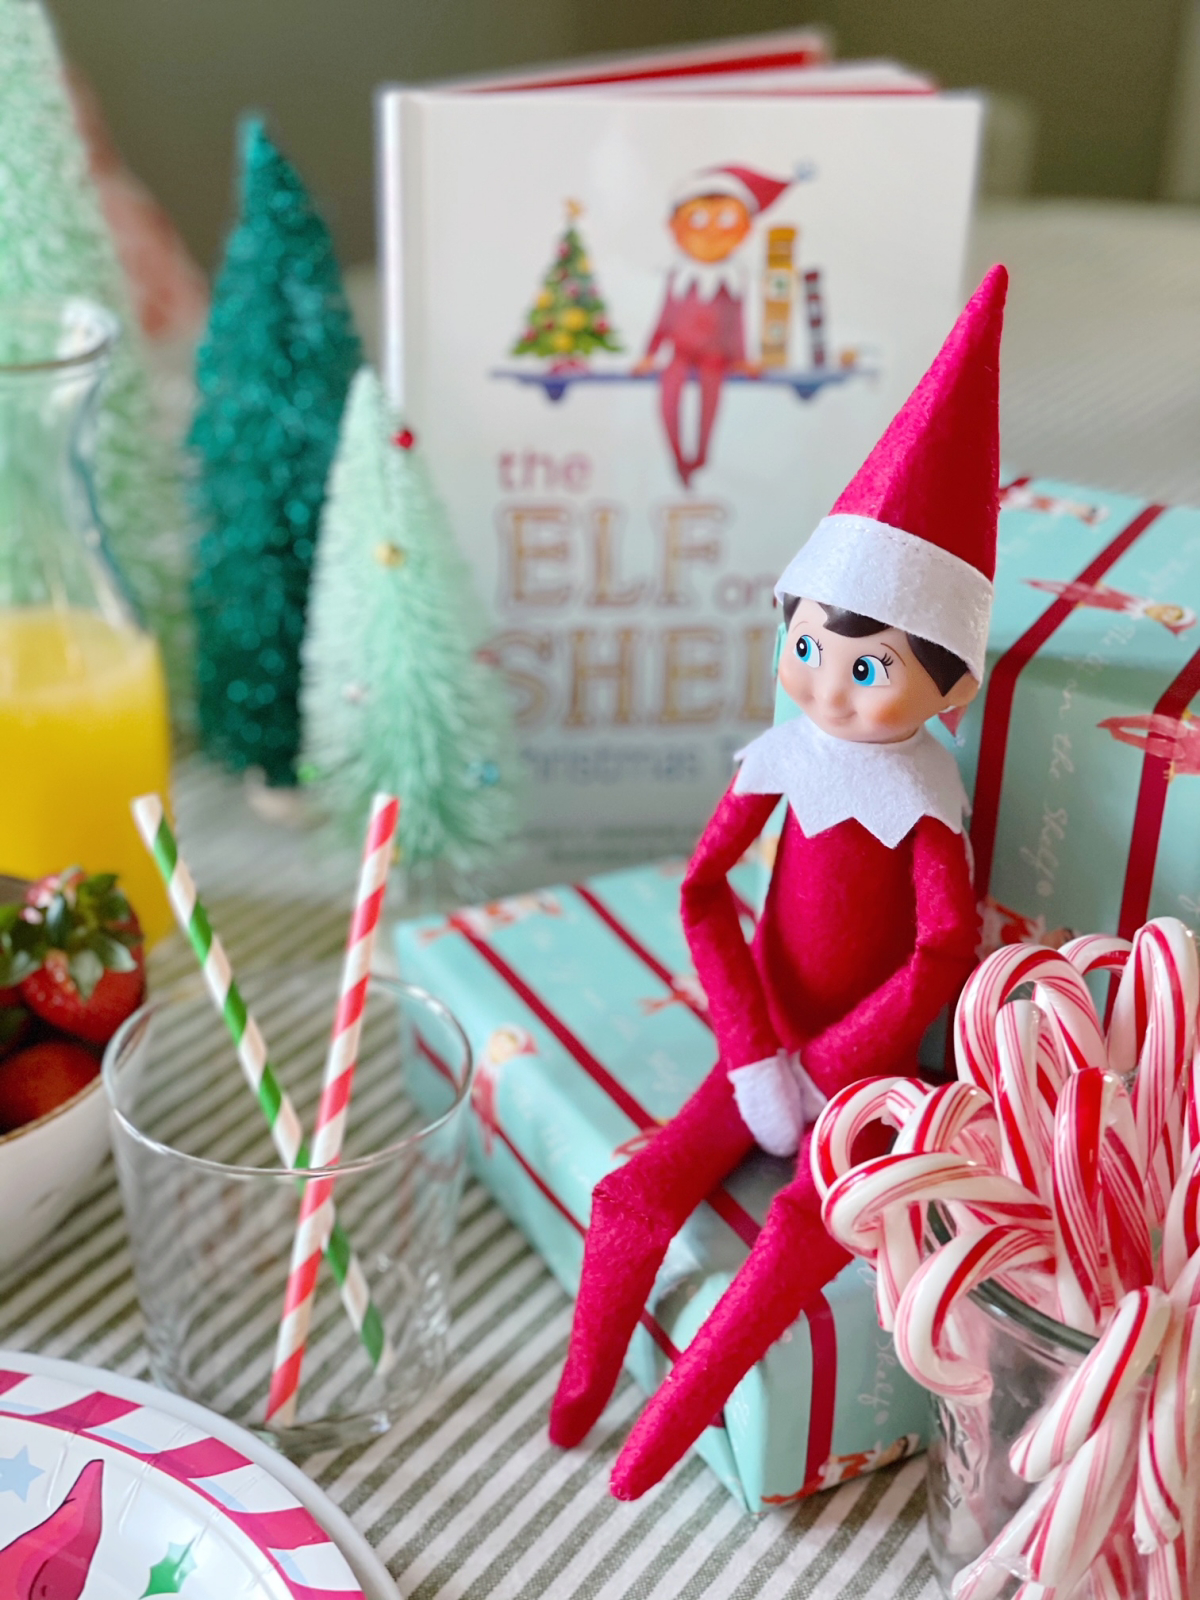
Your elf can make their grand entrance anytime after Thanksgiving, though many families kick things off on December 1st. It doesn’t have to be a major production. Simply having the elf sitting next to their storybook at the breakfast table is magical enough. If you have a little extra energy, you could place the elf in a small box with a “North Pole Air Mail” stamp scribbled on it. Including a little welcome letter is a great way to gently lay out the “rules” without sounding like a drill sergeant.
The “No Touching” Rule
So, the number one rule is that kids can’t touch the elf, or the magic might fade. This can be a tough one for little hands. I’ve always found it helps to frame it as protecting the elf. I’d say something like, “His magic is super delicate, like a tiny soap bubble. If we touch him, it might pop! He needs that magic to fly back to the North Pole every night.” This turns it from a restrictive rule into a sweet, caring gesture. It also gives you an out if an accident happens (more on that later!).
Your Essential Toolkit (for under $10)
You do not need to buy those expensive pre-made kits. Honestly, you probably have most of what you need already. Here’s my tried-and-true, super-cheap toolkit:
- Poster Putty: This is your secret weapon. A tiny ball of poster putty holds the elf in place almost anywhere. It’s way better than double-sided tape, which I learned the hard way can strip paint right off a surface. You can find it in any office supply aisle for about $3. Good to know: If you’re worried about a delicate surface, always test the putty on a hidden spot first.
- Floral Wire: Thin, green floral wire (around 20-gauge) is the key to making your elf posable. You can grab a whole paddle of it in the fake flower aisle at a craft store or even Walmart for another $3. For less than the price of a fancy coffee, you’re set for years.
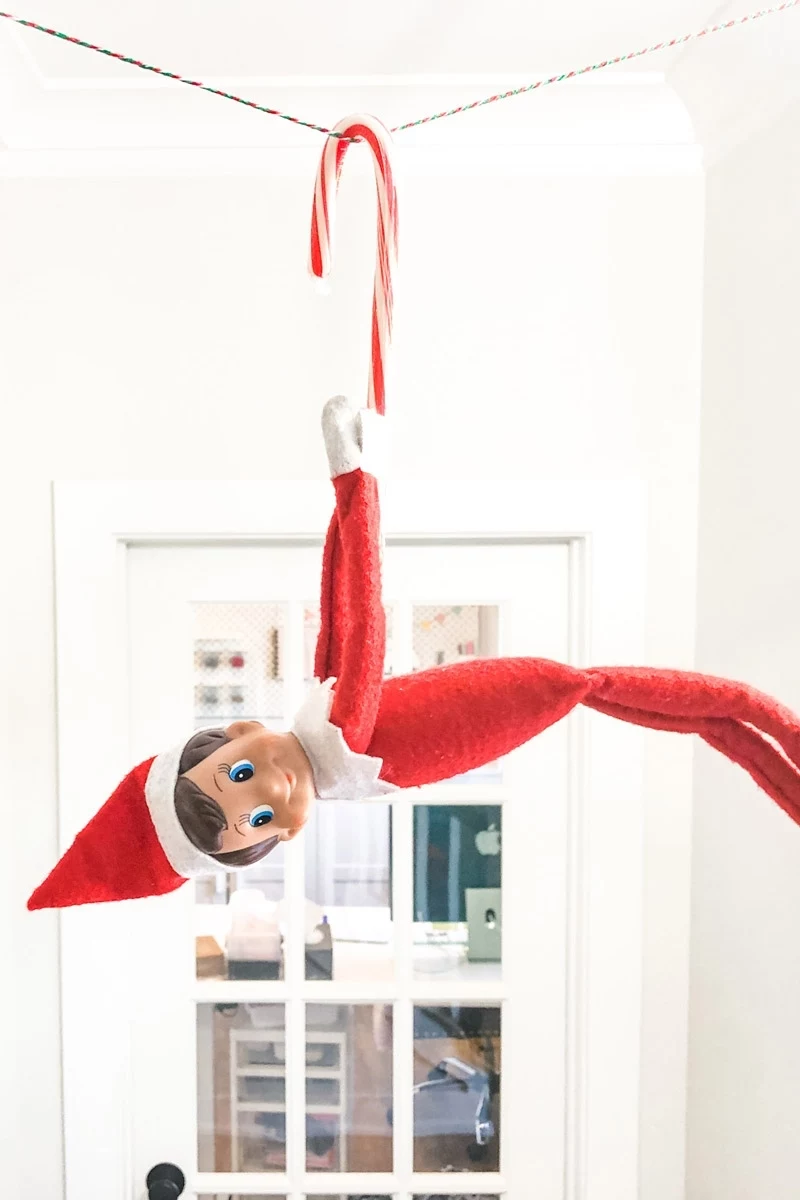
- Fishing Line: For any scene that involves flying, swinging, or climbing, a clear fishing line is practically invisible and surprisingly strong. Just tie a simple knot under the elf’s arms, and you’re good to go.
- Miniature Props: Start seeing the world through elf-sized eyes. A dollhouse teacup is a perfect coffee mug. A bottle cap makes a great bowl. Your kids’ own toys are the best prop source—let the elf take a joyride in a toy car or build something with a few colorful bricks.
The Secret to Posing Your Elf (aka Elf Surgery)
Straight out of the box, these elves are… floppy. Their heads are huge and their bodies are soft, so they just fall over constantly. For years, I struggled with this until I learned the single best trick in the book: giving the elf a hidden skeleton.
This sounds intense, but it takes about 15 minutes one time and will save you hours of frustration. I promise.
- Make Tiny Openings: Use a seam ripper to carefully open a few stitches at the very ends of the elf’s hands and feet. You just need a tiny hole.
- Prep the Wire: Cut a piece of floral wire long enough to go from one hand, up the arm, across the shoulders, and down the other arm. FOLD the sharp ends back on themselves to create a tiny, blunt loop so it won’t poke through the fabric.
- Insert the Wire: Gently guide the wire through the arms. Do the same for the legs—one continuous piece of wire works great, from foot to hip to foot.
- Stitch It Up: A few quick stitches with some red or white thread, and you’re done. No one will ever know.
Just imagine the difference. Before, you had a limp, sad elf that could only lean against things. Now, you have a confident, posable elf who can bend his knees, wrap his arms around a candy cane, and even stand on his own with a little balancing. It’s a total game-changer.
A Quick Word on Adhesives
Choosing the right way to make your elf stick is key to avoiding damage. Poster putty is your best friend for non-porous surfaces like finished wood, glass, and countertops. But a heads-up: it can leave an oily stain on porous things like wallpaper or unpainted wood. For fabrics, like getting your elf to cling to a curtain, your secret weapon is a small safety pin, hidden behind the elf’s back. Forget strong tapes—they’re just asking to peel paint or varnish off your furniture.
A Cheat Sheet of Tried-and-True Ideas
The key to a stress-free month is having a list of ideas ready to go. I keep a running note on my phone. Some nights you have the energy for a big setup, but most nights, you just need something fast.
Low-Effort Lifesavers (Under 2 Minutes)
- Hiding in the Christmas tree branches.
- Perched on top of a picture frame.
- Driving a toy car or truck.
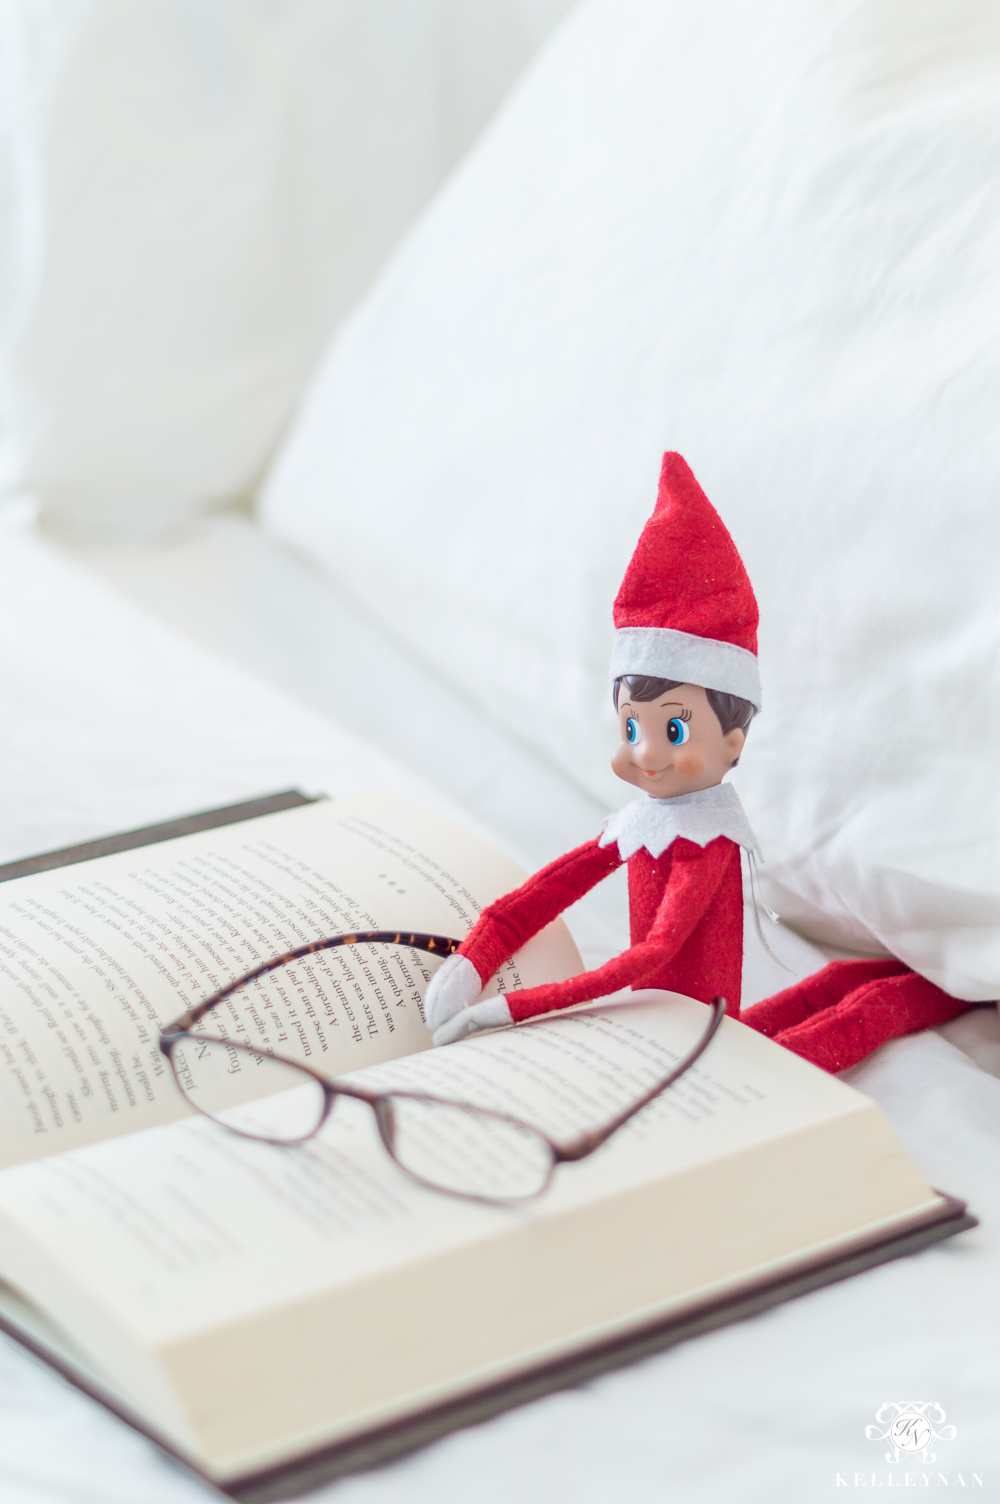
- Reading a “book” (a tiny scrap of paper with scribbles works great).
- Hanging from a doorknob.
- Peeking out from the top of a Christmas stocking.
- Sitting inside the toilet paper roll on the holder.
The “Mischievous” Elf (Use Sparingly!)
These are often the most memorable, but they can be messy. I rate them by their cleanup factor.
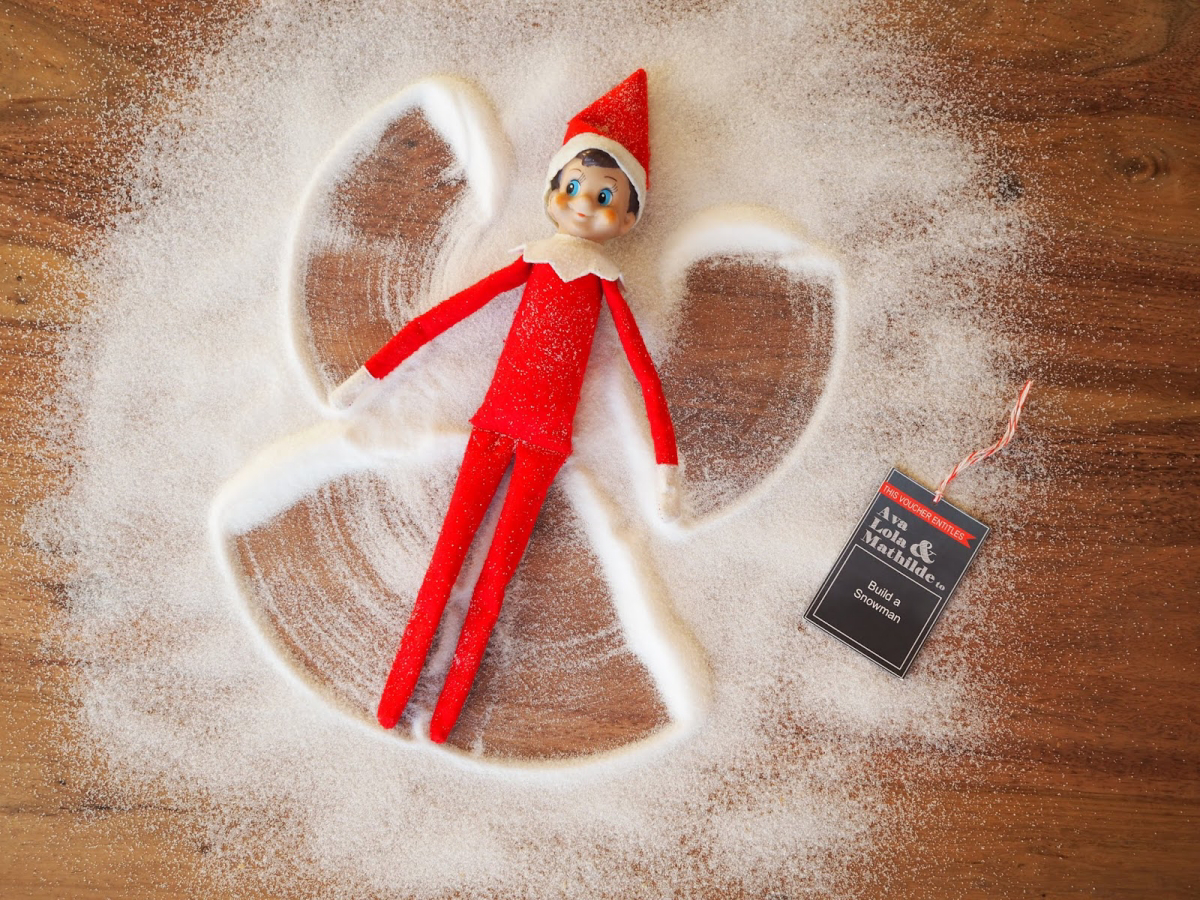
- Flour Angel. The elf makes a “snow angel” in flour on the counter. Mess Level: 10/10. Seriously, this fine dust gets everywhere. Pro tip: Do it on a baking sheet to contain the chaos.
- Toothpaste Message. The elf writes “Hi” on the bathroom counter with toothpaste. Mess Level: 4/10. A quick wipe-down, but you’ll sacrifice some toothpaste.
- Toilet Paper Streamers. The elf TP’s a room. Mess Level: 2/10. Looks dramatic, but it’s super easy to roll back up.
- Drawing on Bananas. A simple marker on a banana peel is a classic. Mess Level: 0/10. Zero cleanup and always gets a giggle.
The “Helpful” Elf
As a nice alternative to mischief, the helpful elf can encourage kindness.
- The elf sits by the lunchboxes with a piece of bread, as if helping pack lunch.
- The elf tries to put a few building blocks back in their box.
- Instead of just watching, the elf arrives with a note suggesting a kind act for the day, like “draw a picture for a neighbor” or “help clear the table without being asked.” A friend of mine does this, and it has totally shifted the focus of the tradition for her family.
Safety First: Lessons I Learned the Hard Way
Okay, this part is important. A little bit of fun isn’t worth a trip to the ER or a damaged home.
Fire Hazards
This is my number one warning. Elves are made of flammable stuff. I once put our elf on a lampshade, thinking it was a clever spot. I came down the next morning to the smell of scorching polyester. The elf was okay, but it was a serious wake-up call. Keep your elf far away from lamp bulbs, toasters, stovetops, space heaters, and especially open flames like candles or the fireplace.
Choking Hazards
If you have a baby or toddler, be extra careful. Many scenes use tiny props like beads, buttons, or small toy accessories. These are serious choking hazards. For homes with little ones, always place your elf and any props high up and completely out of reach, or just skip the tiny props until everyone is a bit older.

Food Safety
It’s cute to have your elf playing with food, but remember, it’s a toy that’s been all over the house. Don’t let it touch food that people are actually going to eat. If the elf is in a bowl of candy, make sure it’s wrapped. If he’s “baking,” use a separate batch of dough for the scene that you plan to throw away afterward.
Troubleshooting the Inevitable Elf-mergencies
Even with a plan, things go sideways. Here’s how to handle the classics.
“Oh no, I forgot to move the elf!”
It happens to all of us. Don’t panic. My go-to excuse is, “Wow, he must have heard you waking up and froze in place before he could fly back!” Another great one is, “The house was so quiet last night, he must have thought you were still awake and didn’t want to get caught moving!”
“The elf fell over while we were sleeping!”
Another classic. The kids find the elf in a heap on the floor. Just say, “Oh my goodness, he must have had a clumsy landing on his way back from the North Pole!” You can introduce a pair of “magic elf tongs” (aka regular kitchen tongs) that the adult can use to safely pick him up and place him somewhere secure without touching him.
“My child touched the elf!”
This can cause genuine panic for a little one. Forget the official rule about losing magic. In our house, we have a “magic revival ceremony.” We just sprinkle a little cinnamon or glitter (elf dust) near the elf before bed. Singing a Christmas carol to the elf also works wonders. It turns a moment of fear into a really sweet, caring ritual.
“I am 100% out of ideas.”
By week three, the creative well can run dry. This is when you pull out that list of 2-minute ideas. And it is totally okay to repeat hiding spots. Your kids aren’t keeping a spreadsheet; they likely won’t remember that the elf hid in the silverware drawer last year. The goal is simple fun, not a nightly performance.
The Grand Finale: The Goodbye
On Christmas Eve, the elf’s job is done. A nice way to wrap things up is to have the elf sitting on a branch of the Christmas tree with a goodbye letter. The note can thank the kids for a fun month, mention a few good things they did, and promise to see them next year. Some elves leave a small parting gift, like a new ornament for the tree. It gives the kids a real sense of closure.
At the end of the day, this tradition is whatever you make it. It can be a joy or a burden. My advice? Keep it simple, keep it safe, and focus on the fun. The look on your kids’ faces in the morning is the only magic that really matters.
By the way, what’s your go-to, super-easy elf idea? I’d love to hear it in the comments—we parents have to stick together!
Galerie d’inspiration
Keep a small ‘Elf Emergency’ box stashed away. Having a few key items in one place means you can create a scene in under 60 seconds, even when you’re exhausted.
- Sticky Tack or Glue Dots: The secret to making your elf defy gravity. Brands like Elmer’s or Aleene’s offer removable dots that won’t damage surfaces.
- Pipe Cleaners: Bendable and cheap, they can be used to prop up your elf’s arms or as tiny props themselves (like a fishing rod or candy cane).
- Miniatures: Think dollhouse accessories, LEGO pieces, or even Barbie’s coffee mug. They instantly create a sense of scale and story.
Woke up in a cold sweat realizing you forgot to move the elf?
Don’t panic! Here’s your save: quickly write a tiny note from the elf saying,