My first holiday season in a professional kitchen wasn’t spent baking thousands of cookies, but packing them. Just packing. My mentor, a tough-as-nails European baker, was a firm believer that presentation was just as crucial as the recipe itself. For two solid weeks, my entire world was lining tins, folding boxes, and tying ribbons. She’d inspect every single one, and if a ribbon was loose, a box smudged, or a cookie cracked… I had to start over. It was maddening work, but it taught me a lesson that has stuck with me for years: the package is the final, essential step of the recipe. It’s what protects your hard work and shows the person receiving it that you truly care.
Now, after running my own small baking operations and teaching classes, I see it all the time. People pour hours into crafting these gorgeous cookies, only to toss them into a flimsy plastic container at the last second. The right packaging does so much more than just look pretty. It preserves freshness, prevents heartbreaking breakage, and transforms a simple cookie into a truly memorable gift. This is my approach, pieced together from years of trial, error, and a whole lot of holiday orders.
First Things First: Your Shopping List
Before we dive in, let’s get organized. Having the right materials on hand makes the whole process a breeze. Here’s a quick checklist of things you’ll likely need:
Containers: Tins, food-grade bakery boxes, glass jars, or clear bags.
Liners & Cushions: Parchment paper, wax paper, and food-safe crinkle paper (that shredded, zig-zag stuff).
Dividers: Cupcake liners are a secret weapon here.
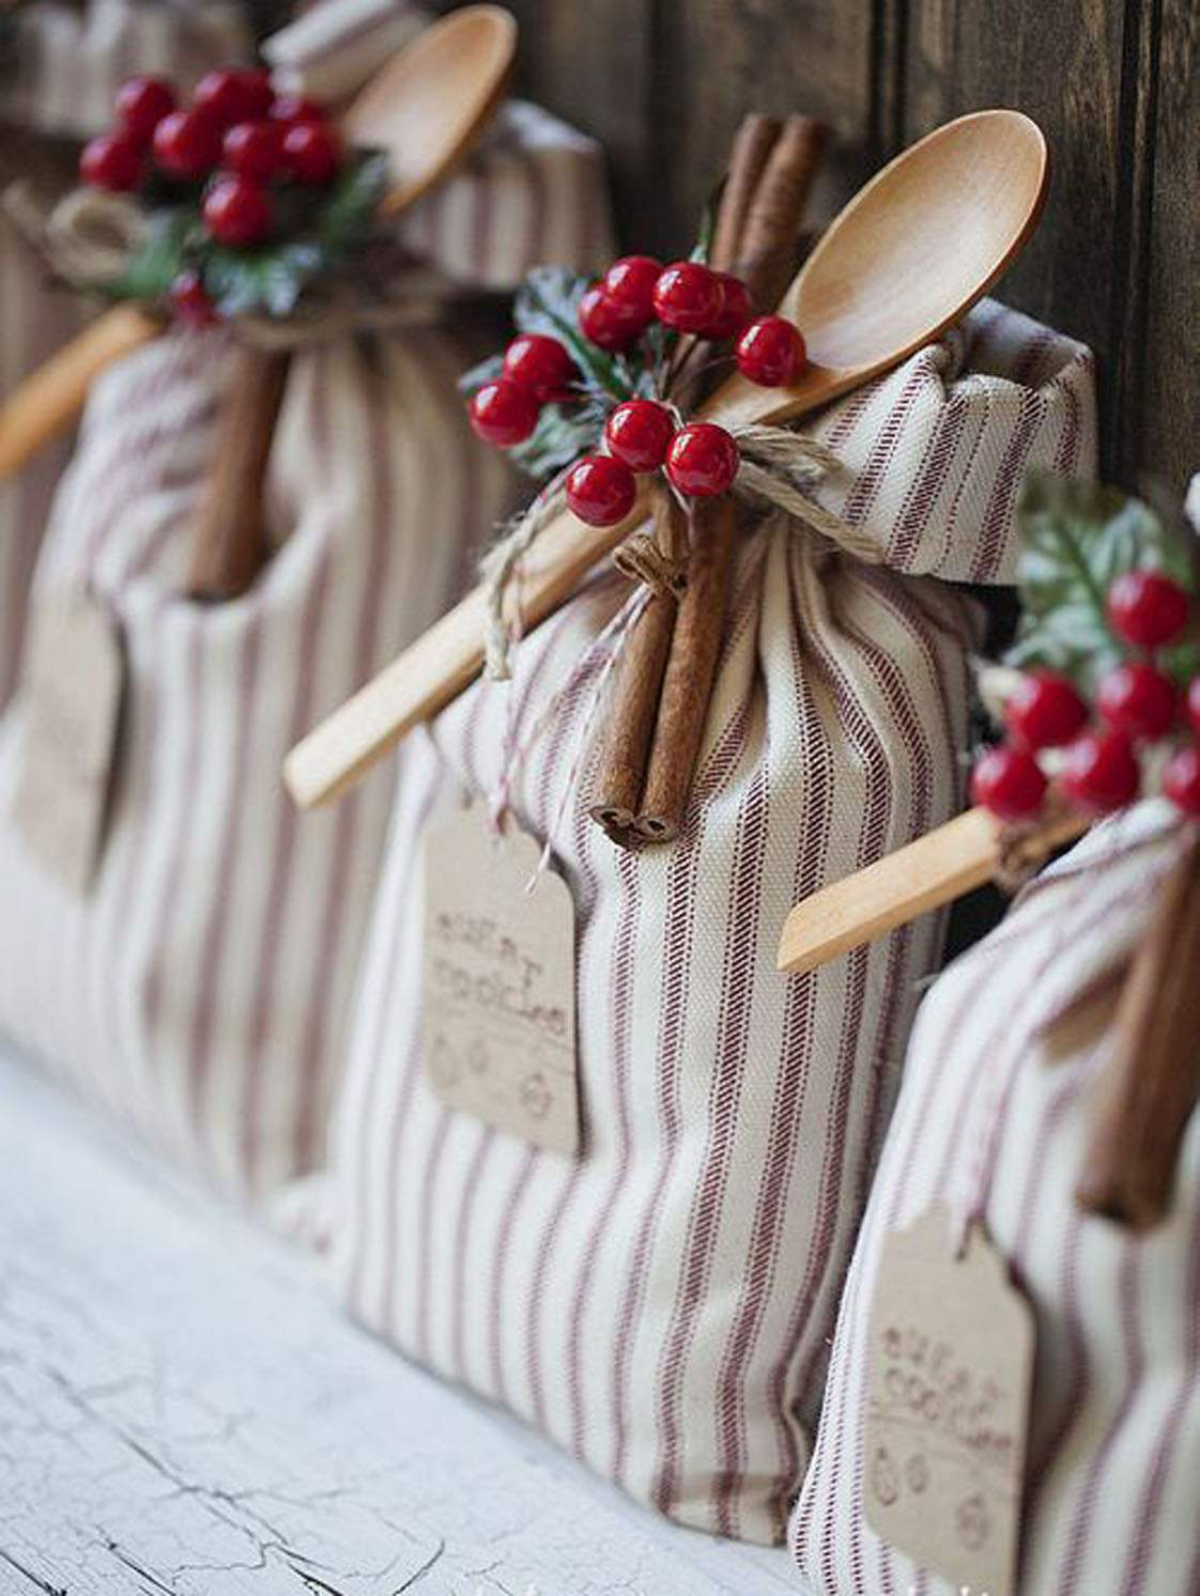
Wraps & Ties: Good quality ribbon, baker’s twine, and maybe some festive fabric.
The Science of a Fresh Cookie (The Not-Boring Version)
Okay, before you pick out a single pretty box, we have to talk about what we’re up against. The enemies of a perfect cookie are air, moisture, and light. But it’s a bit more complicated than that, because different cookies want different things.
It all comes down to a little principle called moisture migration. In simple terms, water wants to move from wet places to dry places until everything is balanced. This is exactly why crisp cookies get soft and soft cookies get hard when you store them together. The moisture from that chewy gingerbread cookie will literally jump ship and move into the dry, crisp shortbread. Within a day, you’ve got two mediocre cookies instead of two perfect ones.
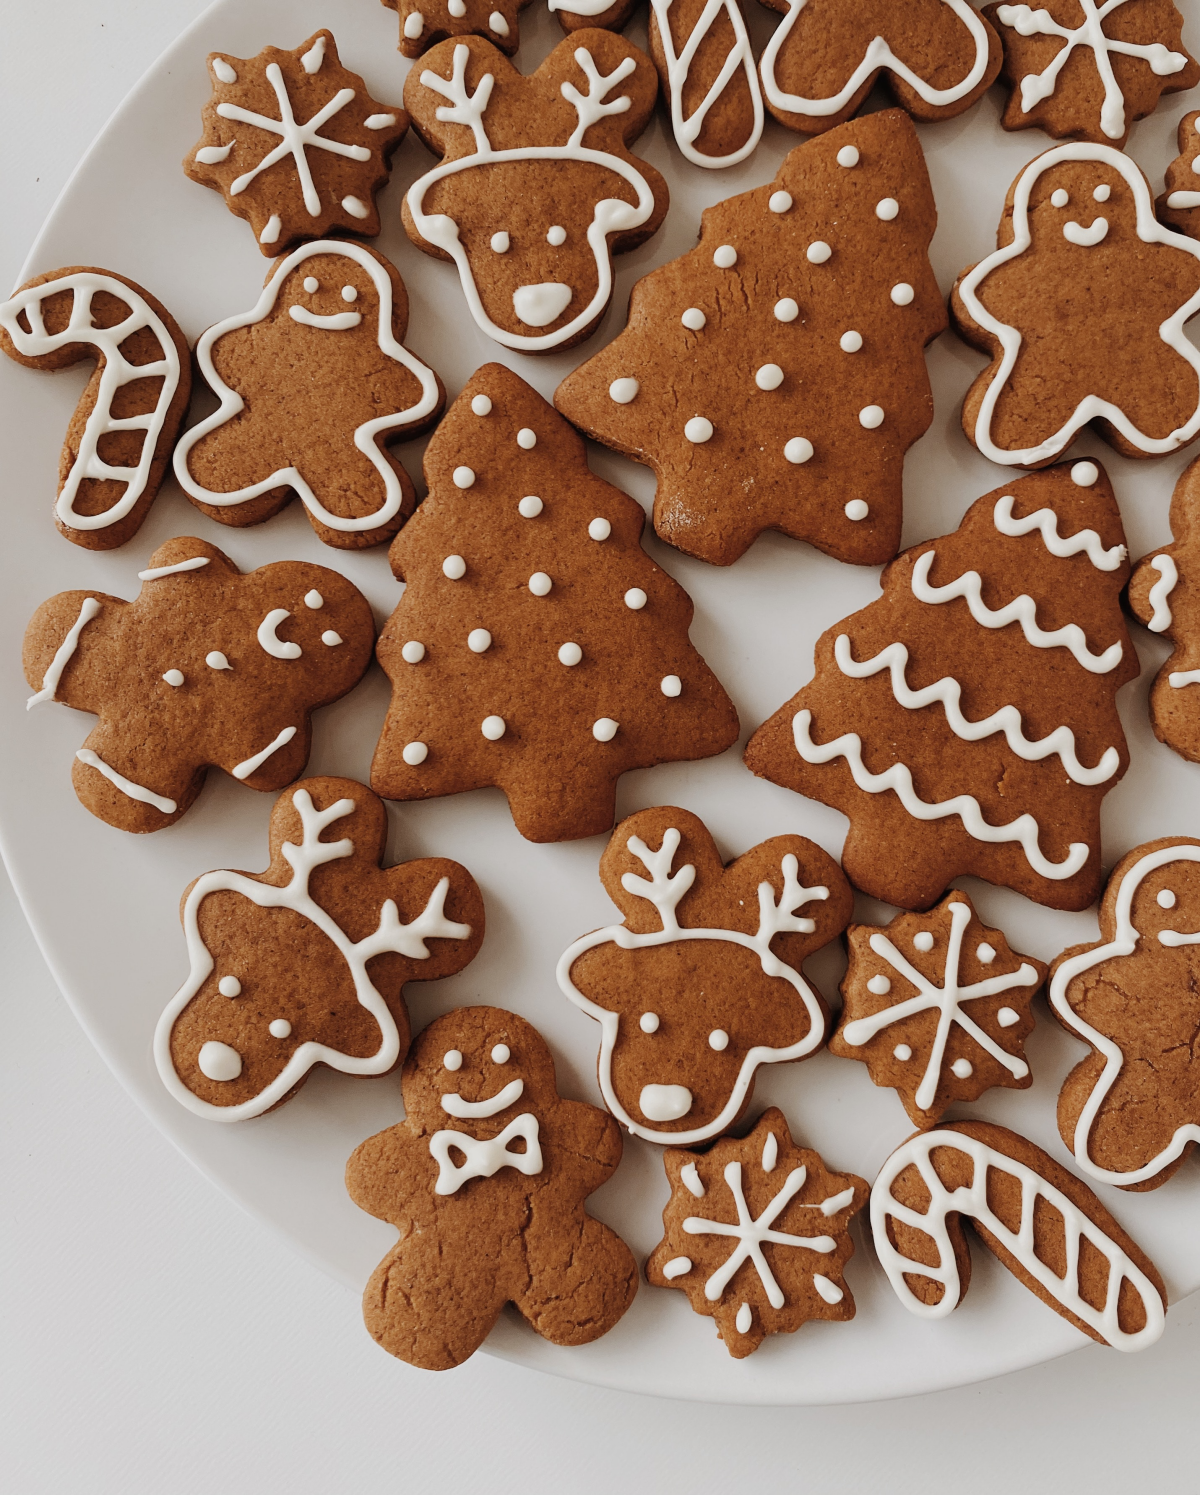
For Crisp Cookies (Think Shortbread, Biscotti, Gingersnaps):
These guys are dry, so their mortal enemy is humidity. If you leave them out, they absorb moisture from the air and turn soft or leathery. To keep them snappy, a container that breathes a little is actually good in dry climates—like a traditional cookie tin or a simple cardboard box. They should stay fresh for about 3-5 days this way. If you live somewhere humid, though, you’ll want something more airtight.
For Soft Cookies (Like Chewy Chocolate Chip, Brownies, Molasses Cookies):
These cookies have more moisture, so their enemy is air, which dries them out and makes them hard. Your goal is to lock that moisture in. An airtight container is a must—a well-sealed plastic tub, a glass jar with a gasket, or a tin with a very snug lid. In a truly airtight container, these can stay fresh for 5-7 days.
Oh yeah, here’s an old baker’s trick that really works: For long-term softness, toss a small piece of a flour tortilla or a quarter of a slice of sandwich bread into the container. The bread will sacrifice its moisture first, keeping the cookies soft for days longer. Don’t overdo it, though—a little 1-inch square is plenty. Too much can make the cookies soggy!
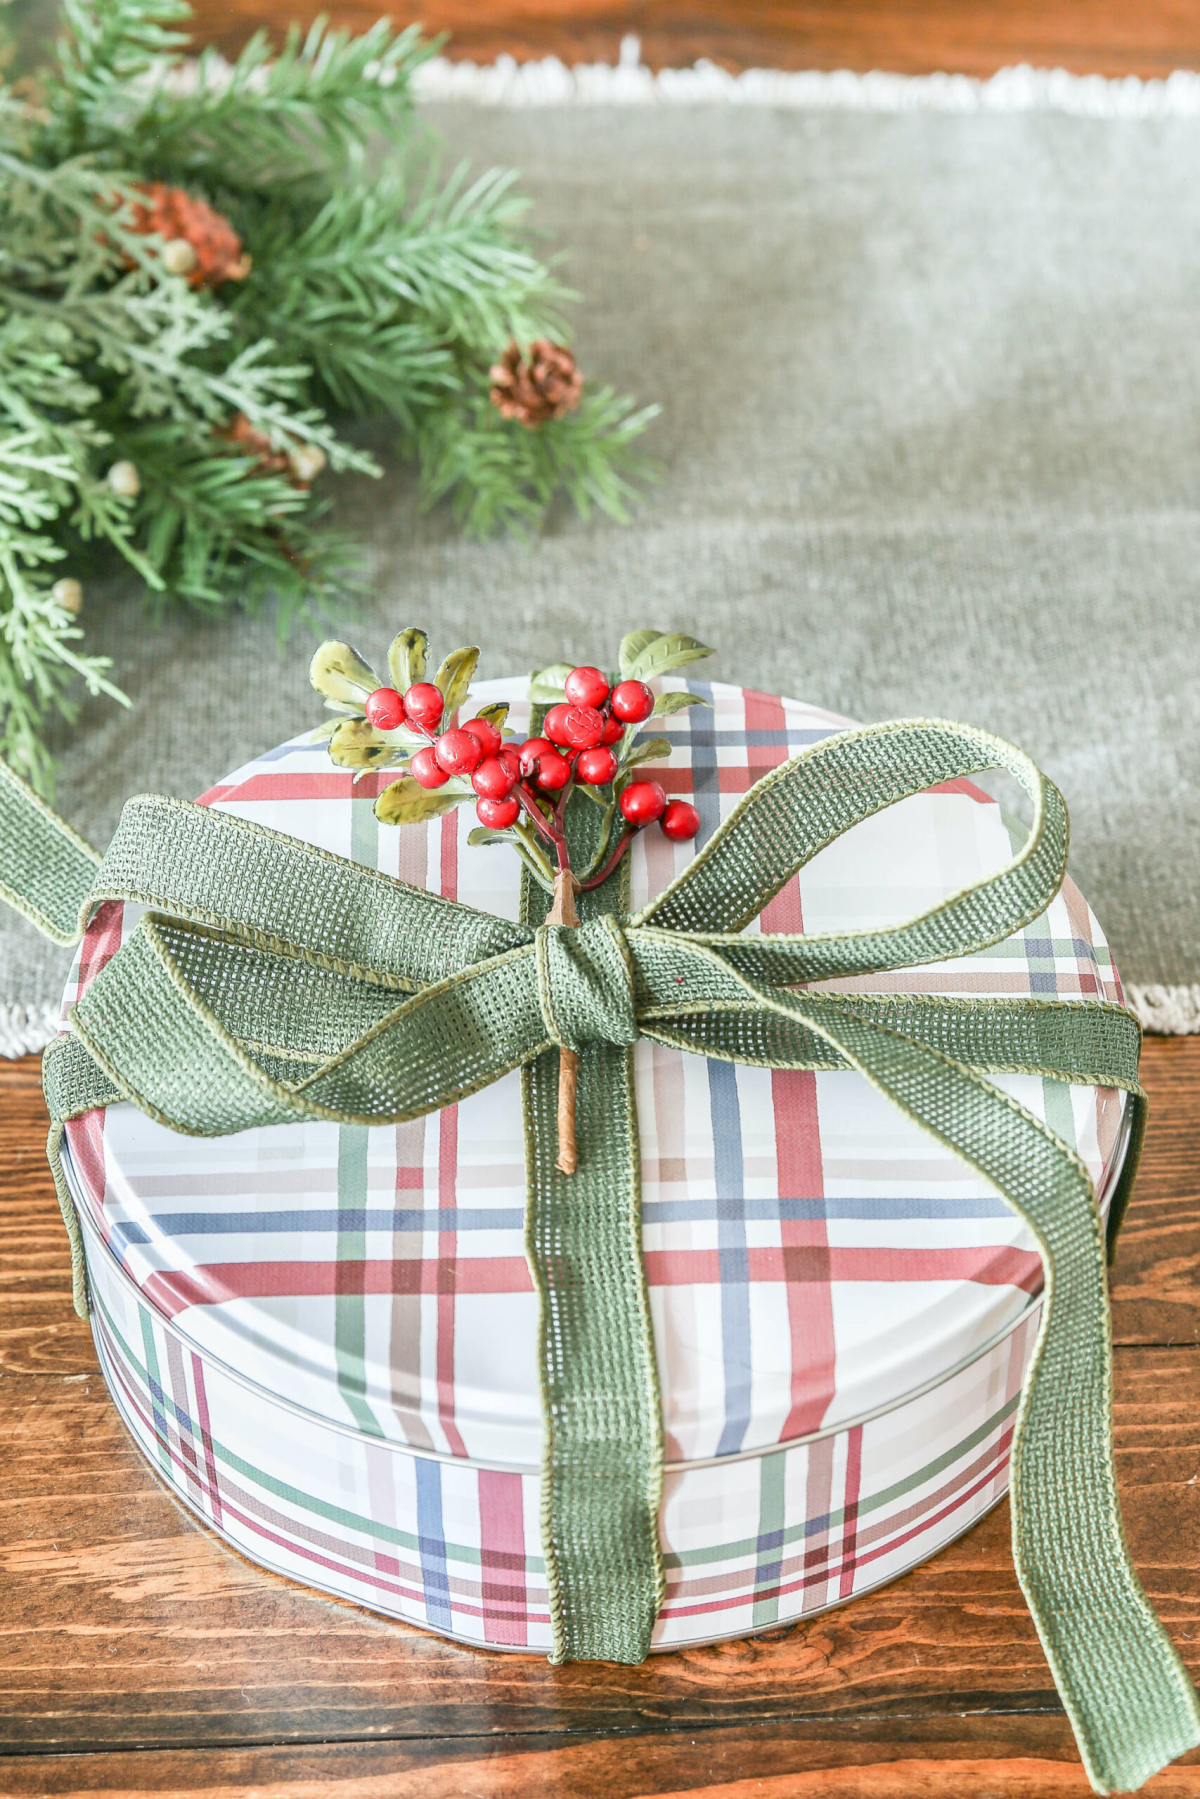
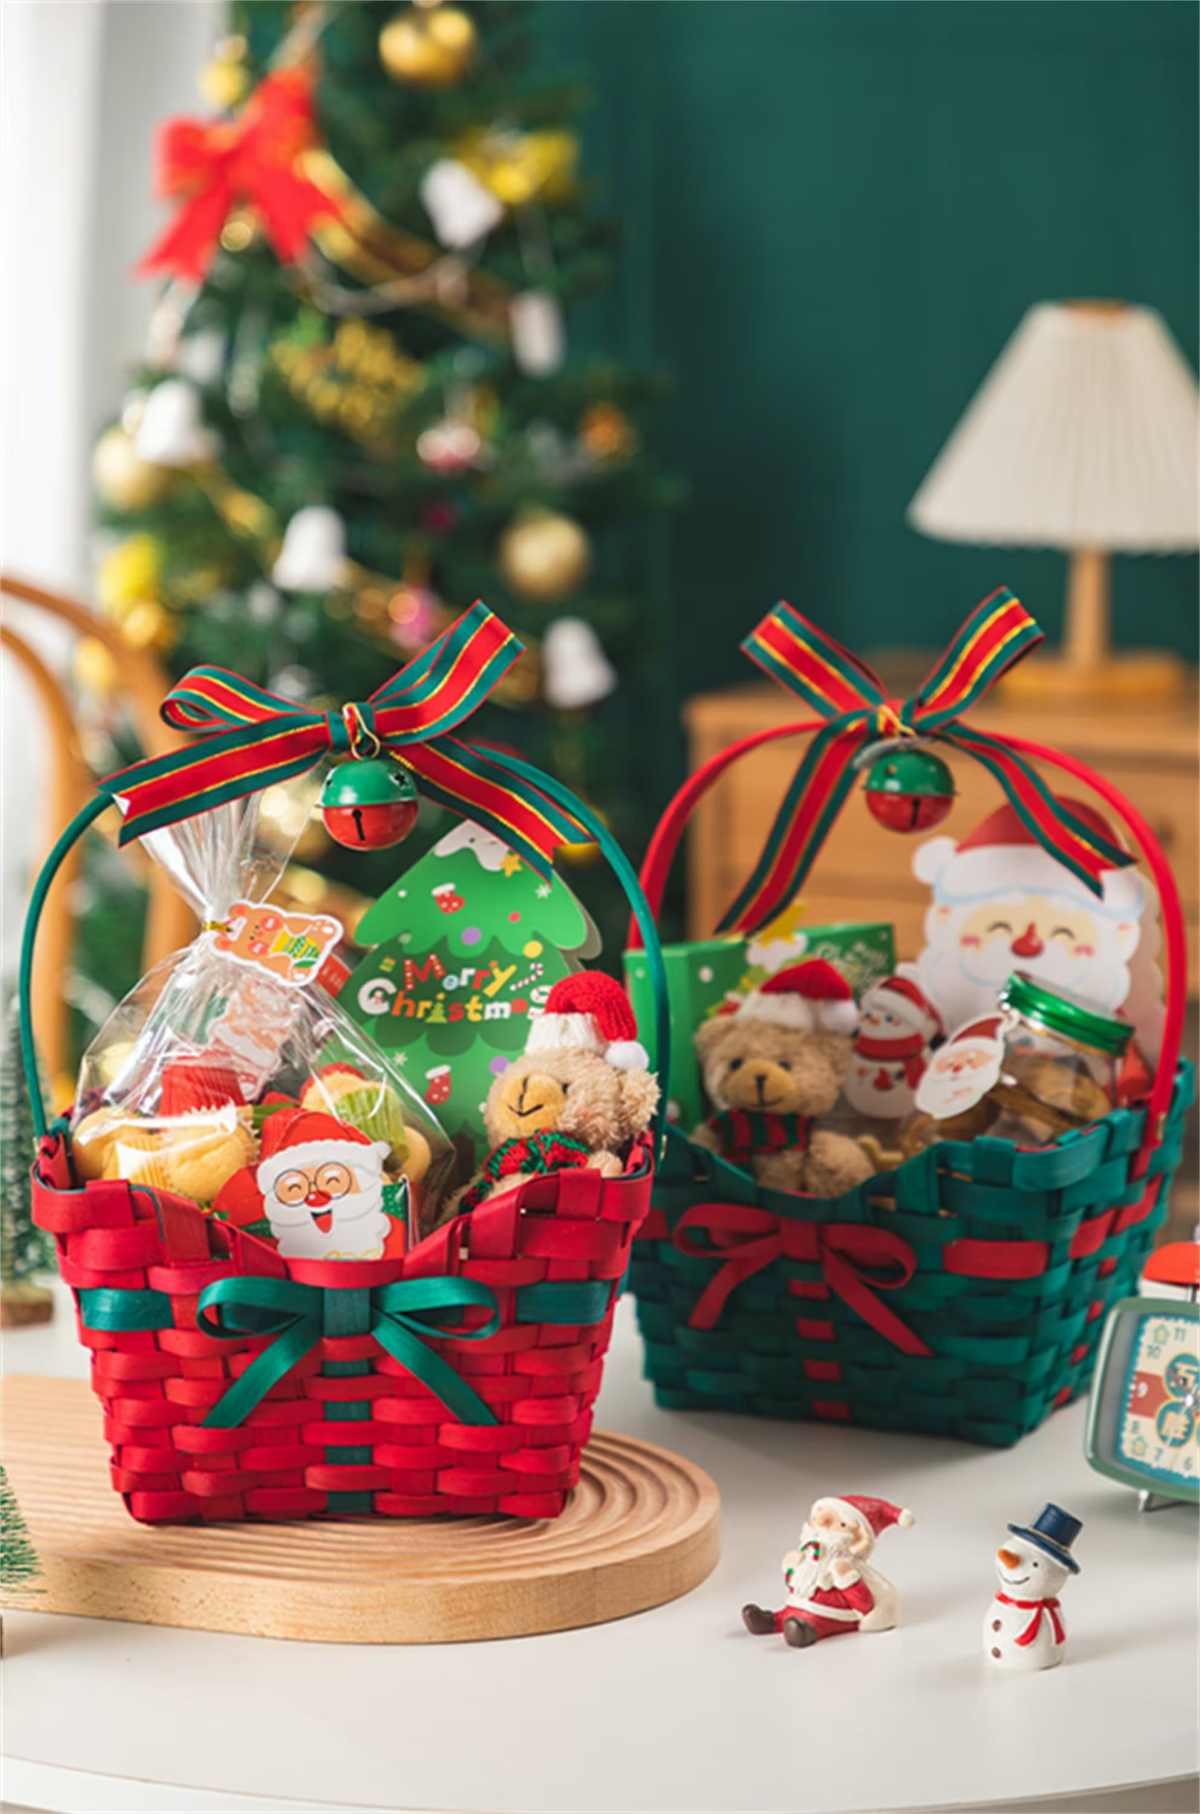
The Workhorses: Tins and Boxes
Tins and boxes are the foundation of cookie gifting. They’re sturdy, stackable, and offer the absolute best protection, especially if your cookies have a journey ahead of them.
Metal Cookie Tins
Tins are my go-to for shipping or for gifting big assortments. They just feel classic and substantial. You can find them everywhere during the holidays, from craft stores to bulk suppliers, with prices ranging from $5 for a simple one to $15+ for a decorative tin.
A quick tip: You can find gorgeous vintage tins at flea markets, but you HAVE to wash them thoroughly with hot, soapy water and dry them immediately to prevent rust. I once used a beautiful old tin without a good scrub, and the cookies took on a faint, metallic taste. Lesson learned. New tins from places like The Container Store or a supplier like Uline are generally food-safe and just need a quick wipe.
Now, how do you pack one like a pro? Never, ever just toss cookies in. They’ll be a pile of crumbs by the time they’re opened. It takes a bit of time—plan on about 15-20 minutes to pack one tin perfectly—but it’s worth it.
Create a Liner Sling: Cut two long strips of parchment paper as wide as the tin. Lay them in a cross shape inside, with the ends hanging over the sides. This not only lines the tin but also acts as a handy lift to get the cookies out later.
Build a Padded Base: Put a generous layer of crinkle paper on the bottom. Bubble wrap also works, but put another piece of parchment over it so it doesn’t touch the cookies directly.
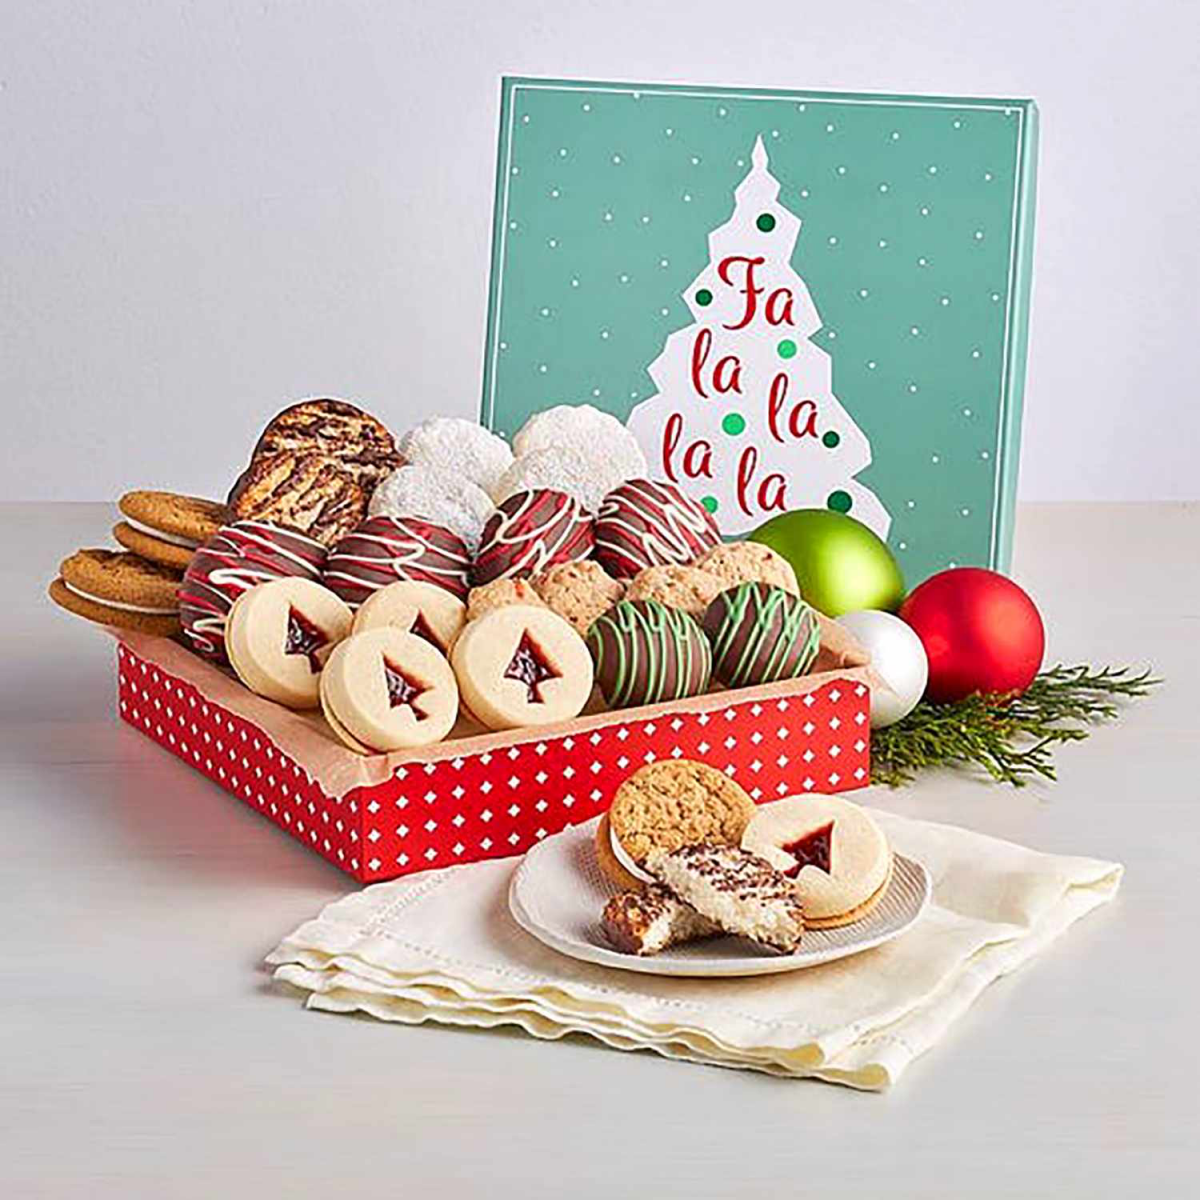
Arrange with Care: Pack the cookies snugly. I like to place round cookies on their sides, nestled together like coins in a roll. A standard 8-inch round tin will comfortably hold about two dozen 3-inch cookies this way. For bar cookies, stack them with small squares of parchment between each one.
Divide and Conquer: For an assortment, cupcake liners are your best friend. They’re perfect for holding small, delicate cookies. This is also critical for separating strong flavors. A single peppermint cookie can make a whole tin taste like mint. So, I always put potent cookies (like mint or ginger) in their own small, sealed plastic bags before adding them to the tin.
The Final Shake Test: Add another layer of cushioning on top, fold the parchment flaps over, and close the lid. Now, give it a gentle shake. If you hear a lot of rattling, you need more padding. If you hear nothing, you’ve nailed it.
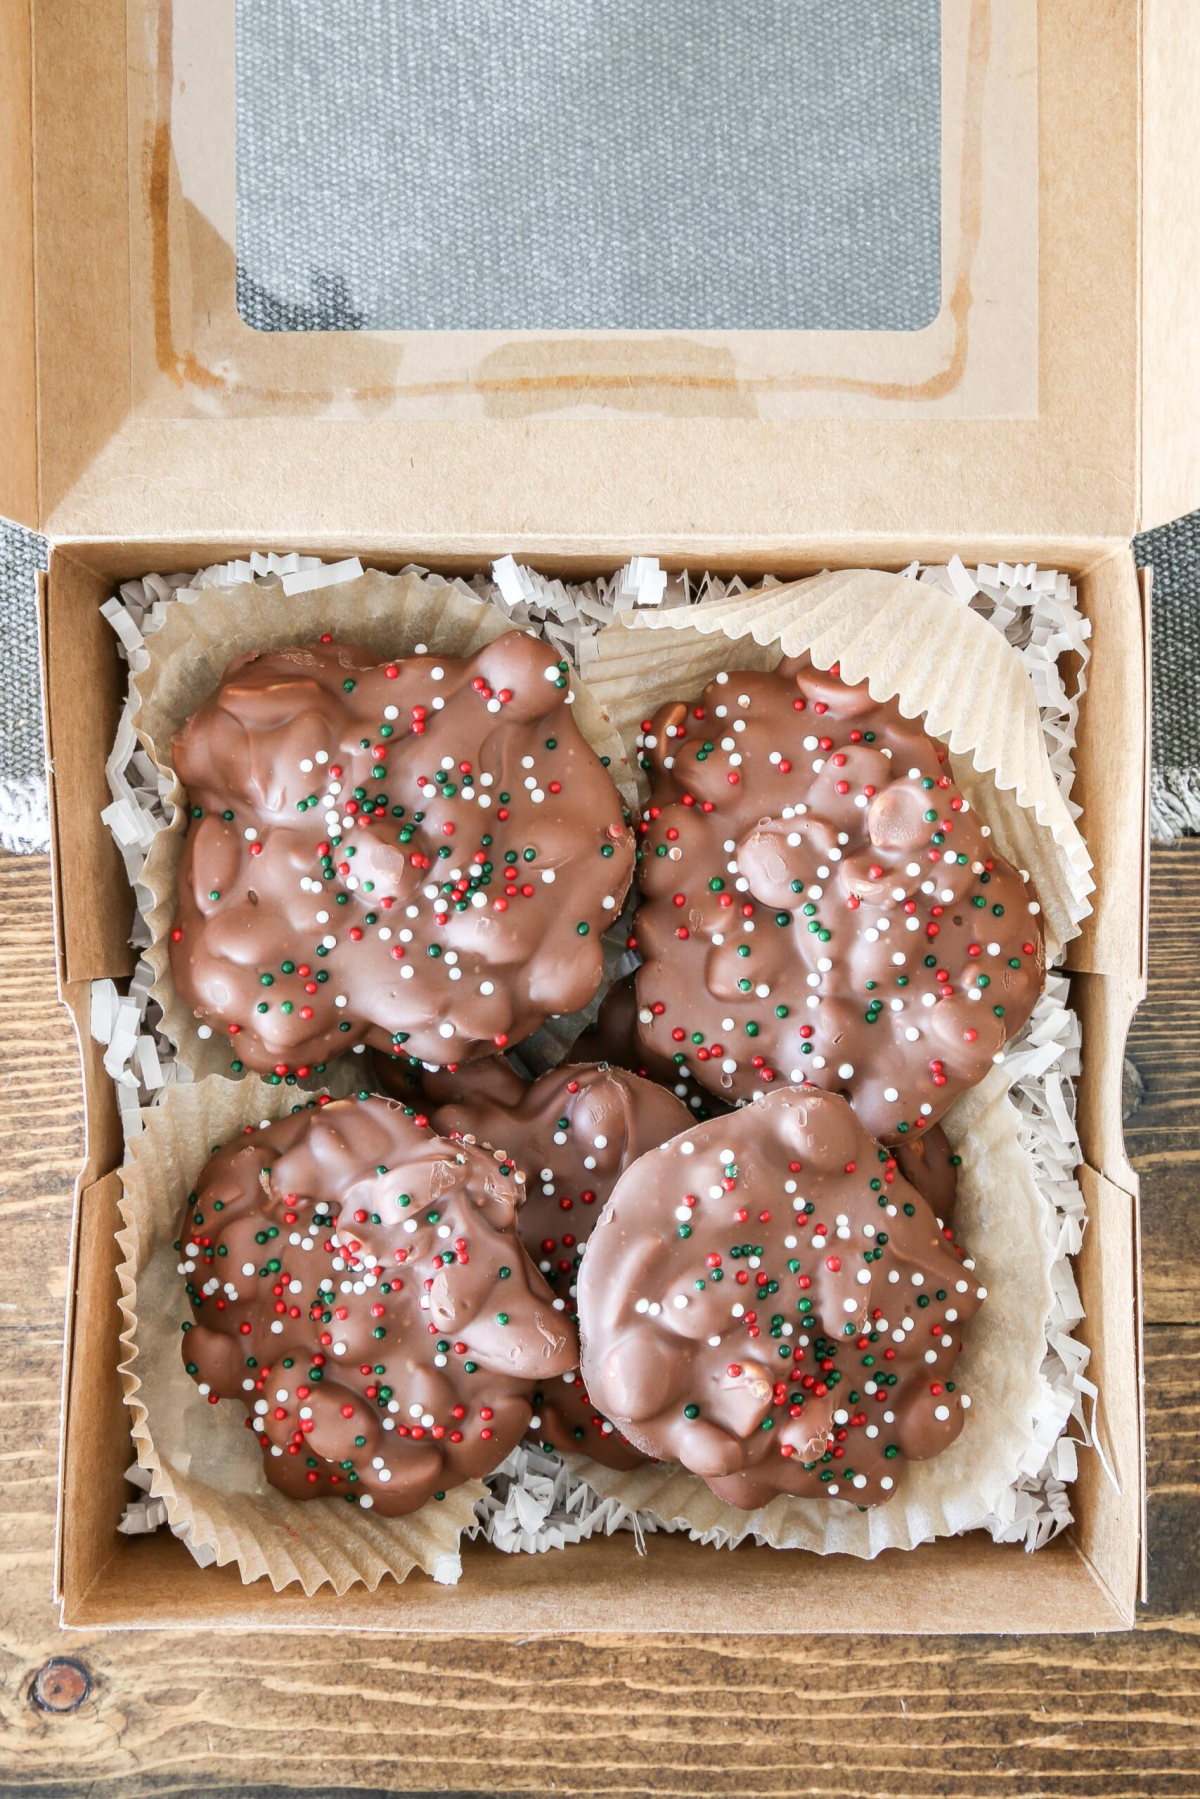
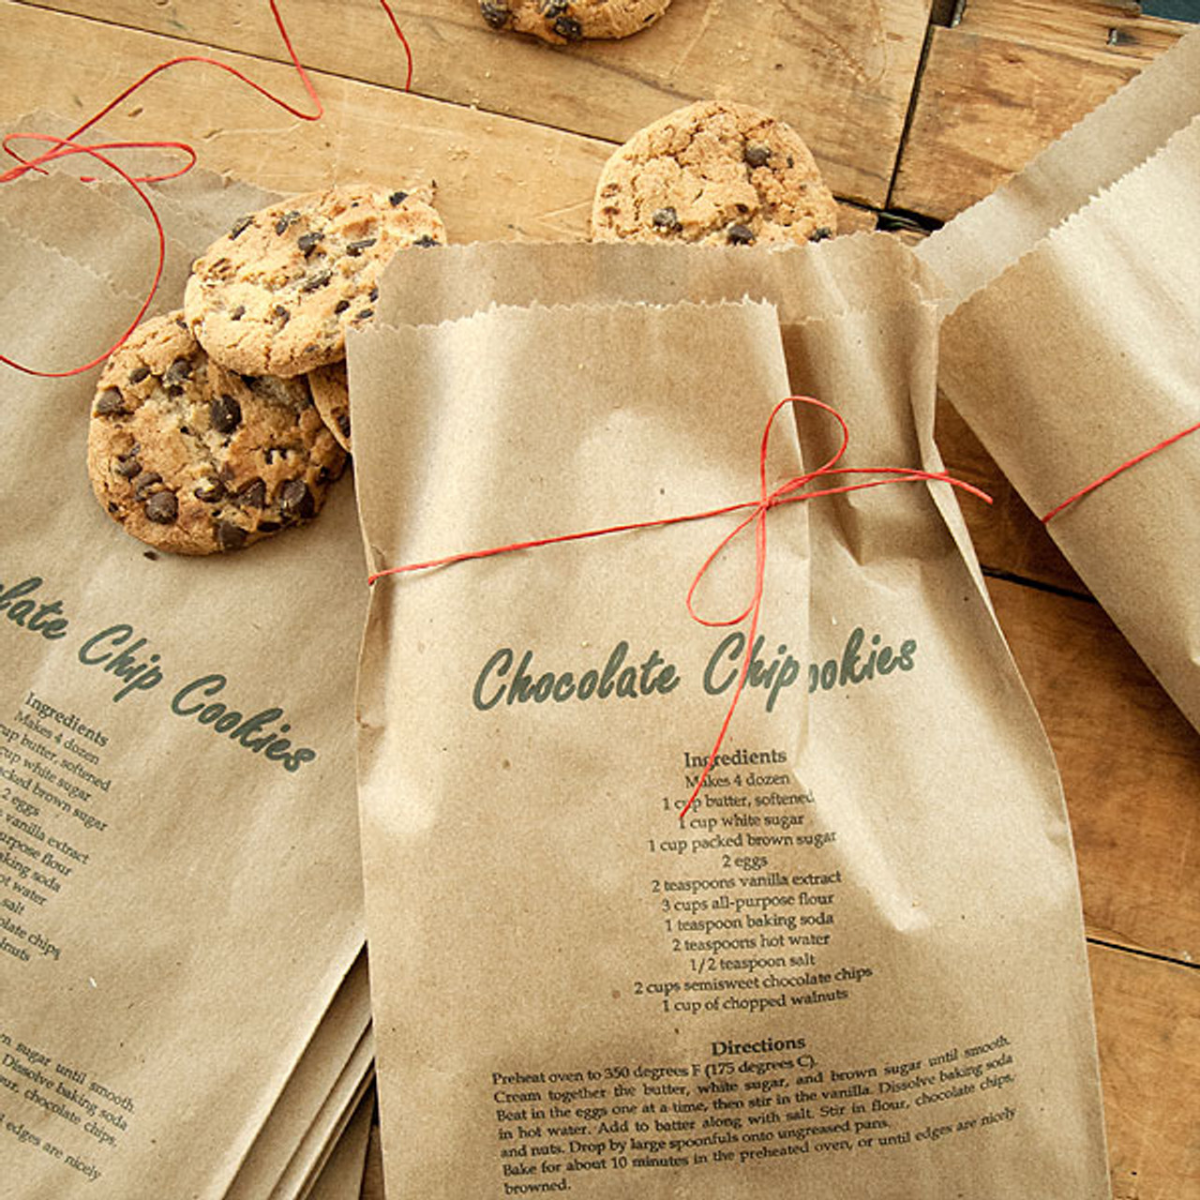
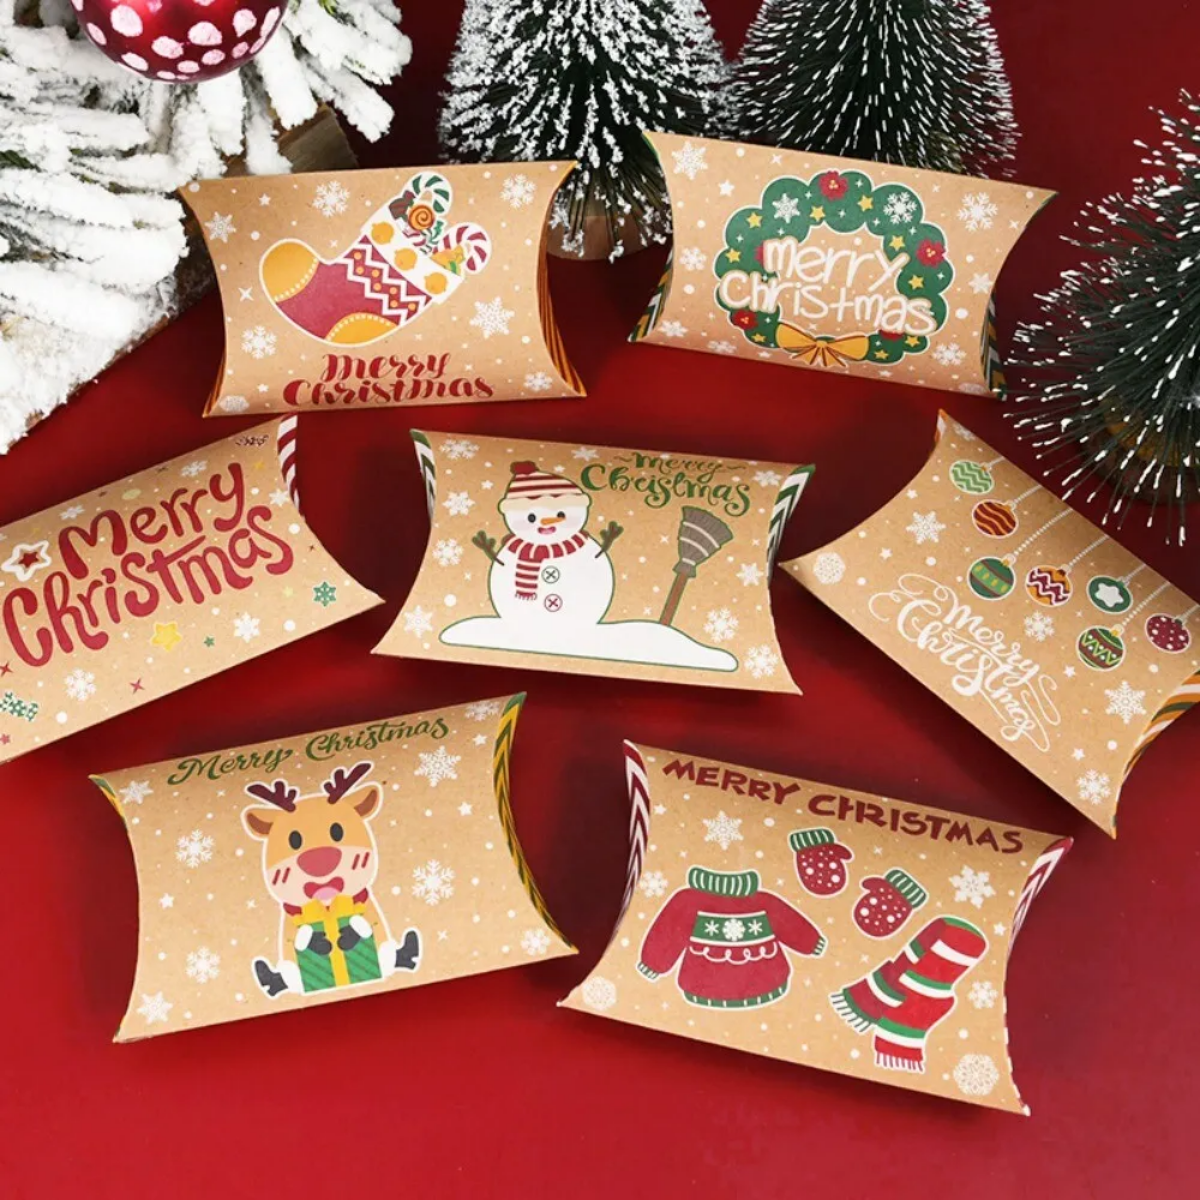
Cardboard & Paper Boxes
Bakery boxes are a fantastic, budget-friendly option, usually costing just $1 to $3 a pop. They’re perfect for teacher gifts or dropping off with neighbors. The key is to look for “food-grade” paperboard, which means no weird chemicals will leach into your butter cookies. I learned this the hard way when a batch of sugar cookies ended up tasting faintly of, well, paper. Most boxes from craft or restaurant supply stores are fine, but it never hurts to check. A grease-resistant coating on the inside is a huge plus!
Since boxes aren’t airtight, they’re best for crisp cookies or for gifts that will be enjoyed within a day or two.
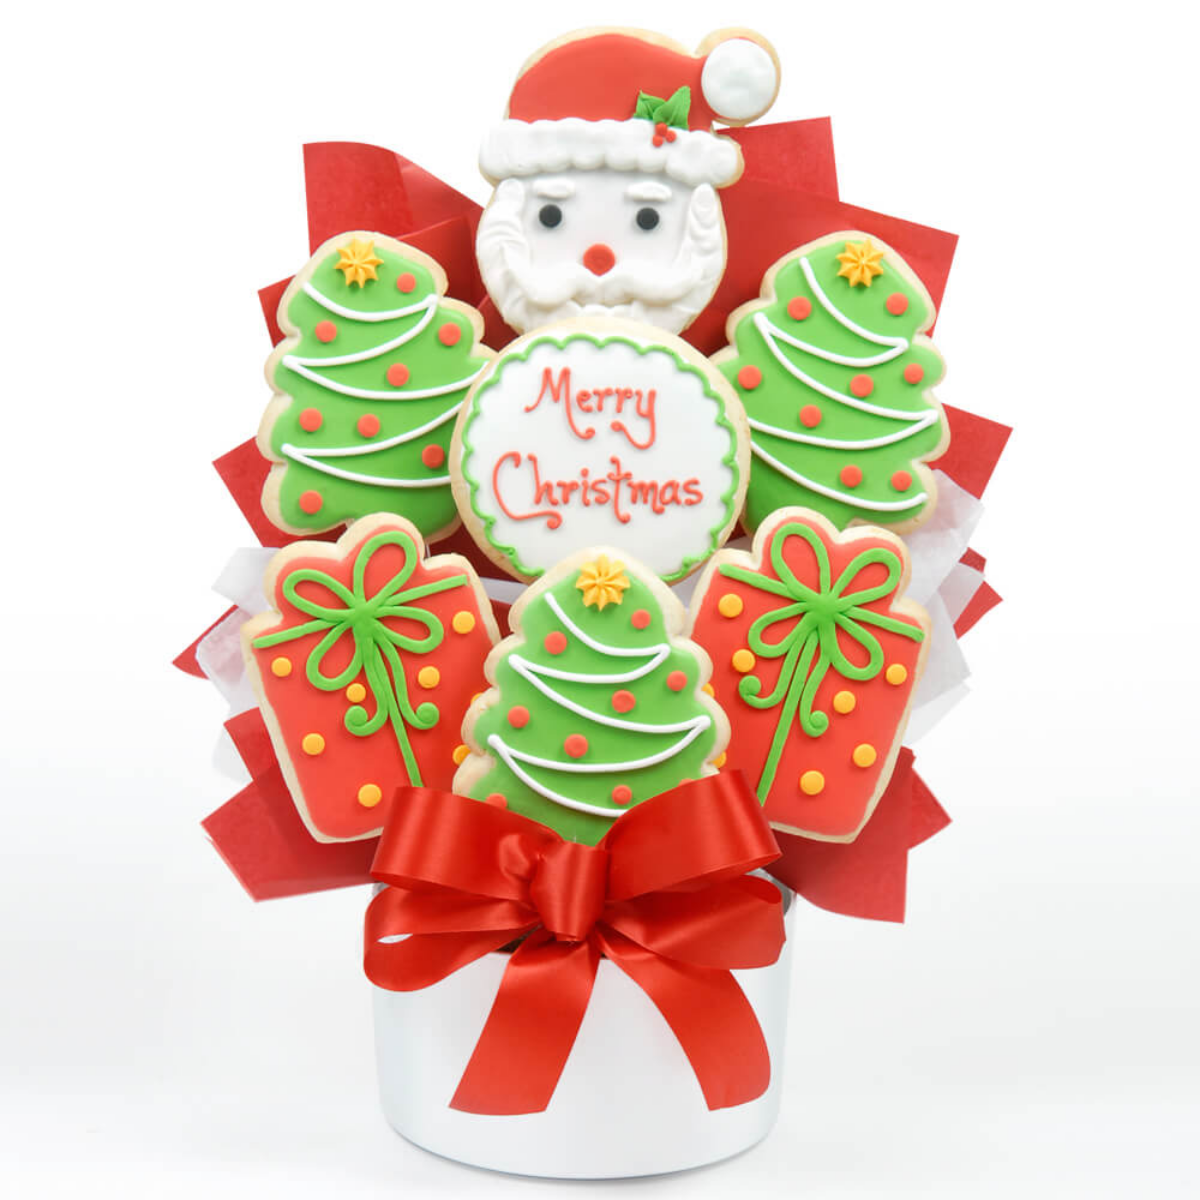
The Visual Showcase: Jars and Bags
Sometimes your cookies are just too pretty to hide. That’s when clear packaging is the way to go, even if it means sacrificing a little bit of protection and shelf life.
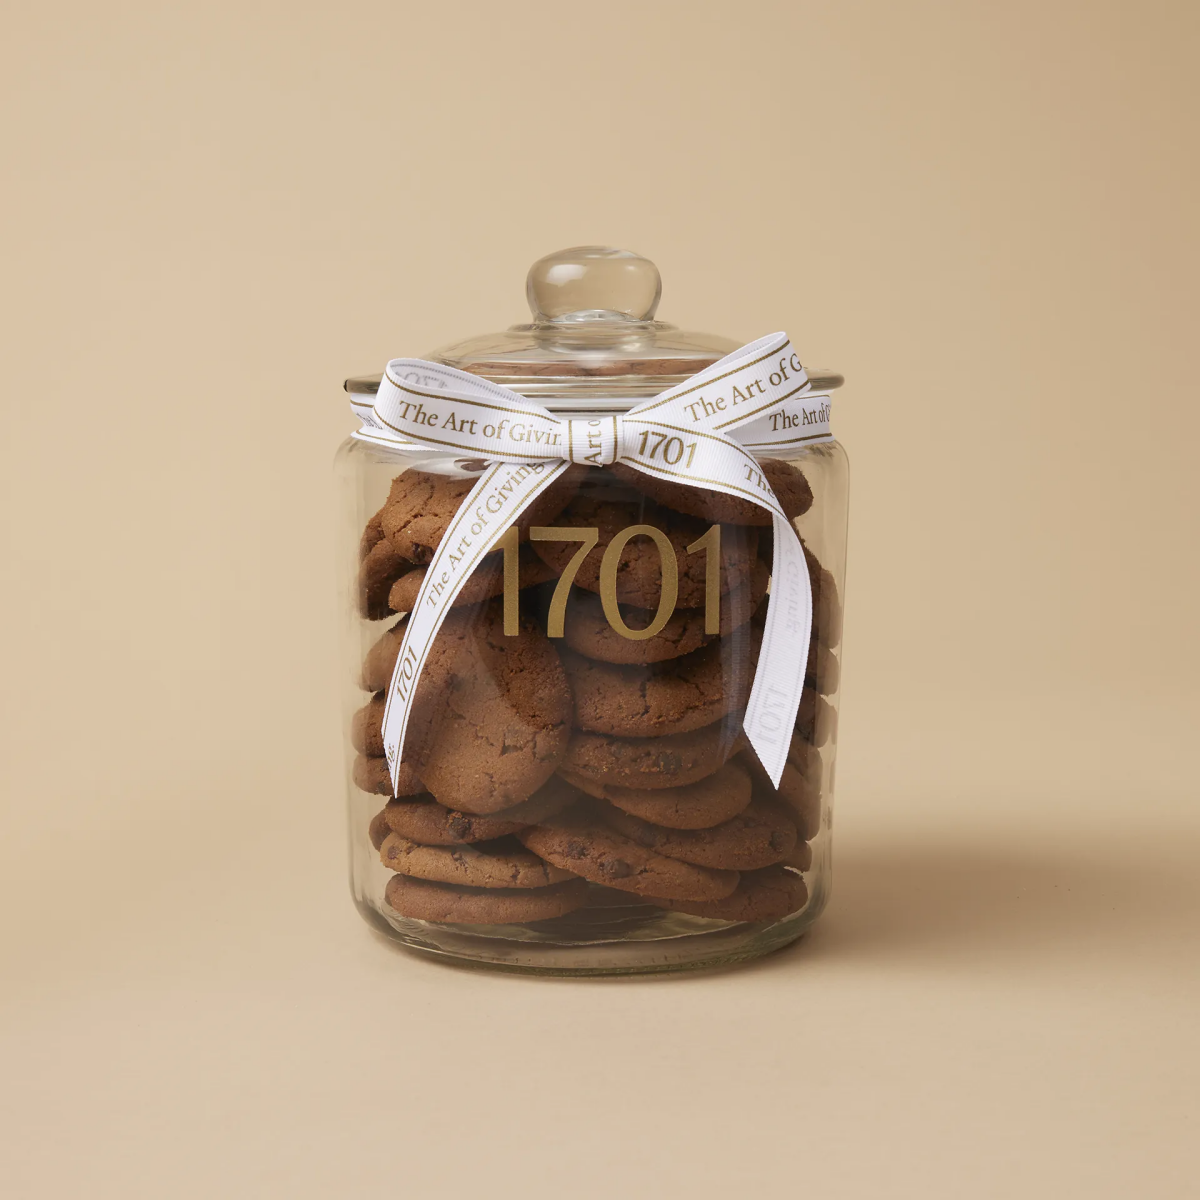
Glass Jars
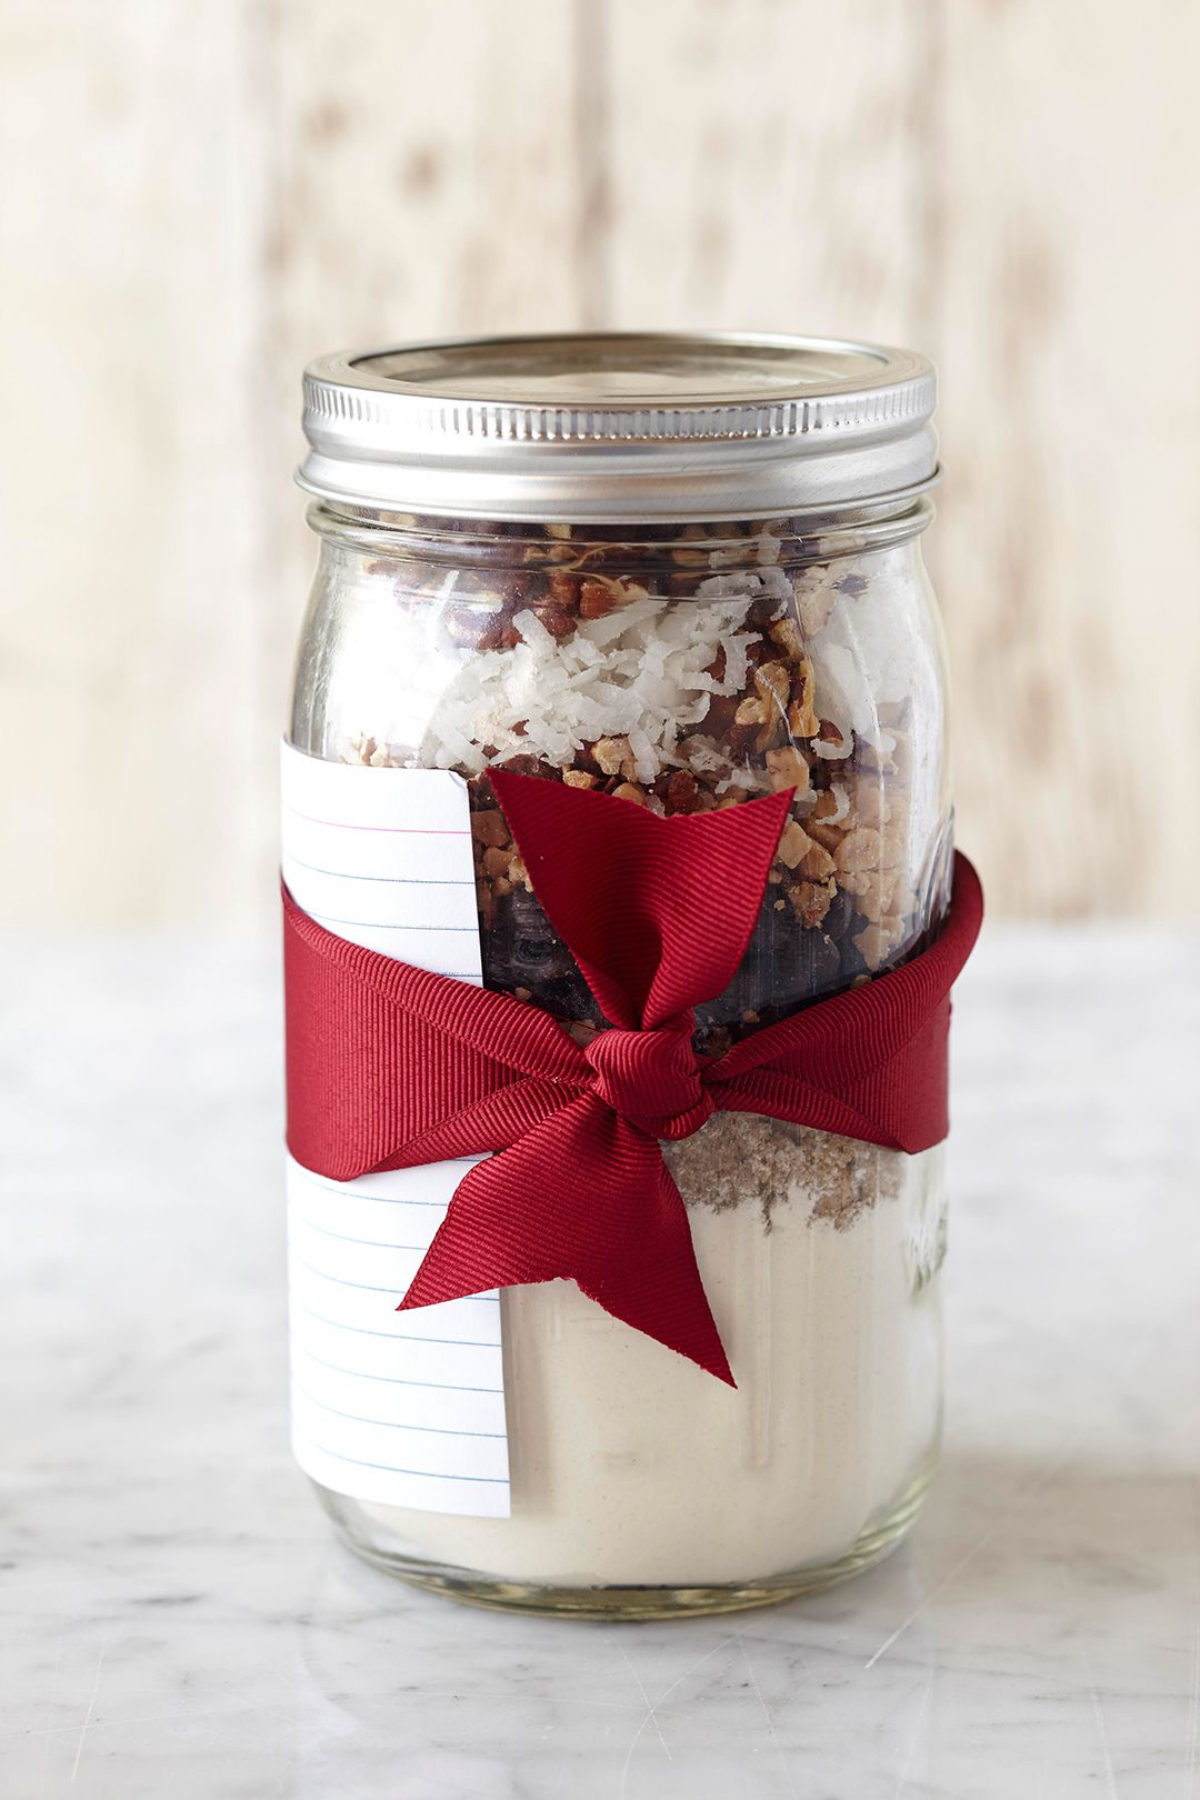
A simple, wide-mouthed Mason jar filled with cookies looks incredibly elegant. They are best for sturdy, uniform cookies like small drop cookies or shortbread rounds. You can stack them neatly with little parchment circles in between. Heads up, though: shipping cookies in glass is risky business. Unless you’re an expert packer, save this for local, hand-delivered gifts.
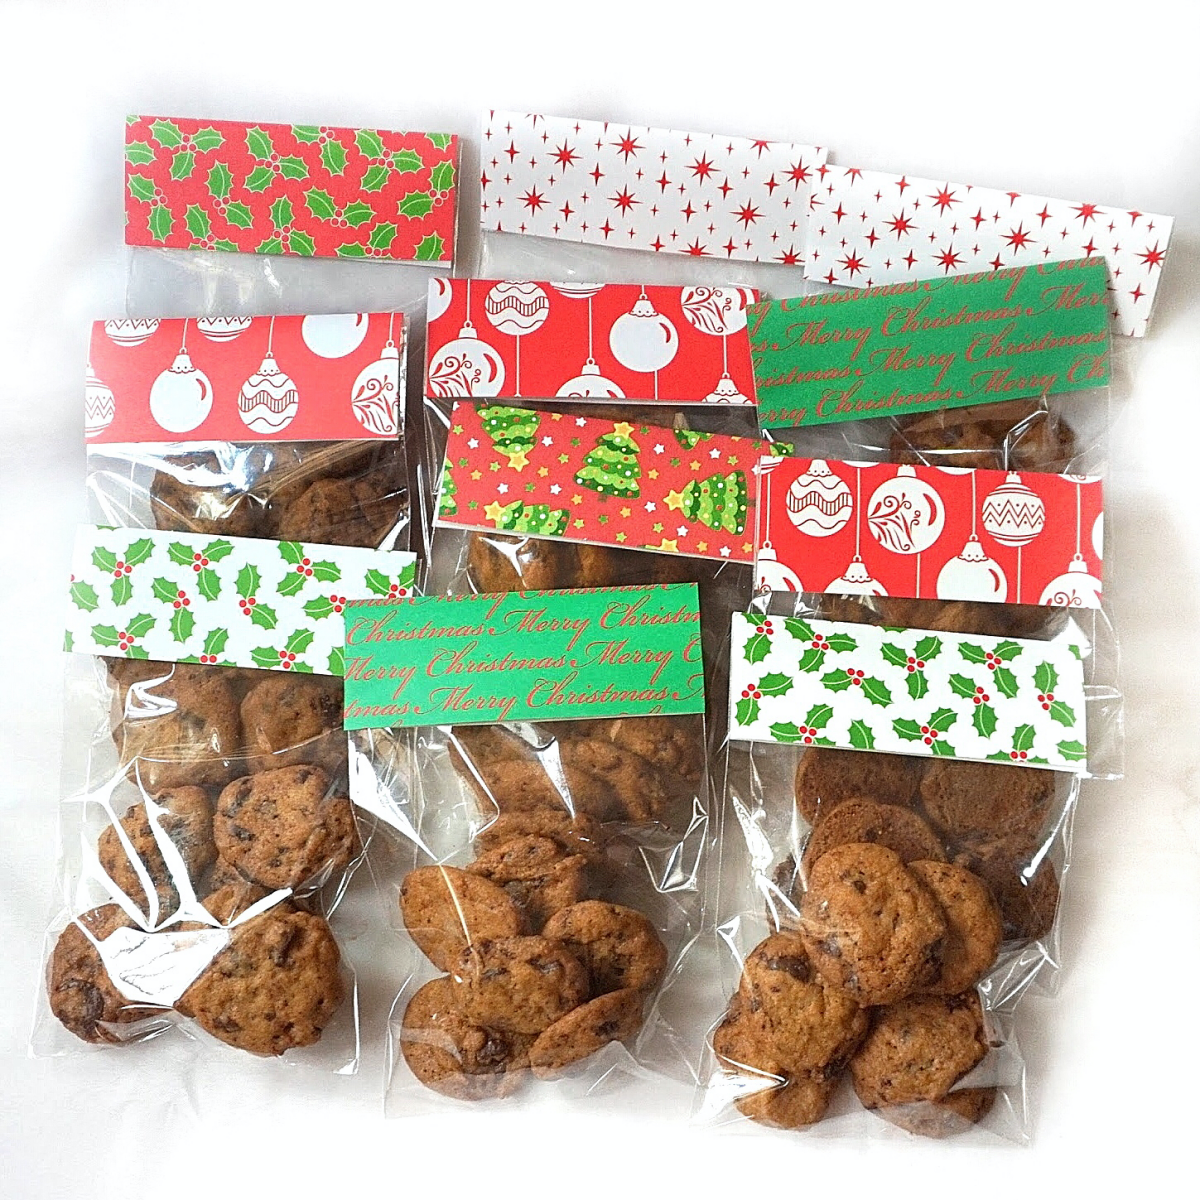
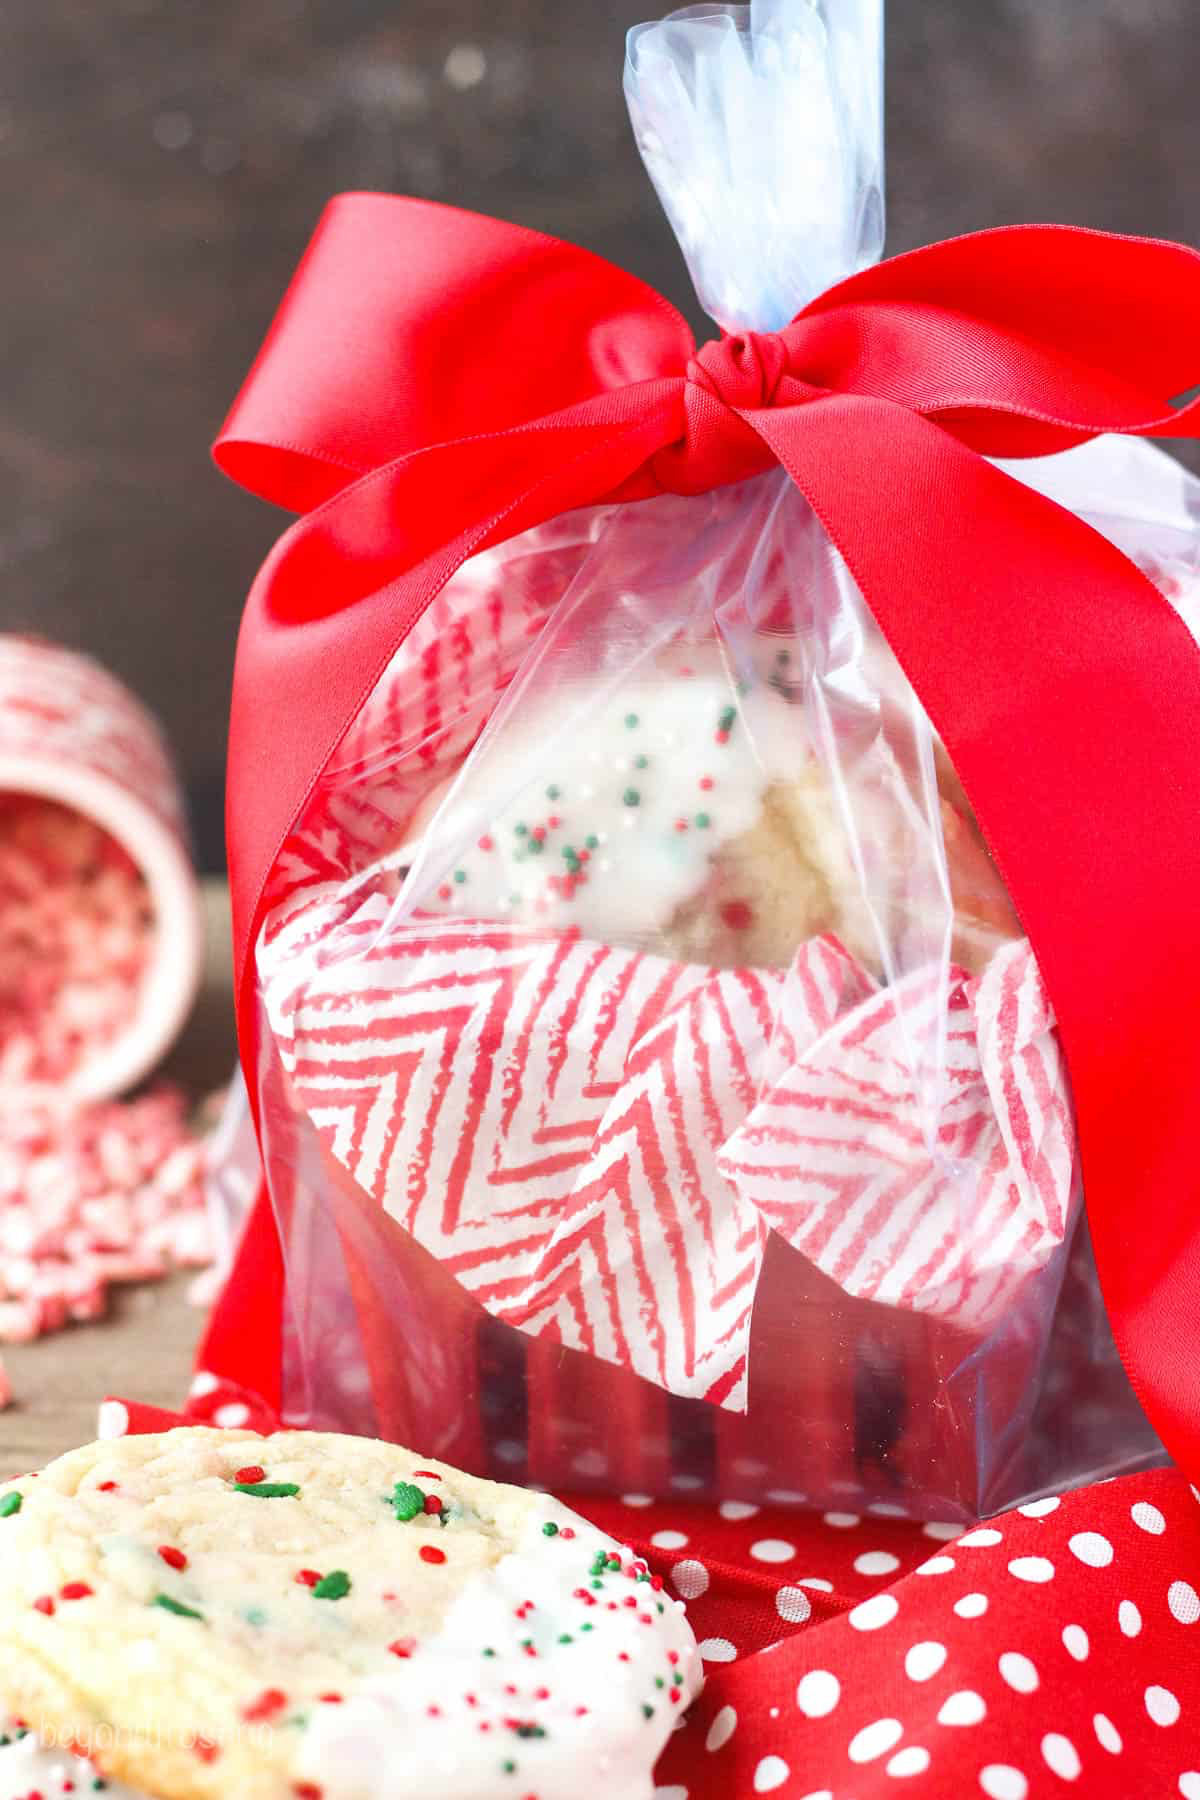
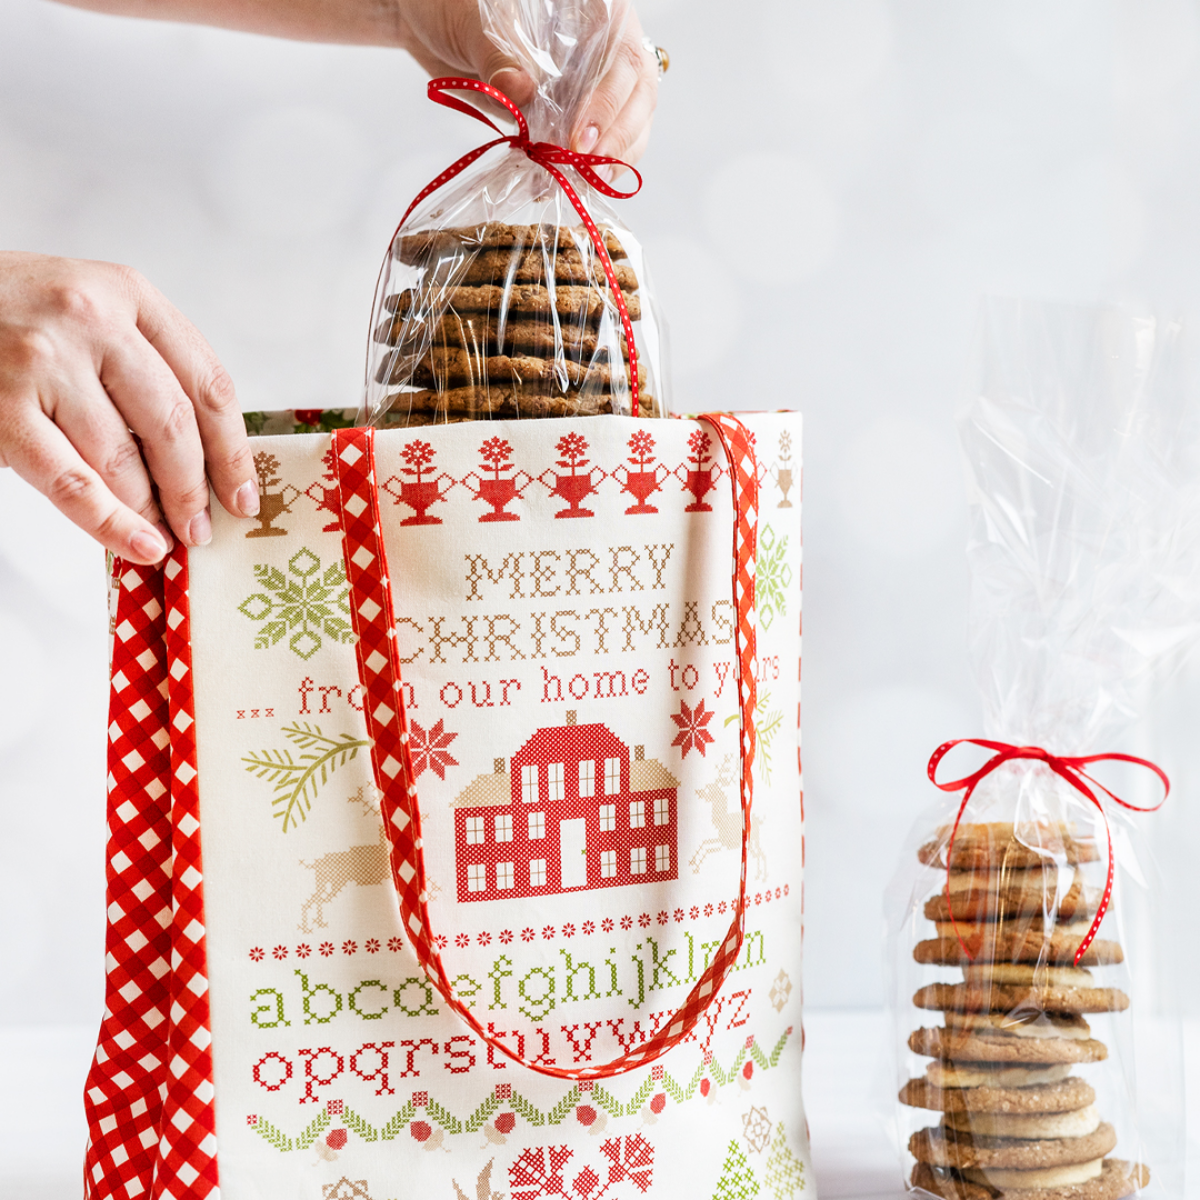
Clear Bags (and Why the Type Matters)
A simple stack of cookies in a clear bag tied with a ribbon is a classic for a reason. But here’s a detail that separates the amateurs from the pros: not all clear bags are the same. They’re cheap, around $0.20-$0.50 per bag, but the material makes a huge difference.
Cellophane: Real cellophane is made from plant fiber. It’s crinkly and breathable, which makes it a great choice for crisp cookies since it won’t trap moisture and make them soft. Plus, it’s biodegradable.
Polypropylene: This is the plastic-based bag most people think of as “cello.” It’s softer and provides a much better moisture barrier, making it the one you want for soft, chewy cookies to keep them from drying out. You can find these at craft stores like Michael’s, but for pro quality and price, I check out online suppliers like ClearBags.com or Uline.
For a truly polished finish, you can heat-seal polypropylene bags. I use a commercial impulse sealer (about $50 online), but you can get a similar effect at home. Safety first: Set a hair-straightening iron to its lowest heat. Once warm, quickly press it along the open edge of the bag for just a second. Practice on an empty bag first to get the feel for it! It creates a perfect airtight seal.
Tackling the Tricky Stuff: Assortments and Shipping
Once you’ve got the basics down, you can start getting fancy. But with great presentation comes great responsibility.
The Dreaded Assortment Box
This is the ultimate holiday gift, but it’s also where moisture migration and flavor-blending can ruin all your hard work. So, how do you gift crisp and soft cookies together? The pro move is to put the soft, chewy cookies into their own sealed polypropylene bag first. Then, you can place that sealed bag inside the tin or box with the loose, crisp cookies. The bag acts as a barrier, and everyone stays happy.
Shipping Cookies Without Disaster
I have shipped countless boxes of cookies across the country, and there’s a right way to do it. The gold standard is the box-in-a-box method.
First, pack your cookies in their primary container (a sturdy tin is best), making sure it passes the “gentle shake test.” Then, find a shipping box that’s at least 2 inches bigger on all sides. Fill the bottom of the shipping box with 2 inches of packing material (bubble wrap, air pillows, packing peanuts), place your cookie tin in the center, and then cram every last bit of empty space with more padding. It needs to be totally snug.
A common mistake is thinking the cookies will be fine once they’re in the tin. They’re not! Without that outer box and extra padding, they stand no chance. Also, try to ship early in the week (Monday or Tuesday) to prevent the box from sitting in a warehouse all weekend.
A Few Final Thoughts on a Homemade Gift
Let’s be realistic. A hand-lined, custom-decorated tin is a work of art, but it might take you a whole afternoon. A simple bag, sealed well and tied with a beautiful ribbon, can be just as heartfelt and takes only a minute.
And please, this is non-negotiable: allergen safety. If you are gifting an assortment with nuts, peanut butter, or anything else, you absolutely must include a label. A simple, handwritten card that says, “Heads up! Contains walnuts and almonds” could prevent a serious health issue. I learned to label everything after a client casually mentioned her child’s severe peanut allergy. It’s our responsibility as bakers and gift-givers.
Ultimately, the care you put into the packaging reflects the care you put into the baking. It doesn’t have to be expensive or elaborate. It just has to be thoughtful. It needs to protect the cookie and tell the person receiving it that you made this for them, from start to finish. And honestly, that’s what makes a homemade gift so special.
Galerie d’inspiration
Wax Paper: Your go-to for layering. It’s affordable and great for preventing cookies with high-fat content (like buttery shortbread) from sticking together. It creates a classic, nostalgic feel inside a tin.
Glassine Bags: Ideal for individual cookies, especially those with intricate decorations or a slightly sticky surface like lace cookies. These semi-translucent envelopes from brands like ClearBags protect details, control grease stains, and make each cookie feel like a special prize.
For a beautiful and practical finish, slide a single, decorated sugar cookie into a glassine bag before placing it amongst others in a box.
An estimated 25% more trash is thrown away during the ‘festive season’ from Thanksgiving to New Year’s Day than any other time of year.
Instead of single-use boxes, consider gifts that are part of the gift itself. A beautiful, reusable cookie tin, a mason jar with a decorative lid, or even wrapping a simple box in a Furoshiki-style cloth (a beautiful tea towel works wonders) gives your recipient something to cherish long after the last crumb is gone.
Thinking of mailing your creations?
The key to preventing heartbreak is creating a fortress. Start with a sturdy box. Line the bottom with a soft cushion like food-safe paper shred or even plain popcorn. For delicate cookies, use the ‘box-in-a-box’ method: pack your cookie tin or box securely, then place it inside a slightly larger shipping box with padding on all six sides. This creates a shock-absorbing buffer zone that protects against even the most enthusiastic mail carrier.
It creates a professional, organized look inside any tin or box.
It provides a sturdy cushion that protects against bumps and travel.
It keeps delicate icings, sprinkles, and jams from smudging onto neighboring cookies.
The secret is a baker’s best friend: the humble mini cupcake liner. Use them as individual cradles for small cookies like macarons or Russian tea cakes. They are the easiest way to enforce that crucial rule of keeping different types separate.
Take a cue from professional pastry shops to elevate your gift. Think about the signature packaging of bakeries like Miette in San Francisco with its iconic pastel green boxes, or the elegant, minimalist branding of Milk Bar. You can create your own ‘signature’ style by sticking to a consistent color palette. Choosing a specific ribbon from a quality brand like May Arts and using it on all your gifts can make your treats instantly recognizable and feel exceptionally special.
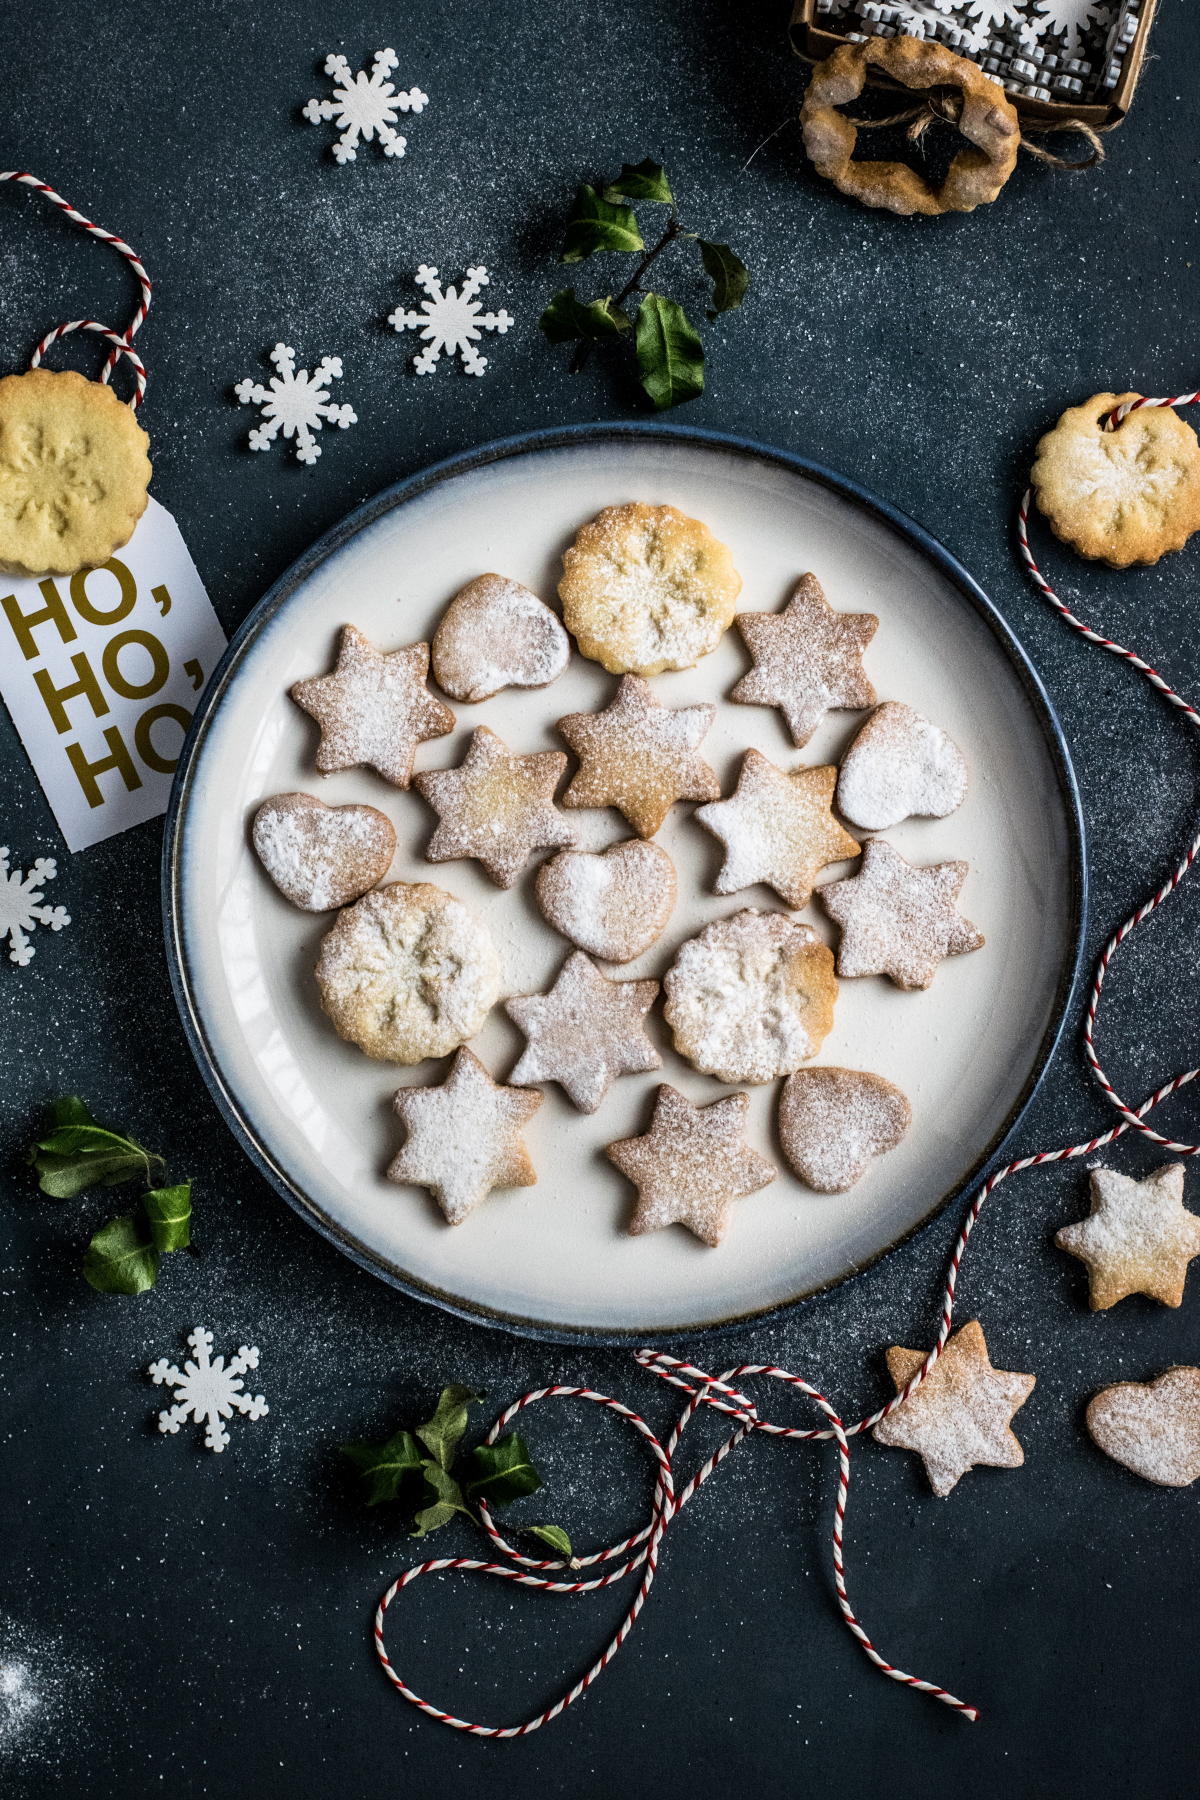
The single most critical step: Let your cookies cool completely—and we mean completely—before you even think about packing them. Even a tiny bit of residual warmth will create steam inside the container. That steam turns into condensation, which will ruin crisp textures, make soft cookies gummy, and can even cause icing to bleed. Patience is a baker’s virtue!
For Soft & Chewy Cookies: Add a slice of apple or a small piece of plain bread to the airtight container. The cookies will draw moisture from it, staying soft for days. Just be sure to tell your recipient to remove it!
For Crisp & Snappy Cookies: A few plain crackers or a silica gel packet (the food-safe kind!) tossed into the container will absorb any ambient moisture, keeping your biscotti and gingersnaps perfectly crunchy.
The manner of giving is worth more than the gift. — Pierre Corneille
John combines 12 years of experience in event planning, interior styling, and lifestyle curation. With a degree in Visual Arts from California Institute of the Arts and certifications in event design, he has styled luxury weddings, corporate events, and celebrity celebrations. John believes in creating memorable experiences through innovative design and attention to detail.
To provide the best experiences, we use technologies like cookies to store and/or access device information. Consenting to these technologies will allow us to process data such as browsing behavior or unique IDs on this site. Not consenting or withdrawing consent, may adversely affect certain features and functions.
Functional
Always active
The technical storage or access is strictly necessary for the legitimate purpose of enabling the use of a specific service explicitly requested by the subscriber or user, or for the sole purpose of carrying out the transmission of a communication over an electronic communications network.
Preferences
The technical storage or access is necessary for the legitimate purpose of storing preferences that are not requested by the subscriber or user.
Statistics
The technical storage or access that is used exclusively for statistical purposes.The technical storage or access that is used exclusively for anonymous statistical purposes. Without a subpoena, voluntary compliance on the part of your Internet Service Provider, or additional records from a third party, information stored or retrieved for this purpose alone cannot usually be used to identify you.
Marketing
The technical storage or access is required to create user profiles to send advertising, or to track the user on a website or across several websites for similar marketing purposes.