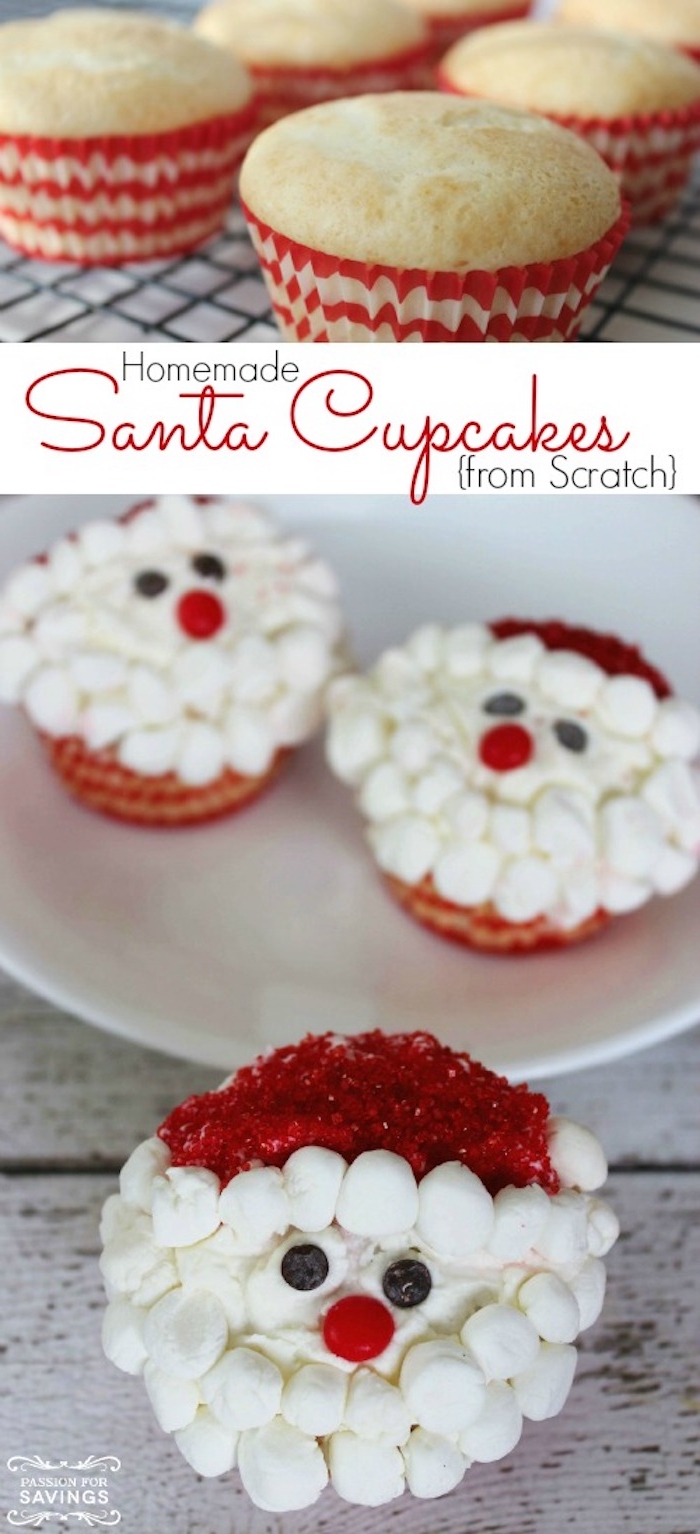
Your Guide to Unforgettable Holiday Cupcakes (From Batter to Frosting)
I’ve spent a lot of time in professional kitchens, and let me tell you, the weeks before any big holiday are a special kind of beautiful madness. The air gets heavy with the scent of ginger, cinnamon, and warm chocolate. We’d be cranking out hundreds of holiday cupcakes, and I learned a hard truth fast: a great cupcake is so much more than a pretty swirl of frosting.
In this article
It’s all about a solid foundation. I’ve seen more batches of cupcakes fail than I can count, and it’s almost always for the same handful of preventable reasons—we’re talking dry cakes, sunken middles, and frosting that just weeps and slides right off. Ugh.
So, this isn’t just a list of recipes. Think of this as a peek behind the curtain into the methods we rely on in a pro bakery. My goal is to show you how to build a better cupcake from the ground up, covering the why behind each step. This is the stuff that helps you understand the craft, not just follow a list of instructions.
First Things First: Nailing the Perfect Cupcake Crumb
Before you even dream of sprinkles, you have to master the cake itself. A truly fantastic cupcake has a moist, tender crumb that’s still sturdy enough to hold up a pile of frosting. It’s a balancing act, and it all comes down to knowing what your ingredients are actually doing in the bowl.
Your Key Players and What They Do
Flour: The Structural Engineer
Flour is what gives your cupcake its shape. Its protein creates gluten when it gets wet, which provides structure. The trick is, too much gluten and you get a tough, chewy cupcake. Too little, and it crumbles when you look at it. For the tender texture we want, many pros reach for cake flour because it has a lower protein content (around 7-9%) compared to all-purpose flour (10-12%).
Good to know: If you only have all-purpose flour, you can make a decent substitute. For every cup of all-purpose flour your recipe calls for, just remove two tablespoons and replace them with two tablespoons of cornstarch. Whisk or sift them together really, really well. And please, don’t skip the sifting! It aerates the mix and gets rid of clumps, which is a key step for a lighter cake.
Fats (Butter vs. Oil): The Tenderizers
Fat is what makes a cupcake moist and tender by coating the flour proteins and shortening the gluten strands (that’s where the term “shortening” comes from!). The choice between butter and oil is a classic baker’s debate.
- Butter is all about that rich flavor and a finer, more delicate crumb. The process of creaming butter and sugar together also whips air into the batter, giving your cupcakes their first bit of lift. It’s my go-to for most holiday flavors like gingerbread or spice cake.
- Oil, on the other hand, is pure liquid fat. It often creates a cupcake that feels moister and stays that way longer, since oil doesn’t firm up at room temperature like butter does. However, the texture can be a bit coarser, and you miss out on that classic buttery taste. A neutral oil like canola is great for chocolate cupcakes, though, as it really lets the cocoa flavor take center stage.
Sugar: Way More Than Just Sweetness
Sugar does a lot more than you think. It’s a key player in moisture because it attracts and holds onto water. It also tenderizes the crumb by getting in the way of gluten development. And, of course, it helps the tops get that beautiful golden-brown color. So, if you’re thinking of cutting back the sugar in a recipe, just know that you’ll be changing the texture and shelf life, not just the sweetness.

Eggs: The Multitasking Binders
Eggs do it all. The yolks bring fat and richness, while the whites provide structure as they cook. The whole egg works to bind the fats and liquids together into a smooth batter. A quick tip: Always use room-temperature eggs. Cold eggs can make your creamed butter-sugar mixture seize up and look curdled. To warm them up fast, just pop them in a bowl of warm (not hot!) water for about 5-10 minutes.
Chemical Leaveners: The Power Lifters
Baking soda and baking powder are what make your cupcakes rise. And no, they are not interchangeable. Here’s the deal:
- Baking Soda is a base. It needs an acid to react with—think buttermilk, sour cream, brown sugar, or natural cocoa powder.
- Baking Powder is a complete package, containing both the base (baking soda) and an acid. Most are “double-acting,” meaning they fizz a little when they get wet and then give a final push of rising power in the oven’s heat.
Heads up! Leaveners can lose their kick over time. To test yours, drop a bit of baking powder in hot water. If it fizzes like crazy, you’re good. For baking soda, add a splash of vinegar; a big reaction means it’s still active.
Pro-Level Techniques for Perfect Cupcakes Every Time
In a commercial kitchen, consistency is everything. We rely on solid techniques, not luck. These are the non-negotiables we teach every new baker, and they’ll make a huge difference in your home kitchen, too.
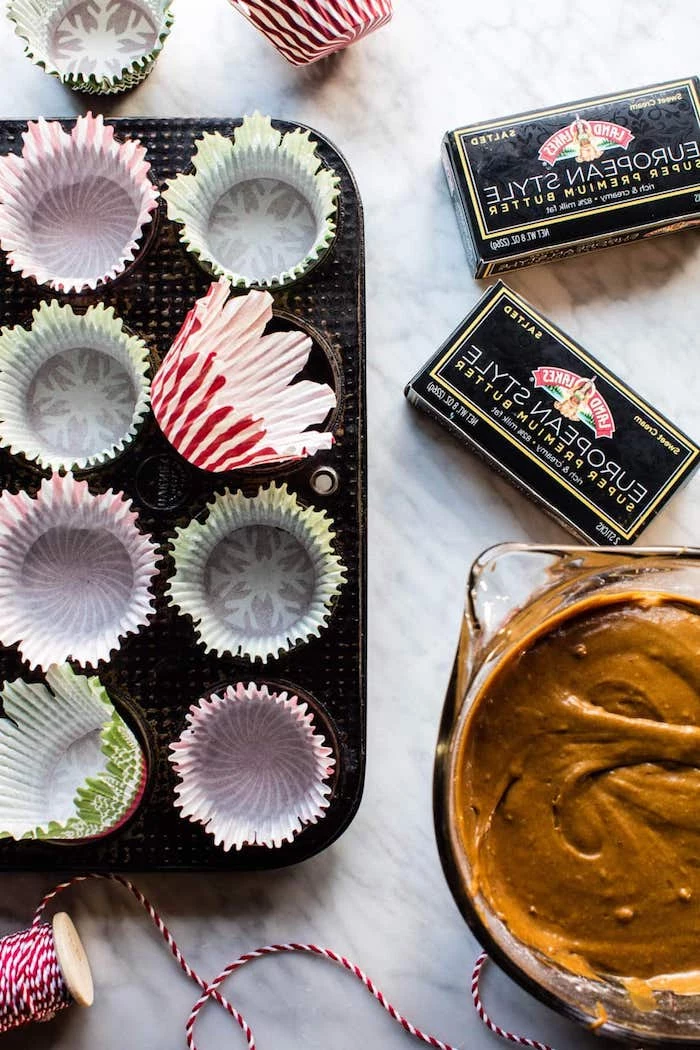
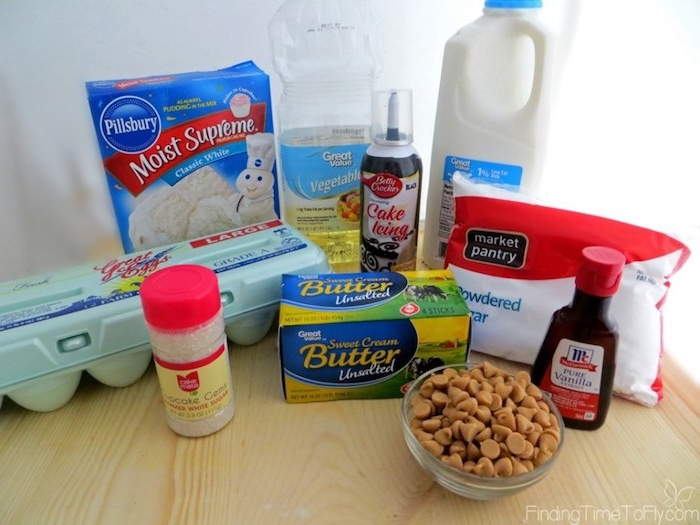
Get Your “Mise en Place” On
This is just a fancy French term for “everything in its place.” It means you measure out every single ingredient, line your cupcake tins, and grab all your tools before you even think about mixing. It’s the single best way to avoid that mid-recipe panic when you realize you’re out of eggs. A huge part of this is using a digital kitchen scale. Honestly, it’s the best $15-$25 you can spend on your baking. You can find a good one on Amazon or at Target. Measuring by weight is so much more accurate than using cups—it’s the difference between a good cupcake and a great one.
Your challenge: For your next bake, I dare you to get out EVERY single ingredient and tool before you start. See how much calmer the whole process feels. It’s a game-changer!
The Creaming Method, Done Right
When a recipe says “cream butter and sugar until light and fluffy,” it’s not a suggestion—it’s a critical step. You’re literally forcing air into the butter, which is what gives the cake its light, airy structure. With a stand mixer, this should take a solid 3-5 minutes on medium speed. You’ll see the color change from yellow to a pale, creamy white. Don’t forget to scrape down the bowl a couple of times! No stand mixer? No problem. With a hand mixer, this might take closer to 7-9 minutes. Just look for that same pale, fluffy texture.
Mixing: A Delicate Balance
The most common mistake I see is overmixing the batter once the flour goes in. That develops too much gluten and leads to tough, rubbery cupcakes. The secret is to add your dry and wet ingredients alternately, starting and ending with the dry ingredients. Mix on low speed only until the last streak of flour disappears. A few little lumps are totally fine.
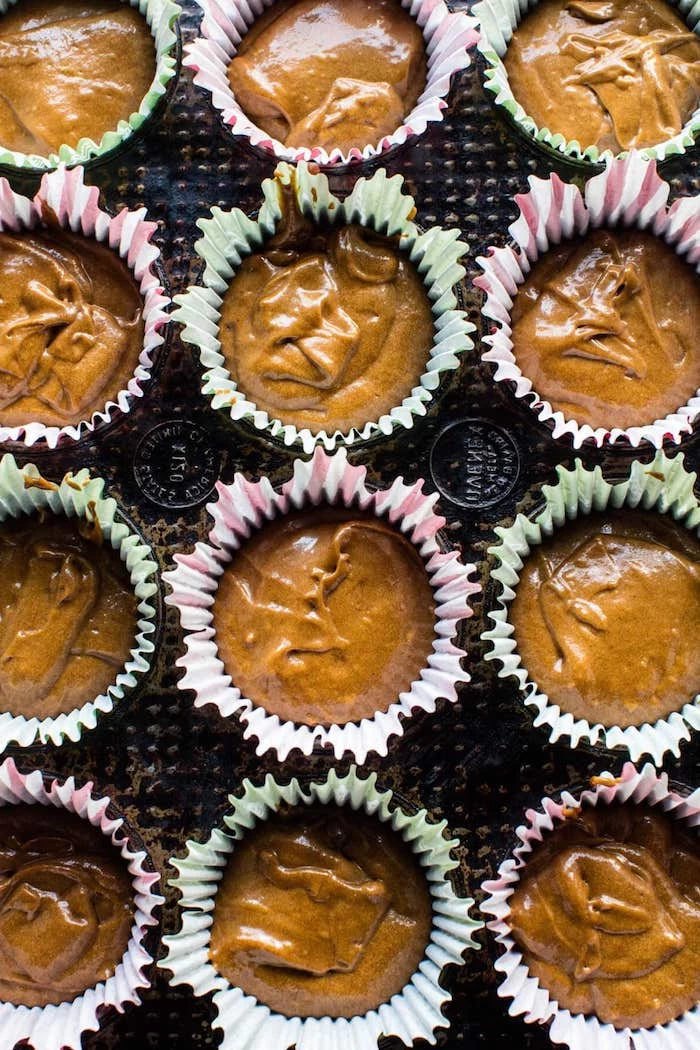
Portioning for Even Baking
Want cupcakes that are all the same size? Use a spring-loaded ice cream scoop. A
20 scoop, which holds about 3 tablespoons, is the standard size and you can find them at any kitchen supply store. Fill your liners only about two-thirds full to give them room to rise without spilling over.
Baking and Cooling Is a Two-Stage Process
First, know your oven. Most have hot spots, so rotate your pan 180 degrees halfway through baking. To check for doneness, gently press the top of a cupcake. If it springs right back, it’s done. If it leaves a dent, give it another minute or two.
And here’s a crucial step: let the cupcakes cool in the pan for only 2-3 minutes. Then, get them onto a wire rack to cool completely. If you leave them in the hot pan, they’ll keep baking and steam from the bottom, which is the
First, know your oven. Most have hot spots, so rotate your pan 180 degrees halfway through baking. To check for doneness, gently press the top of a cupcake. If it springs right back, it’s done. If it leaves a dent, give it another minute or two.
1 cause of those annoying peeling liners.
The “Help! What Went Wrong?” Clinic
Even with the best techniques, things can go sideways. Here’s a quick troubleshooting guide for the most common cupcake calamities.
- Why did my cupcakes sink in the middle? This is usually caused by one of three things: opening the oven door too early, which causes a sudden temperature drop; underbaking them just slightly; or sometimes using a little too much leavening, which causes them to rise too fast and then collapse.
- Why are my cupcake liners peeling away? Moisture is the enemy here. This almost always happens when cupcakes are left to cool in the pan for too long. The trapped steam condenses and makes the liners pull away. Get them onto a wire rack ASAP!
- Why is my cake dry and crumbly? The most likely culprit is overbaking, even by just a minute or two. The second most common reason is measuring flour by volume instead of weight, which often results in using too much flour.
Let’s Talk Classic Holiday Flavors
Okay, let’s put these techniques to work. Here’s how to perfect three holiday classics.
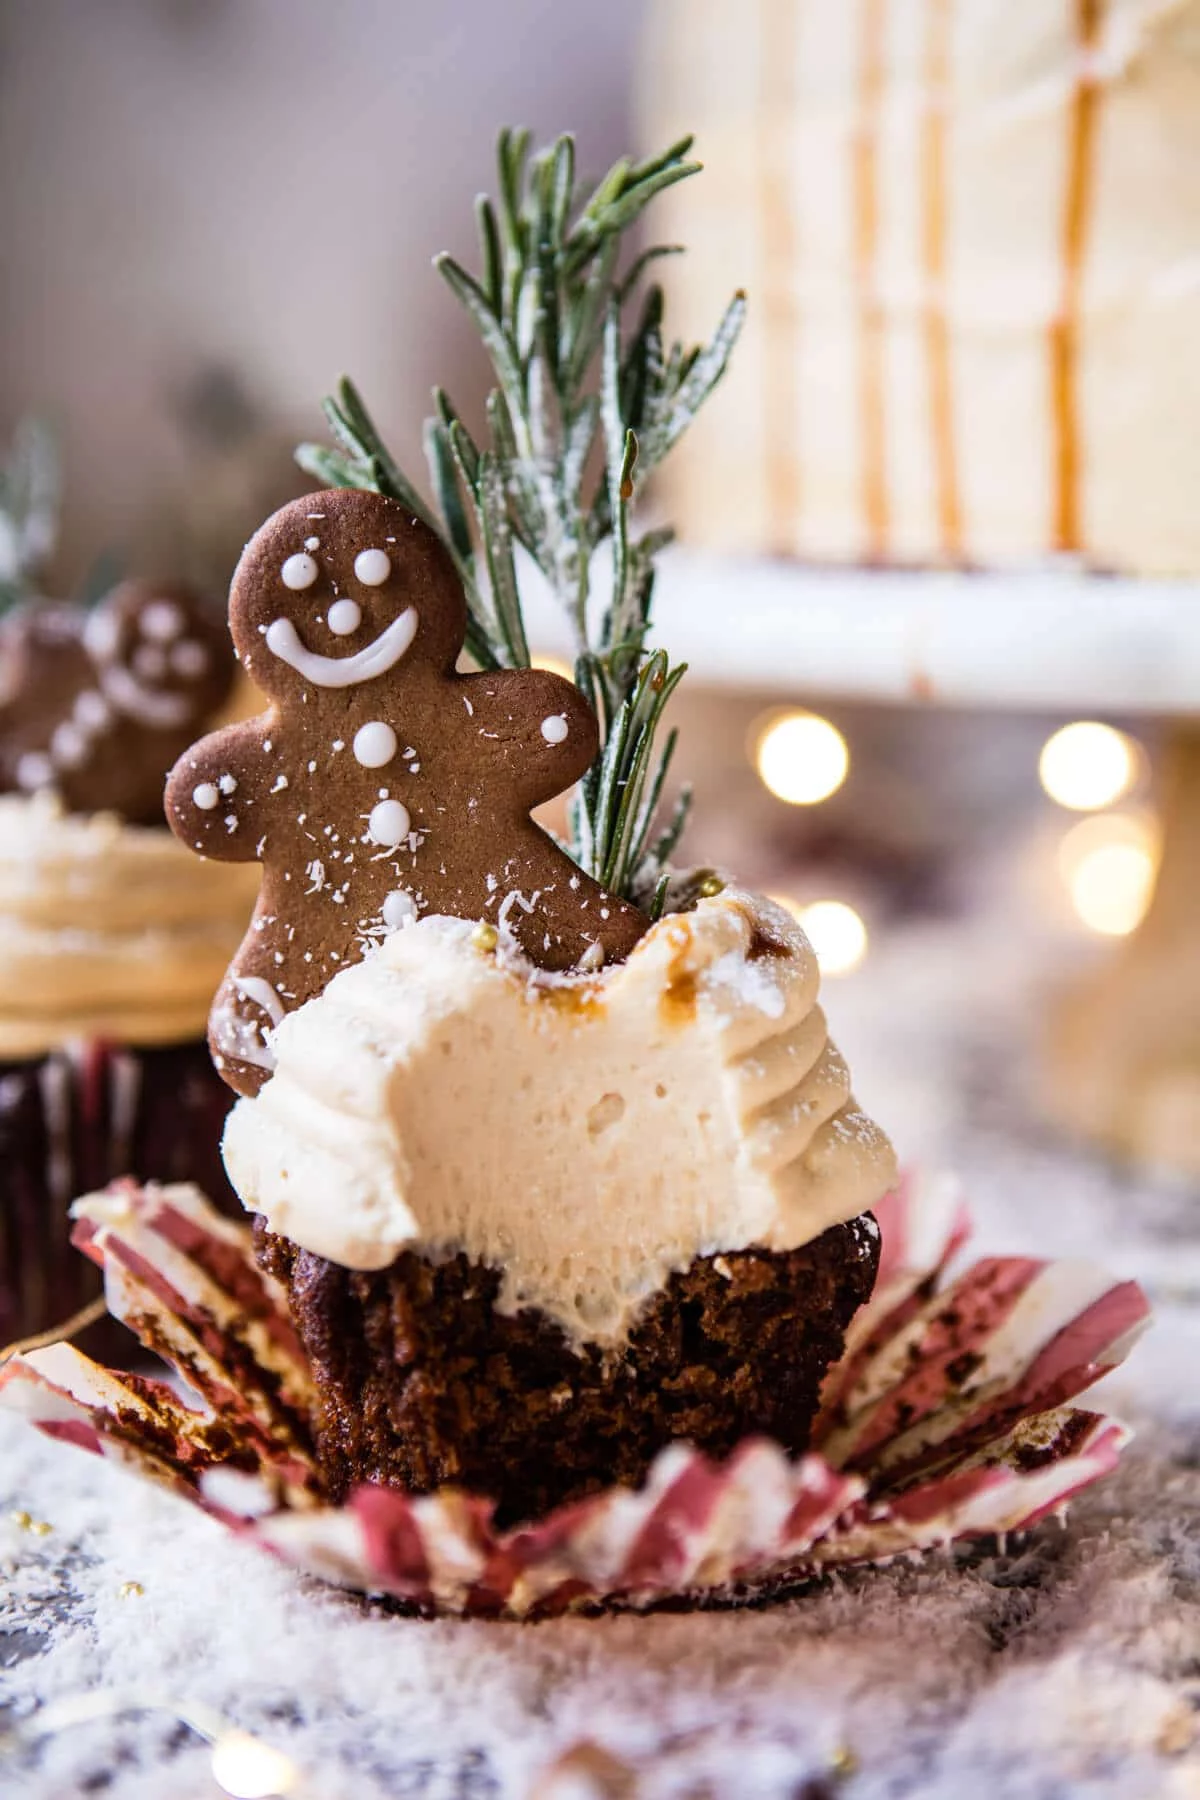
1. Robust Gingerbread Cupcakes
A good gingerbread cupcake should be dark, spicy, and incredibly moist. The secret is in the quality of your ingredients.
Technique: Use dark, unsulphured molasses for a deep, rich flavor (light molasses is just too sweet). Be bold with your spices—fresh ginger, cinnamon, and cloves are a must. A little-known trick is to add a pinch of black pepper; it amplifies the warmth of the other spices. To really make them pop, try “blooming” your spices by gently warming them in the melted butter for a minute before adding them to the batter.
Key Shopping List: Dark unsulphured molasses (not blackstrap!), ground ginger, cinnamon sticks (to grind fresh!), cloves.
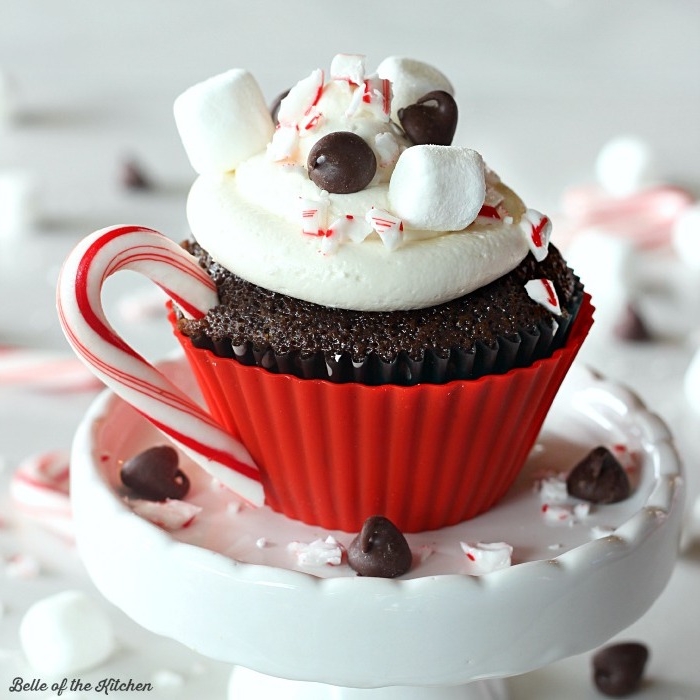
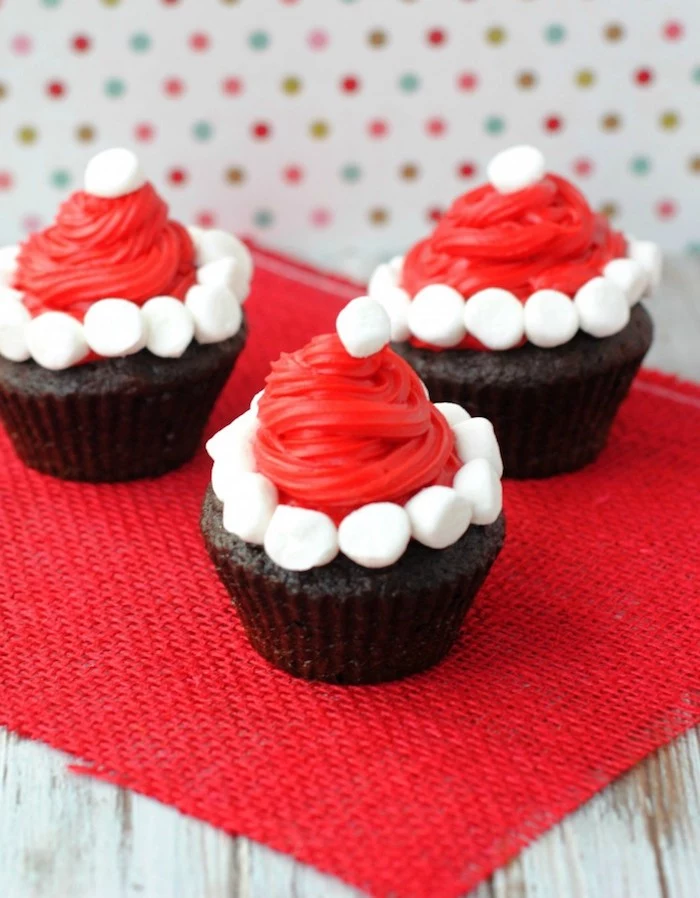
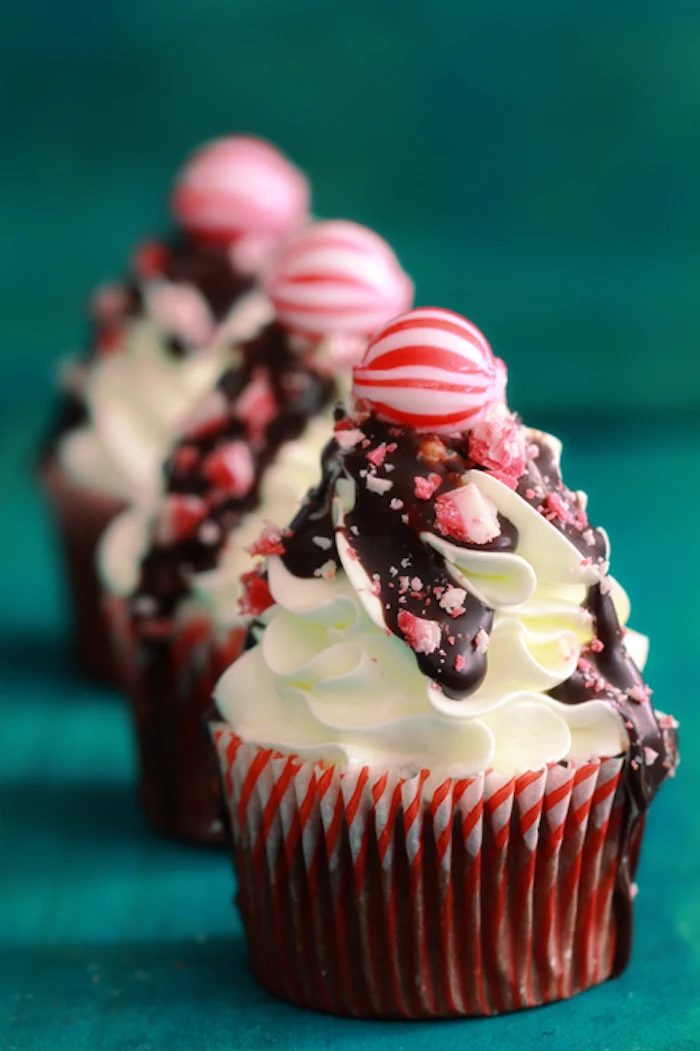
2. Peppermint Chocolate Cupcakes
This flavor can go wrong so easily, ending up tasting like toothpaste. The key is balance.
Technique: Use Dutch-process cocoa powder for a smoother, richer chocolate flavor and a beautiful dark color. To make the chocolate taste even more chocolatey, a pro trick is to add a teaspoon of instant espresso powder or replace some of the liquid with strong, cooled coffee. Trust me, it won’t taste like coffee! Since Dutch-process cocoa isn’t acidic, you’ll want to use baking powder here, not baking soda.
Key Shopping List: High-quality Dutch-process cocoa, pure peppermint extract (not imitation), instant espresso powder.
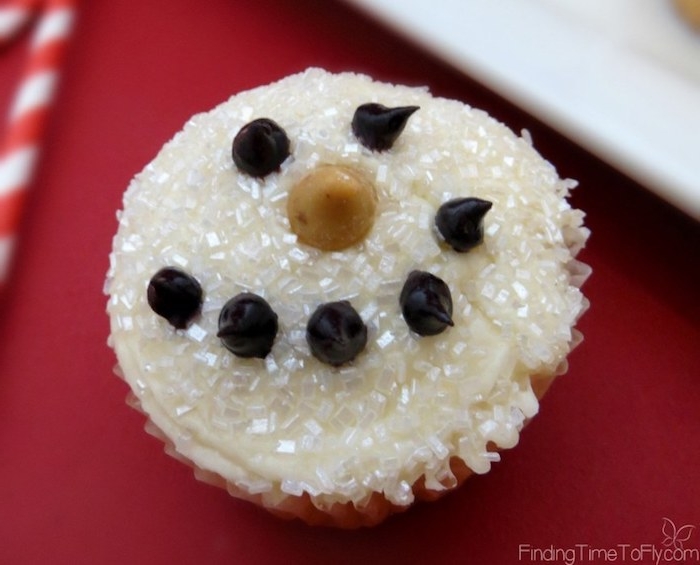
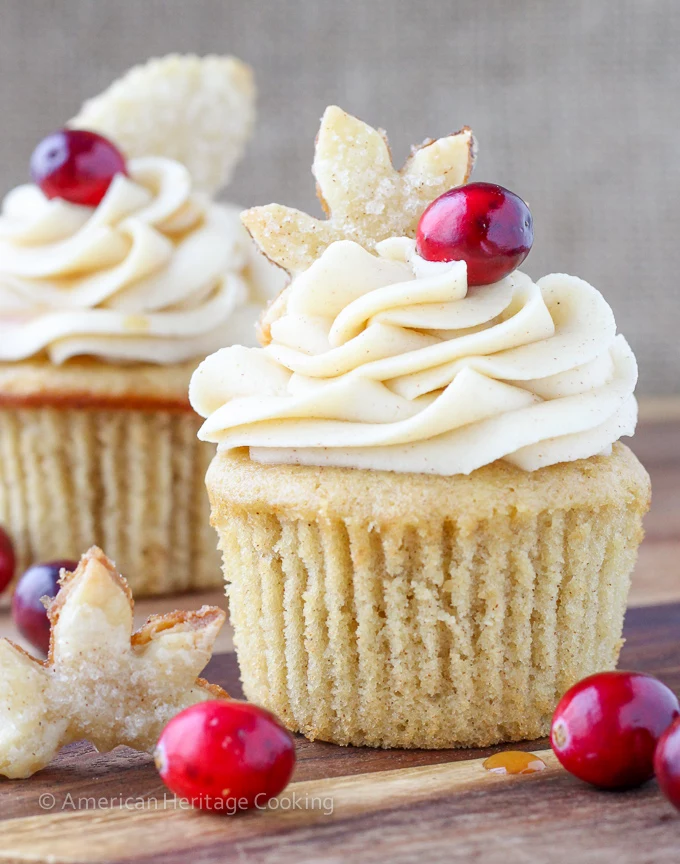
3. Creamy Dreamy Eggnog Cupcakes
This is the ultimate holiday flavor, and it’s surprisingly easy to get right. You want the cupcake to taste like a cozy mug of eggnog.
Technique: The magic here is simple: use real, full-fat eggnog in place of the milk or buttermilk in your favorite vanilla cupcake recipe. Add a generous grating of fresh nutmeg to the batter and a little splash of rum extract (or actual rum!) to give it that authentic kick. The rich eggnog provides fat and flavor, creating an incredibly tender crumb.
Key Shopping List: Good quality store-bought eggnog (full-fat!), a whole nutmeg for grating, rum extract.
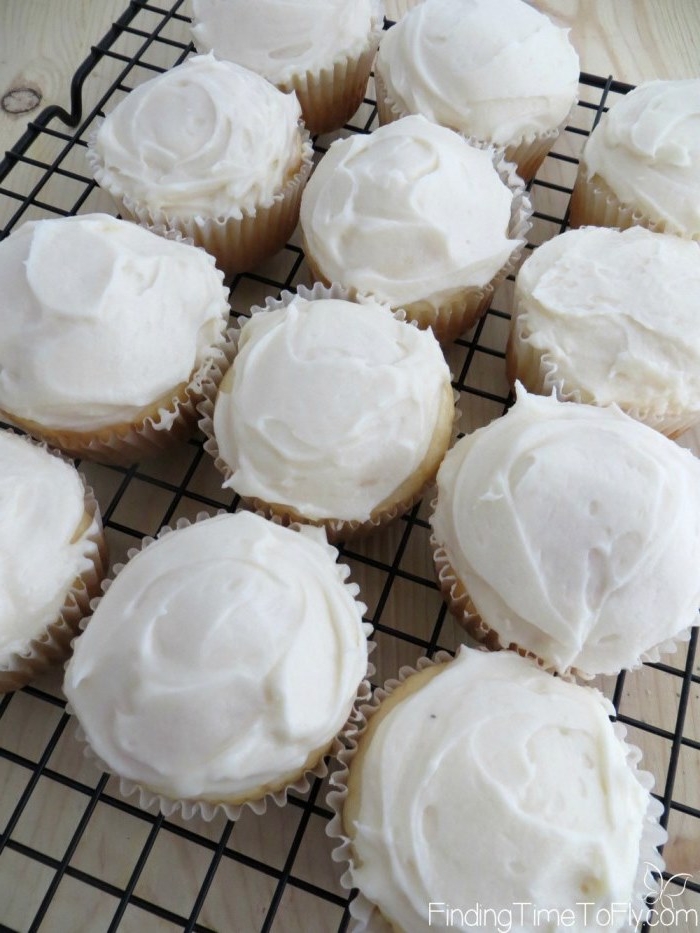
The Grand Finale: Frosting & Decorating
You’ve baked the perfect cupcake. Now for the fun part! A wimpy frosting can ruin all your hard work, so here’s a simple, stable buttercream that’s a dream to work with.
My Go-To No-Fail Buttercream
This makes enough to generously frost about 12-15 cupcakes. You’ll need:
- 1 cup (2 sticks) unsalted butter, softened
- 3-4 cups powdered sugar, sifted
- 1/4 cup heavy cream or milk
- 1 tsp vanilla extract
- A pinch of salt
Just beat the softened butter with a mixer on medium speed until it’s creamy and smooth. Gradually add in the powdered sugar, one cup at a time, mixing on low until it’s incorporated. Once all the sugar is in, add the vanilla and salt. Pour in the heavy cream and beat on medium-high speed for 3-5 minutes until the frosting is light, fluffy, and white. That’s it!
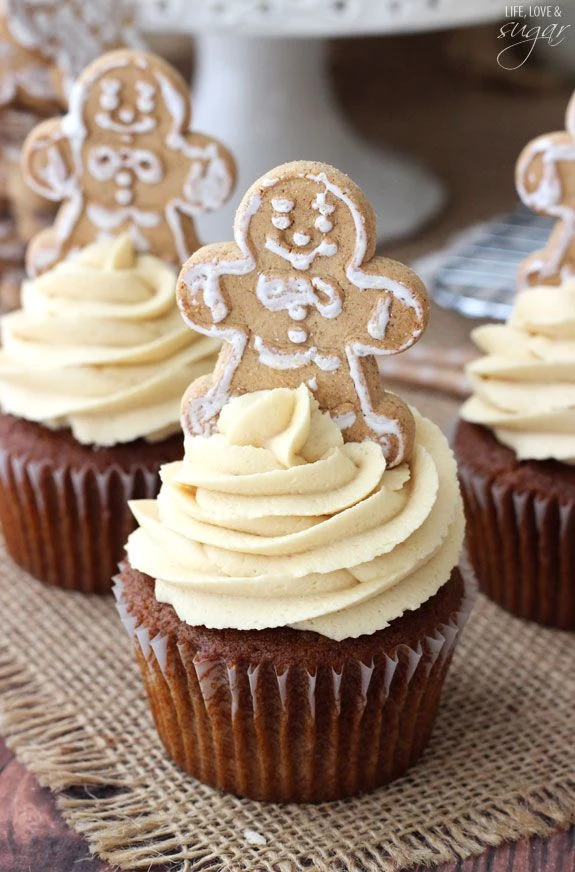
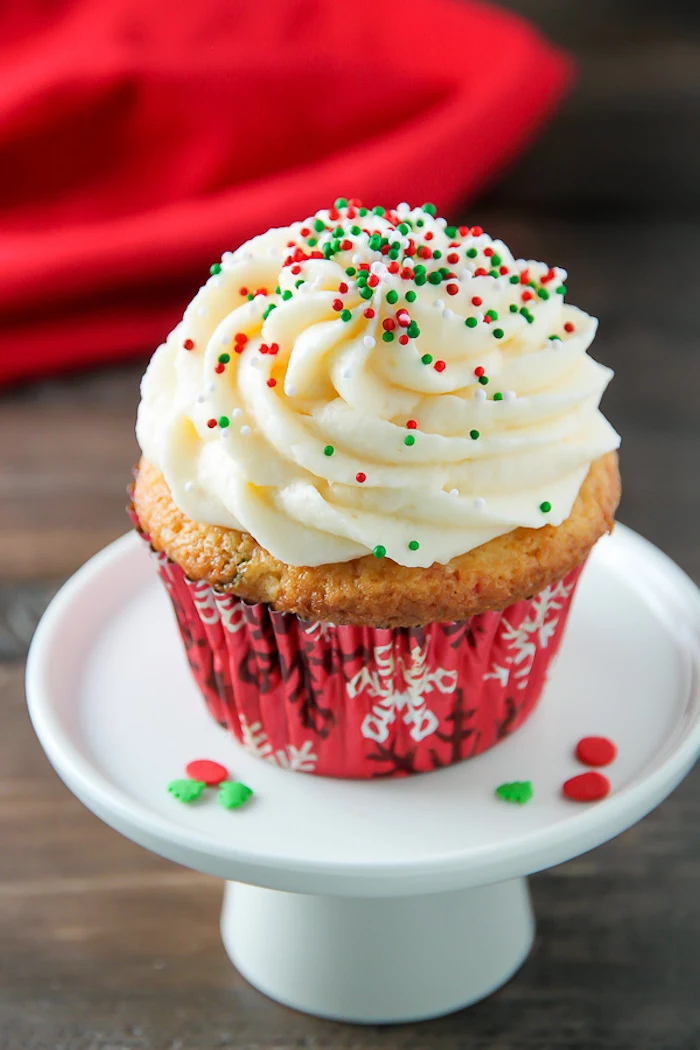
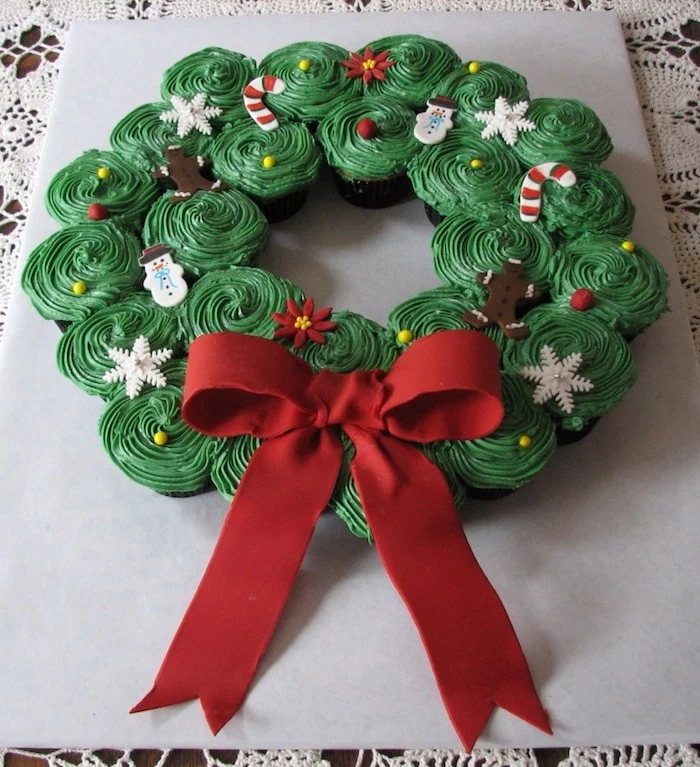
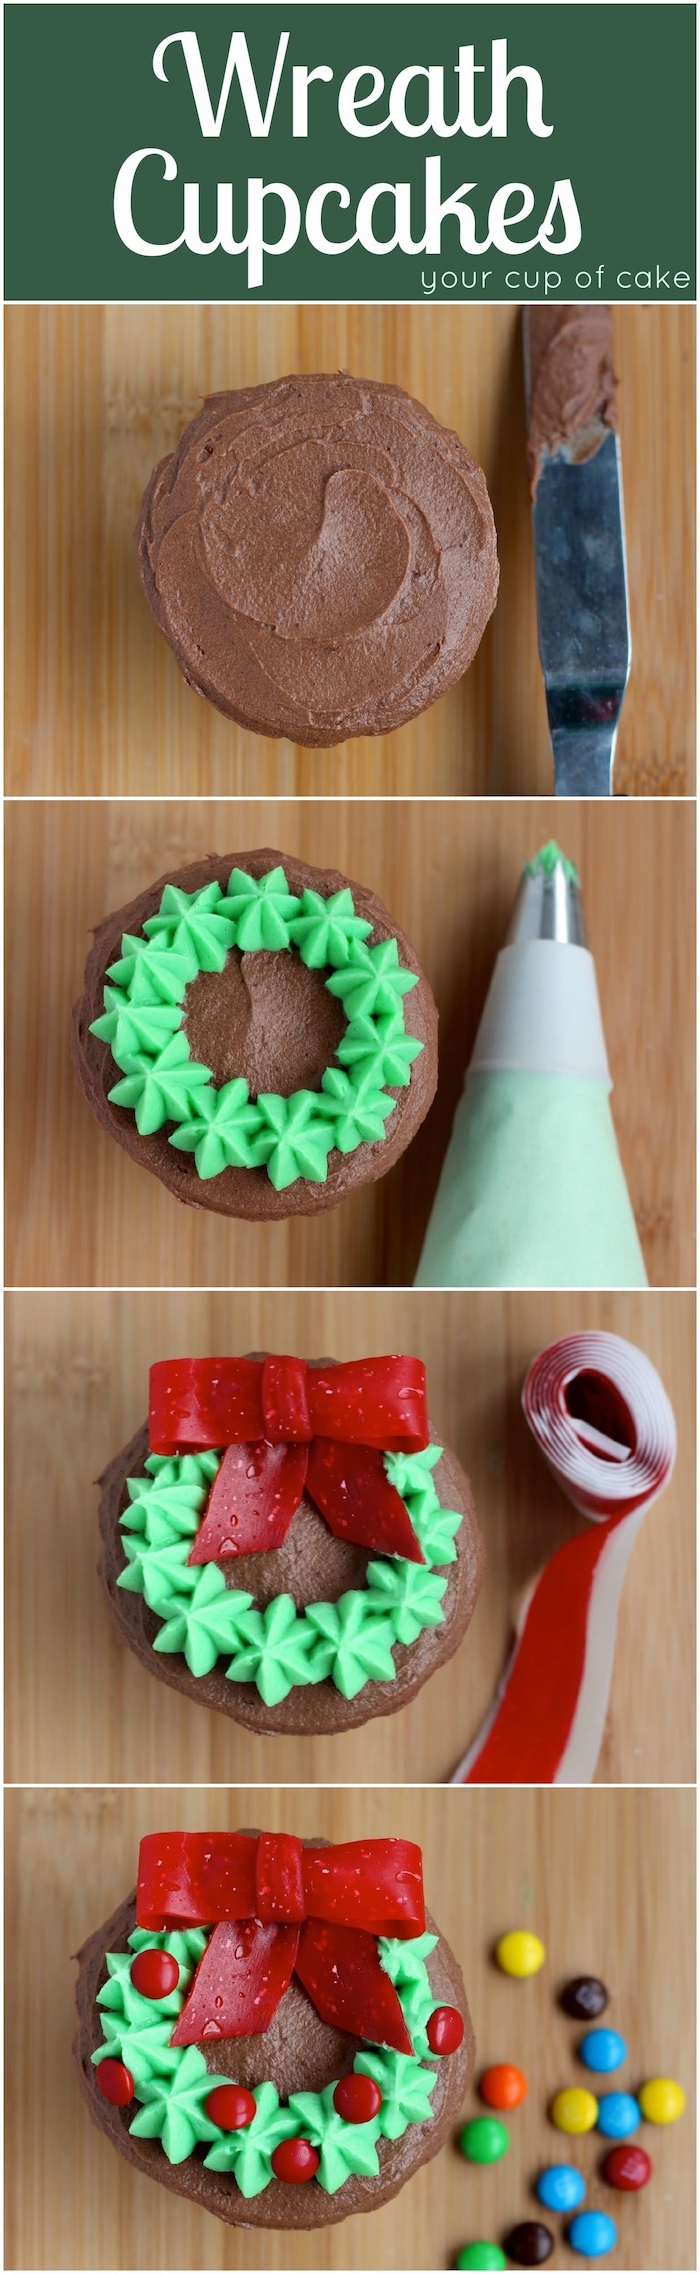
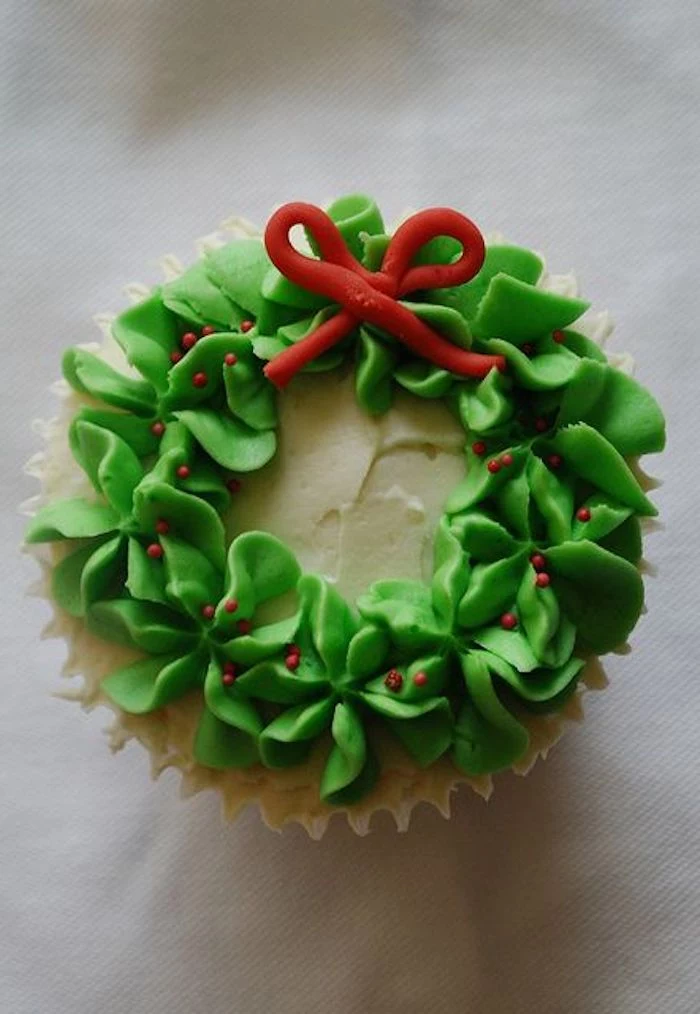
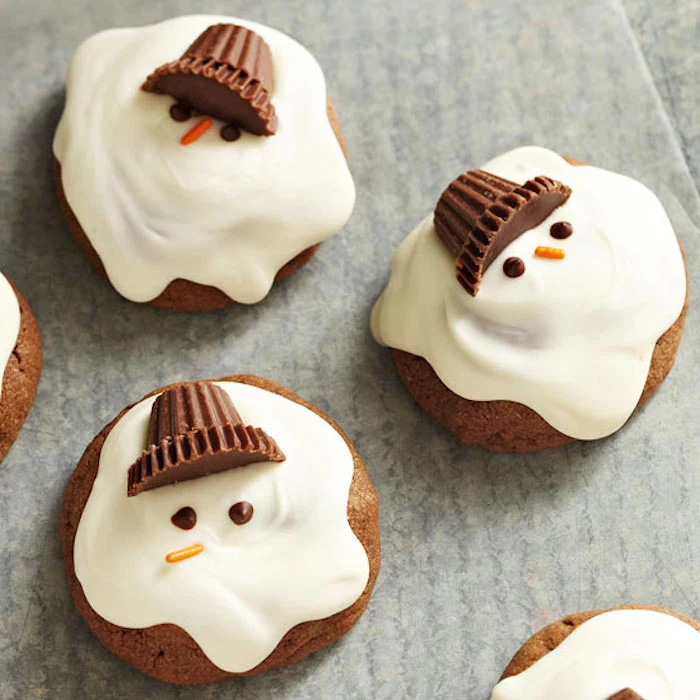
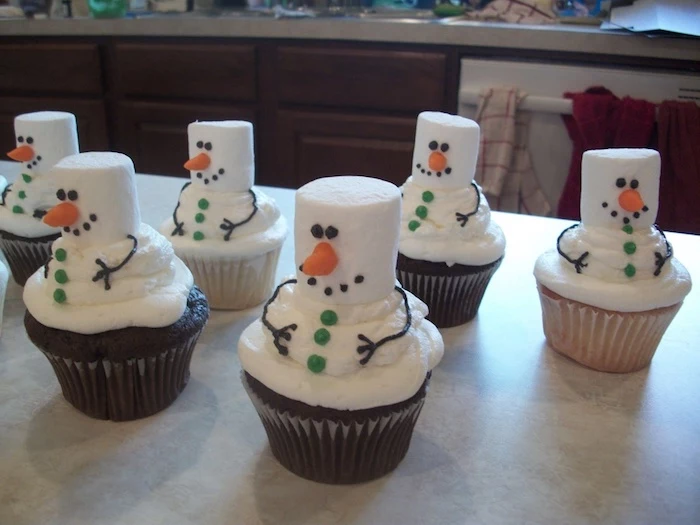
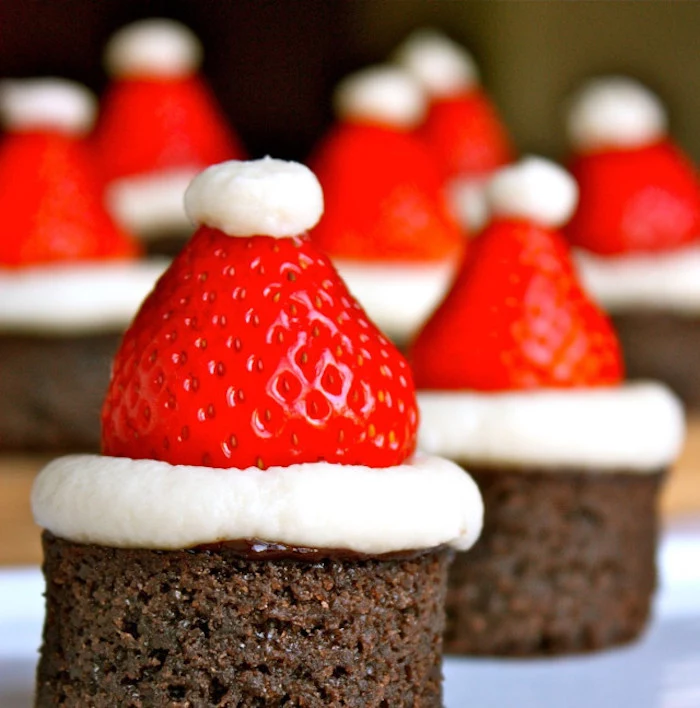
Simple, Stunning Decoration Ideas
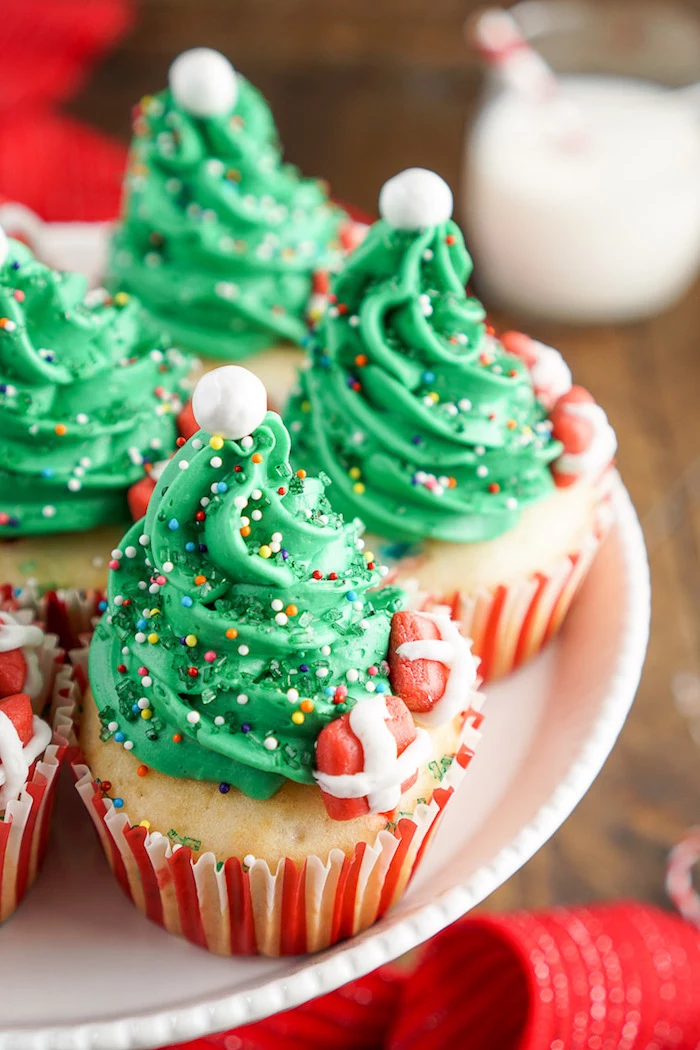
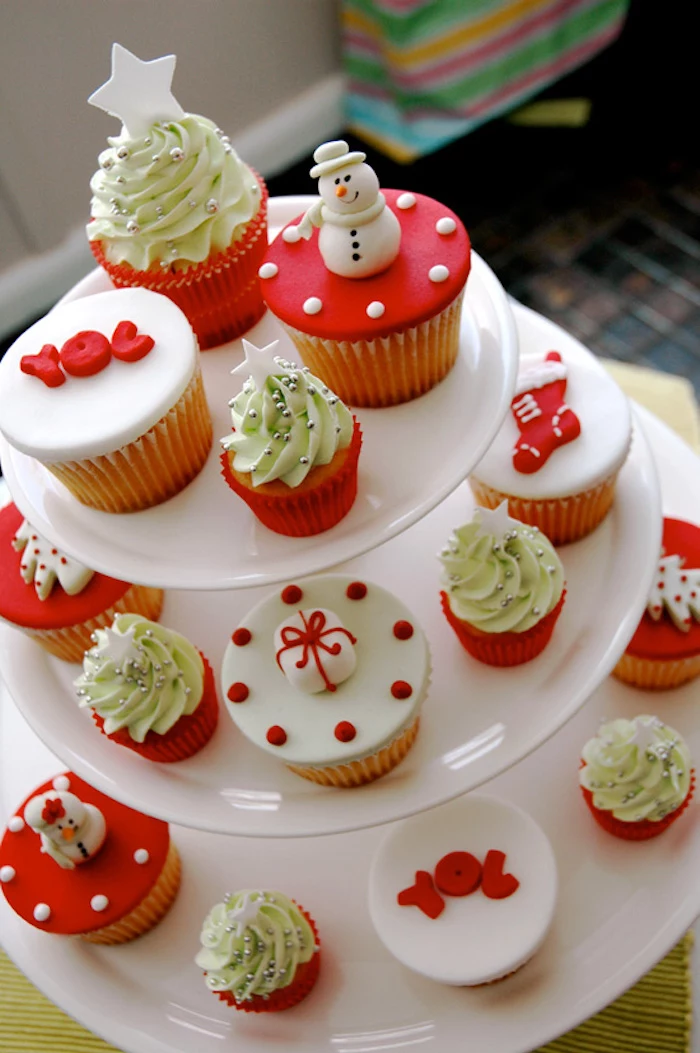
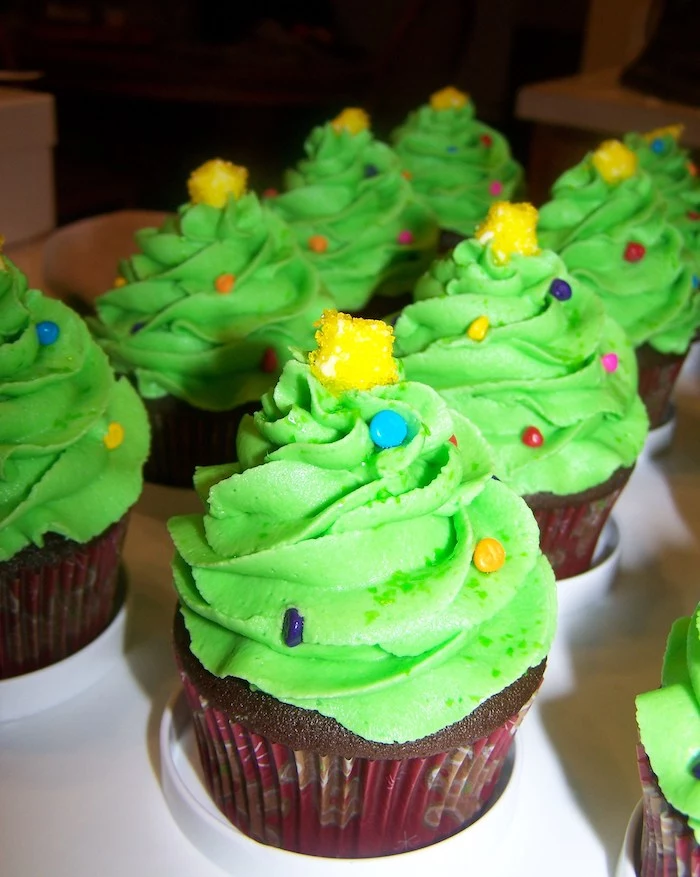
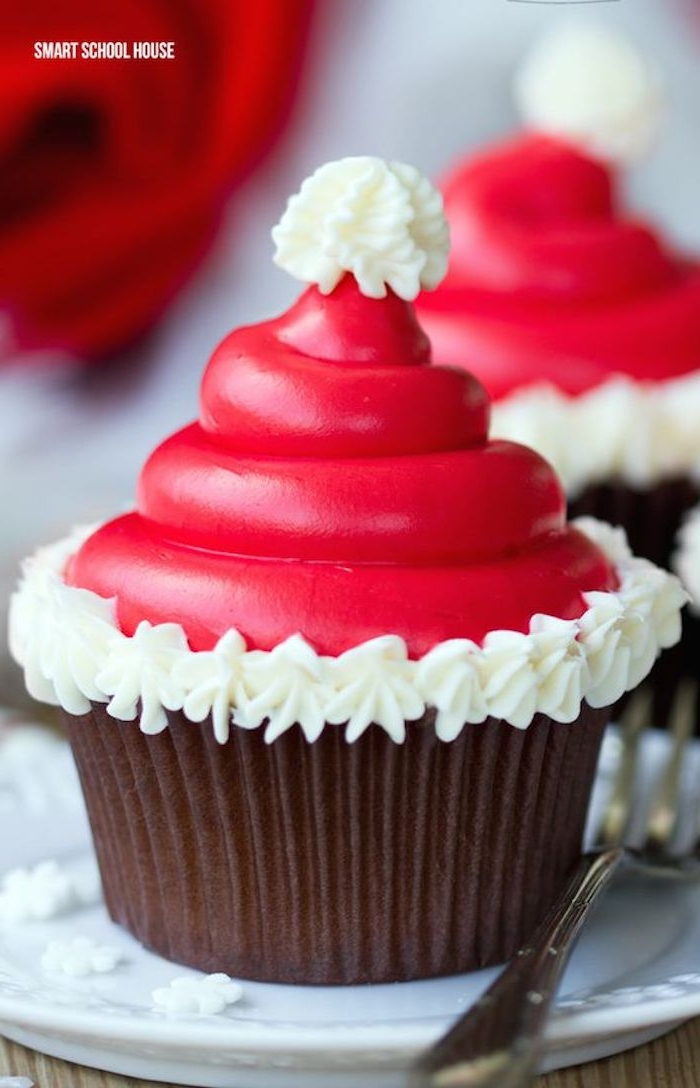
- The Perfect Swirl: You don’t need to be a pro. A basic piping set with a few tips costs about $10-$15 at a craft store like Michael’s or on Amazon. An open star tip (like a Wilton 1M) gives you that classic bakery swirl with almost no effort.
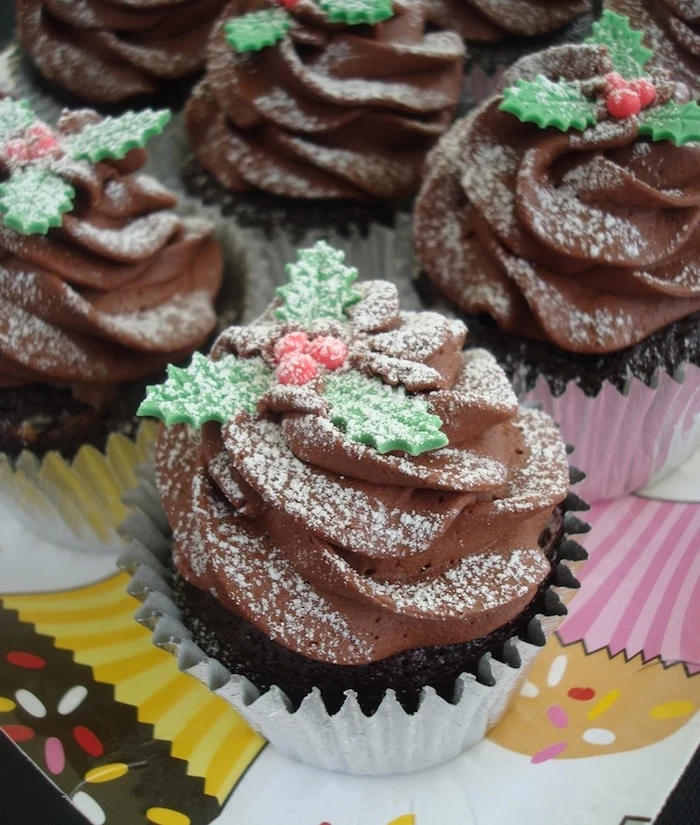
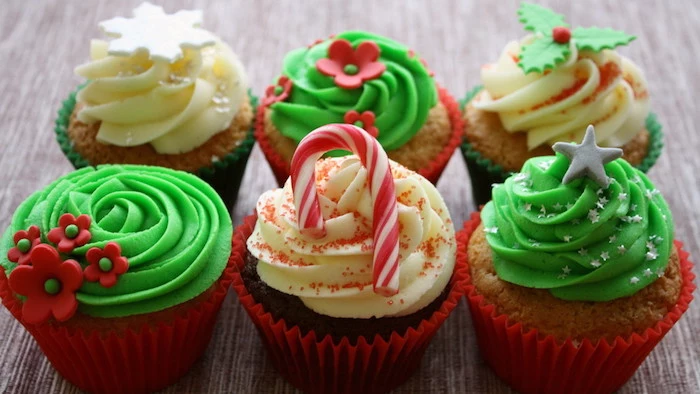
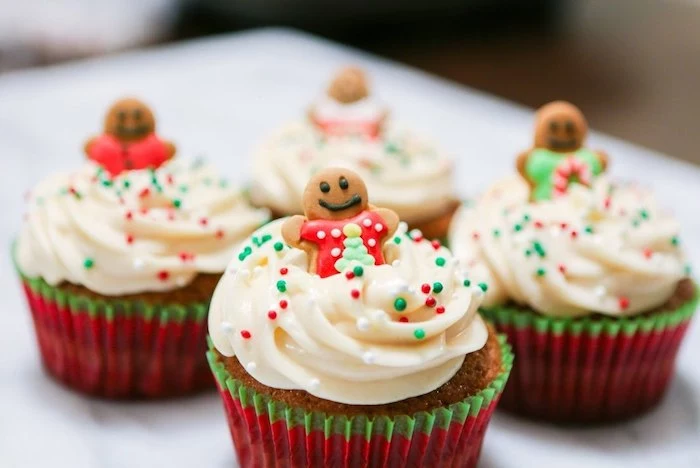
- Gingerbread Garnish: After frosting your gingerbread cupcakes, crumble a gingersnap cookie on top for some texture and a visual cue.
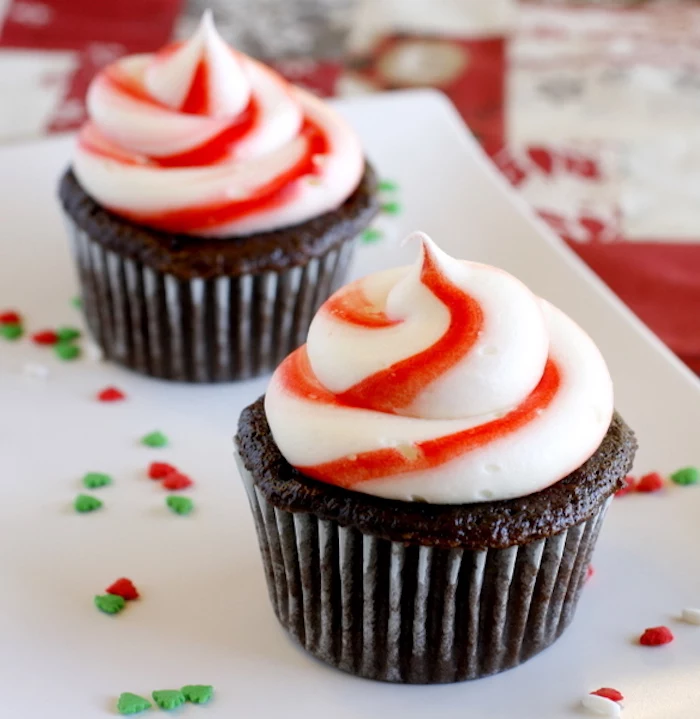
- Peppermint Perfection: For the chocolate cupcakes, simply sprinkle some crushed candy canes or peppermint candies over the fresh frosting. It’s festive, easy, and delicious.
Storing Your Masterpieces
So, what do you do with them now? Proper storage is key.
- On the Counter: Unfrosted cupcakes can be stored in an airtight container at room temperature for up to 2 days. If they’re frosted with buttercream, they’re also fine on the counter for a day or two unless your kitchen is very warm.
- In the Fridge: I generally avoid the fridge, as it can dry out the cake. But if you have a cream cheese or whipped cream-based frosting, you have to. Let them come to room temperature for about 20-30 minutes before serving to soften the cake and frosting.
- Freezing for Later: Yes, you can freeze them! For best results, freeze them unfrosted. Wrap them individually and tightly in plastic wrap, then place them in a freezer bag. They’ll keep for up to 3 months. To frost, just thaw them at room temperature and decorate as usual.
And there you have it. The real secret to amazing holiday cupcakes isn’t a magical recipe—it’s understanding the techniques and giving your ingredients the respect they deserve. Happy baking!
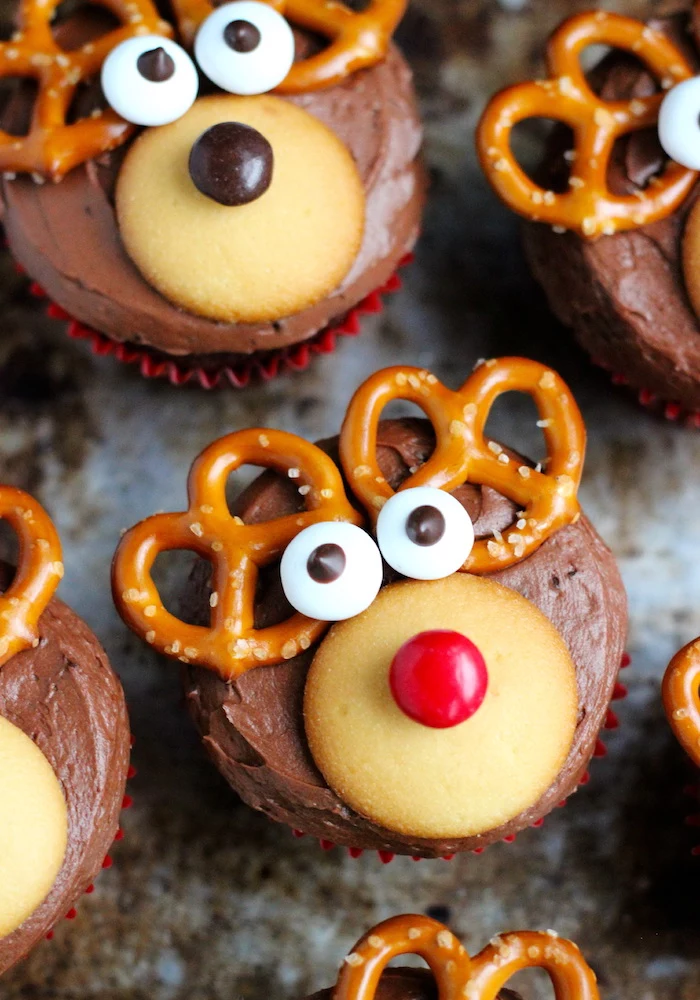
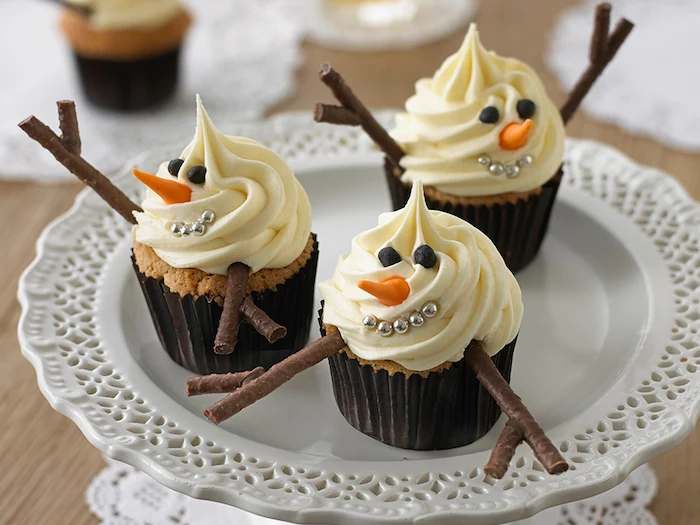
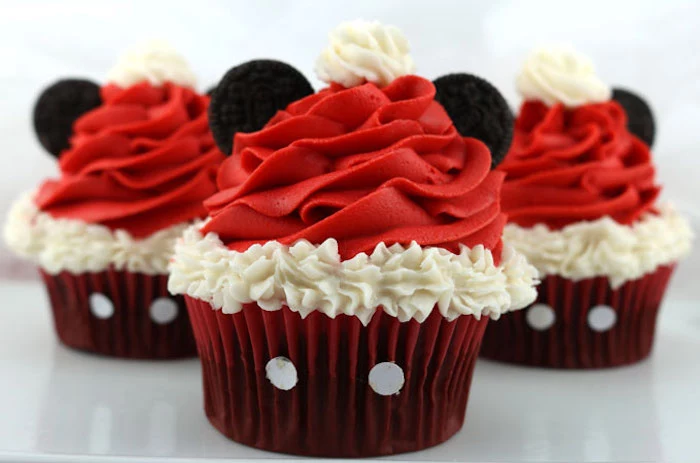
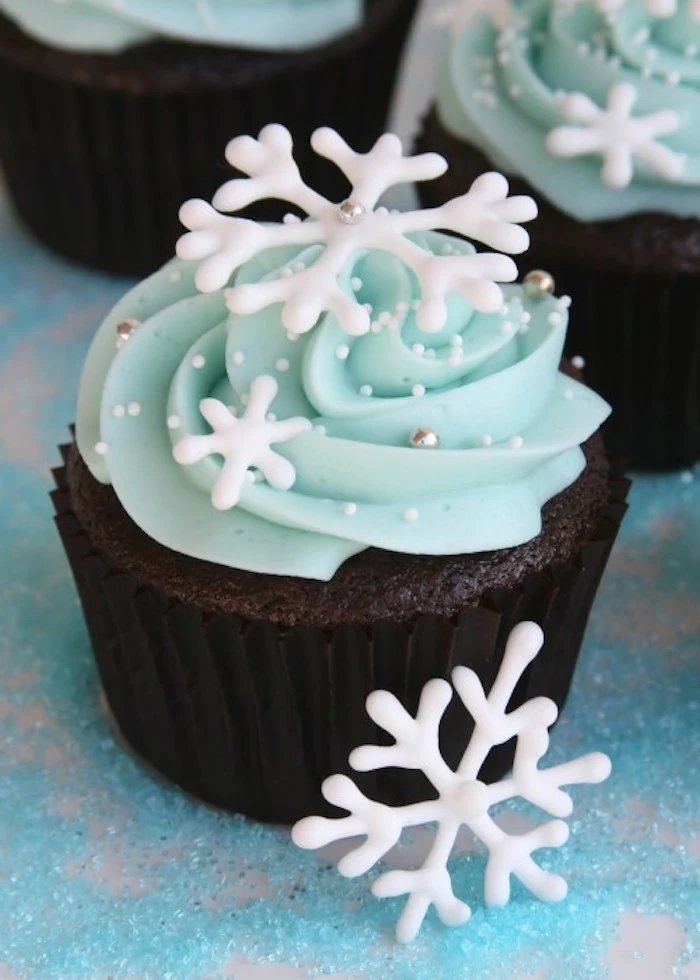
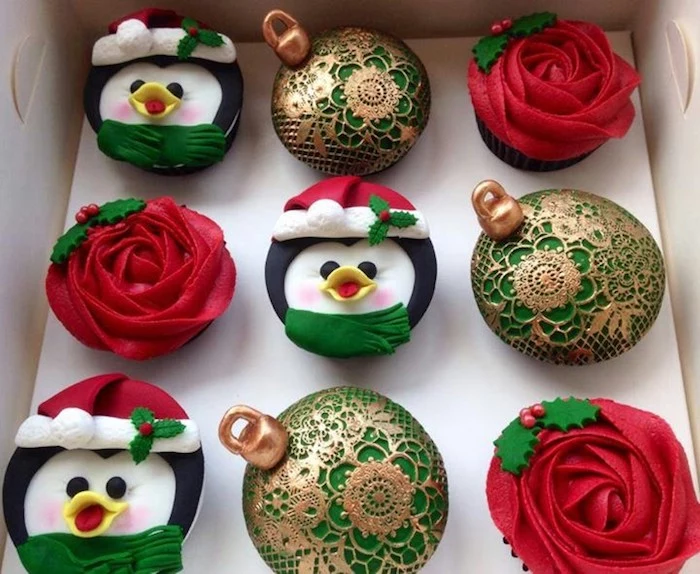
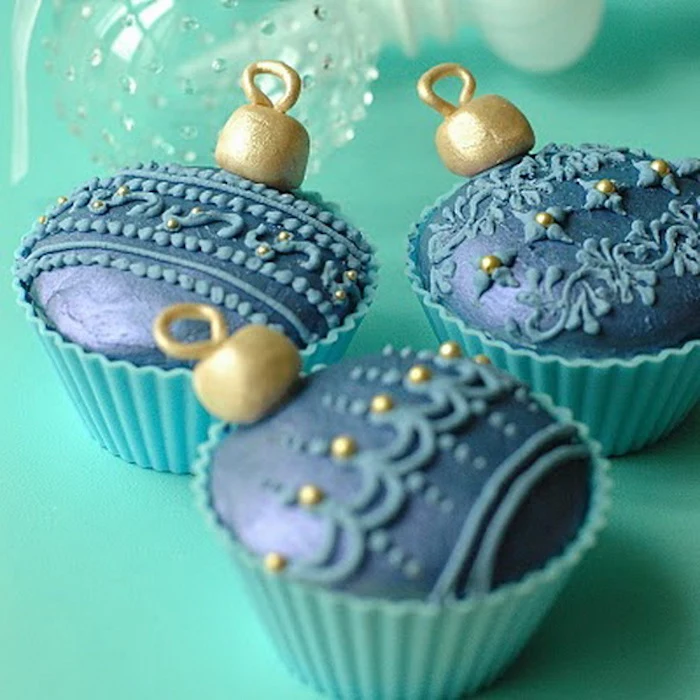
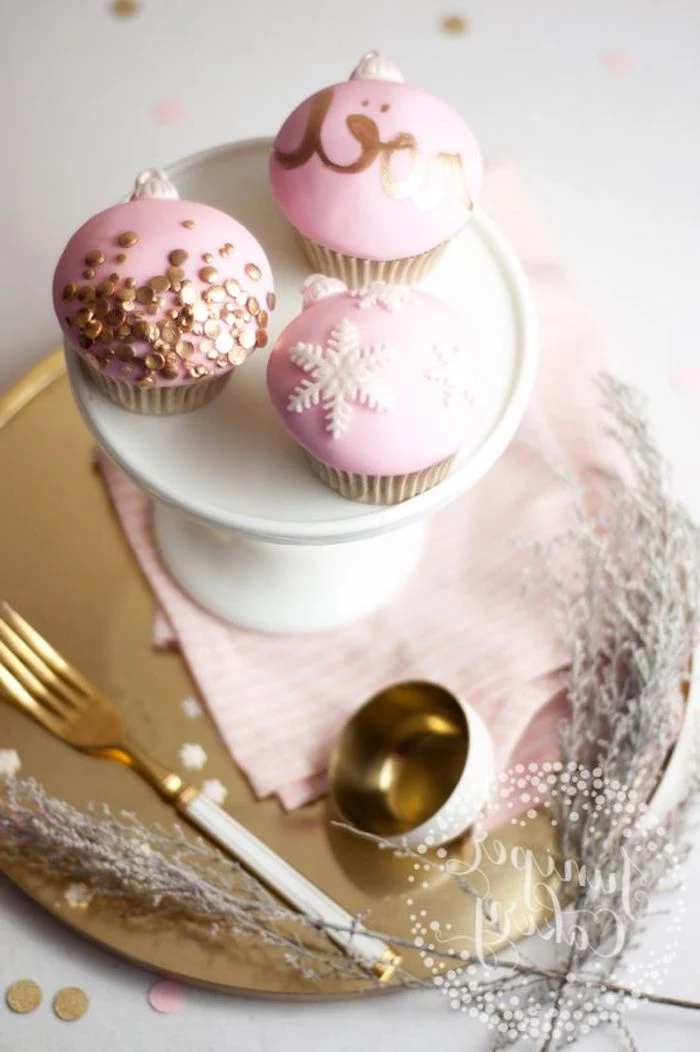
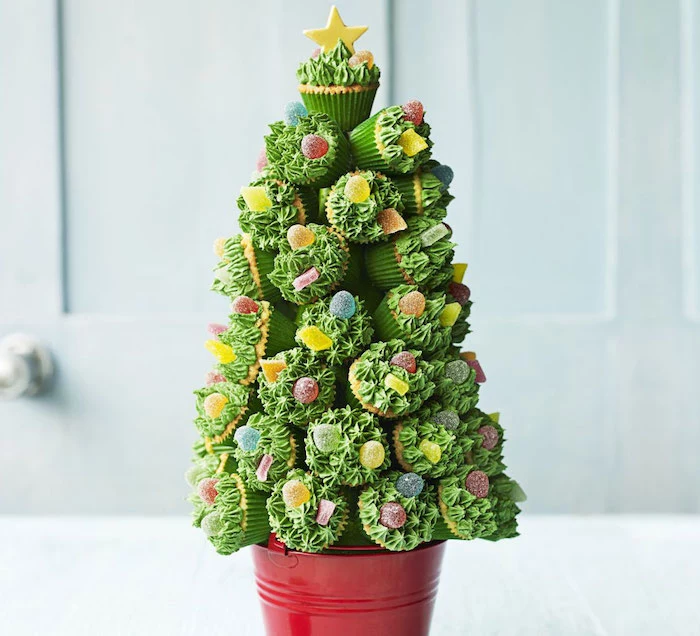
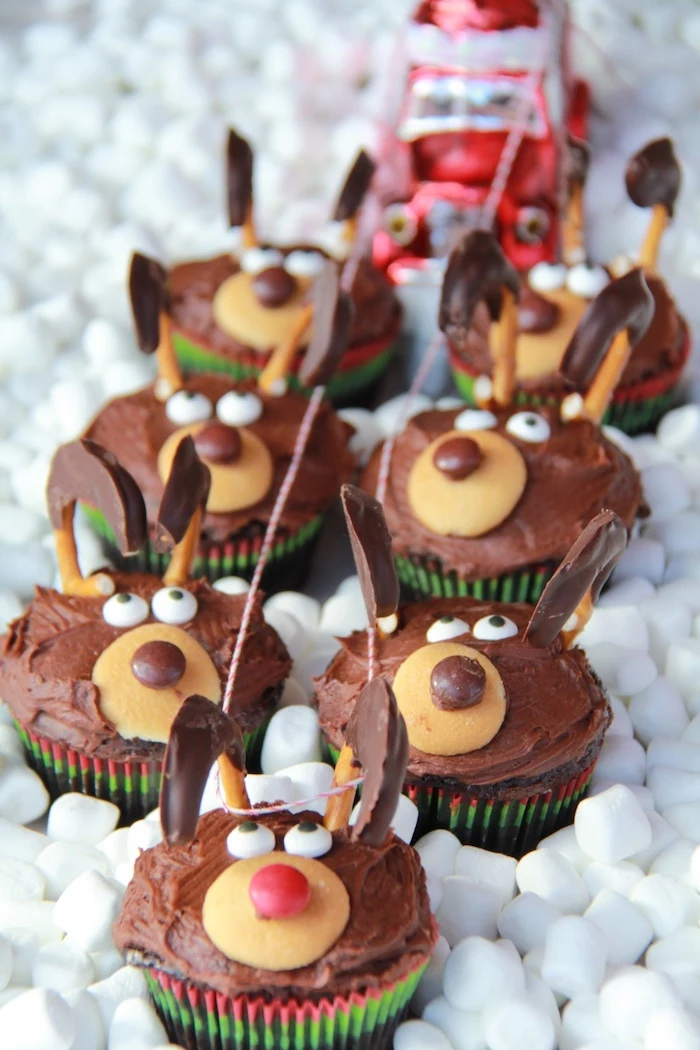
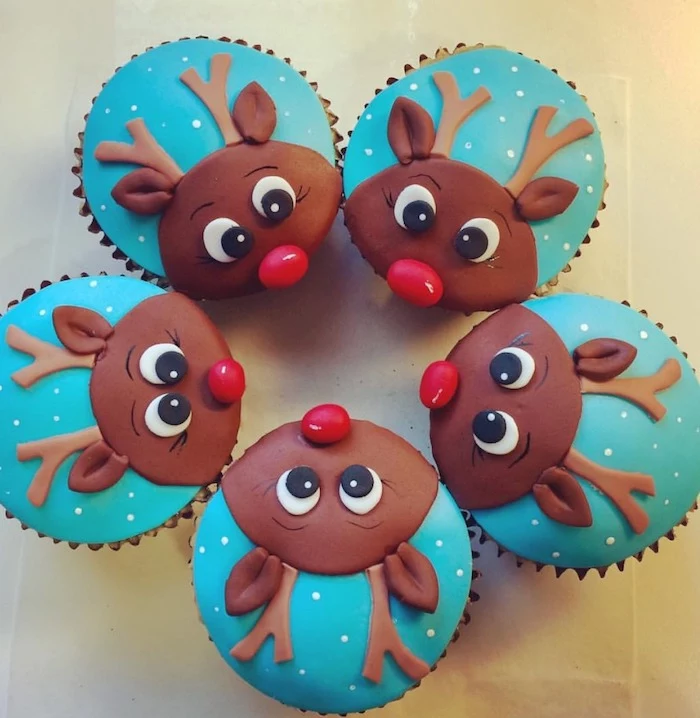
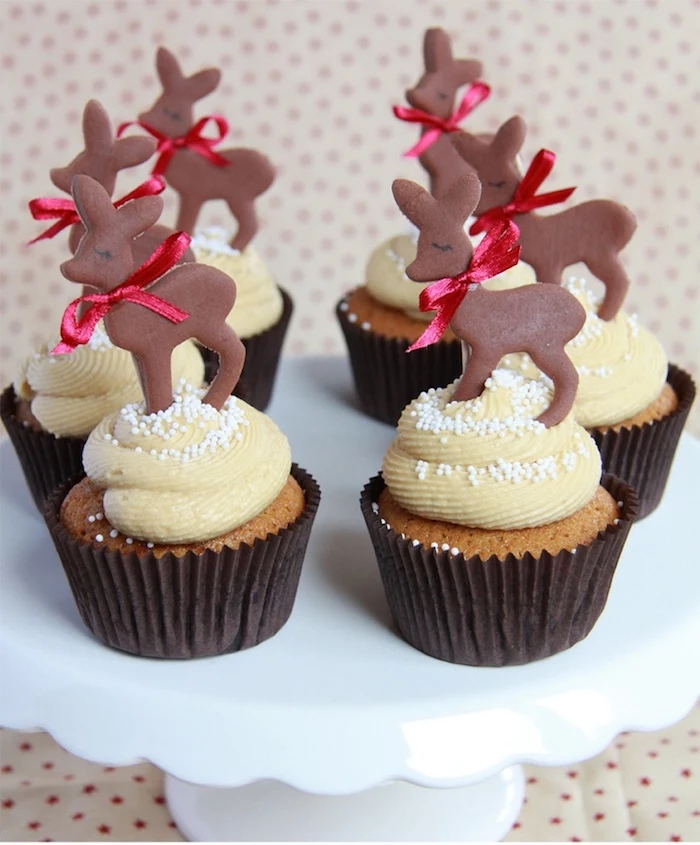
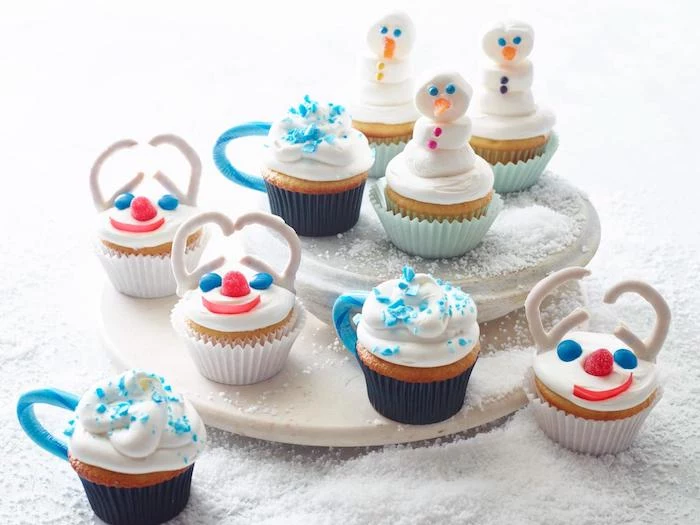
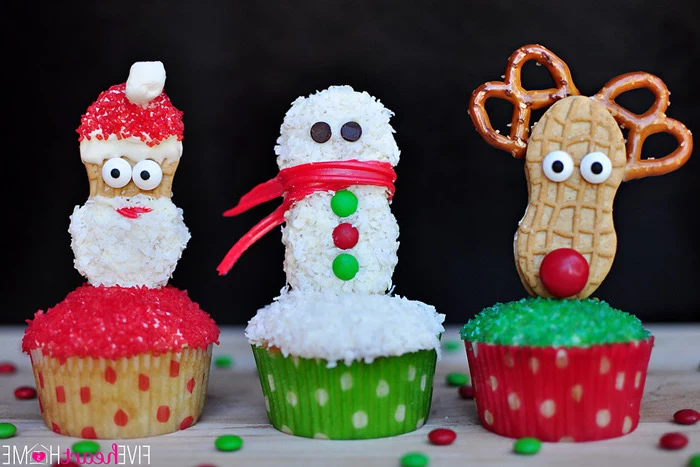
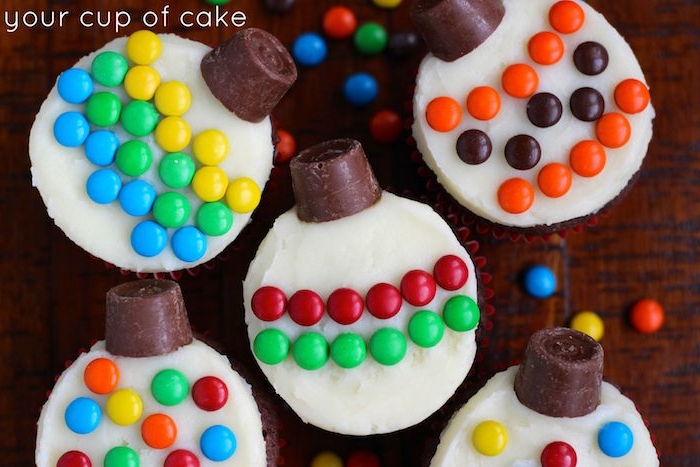
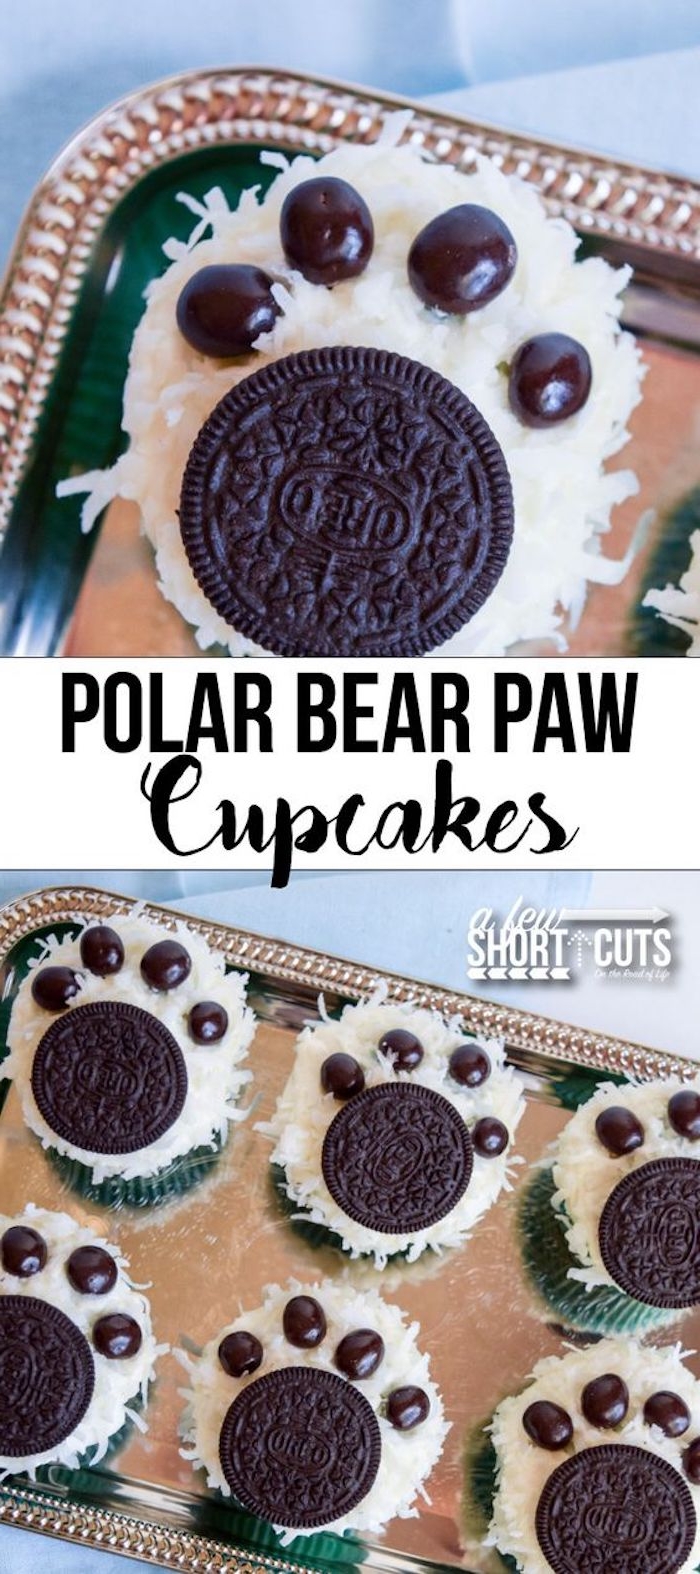
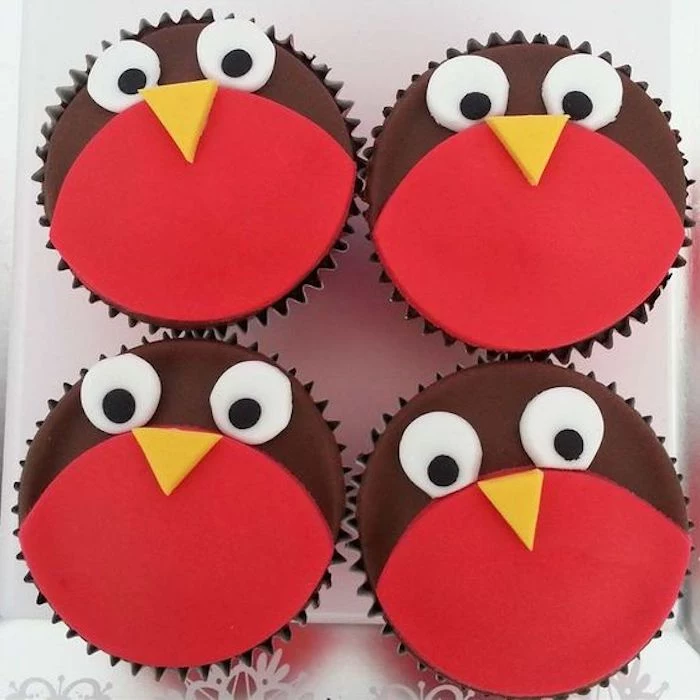
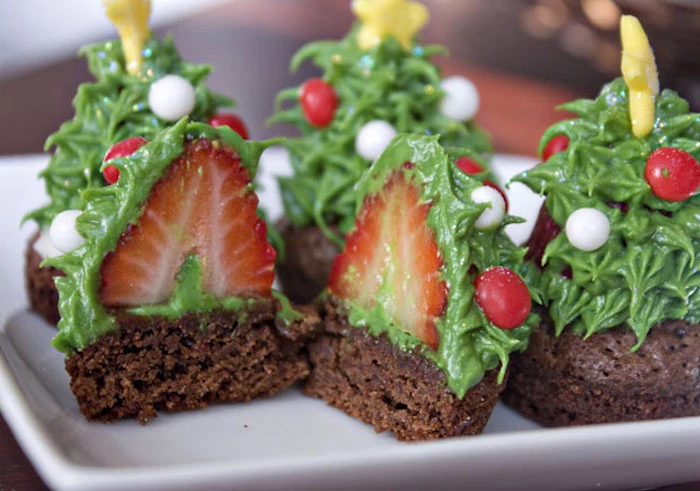
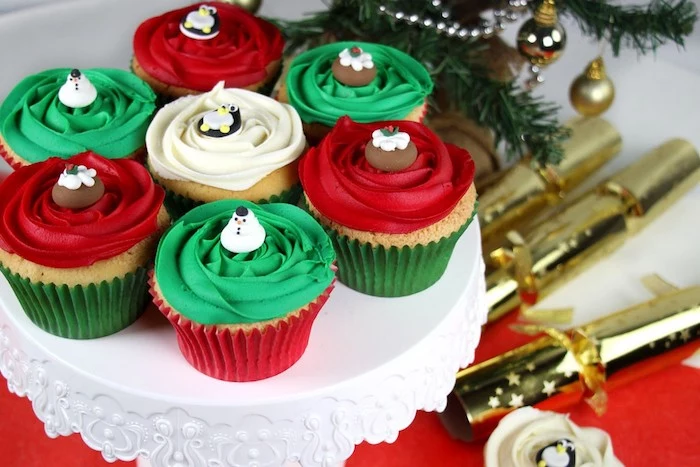
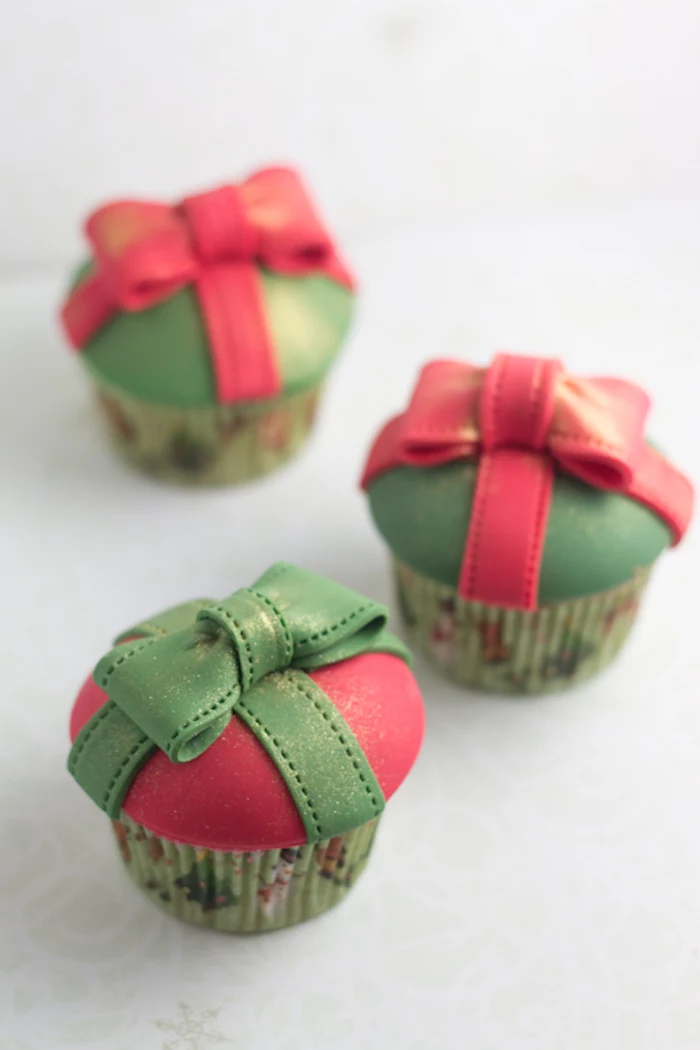
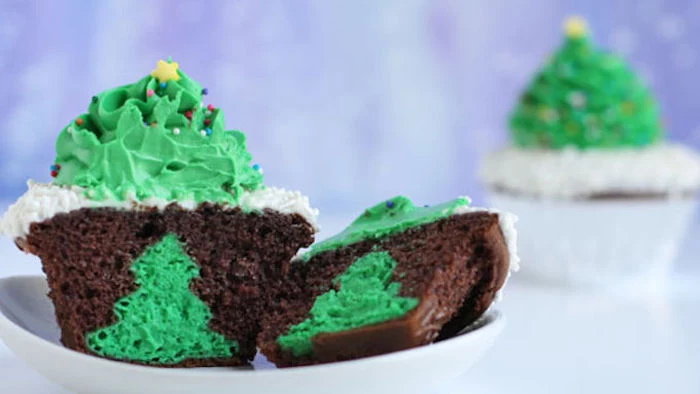
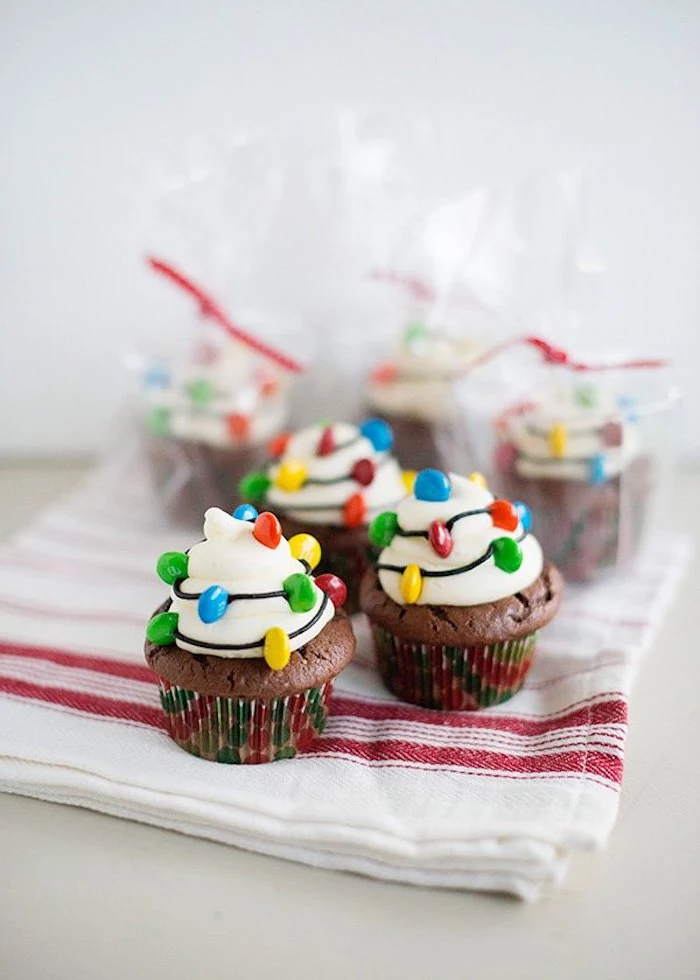
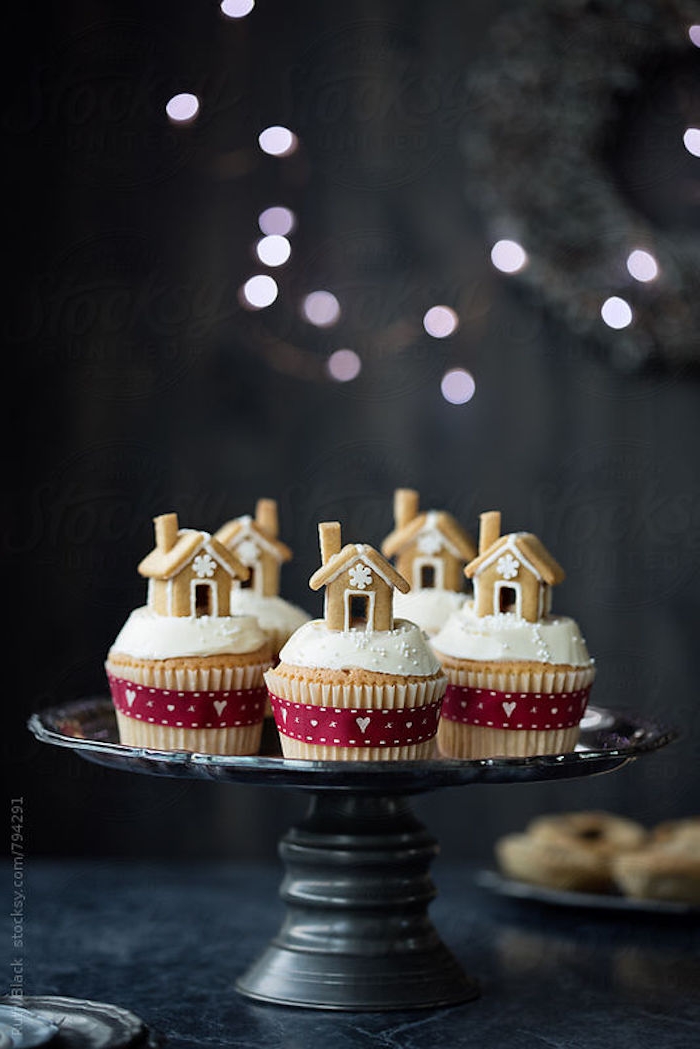
Inspiration Gallery
- A small offset spatula is your best friend for smooth, swoosh-ready frosting surfaces.
- Use a large, open-star piping tip like the Wilton 1M for that classic professional swirl.
- A piping bag coupler lets you switch tips on the same bag of frosting—perfect for adding variety.
The secret to a moist cupcake? It’s not just about the fat; it’s about a stable emulsion. When you slowly add your wet ingredients to the creamed butter and sugar, you’re forcing fat and water to become friends. A broken batter looks curdled and leads to an oily, dense cupcake. Take your time during this step for a truly velvety crumb.
More than 80% of the world’s cinnamon comes from just a few countries, with holiday demand causing a massive spike in imports each year.
That warm, festive scent filling your kitchen is the result of a global journey. When you choose high-quality cinnamon, like Ceylon for its delicate notes or Cassia for a powerful punch, you’re not just adding flavor; you’re participating in a worldwide holiday tradition.
My buttercream is always gritty or sickly sweet. What’s the trick?
First, always sift your powdered sugar. It makes a world of difference. To cut the sweetness, don’t just add more sugar. Instead, add a pinch of fine sea salt and an extra splash of high-quality vanilla extract, like Nielsen-Massey. For a professional finish, beat the butter on its own for a full 5 minutes before adding any sugar. This incorporates air and makes the final frosting incredibly light and pale.
American Buttercream: A simple mix of butter, powdered sugar, and milk/cream. It’s stable, pipes sharp details, and is ideal for classic gingerbread or vanilla cupcakes.
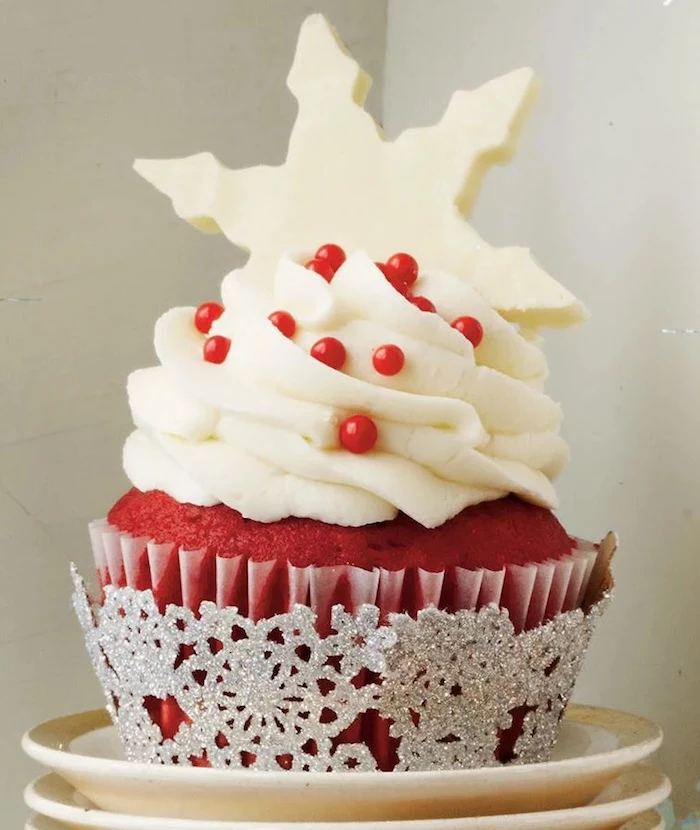
Cream Cheese Frosting: Softer, with a tangy flavor that beautifully cuts through sweetness. It’s the perfect partner for red velvet or spiced carrot cupcakes, but be aware it’s less stable at room temperature.
For intricate piping, stick with buttercream. For pure flavor, cream cheese frosting is a holiday winner.
“The most important tool in a pastry kitchen is a scale.” – Pastry Chef Stella Parks

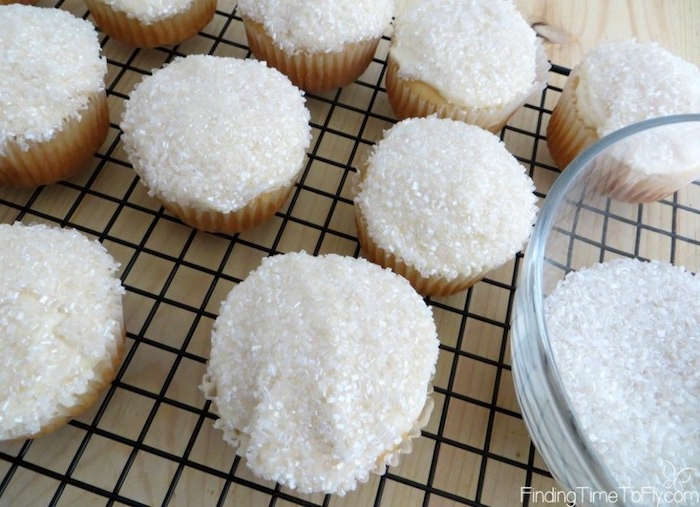
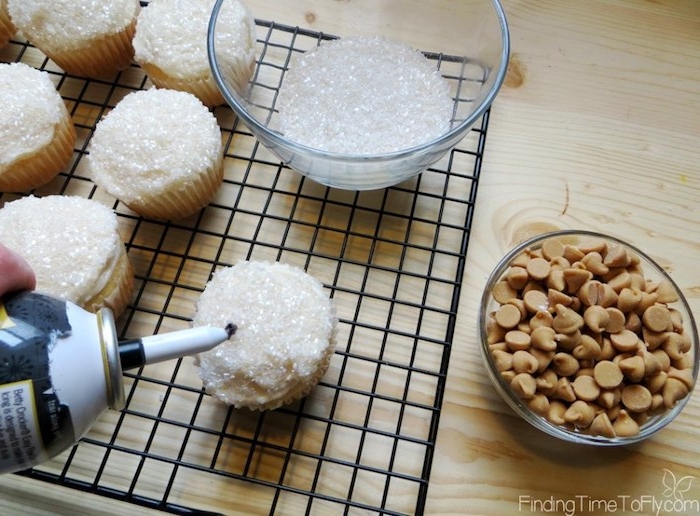
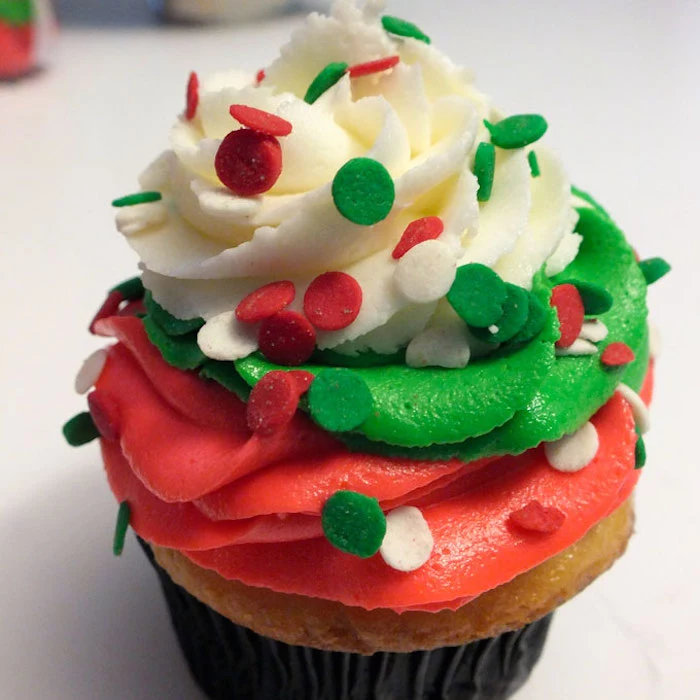
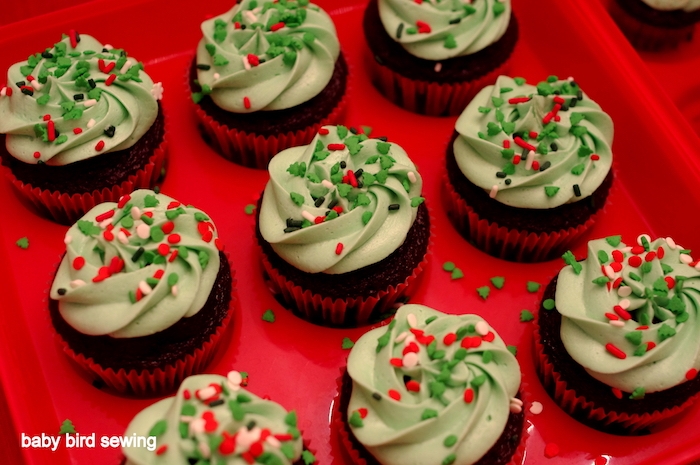
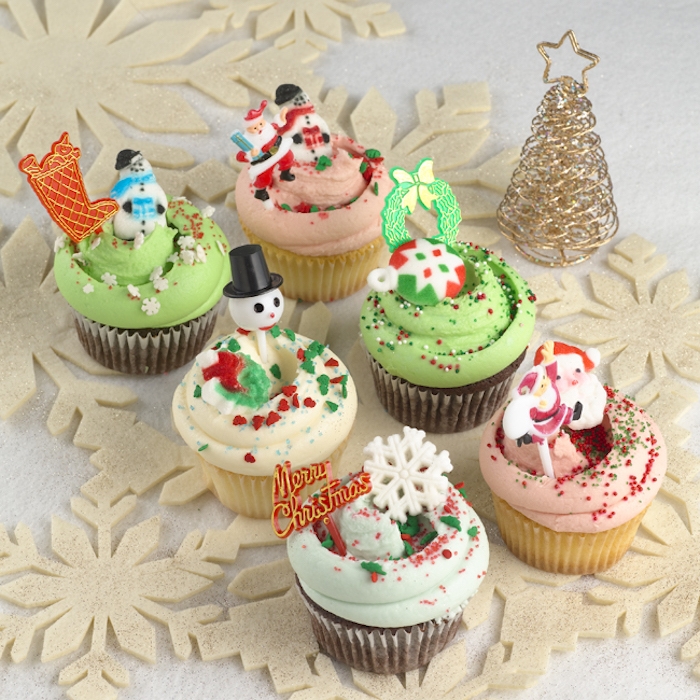
Creating your own festive sprinkle mix is a simple way to elevate your cupcakes. Don’t just rely on what’s in the box. Combine jimmies, nonpareils, sparkling sugar, and even some edible gold star confetti from a brand like Sweetapolita or Fancy Sprinkles. Store your custom mix in a small glass jar for a touch of kitchen magic all season long.

A critical moment: Ensure your eggs and dairy are at true room temperature. Cold ingredients can cause the butter to re-harden, breaking your batter’s emulsion. This single step is often the difference between a light, airy cupcake and a dense, heavy one. An hour on the counter is usually all it takes.
- Perfectly consistent results every single time.
- Fewer measuring cups to wash.
- The ability to precisely follow European recipes, which often use weights.
The secret? Using a digital kitchen scale. For baking, precision isn’t just for professionals; it’s the key to unlocking flawless cupcakes.
Don’t underestimate the power of citrus zest. The oils in the peel of an orange or a lemon contain far more aromatic intensity than the juice. Zesting directly over your batter ensures all those fragrant essential oils make it into the final product, adding a bright, festive layer to your gingerbread or cranberry cupcakes.
Can I prepare my holiday cupcakes in advance to save time?
Absolutely. You can bake the unfrosted cupcakes, let them cool completely, and then store them in an airtight container in the freezer for up to a month. The frosting can also be made ahead and stored in the fridge for a week (or frozen). Just let the frosting come to room temperature and give it a quick whip to restore its fluffy texture before decorating.
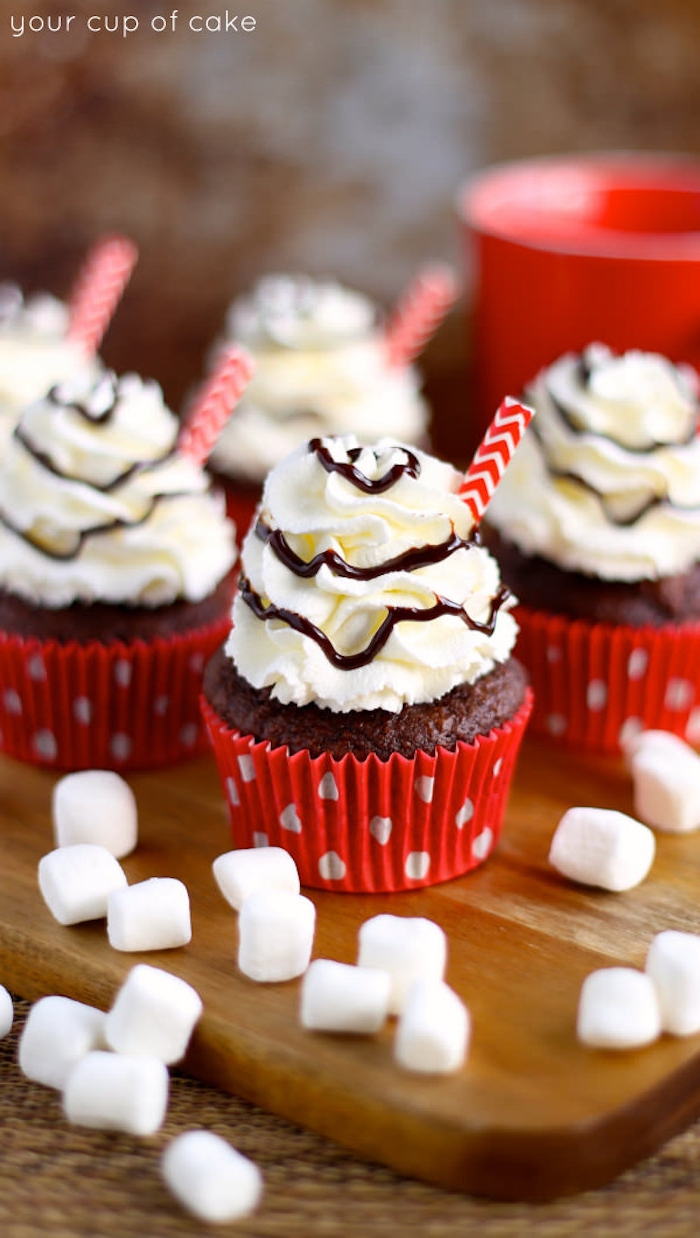
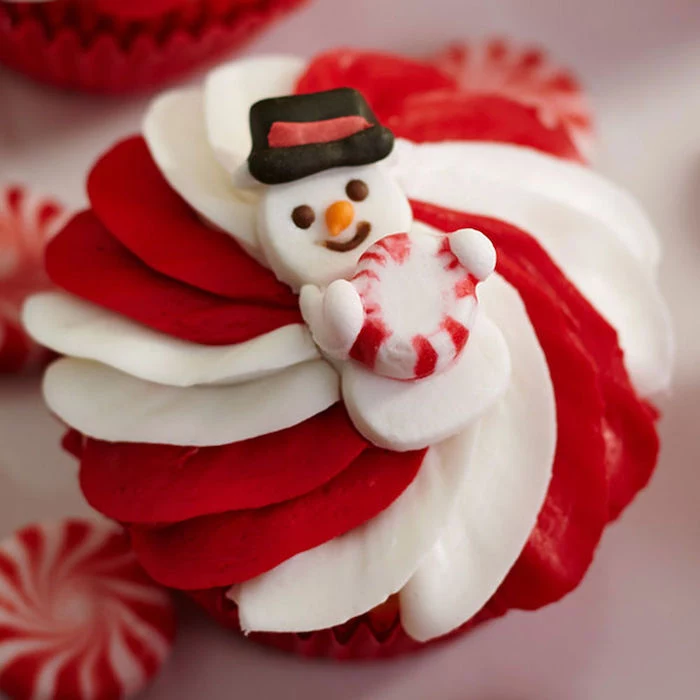
Did you know? The iconic red and white peppermint candy cane flavor is one of the most popular additions to holiday baking, with a history stretching back to 17th-century Germany.
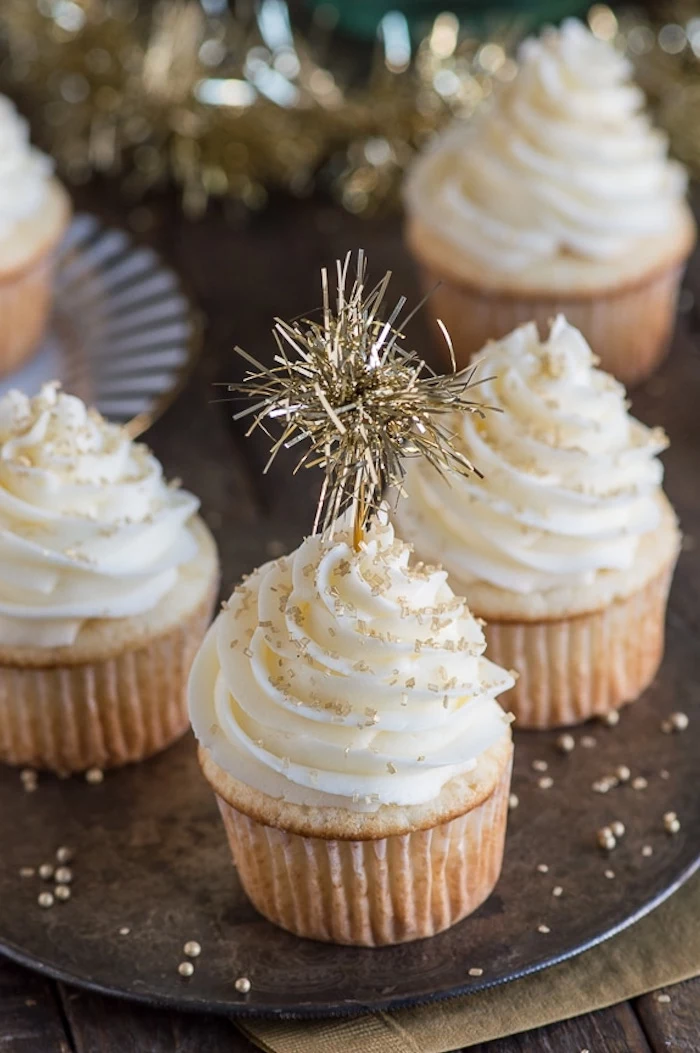
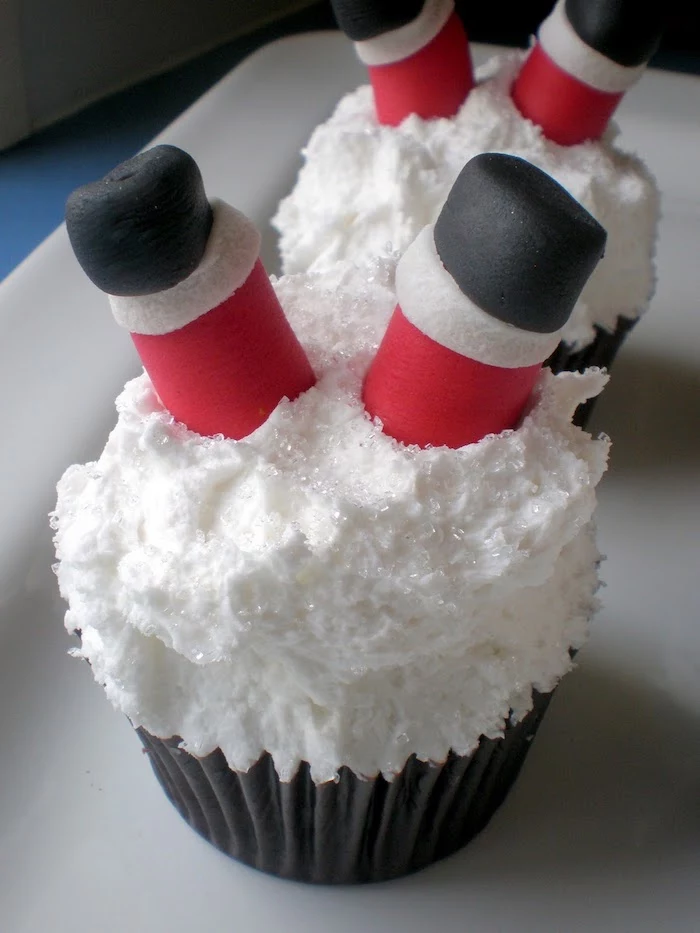
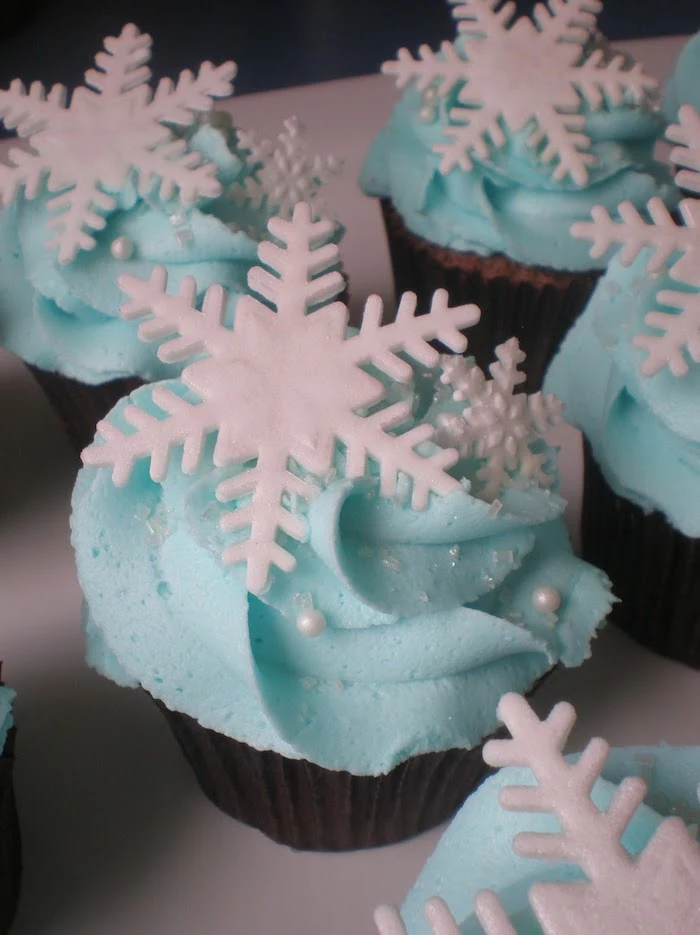
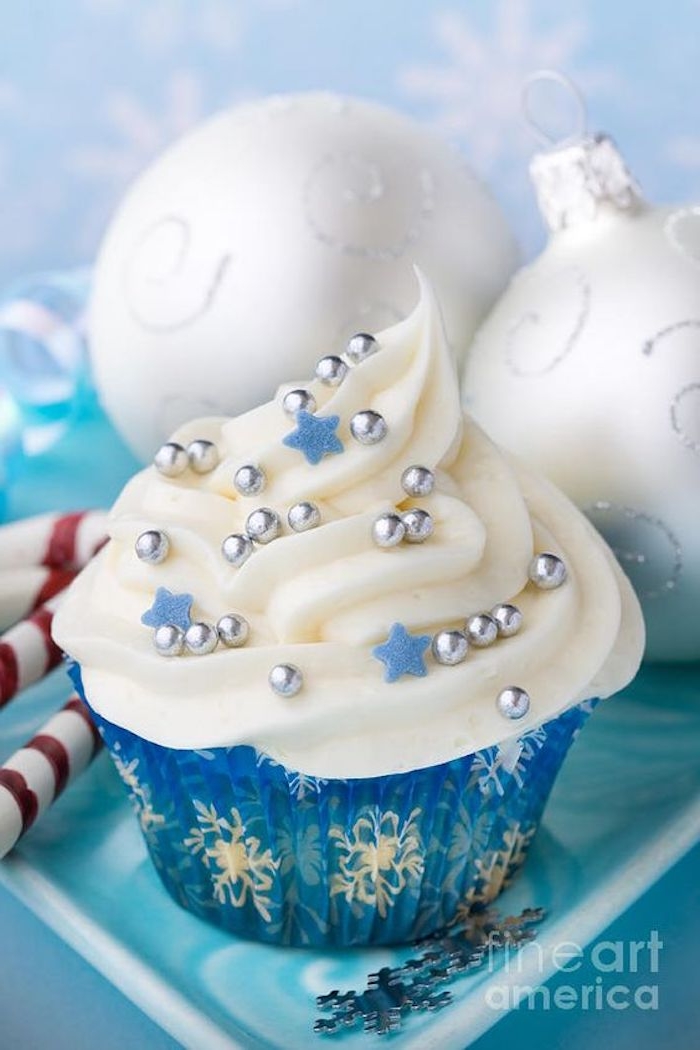
Need a dazzling finish without the fuss? Edible glitter is your answer.
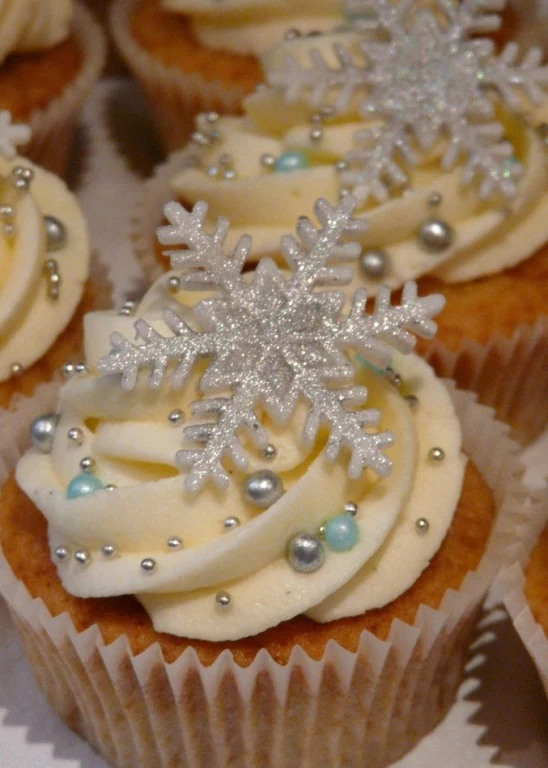
- For a frosty, snow-dusted look, use a fine white or iridescent glitter.
- For a touch of glam, gold or silver edible glitter adds instant sophistication.
Brands like Bakell and Wilton offer a huge range of food-grade glitters. Just a light sprinkle over fresh frosting transforms a simple cupcake into a showstopper.
Dutch-process Cocoa: It’s been treated to neutralize its acidity, resulting in a darker color and smoother, less bitter flavor. Perfect for deep, dark chocolate peppermint cupcakes. Think brands like Valrhona or Guittard.
Natural Cocoa Powder: Lighter in color with a sharper, more intense chocolate flavor. It reacts with baking soda to provide lift. Use this for classic recipes that call for it specifically, like a Devil’s Food cake.
That dreaded moment when you look in the bowl and see streaks of flour, so you mix for another 30 seconds. Stop! Over-mixing develops the gluten in the flour, which is great for bread, but a disaster for cupcakes. It leads to tough, rubbery cakes with long tunnels inside. Mix only until the last streak of flour disappears, and no more.
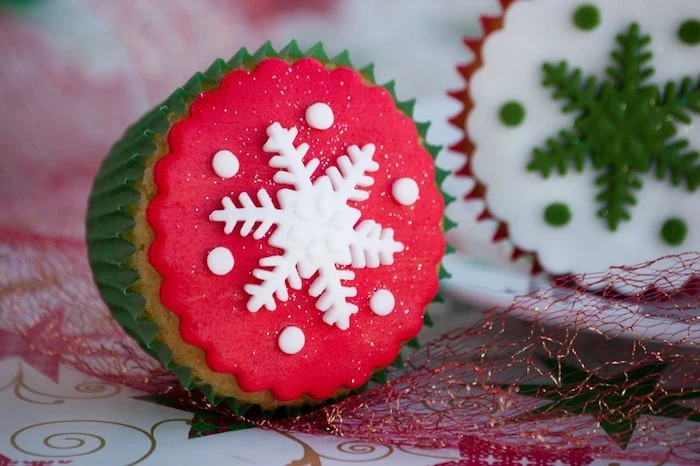
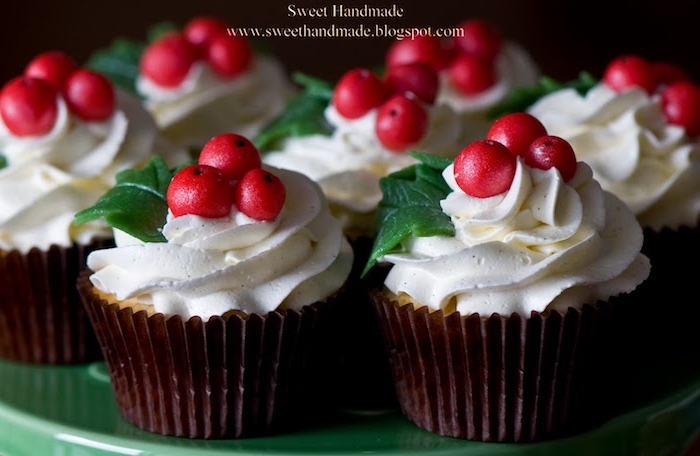
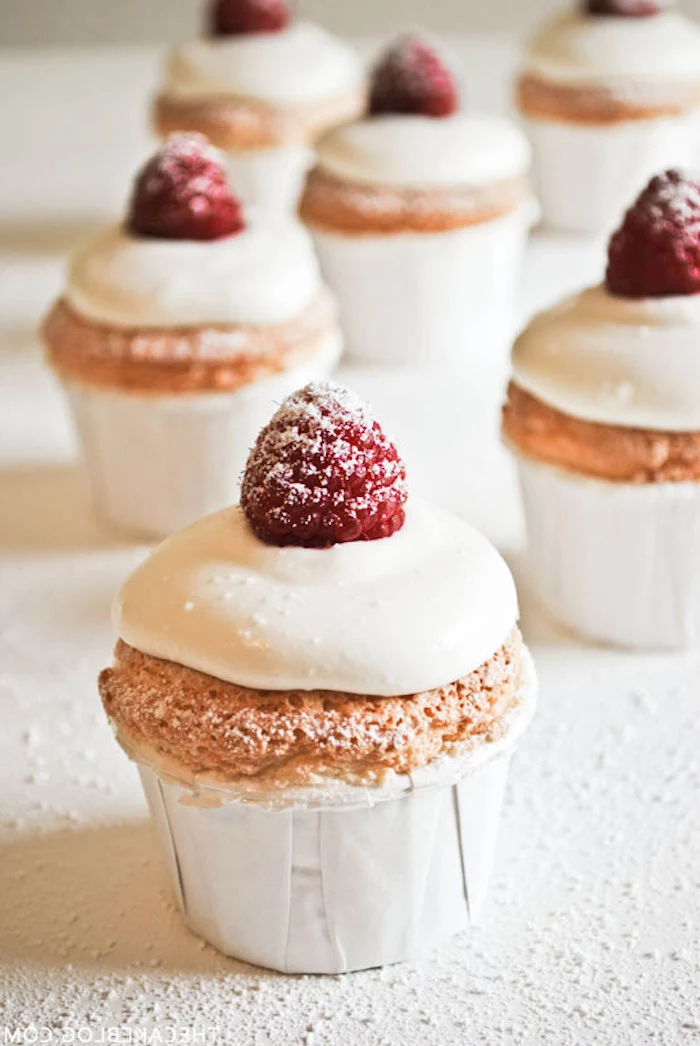
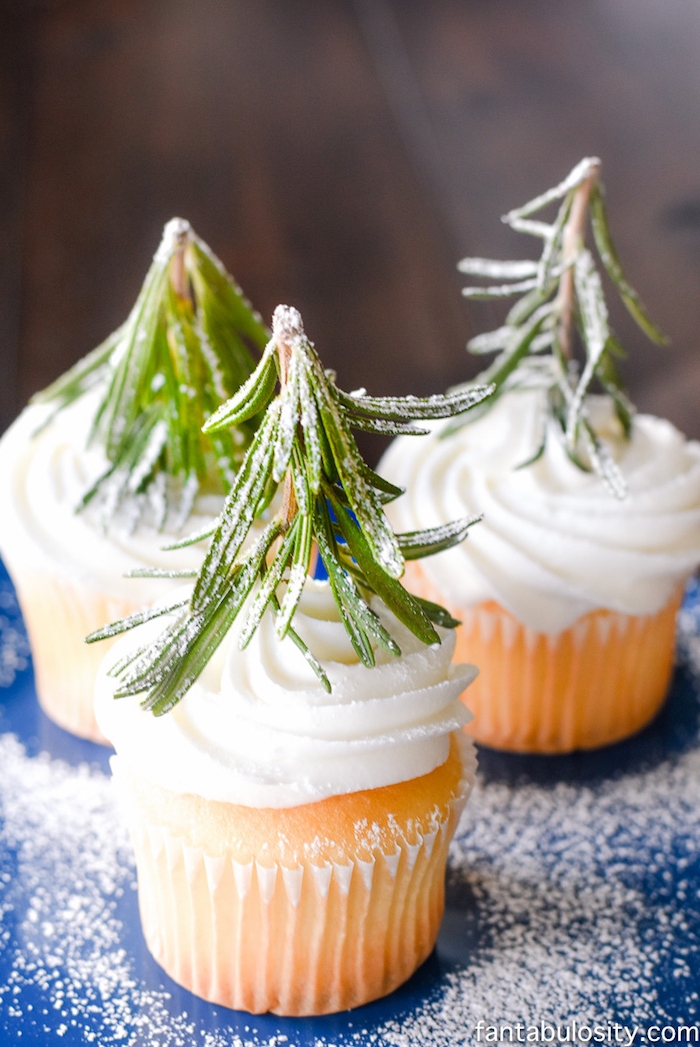
- A dusting of powdered sugar through a small sieve for a “freshly fallen snow” effect.
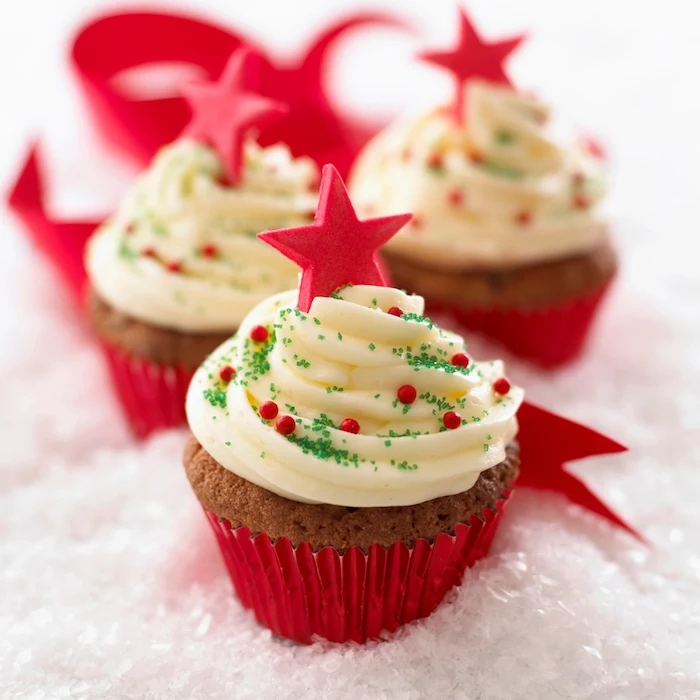
- A single, perfect raspberry or a sprig of fresh rosemary to mimic holly.
- Mini candy canes or crushed peppermint candies sprinkled on top.
- A drizzle of melted white chocolate using a fork for an abstract, modern look.

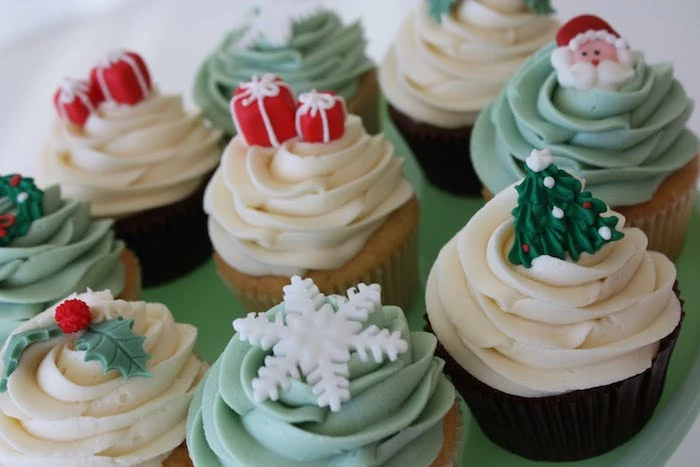
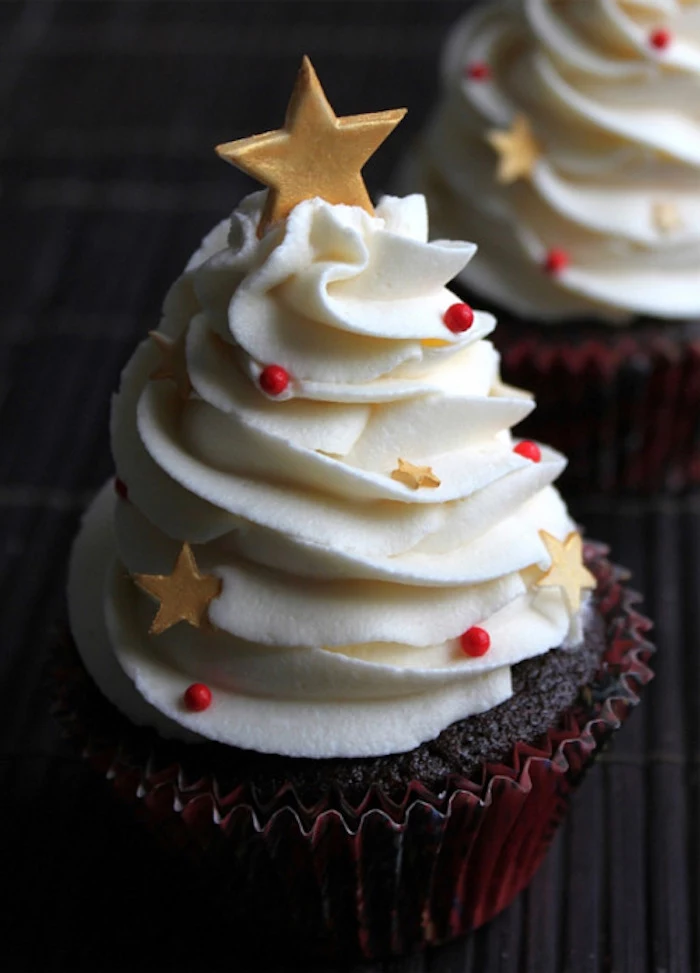
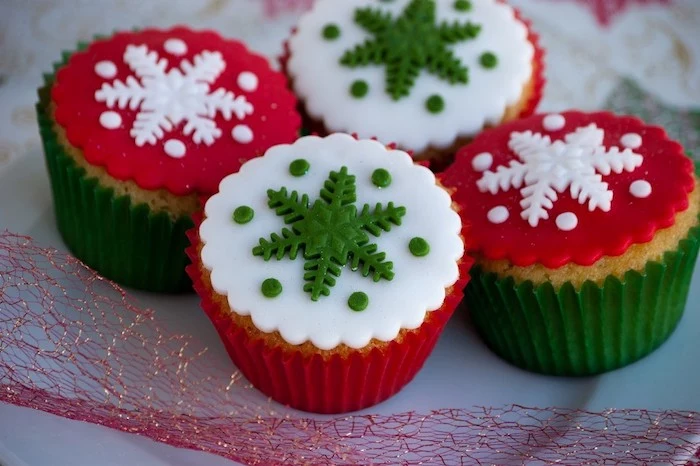
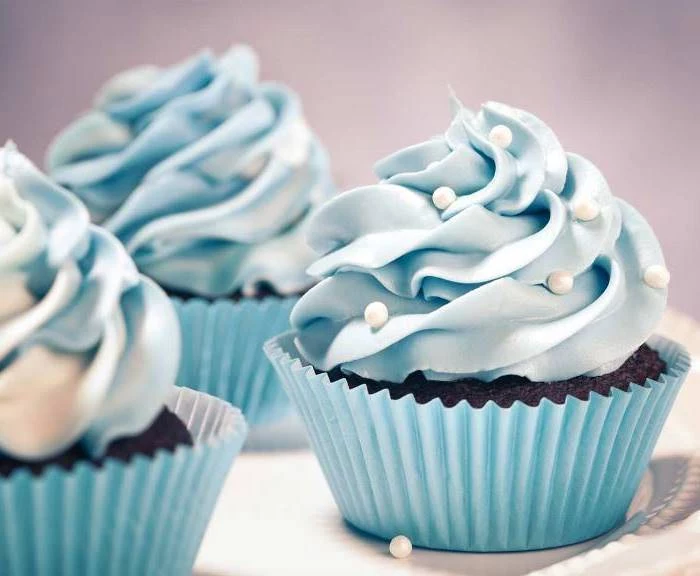
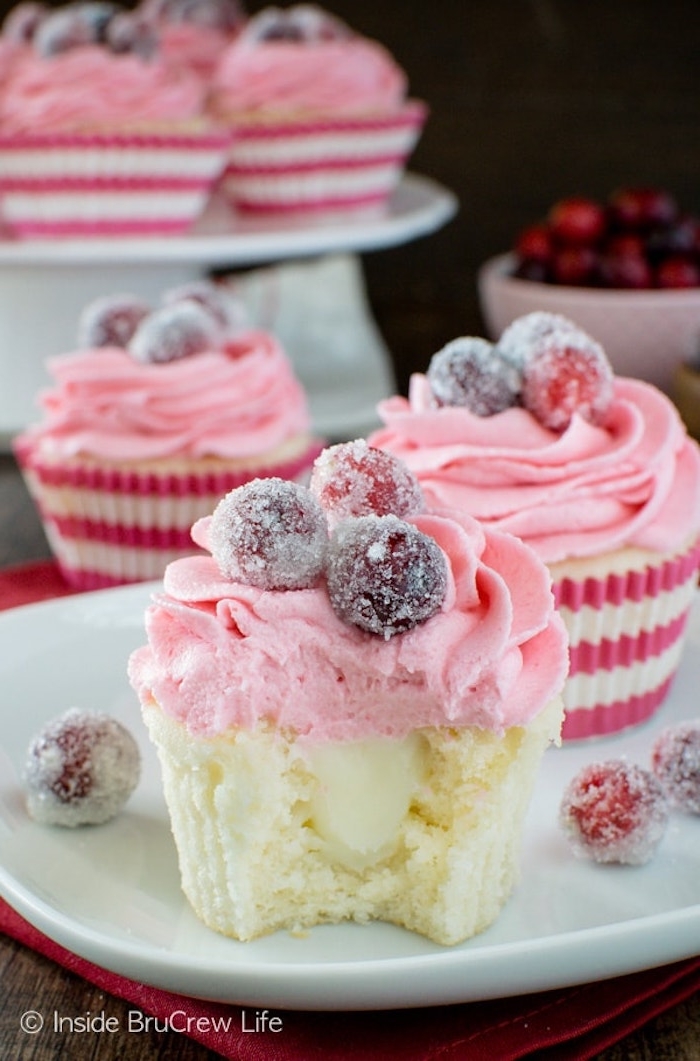
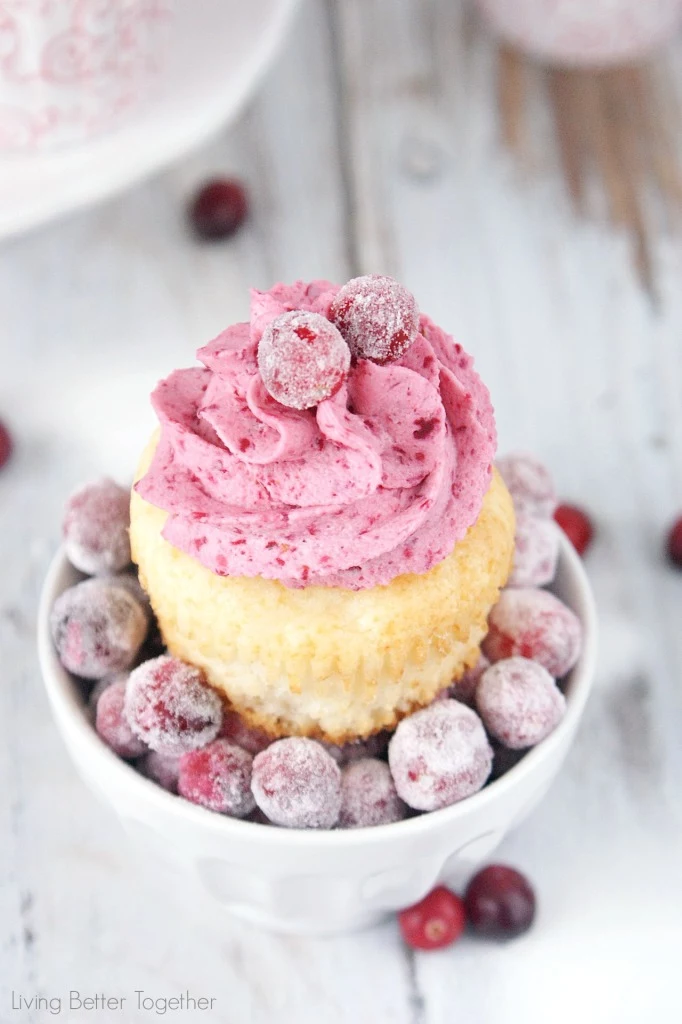
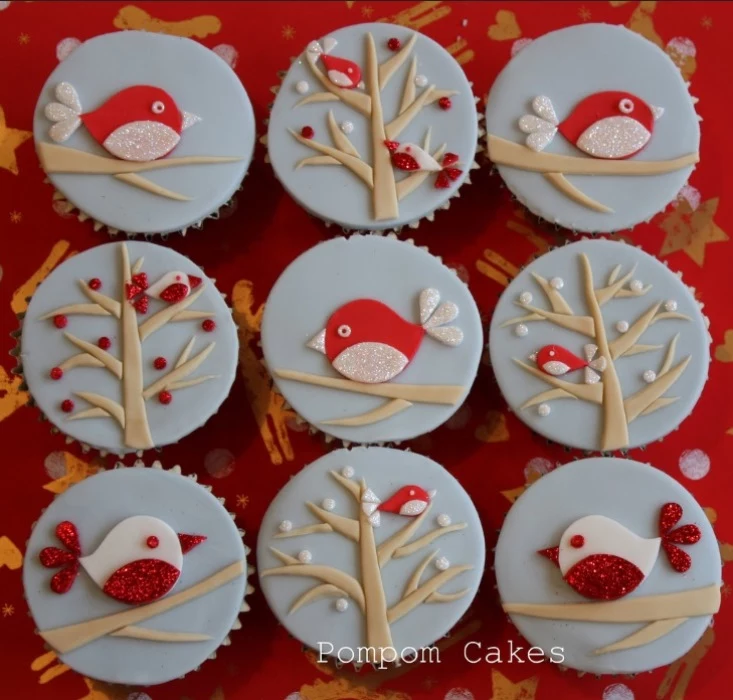
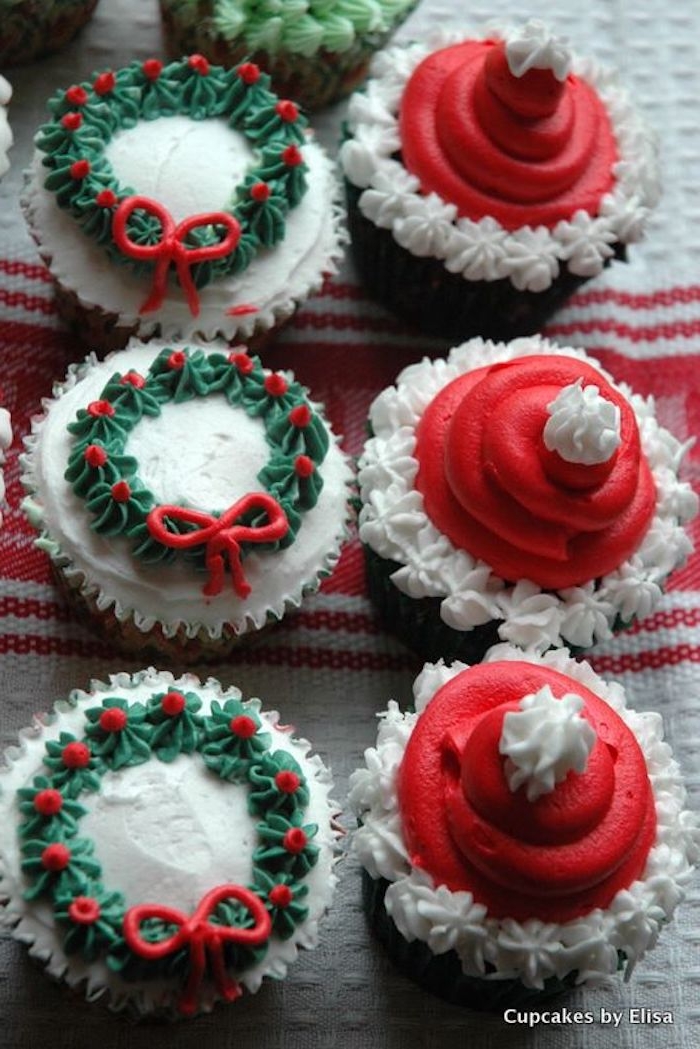
Forget bland red and green frostings. The most beautiful holiday color palettes are often inspired by nature. Think of the deep crimson of cranberries, the creamy white of eggnog, the rich brown of gingerbread, and the muted green of a fir tree. Using natural color sources like beetroot powder or matcha can provide subtle, sophisticated hues.
Why are my cupcake liners peeling away from the cake after baking?
This common frustration is usually caused by steam. The moment your cupcakes come out of the oven, remove them from the metal pan and place them on a wire rack to cool. If they cool in the hot pan, steam gets trapped between the liner and the cake, causing the paper to pull away. Quality liners, like those from Reynolds, can also make a difference.
- A beautifully glossy finish that looks professional.
- A more stable structure that holds its shape in a warmer room.
- It prevents the frosting from forming a hard, sugary crust.
The secret? Just a tablespoon of light corn syrup or glucose added to your American buttercream. It’s a classic bakery trick that makes a huge difference.

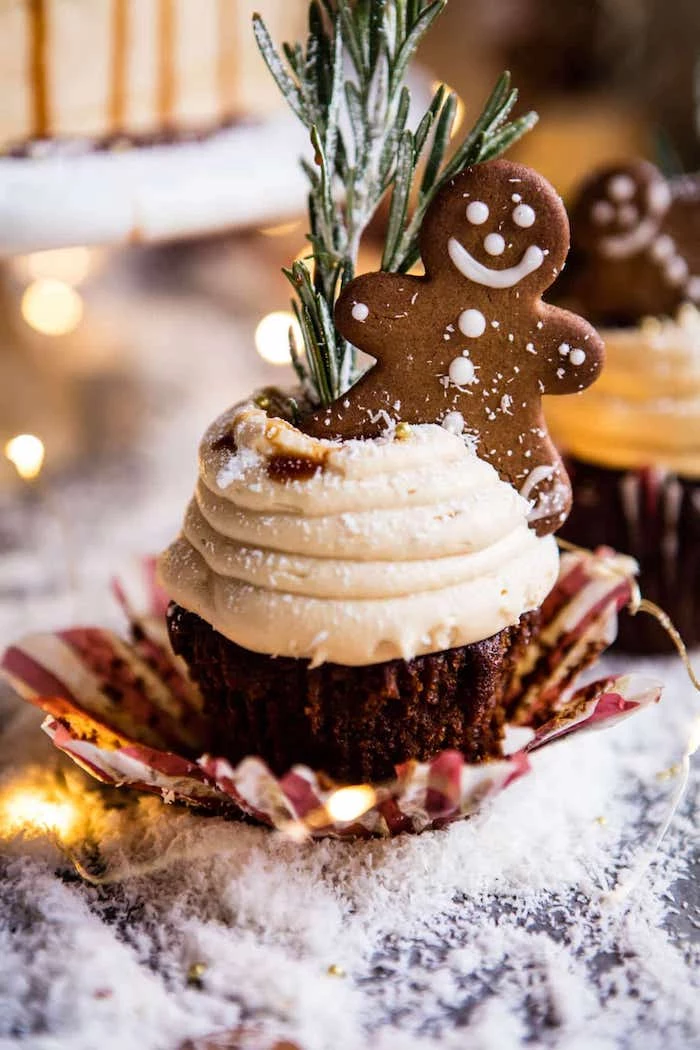
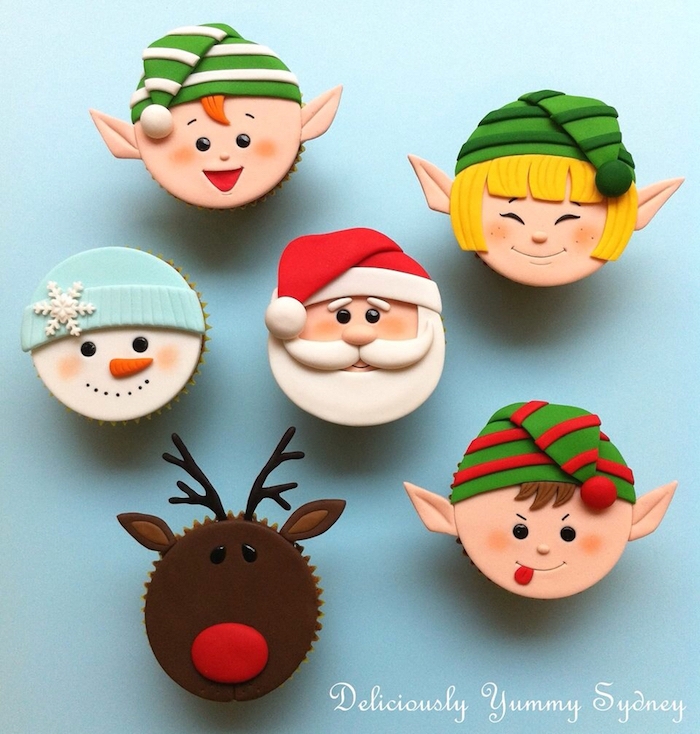
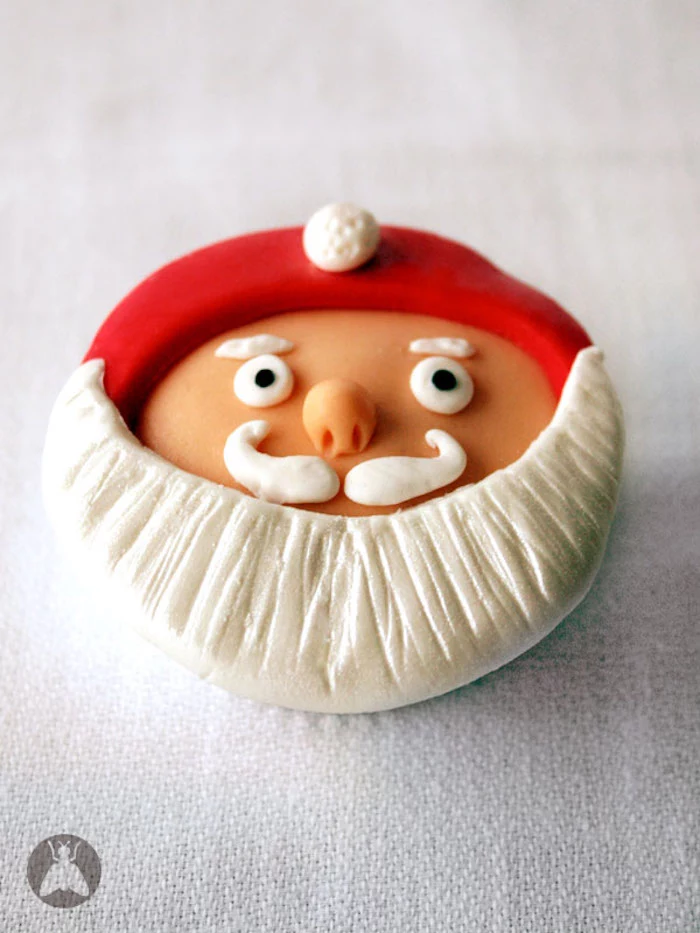
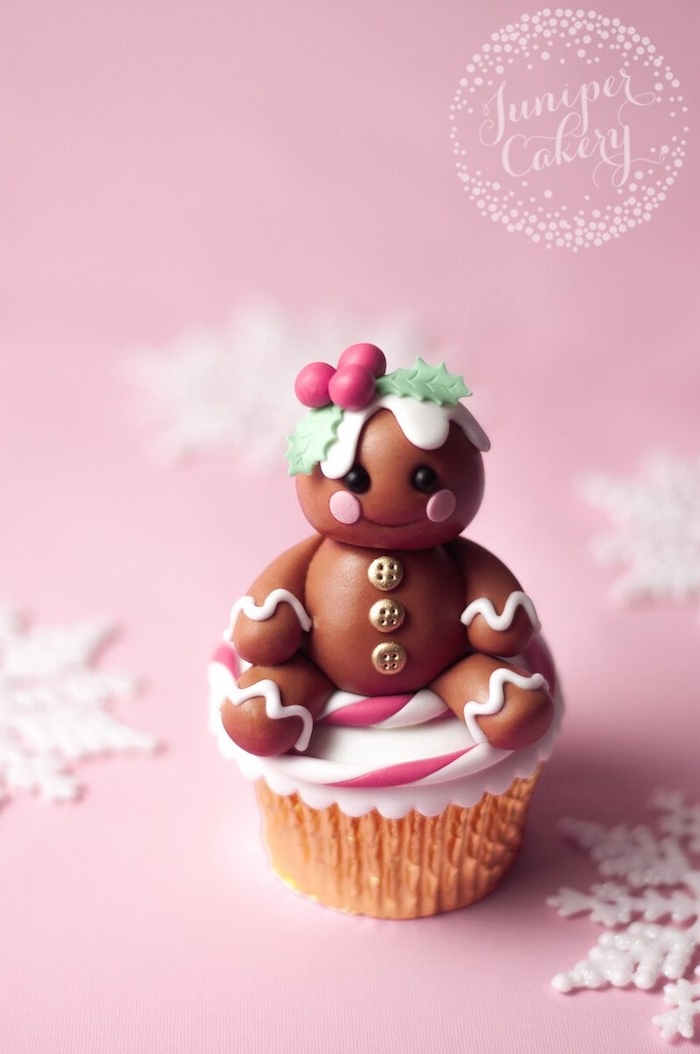
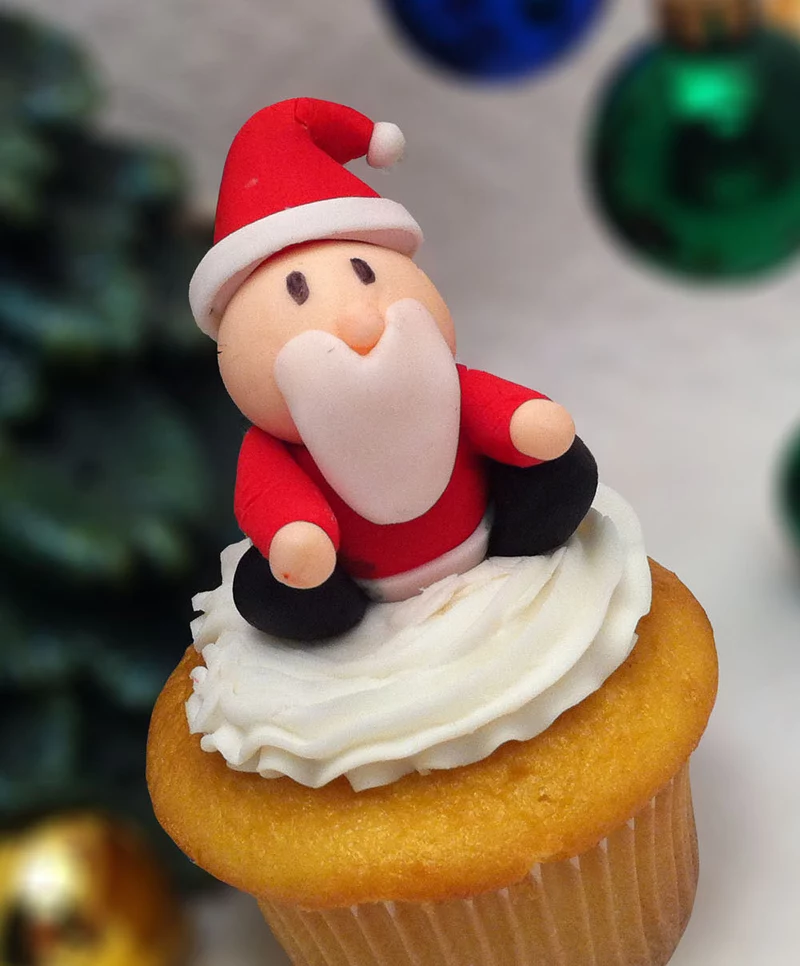
The first decorated gingerbread cookies are credited to Queen Elizabeth I of England, who had them made to resemble visiting dignitaries and members of her court.
When you place a tiny gingerbread man atop your cupcake, you’re channeling a tradition that’s over 400 years old. It’s a fun nod to culinary history that makes your holiday treats even more special.
Traveling with your masterpieces can be nerve-wracking. The key is to prevent them from sliding. A dedicated cupcake carrier with individual inserts is the best investment. In a pinch, place a non-slip mat (like a silicone baking mat) in the bottom of a large, flat-bottomed container to stop the cupcakes from shifting during the car ride.
Metal Pan: Conducts heat efficiently, giving you straighter sides and a slightly crisper, more defined edge on your cupcakes. The choice of most professionals for its reliable results.
Silicone Pan: Offers fantastic non-stick properties and easy cleanup. However, it’s a poor heat conductor, which can lead to less browning and a softer, less structured cupcake base.
For a sturdy cupcake that can hold lots of frosting, a light-colored aluminum pan from a brand like Nordic Ware is the superior choice.
There’s a reason the smell of ginger, nutmeg, and cloves instantly feels like the holidays. These aromas are deeply tied to our memories, a concept known as olfactory memory. Baking holiday cupcakes isn’t just a culinary activity; it’s a sensory one. You’re not just making food; you’re creating an atmosphere, bottling nostalgia, and crafting the very scent of a happy memory for you and your family.

Make your holiday baking a little greener with a few simple swaps.
- Invest in reusable silicone cupcake liners instead of paper ones.
- Compost your eggshells and citrus peels.
- Instead of plastic wrap, use a beeswax wrap like Abeego to cover your bowl of frosting while it rests.
- Choose fair-trade certified chocolate and vanilla to support sustainable farming practices.


