My Go-To Guide for Handcrafted Holiday Decor (That’s Actually Easy)
I’ve been making things with my hands for decades, and let me tell you, there’s a special kind of magic in a decoration you’ve crafted yourself. It’s more than just a pretty object on a shelf. It holds the memory of a quiet afternoon, the scent of pine and cinnamon, and that little spark of pride you get from making something beautiful. Store-bought stuff is fine, but it just can’t compete with that feeling.
In this article
But I get it. A lot of people feel overwhelmed by DIY projects. You see those flawless photos online and think, “Mine will never look like that.” This guide is here to prove that wrong. We’re not just following steps; we’re going to dig into the why behind the techniques—the simple science that makes things work and the little tricks the pros use.
We’ll be focusing on timeless, natural decor that feels truly connected to the season. These projects are designed to be fun, and you’ll end up with something you’ll be proud to display for years to come.
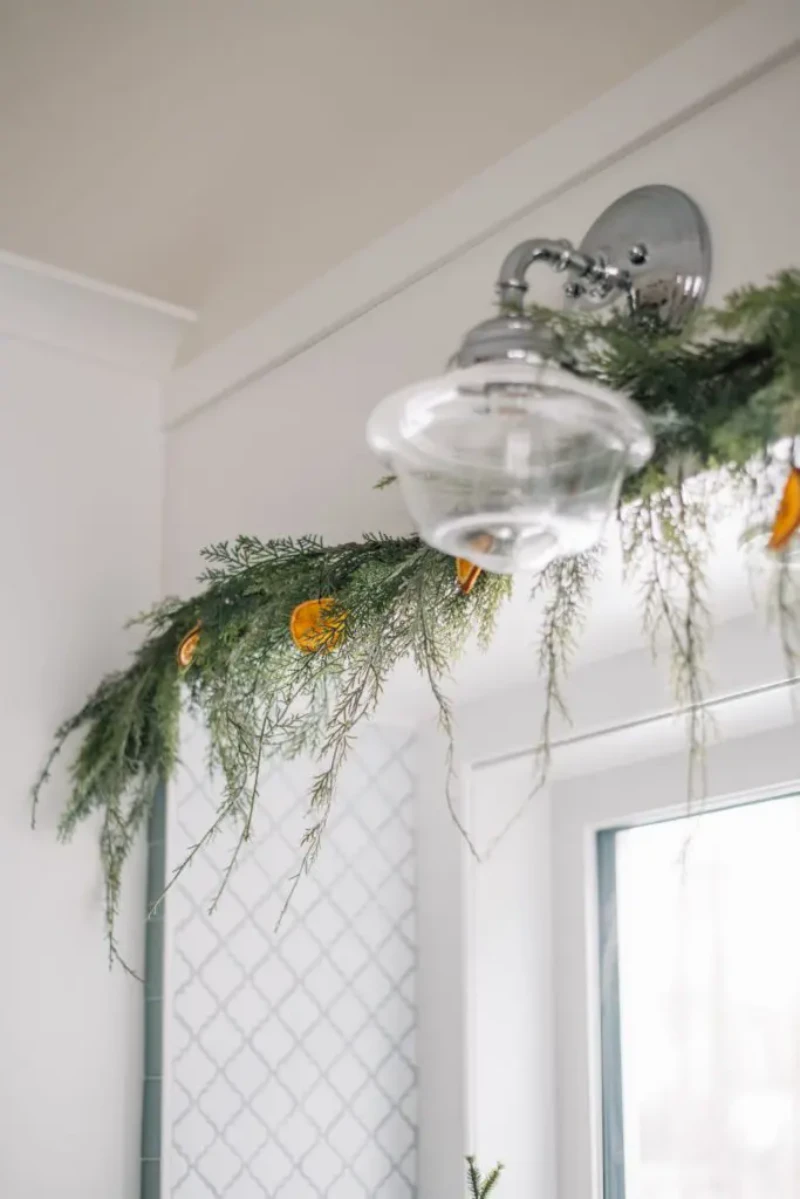
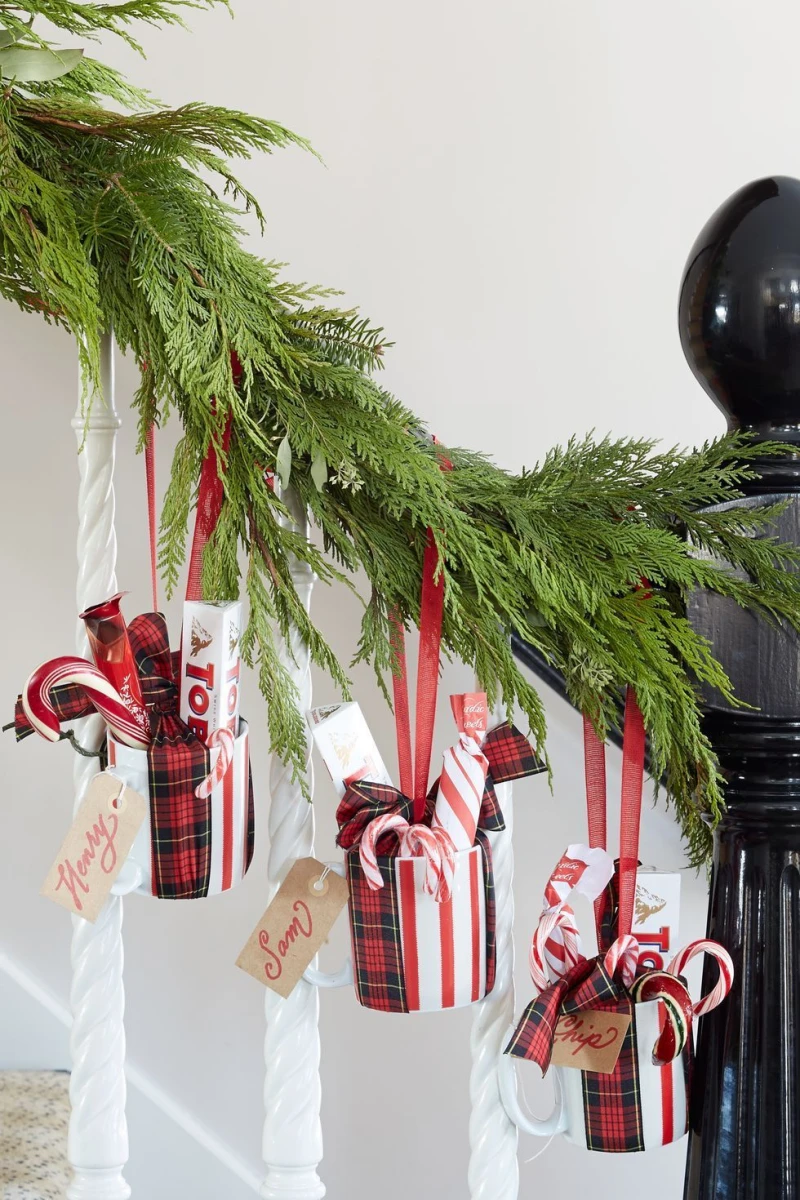
Project 1: Classic Dried Orange & Spice Garlands
There’s a reason using fruit and spices in winter decor is a tradition that has stuck around. Long before we had sparkling lights, the deep, glowing color of an orange and the rich scent of cloves were the definition of holiday luxury. An orange garland brings that history right into your home, catching the light like stained glass and releasing a gentle, festive scent. It’s a simple project, but a few key details make all the difference.
Your Shopping List & Budget
The best part about this project? It’s incredibly budget-friendly. You can make a stunning, 6-foot garland for less than $15.
- Oranges: Navel oranges are my top pick—they’re large, have a thick rind, and are usually seedless. Blood oranges are also amazing for a dramatic, deep-red look. For a 6-foot garland, you’ll want about 8-10 large oranges. (Cost: ~$5-7)
- A Sharp Knife: A serrated bread knife gives you great control for even cuts. If you own a mandoline slicer, this is its time to shine for perfectly uniform slices, but please, always use the hand guard.
- Parchment Paper: An absolute must to stop the oranges from sticking. Heads up: don’t use wax paper, as the wax will melt and make a mess.
- Stringing Material: This is all about the vibe you want. Natural jute twine (about $3-$5 a spool at any craft store) gives a warm, rustic look. For a more modern, magical feel, try clear fishing line—it makes the slices look like they’re floating in mid-air!
- Optional Spices: Whole cloves, cinnamon sticks, and star anise add texture and more amazing scent. You can get these at the grocery store, but they’re often cheaper in the bulk section or online. (Cost: ~$5-8 for a good starter amount)
The Secret to Perfect, Glowing Slices
The whole goal here is to gently dehydrate the orange slices, not cook them. We’re aiming for a low and slow process to remove the water without caramelizing the sugars. If the oven is too hot, the slices will turn a sad, dark brown instead of that beautiful, translucent amber. Good air circulation is just as important as the heat, as it helps pull the moisture away.
- Preheat & Prep: Set your oven to its lowest temperature, typically around 200°F (or 95°C). From my own trial and error, I’ve learned that if your oven runs hot, it’s a good idea to prop the door open just a crack with a wooden spoon. This lets excess heat escape and prevents scorching.
- Slice Uniformly: Aim for slices about 1/4-inch thick. Consistency is everything here. If your slices are all different thicknesses, the thin ones will burn before the thick ones are even close to being dry.
- The Step You Can’t Skip: Blot them! Lay the fresh slices on a paper towel, put another paper towel on top, and press down firmly. This removes a ton of excess juice, which can easily cut your drying time by an hour and helps prevent them from getting sticky later.
- Arrange for Drying: Line a baking sheet with parchment paper. Place the blotted slices in a single layer, making sure none are overlapping. Pro tip: If you have wire cooling racks, place them on the baking sheet first. Elevating the slices gives you the best possible air circulation.
- The Low and Slow Bake: Pop them in the oven. Drying time can vary a lot, anywhere from 3 to 6 hours, depending on your oven, the humidity in your home, and how thick you cut the slices. Flip them every hour or so for even drying. They’re done when they feel dry to the touch, not sticky or flexible. They’ll get even harder as they cool.
By the way… if you have a food dehydrator, this is the perfect time to break it out! It’s a fantastic, energy-saving option that gives you super consistent results without having to monitor the oven.
Common Problems & Easy Fixes
- “Help! My slices curled up into little cups.” This usually means your oven was a bit too hot or your slices were cut too thin. Next time, try a lower temperature and be sure to flip them regularly.
- “Mine are still sticky after hours in the oven.” You probably skipped the blotting step! It really makes a huge difference. You might also live in a humid climate. Just give them more time, and make sure they are completely cool before you declare them “done.”
Quick Win & Styling Ideas
Short on time? You don’t have to make a full garland. Just making three or four perfect slices is a win. Thread a ribbon through them to create individual ornaments. They look absolutely gorgeous hanging on a tree where the lights can shine through them.
Once you’ve got your dried slices, string them up! I love alternating an orange slice, a small bundle of three cinnamon sticks tied together with twine, and maybe a star anise. This creates a beautiful rhythm and layers the scents.
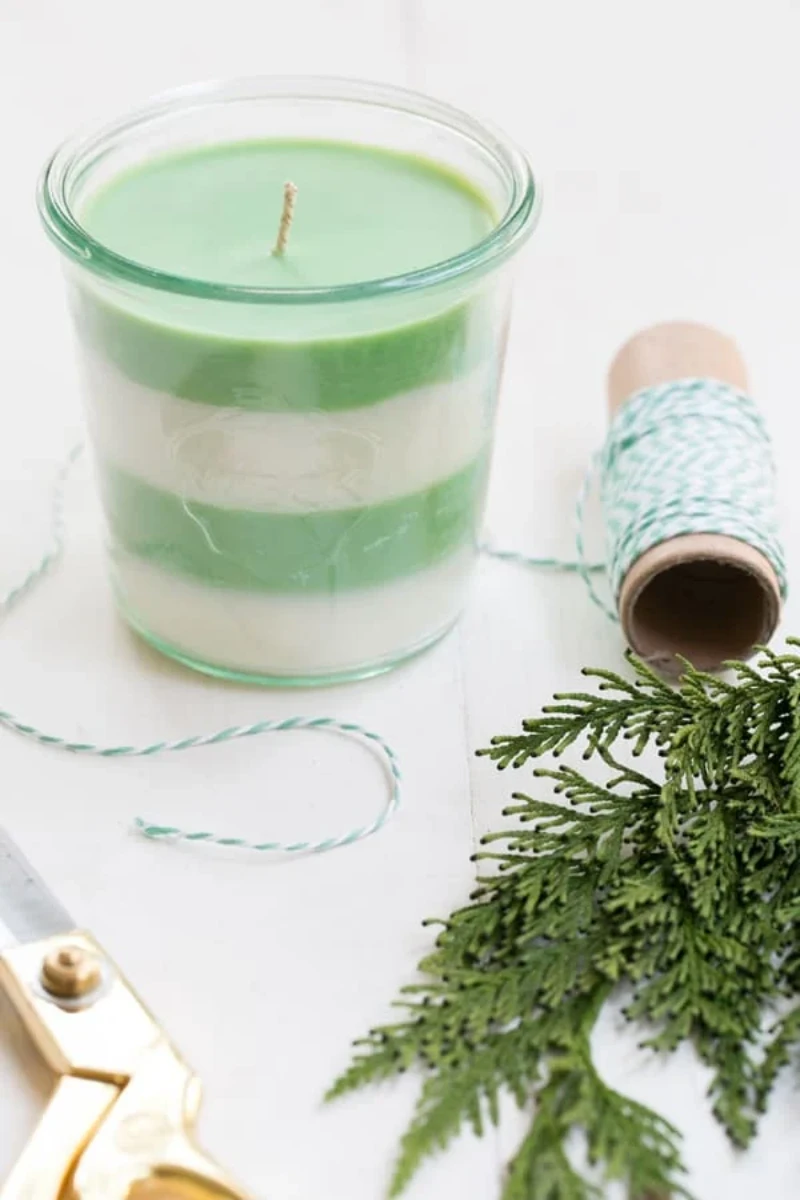
Project 2: Hand-Poured Scented Soy Candles
There’s nothing that says “cozy” quite like a candle. And honestly, making your own is one of the most rewarding crafts out there. But when I first started, I made every mistake in the book: candles that looked great but had zero scent, lopsided wicks that drowned in wax, and tops full of craters. So, I’m sharing everything I learned to help you get a safe, beautiful, and fragrant candle on your very first try.
We’re using soy wax because it’s a natural, renewable resource that’s very beginner-friendly and burns cleaner than traditional paraffin wax.
The Science of a Great Candle (It’s All About Temperature!)
Candle making is basically a delicious science experiment. It’s all about controlling temperature. If you add your fragrance oil when the wax is too hot, the scent will literally burn off before it ever gets into the candle. If you pour it too hot, you can get sinkholes. But get the temperatures right, and you’re golden.
Candle Making Shopping List
You can find most of these supplies at online candle suppliers like CandleScience or Bramble Berry, or at craft stores like Michaels, though online usually has better quality and prices.
- Soy Wax for Containers: Look for a wax specifically for containers, like Golden Brands 464 or 444. A 5lb bag costs around $20-$30 and will make about 10-12 medium-sized candles.
- Candle Wicks: This is where most beginners go wrong! Your wick needs to be the right size for your jar’s diameter. The product description for the wick will always tell you what size jar it’s for. A good starting point for a standard 3-inch jar is an ECO-8 or CD-12 wick.
- Candle-Safe Fragrance Oil: Make sure the oil you buy is specifically designed for candles! Essential oils can work, but fragrance oils give a much stronger and more reliable “scent throw.”
- Jars or Tins: Almost any heat-safe glass jar or tin will work.
- Essential Tools: You’ll need a digital kitchen scale (for accuracy), a pouring pot or microwave-safe glass measuring cup, a digital thermometer (a candy or meat thermometer works perfectly), and something to hold your wick centered, like a clothespin or a specialized wick bar.
The Foolproof Method for Pouring Candles
Heads up: measurements matter here. For a strong but not overpowering scent, a great rule of thumb is to use 1 ounce of fragrance oil (by weight) for every 1 pound of wax flakes. This is a 6% fragrance load.
- Prep Your Station: Secure your wick to the bottom center of your jar using a wick sticker or a dab of hot glue. Pull it taut and secure it at the top with a clothespin resting across the rim of the jar.
- Measure & Melt: Using your kitchen scale, weigh out your soy wax flakes. Melt them gently in a double boiler or in the microwave in 30-second bursts until fully liquid. Avoid overheating it.
- Watch Your Temps: Heat the wax to 185°F (85°C). This is the ideal temperature for the fragrance oil to properly bind with the wax molecules.
- Add Fragrance (The Most Important Step!): Once the wax hits 185°F, remove it from the heat and add your pre-measured fragrance oil. Now, stir gently but thoroughly for two full minutes. Yes, two whole minutes! This ensures the oil is completely incorporated, which is the key to a strong-smelling candle.
- Cool & Pour: Let the wax cool down to about 135°F (57°C) before you pour it into your jar. Pouring at this cooler temperature is the secret to getting smooth tops and minimizing sinkholes.
- The Hardest Part: Be Patient! Let the candle set undisturbed for 24 hours. After that, trim the wick to about 1/4 inch. For the absolute best scent throw, you need to let your candle “cure” for at least one to two weeks before you light it. It’s tough, but so worth it!
Inspiration:
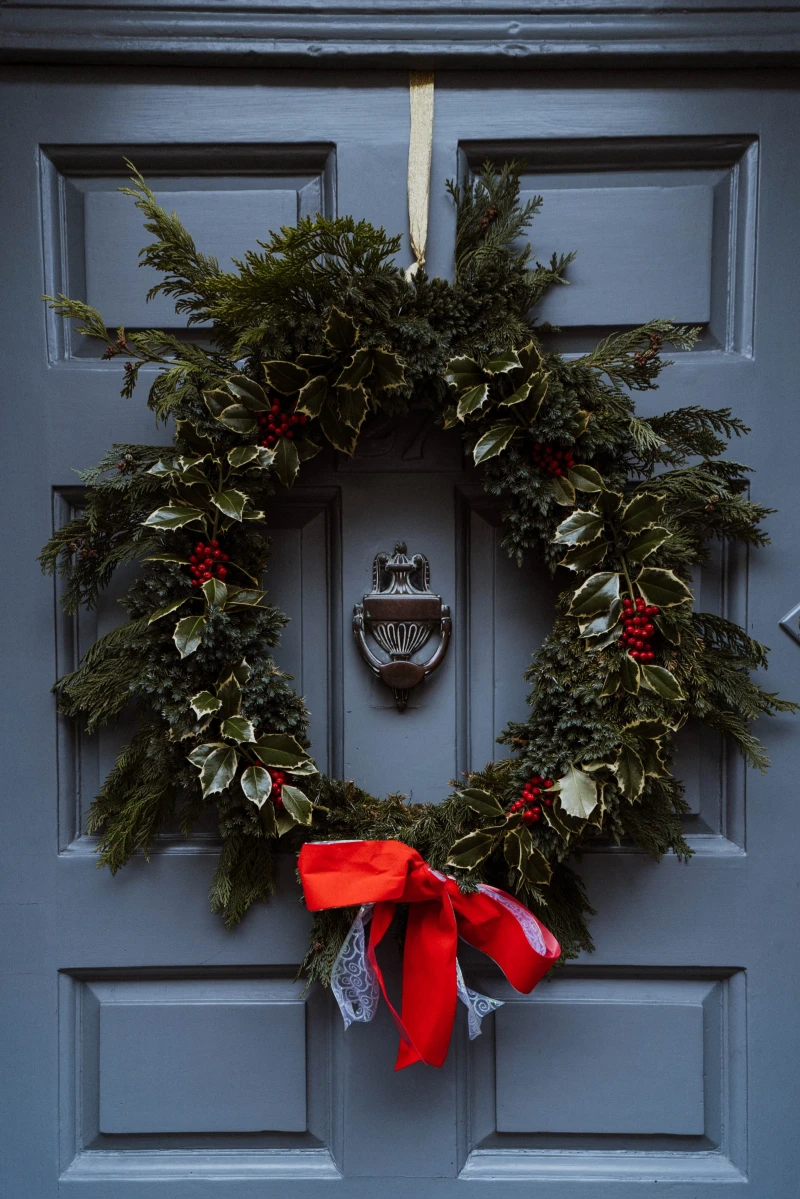
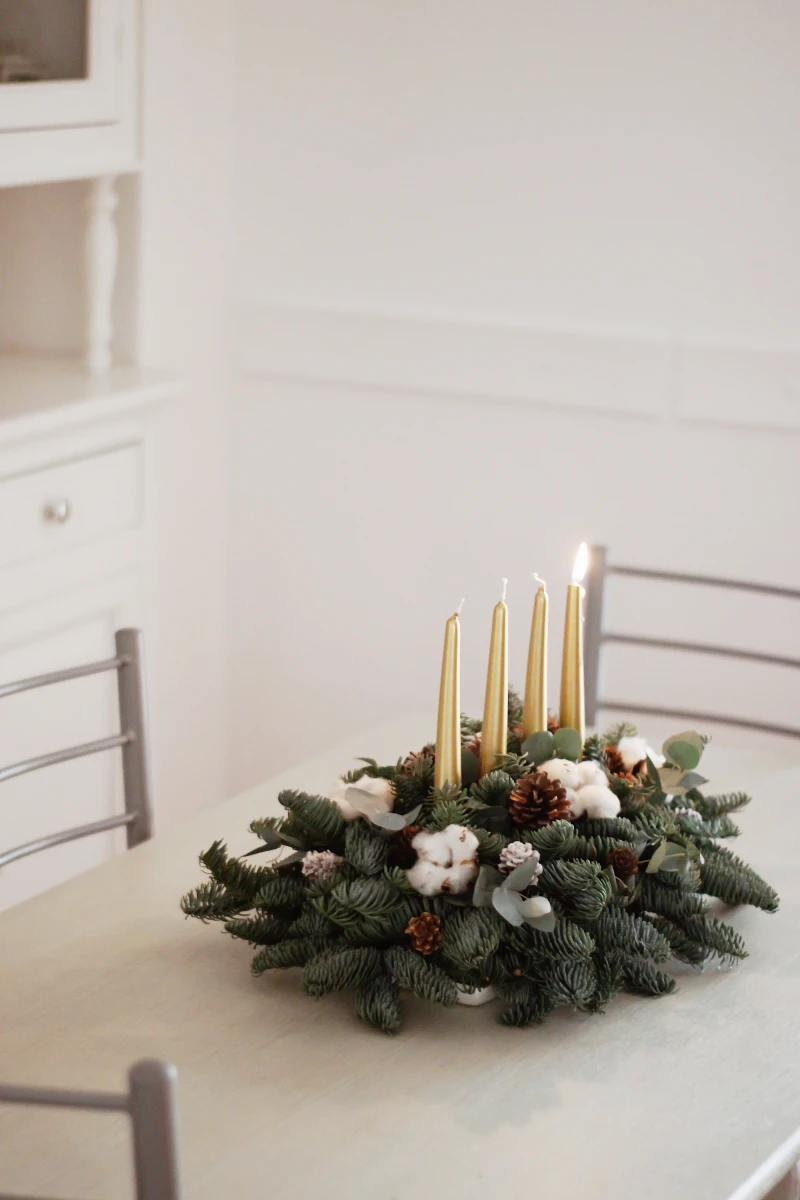
When you bring pinecones in from the outdoors, they need a little prep before they’re ready for your mantelpiece. This quick process ensures they are clean, sap-free, and open beautifully.
- Clean Up: First, brush off any loose dirt or needles. A quick rinse under tap water is fine.
- Bake Gently: Line a baking sheet with foil and place your pinecones on it. Bake them at 200°F (about 95°C) for 30-45 minutes. This kills any lingering pests and melts the sticky sap.
- Cool Down: Let them cool completely on the tray. You’ll be left with perfectly opened, pristine pinecones ready for any project.
More than 75% of people believe that handmade gifts are more thoughtful than store-bought ones.
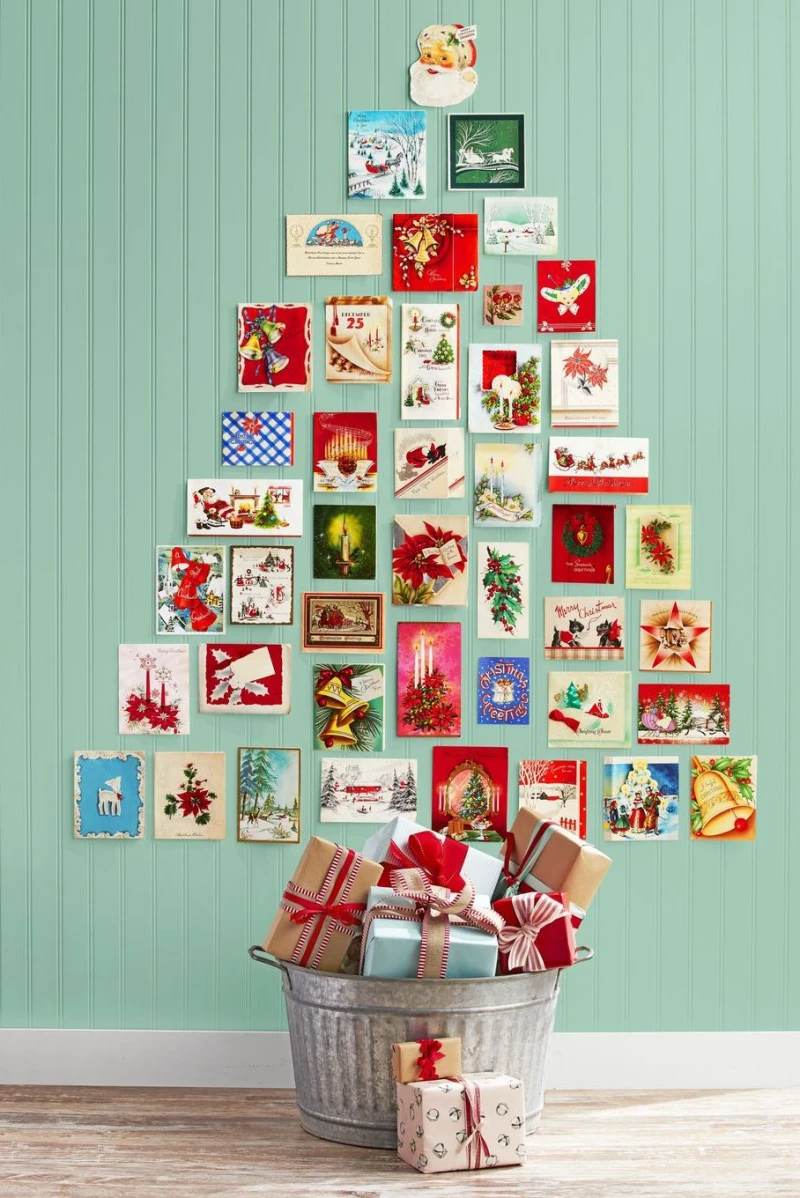
This sentiment extends to decorations, too. When you craft a piece of holiday decor, you’re not just making an object; you’re embedding your time, care, and festive spirit into it. It becomes a story piece that guests notice and you’ll treasure far more than anything mass-produced.
Chalk Paint: Think of the matte, velvety finish you see in modern farmhouse decor. Brands like Annie Sloan or Rust-Oleum Chalked offer incredible adhesion on wood, glass, or metal without priming. It provides a soft, contemporary look that’s easy to distress for a rustic feel.
Milk Paint: For a genuinely antique, time-worn appearance, milk paint is unmatched. It naturally chips and flakes in places, creating an authentic patina. It’s perfect for projects where you want to evoke a sense of history and imperfection.
For a reliable, clean rustic look, go with chalk paint. For unpredictable, authentic charm, milk paint is your go-to.
- Creates a multi-sensory holiday atmosphere.
- Acts as a natural, chemical-free air freshener.
- Fills your home with an authentically festive aroma.
The secret? A simple stovetop potpourri. Just simmer a sliced orange, a handful of fresh cranberries, a sprig of rosemary, and a cinnamon stick in a small saucepan of water. The gentle heat releases the scents, making your home smell like holiday magic in minutes.
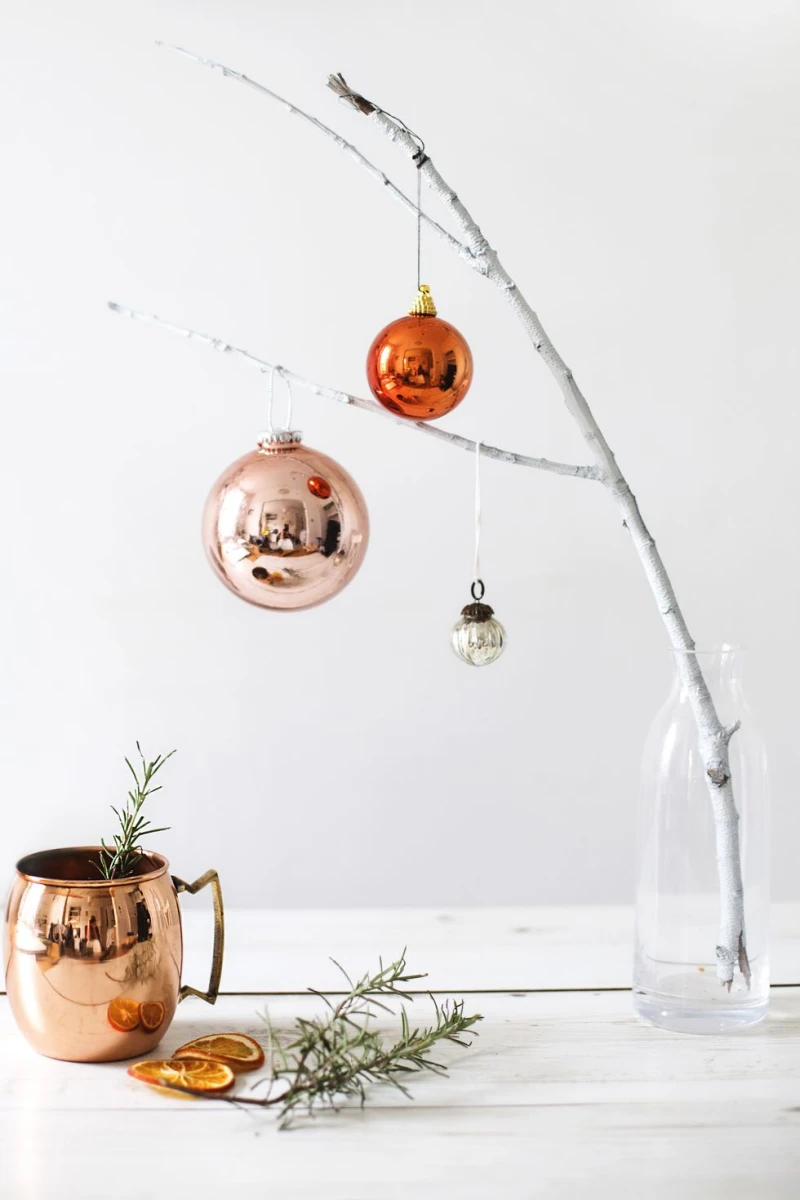
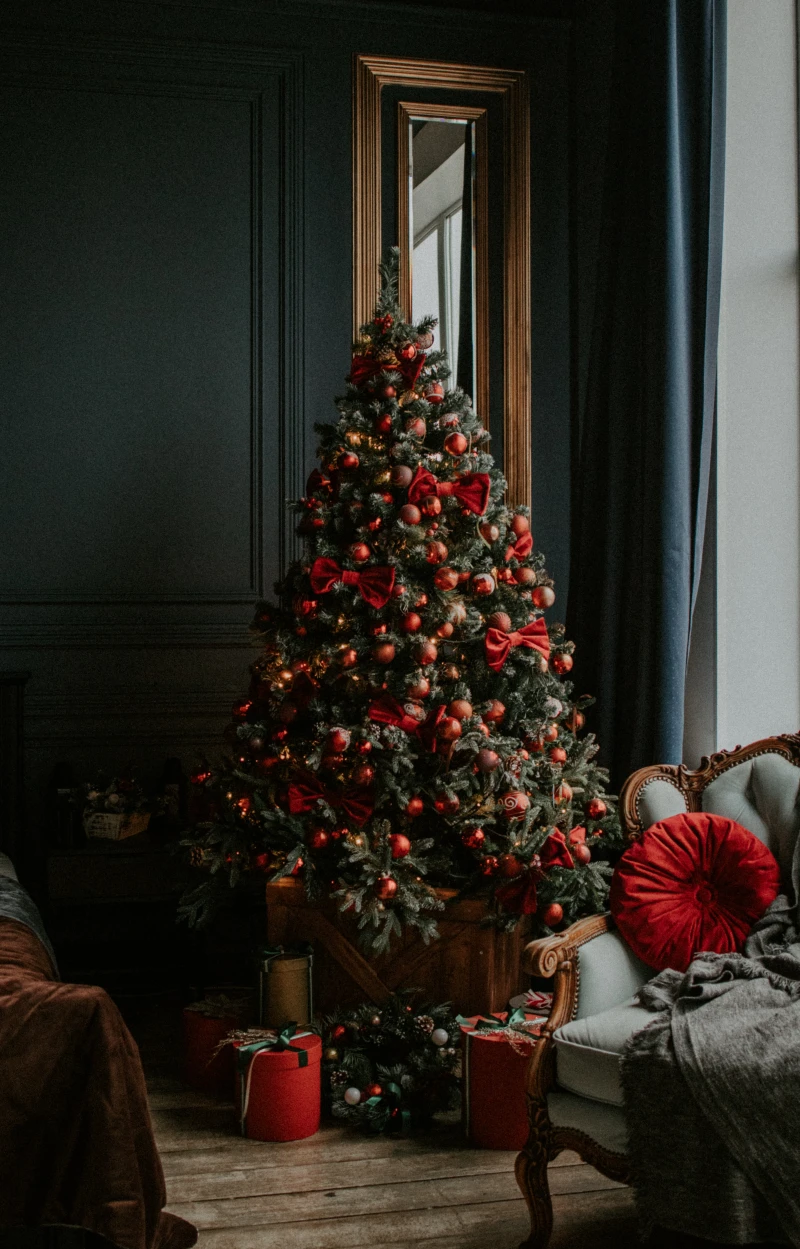
The Overcrowding Trap: With natural decor, empty space is as important as the object itself. Avoid the temptation to fill every surface. A single, elegant branch adorned with a few simple, handmade ornaments on a mantelpiece has far more impact than a dozen smaller items clustered together. Let your creations breathe and their simple beauty will shine through.
Looking for a color palette beyond the classic red and green?
Try a “Winter Forage” theme. Think of the subtle colors you’d find on a winter walk: the deep teal of fir needles, the muted crimson of rosehips, the silvery-brown of birch bark, and the dusty blue of a winter sky. This sophisticated and natural palette feels both calming and festive, working beautifully with materials like unbleached linen, raw wood, and clay.
The simple act of using your hands for a repetitive, creative task has been shown to lower heart rate and blood pressure, acting as a natural antidote to stress.
During a season that can often feel hectic, dedicating an afternoon to a simple craft like folding paper stars or stringing a popcorn garland isn’t just about decorating. It’s a form of active meditation that allows you to slow down, focus, and find a pocket of calm amidst the holiday rush.
Don’t underestimate the power of paper. With the right kind, you can create surprisingly sophisticated decor. For three-dimensional stars or folded ornaments that need to hold their shape, skip the flimsy craft paper and opt for a high-quality, heavy-gauge cardstock (80 lb. or higher). Brands like Neenah or Colorplan offer rich colors and a sturdy feel that elevates the final product from a kid’s craft to a piece of art.


