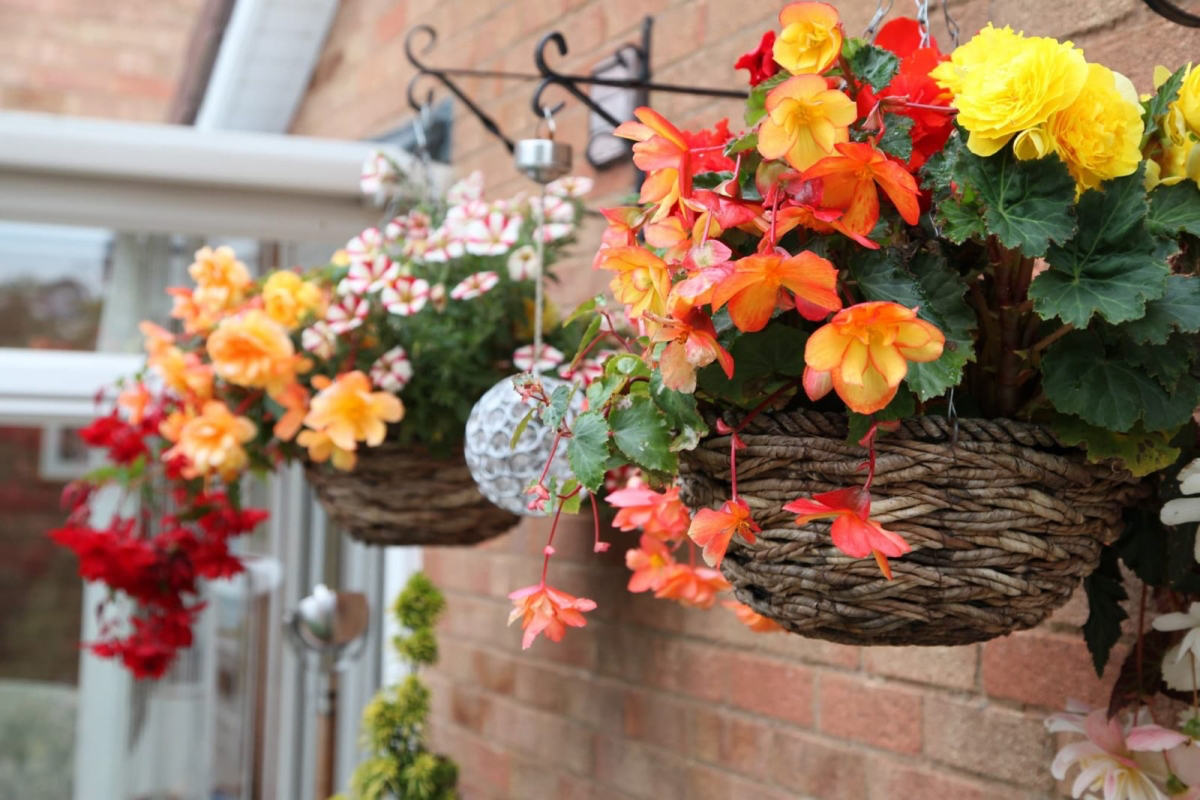
Your Guide to Epic Hanging Baskets: Growing Trailing Begonias Like a Pro
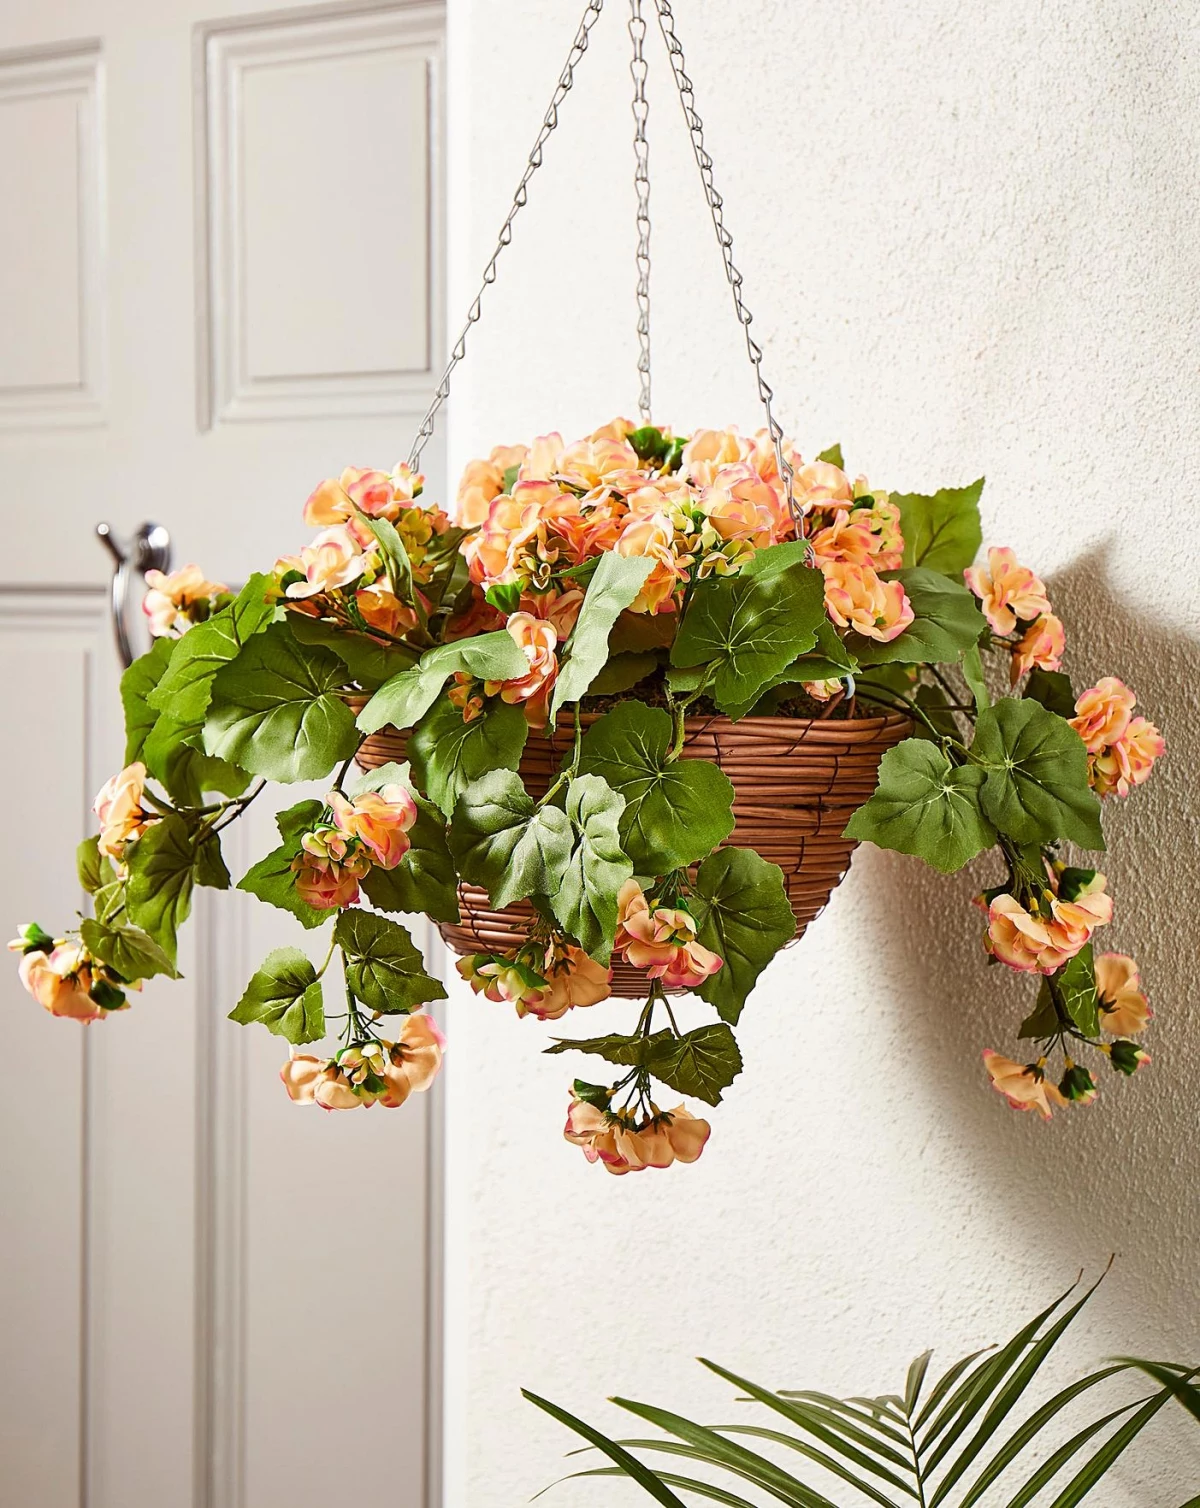
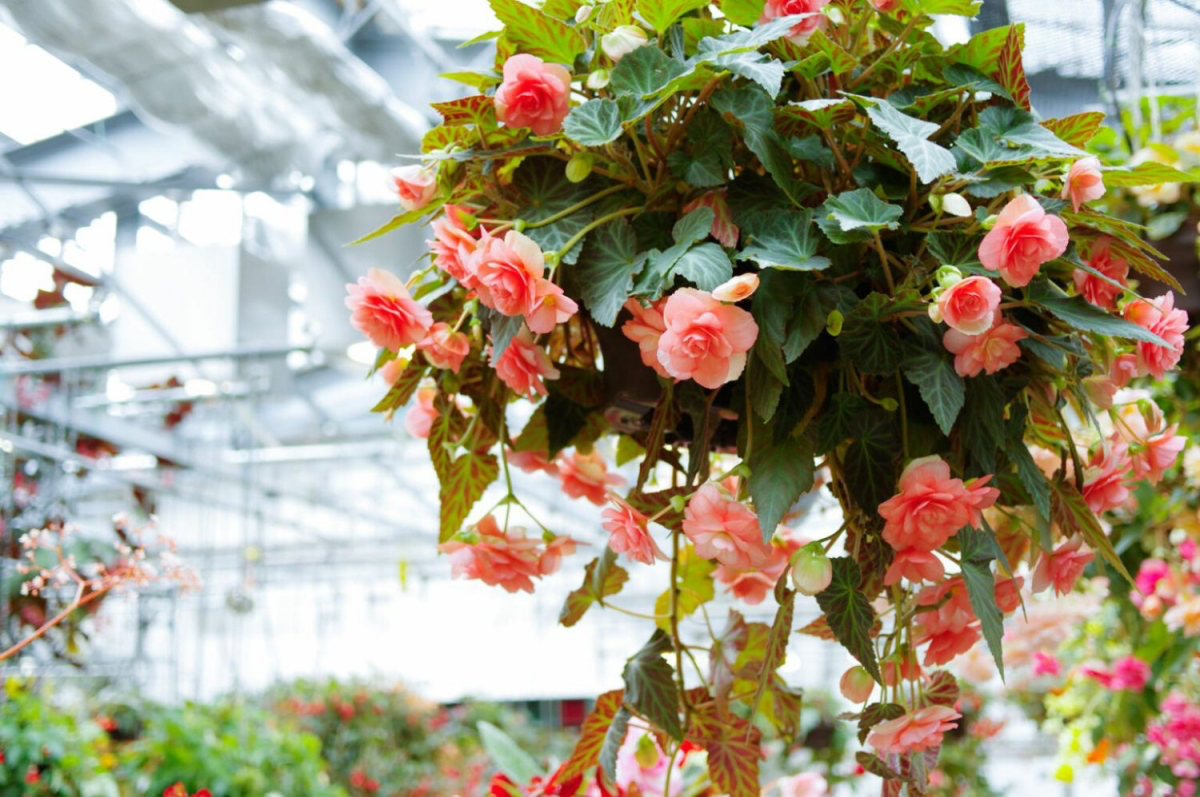
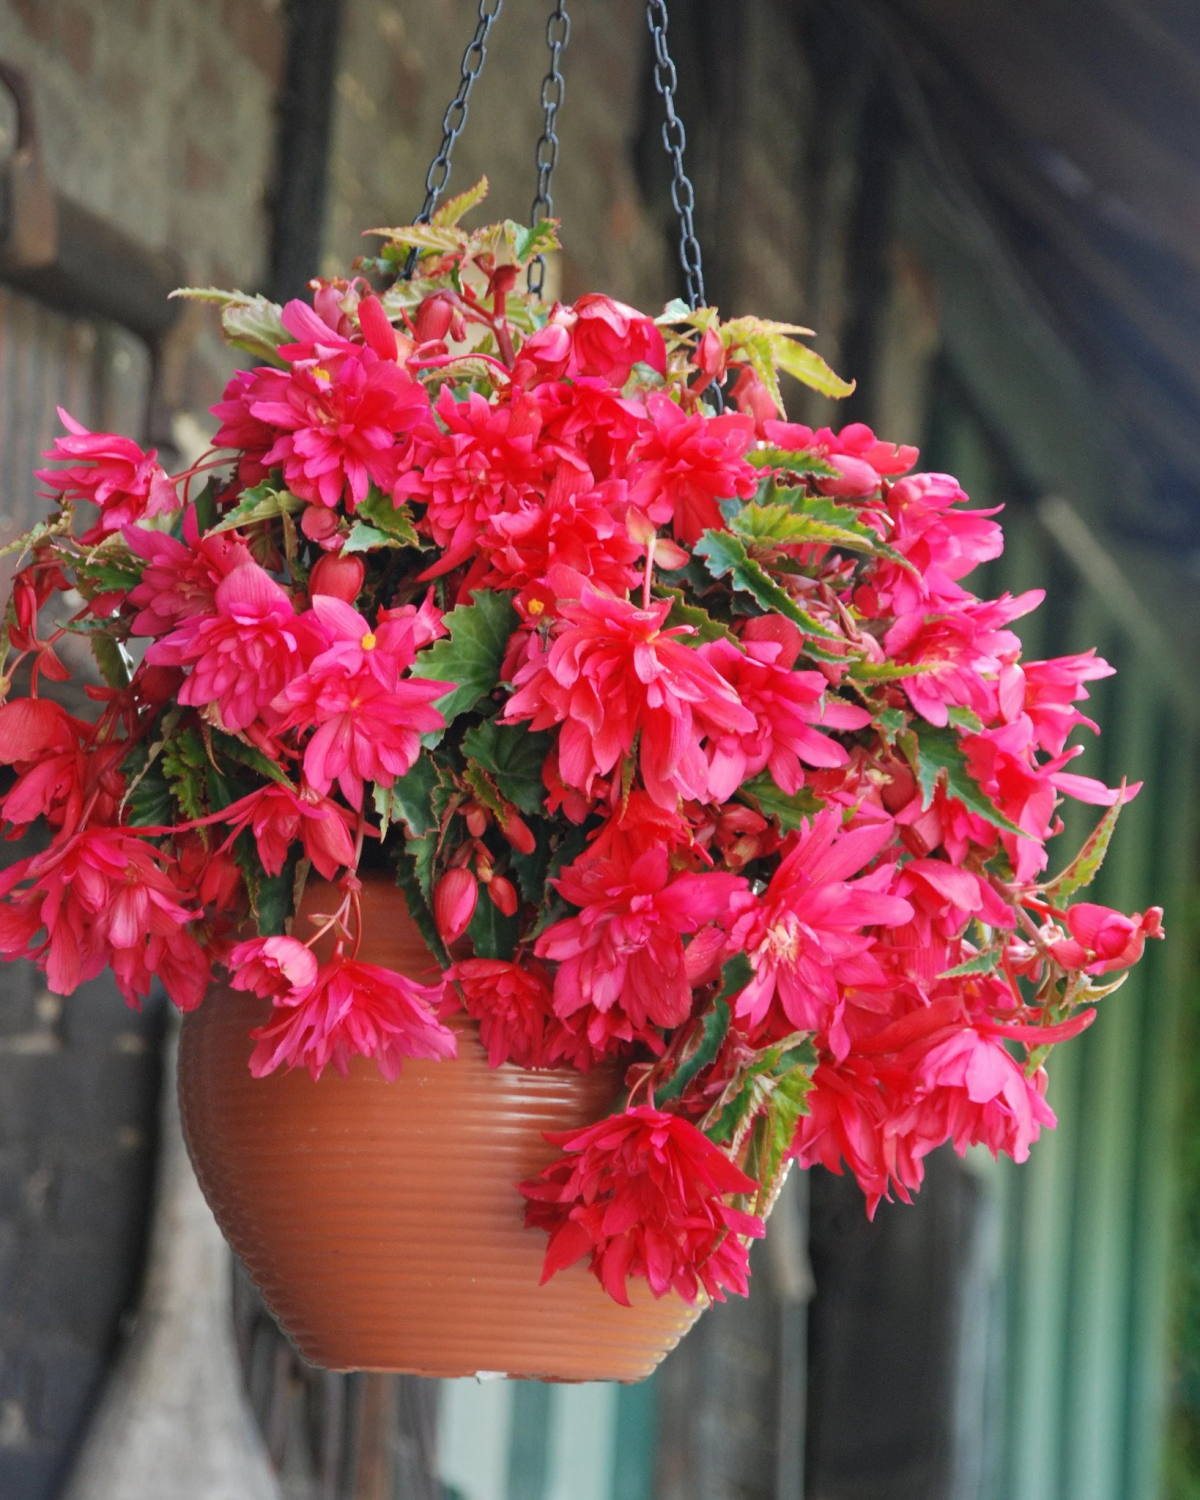
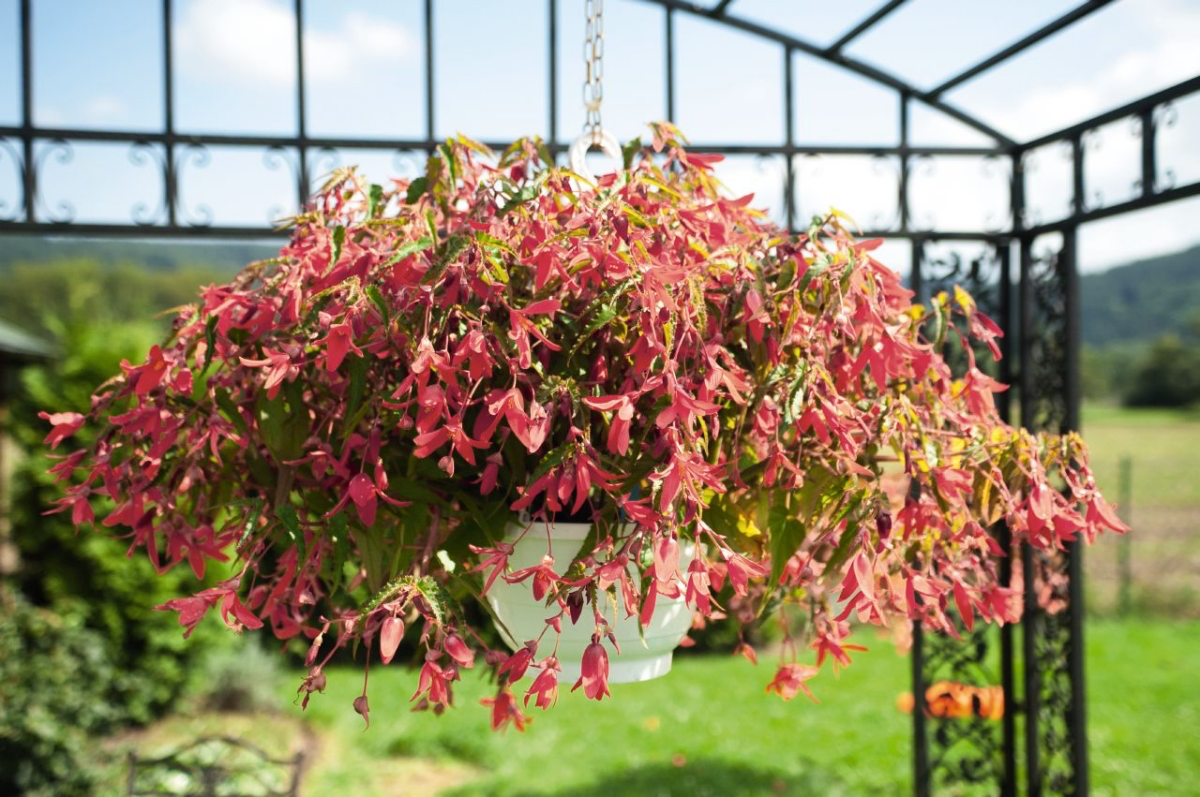
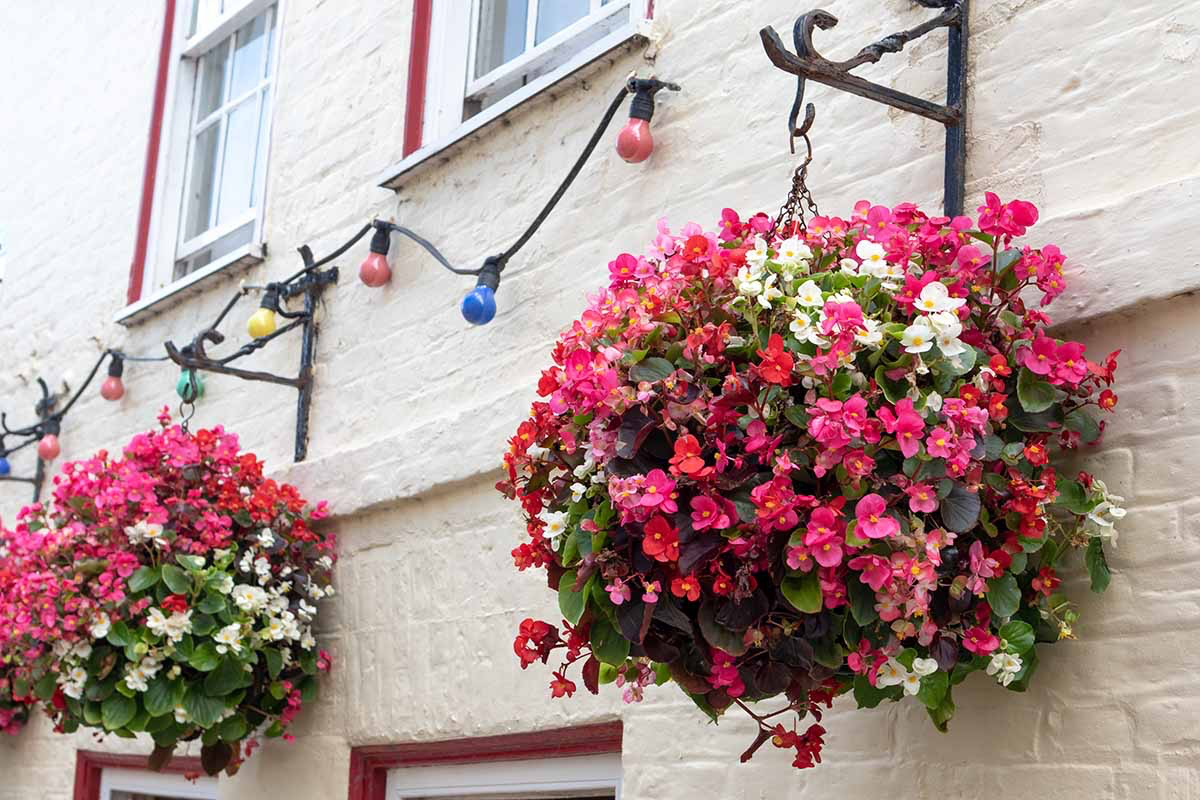
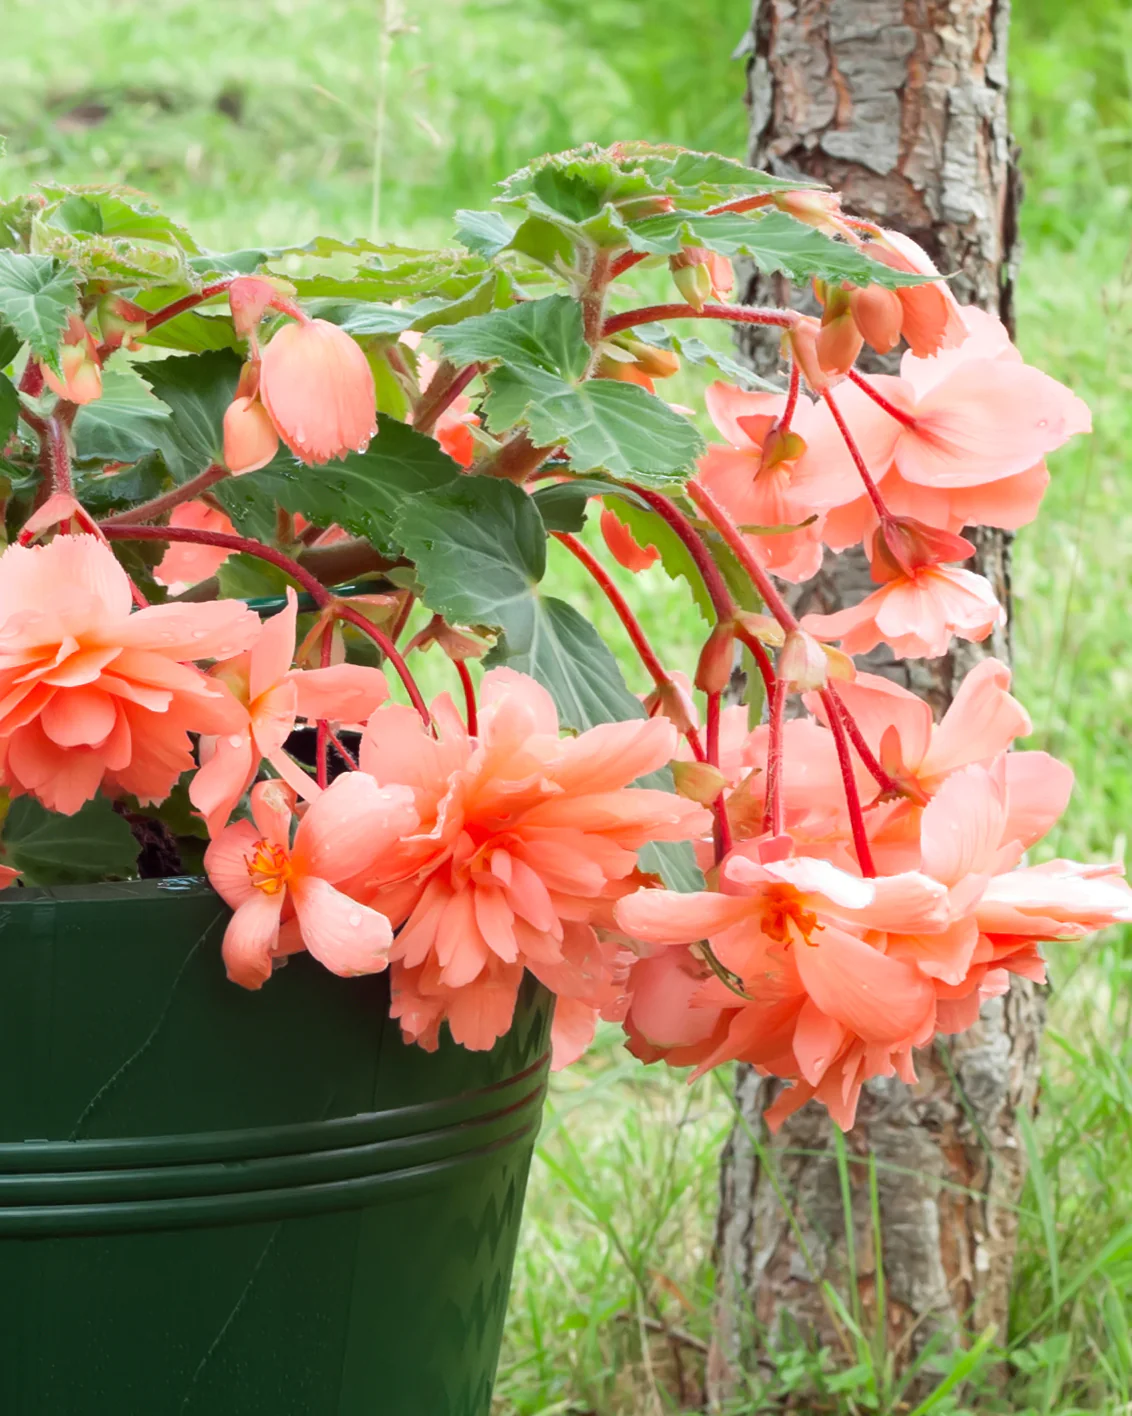
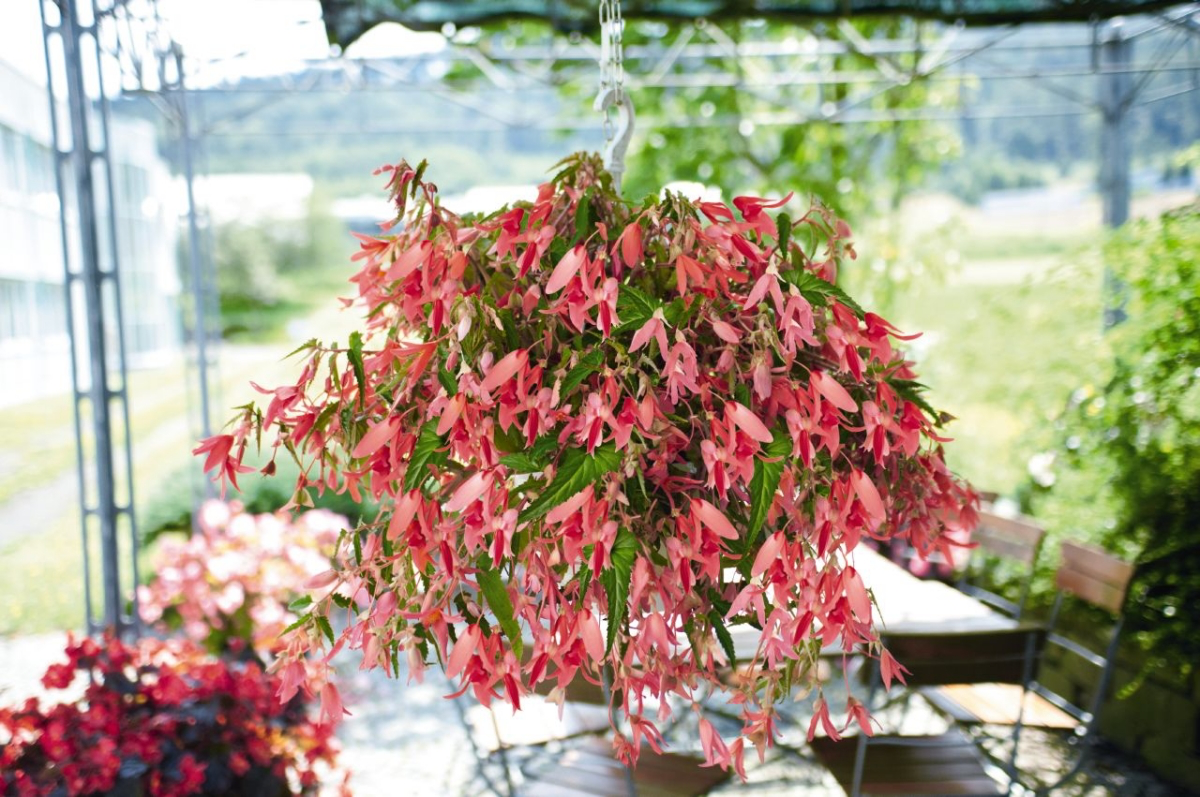
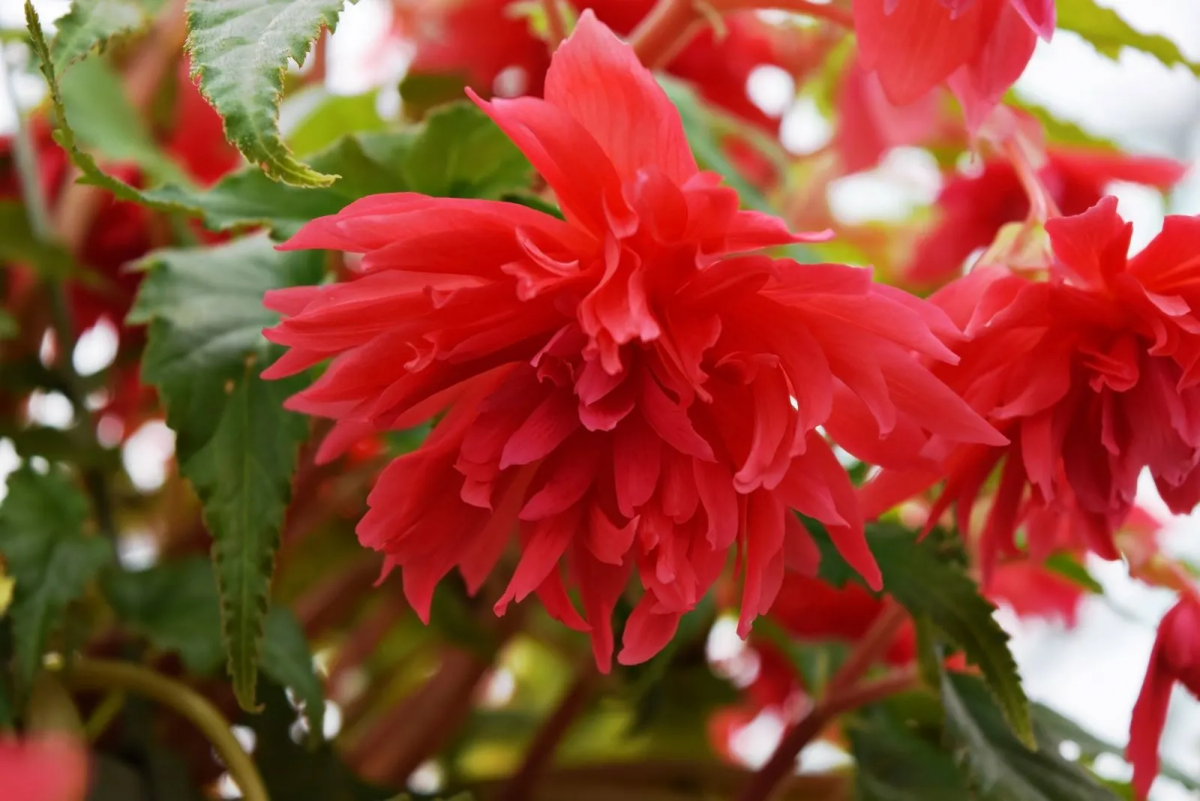
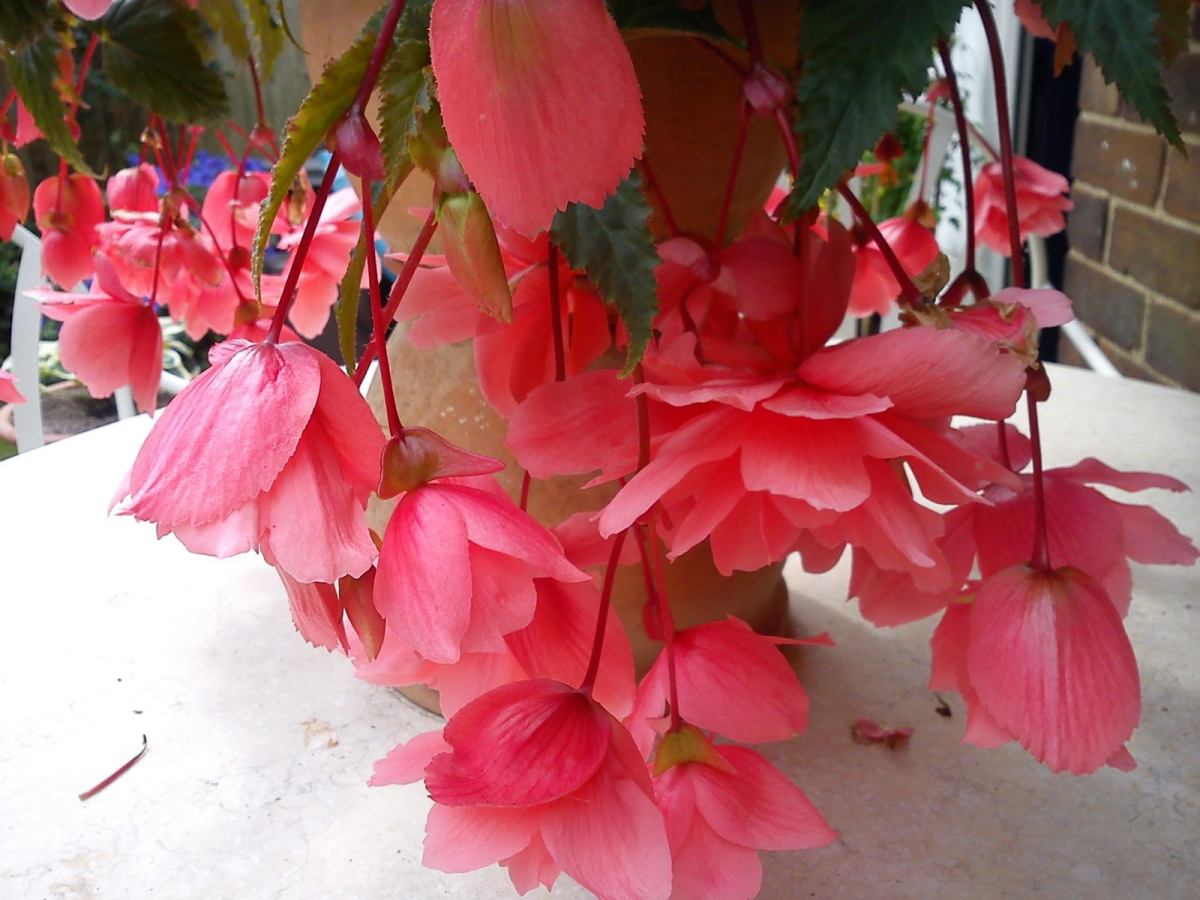
I’ve worked with thousands of plants over the years, from tiny plugs in commercial greenhouses to massive specimen trees. But honestly, few things stop people in their tracks like a huge, cascading hanging basket of trailing begonias. You might know them as “weeping begonias,” and they are absolute showstoppers—not the same as the fibrous bedding begonias you often see in flat rows.
In this article
- First, Let’s Understand the Plant
- Your Shopping List for Success
- The Foundation: The Right Soil & Potting
- Watering: The #1 Place People Go Wrong
- Light & Placement: Finding the Sweet Spot
- Fertilizing: Fuel for a Summer of Flowers
- How to Care for Begonias in Your Climate
- Advanced Skills: Making More Plants & Saving Them for Next Year
- A Final, Critical Warning
- Galerie d’inspiration
So many people struggle with them, and it’s usually because of a few simple misunderstandings. They’re sold as “easy” annuals, and they can be, but getting them to look incredible from spring through fall requires knowing what they really want. It’s not about secret tricks; it’s about learning their language. I want to walk you through the exact methods we use in the nursery trade—the stuff that gives you those jaw-dropping results.
First, Let’s Understand the Plant
To grow something well, you have to know where it comes from. These begonias are modern hybrids, but their ancestors are native to high-altitude mountain regions. Think cool nights, mild days, and bright but filtered sunlight. This is key. They are NOT steamy jungle plants that love intense heat, which is a mistake I see all the time.
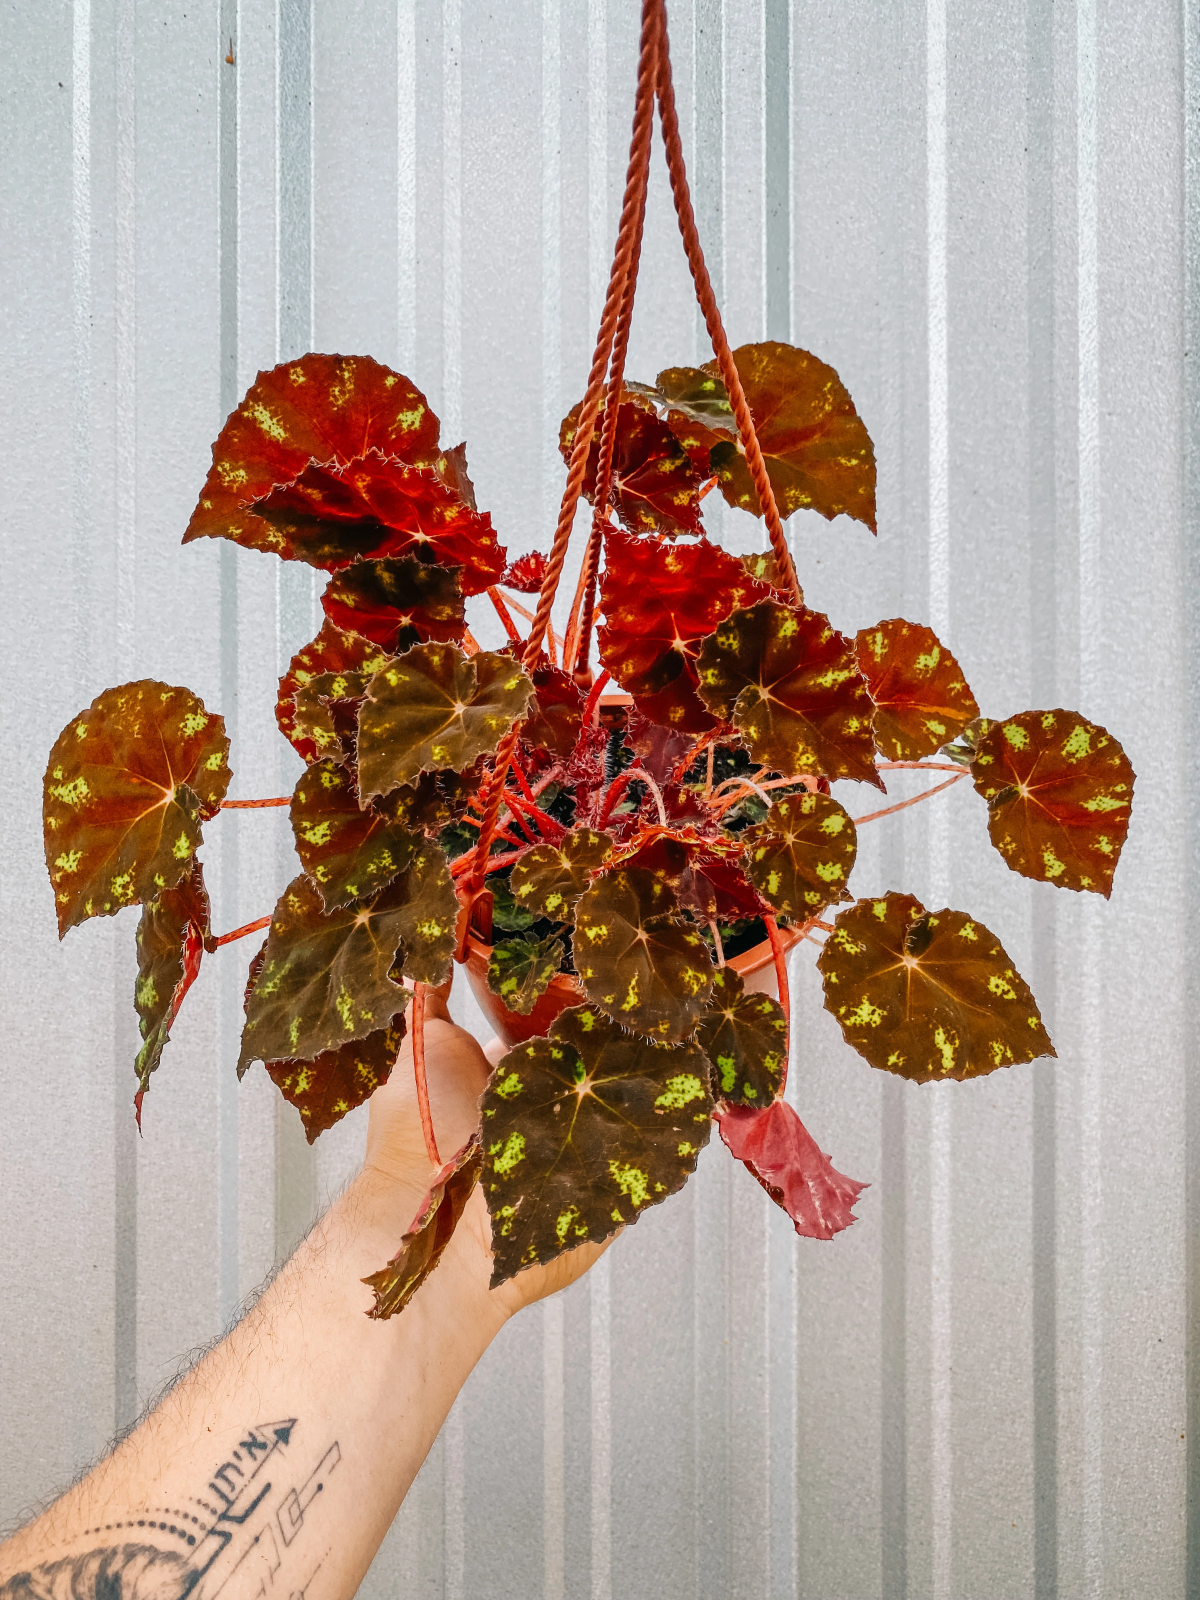
The most important part of the plant is actually underground: the tuber. It’s a flat, woody-looking disk that works like a battery, storing all the energy the plant needs to sprout and survive winter. The health of your begonia is directly tied to the health of its tuber. Everything we do—watering, feeding, placement—is all designed to help the plant build a big, fat, happy tuber for next year.
By the way, the leaves and stems contain microscopic, needle-like crystals. This is the plant’s natural defense. When chewed, these crystals cause immediate irritation, which is what makes them toxic. It’s a good reminder that these beautiful plants have their own survival tools that we need to respect.
Your Shopping List for Success
Before you even think about dirt, let’s get you set up. It’s way less intimidating when you know what you’re grabbing at the garden center.
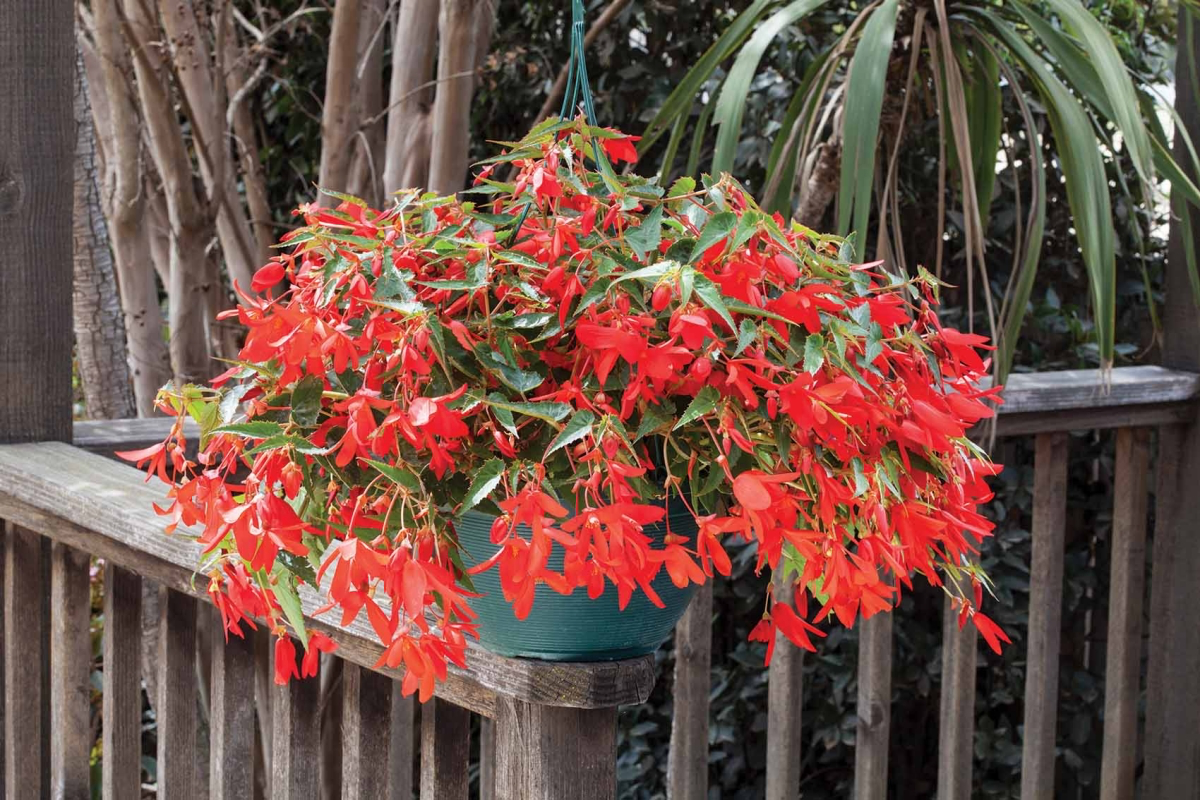
- Begonia Tubers or Plants: You’ll want to look for specific trailing varieties. Ask for names like ‘Bonfire’, the ‘Illumination Series’, or ‘Santa Cruz’—they’re all proven performers. Expect to pay between $5 and $8 for a good-sized, healthy tuber.
- The Right Pot: A 12-inch hanging basket is a great starting point. Make sure it has drainage holes!
- Potting Mix Ingredients: You’ll need a peat-based mix (like Pro-Mix or Sunshine Mix), coarse perlite, and composted pine bark fines. We’ll get into the recipe below.
- Fertilizer: Grab a slow-release fertilizer (like Osmocote) and a water-soluble “bloom booster” formula (the kind with a high middle number, like 15-30-15).
The Foundation: The Right Soil & Potting
Most bagged potting soil from big-box stores is a disaster for begonias. It’s often too heavy and holds water like a sponge, which leads to root rot. Begonias absolutely demand excellent drainage. If the roots sit in soggy soil, they suffocate and die. You’ll know it’s happening if the soil smells sour and the roots are brown and mushy instead of white and firm.
For years, we’ve used a pro blend you can easily make yourself. For a standard 5-gallon bucket, just mix:
- 2 parts peat-based professional mix: This is your base. It holds just enough moisture without getting waterlogged.
- 1 part coarse perlite: Don’t skip this! These little white rocks create air pockets for oxygen and drainage. Sand is not a substitute; it’s too fine and will compact the soil.
- 1 part composted pine bark fines: This adds great structure and prevents the mix from compacting over the season.
Quick tip: If you can’t find a pro-style peat mix, a high-quality Cactus & Succulent mix is a decent backup. It’s also designed for fast drainage, so you’d just need to add the composted pine bark to it.
When you’re ready to plant, mix in about a tablespoon of a slow-release fertilizer (something like a 14-14-14) per gallon of your soil mix. For a lush, full look in a 12-inch basket, I’d recommend planting three tubers. Place the tuber with the hollow, indented side facing up, just barely covered by the soil. I know it seems weird, but that little depression is where the new sprouts will emerge. Planting it upside down is one of the most common rookie mistakes!
Watering: The #1 Place People Go Wrong
I can say with total confidence that overwatering kills more begonias than anything else. I’ll even admit, after years in the business, I lost a prized plant because I put it in a gorgeous decorative pot that—I realized too late—had no drainage hole. It was a swampy, sad mess in a week. ALWAYS check for a hole!
The key is to let the soil dry out a bit between waterings. The classic “finger test” works—stick your finger an inch deep, and if it’s dry, it’s time to water. But a better method is the “lift test.” Get a feel for how heavy your pot is right after a thorough watering. Then, just lift it every day. You’ll quickly learn to feel the difference between a heavy (wet) pot and a noticeably lighter (dry) pot.
When you do water, do it thoroughly until water streams out of the bottom. This flushes out any salt buildup and soaks the entire root ball. Then, don’t water again until it passes the lift test.
Heads up! Never use water from a home water softener. The sodium these systems use is toxic to most plants, including begonias. Stick to tap water, rainwater, or well water.
Light & Placement: Finding the Sweet Spot
Remember their mountain origins? They crave bright, indirect light. In most climates, a spot that gets morning sun until about 11 AM is the absolute sweet spot. An east-facing porch is perfect. A north-facing spot can work, but you’ll get fewer flowers. The one thing to avoid is the harsh afternoon sun, which will scorch the leaves and give them a crispy, washed-out look. If your stems are getting long and stretchy with few leaves, the plant is telling you it needs more light.
Fertilizing: Fuel for a Summer of Flowers
These plants are hungry. To get that nonstop cascade of blooms, they need a steady diet. The slow-release pellets you mixed in at planting are a great start, but for a real show, you’ll want to supplement with a liquid fertilizer.
Here’s the two-stage pro approach:
- Early Growth: While the plant is young and focused on leaves, use a balanced fertilizer (like a 20-20-20).
- Blooming Stage: Once it’s established and setting buds, switch to a “bloom booster” (like a 15-30-15). The higher phosphorus (the middle number) pushes energy into making more, bigger flowers.
The secret is to feed “weakly, weekly.” Mix your liquid fertilizer at quarter-strength and use it every time you water. This gives the plant a constant, gentle stream of nutrients without burning the roots. And never fertilize a bone-dry plant—water with plain water first. Stop all fertilizer in the fall, about a month before your first frost, to signal the plant it’s time to wind down.
How to Care for Begonias in Your Climate
Where you live changes the game. A begonia in Seattle has different needs than one in Phoenix. Here’s a quick breakdown.
- For Cool, Maritime Climates (like the Pacific Northwest): You can get away with more sun here. Your biggest challenge will be preventing powdery mildew. Give your plants plenty of space for air to move around them.
- For Hot, Humid Climates (like Florida or the Gulf Coast): Shade from the afternoon sun is non-negotiable. The humidity is great, but it also encourages fungal problems, so good air circulation is a must.
- For Hot, Dry Climates (like Arizona or inland California): This is the toughest zone. You’ll need to provide shade for all but the earliest morning hours. Grouping plants together can help create a little bubble of humidity. You’ll probably be watering daily.
- For Temperate Climates with Cold Winters (like the Midwest or Northeast): Your begonias will thrive in the summer! Your main task is protecting them from frost and learning how to overwinter the tubers, which saves you a ton of money next year.
Advanced Skills: Making More Plants & Saving Them for Next Year
Once you’ve got the basics down, this is where the real fun begins. Propagating from stem cuttings is a quick way to multiply your plants during the summer. It’s a simple process of snipping a healthy 4-inch, non-flowering stem, removing the lower leaves, dipping it in rooting hormone, and planting it in a moist mix of perlite and peat. Cover it with a plastic bag to keep the humidity high, and you should have a new plant in a few weeks!
Overwintering Tubers (The Money-Saver)
This is probably the most valuable skill you can learn. In the fall, reduce watering to signal dormancy. Let the foliage yellow and die back naturally—it’s sending all its energy back down to the tuber. Once the stems wither, carefully dig up the tuber, brush off the soil, and let it cure in a dry, airy spot for a week.
Store it in a paper bag or a box with some slightly damp peat moss in a cool, dark place (40-50°F is ideal). An unheated basement or insulated garage is perfect. Check on them once a month.
Good to know: If you check on your tubers and they look a little shriveled, don’t panic! Just lightly spritz the peat moss with a bit of water. If you see green sprouts starting way too early, your storage spot is too warm. Move them somewhere cooler, or just pot them up and put them in your sunniest window to get a head start.
A Final, Critical Warning
I have to say this again: all parts of a tuberous begonia are toxic to pets and people if eaten. The tuber has the highest concentration of those sharp crystals. Keep these plants well out of reach of curious pets and children. If you have a cat or dog that loves to chew on plants, I’d honestly suggest choosing a different kind of plant for your hanging baskets. Responsible ownership is key.
Growing a stunning basket of these begonias is so rewarding. It takes a little more attention to detail, but the payoff is a season-long display that will make every neighbor jealous. Happy growing!
Galerie d’inspiration

The first trailing begonias were introduced to European horticulture in the mid-19th century, sparking a Victorian-era obsession with lavish, cascading floral displays in conservatories and parlors.
How do I save my prized begonia for next year?
It’s all about the tuber. After the first light frost has nipped the foliage, cut the stems back to about 4 inches. Bring the pot into a cool, dry place like a garage or basement and stop watering. Once the remaining stems have dried and detached, you can gently unearth the tuber. Brush off the soil (don’t wash it!), let it cure for a few days, and store it in a paper bag with dry peat moss or vermiculite until it’s time to wake it up next spring.
The single biggest mistake: Watering directly onto the crown of the plant where the stems emerge. This traps moisture against the tender stems, creating a perfect environment for stem rot, which can quickly wipe out the entire plant. Always aim your watering can at the soil surface, under the canopy of leaves, to keep the base of the plant dry.
- Denser, fuller growth with no leggy gaps.
- A massive increase in the number of flower buds.
- A stronger plant structure that can support its own weight.
The professional’s secret? Pinching. When your young begonia has 3-4 sets of leaves, simply pinch off the growing tip of each main stem. This forces the plant to branch out from below, creating that signature ‘ball of fire’ look instead of just a few long strands.
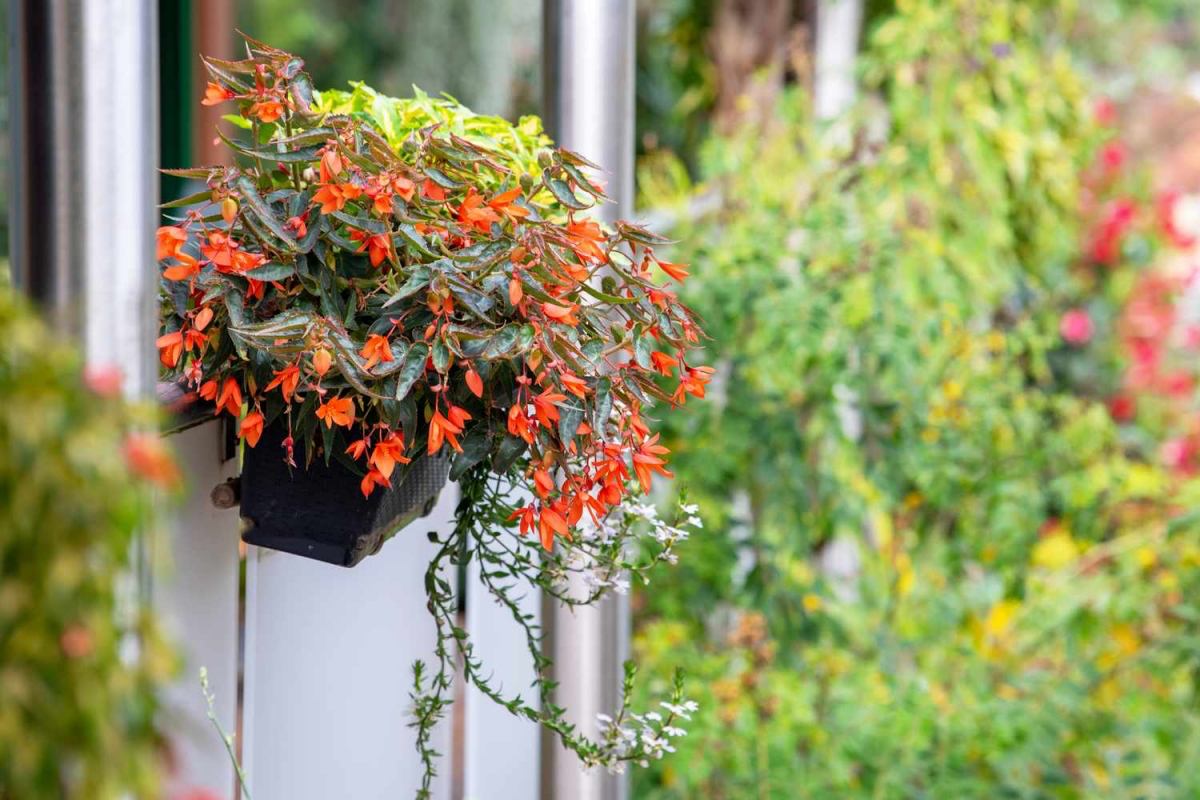
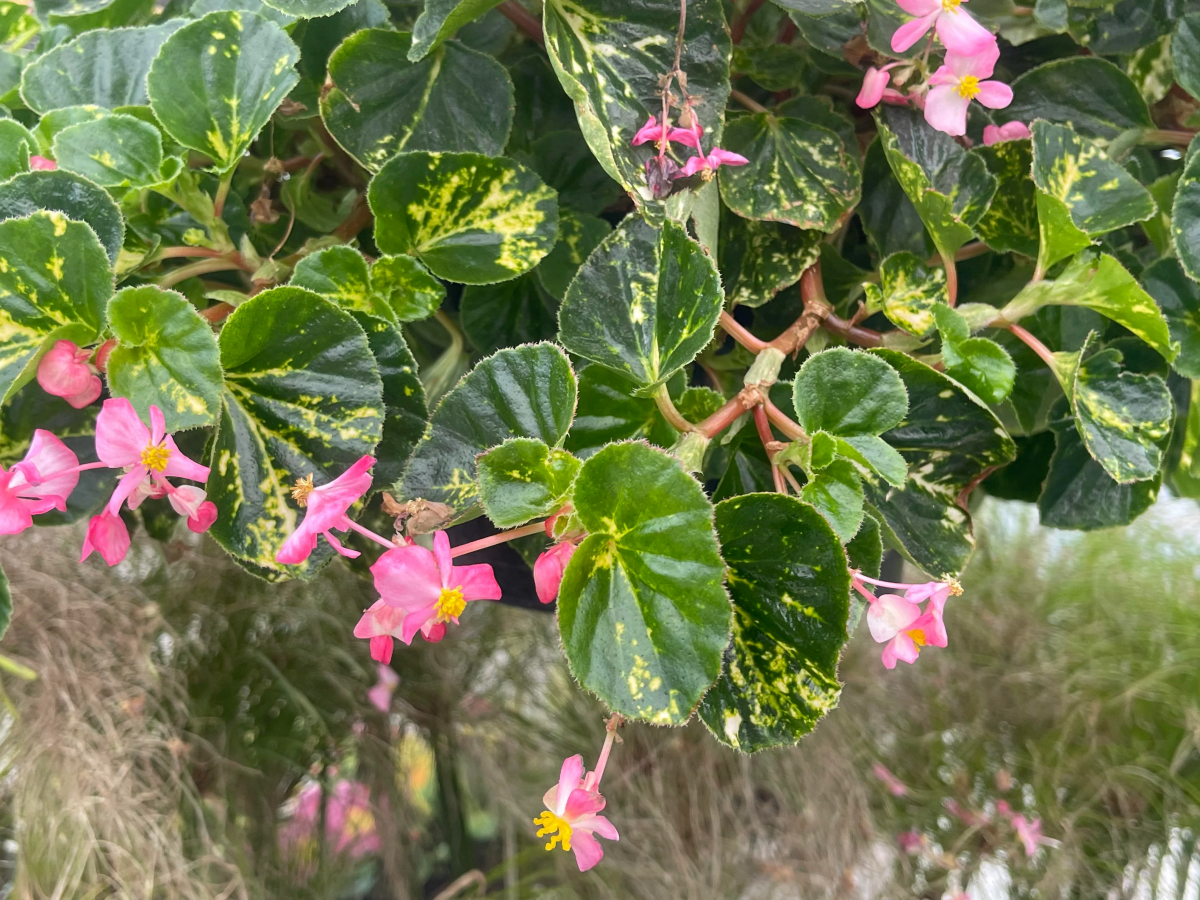
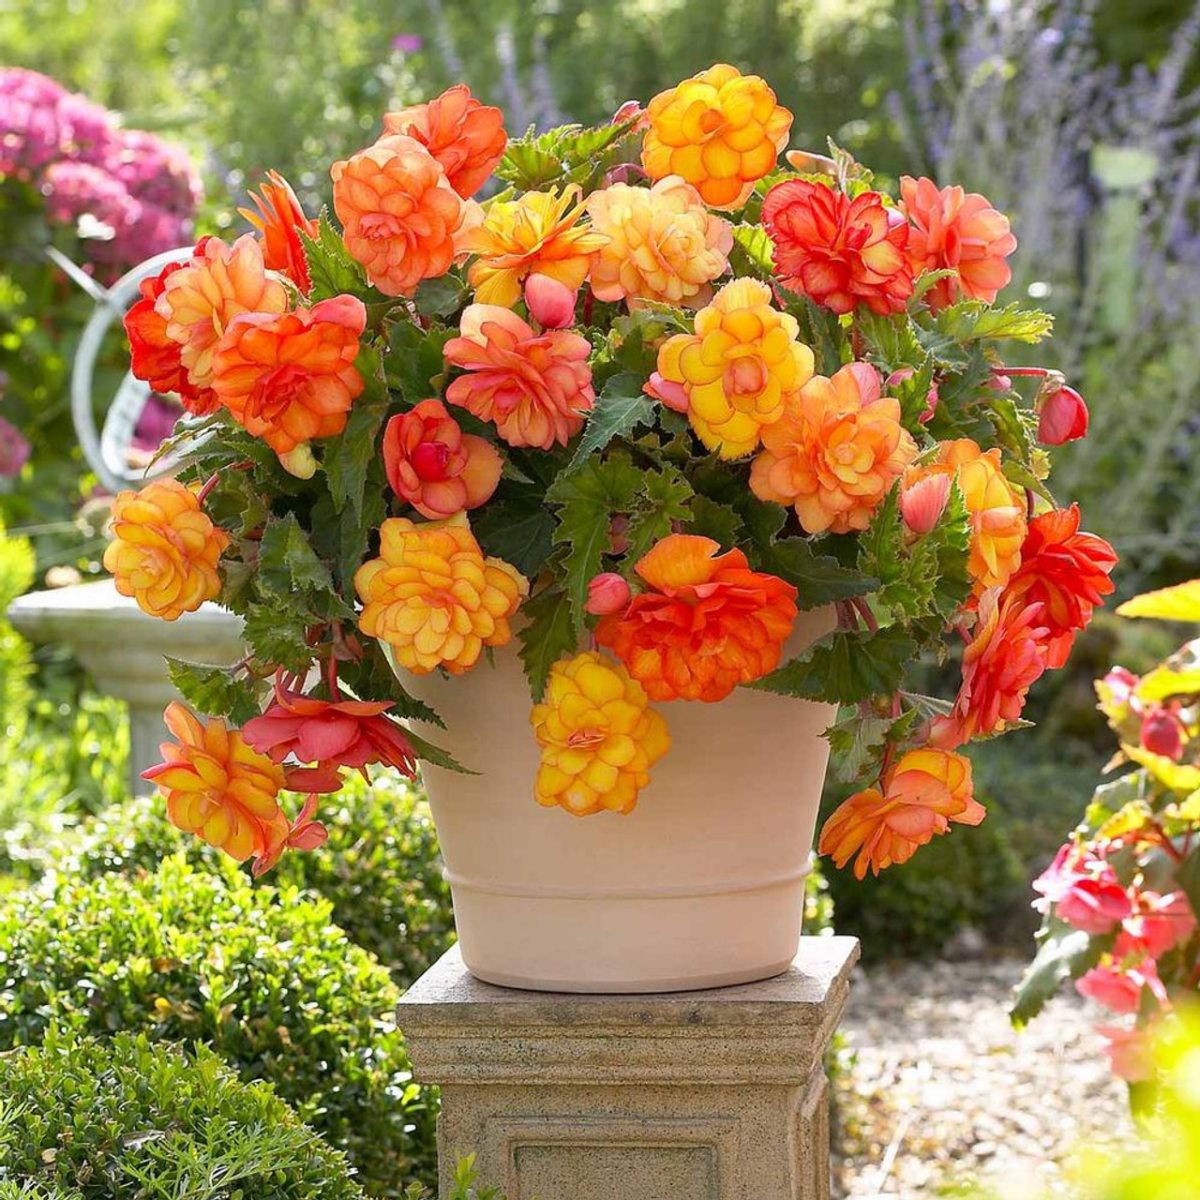
While the article mentions classics like ‘Bonfire’, keep an eye out for the ‘Funky’ series. With its unusual, frilly, double-petaled flowers, ‘Funky Pink’ or ‘Funky Scarlet’ adds a completely different texture and a touch of modern whimsy to a container. They have the same great trailing habit but offer a break from the traditional single-petal shape.
Off-the-shelf mix: A high-quality potting soil like Pro-Mix HP (High Porosity) is excellent. It’s peat-based, pH-balanced, and contains a high percentage of perlite for the sharp drainage begonias crave.
Custom blend: For ultimate control, mix your own. A great recipe is 2 parts sphagnum peat moss, 1 part coarse perlite, and 1 part fine pine bark fines. This combination is light, airy, and mimics their native, well-drained mountain soil.
For most growers, a quality bagged mix is the perfect shortcut to success.
To get that incredible cascade of blooms, your begonias are heavy feeders. They need the right fuel at the right time.
- For early growth: Use a balanced fertilizer to build strong roots and foliage.
- For peak blooming: Switch to a high-phosphorus “bloom booster” formula, like Jack’s Classic 15-30-15 or a similar water-soluble plant food. Apply at half-strength with every other watering during the peak summer months.
Begonia seeds are among the smallest in the plant world, often resembling fine dust. A single ounce can contain over 2 million seeds.
This is why most gardeners start with tubers! Starting from seed is a test of patience. The seeds need light to germinate, so they are pressed onto the surface of a sterile mix, not buried. Kept under grow lights at a consistent 75°F (24°C), they can take up to a month to sprout into nearly microscopic seedlings. It’s a challenging but deeply rewarding project for the dedicated gardener.
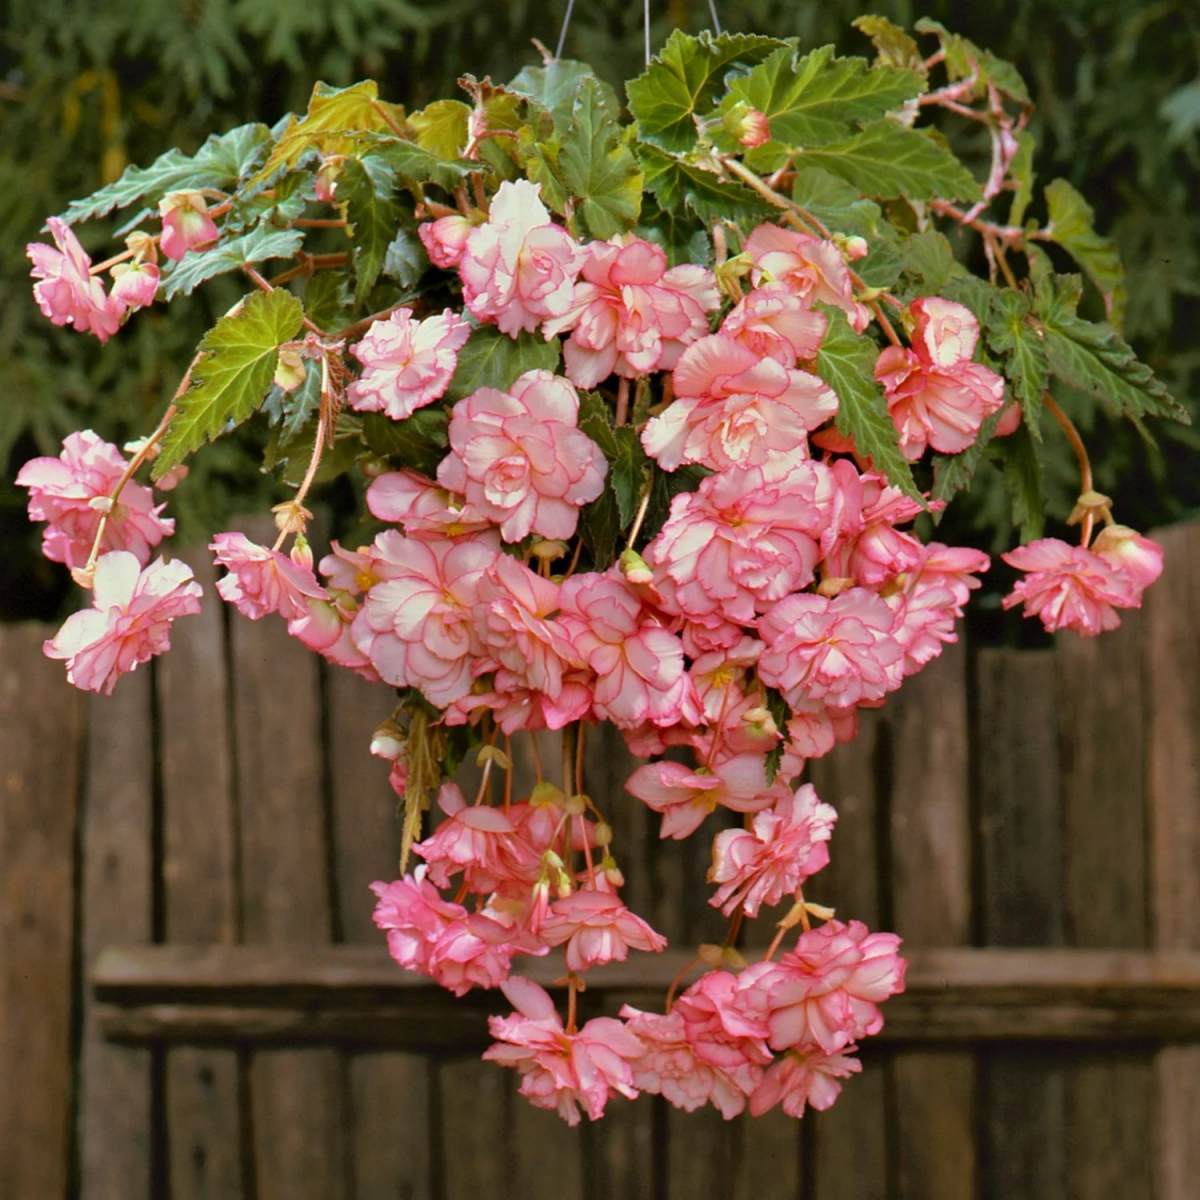
Don’t be afraid to create a color echo. A basket filled exclusively with the ‘Illumination Golden Picotee’ variety creates a stunning, unified statement. For a more dynamic look, try a trio of ‘Santa Cruz’ (fiery red-orange), ‘Illumination Apricot’ (soft salmon), and a trailing white bacopa or calibrachoa. The contrast in both color and flower shape adds instant designer flair.
There’s a magical quality to trailing begonias in the evening. As dusk settles, the vibrant reds, oranges, and yellows of varieties like ‘Bonfire’ or ‘Bellfire’ seem to catch the last rays of light, glowing with an inner luminescence. They transform a porch or patio from a simple space into an enchanting retreat, their drooping bells gently swaying in the evening breeze.


