Your Garden Isn’t Sleeping, It’s Prepping—Here’s Your Winter Game Plan
After decades of working in every kind of garden you can imagine, from sprawling public parks to tiny backyard plots, I can tell you one thing for sure: winter isn’t an off-season. So many people see that first frost and immediately hang up their trowels for the year, thinking the garden’s gone dormant. But honestly, the work you put in during these cold, quiet months is what sets you up for a spectacular spring and summer.
In this article
It’s a time of quiet, critical preparation. I’ve seen the difference firsthand, and it’s night and day.
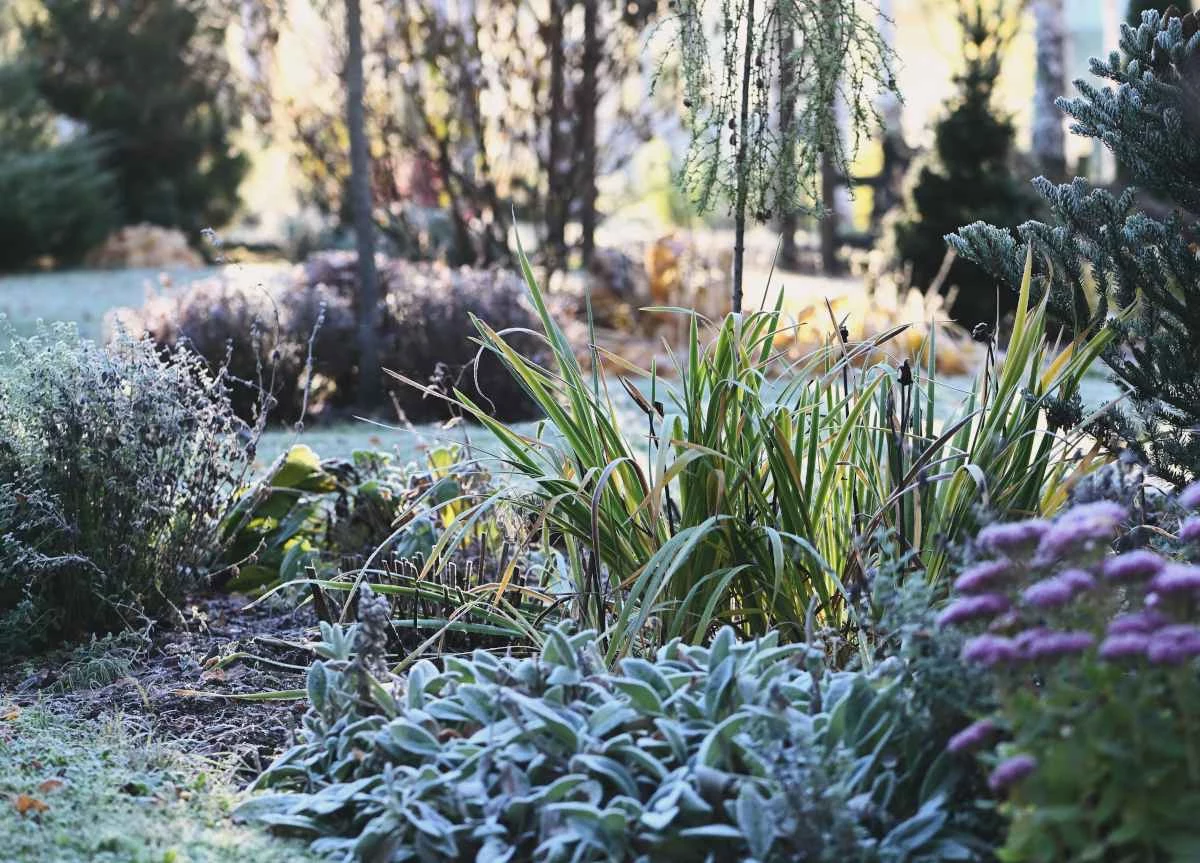
The cold weather gives us a unique advantage. With all the leaves gone, you can finally see the ‘bones’ of your garden—the true structure of your trees and shrubs. This is the perfect moment for thoughtful adjustments, not just a frantic cleanup. Think of it as protecting your investment in the soil and plants, and heading off problems before they even have a chance to start. Let’s walk through the routine the pros use to make sure a garden comes back stronger than ever.
First Things First: When Do I Even Start?
Timing is everything, right? You don’t want to start too early or wait too late. The sweet spot for most of these winter tasks is after the first couple of hard frosts have hit, but well before you see any new buds starting to swell in late winter or early spring. This ensures most plants are fully dormant.
By the way, if you’re not familiar with your area’s climate specifics, do a quick search for the “USDA Plant Hardiness Zone map.” It’s a fantastic tool that helps you understand the winter temperatures in your specific location, which gives you a much better sense of your garden’s calendar.
It All Starts with the Soil
Before we even think about touching a plant, we have to talk about what’s happening underground. Garden health begins and ends with the soil. In winter, the ground goes through some serious changes, and ignoring this is probably the most common mistake I see home gardeners make.
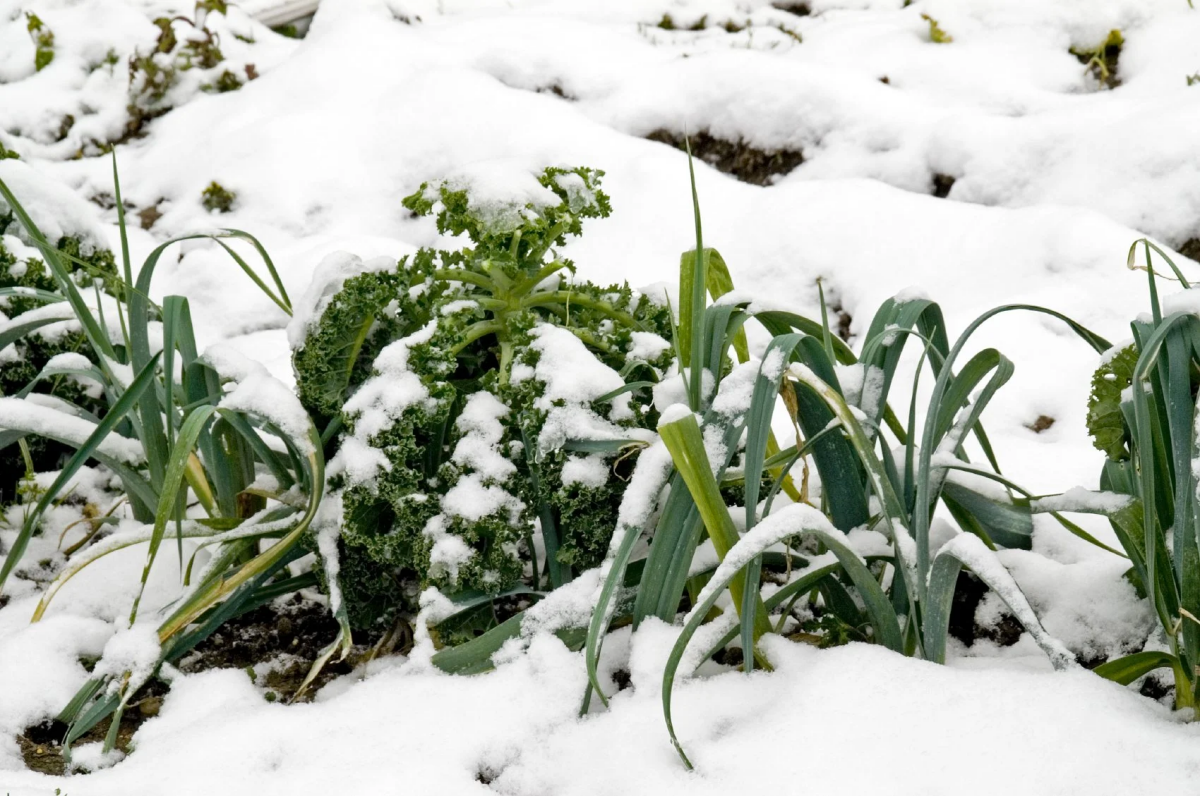
Ever seen small plants or even paving stones that look like they’ve been pushed up out of the ground after a cold snap? That’s called frost heave. It happens when water in the soil freezes, expands, and then thaws, creating a powerful upward force. This can pop tender plant roots right out of the ground, exposing them to freezing air that’ll dry them out and kill them. This cycle is especially tough on soils with a lot of clay.
And it’s not just about the physical structure. Your soil is teeming with a whole community of microbes that are the engine of your garden’s fertility. Their activity slows way down in the cold, but they’re not dead. Our job is to protect them. A layer of mulch is like a cozy blanket that insulates the soil, prevents deep freezing, and keeps that precious microbial life safe for spring.
Mulching: Your Garden’s Best Winter Coat
If you do only one thing for your garden this winter, make it this. Mulching is the single most effective way to prevent frost heave and protect your soil. But—and this is a big but—the type of mulch and how you apply it matters a lot.
Here are a few of my go-to choices:
- Shredded Leaves: This is my absolute favorite, and it’s usually free! Oak leaves are the gold standard because they break down slowly. If you have maple leaves, just run them over with a lawnmower first; otherwise, they can mat down and block air and water. Using leaves can easily save you $50 to $100 a season compared to buying bagged mulch.
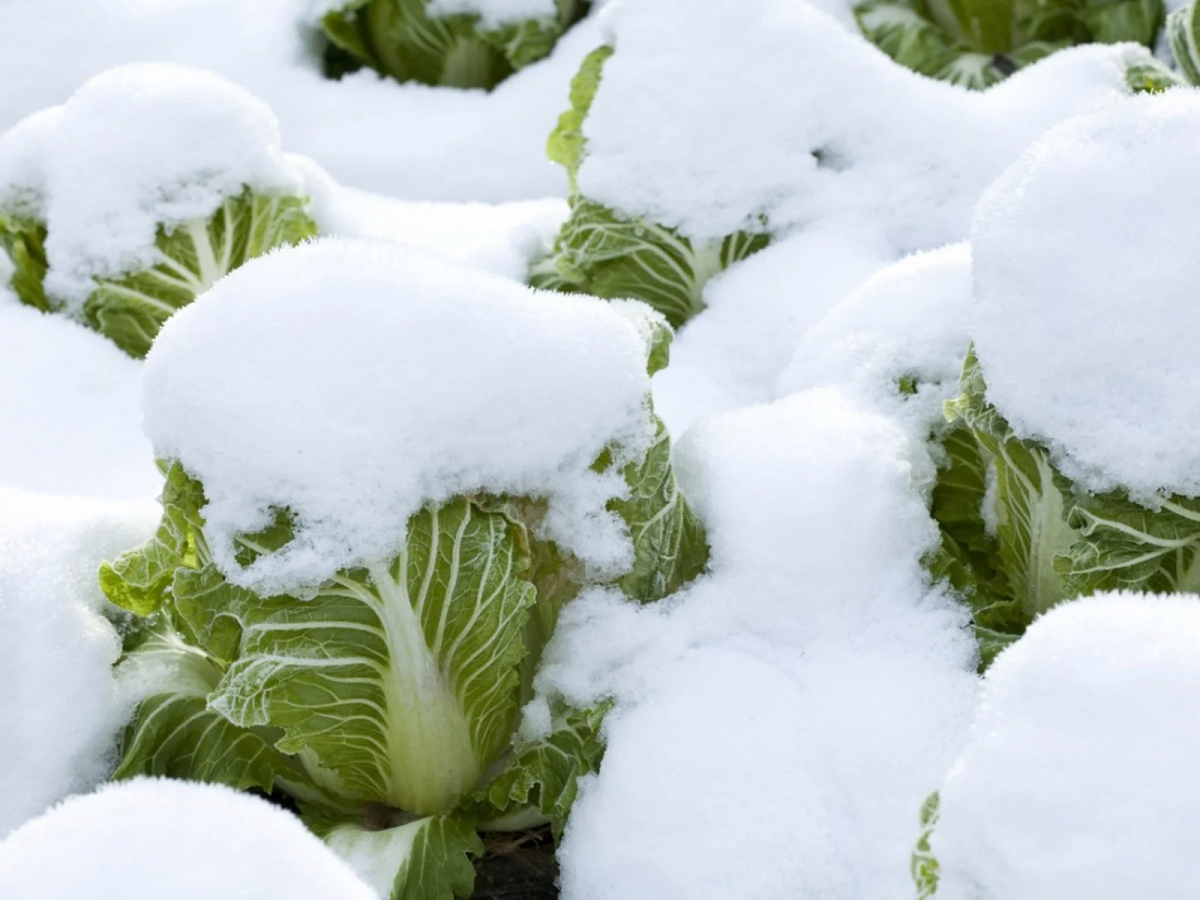
- Straw: Perfect for insulating vegetable beds or tender perennials. A quick heads-up: make absolutely sure you’re buying STRAW, not hay. Straw is the stalk of a grain plant, while hay is grass full of seeds. I once had a client source their own “straw,” and we spent the entire next spring weeding a new lawn out of their flower beds. It was a lesson I never forgot. A bale of straw is usually pretty affordable, typically running between $10 and $15 at a local feed or farm supply store.
- Wood Chips or Bark: These are best for established trees and shrubs since they decompose very slowly. A little insider tip: call some local arborists. They often have piles of wood chips they need to get rid of and will give them to you for free. Just ask if the chips came from a healthy tree to avoid introducing any diseases to your soil.
- Pine Needles: If you have acid-loving plants like azaleas, rhododendrons, or blueberries, this is the stuff. It’s light, airy, and won’t compact.
Application Tip: The Donut, Not the Volcano
How you put the mulch down is just as important as what you use. Aim for a layer that’s 2 to 4 inches deep. A good visual is to make the layer about as deep as your palm is wide. Any deeper, and you risk suffocating the roots or creating a cozy winter resort for voles and slugs.
The biggest rookie mistake is piling mulch right up against the base of a plant or tree trunk. We call this a “mulch volcano,” and it’s terrible for the plant. It traps moisture against the bark, inviting rot and disease, and gives pests a hidden place to chew on the trunk. Always, always pull the mulch back a few inches from the base of every plant, creating a donut shape. This lets the plant’s crown breathe.
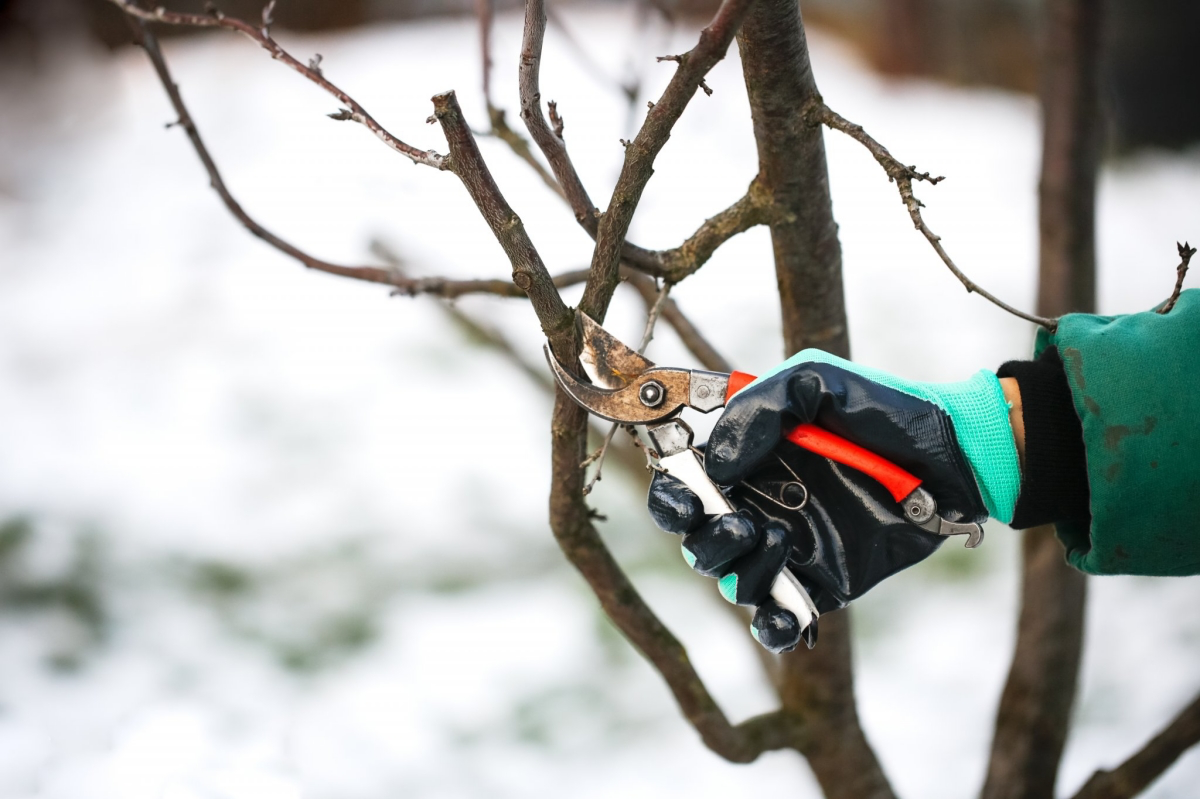
Pruning: The Art and Science of the Winter Cut
With the branches bare, winter is prime time for pruning most deciduous trees and shrubs. You can see the whole structure clearly, spot crossing branches or other problems, and make cuts that will guide the plant’s growth for the entire year.
Heads Up: What NOT to Prune Now!
Before you grab your tools, this is critical. Do NOT prune shrubs that bloom in the spring on old wood. If you prune these now, you’ll be cutting off all of next year’s flowers. Hold off on things like:
- Forsythia
- Lilac
- Weigela
- Quince
- Certain types of Hydrangeas (like the big-leaf and oakleaf varieties)
The best time to prune these is right after they finish flowering in the spring or early summer.
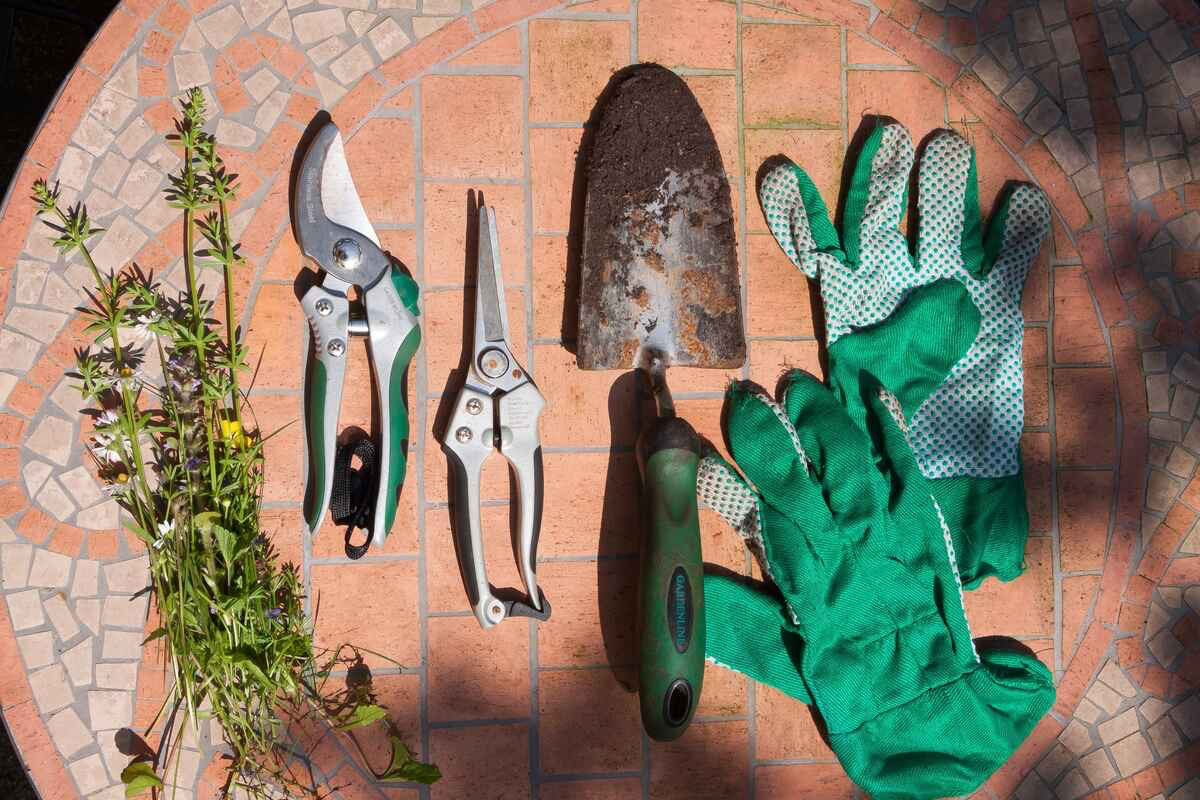
The Right Tools Make All the Difference
Good cuts come from good tools. Bad tools create ragged wounds that heal poorly. Here’s what you need:
- Bypass Pruners: These are your everyday essential. They work like scissors and make a clean cut. For home gardeners, brands like Fiskars or Corona are fantastic and will run you about $20 to $40. If you’re a serious gardener, the pros swear by Felco, but they are a bigger investment.
- Loppers: Basically long-handled pruners for cutting branches up to about 1.5 inches thick.
- Pruning Saw: For anything thicker, you’ll need a saw. They’re designed to cut on the pull stroke, which gives you more control.
A non-negotiable rule: clean your tools! I carry a little spray bottle of rubbing alcohol (70% isopropyl) and wipe my blades between each plant. It takes ten seconds and prevents spreading diseases from one plant to the next. And please, wear safety glasses. A twig to the eye is no joke.
How to Make the Perfect Cut
So, where exactly do you cut? Look closely at where a branch meets a larger stem or the trunk. You’ll see a slightly swollen, wrinkled area called the branch collar. This area contains special cells that heal the wound quickly. You want to make your cut just outside this collar.
Don’t cut it flush with the trunk (a flush cut creates a large wound that can’t heal properly), and don’t leave a long stub (a stub will just die back and invite rot). A clean cut just outside the branch collar is the secret to a healthy, fast-healing plant.
Your Quick Winter Garden To-Do List
Feeling overwhelmed? Don’t be. Here’s a simple checklist to get you started.
- [ ] Apply a 2-4 inch layer of mulch to your garden beds (remember the donut!).
- [ ] Prune dormant trees and shrubs (but skip the spring-bloomers for now).
- [ ] Check for and remove any dead, damaged, or diseased branches.
- [ ] Clean and sharpen all your garden tools so they’re ready for spring.
- [ ] Gently press any frost-heaved plants back into the soil and mulch them well.
No Time? Do This One Thing Today.
If you only have 5 minutes, grab your pruners and a bottle of rubbing alcohol. Give the blades a thorough wipe-down. That’s it. You’ve just done some excellent disease prevention for next season. It’s a small task with a big payoff.
Galerie d’inspiration

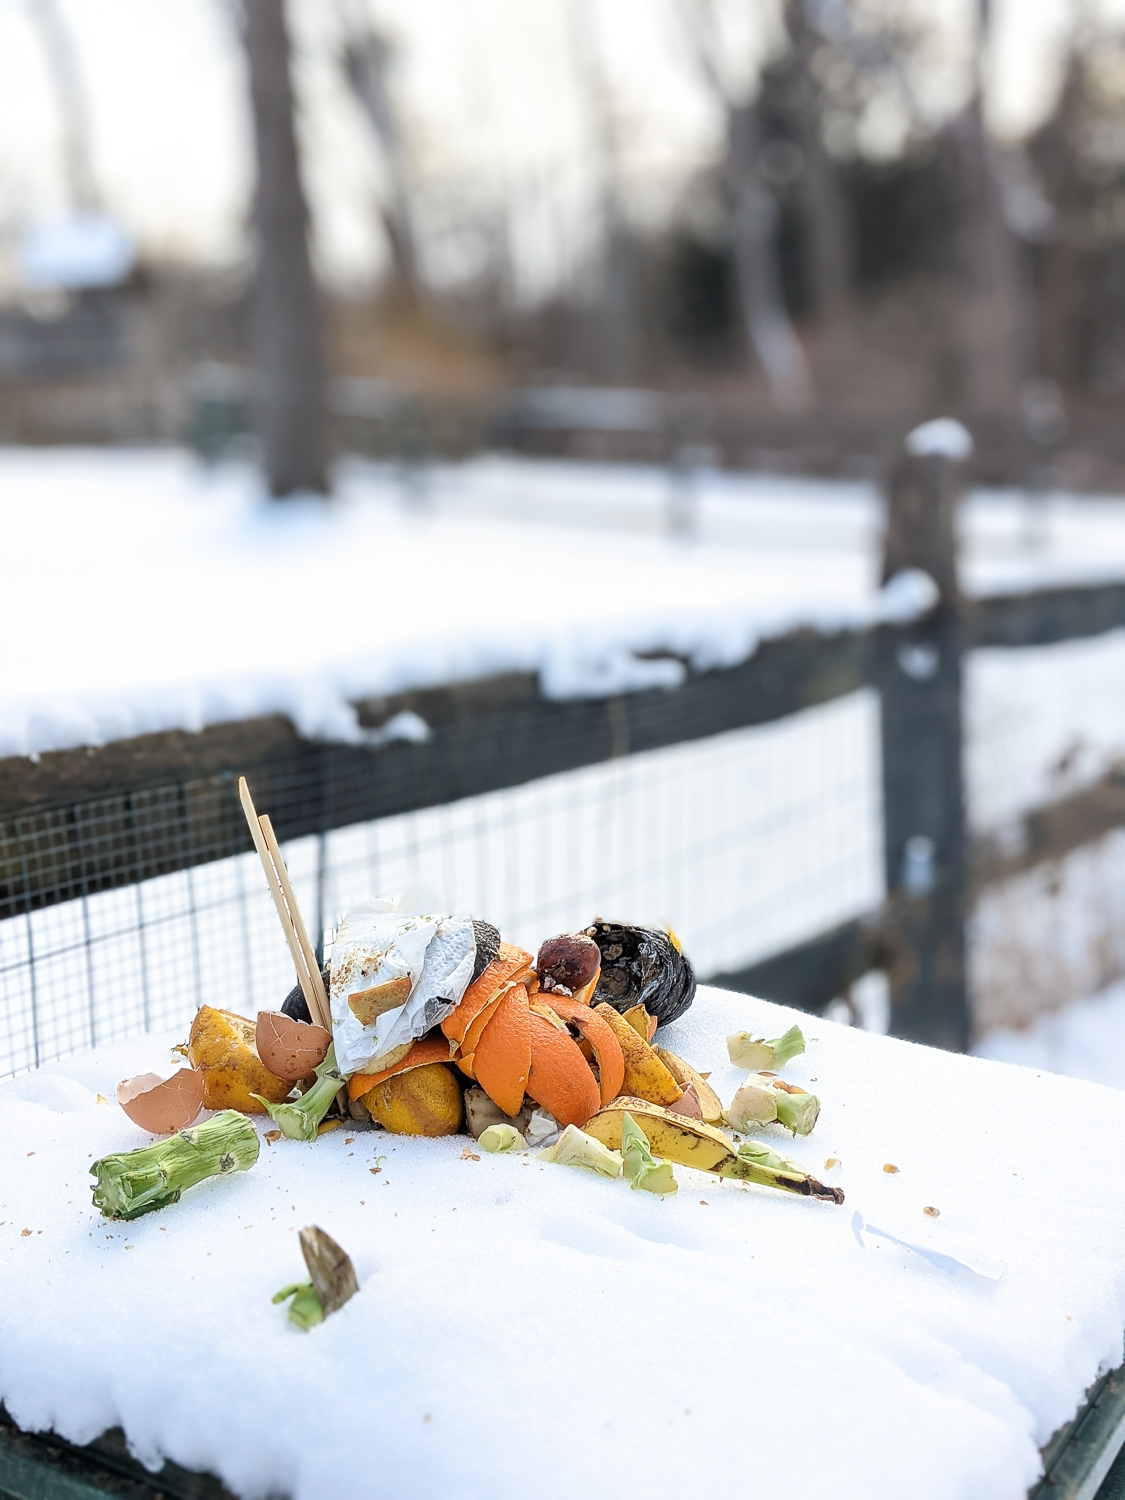
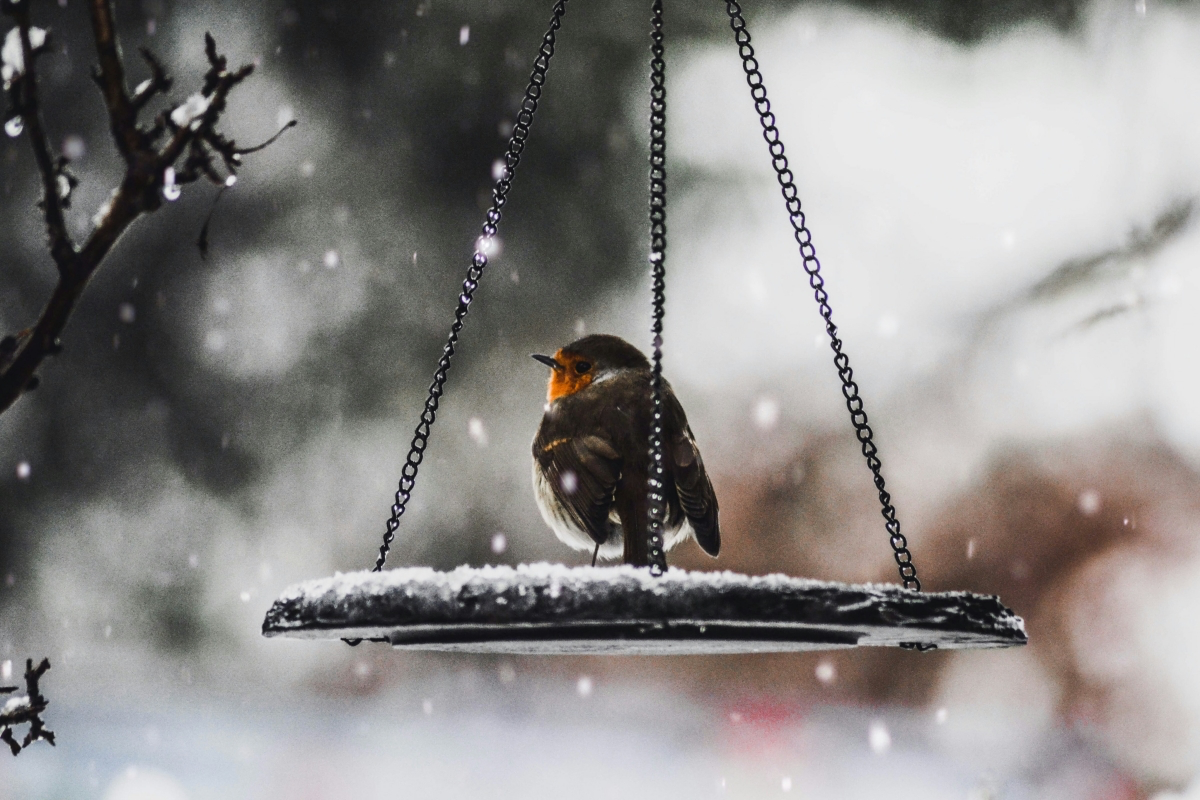
While you’re tending to the soil, are you considering your garden’s smallest residents?
Winter can be tough on local wildlife. Instead of cleaning up everything, consider leaving the seed heads on perennials like Echinacea (coneflowers) and Rudbeckia; they become natural bird feeders. When you prune branches, gather some into a small, out-of-the-way brush pile. This simple act creates a crucial shelter for beneficial insects, amphibians, and small mammals, ensuring your garden’s ecosystem stays healthy and balanced for spring.
The quiet of winter offers the perfect opportunity to show your tools some love. A well-maintained tool is safer, more effective, and will last for generations. Before storing them away:
- Clean and Disinfect: Scrape off all mud and scrub away any caked-on sap. A quick wipe with a cloth lightly dampened with rubbing alcohol will disinfect blades and prevent the spread of disease next season.
- Sharpen the Edges: A sharp spade or hoe cuts through soil with less effort, and sharp pruners make clean cuts that heal faster. Use a good quality mill file for shovels and a diamond sharpener, like the Felco 903, for your pruners.
- Oil and Protect: Apply a thin coat of 3-IN-ONE oil to all metal parts to prevent rust. For wooden handles, sand away any splinters and rub them down with boiled linseed oil to keep them from cracking.


