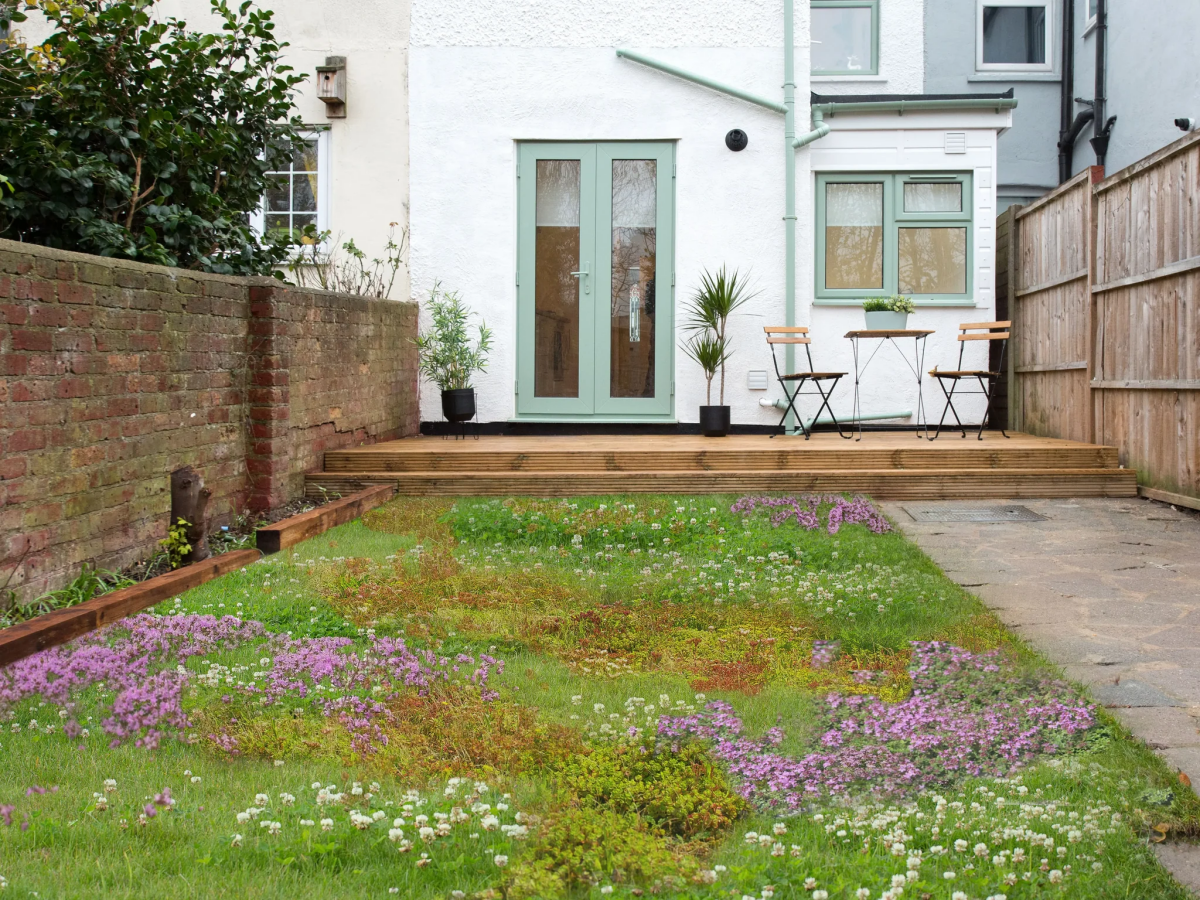
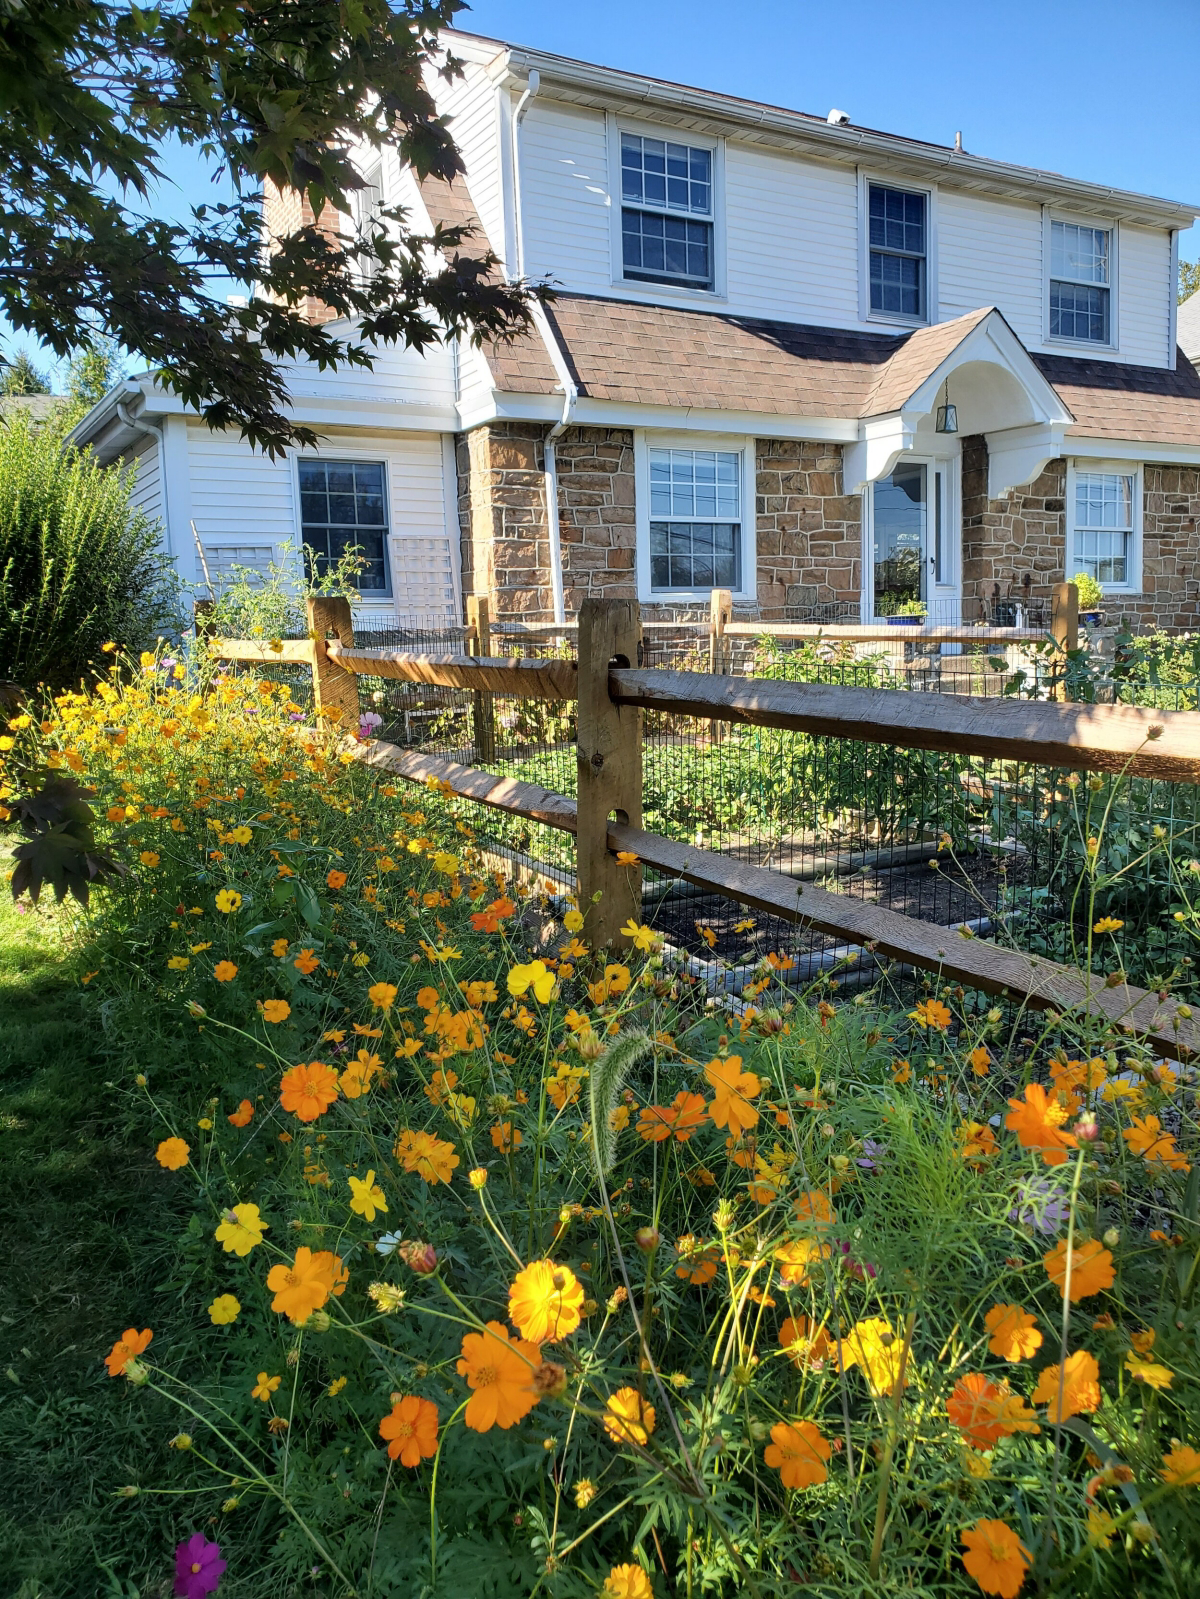
Tired of Your Lawn? Here’s How to Actually Start a Wildflower Meadow
I’ve spent a good chunk of my life turning boring turf into landscapes that are actually alive. But my very first attempt at a wildflower meadow? It was a masterclass in humility. I did everything I thought you were supposed to do: I tilled the ground, scattered a gorgeous (and very expensive) mix of seeds, and then I waited. What I got was a bumper crop of foxtail, thistle, and a whole lot of disappointment.
In this article
- First Things First: Your Meadow Toolkit
- Why Your Garden’s Worst Soil Is a Meadow’s Best Friend
- Meet the Team: Understanding Your Seeds
- Site Prep: Where 90% of Meadows Are Won or Lost
- Choosing Your Seed (And Avoiding the Biggest Mistake)
- Planting Day! How to Sow Like a Pro
- The First Year: How Not to Panic
- Long-Term Care: Your One Big Annual Chore
- Galerie d’inspiration
That year taught me a lesson that has stuck with me ever since: you don’t just plant a meadow, you establish it. It’s a process that calls for way more patience and understanding than it does fertilizer or water. It’s all about creating the perfect conditions and then stepping back to let nature do its thing.
So, this guide is built on those lessons, learned through soil-caked hands and projects that finally went right. We’re not going to talk about miracle mixes or instant gardens. Instead, we’ll get into the real stuff—the core principles, the pro-level site prep that makes or breaks a meadow, and the long-term patience it takes to nurture a patch of ground into something resilient and beautiful. It’s a commitment, for sure, and it takes a few years to really hit its stride. But the reward is a little slice of ecosystem that buzzes with life and changes with the seasons.
First Things First: Your Meadow Toolkit
Before we dive in, let’s talk gear. Getting the right stuff upfront saves a ton of headaches. You don’t need a lot, but you do need the right things:
- A Mower: You’ll need it to scalp the area at the beginning and for yearly maintenance.
- A Heavy-Duty Tarp: This is for killing off the old lawn and weeds. I’d recommend a black silage tarp or a thick, clear plastic sheet (we’ll cover which is best for you in a bit). For a decent-sized area, expect to spend between $50 and $100 on a good one from a farm supply store or online.
- Something to Secure the Tarp: Landscape staples, rocks, or soil will work just fine.
- Your Seed Mix: The most important part! We’ll talk about this more later, but plan on about $25 to $75 per 1,000 square feet for a quality, region-specific mix.
- A ‘Carrier’: This is just something to mix your tiny seeds with for even spreading. A bucket of sand or sawdust works perfectly.
Why Your Garden’s Worst Soil Is a Meadow’s Best Friend
Okay, here’s the single most important principle, and it feels completely wrong to anyone who’s ever grown a tomato: rich, fertile soil is the enemy of a wildflower meadow. Seriously. That dark, beautiful, nutrient-packed soil you love for your veggies is loaded with nitrogen. Nitrogen is like rocket fuel for aggressive weeds and lawn grasses, which will happily sprout and smother the more delicate, slow-growing wildflowers you’re trying to nurture.
Most native wildflowers are actually adapted to thrive in poor, low-nutrient soil. Their whole game plan is based on a lack of competition. That’s why the most critical step of this entire process is getting rid of the existing grass and, sometimes, even the nutrient-rich topsoil itself.
A good first step is a simple soil test from a local university co-op extension. It’s usually cheap, maybe $15 to $30. When you send in your sample, make sure to tell them your goal is a wildflower meadow. The results will likely come back suggesting you add nitrogen. Politely ignore that advice. You’re really just looking at the pH (most mixes like it between 6.0 and 7.0) and the soil type.
Meet the Team: Understanding Your Seeds
A good seed mix is like a well-balanced team, with different players doing different jobs over several years. Knowing who’s who helps you understand what you’re seeing each year.
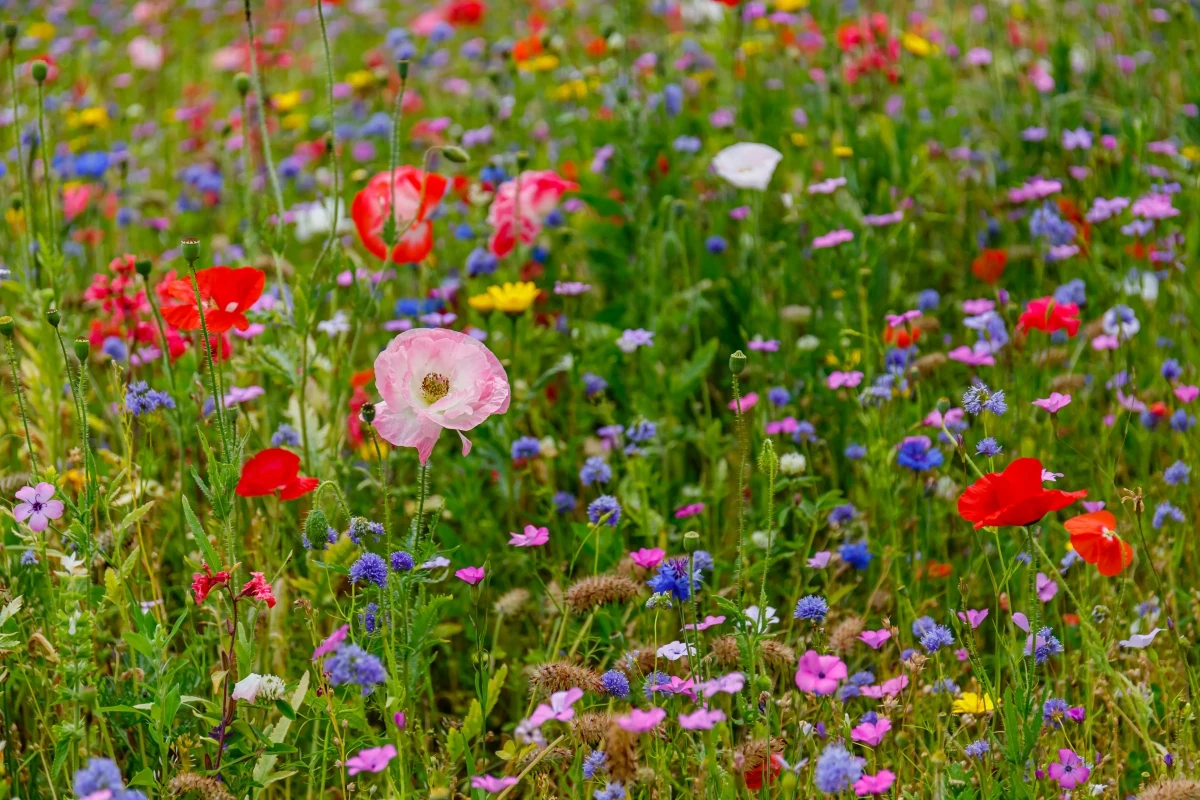
- The Annuals: These are the sprinters. They go from seed to flower to seed in a single season. In a meadow mix, they provide that big burst of color in the first year while the other plants are busy growing roots. Think Corn Poppies or Plains Coreopsis.
- The Biennials: These guys play the two-year game. In year one, they’re just a low clump of leaves (a rosette). In year two, they shoot up, flower, and then they’re done. Queen Anne’s Lace is a classic example.
- The Perennials: These are the marathon runners and the true backbone of your meadow. They live for many years but are slow to get going. They might not do much for the first year or two, but from year three on, they become the reliable stars of the show. Purple Coneflower and Black-Eyed Susan are famous perennials.
A balanced mix gives you a beautiful show in year one, keeps things interesting in year two, and builds a stable, long-lasting meadow for year three and beyond. What you see in the beginning is not what you’ll see later—and that’s a great sign!
Site Prep: Where 90% of Meadows Are Won or Lost
I can’t say this enough: almost all meadow failures come from skimping on site preparation. You have to get rid of the existing plants and the ‘seed bank’ of weed seeds hiding in the soil. Rush this, and you’ll have a field of disappointment. There are a couple of fantastic, chemical-free ways to do this.
Method 1: Solarization (The Summer Cook)
If you have a spot that gets blasted by the sun, this is my go-to method. It uses the sun’s heat to literally cook the vegetation and the weed seeds in the top layer of soil. You have to do this during the hottest part of the year, usually mid-summer.
First, mow the area as low as you can. Water it well to trick any dormant weed seeds into germinating. Then, cover the whole area with a sheet of clear plastic (2-4 mil is good). Heads up: use clear plastic, not black. Black plastic gets hot, but clear creates a much more intense greenhouse effect that kills seeds deeper down. Pin the edges down tightly with rocks or soil to trap all the heat. After a couple of days, you should see condensation. Just leave it be for 6 to 8 weeks of solid sun. When you pull it off, the ground will be bare, brown, and ready for seeding. You’ve wiped out the competition without touching a chemical.
Method 2: Occultation (The Blackout)
Occultation is just a fancy word for blocking all light. This method is less about intense heat and more about slow-and-steady starvation, which is a bit gentler on the good soil critters like worms. For this, you use a heavy, totally opaque material, like a black silage tarp. The process is similar: mow short, lay the tarp, and secure the edges. But this one takes longer, typically 3 to 6 months. You can start it in the spring for a fall planting, or lay it down in the fall for a spring planting. When you pull it off, you’ll have a clean slate.
So which to choose? Solarization is faster (6-8 weeks) but needs a hot, sunny summer to work. Occultation is slower (3+ months) but is more flexible and can be done in cooler, cloudier seasons.
By the way, a quick note on tilling. My advice? Don’t do it. Your soil is full of dormant weed seeds. Tilling just brings them all to the surface for a germination party right alongside your expensive wildflower seeds. The only time I’d even consider it is for heavily compacted, clay-like soil. And if you must, till it early, let the weeds sprout, and then kill them with a tarp before you plant.
Choosing Your Seed (And Avoiding the Biggest Mistake)
Okay, this is huge. The quality of your seed is just as important as your site prep. Please, I’m begging you, avoid those generic ‘wildflower meadow in a can’ mixes you find at big box stores. They are often full of non-native, aggressive species that aren’t adapted to your area and may not even be true wildflowers. They’re designed for a quick, one-year pop of color, not a lasting ecosystem.
The key is to buy from a reputable, specialist seed company that provides mixes designed for your specific region and soil type. Look for suppliers like Prairie Moon Nursery or American Meadows online. Their seeds are more expensive, yes, but they are worth every single penny. They sell region-specific, neonicotinoid-free seeds that will actually thrive and support local pollinators. This is the difference between a one-hit wonder and a decade-long success.
Planting Day! How to Sow Like a Pro
After all that prep, sowing the seeds feels like the fun part. Here’s a pro-tip to get it right: wildflower seeds are tiny and hard to spread evenly. To avoid getting big clumps of flowers and large bare patches, mix your seed with a ‘carrier.’ Grab a bucket and mix one part seed with about 5-10 parts light-colored sand or sawdust. The sand helps you see where you’ve already scattered seed.
Now, walk your plot in a grid pattern, scattering half the mix while walking in one direction (say, north-to-south) and the other half while walking east-to-west. This ensures great coverage.
And here’s the most important part of planting: DO NOT bury the seeds. Most wildflower seeds need light to germinate. All you need to do is compress the soil to ensure good seed-to-soil contact. You can do this by walking over the whole area, or if you have a lawn roller, you can fill it partway with water and roll it. That’s it. Now you just have to wait.
The First Year: How Not to Panic
To be frank, your meadow is going to look pretty weedy in its first year. This is normal. It’s a ‘common first-year panic’ moment. You’ll be wondering, “How can I tell the weeds from the wildflowers?!”
Here’s the game-changing trick: mow it. Yes, mow your new meadow! During that first summer, set your mower deck as high as it will go (around 6-8 inches) and mow the area whenever the weeds get taller than your baby wildflowers. This chops the heads off the fast-growing annual weeds, preventing them from going to seed, but it won’t harm the low-growing perennial seedlings below. You might have to do this 2-3 times in the first season. It feels wrong, but it’s the best thing you can do to ensure long-term success.
Long-Term Care: Your One Big Annual Chore
Once your meadow is established (by year three or so), maintenance is amazingly simple. Your main job is to stop it from naturally turning into a forest. You do this with one strategically timed mow per year.
The best time to mow is in the late fall, after a hard frost has killed the plants, or in the very early spring before new growth starts. Set your mower deck to about 4-6 inches high. Once everything is cut, you can rake the clippings off. Or, a better approach is to leave the clippings on the ground for a week or two. This allows any remaining seeds in the flower heads to dry and fall onto the soil for next year’s growth. After that, rake the material away so it doesn’t smother the new seedlings. And that’s it. No fertilizer, no watering. Just one mow a year to keep your beautiful, wild space thriving.
Galerie d’inspiration
Should I worry about weeds in the first season?
It’s a common panic, but the answer is mostly no. In the first year, your primary goal is to prevent weeds from going to seed. A strategic “high mow” to about 4-6 inches when weeds reach a foot tall can be a game-changer. This chops the heads off annual weeds like foxtail but is high enough to spare the low-growing rosettes of your new perennials (like Coneflower and Black-Eyed Susan) that are busy establishing deep roots below the surface.
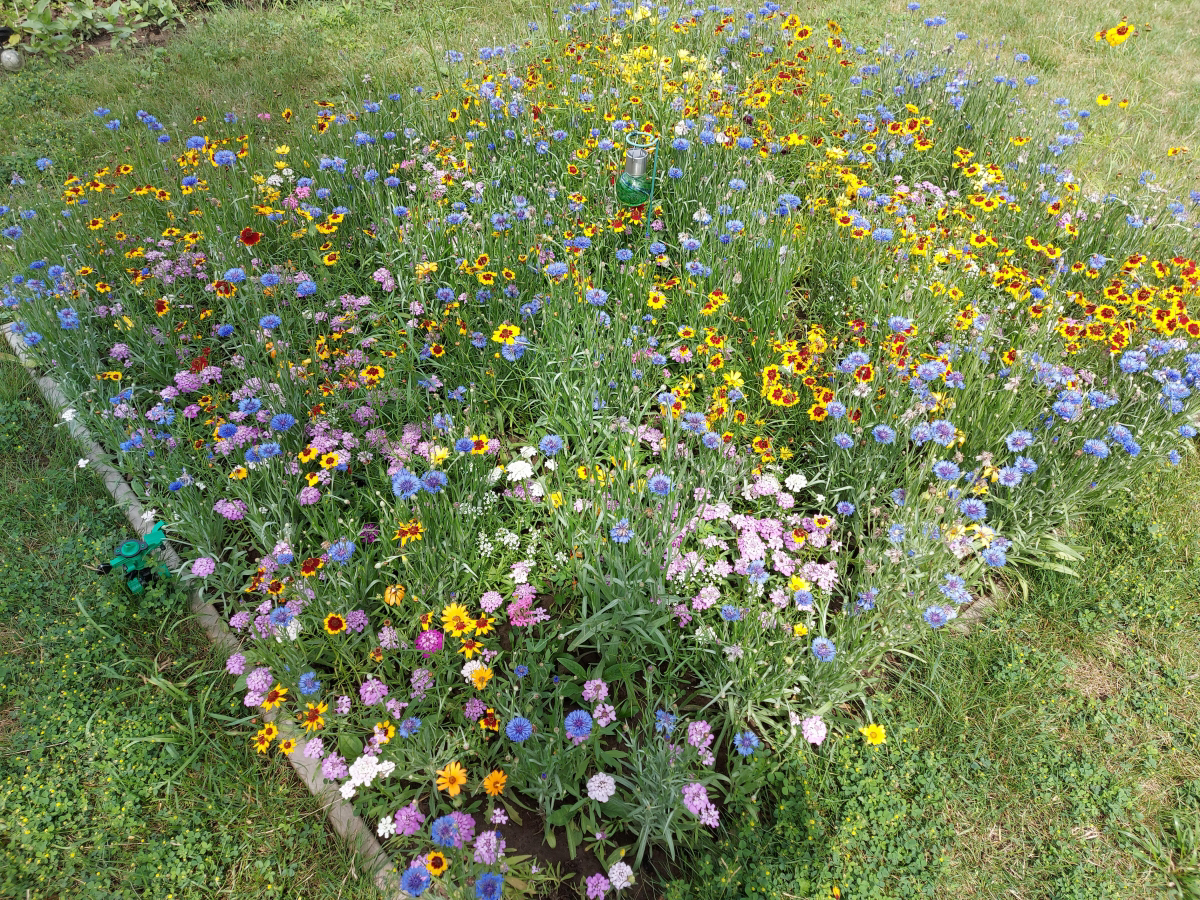
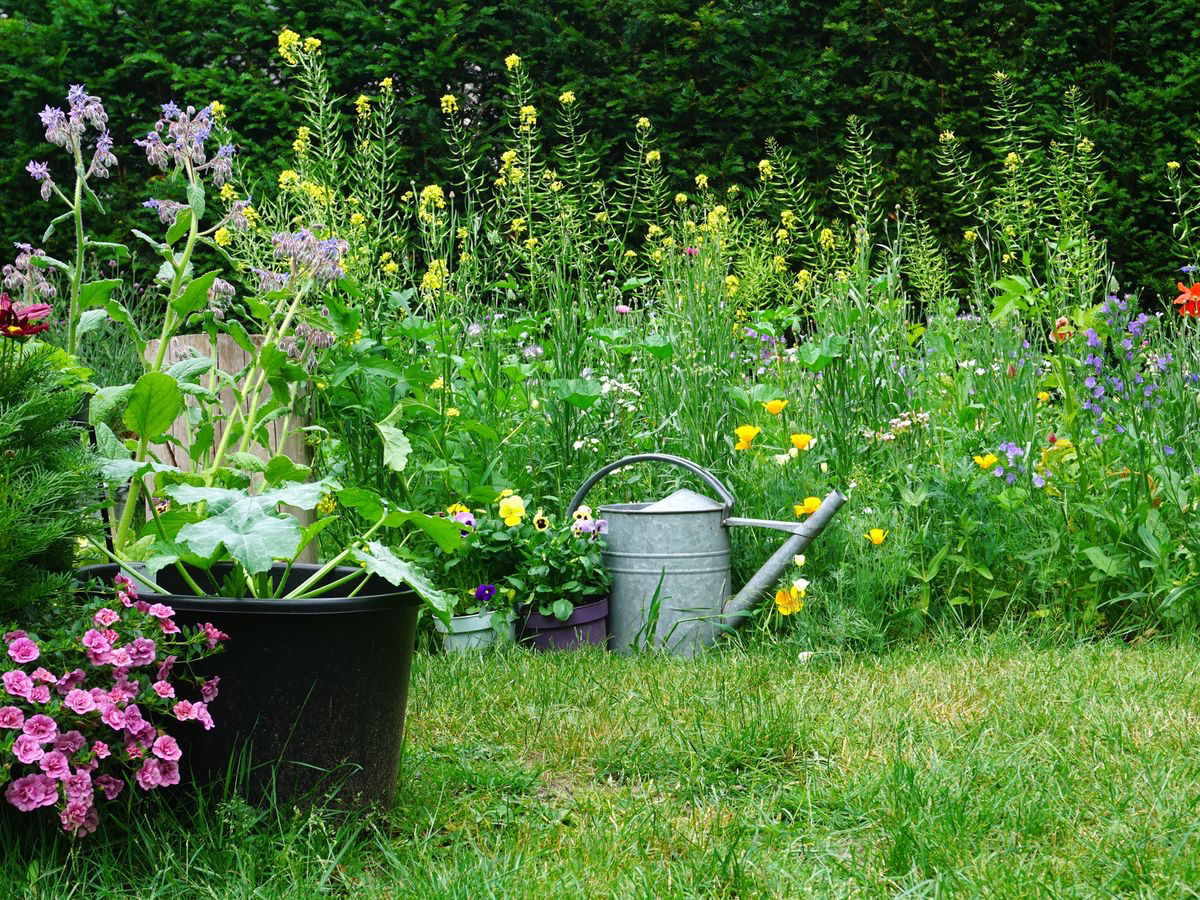
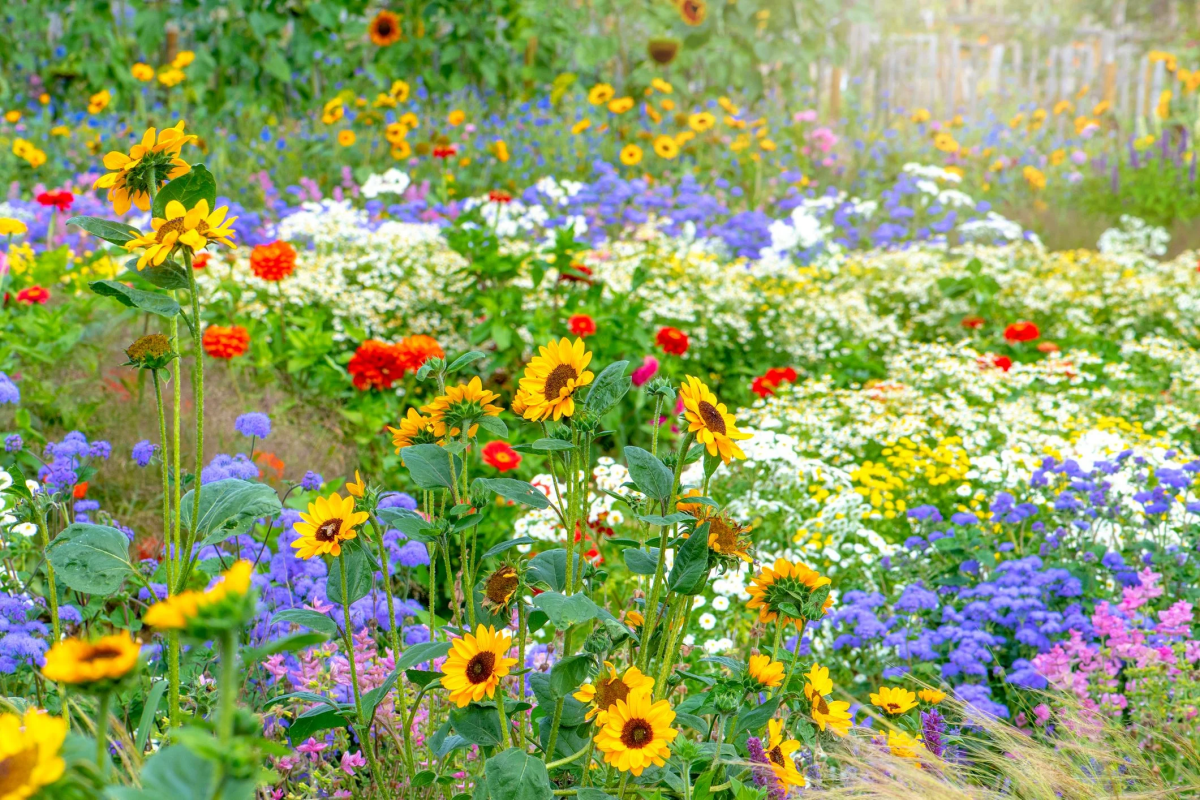
A single square meter of wildflower meadow can support over 100 different species of insects, compared to just a handful in a conventional lawn.
This isn’t just about pretty flowers; it’s about creating a functional ecosystem. By converting even a small patch of lawn, you are rolling out a welcome mat for native bees, butterflies, beetles, and other pollinators that are essential for a healthy environment and our food systems.
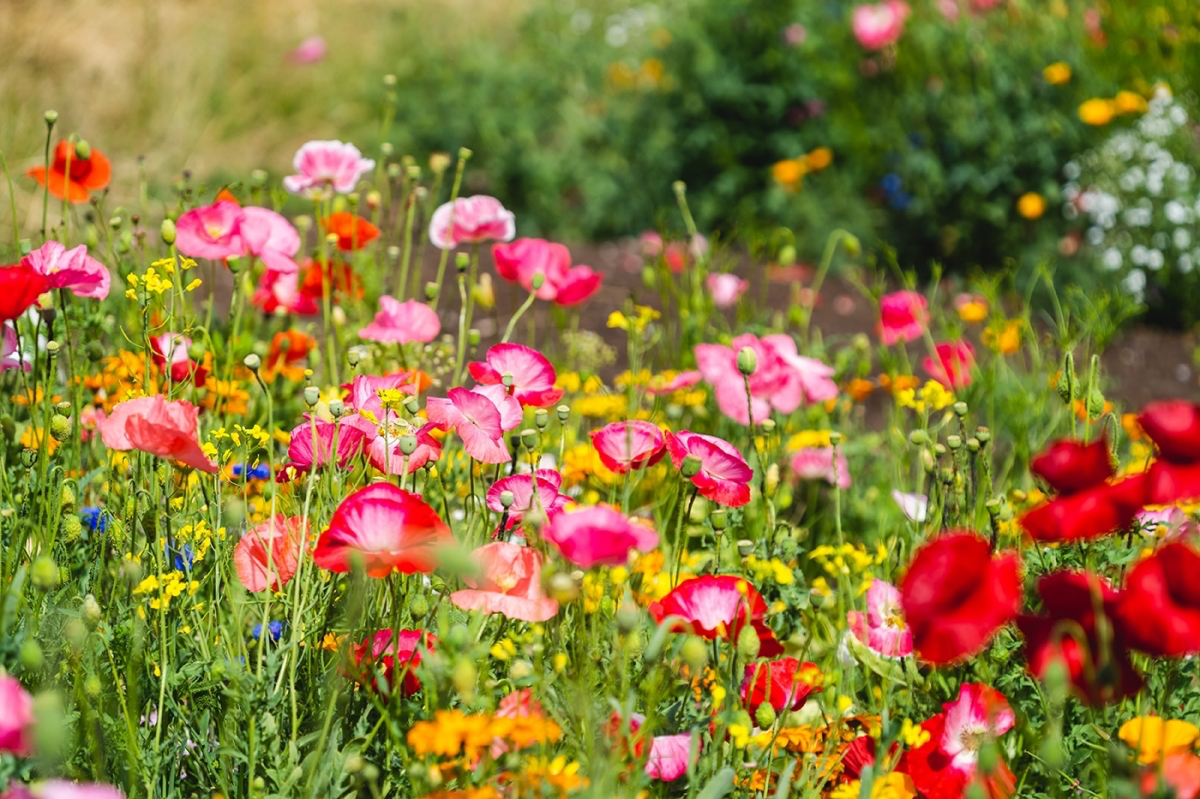
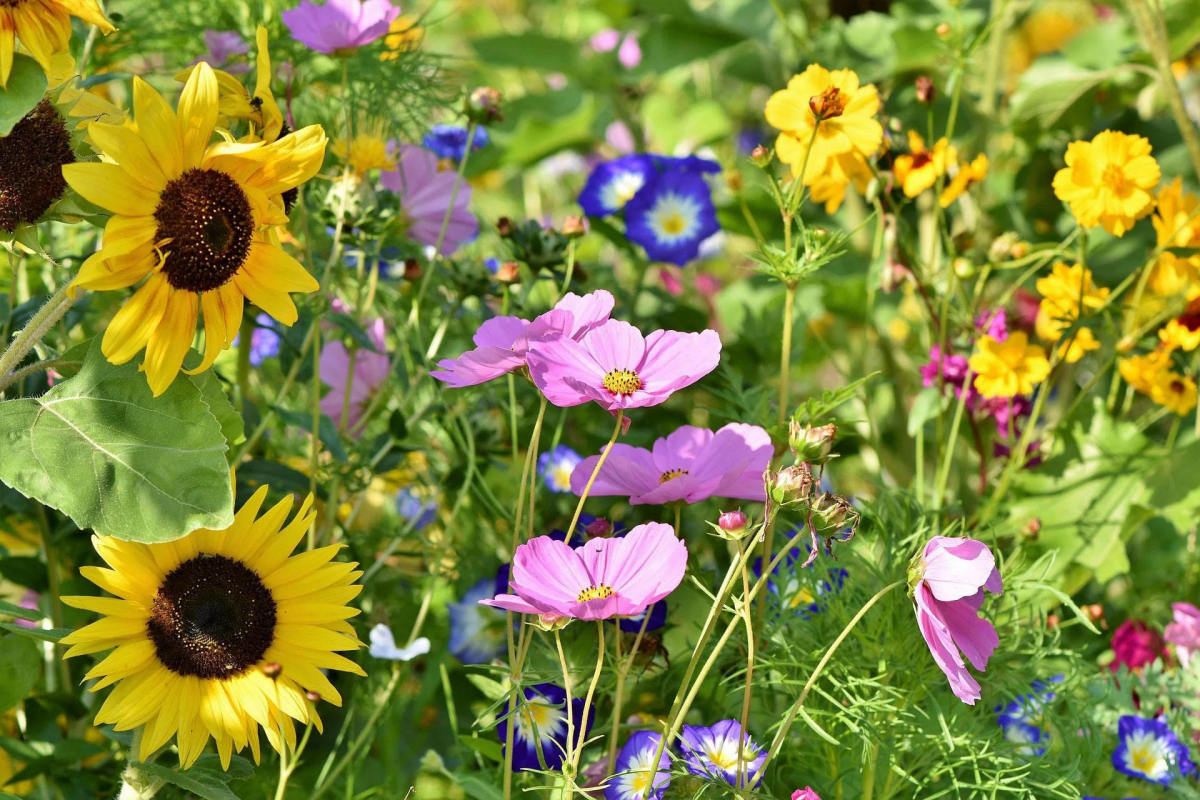
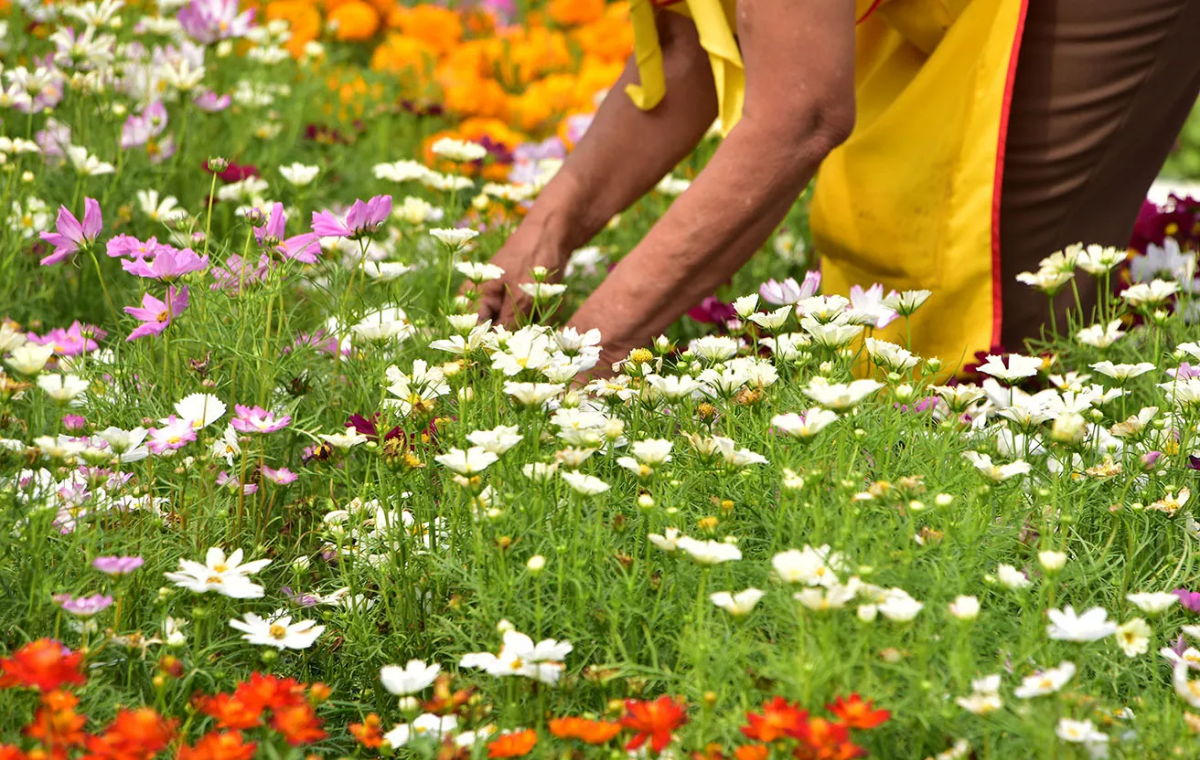
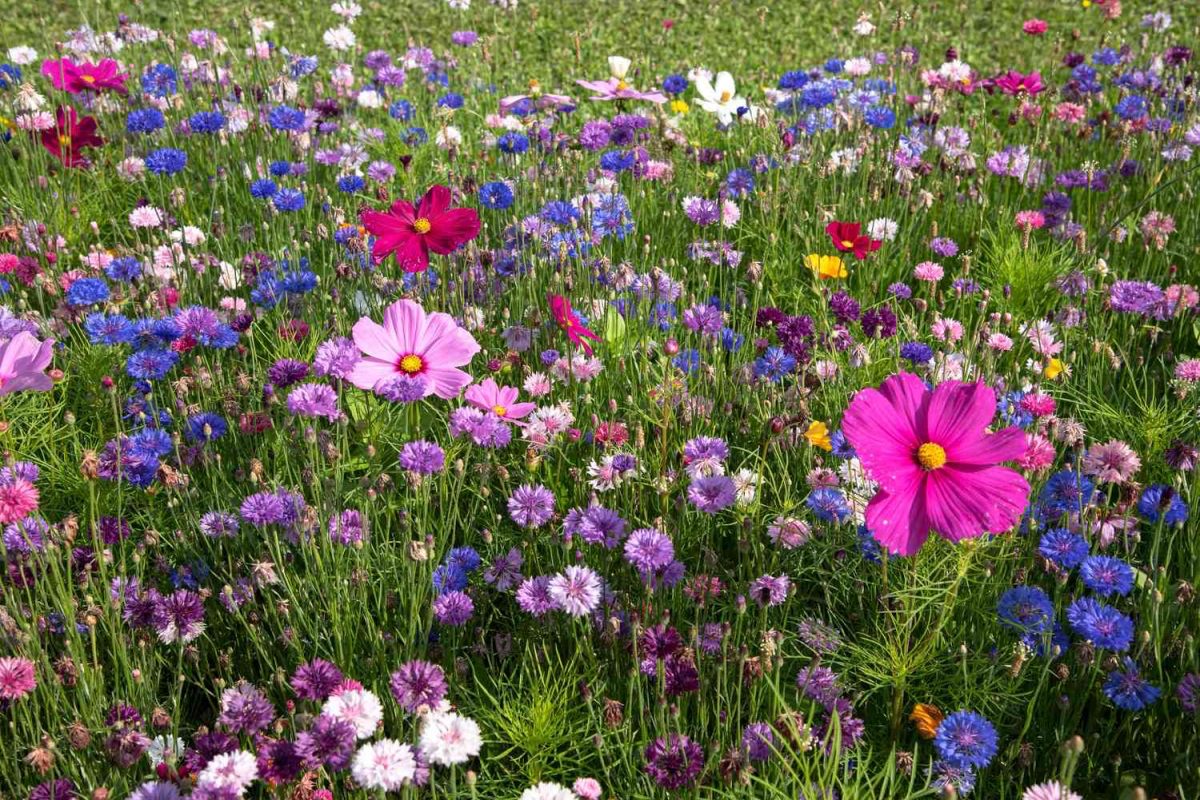
Annual Mix: Offers a spectacular burst of color in the very first year (think Poppies, Cosmos). It’s a fantastic choice for instant gratification but will need to be reseeded annually.
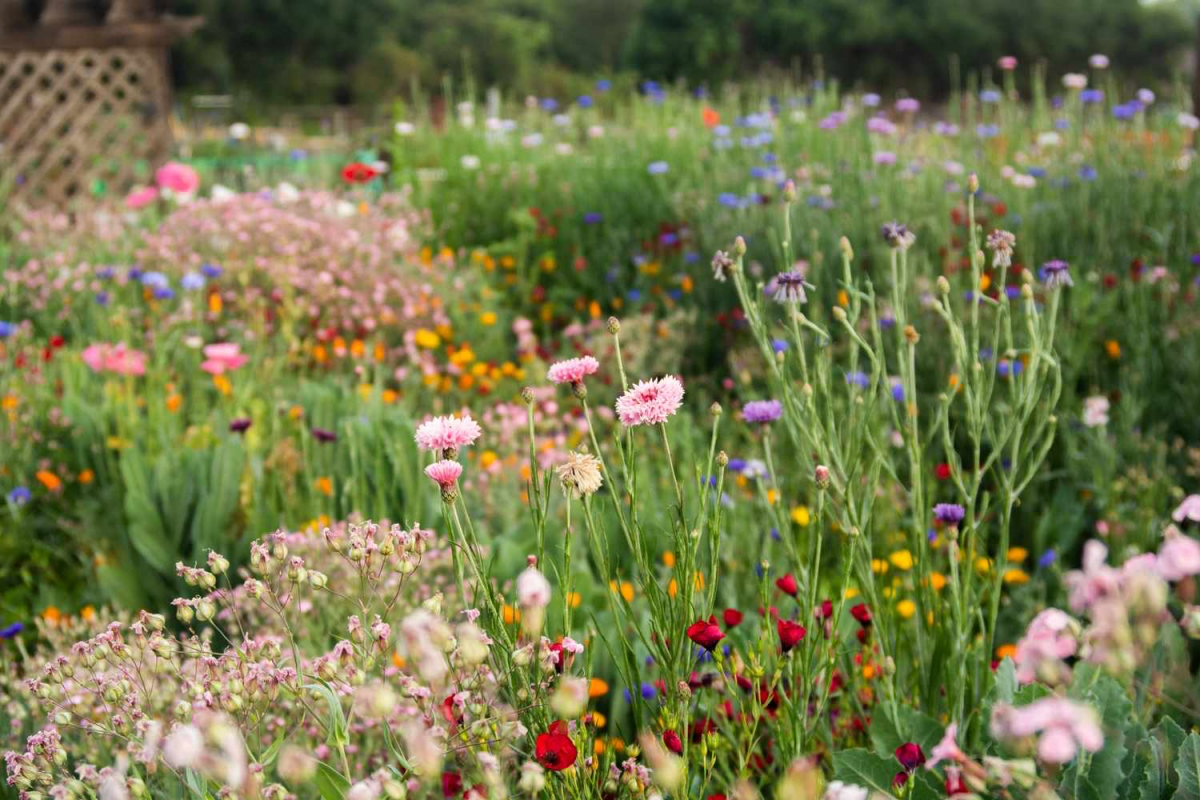
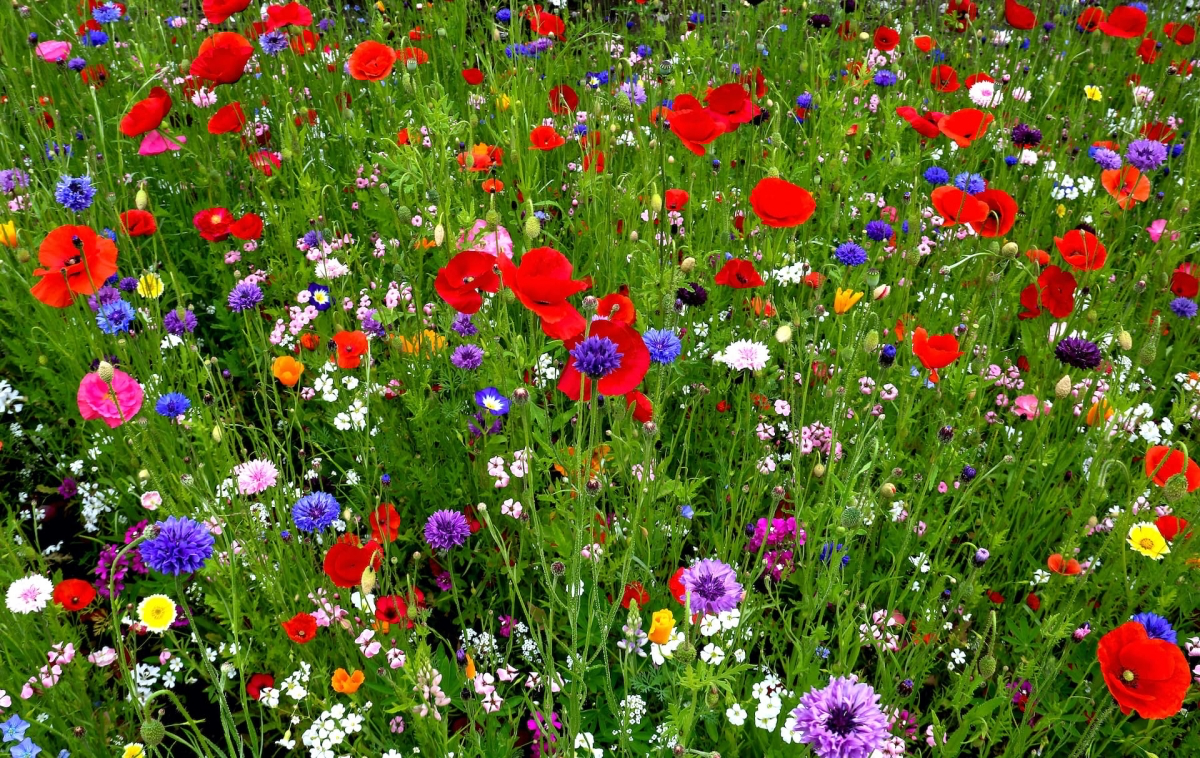
Perennial Mix: These are the long-term players. They spend the first year focusing on root growth, so you’ll see more green than blooms. From the second year on, they form the reliable, resilient backbone of your meadow.
For the best of both worlds, many experts recommend a mix containing both. The annuals provide a beautiful cover show while the perennials get established underneath.
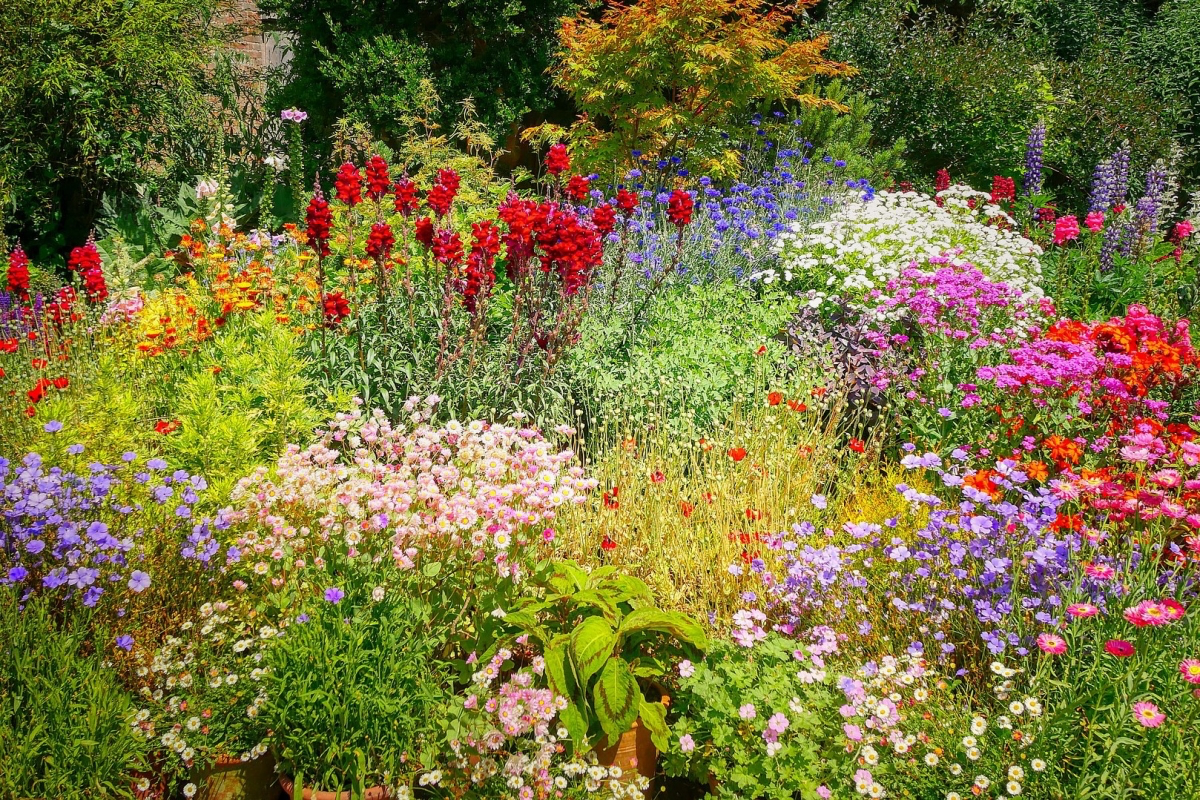
The sensory experience of a mature meadow is something a lawn can never replicate. It’s the low hum of bumblebees, the rustle of seed heads in an autumn breeze, and the surprising flash of a goldfinch feasting on Echinacea seeds. It’s a living landscape that engages all the senses, changing not just with the seasons, but with the time of day.
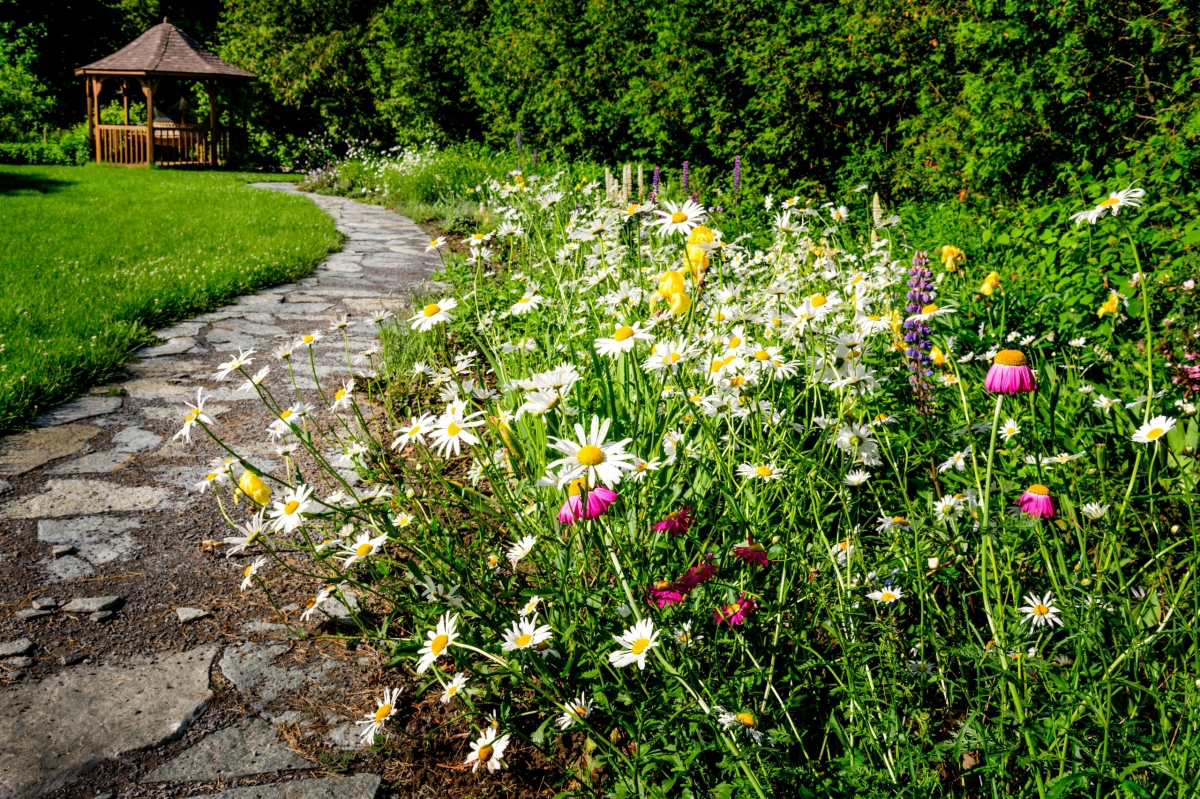
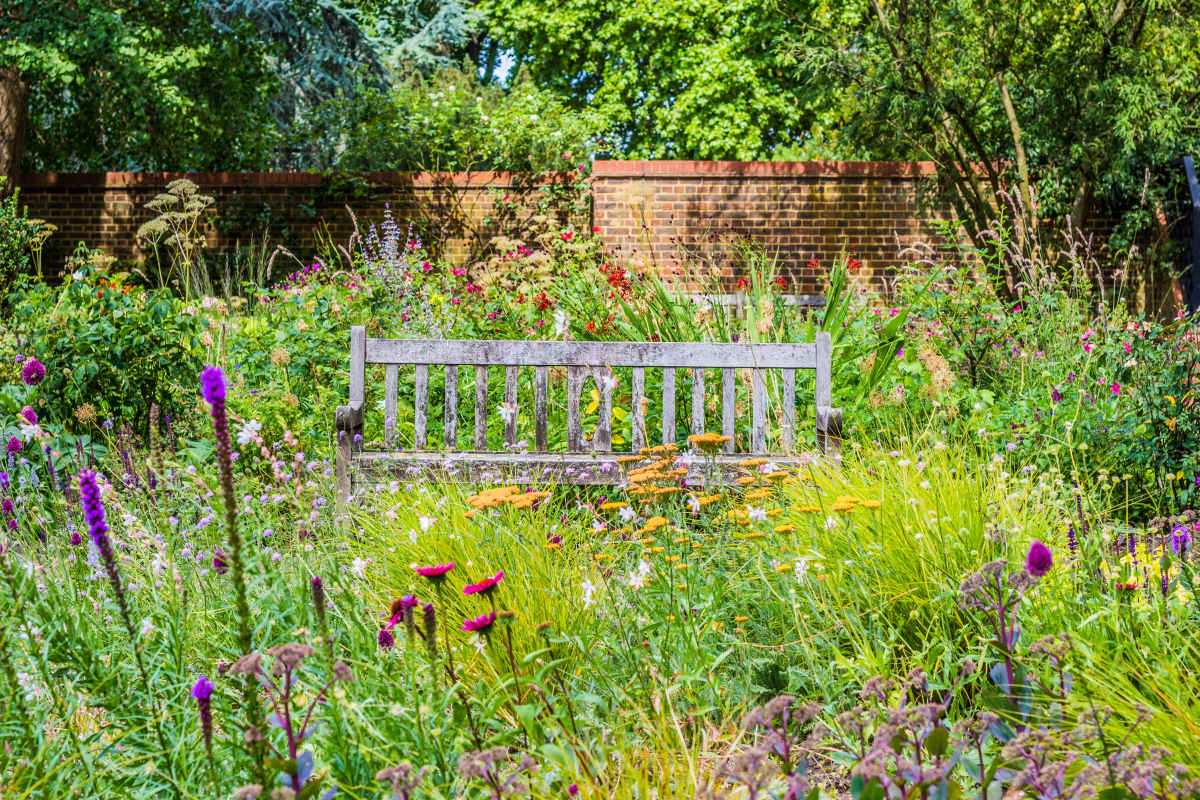
- Create inviting entryways and destinations.
- Make it easy to observe insects and flowers up close.
- Add a sense of intention and design to the wildness.
The secret? A simple mown path. Once your meadow is established, just carve a winding path through it with your mower. It costs nothing, takes minutes, and transforms a ‘wild patch’ into a deliberate and accessible garden feature.
A critical tip for success: Ensure good seed-to-soil contact. Your tiny wildflower seeds can’t sprout if they’re suspended on top of grass or thatch. After you’ve spread your seed mix (mixed with sand for even distribution), walk over the entire area or use a lawn roller. This simple act of pressing the seeds firmly into the bare soil dramatically increases germination rates.
For inspiration on creating a meadow that looks stunning even in winter, look to the work of Dutch garden designer Piet Oudolf. His ‘New Perennial’ movement champions plants chosen for their structure and form as much as their flowers. By including grasses like Little Bluestem and seed heads from plants like Rattlesnake Master (Eryngium yuccifolium), your meadow retains its beauty and provides vital habitat long after the last petals have fallen.
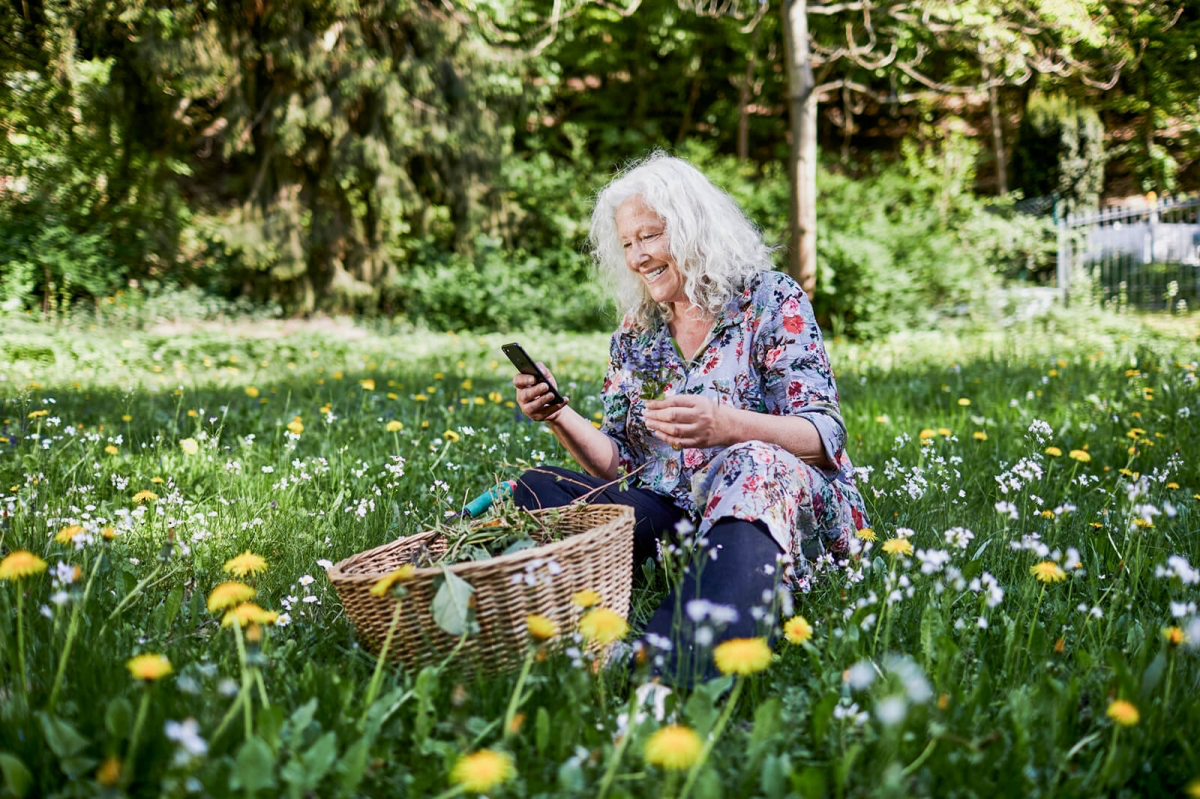
For best results, use seeds from a local ecotype.
This means choosing seeds from plants that evolved in your specific region. These plants are genetically adapted to your climate, soil, and local pollinators. Using a generic ‘wildflower mix’ from a big-box store can lead to failure. Instead, turn to specialist suppliers like Prairie Moon Nursery or American Meadows, who often provide region-specific mixes designed to thrive right where you live.


