What to Actually Plant in April: Your No-Nonsense Garden Guide
There’s a certain smell in the air come April, isn’t there? It’s that perfect mix of damp earth waking up and the promise of new growth. After years of running a small market garden and teaching workshops, I’ve learned that this month is all about paying attention. April doesn’t care about the calendar; it cares about the soil. Success isn’t about frantically planting everything at once. It’s about understanding that slow shift from cold to warm and giving each plant what it truly needs.
In this article
Honestly, the biggest mistake I see folks make is watching the air temperature. One warm afternoon hits, and suddenly everyone thinks it’s time for tomatoes. But the real secret is hiding underground. Soil warms up way slower than the air. Your entire April game plan hinges on knowing your soil temperature, your general last frost window, and which crops actually enjoy the cool weather. Think of this less as a strict rulebook and more as my personal field notes—the stuff I learned (often the hard way) to get the garden started right for a harvest you can count on.
Your April Shopping List for Success
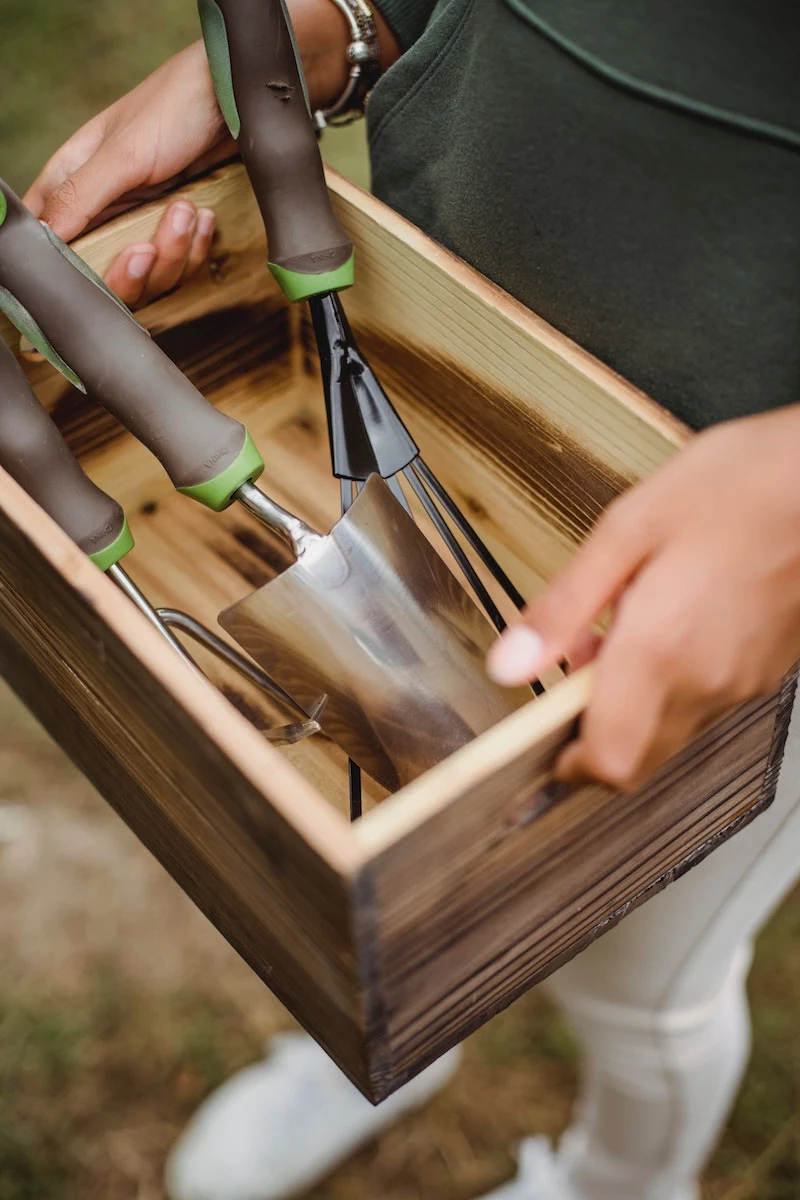
Before we dig in, let’s talk gear. You don’t need a ton of fancy stuff, but a few key items make a huge difference. Here’s what I’d grab:
- A Soil Thermometer: This is non-negotiable. It’s the best $10 to $15 you will ever spend on your garden. Find one at any garden center or online.
- High-Quality Compost: A few bags will do. Expect to pay around $8 to $12 for a good-sized bag. This is the lifeblood of your garden.
- Floating Row Cover: This magical, lightweight fabric protects plants from late frosts and pests. A roll costs about $15 to $25 and will last you for years.
- Pea Inoculant (if you’re growing peas): A tiny, cheap packet (around $5) that works wonders. We’ll get to why later.
First Things First: Getting the Foundation Right
You can buy the best seeds in the world, but if the ground isn’t ready, you’re just setting yourself up for heartache. Think of it like building a house—you need a solid foundation before you can even think about putting up the walls. In gardening, your soil is everything.
Soil Temperature Is Your Real Calendar
Air temperature is a liar. Soil temperature tells the truth. Seeds need a specific soil temp to wake up and germinate. If you plant them in cold, wet soil, they’ll either rot or just sit there, becoming an easy snack for pests. I keep a simple soil thermometer in my tool bucket and check it in the morning, pushing it about four inches deep for an accurate read.
- For tough guys like peas and spinach: They can get going when the soil is just 40°F (4°C).
- For lettuce and radishes: They like it a bit cozier, preferring soil around 45-50°F (7-10°C).
- For transplants like broccoli and cabbage: Wait until the soil is consistently above 50°F (10°C).
This simple step prevents so much wasted seed and disappointment. You’re working with nature, not fighting it.
Know Your Frost Date, But Stay Skeptical
Every region has an average last frost date. You can easily find yours by searching online for your zip code and “last frost date.” This is a great guideline for planning when to start seeds indoors and when to transplant them out. But here’s the thing: it’s just an average. I’ve seen a hard frost show up a week or two after the supposed “safe” date. Always, always keep an eye on the 10-day forecast in the spring. Be ready to cover your tender plants with an old bedsheet or that floating row cover if a late frost threatens. Trust me, you only need to learn that lesson once.

Feed Your Soil for the Season
Winter is tough on soil; rain can wash away nutrients and compact the earth. Now’s the time to give back. My go-to spring recipe for a standard 4×8 foot raised bed is to add about a two-inch layer of high-quality compost. If I can get my hands on some well-aged manure, I’ll add an inch of that, too. A word of caution: make sure it’s fully composted or ‘well-aged’. Fresh, or ‘hot’, manure will absolutely burn your plants. I once torched a whole bed of onion starts by using manure that wasn’t ready. A very stinky, very costly mistake.
Not using raised beds? No sweat. The general idea is to just spread a 1- to 2-inch layer of compost over the area you plan to plant. I use a garden fork to gently work it into the top 4-6 inches. You’re not trying to flip the soil completely upside down—that can destroy its natural structure. The goal is just to mix in the good stuff, improve drainage, and give the new roots a welcome boost.
How the Pros Get Their Seeds Started
Once your soil is prepped and warm enough, it’s go time. How you plant is just as important as when.
Direct Sowing vs. Transplanting: A Quick Cheat Sheet
You’ve got two main choices: planting seeds right in the garden (direct sowing) or starting them indoors and moving them out later (transplanting). It really depends on the plant.
- Best to Direct Sow: These guys hate having their roots messed with. Always plant them directly where they’re going to grow. This includes Radishes, Carrots, Beets, Peas, and Spinach.
- Better to Transplant: These crops benefit from a head start in a controlled indoor environment. This includes Broccoli, Cabbage, and Kale. Starting them indoors 4-6 weeks before they go into the garden gives you bigger, stronger plants that can better handle pests and weather.
The Make-or-Break Step: Hardening Off
You can’t just take a seedling from your cozy, warm windowsill and plop it into the great outdoors. It will get a nasty shock from the sun, wind, and temperature swings. You have to acclimate them slowly. This is called “hardening off,” and it is absolutely not optional.
My foolproof seven-day schedule goes like this: Start by putting them outside in a shady, protected spot for just an hour on Day 1. Add an hour each day. By Day 3 or 4, you can introduce a little gentle morning sun. By Day 6, they can spend most of the day outside. On Day 7, they’re ready. Plant them in the garden late in the afternoon or on a cloudy day to minimize stress. Years ago, I got impatient and skipped this with a gorgeous tray of broccoli seedlings. A single windy, sunny day shredded and scorched the entire batch. Lesson learned.
Succession Planting: The Secret to a Non-Stop Harvest
This is one of the best tricks in the book. Instead of planting your entire row of spinach all at once, just plant a small section. Two weeks later, plant another small section right next to it. Keep doing this all season. What happens? You get a steady, manageable supply of fresh greens instead of a single, overwhelming mountain of it. This works perfectly for fast-growing crops like radishes, lettuce, and spinach.
The April All-Stars: A Closer Look
These are the reliable performers that can handle cool spring weather and will reward you with an early, delicious harvest. Here’s how I handle each one.
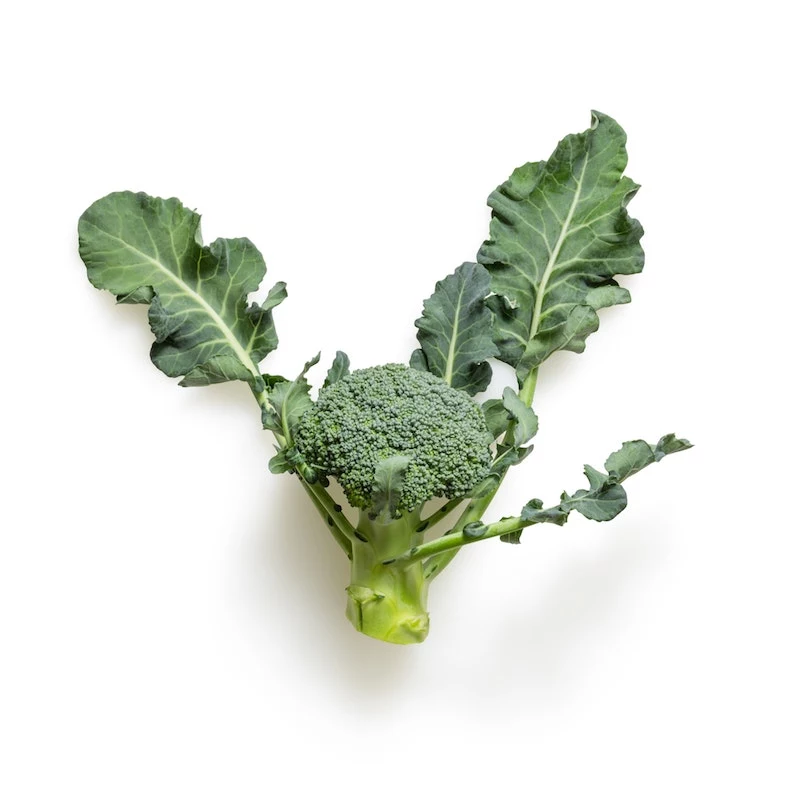
Broccoli
There’s nothing more satisfying than growing a perfect head of broccoli. It’s a heavy feeder, so rich soil is a must. Plant your transplants about 18-24 inches apart—it looks like a lot of space at first, but they’ll fill it! When the plants are about a foot tall, give them a boost. You can use a balanced organic fertilizer (look for one with numbers like 5-5-5 on the bag) or, honestly, just side-dress them with another scoop of rich compost. The main pest is the cabbage worm; a floating row cover put on from day one is your best defense. Oh, and harvest time is around 60-90 days from transplant. Cut the main head while the buds are tight, and leave the plant in the ground. It will often produce smaller, tasty side shoots for weeks.
Radishes
Instant gratification! These are perfect for new gardeners and kids. Always direct sow them about half an inch deep. The most critical step is thinning. Once they sprout, you have to thin them to about two inches apart. If they’re crowded, you’ll get all leaves and no radish. Quick tip: The easiest way to thin is with a small pair of scissors. Just snip the extras at the soil line so you don’t disturb the roots of the keepers. Keep the soil consistently moist for a crisp, mild flavor. Radishes are lightning fast, ready to harvest in just 25-35 days. By the way, they grow great in pots that are at least 6-8 inches deep.
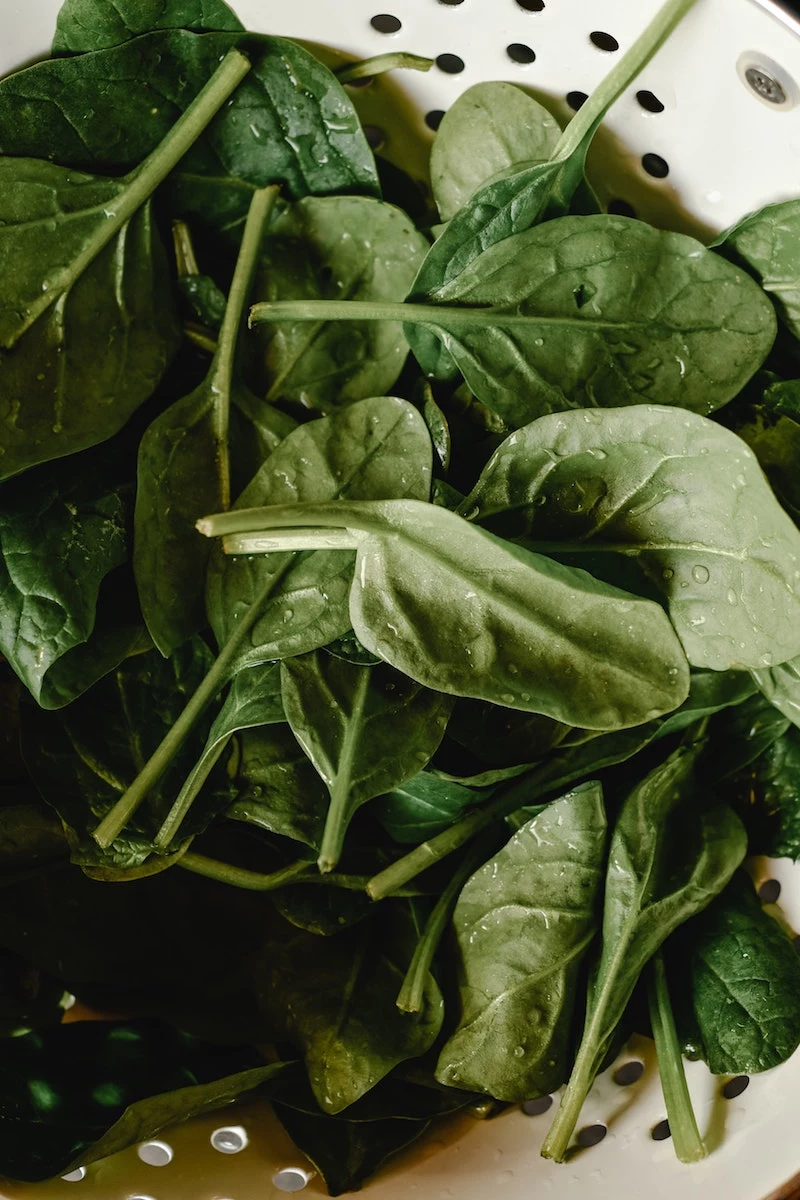
Spinach
Fresh garden spinach is a world away from the stuff in plastic tubs. You can direct sow it as soon as the soil is workable. Plant seeds about half an inch deep and thin them to 4-6 inches apart. The main challenge with spinach is that it wants to ‘bolt’ (send up a flower stalk and turn bitter) when the days get long and hot. To prevent this, plant it where it gets some afternoon shade and keep the soil moist. Harvest the outer leaves as soon as they’re big enough, and the plant will keep producing from the center. Expect a harvest in 40-50 days.
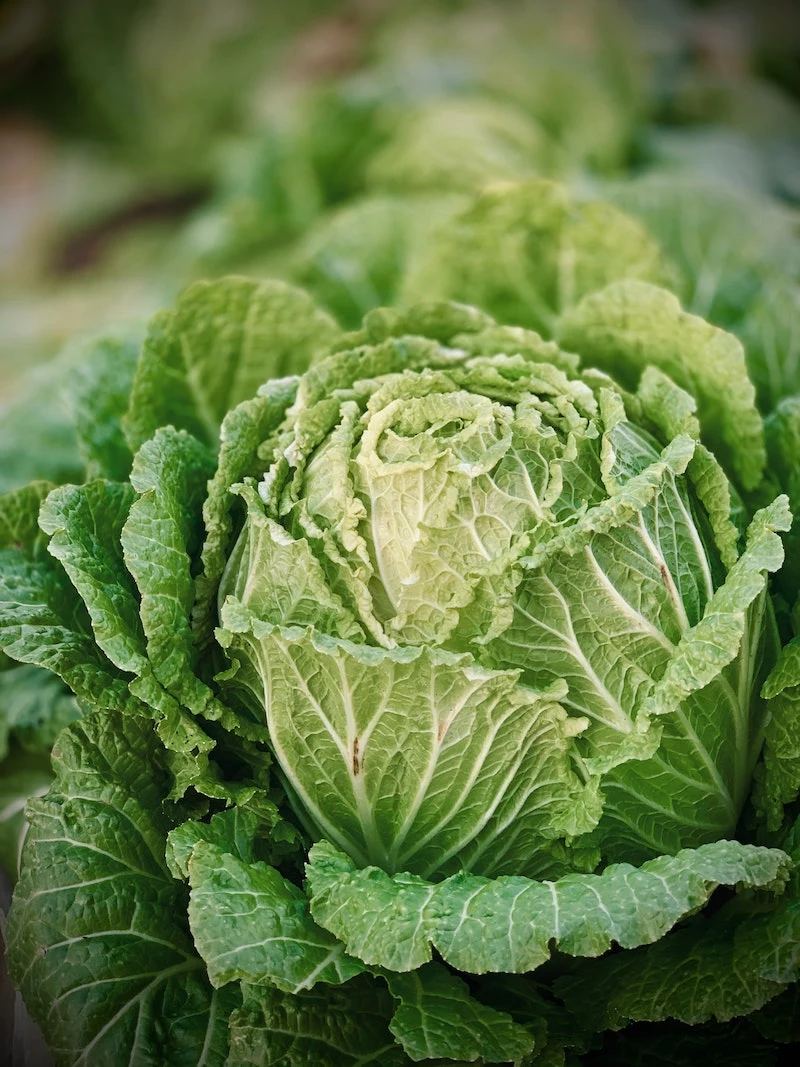
Cabbage
Like its cousin broccoli, cabbage needs space (at least 18 inches) and rich soil. It’s also a prime target for cabbage worms, so that row cover is your best friend. A common problem is split heads, which happens when a dry spell is followed by a drenching rain. The head grows too fast and bursts. The fix? Consistent watering. Harvest is typically 70-100 days after transplanting. Keep in mind your climate—in warmer regions, April might be too late, and a fall planting for a winter harvest is a better bet.
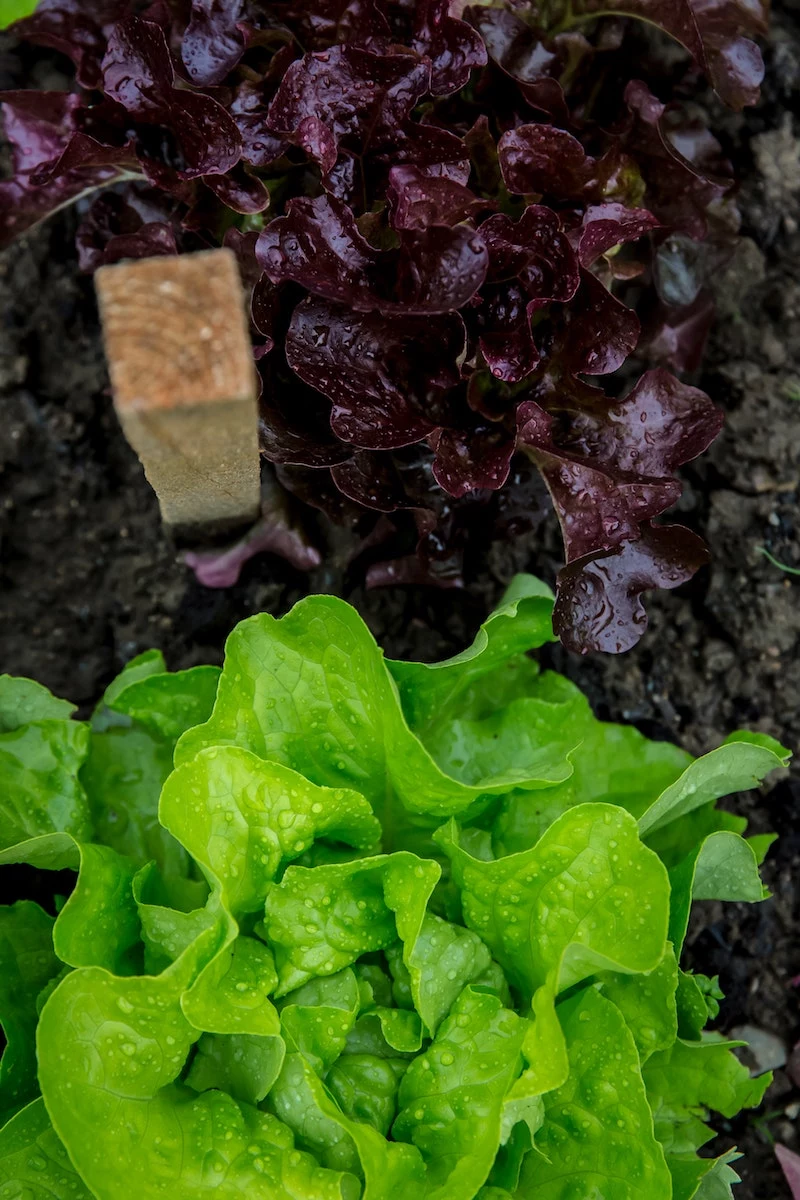
Lettuce
A simple luxury. For beginners, I always suggest loose-leaf varieties. You can just harvest the outer leaves, and the plant will continue to produce from the center for a long time. This is called the ‘cut-and-come-again’ method. Heat makes lettuce bitter, so plant it where it gets morning sun but is shaded during the hot afternoon. A spot on the east side of a pea trellis is perfect! Slugs are the biggest enemy here. A shallow dish of beer sunk into the soil is a surprisingly effective trap. Lettuce is fast, with harvests starting in as little as 30-50 days, and it’s perfect for containers and window boxes.
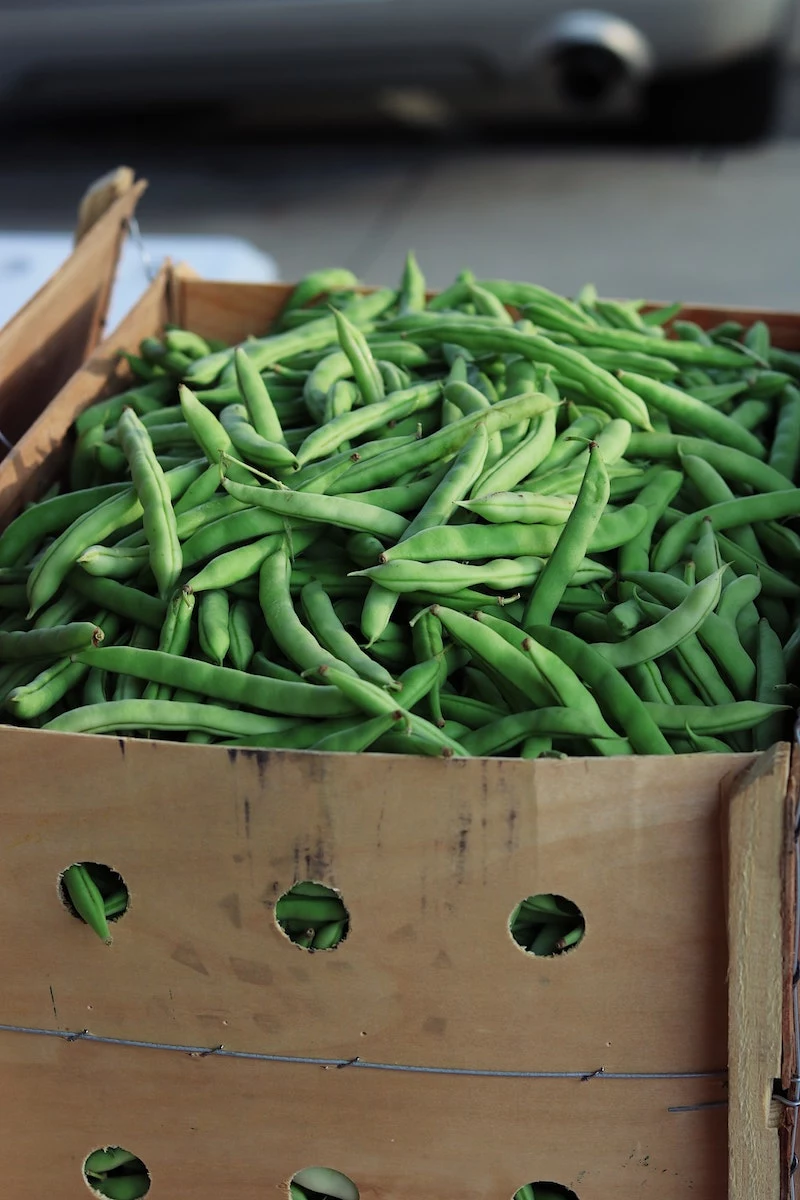
Peas
That sweet crunch of a fresh sugar snap pea is pure joy. There are three main types: shelling peas (tough pods), snow peas (flat, edible pods), and sugar snap peas (plump, edible pods). They all need a trellis to climb for good air circulation, which prevents powdery mildew. Now for that pro tip: peas have a special relationship with bacteria that helps them make their own nitrogen fertilizer. To kickstart this process, treat your seeds with an inoculant powder right before planting. It’s a cheap, easy step that makes a huge difference in plant health. You can find it at any garden center. Pick your peas often—the more you pick, the more they produce! Harvest starts around 60-70 days after planting.
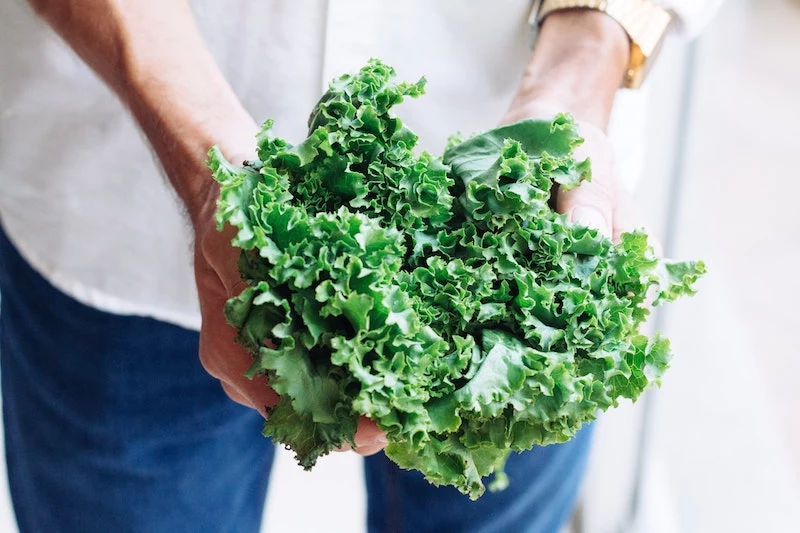
Kale
This is the workhorse of the cool-season garden. It’s durable, productive, and so good for you. You can direct sow or transplant it; it’s not fussy. In fact, many gardeners agree that kale’s flavor actually improves after a light frost concentrates its sugars. Harvest the lower, outer leaves, leaving the top center of the plant to keep growing. It will produce for months! You can start picking leaves in about 55-75 days. Kale also does wonderfully in large pots.
A Quick Note on Safety
Gardening should be a joy, not a pain. Remember to lift heavy bags of soil with your knees, not your back—a lesson I learned the hard way one spring. Keep your tools clean and sharp; a sharp tool is a safe tool. And one really important point: if you’re gardening in an urban area or on land with an unknown history, consider getting your soil tested for heavy metals like lead. Your local university extension office can do this for a small fee. It’s a vital safety step, especially if you have kids.
Ultimately, gardening is a journey. Start small. A few pots on a balcony can be just as rewarding as a huge plot. The goal for April is simply to get a few cool-season crops in the ground the right way. Pay attention to your soil, watch the weather, and listen to what your plants are telling you. That feeling of eating a salad you grew from a tiny seed? It never, ever gets old.
Inspirational Gallery
Bagged Compost: Convenient, sterile, and often enriched with specific nutrients. Brands like Black Kow or Coast of Maine offer consistent quality for targeted boosts.
Bulk/Municipal Compost: Far more economical for large areas or building new beds, but quality can vary. Always inspect it for unprocessed chunks or debris before spreading.
For enriching established beds, a quality bagged product gives a reliable punch; for starting from scratch, bulk is your best friend.
A single teaspoon of rich garden soil can hold up to one billion bacteria, several yards of fungal filaments, and thousands of beneficial protozoa.
This is why the article’s emphasis on soil health is so critical. Adding high-quality compost isn’t just feeding the plants; it’s feeding this microscopic workforce that aerates the soil, fights off disease, and makes nutrients available to your seedlings.
Think beyond straight rows this year and take inspiration from the French potager or kitchen garden, an approach that blends vegetables and flowers for a plot that’s as beautiful as it is productive.
- Intersperse rows of frilly ‘Lolla Rossa’ lettuce with the bright orange heads of calendula flowers.
- Use chives or dwarf lavender as an edible, pest-deterring border for your beds.
- Plant sweet alyssum at the base of your peas to attract beneficial hoverflies that prey on aphids.
Can I plant any herbs yet?
While basil and dill shiver at the thought, many herbs thrive in April’s cool air. Focus on the hardy perennials. Now is the perfect time to plant or divide chives, oregano, thyme, and mint (always in a container unless you want it everywhere!). Parsley and cilantro, which bolt in summer heat, are also ideal for an early spring sowing, giving you a long harvest before the weather turns too warm.
The cardinal rule for wet spring soil: Stay off of it. Walking on or tilling saturated ground, especially clay-heavy types, squeezes out essential air pockets. This creates a compacted, concrete-like layer that suffocates roots and prevents proper drainage for the rest of the season. If mud sticks to your boots, it’s too wet to work.
- Plant radishes near your spinach; they’re harvested long before the spinach needs the extra space.
- Tuck aromatic mint (in a pot!) near brassicas like broccoli or kale to help deter cabbage moths.
- Let some cilantro go to flower; it attracts beneficial insects that feast on common garden pests.
- Plant peas near carrots; peas fix nitrogen in the soil, giving the carrots a gentle nutrient boost.
For durable plant markers that won’t wash away in April showers, skip the flimsy plastic. Instead, write on flat, smooth stones with a white or silver permanent paint pen, like a Sharpie Oil-Based marker. Or, recycle old metal spoons; you can use a metal stamp set to impress plant names into the bowl for a rustic look that lasts for years.
- Access unique heirloom varieties you won’t find in stores.
- Save money on one of your biggest garden expenses.
- Connect with other passionate gardeners in your community.
The secret? Participating in a local or online seed swap. Organizations like Seed Savers Exchange often host events, or a quick search on social media for your town’s name plus
The author mentioned floating row cover—a specific, trusted brand is Agribon. Its AG-19 weight is perfect for spring, raising the ambient temperature underneath by about 4°F.
Not all seeds are created equal for a cool-soil start. When shopping, look for varieties known for their cold tolerance and quick germination. For lettuce, try the reliable heirloom ‘Black Seed Simpson’. For peas, ‘Lincoln’ is a classic that performs well. ‘French Breakfast’ radishes are famously fast, and for carrots, the round ‘Paris Market’ variety is less fussy about imperfect spring soil than its longer cousins.


