Thinking About a Weeping Cherry Tree? Read This First.
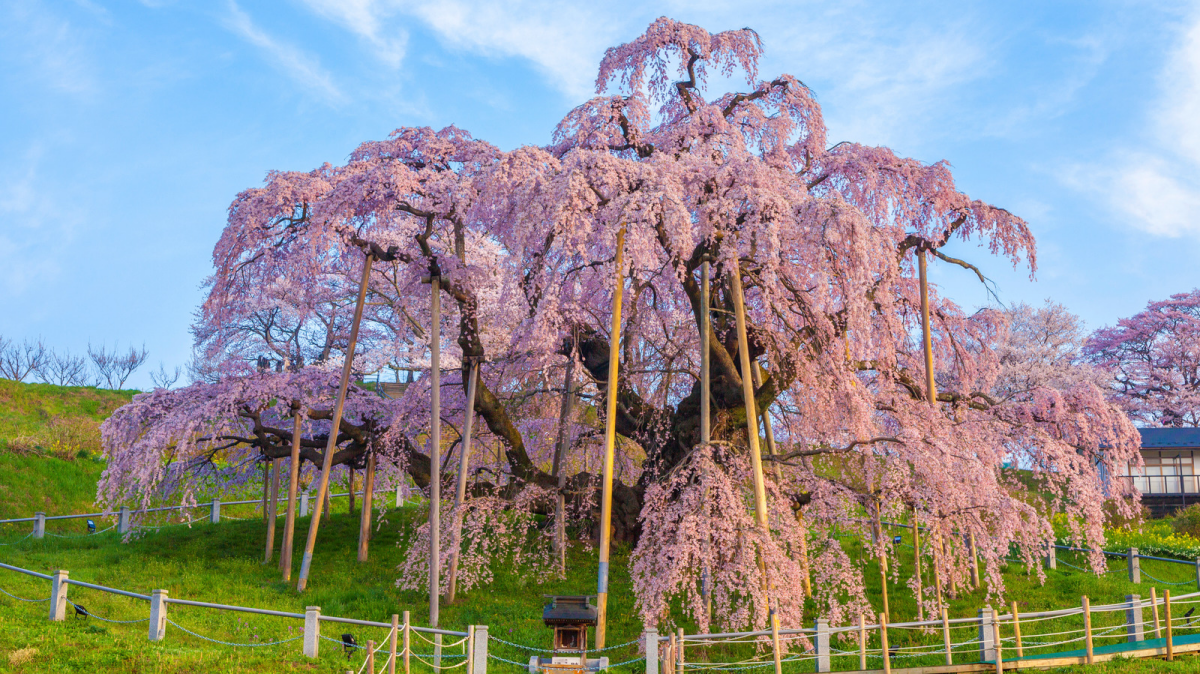
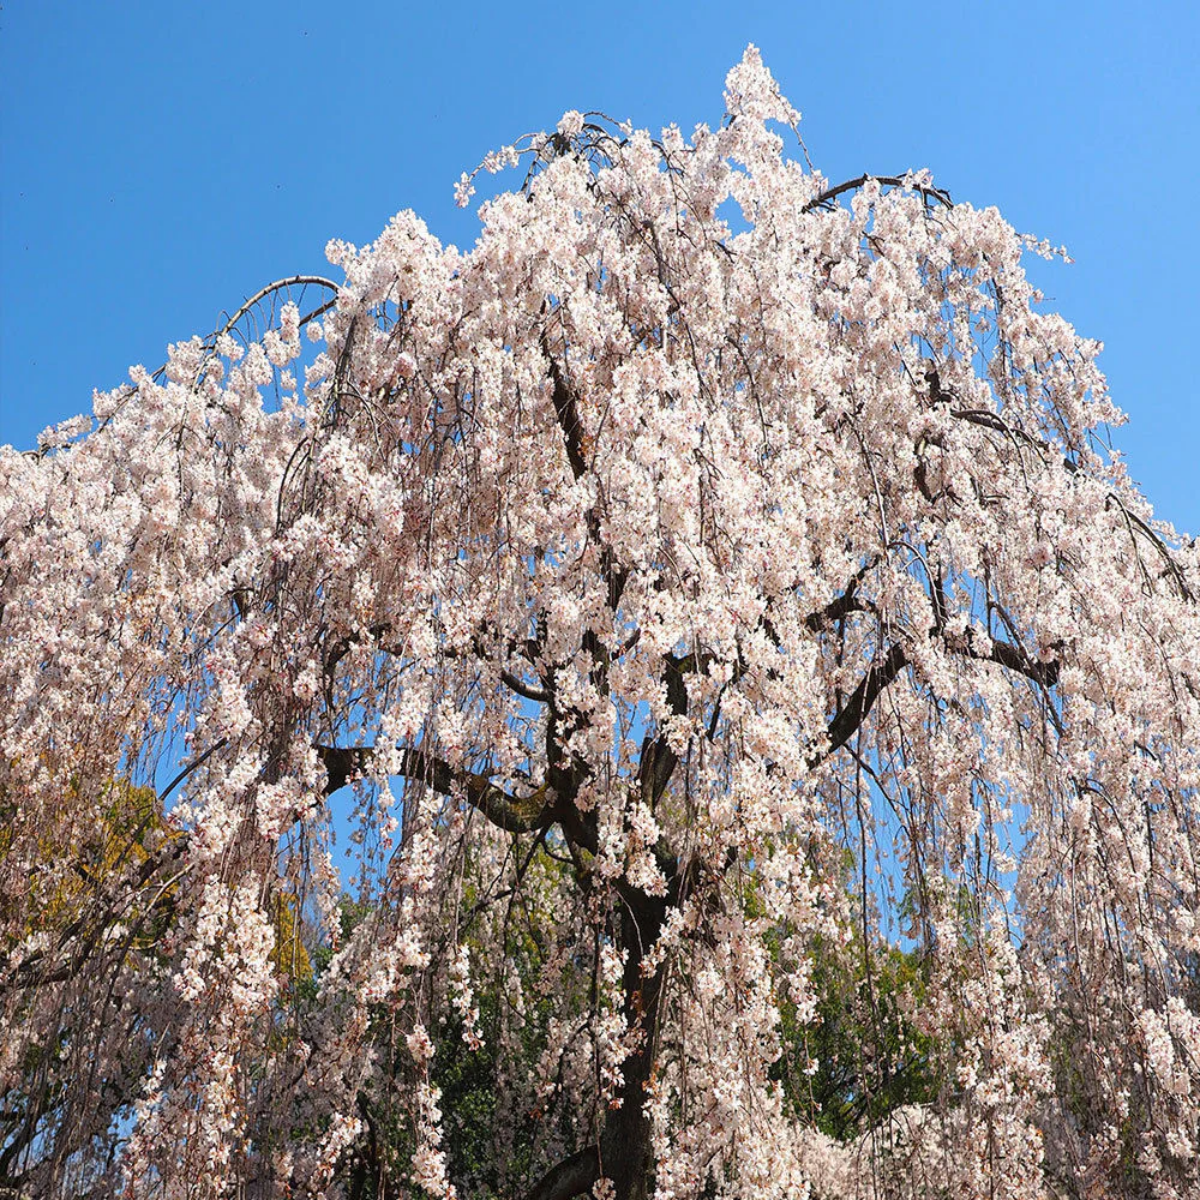
Let’s be honest, few trees can stop you in your tracks quite like a weeping cherry in full, glorious bloom. It’s a breathtaking sight. That cascading waterfall of flowers is what makes so many of us say, “I need that in my yard.” But I’ve also seen the other side of the coin: the calls from homeowners whose dream tree looks… well, a little sad. The leaves are yellow, a few branches look dead, and it just never achieved that picture-perfect shape.
In this article
The truth is, a weeping cherry isn’t a tree you can just plop in the ground and ignore. It has some very specific needs, and understanding them from day one is the secret to success. The biggest piece of the puzzle, and the thing most people don’t know, is that a weeping cherry isn’t really one tree. It’s two.
Getting this part is the key to avoiding most of the common frustrations down the road. This guide is all about sharing the pro techniques I’ve used for years to make sure these stunning trees thrive for the long haul.
The Big Secret: Your Tree is Two-in-One
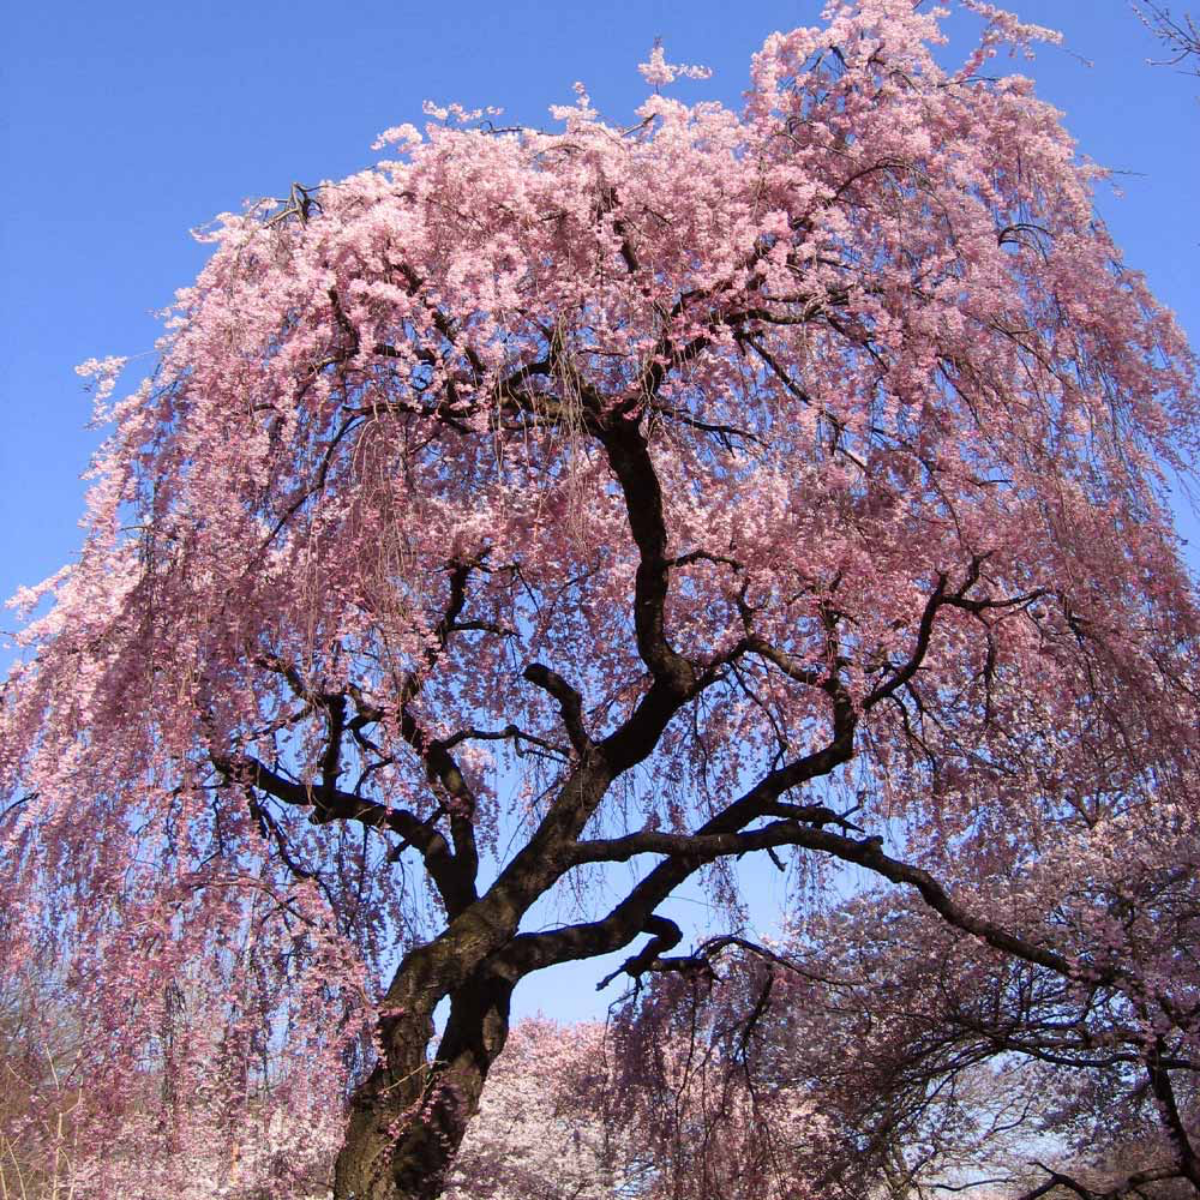
So, what’s this two-in-one business? Almost every single weeping cherry you’ll find at a nursery is a grafted tree. Think of it like a clever construction project. The pros take the tough, reliable root system and trunk of a straight-growing cherry variety. Then, usually about four or five feet up the trunk, they perform a bit of botanical magic and graft a cutting (called a scion) from a variety that naturally grows downwards, in that beautiful weeping form.
You can spot this connection point easily. Look for a knobby, slightly swollen-looking area on the trunk. It’s called the graft union. Everything below that bump is the sturdy rootstock, and everything above it is the weeping top.
Why does this matter so much? Because these two parts are still trying to follow their original genetic programming.
- Suckers will appear. The rootstock below the graft wants to grow into a big, upright tree. It will constantly try to send straight shoots up from the base of the trunk. These are called suckers, and if you let them go, they can literally take over and choke out the pretty weeping part on top.
- Water sprouts are a thing. Sometimes even the weeping branches get confused and send a rogue branch straight up towards the sky. These are called water sprouts, and they mess up the graceful shape and steal energy from the rest of the tree.
- Your tree’s height is fixed. The trunk will get thicker over the years, but it won’t get any taller than where the graft was made. The weeping branches will grow longer, but the peak height of the tree is set from the beginning. Its width, however, is another story!
- The graft is the weak spot. This union is the most vulnerable part of the tree. A bad knock from a lawnmower or stress from disease can cause it to fail, which is a game-over situation for the weeping top.
Choosing a Winner at the Nursery
A healthy tree for life starts with a smart choice at the nursery. Don’t just grab the one with the most flowers; spend a few minutes playing detective. It’s the best investment you can make.
First, let’s talk money. Be prepared to invest in a quality specimen. For a healthy, well-grafted tree in a good-sized pot (say, 10 or 15 gallons), you should expect to pay anywhere from $120 to over $300. If you spot one for $49.99, be extra skeptical and give that graft union a very close look!
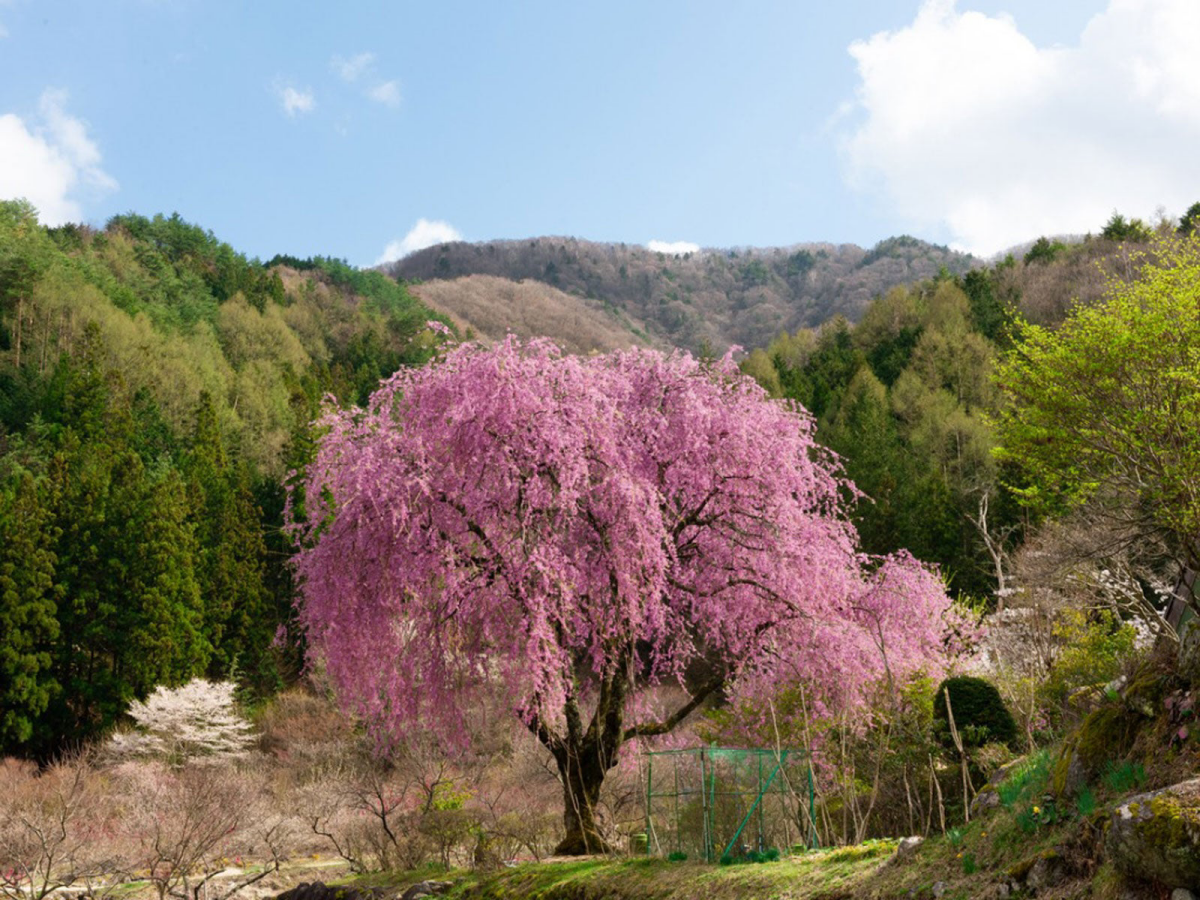
Now, before you even go, think about the space you have. While the height is fixed, the canopy can get surprisingly wide. For example, a classic white-flowering ‘Snow Fountains’ is a great choice for smaller spaces, as it typically grows about 8 to 12 feet wide. But if you want a larger, pink-flowering variety like ‘Pink Snow Showers’, you need to plan for a 20 to 25-foot spread. Know what you’re asking for before you shop!
Here’s what to inspect:
1. The Graft Union: Kneel down and look at that knobby spot. It should look clean and fully healed, with the top and bottom parts being a similar thickness. Pass on any tree where the union is cracking, oozing, or looks like a weird mushroom on a skinny stick.
2. The Roots: If it’s in a pot, ask if you can gently slide it out. You want to see healthy, light-colored roots. If you see a thick, dark mat of roots circling the bottom, it’s root-bound. It’s not a deal-breaker, but it means the tree has been in that pot for too long and will need extra care when you plant.
3. The Trunk: Run your hand along the main trunk. It should be smooth and free of wounds, scrapes, or sunken areas. Trunk damage is an open invitation for pests and diseases, which these trees are prone to.
4. The Canopy: Look for a balanced structure. You want weeping branches that are evenly distributed all around the graft, creating a nice, full umbrella shape from the get-go.
Planting Day: Getting it Right From the Start
Where and how you plant your tree is probably the single most important factor in its long-term health. The best times are in the spring or early fall, giving the roots time to settle in before the stress of summer heat or deep winter cold.
First, let’s do a quick gear check for planting day. You’ll need your tree, a good shovel, a bag of quality hardwood mulch (about $5), and I highly recommend investing in a good pair of bypass pruners for about $30. A soaker hose, maybe $20, is also a fantastic tool for getting that first year of watering right.
Where to Plant It
Weeping cherries need sun—at least six hours a day for the best flower show. They also absolutely despise having “wet feet.” If you have a spot in your yard where water puddles after a rain, that’s not the place for this tree. Good drainage is non-negotiable.
And remember that width we talked about? That 20-foot ‘Pink Snow Showers’ needs to be planted at least 10-12 feet away from your house, driveway, or other trees. Give it room to shine!
The Right Way to Dig In
- Go Wide, Not Deep: This is critical. Dig your hole two to three times WIDER than the root ball, but NO DEEPER. Planting too deep is the #1 mistake I see, and it will slowly suffocate your tree over time.
- Find the Root Flare: The spot where the trunk starts to flare out into the root system needs to be at or slightly above the surrounding ground level. You might have to pull some soil away from the top of the pot to find it.
- Prep the Roots: Once you get the tree out of the pot, if it is root-bound, you have to be brave. Take a sharp knife and make four or five vertical cuts down the side of the root ball. Then, use your fingers to gently pull the circling roots loose. It feels wrong, but it’s essential to encourage them to grow outwards.
- Backfill and Settle: Place the tree in the hole, make sure it’s standing straight, and start backfilling with the soil you dug out. Don’t bother adding a ton of fancy amendments; you want the tree to get used to your native soil. When the hole is half full, water it well to settle the soil, then finish filling.
- Water, Water, Water: Give your newly planted tree a long, slow drink of at least 10-15 gallons of water.
- Mulch Like a Pro: Spread a 2 to 3-inch layer of mulch over the root zone, but DO NOT let it touch the trunk. Pull it back a few inches to create a little donut shape. Piling mulch against the trunk (a “mulch volcano”) is a terrible practice that traps moisture and invites rot and pests.
Watering and Feeding: A Measured Approach
For the first year or two, your tree needs consistent moisture to establish its roots. The goal is moist, not soggy. The easiest way to check is the finger test—stick your finger two inches into the soil. If it’s dry, it’s time for a deep watering.
After it’s established, it will be surprisingly drought-tolerant. Overwatering is a much bigger risk than underwatering, as it leads to root rot. Yellowing leaves can be a sign of too much water, not too little!
As for fertilizer, hold off for the first year. In the following years, they aren’t heavy feeders. A light application of a balanced, slow-release granular fertilizer in early spring is plenty. Look for one where the first number (Nitrogen) is low, as too much nitrogen will just give you weak, leafy growth instead of beautiful flowers.
The 30-Minute Pruning Job That Saves Your Tree
Pruning feels intimidating, but for a weeping cherry, it’s mostly simple cleanup. Honestly, this isn’t an all-day affair. Once you get the hang of it, your annual check-up will probably take you 20-30 minutes, tops. The best time to do it is late winter or early spring before the leaves emerge, so you can clearly see the tree’s structure.

Always use sharp, clean tools. A quick wipe with rubbing alcohol on your pruners between cuts is a pro move that helps prevent the spread of disease.
Here are the non-negotiable cuts:
- Suckers: Any straight shoot coming from the trunk below the graft has to go. Cut it off completely flush with the trunk.
- Water Sprouts: Any branch above the graft that decides to grow straight up instead of weeping needs to be removed at its base.
- The 3 D’s: Prune out any branch that is clearly Dead, Damaged, or Diseased. Also, snip off any branches that are rubbing against each other.
Quick challenge for you: Go outside to your tree right now. Find that graft union. See any stick-straight branches growing from below it? Snip ’em off. Congrats, you just did the most important pruning task to keep your tree healthy!
One last tip: I always recommend “lifting the skirt.” Trim the tips of the lowest branches so they hang at least a foot off the ground. This improves air circulation immensely and helps prevent fungal diseases from taking hold in the damp space under the canopy.

Pests and Diseases: A Realistic Heads-Up
I want to be upfront: cherries, in general, are magnets for a few specific problems. Being vigilant is just part of owning one.
The biggest threat is the Peach Tree Borer. I’ll never forget a call I got for a gorgeous, mature tree that was suddenly dying. The homeowner was heartbroken. The culprit? A single nick from a string trimmer at the base of the trunk years ago. It was just enough of an opening for borers to get in and do their damage. That’s why protecting that trunk from any physical damage is absolutely critical.
You’ll also want to watch for fungal issues like Brown Rot and Black Knot, especially in wet weather. The key is sanitation. Prune out any affected branches immediately and clean up fallen leaves and debris in the fall. If you see ugly, black, swollen galls (Black Knot), you must cut the branch off at least 4-6 inches below the gall into healthy wood. Don’t wait on that.
If you see major issues or suspect borers (look for jelly-like sap oozing from the base of the trunk), it’s time to call a certified arborist. Knowing when to ask for help is a sign of a smart gardener.
A weeping cherry tree is a commitment, there’s no doubt about it. It asks for a little more attention than an oak tree might. But when you understand how it’s built and give it the right care, the reward is that spectacular spring show and a graceful, living sculpture in your yard all year long. It’s a partnership, and it’s one of the best you can have in your garden.
Galerie d’inspiration
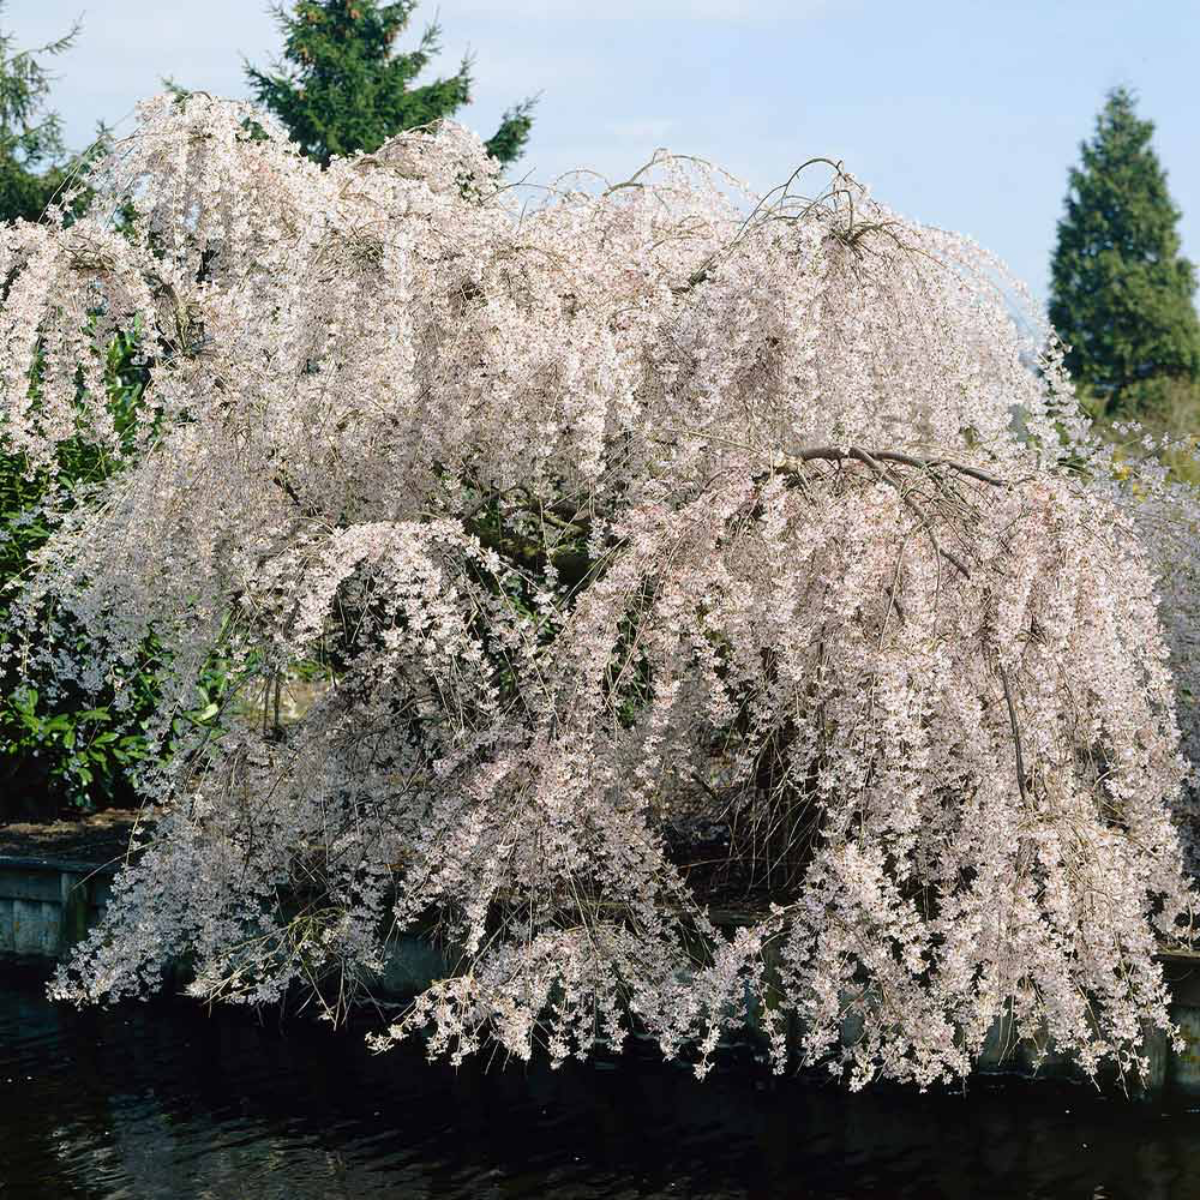
For a cascade of pure white: Meet the ‘Snow Fountains’® (or Prunus ‘Snofozam’). This is a top pick for smaller yards or courtyards. It’s a more restrained weeper, typically reaching only about 8-12 feet tall and wide. Its branches sweep gracefully all the way to the ground, covered in a dense flurry of snow-white blossoms in early spring.
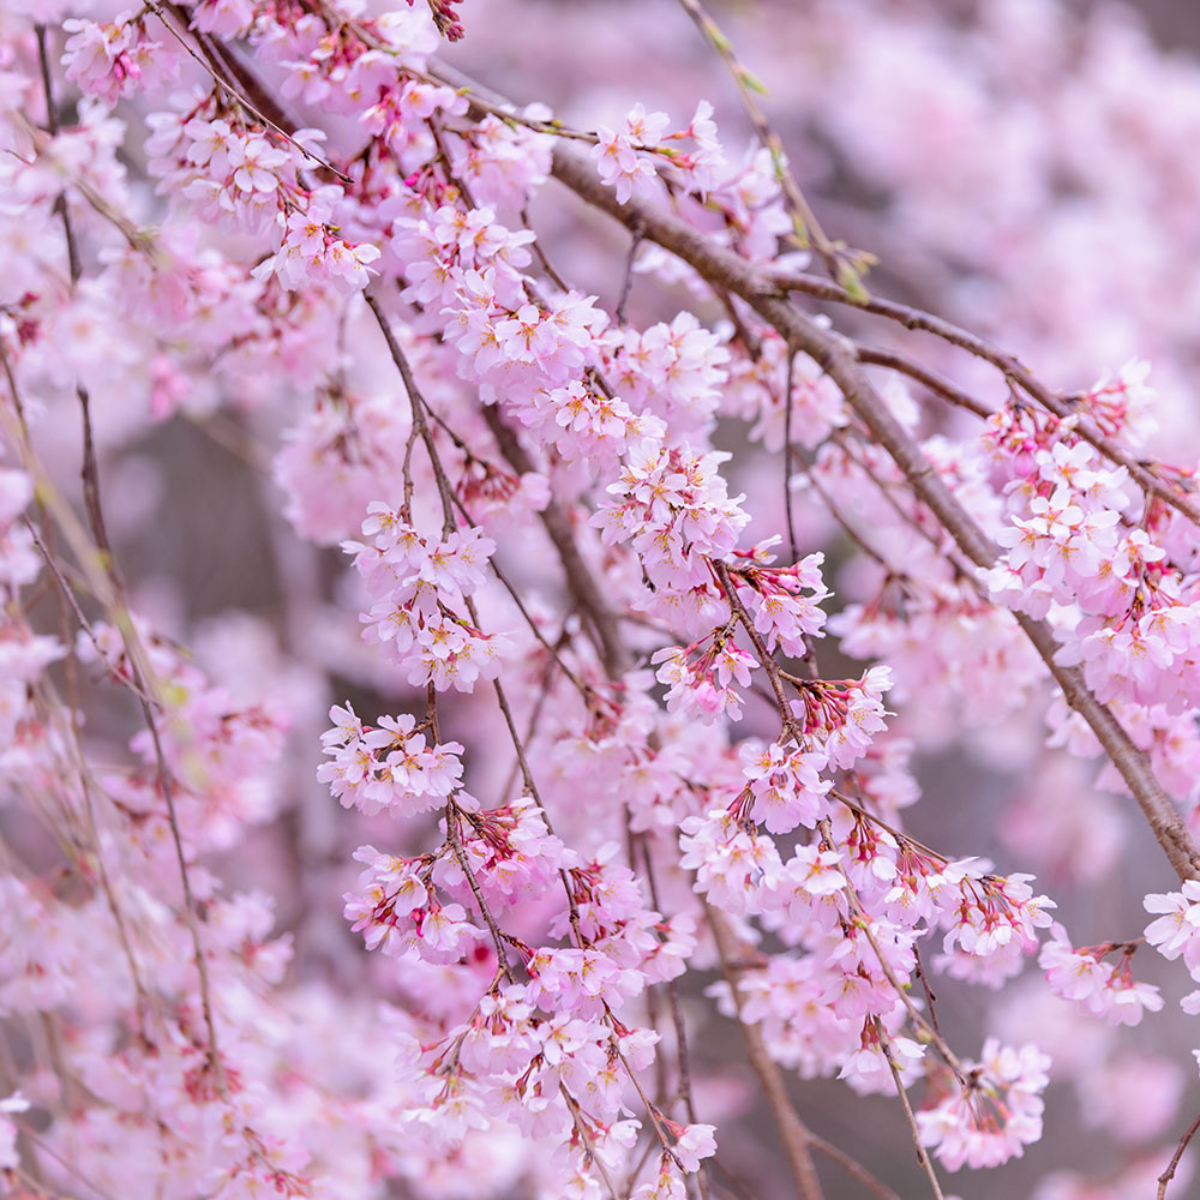
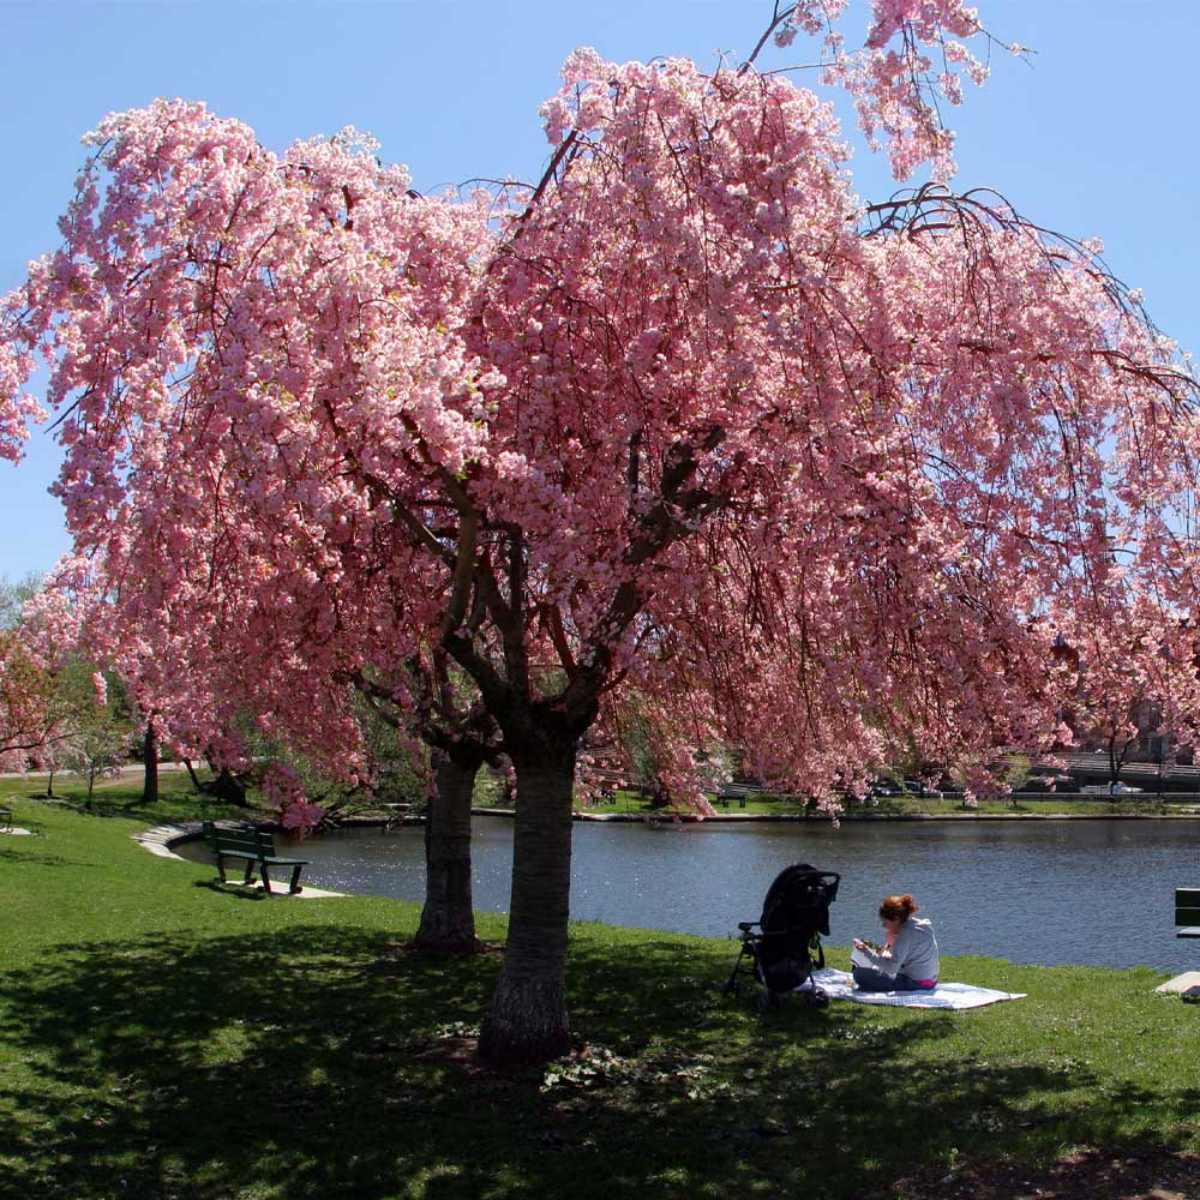
For the classic pink vision: The ‘Pink Snow Showers’™ (Prunus ‘Pisnsh’) is your showstopper. It delivers that iconic, romantic waterfall of soft pink flowers. It’s a more vigorous grower than its white counterpart and can create a much larger, dramatic canopy over time, making it a stunning focal point in a medium to large landscape.
The choice often comes down to space and color preference. ‘Snow Fountains’ offers tidy elegance, while ‘Pink Snow Showers’ provides breathtaking, classic drama.


