Your Garden Doesn’t Have to Be Crunchy: Real-Talk on Surviving a Drought
I’ll never forget one particularly brutal summer. The heat rolled in early and just decided to stay. I was looking after several big gardens at the time, and I watched lawns turn from green to gold in what felt like a single week. Homeowners were, understandably, freaking out. And the local water restrictions were getting tighter every day.
In this article
That season was tough, but honestly, it taught me more about the real, nitty-gritty relationship between soil, water, and plants than any book ever could. Those lessons, learned the hard way, are what I want to share with you. This isn’t about some miracle product. It’s about smart, practical strategies to help your garden pull through when water is precious.
First things first: Forget the old idea of just turning on a sprinkler and walking away. Getting through a drought is less about watering and more about water management. It’s a total shift in thinking. The real work starts underground, in the soil itself.
First, Know Your Dirt
Before you can water the right way, you have to know what you’re watering. Soil isn’t just… well, dirt. It’s a whole ecosystem of minerals, organic matter, air, and water. The main players are sand, silt, and clay, and most garden soils are a mix of all three, which we call loam.
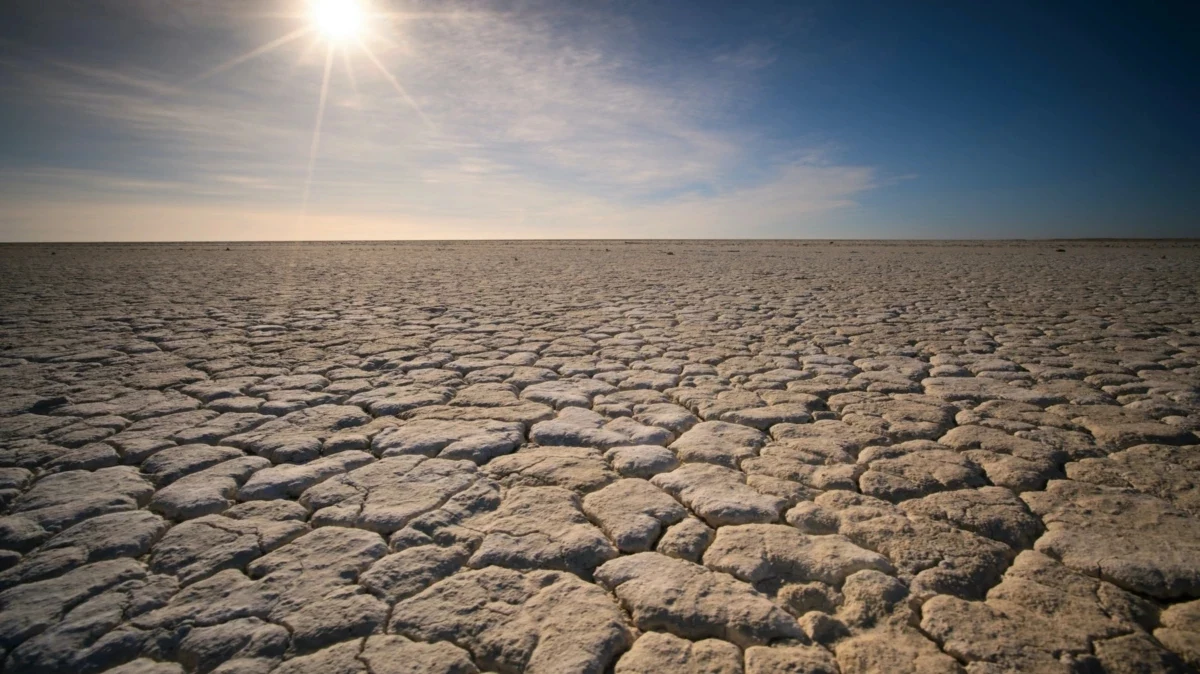
Think of it like this: Sandy soil is like a jar of marbles. Water zips right through it, taking valuable nutrients along for the ride. It drains lightning-fast, but it also dries out in a blink. Clay soil is the polar opposite, more like a stack of tiny, flat plates. Water soaks in very slowly and is held so tightly that plant roots sometimes struggle to pull it out. And once it finally dries, it can turn into a brick and crack wide open. A good, healthy loam is the sweet spot, holding onto moisture while still letting excess water drain away.
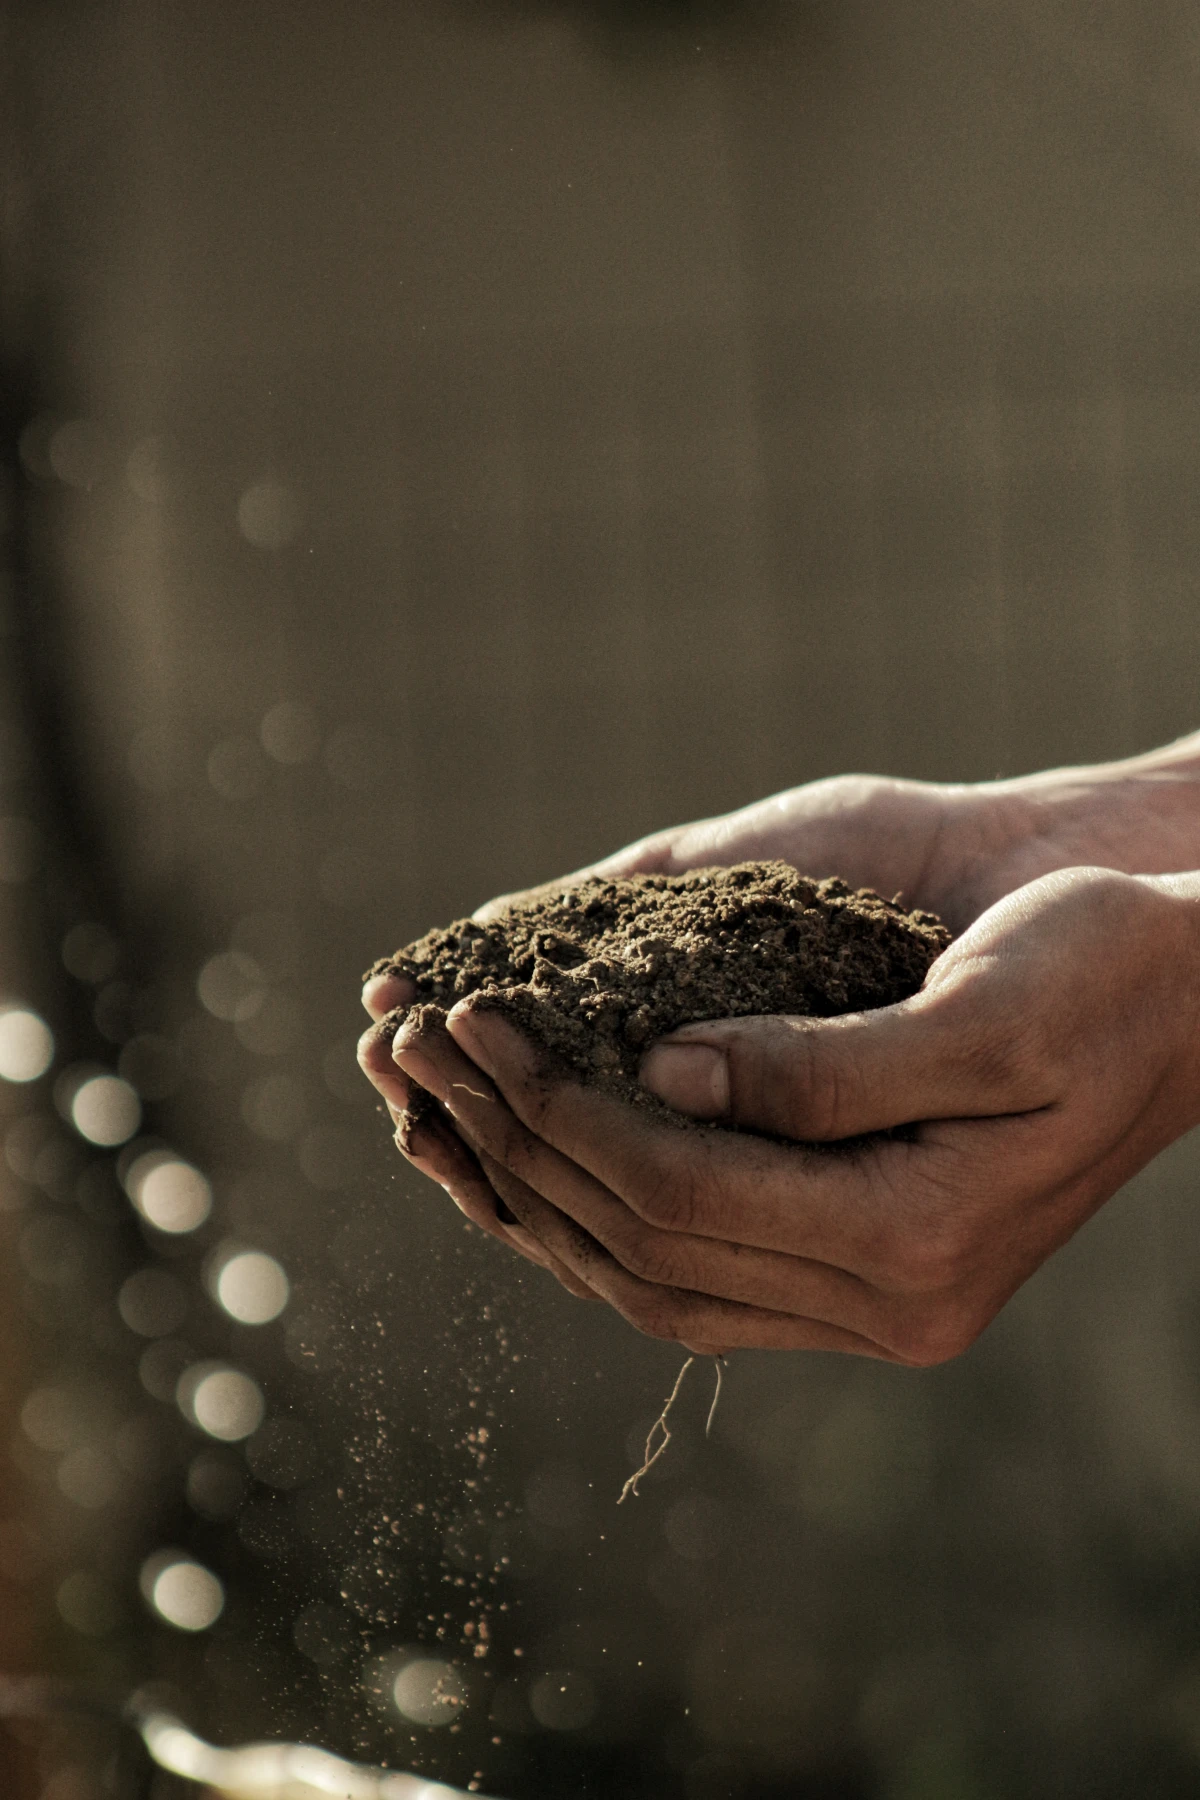
Not sure what you have? You can get a pretty good idea with a simple hands-on test. Here’s how:
Dig down about six inches and grab a handful of soil. Get it a little damp, but not soaking wet. Now, squeeze it in your palm. If it just falls apart the second you open your hand, you’re likely dealing with sandy soil. If it forms a tight, slick ball that you can smear into a ribbon with your thumb, you’ve got a lot of clay. But if it holds its shape and then crumbles apart easily with a poke, congratulations—you probably have a nice loam.
For bigger projects, I sometimes send a soil sample to a state university extension lab. For a small fee, usually between $25 and $50, you get a super-detailed report on your soil’s structure and nutrient profile. It’s worth every penny if you’re planning a major landscape overhaul. For most of us, though, the hand test is a fantastic starting point. A quick tip: Just google “your state + cooperative extension” to find your local office.
Your Garden’s Two Best Friends: Mulch and Compost
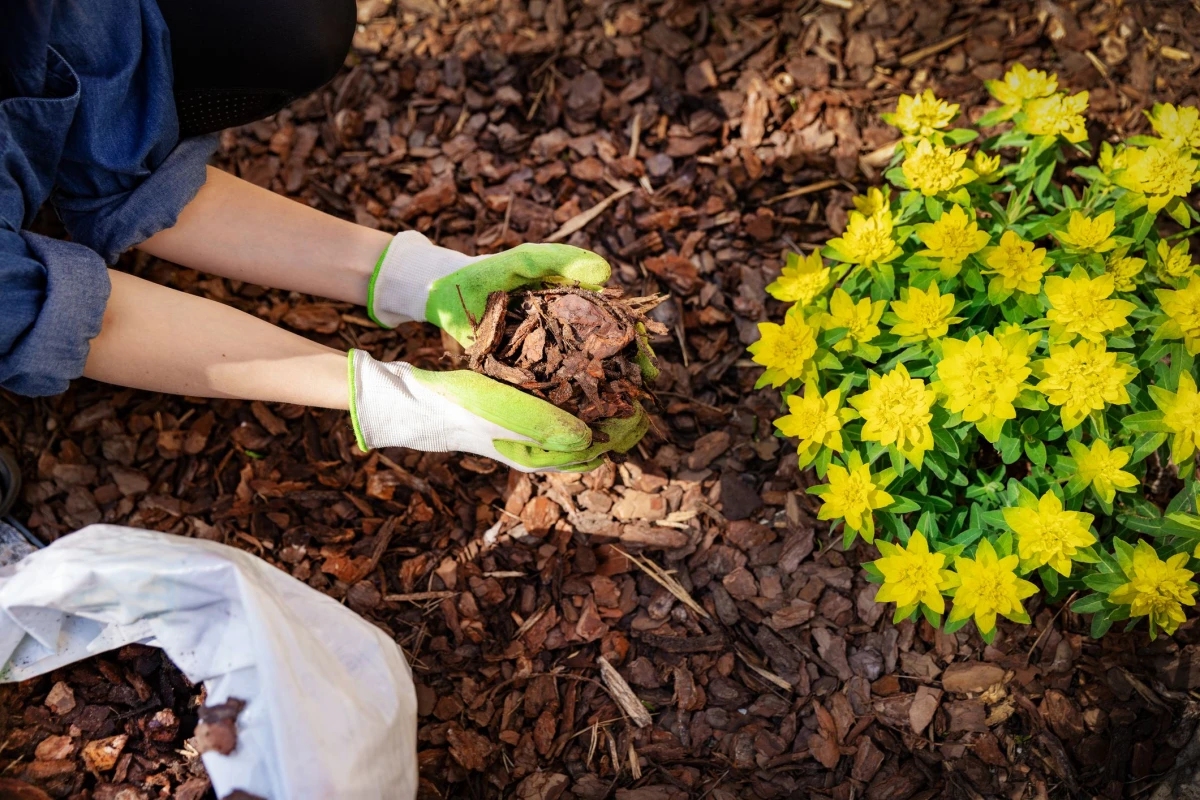
If you only do one thing to prep your garden for a dry spell, make it this: Add mulch. I seriously cannot overstate how important this is. A good two- to four-inch layer of mulch is like a protective blanket for your soil. It slows down evaporation, keeping the ground cooler and moister. It also stops the soil from forming a hard crust and, as a bonus, smothers weeds that are competing for every last drop of water.
I’ve seen the difference with my own eyes on neighboring properties with the same plants and soil. The mulched garden needed about half the water and looked way healthier through the worst of the heat. The choice of mulch matters, though. I’m a big fan of coarse, natural stuff like arborist wood chips or shredded bark because they break down slowly and feed the soil over time. You can often get wood chips for free from local tree-trimming services who are happy to get rid of them!
Oh yeah, and that brings me to a story about a lesson I learned the hard way. A word of caution: Be careful where you get your wood chips. Fresh, un-aged chips can actually cause problems. As they decompose, they pull nitrogen—a key plant nutrient—out of the top layer of soil to fuel the process. This can temporarily starve your plants, leaving them looking yellow and weak right when they need the most help. Always ask if the chips are aged, or just let them sit in a pile for a few months before spreading them.
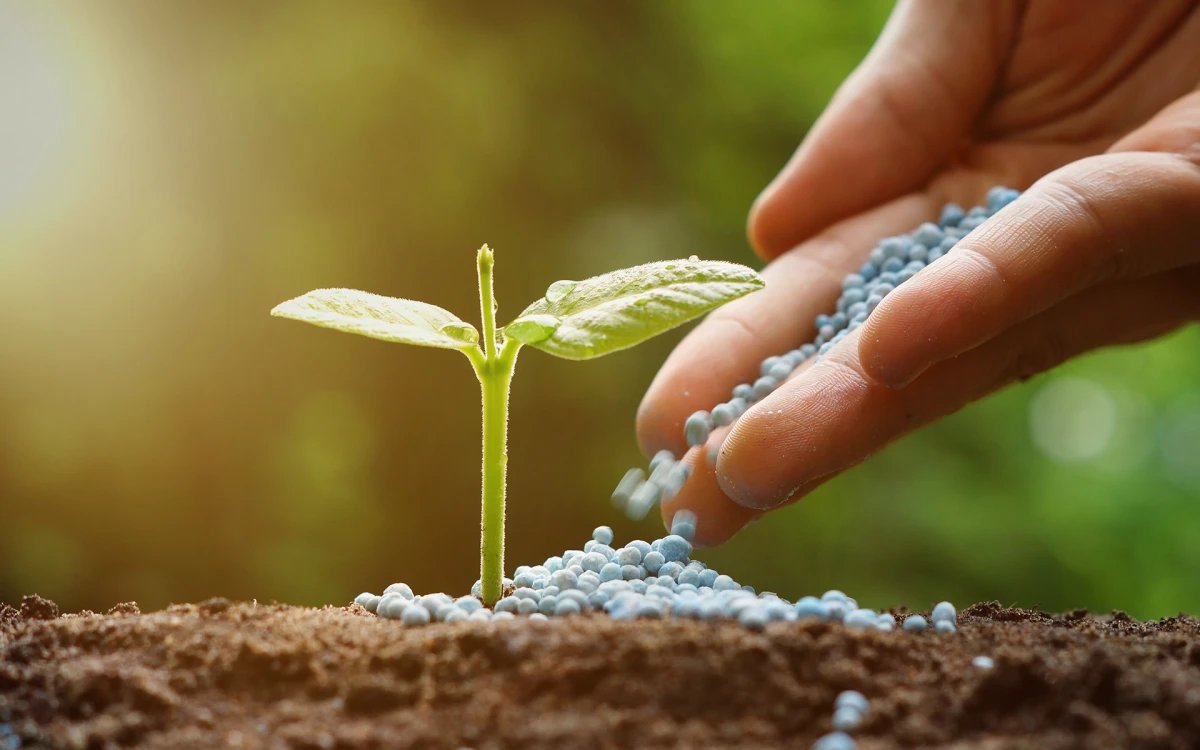
And that leads us to mulch’s partner-in-crime: compost. People often confuse the two, but they do different jobs. Mulch sits on top of the soil; compost gets mixed into it. Compost is decomposed organic matter, and it’s the single best thing you can add to improve any soil type. For sandy soil, it acts like a sponge, helping it hold onto water and nutrients. For clay soil, it works its way in between those tiny plates, breaking them up so air and water can penetrate more easily. It’s a total game-changer.

Watering Smarter, Not Harder
Okay, so your soil is prepped. Now how should you actually water? The golden rule is to water deeply and infrequently. This encourages plants to grow deep, resilient roots that can seek out moisture far below the surface, rather than shallow roots that dry out the moment the topsoil does.
The best time to water is always early in the morning. This gives the water time to soak deep into the soil before the sun gets hot and starts evaporating it away. Watering in the evening can sometimes promote fungal diseases, so morning is your best bet.
As for how to apply the water, soaker hoses and drip irrigation are the champions. They deliver water directly to the root zone with almost no waste from evaporation or runoff. Sprinklers are probably the least efficient method, losing a ton of water to the air. If you must use one, run it in the early morning and use this trick: Place an empty tuna can (which is about an inch deep) in the watering zone. When the can is full, you know you’ve delivered about an inch of water to your garden.
Quick Tip: Avoid These Common Mistakes
Before you go, I want to point out a couple of common pitfalls I see all the time.
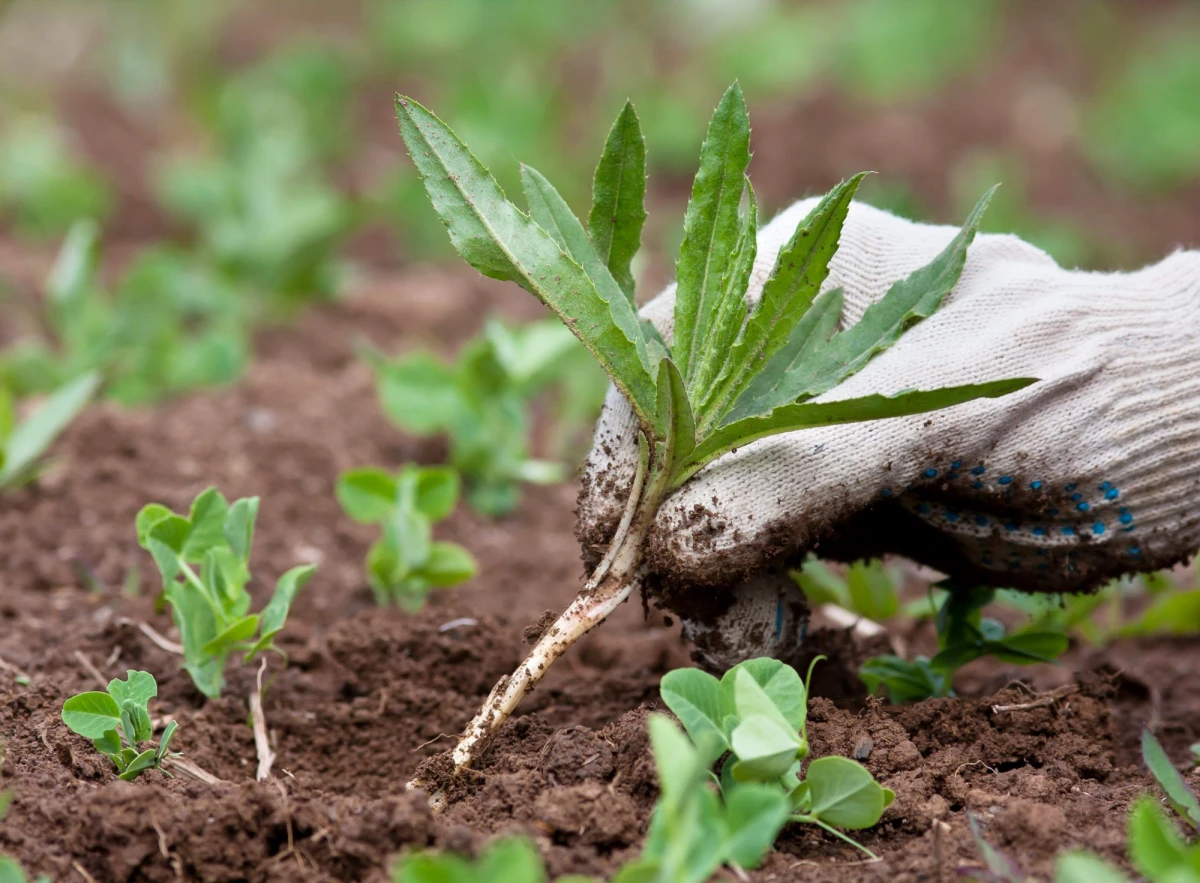
First is the “mulch volcano.” This is when people pile mulch high up against the trunk of a tree or the stems of a plant. Bad idea! It traps moisture against the bark, which can invite rot and disease, and can even provide a nice home for pests. Always pull your mulch back a few inches from the base of your plants.
The other big mistake is shallow, frequent watering. Giving your plants a little sip every day seems kind, but it actually encourages them to grow weak, shallow roots right at the surface. These are the first roots to fry in a heatwave. It’s far better to give the garden a long, deep soak once or twice a week than a light sprinkle every day.
Galerie d’inspiration
What’s the single most effective thing I can do right now, besides fixing my soil?
Mulch. Seriously. A two-to-three-inch layer of organic mulch is like giving your garden a protective blanket. It insulates the soil from the baking sun, drastically reduces water evaporation, and smothers weeds that compete for moisture. But don’t just grab any bag. Consider shredded cedar or cypress bark—they decompose slowly and their oils can help repel common garden pests. For a budget-friendly option, finely shredded fall leaves or pine straw work wonders, enriching the soil as they break down. The key is to apply it after a deep watering to lock that precious moisture in.


