My No-Nonsense Guide to a Perennial Garden That Actually Lasts
I’ve sunk my hands into the dirt for more years than I can count, designing and building gardens for other people. But let me tell you, my very first perennial garden was a total disaster—and an expensive lesson. I practically sprinted through the nursery, grabbing one of everything that looked pretty. I figured I’d dig a few holes, pop them in, and voilà! A masterpiece. What I actually got was a chaotic mess where plants either died, flopped over dramatically, or got completely swallowed by their neighbors.
In this article
That failure taught me the most important rule in gardening: A great garden isn’t about buying a cart full of pretty flowers. It’s about building a solid foundation where the right plants can settle in and thrive for years to come.
A perennial is so much more than a plant that just comes back every year; it’s a long-term relationship. Unlike annuals, which give you a quick burst of color for one season, perennials are the structural backbone. They provide the texture, shape, and rhythm of your garden. Get it right, and you’re rewarded with more beauty for less work over time. Get it wrong, and you’re in for a constant, frustrating struggle. So, here’s my approach, pieced together from a lot of trial and error, to building a perennial bed that’s built to last.
First Things First: It All Starts with the Soil
Before you even dream about plants, you have to get real about your site. I honestly can’t stress this enough. The number one reason a garden fails is a mismatch between the plant and its home. And that starts with the ground itself.
What’s Your Soil Really Made Of?
Soil isn’t just plain old dirt. It’s a living mix of minerals (sand, silt, and clay), organic matter, water, and air. Most of us have a combination of the three main types.
- Clay Soil: If your soil feels sticky when wet and turns into a brick when dry, you’ve got clay. The good news is it holds onto water and nutrients like a champ. The bad news? It can get fatally compacted and waterlogged, suffocating roots.
- Sandy Soil: Feels gritty and drains in the blink of an eye. This is great for preventing root rot, but it means water and nutrients wash away super fast, leaving your plants thirsty and hungry.
- Loam: Ah, the dream soil. It’s that perfect, crumbly, dark mix of sand, silt, and clay. It holds moisture but drains well. It’s what we’re all trying to create.
For big projects, a professional soil test is worth the money. But for a simple garden bed, the good old mason jar test is surprisingly accurate. Seriously, try this today! Just fill a clear jar about halfway with soil from your garden, add water until it’s nearly full, and shake it like crazy for a minute. Then, just let it sit for a full day. The sand will settle on the bottom, silt in the middle, and the finest clay particles on top. This little experiment gives you a fantastic snapshot of what you’re working with.
My Go-To Recipe for Better Soil
Most gardens I’ve worked on have heavy clay soil. Over the years, I’ve perfected a recipe to fix it. Let’s say you’re prepping a new 100-square-foot bed. Plan to spend a solid afternoon on this—it’s a workout, but it’s the most important work you’ll do.
Here’s your shopping list from the garden center:
- Good-quality compost: You’ll need about 9-10 cubic feet, which is around five or six 1.5 cu. ft. bags. Expect to pay about $5 to $8 a bag.
- Pine bark fines: These are finely shredded, not the big nuggets. You’ll want about 6 cubic feet, or three to four 2 cu. ft. bags. These usually run $6 to $9 a bag.
Spread a 3-inch layer of the compost and a 2-inch layer of the pine fines over the whole bed. Then, using a sturdy garden fork (or a tiller if you have one), work all that goodness into the top 8 to 12 inches of your existing soil. The compost adds nutrients, and the pine fines create tiny air pockets that improve drainage and prevent compaction. Honestly, this one step does more for your plants’ long-term health than any fertilizer ever will.
Next Up: Light and Water
You have to be brutally honest about how much sun your garden actually gets. Don’t guess. Watch the spot throughout a sunny day.
- Full Sun: This means 6 or more hours of direct, unfiltered sun. This is non-negotiable for sun-worshippers like Coneflowers and Daylilies if you want tons of blooms.
- Part Shade: This is the sweet spot of 4 to 6 hours of sun, often gentle morning sun with some afternoon protection. A lot of plants love this setup.
- Full Shade: We’re talking less than 4 hours of direct sun. This can be tricky, and success here means choosing true shade-lovers, not just plants that can tolerate shade.
And of course, you need to know your climate zone. You can easily find the USDA Plant Hardiness Zone map with a quick online search. It tells you the average coldest winter temperature in your area so you can choose plants that will survive. But a heads-up: the map doesn’t tell you about summer heat, humidity, or rainfall. This is where visiting a local, non-chain nursery is GOLD. The staff there will know which plants truly thrive in your specific microclimate.
My Go-To Perennials for a Killer Garden
After years of experimenting, I’ve got a roster of reliable, low-maintenance plants that are the foundation of a great garden. Here are a few of my favorites and, more importantly, how to use them correctly and avoid common mistakes.
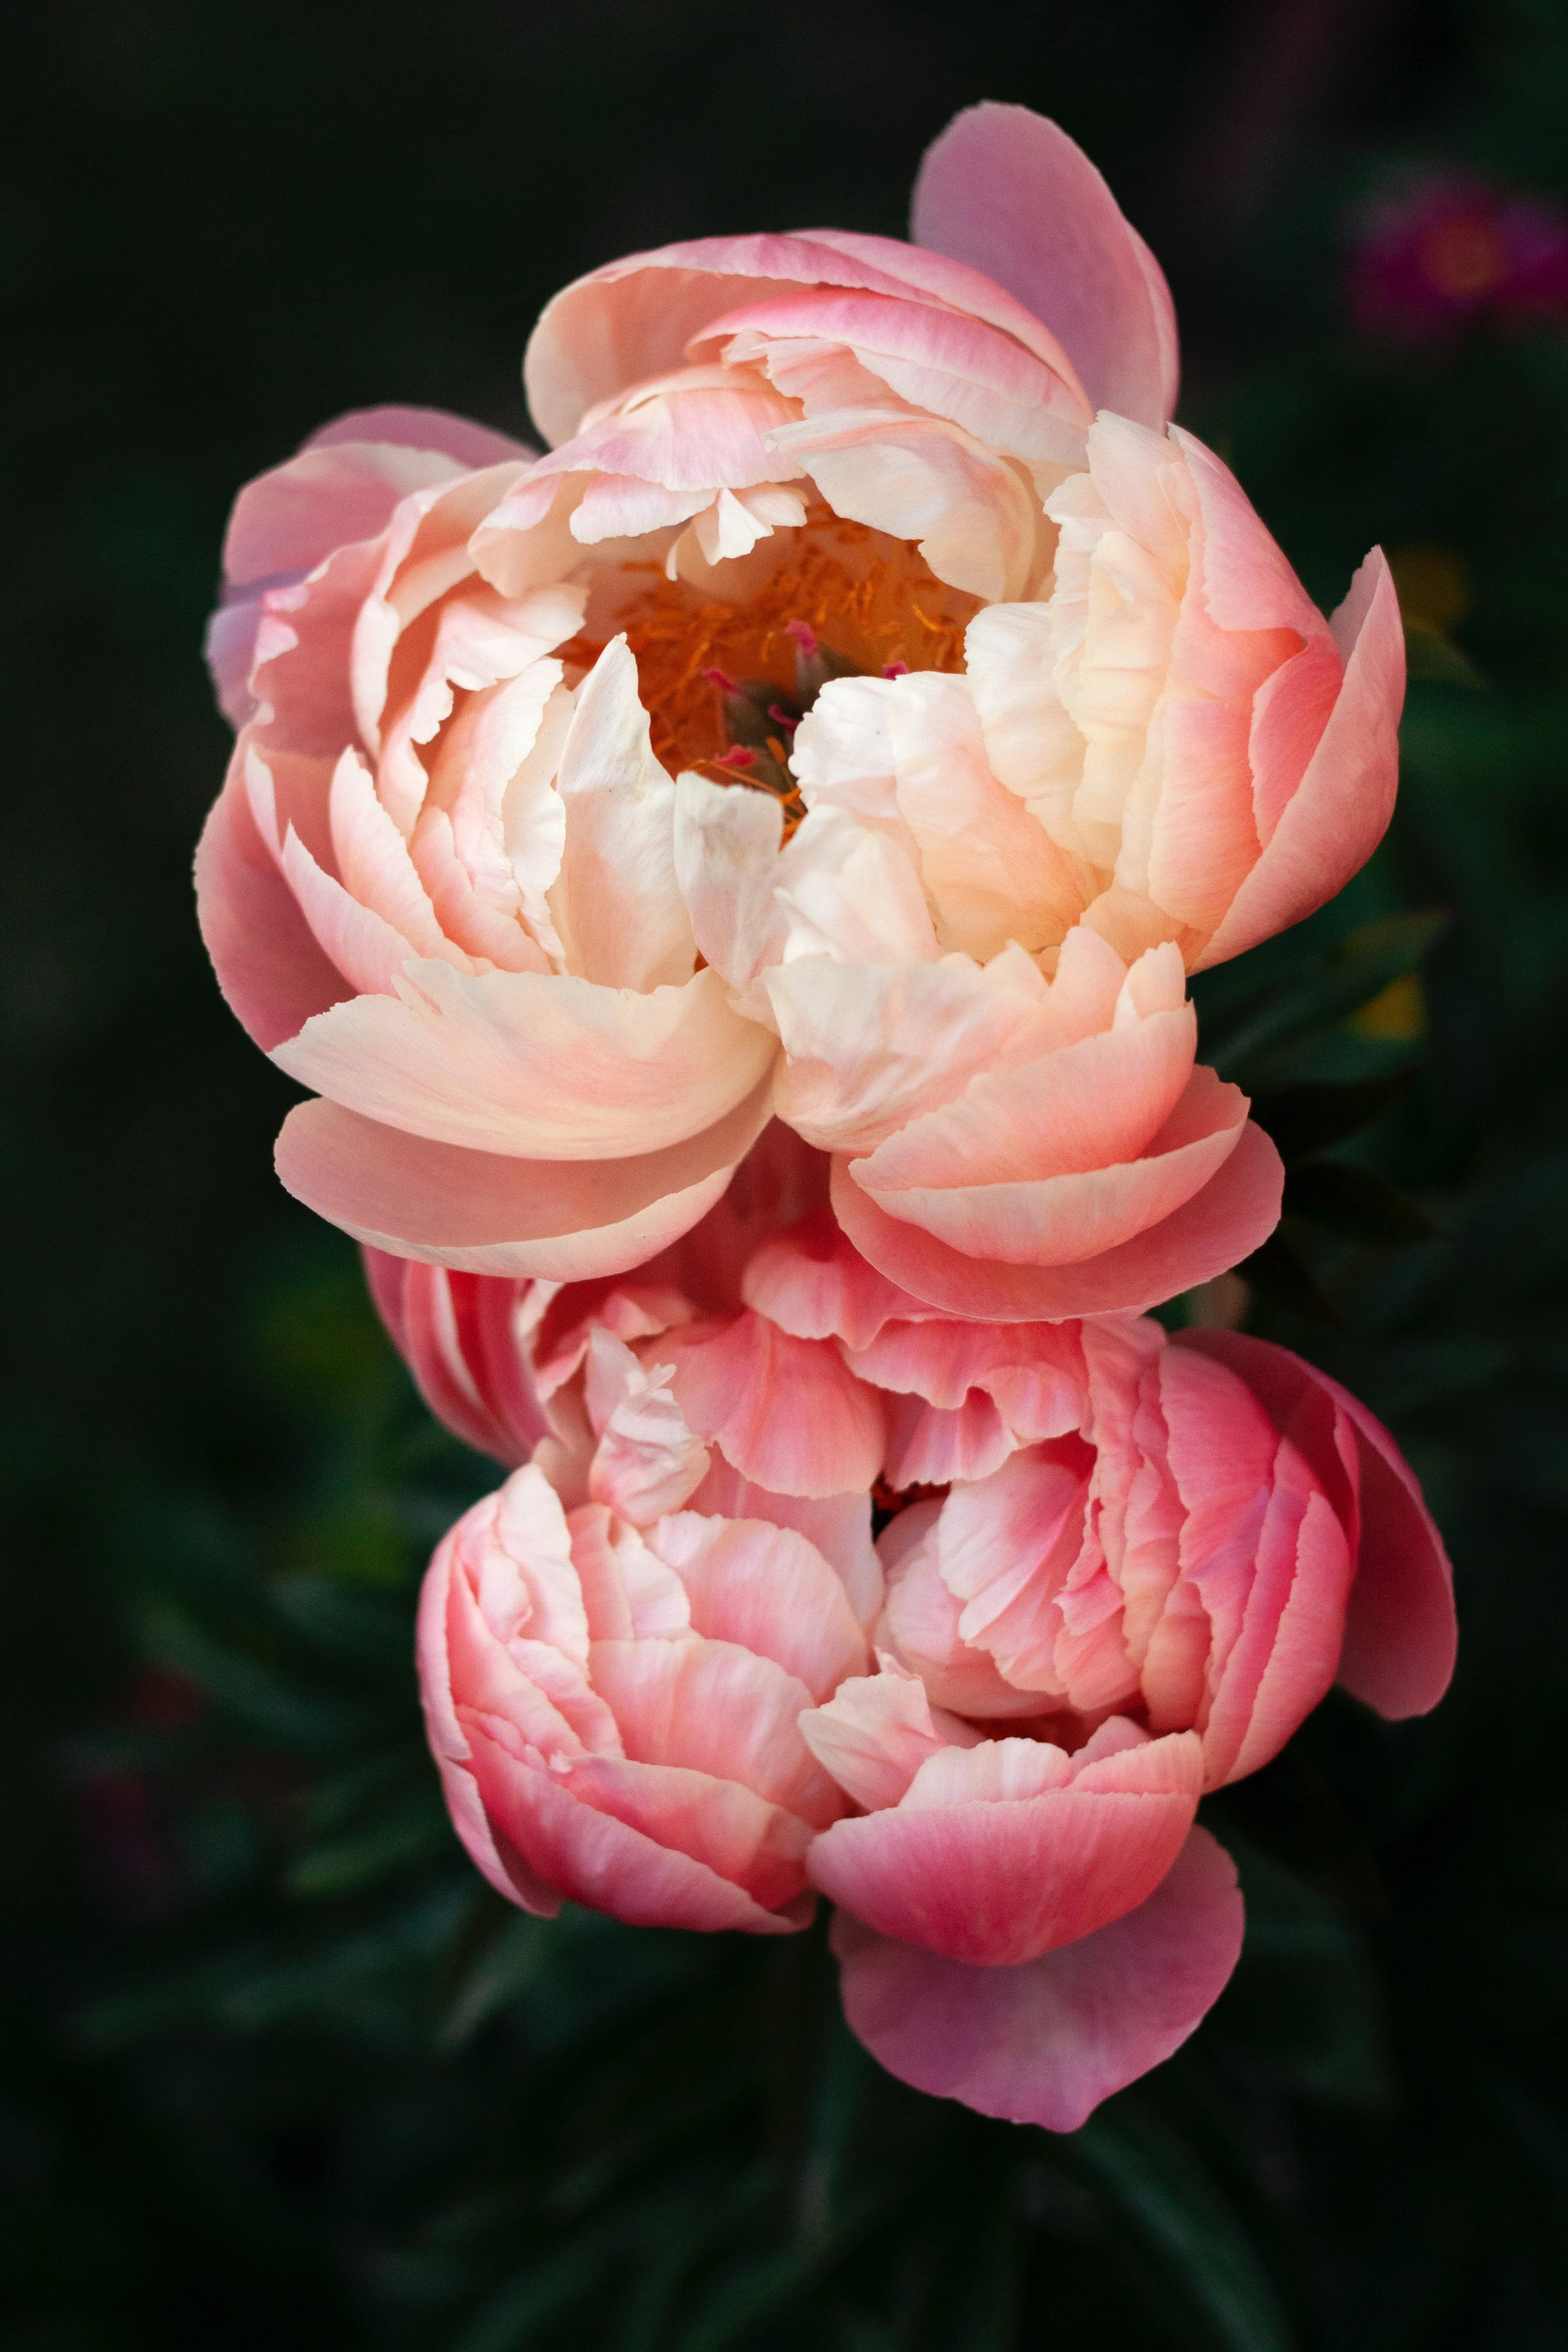
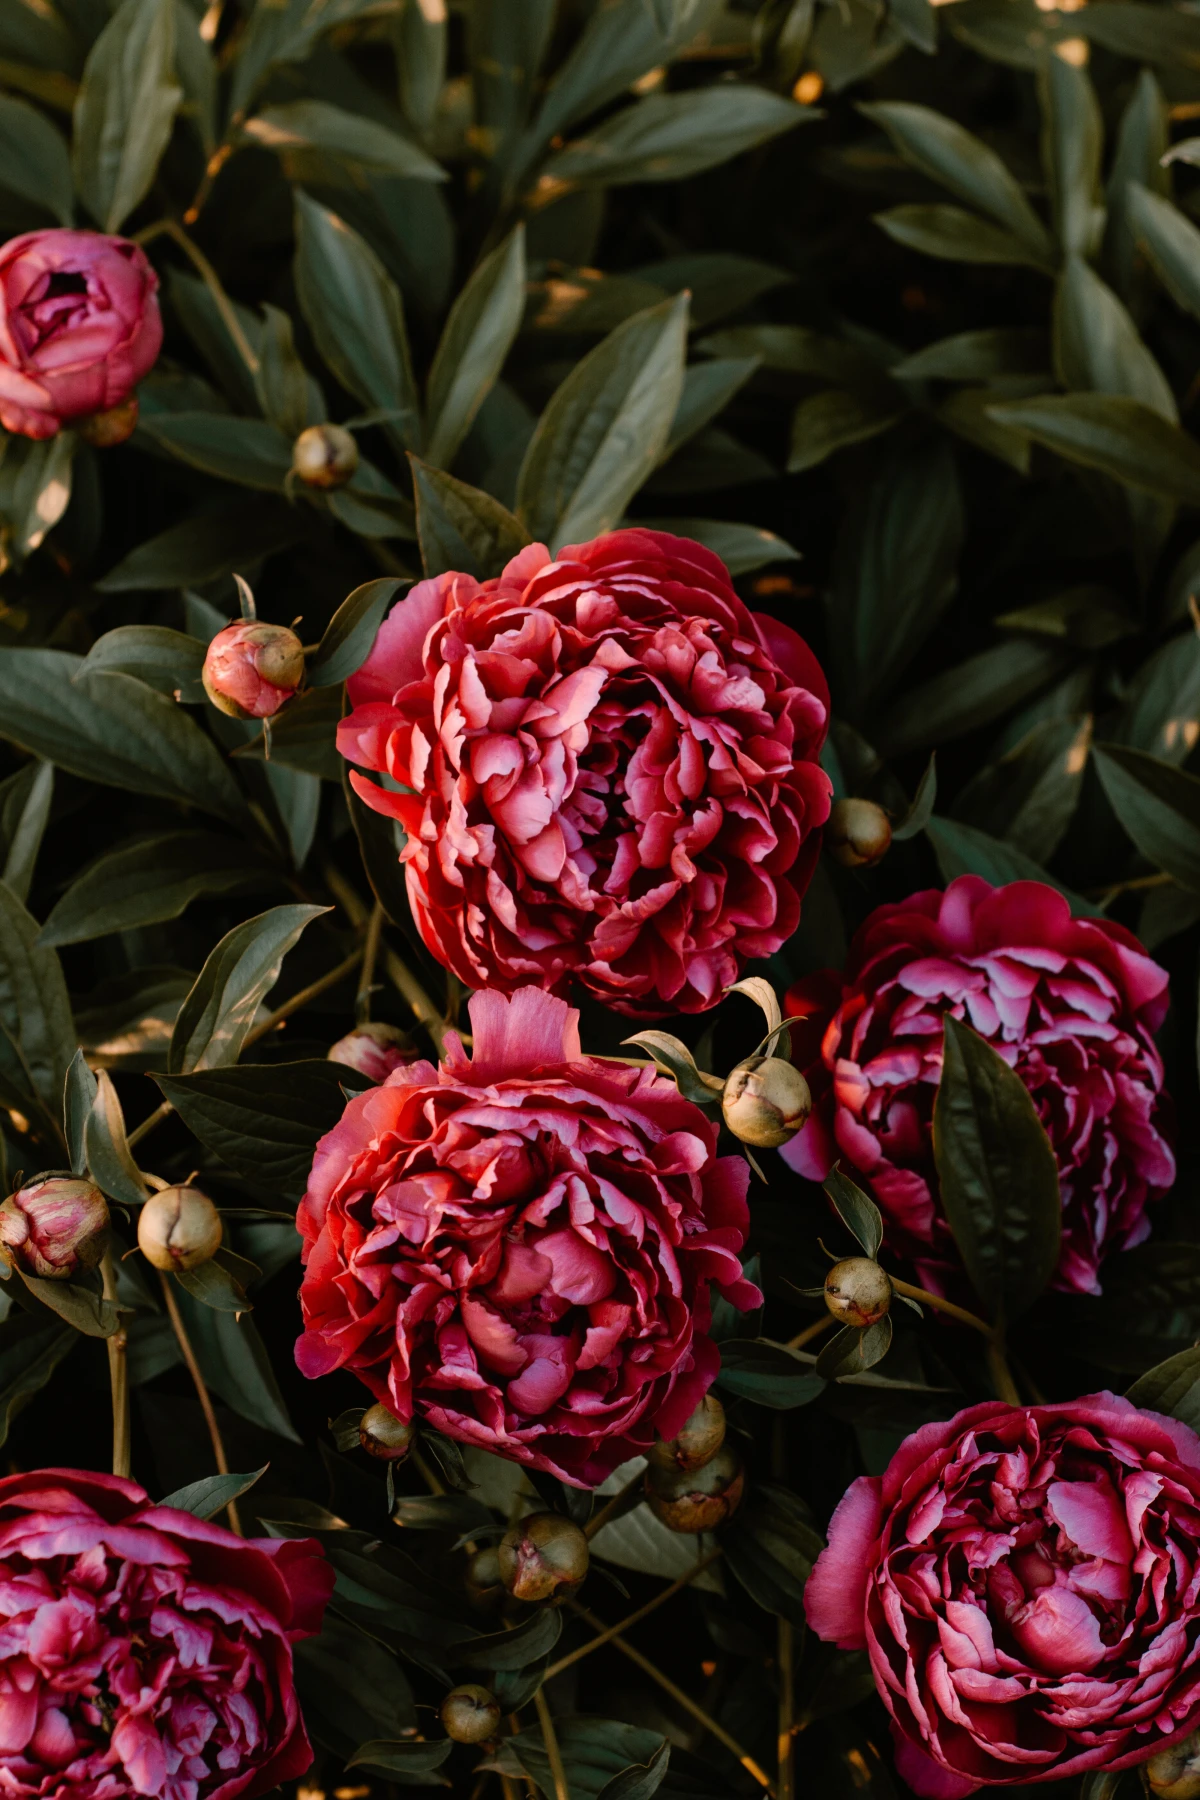
1. The Peony: A True Heirloom
Peonies are the definition of a long-term investment. Plant one correctly, and it could easily outlive you. They offer huge, fragrant blooms and handsome leaves that look good all season. A healthy 1-gallon plant might set you back $25 to $50, but it’s a worthy splurge.
- Pro Tip: Planting depth is EVERYTHING. The little pink growth buds (called “eyes”) on the root must be planted no more than 2 inches deep. Any deeper, and you’ll get a gorgeous bush with zero flowers. I’ve “fixed” so many flowerless Peonies just by digging them up in the fall and replanting them higher.
- Good to Know: Don’t freak out about the ants on Peony buds! They’re just sipping a sweet nectar the buds produce and aren’t hurting a thing. They might even be protecting the bud from other pests.
- Heads Up! Peonies hate being moved. Give them a spot with good air circulation (at least 3 feet of space from its neighbors) and expect them to take up to three years to really hit their stride. Patience is key.
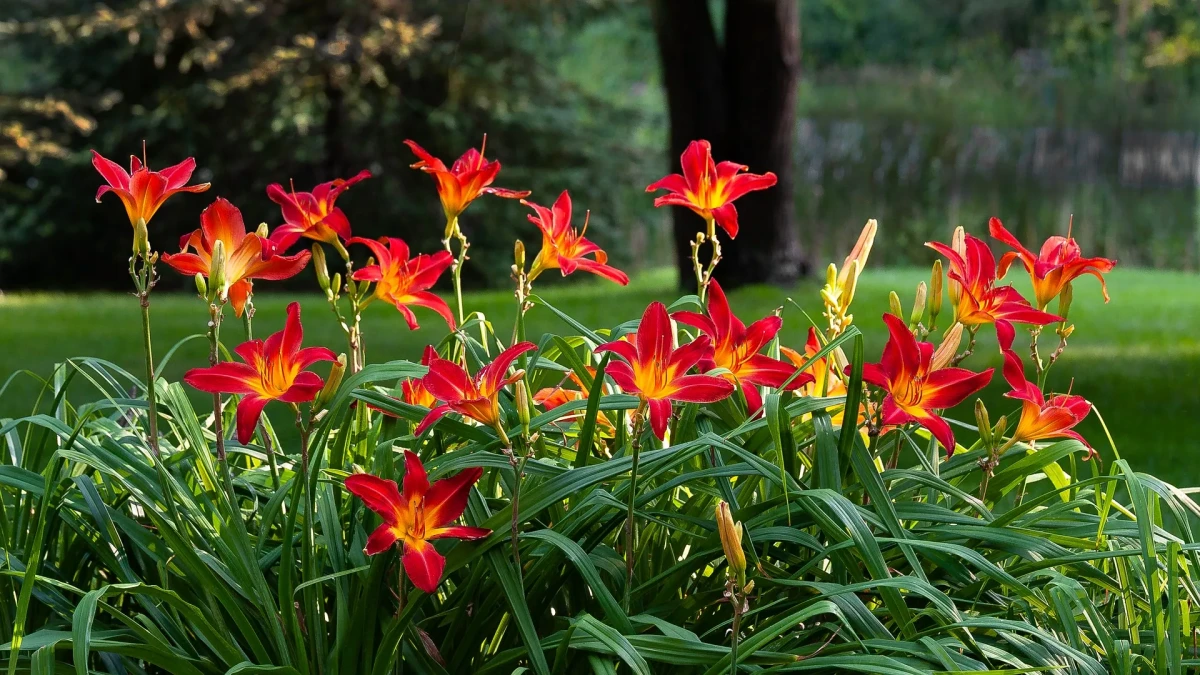
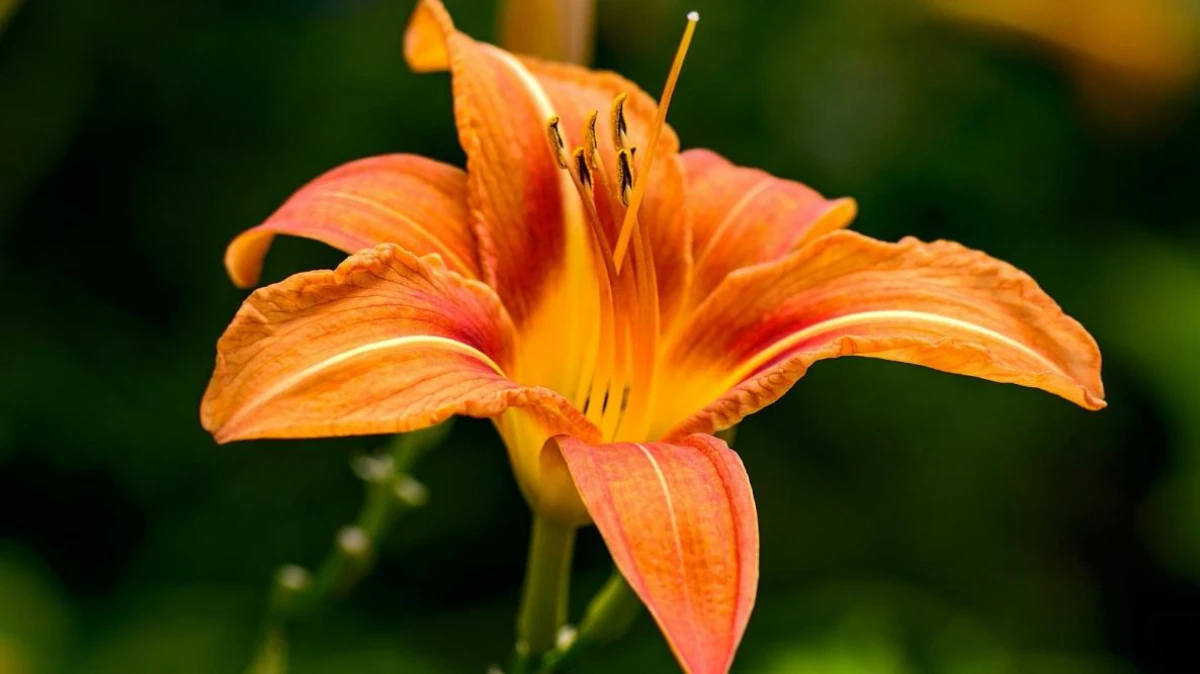
2. The Daylily: The Workhorse Flower
Daylilies are often called the “perfect perennial” for a reason. They’re tough, handle most soils, and are drought-resistant once they’re established. You can find a solid variety for about $15 to $25 at most nurseries.
- My Experience: There are thousands of types out there. The classic, simple yellow ‘Stella de Oro’ is nearly indestructible. Some of the newer, super-frilly hybrids can be a bit fussier and less vigorous. If you want a truly low-maintenance bed, stick with the tried-and-true varieties.
- To Save Money: After 4 or 5 years, you might see fewer flowers. That means it’s time to divide! Don’t be scared. Just dig up the whole clump in early spring, plop it on a tarp, and use a sharp spade to slice it into a few big chunks—like you’re cutting a tough pizza. Replant the pieces at the same depth, give them a good drink, and boom… free plants!
- Quick Tip: Be careful with the common orange “ditch lily.” It spreads like wildfire and will bully everything else in a mixed bed. Make sure you’re buying a named, clumping variety.
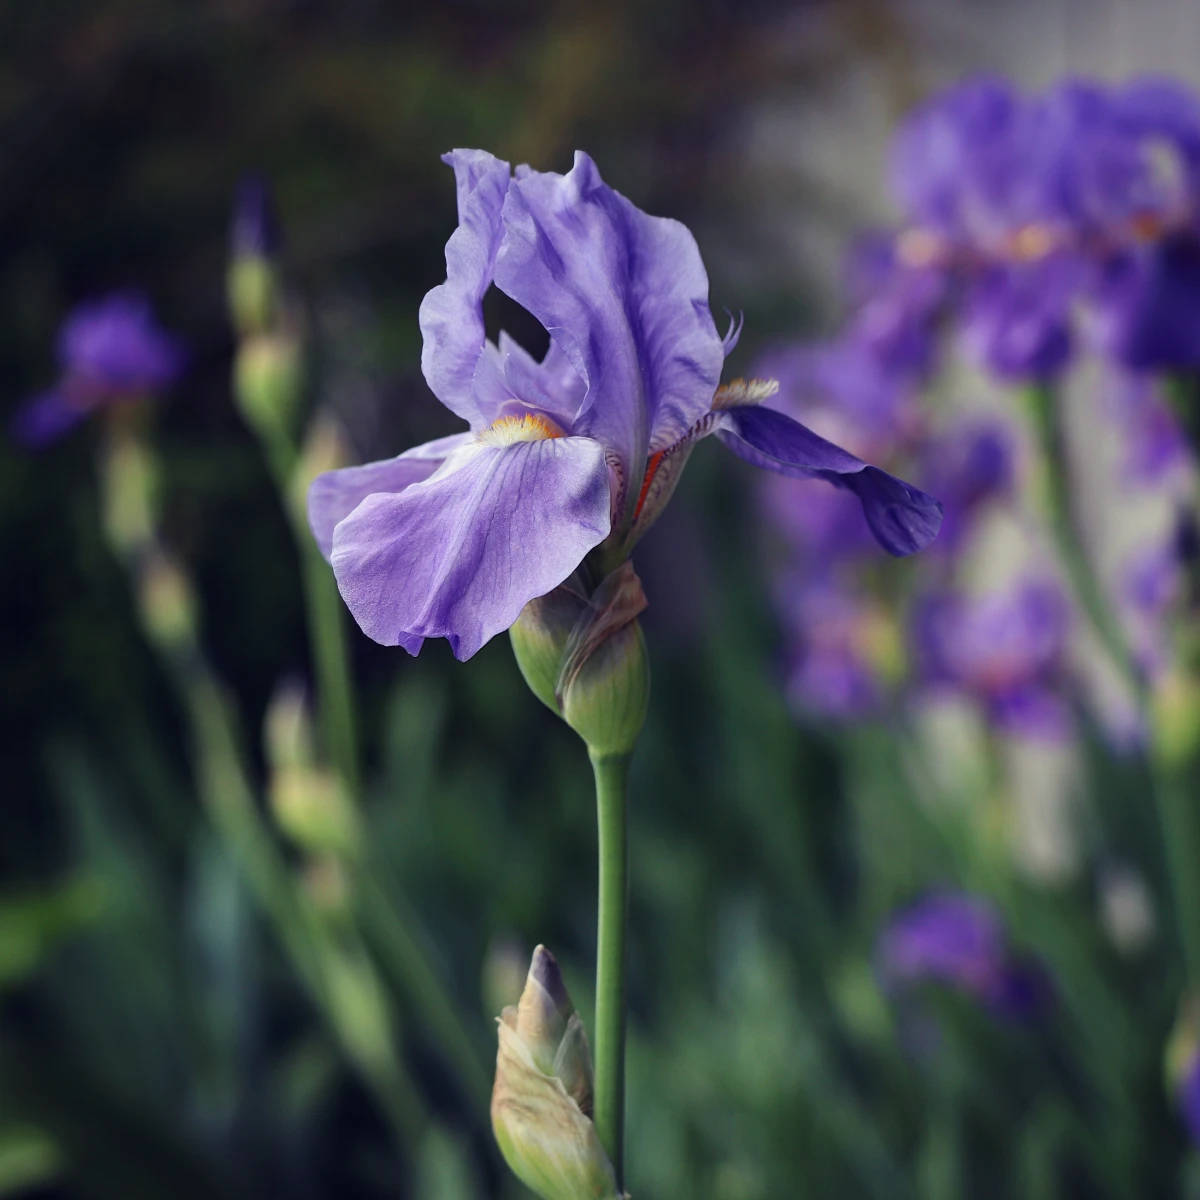
3. The Iris: Know Your Type!
People say “Iris,” but there are two main players with completely opposite needs. Getting this right is crucial.
Bearded Iris are those classic, tall beauties with the fuzzy “beard” on their lower petals. They are sun-worshippers and demand excellent drainage. The absolute key is their fleshy roots, called rhizomes. You have to plant them so the tops of the rhizomes are actually exposed to the sun. If you bury them or cover them with mulch, they will flat-out refuse to bloom. This sun exposure also helps prevent their biggest enemy: the iris borer, a nasty pest that tunnels into the rhizomes. So, keep ’em high and dry!
On the other hand, Siberian Iris are more delicate and graceful, with grassy leaves. Unlike their bearded cousins, these guys prefer consistently moist soil and should be planted about an inch deep, just like a normal perennial. They’re a much better choice for gardens with average or clay-heavy soil, forming elegant, pest-free clumps.
Oh yeah, and a quick safety note: all parts of the Iris plant, especially the rhizomes, are toxic if eaten by pets or people. It’s good to be aware of if you have curious toddlers or dogs.
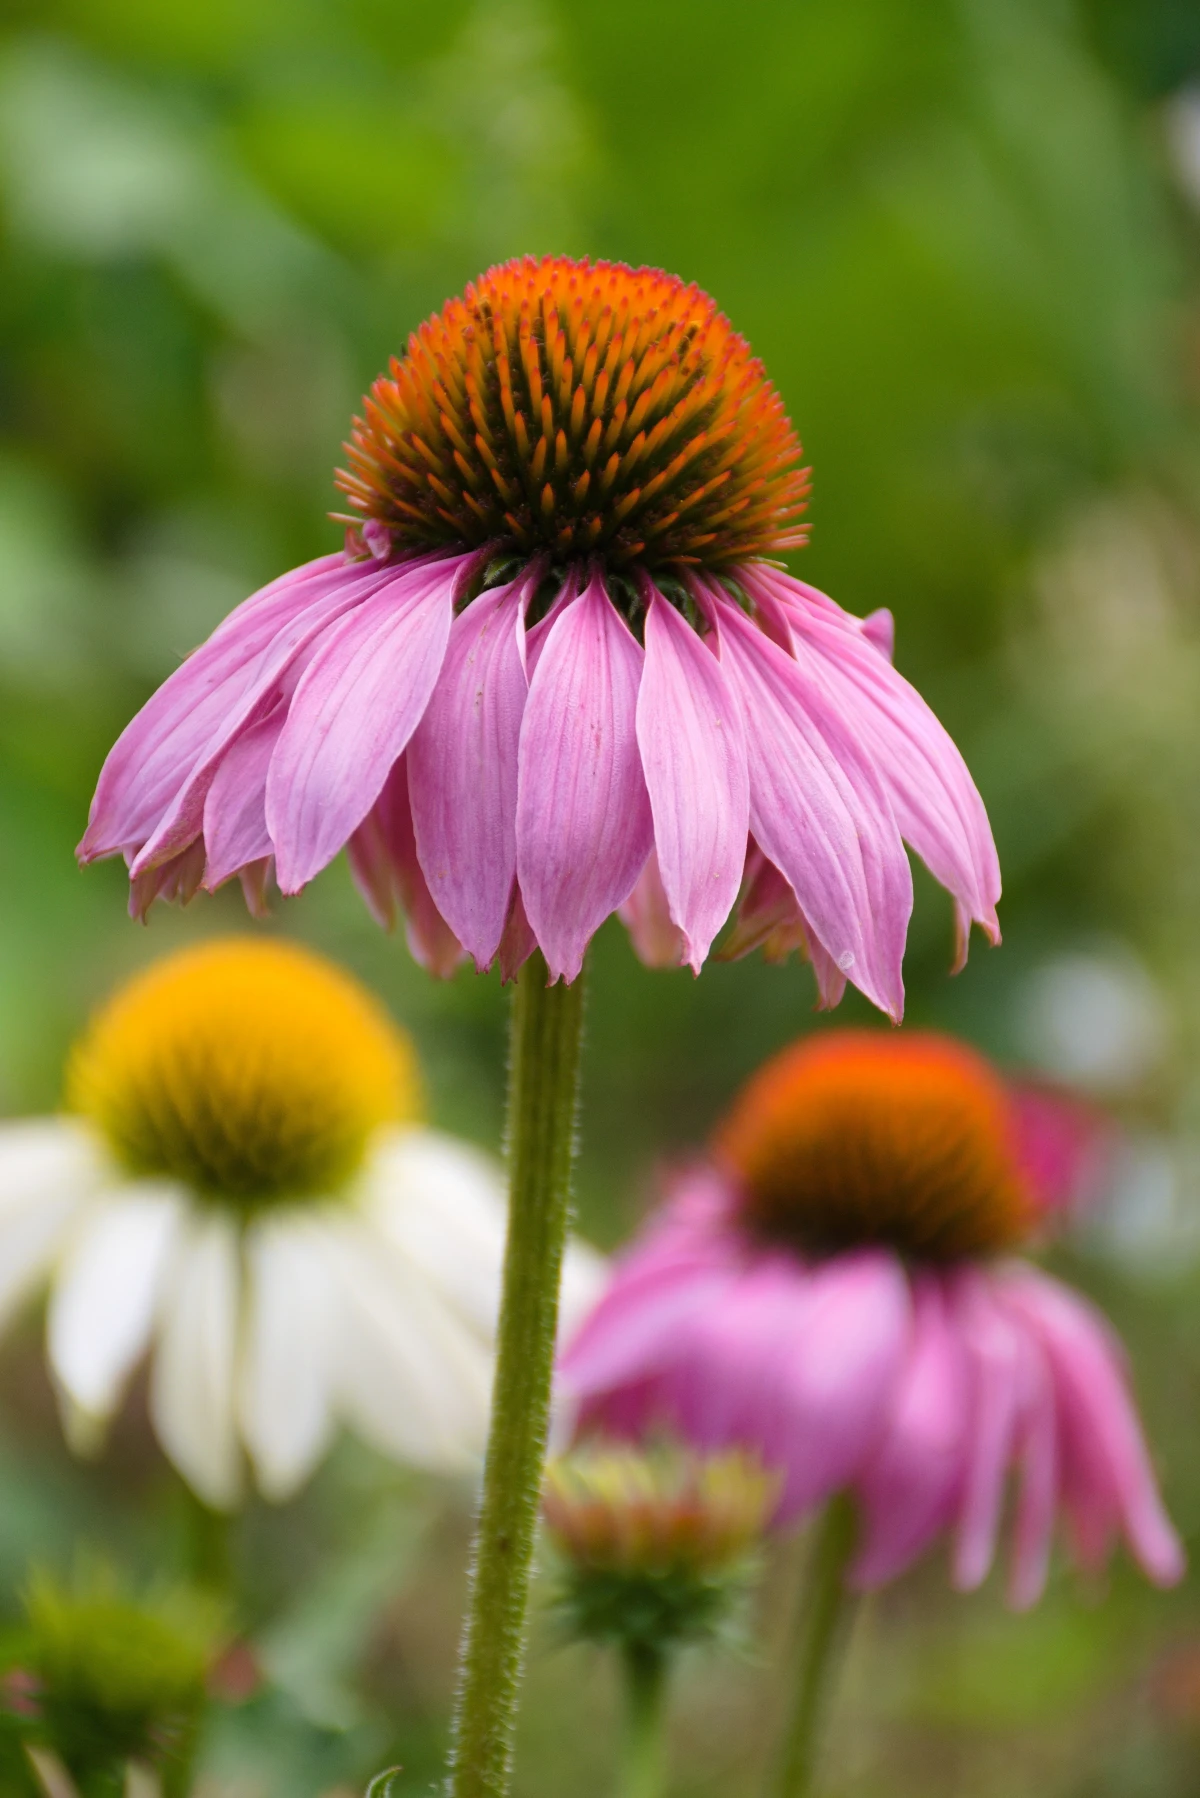
4. The Coneflower: A Summer Superstar
Coneflowers are a cornerstone of the summer garden. They love sun, handle heat, and are a magnet for bees and butterflies. The traditional purple and white varieties are incredibly reliable.
- A Common Mistake: In recent years, breeders went wild creating orange, red, and yellow Coneflowers. They look amazing in the pot, but from my experience, many of these fancy hybrids just aren’t as hardy or long-lived as the classic purple or white varieties. For a garden that lasts, I always recommend sticking to the classics.
- Lesser-Known Trick: Don’t be in a rush to cut them down in the fall! The dried seed heads look beautiful catching winter snow and provide a critical food source for goldfinches and other birds.
- Troubleshooting: That white, dusty film on the leaves? It’s powdery mildew, and it’s usually caused by poor air circulation. When you plant, give each Coneflower a good 18-24 inches of personal space to prevent it.
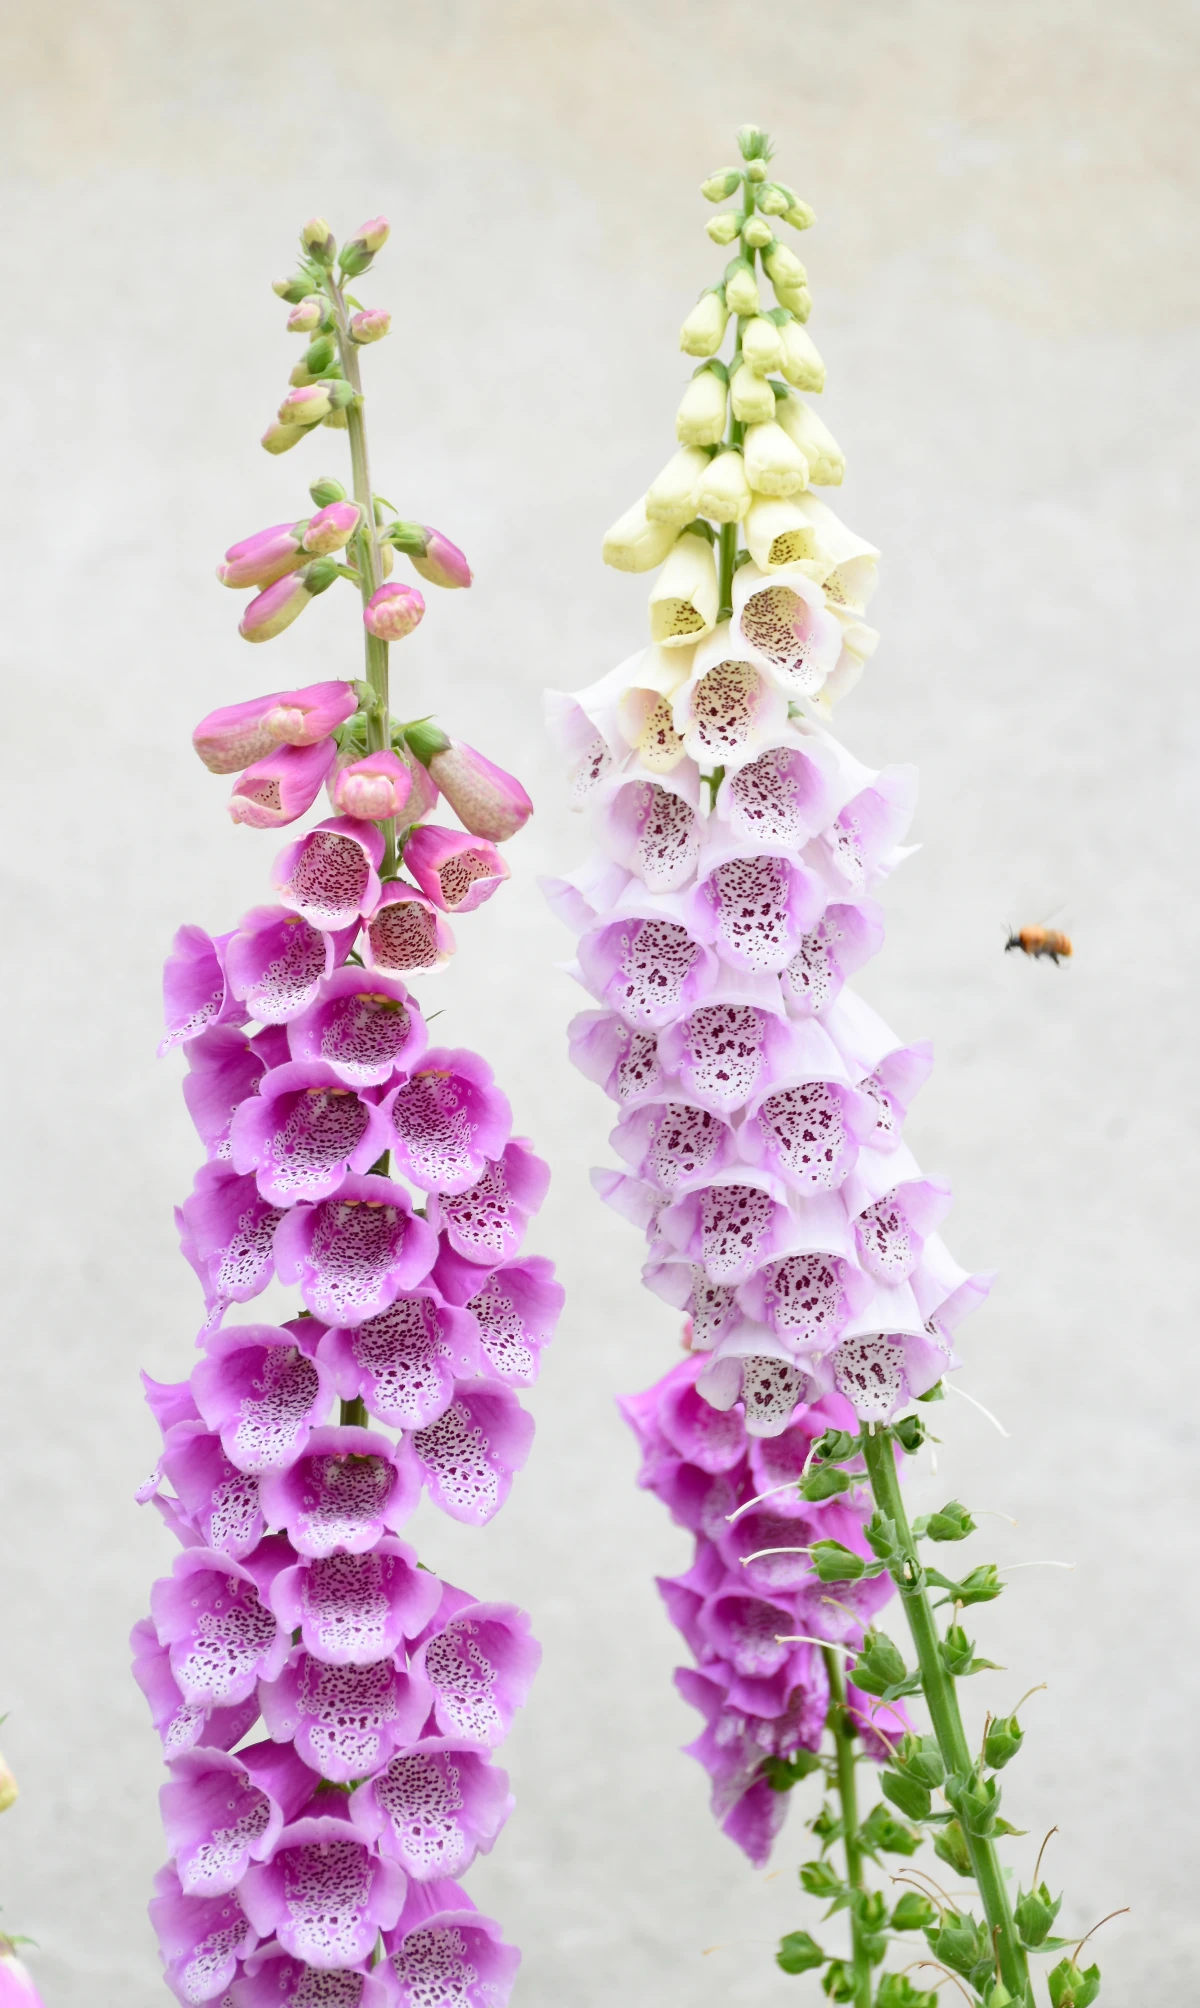
5. The Foxglove: Beautiful but Be Warned
Foxgloves add incredible height and drama to a garden, but they come with two huge disclaimers. First, all parts of the plant are highly toxic if ingested. They contain a potent heart medication. To be frank, I don’t recommend them for gardens where small children or pets play unsupervised. It’s our job as gardeners to be aware of these risks.
Second, the common Foxglove is a biennial, not a true perennial. This confuses so many people! It grows a clump of leaves in year one, then flowers and dies in year two. To get flowers every year, you have to let them drop seed or plant new ones each spring to create an overlapping cycle.
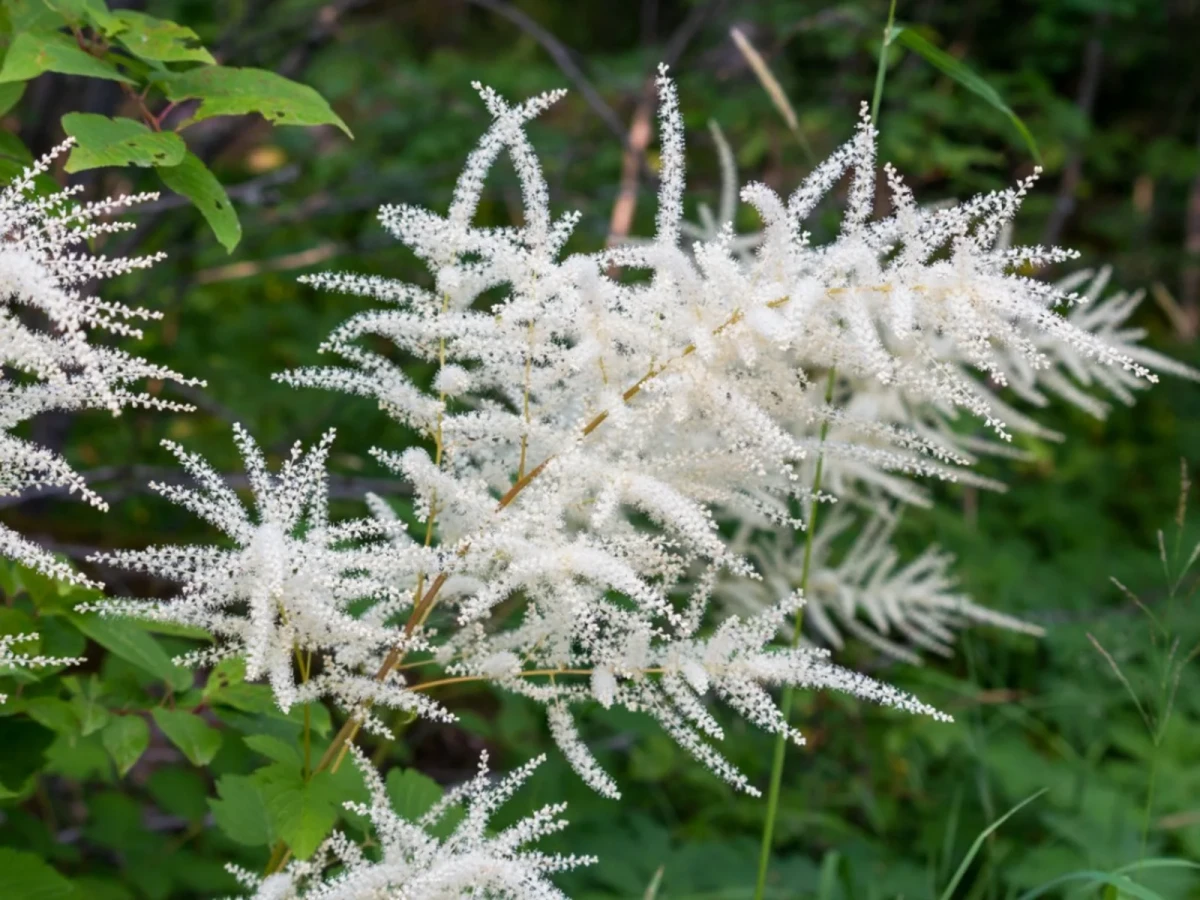
6. The Goatsbeard: The Shade Garden MVP
For those shady, moist spots where nothing seems to grow, Goatsbeard is a lifesaver. It has feathery, cream-colored plumes and attractive, ferny foliage. Plus, deer and rabbits seem to hate it, which is a massive bonus.
The standard variety can get huge—like 6 feet tall. For most gardens, that’s a bit much. I almost always use the dwarf variety instead. It has the same look and feel but stays at a perfectly manageable 12 inches tall. It’s a great example of choosing the right plant for the right scale.
Level Up: Pro Techniques for a Mature Garden
Once your garden is humming along, a few simple tricks can keep it looking amazing.
The “Chelsea Chop”
This is a brilliant pruning trick for late-blooming perennials like Asters, Sedum ‘Autumn Joy’, Monkshood, or Garden Phlox. In late spring, cut the whole plant back by about one-third. This forces it to grow bushier and sturdier, so it won’t flop over later. It also delays flowering by a week or two. You can even get creative and only chop the front half of a large clump, creating a cool tiered blooming effect.
Deadheading and Dividing
Deadheading is just snipping off spent flowers. On some plants, it encourages more blooms and keeps things looking tidy. But as we talked about with Coneflowers, sometimes leaving the seed heads is a better move for wildlife and winter interest.
And division is the key to keeping your plants young and vigorous. When you see a dead patch in the center of a clump of grass or your Daylilies aren’t blooming as much, it’s time to divide. It’s the ultimate act of renewal and saves you money. For most perennials, I plan on doing this every 3 to 5 years.
Final Thoughts: Just Be Patient
A successful perennial garden isn’t something you buy; it’s a living system you guide. The biggest mistake I see is impatience. Everyone wants that lush, full look in the first season, but that’s what annuals are for. Perennials follow the old saying: the first year they sleep, the second they creep, and the third year they leap.
So spend time in your garden. Watch it. A drooping leaf in the hot afternoon might just be heat stress, not a sign it needs more water. Yellowing leaves could be a sign of overwatering, not a disease. Your best tools will always be your eyes and your hands. A garden is a journey, and the best ones are always built on a foundation of knowledge, a bit of sweat, and a whole lot of patience.
Inspiration:
A successful perennial garden is 90% planning and 10% planting.
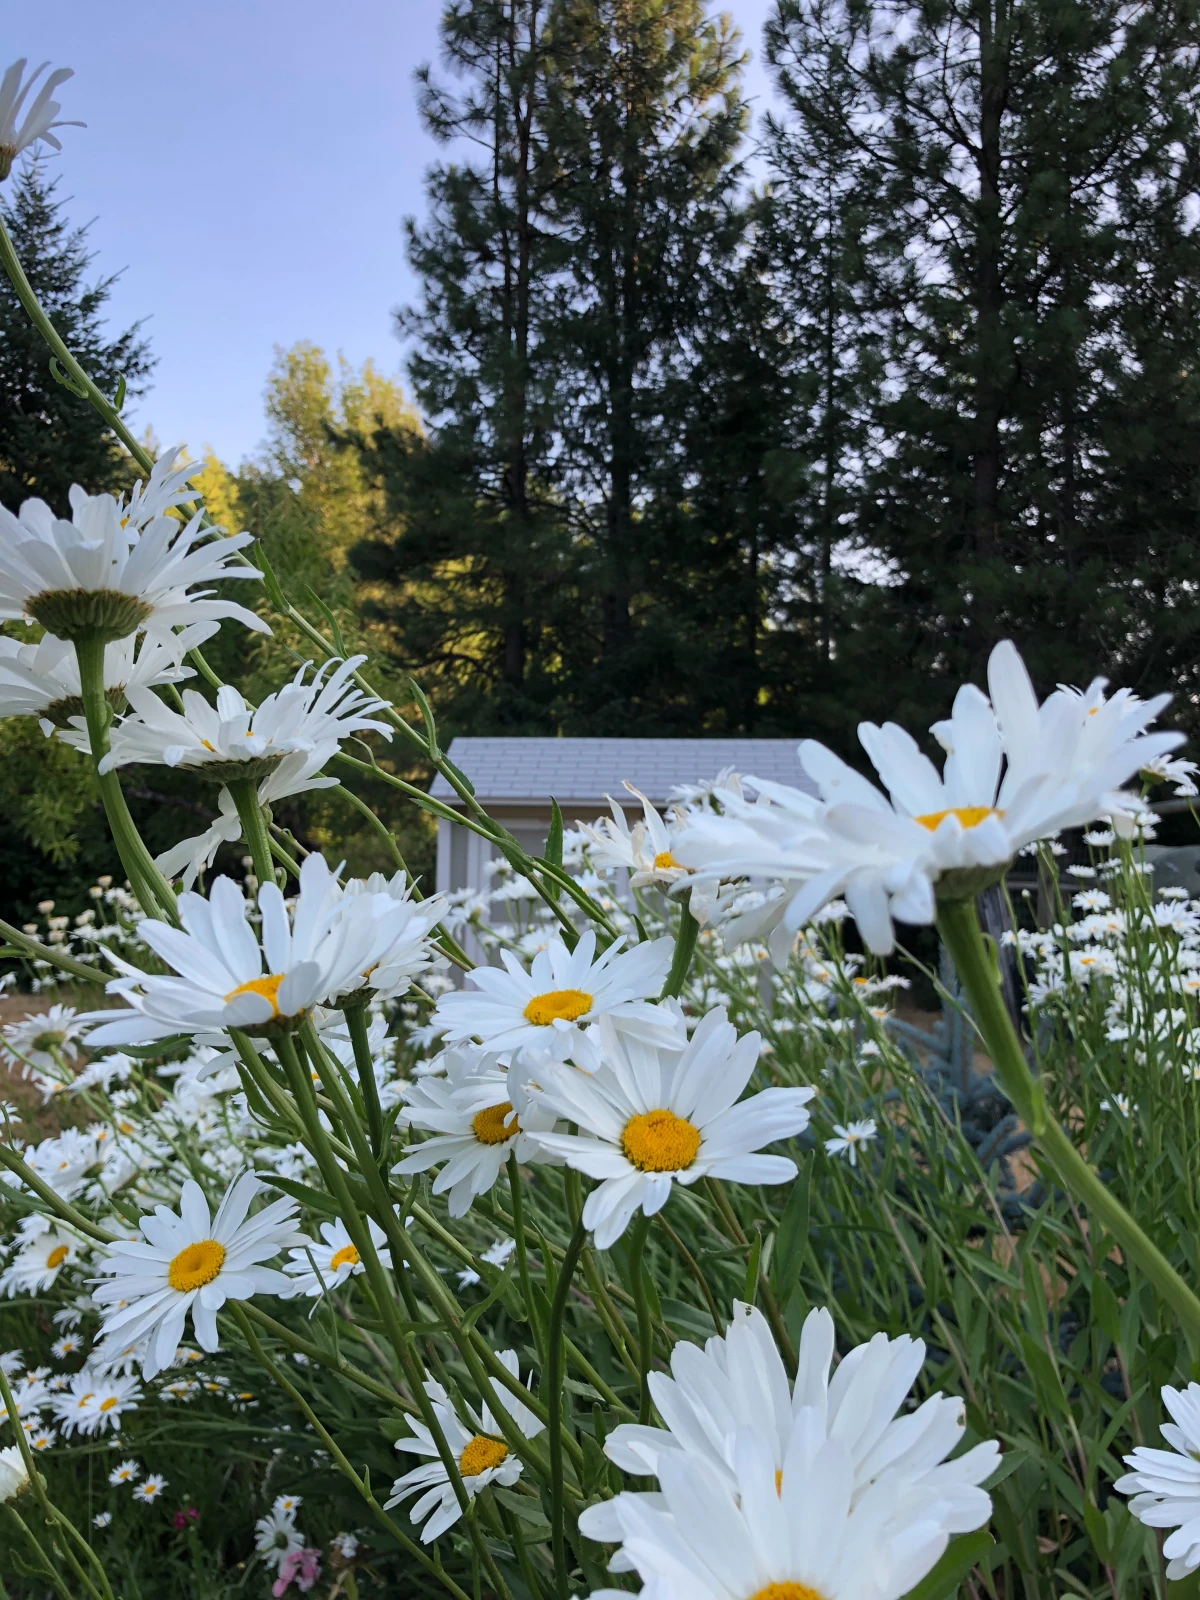
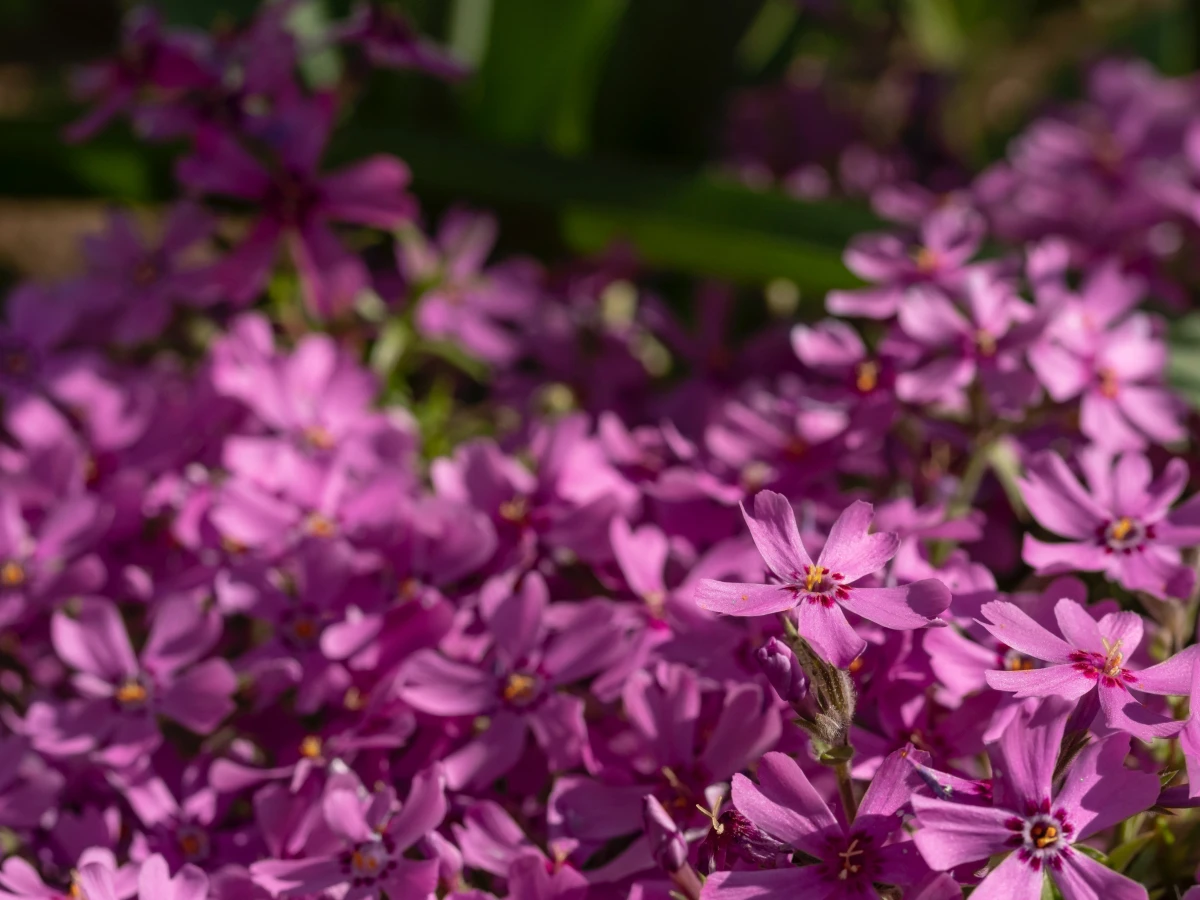
This principle is key to achieving continuous blooms. Instead of planting for a single burst of color, think in waves. Combine early bloomers like Creeping Phlox and Bleeding Hearts with mid-summer stars like Shasta Daisies and Coneflowers. Then, weave in late-season performers such as Asters and Sedum ‘Autumn Joy’ to carry the show until the first frost. This staggered approach ensures there’s always something captivating your eye, turning your garden into a living calendar.
Beyond the blooms, how do you create that lush, full look?
The secret is varying foliage textures. The most stunning perennial beds contrast different leaf shapes and sheens. Pair the fine, airy fronds of a fern with the bold, waxy leaves of a Hosta. Set the silvery, soft foliage of Lamb’s Ear (*Stachys byzantina*) against the spiky, sword-like leaves of a Siberian Iris. This textural interplay provides deep visual interest even when nothing is in flower, making your garden feel complete and thoughtfully designed throughout the entire season.


