The Real Reason Pros Use Sand on Lawns (And How You Can, Too)
I’ve spent more years than I can count with my hands in the dirt, starting my career on sprawling golf courses in the hilly parts of the country. Out there, you learn one thing really fast: a stunning lawn is all about what’s happening beneath the surface. We were obsessed with managing water, air, and soil, and one of our best tools, believe it or not, was good old-fashioned sand. But—and this is a big but—we used it with a clear purpose, not just dumping it and hoping for the best.
In this article
So many homeowners I chat with have heard whispers about sanding a lawn, a practice the pros call topdressing. Some think it’s a silver bullet for every lawn problem, while others have heard horror stories about it turning a yard into a concrete slab. Honestly, the truth is parked right in the middle. Used correctly, topdressing with sand can be a game-changer for lawns with heavy clay soil, terrible drainage, or serious compaction. Done wrong? Yeah, it can cause a whole new set of headaches.
Before we dig in, let’s get one thing straight: sand is not fertilizer. It has virtually zero nutrients. Its job is purely physical—it’s all about changing the soil’s structure. If anyone ever tells you to use sand to feed your lawn, you have my permission to politely ignore them. My goal here is to pull back the curtain and show you how to think about this like a pro.
First Things First: Know Your Dirt
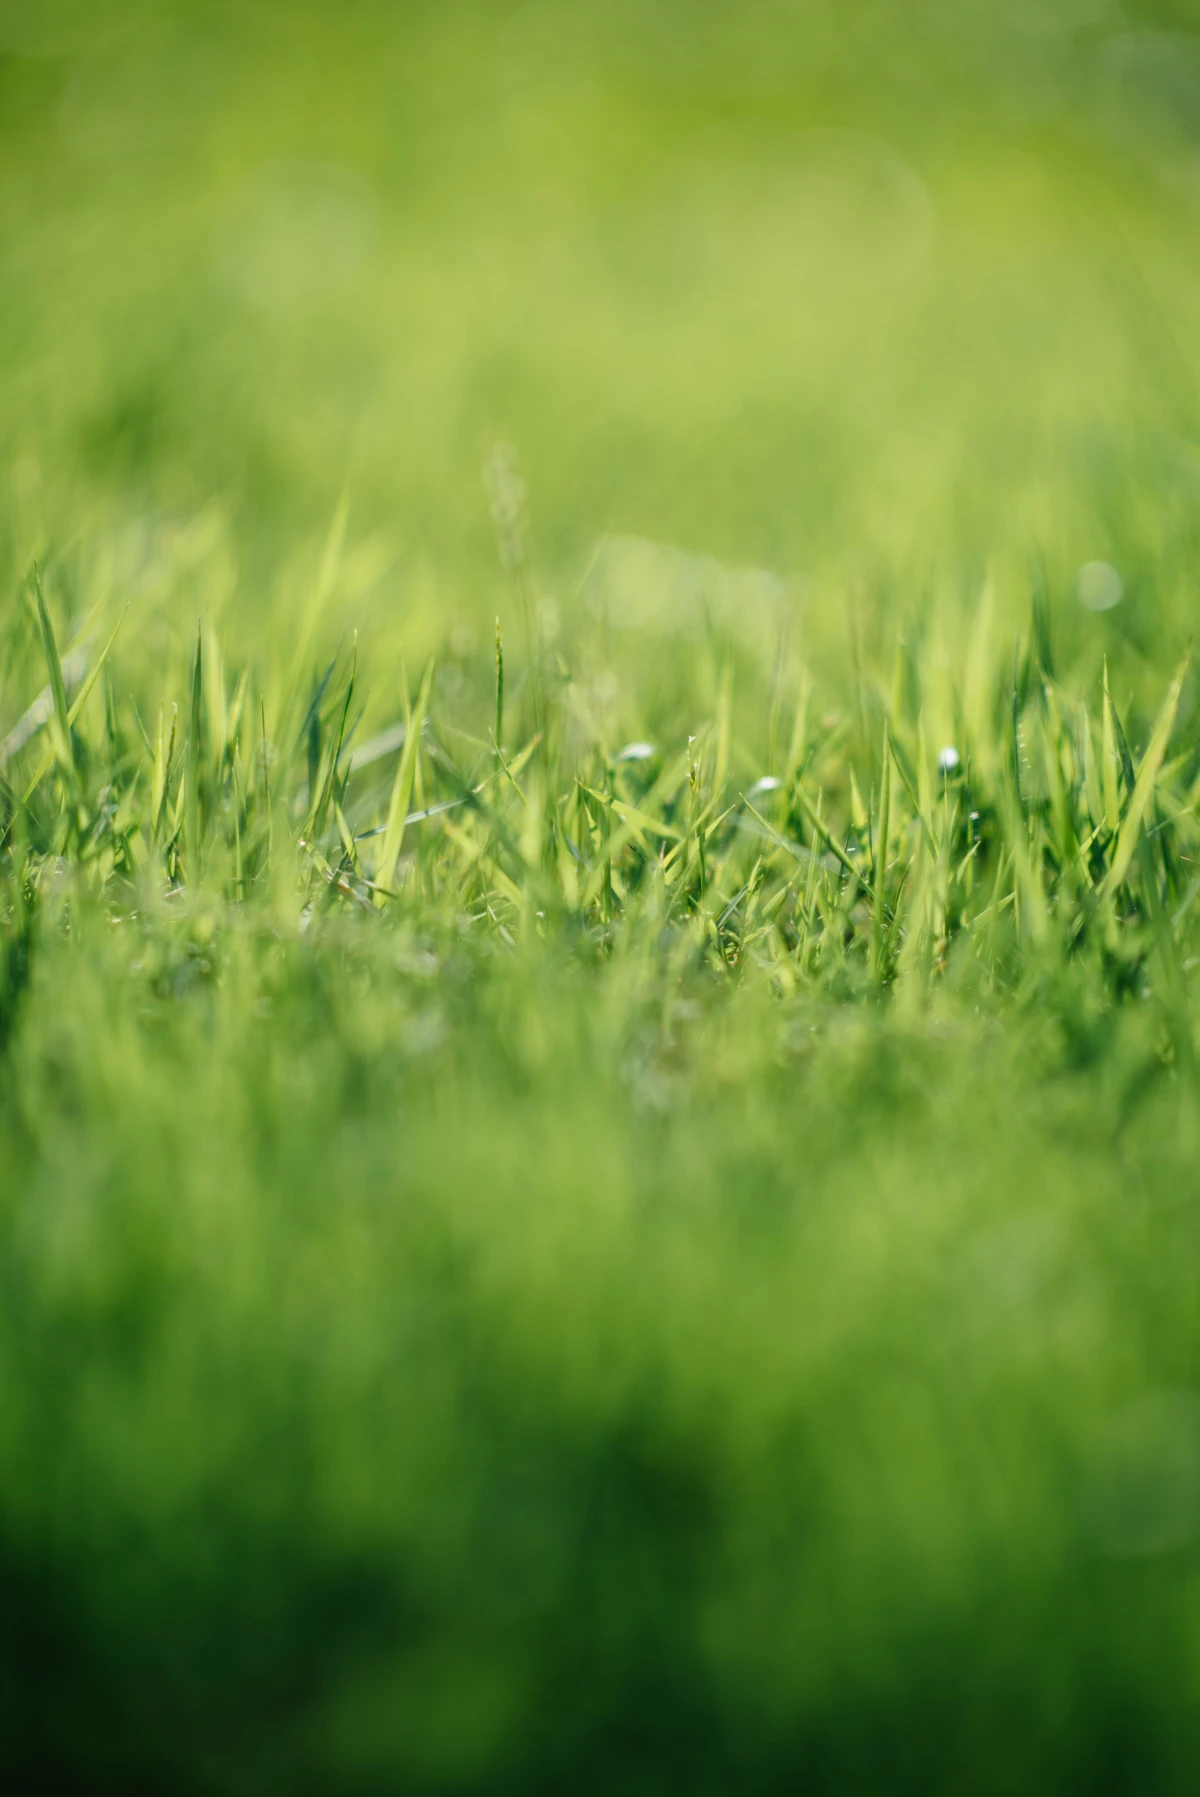
To get why sand can be so helpful, you first have to understand what you’re working with. Your soil is a mix of tiny mineral particles (sand, silt, and clay), organic stuff, water, and air. The ratio of those mineral particles is what gives you your soil’s texture, and that texture controls everything.
Think of it this way: a jar full of marbles has big gaps between them. Water would rush right through. That’s like sandy soil—it has great drainage but doesn’t hold onto water or nutrients very well. Now, picture a jar filled with flour. It can soak up a ton of water, but that water isn’t going anywhere fast. That’s heavy clay soil. When it’s wet, roots can drown from lack of oxygen. When it’s dry, it can get as hard as a brick.
Quick tip: Not sure what you have? Try the simple Soil Jar Test. Grab a clear jar with a lid, fill it about halfway with soil from your yard, and then top it off with water, leaving some air at the top. Shake it like crazy for a minute until all the clumps are gone, then set it on a shelf. Within a few hours, you’ll see distinct layers form. The gritty stuff on the bottom is sand, the silky stuff in the middle is silt, and the fine, cloudy layer on top is clay. If you have a thick clay layer, you’re a prime candidate for topdressing.
The Big Sanding Mistake That Creates Concrete
Here’s the most important warning I can give you. NEVER, and I mean never, just dump a bunch of sand on heavy clay soil and till it in. It’s a recipe for absolute disaster. When you just add enough sand to fill the tiny gaps between clay particles, you don’t create new pathways for water and air. You create a dense, unforgiving material that’s a lot like low-grade concrete. You’ll make your compaction problem a hundred times worse.
The right way, as we’ll get into, is to pull plugs of soil out first through core aeration. The sand then fills those holes, creating vertical channels that let your lawn breathe and drain. It’s a gradual process, not a one-and-done fix.
Getting the Right Sand is CRITICAL
This is where most DIY projects go wrong. The type of sand you use will literally make or break this project. Please, do not just grab any bag from the big-box store.
- Play Sand? Nope. It’s way too fine, and the particles are often rounded. Fine particles clog up the soil pores you’re trying to open, and the rounded shape lets them pack together tightly, which totally defeats the purpose.
- Mason’s Sand? Also a bad idea. This sand often has fine silt and clay mixed in. You’re trying to dilute the effects of fine particles, not add more of them to the mix!
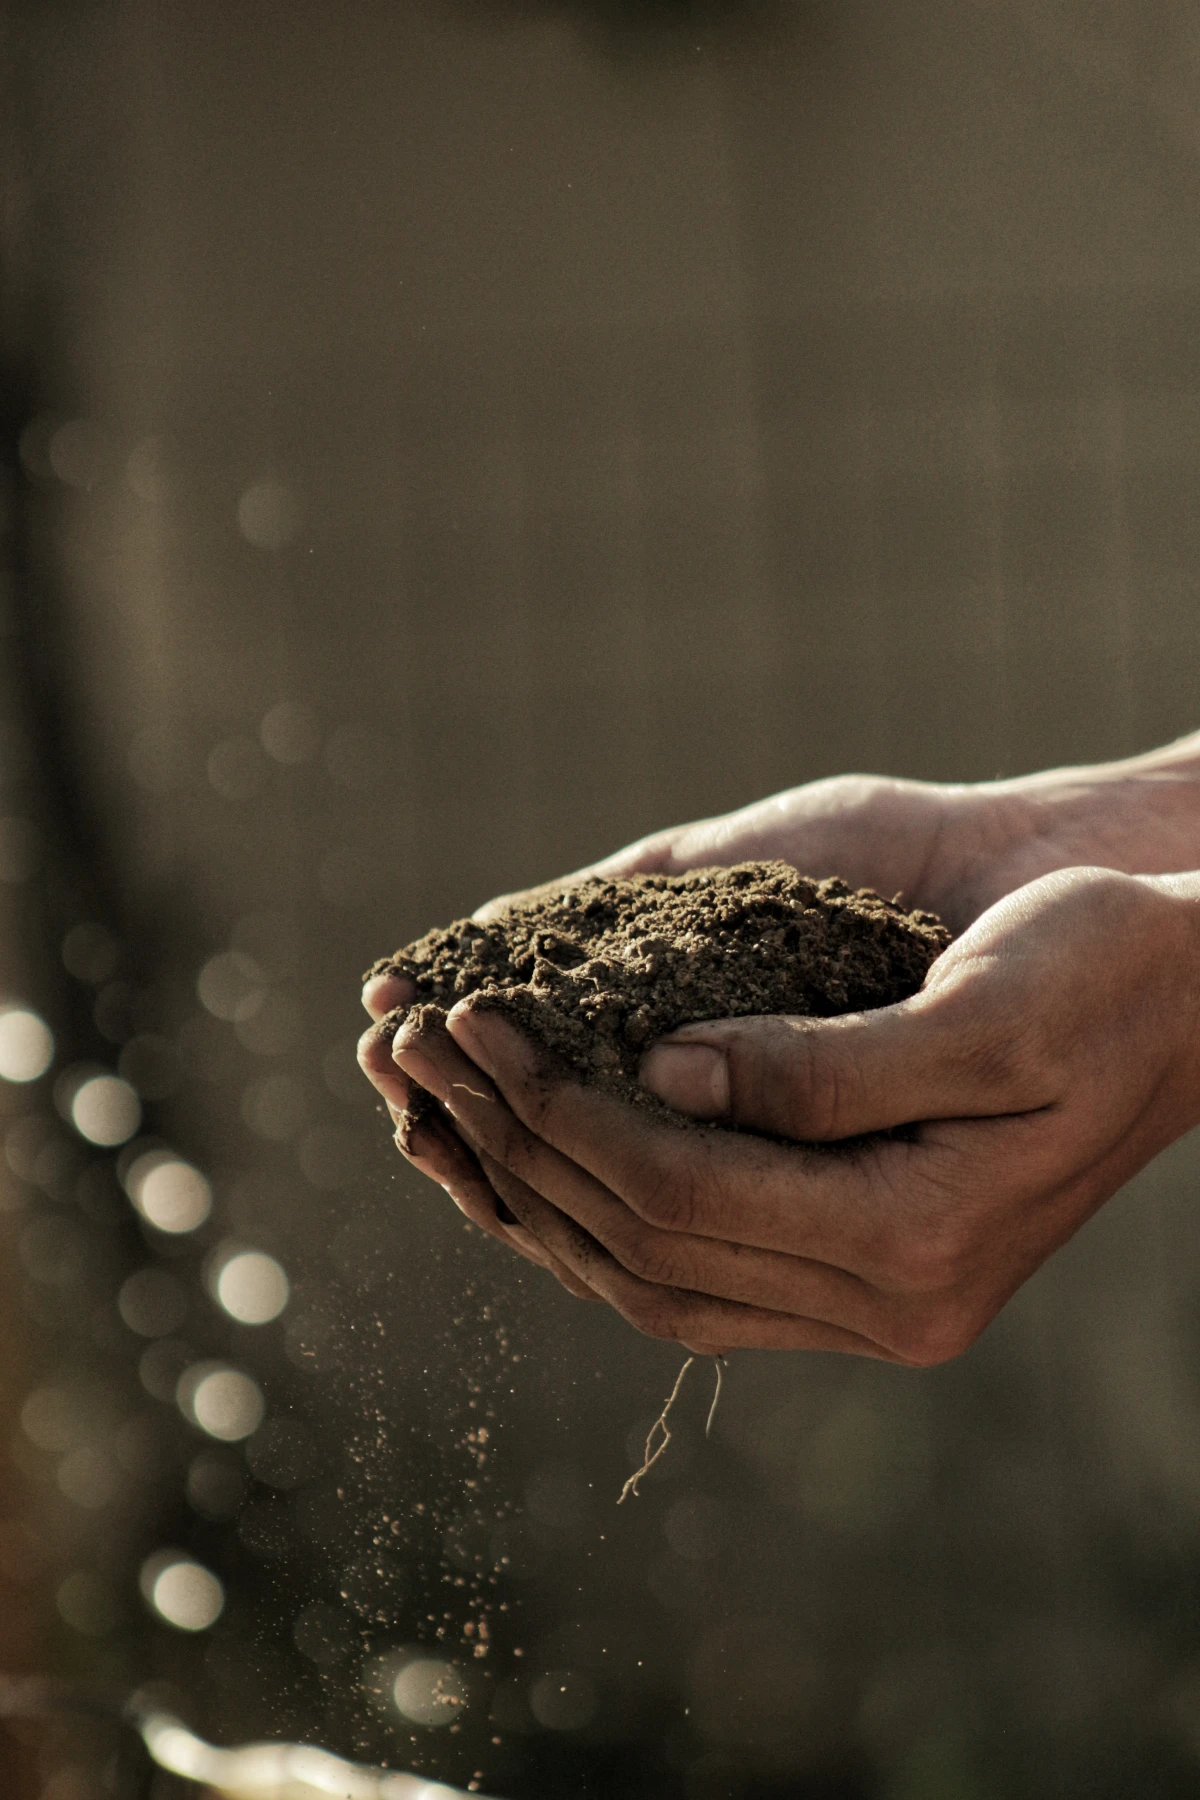
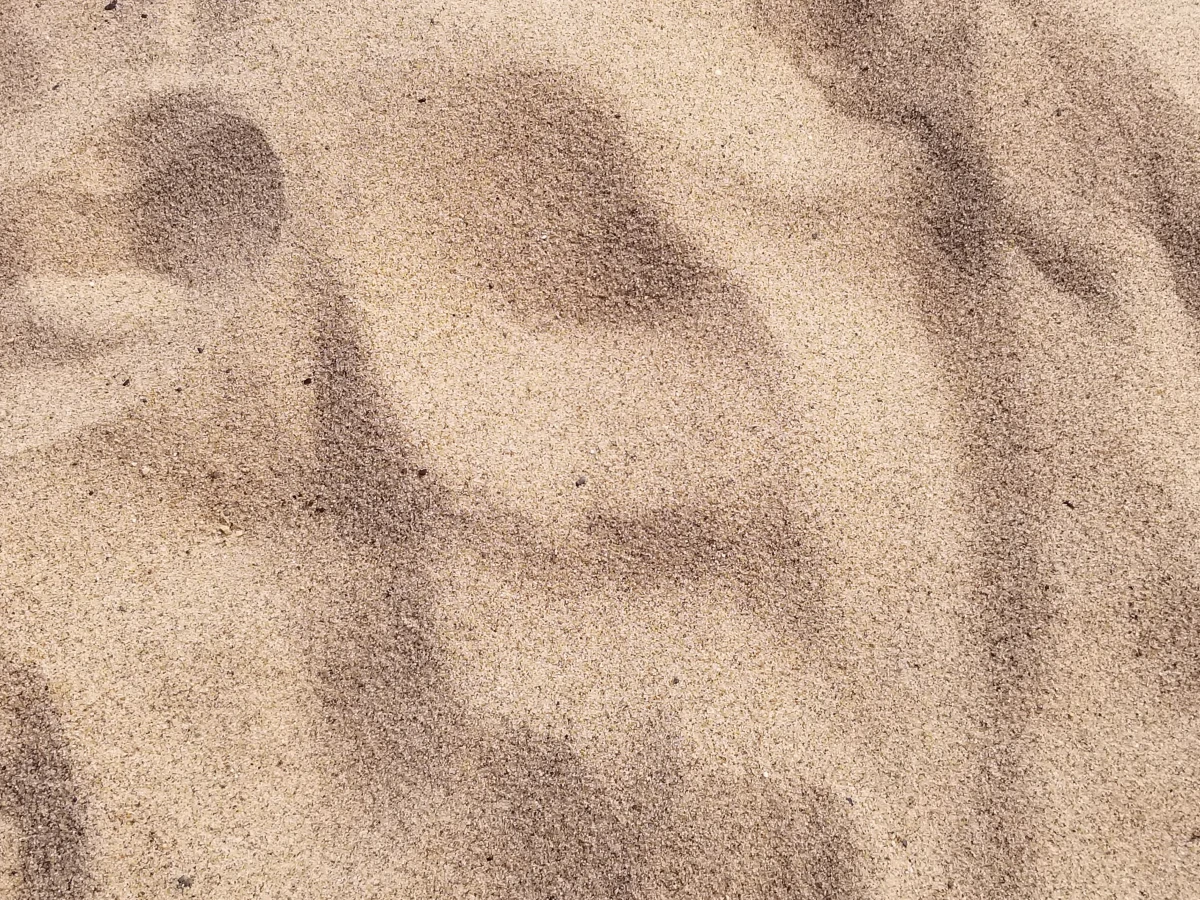
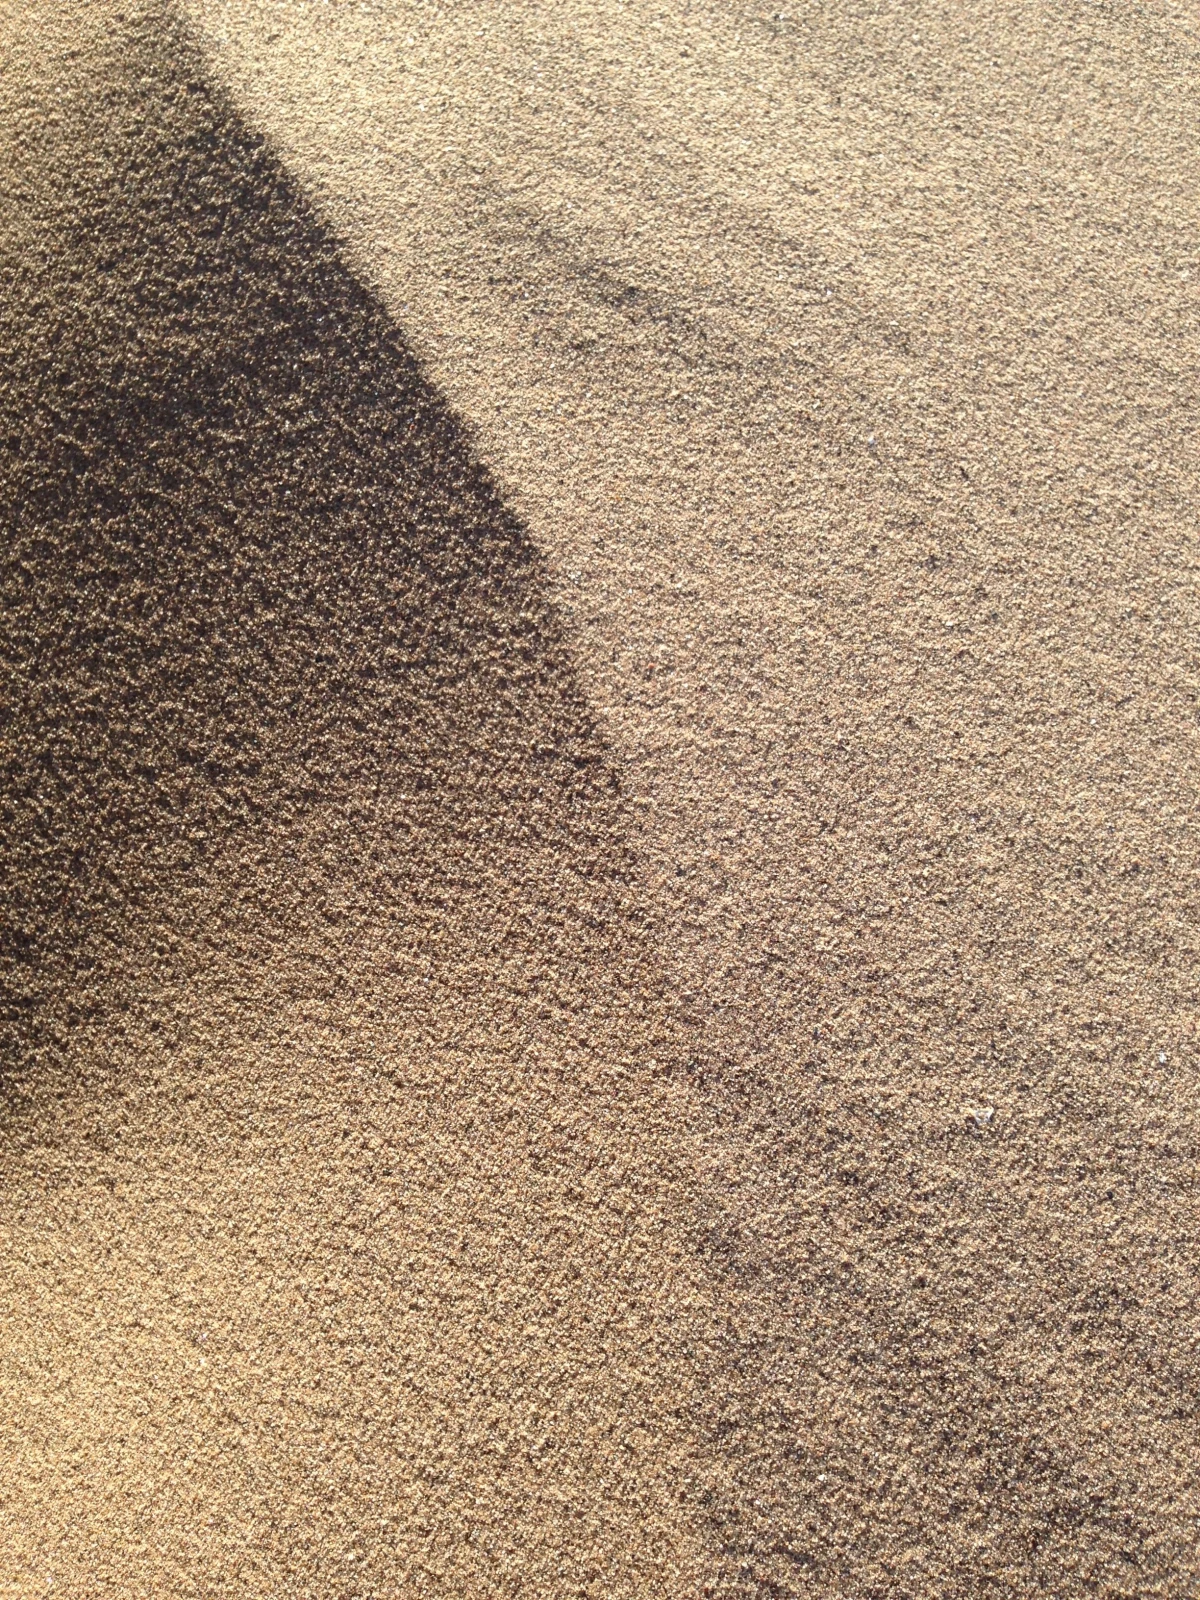
- The Correct Choice: Washed Medium-Coarse Sand. You need to find what the pros call “washed sharp sand” or “topdressing sand.” You can find it at a proper landscape supply yard (the kind that sells mulch and stone by the truckload). “Washed” means the fine silt has been removed. “Sharp” or “angular” means the sand particles have jagged edges that create stable air pockets in the soil instead of compacting. When you grab a handful, it should feel gritty, not soft or dusty.
Your Project Shopping & Rental List
Okay, let’s talk about what you’ll actually need to pull this off. Being prepared makes the whole process way less stressful.
- Washed Sharp Sand: Call a landscape supply yard. Expect to pay between $50 and $80 per cubic yard. A good rule of thumb is 1 cubic yard per 1,000 sq. ft. of lawn.
- Core Aerator: You’ll need to rent this. It’s a heavy machine that pulls plugs of soil out of the ground. Plan on about $75 – $100 for a one-day rental.
- Dethatcher (Power Rake): If you have a thick thatch layer (more than half an inch), you’ll need to rent one of these, too. It’ll run you another $75 – $100 for the day.
- Spreader: A standard broadcast or drop spreader will work for applying the sand.
- A Large Tarp: Trust me on this one. If you get sand delivered, have them dump it on a huge tarp. It makes cleanup a thousand times easier and you won’t lose a bunch of it in your driveway cracks.
- Sturdy Rake or Push Broom: You’ll need this to work the sand into the lawn. A leveling lute is even better if you can find one.
- Safety Gear: Don’t skip this! Get steel-toed boots and a good N95 dust mask. Dry sand dust is no joke for your lungs.
Heads up! A single cubic yard of dry sand can weigh nearly 3,000 pounds. This is not a job for your Honda Civic’s trunk. You’ll need a proper pickup truck or to arrange for delivery from the supply yard.
The Step-by-Step Game Plan
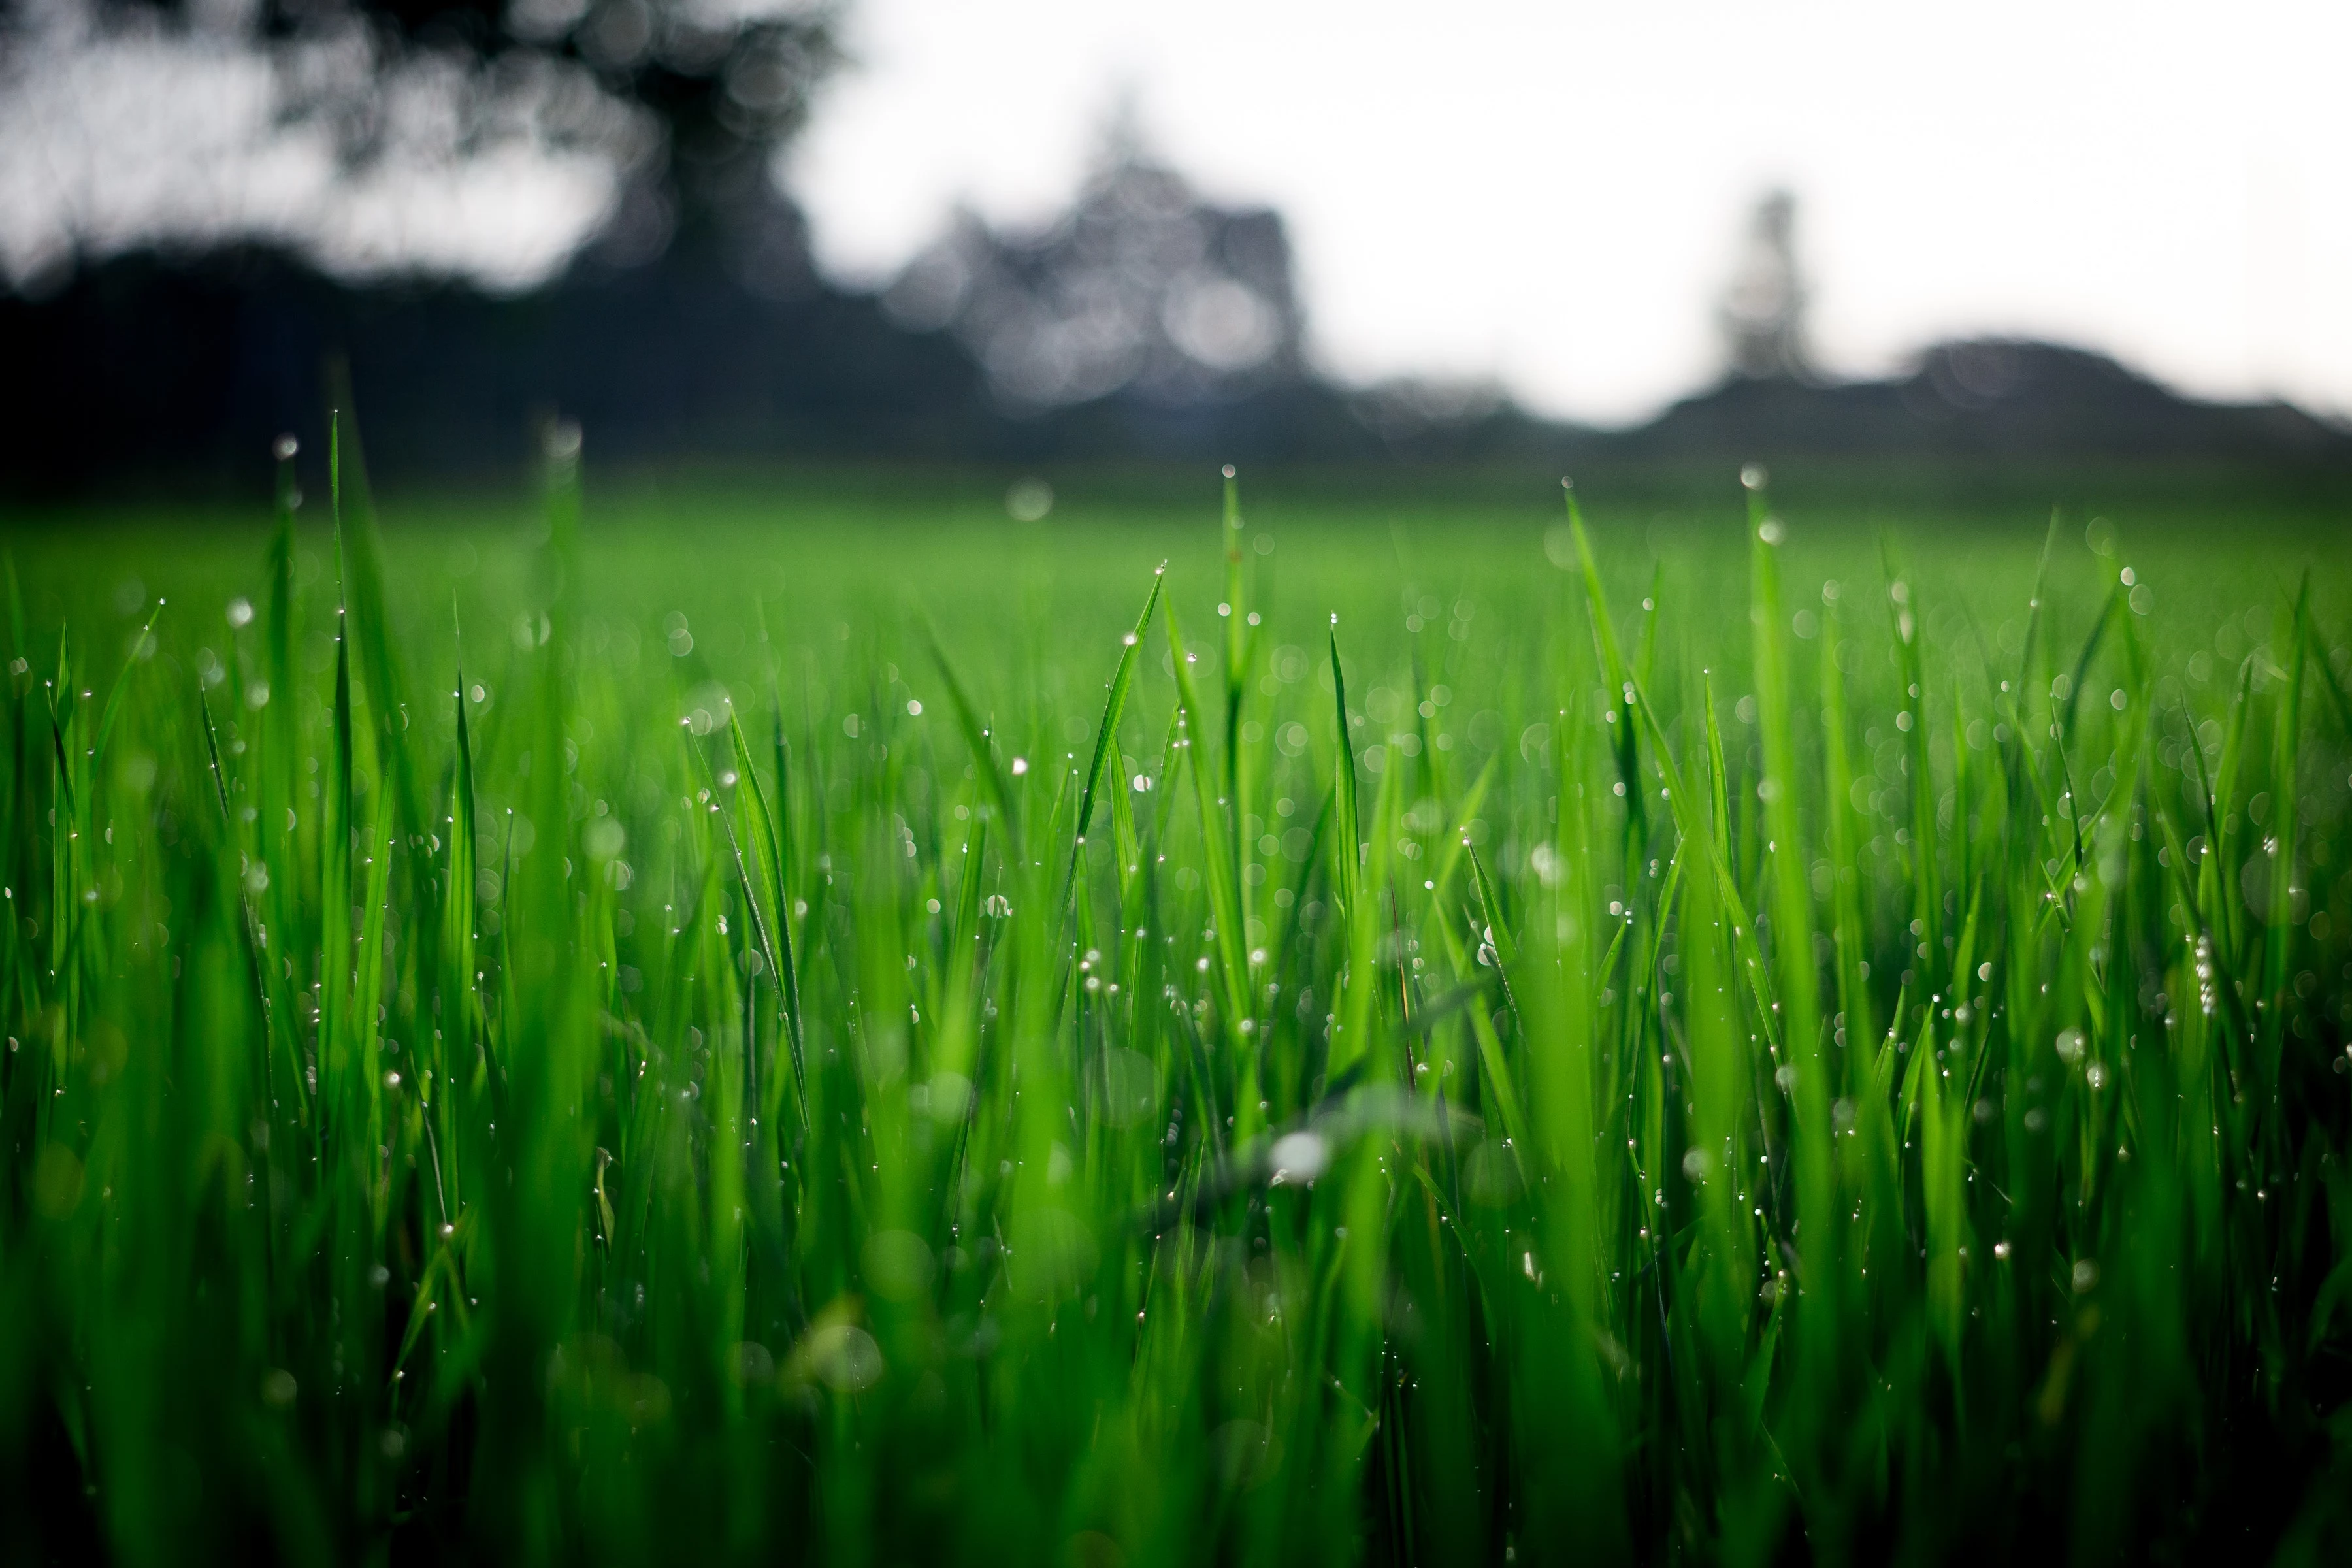
The best time to tackle this is when your grass is growing like a weed. For cool-season grasses like fescue, that’s early fall or late spring. For warm-season grasses like Bermuda, it’s late spring or early summer.
So, how long does this all take? For a typical suburban lawn around 2,000 sq. ft., you should honestly set aside a full day, maybe 6-8 hours, especially if it’s your first time wrangling the equipment.
- Mark Everything: Before you start any machines, walk your lawn and mark all sprinkler heads, valve boxes, and shallow utility lines with flags. Hitting an irrigation line turns a weekend project into a week-long repair. I learned that one the hard way.
- Mow Low: Cut your lawn one or two notches lower than usual and bag the clippings. This helps the sand get down to the soil where it belongs.
- Dethatch (If Needed): If you have a thick, spongy layer of dead stuff at the soil surface, run a power rake over the lawn to pull it all up. Rake it up and get rid of it.
- Core Aerate… A LOT: This is the magic step. Go over your entire lawn with the core aerator at least twice, with the second pass perpendicular to the first (like a checkerboard). More holes are always better. Just leave the little soil plugs on the lawn; they’ll break down.
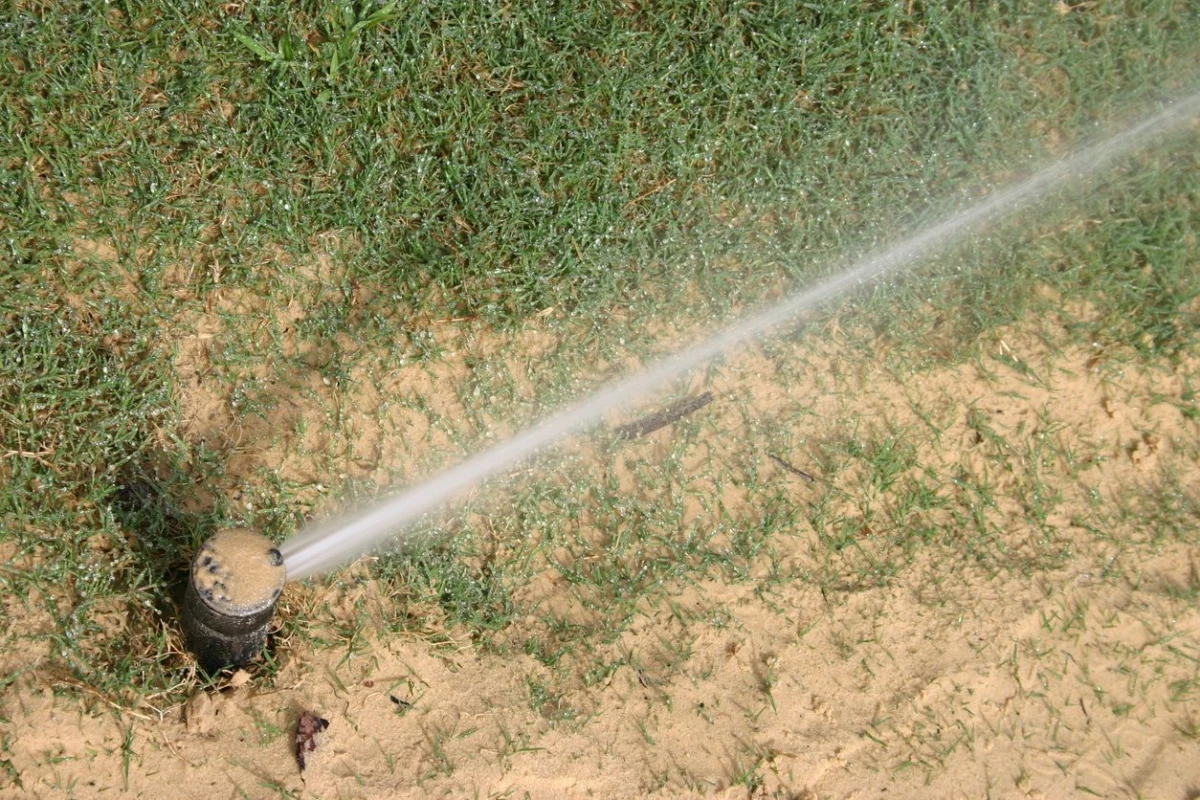
- Spread the Sand: Now it’s time. Use a spreader or a shovel to apply a thin, even layer of sand—about 1/4 inch thick. You want to see the tips of the grass blades still poking through.
- Work It In: Use the back of a large rake or a stiff broom to gently work the sand down into the aeration holes and the base of the grass. The goal is to make the sand disappear, not to bury your lawn.
- Water Lightly: Give the lawn a gentle watering to settle the sand and wash it off the grass blades.
Your lawn will look a bit beat up for a week or two. That’s totally normal. The grass will recover quickly, and you’ll be amazed at the long-term results.
So, Is This Right for Your Lawn?
This isn’t an annual chore for every lawn. It’s a powerful fix for specific issues. I remember one client’s yard that was a literal mud pit after every rain. You couldn’t walk on it without sinking. After a couple of years of aeration and topdressing, their kids could play on it 30 minutes after a summer downpour. That’s the kind of change this can make.
Consider it if you’re dealing with:
- Poor Drainage: Puddles that stick around for hours after a normal rain.
- Heavy Compaction: Your soil is rock-hard, and you can barely push a screwdriver into it.
- Serious Thatch: You have a thick, spongy layer that comes back fast even after you dethatch.
- Lumps and Bumps: You want to smooth out minor low spots and create a more level surface.
Troubleshooting Common
Inspiration:

So you’re ready to topdress, but what kind of sand should you actually buy?
The choice of sand is the single most critical factor. For this job, you need a medium-coarse, washed sand, often sold as horticultural sand or washed river sand. Its angular, irregular particles are what create the permanent air and water channels in heavy soil. Avoid play sand or builder’s sand at all costs; their fine, rounded particles will compact, fill in the very air pockets you’re trying to create, and can turn your lawn’s surface into something resembling a concrete slab over time.
The Pro-Move: Combine with Aeration. Sanding an un-aerated lawn is like painting over a dirty wall—you’re only addressing the surface. Professionals always topdress immediately after core aeration. The aeration process pulls out small plugs of soil, creating deep channels. Spreading sand afterward allows it to fall directly into these holes, amending the soil structure deep in the root zone, not just on top. This one-two punch dramatically speeds up the improvement of drainage and reduces compaction where it matters most.


