Want Roses in Winter? Here’s How to Actually Make it Happen
You’ve probably heard someone talk about a “winter rose,” and it’s a beautiful thought, right? Having a fragrant, perfect rose blooming on your windowsill while snow is falling outside. But let’s be honest, most of the time when people say that, they’re actually talking about a different plant altogether.
In this article
- The Secret: Tricking Your Rose into Thinking It’s Spring
- Choosing the Right Rose for the Job
- Your Shopping List & The Setup
- The Forcing Game Plan: A Step-by-Step Schedule
- Indoor Care for a Happy Winter Rose
- Troubleshooting: When Things Go Sideways
- After the Bloom: What’s Next for Your Rose?
- Galerie d’inspiration
Often, they mean Hellebores, which are sometimes called the Christmas Rose or Lenten Rose. They’re fantastic, super tough plants for the cold, but they aren’t true roses. Other times, it’s a Camellia, with those gorgeous, waxy flowers that pop open in the chilly months. Again, a wonderful plant, but not a rose from the Rosa family. It’s an easy mistake to make.
But forcing a real rose to bloom indoors during the dead of winter? That’s a whole different level of gardening craft. It doesn’t happen by accident; it’s a deliberate process you guide. It takes patience and a bit of know-how about what makes a plant tick, but trust me, holding a fresh rose you grew in January is a reward unlike any other.
The Secret: Tricking Your Rose into Thinking It’s Spring
So, how do we pull this off? It all comes down to understanding why a rose wouldn’t normally bloom in winter. Roses need a cold period, a dormancy, to reset their internal clock. Think of it as a mandatory nap. Dropping temperatures and shorter days in the fall tell the plant, “Okay, time to shut down production, store energy in the roots, and get ready to survive the cold.”
Our job is to become the master of seasons for this one plant. We create a fake, controlled autumn, followed by a fake, controlled winter. Then, when we’re ready, we create a perfect, artificial spring. By manipulating light and temperature, we convince the rose it’s time to wake up and grow, completely on our schedule. It’s a delicate dance, though. Not enough cold, and the rose won’t reset properly. Too much heat too fast, and you’ll get weak, leggy stems with no flowers. It’s all about giving the right signals at the right time.
Choosing the Right Rose for the Job
Now, you can’t just grab any old rose bush from the garden. A big climbing rose or a sprawling shrub is just too massive and needs way more energy than you can provide indoors. From my experience, the best results come from roses that are naturally compact and bred to bloom repeatedly.
If you’re trying this for the first time, I’d strongly recommend one of these types:
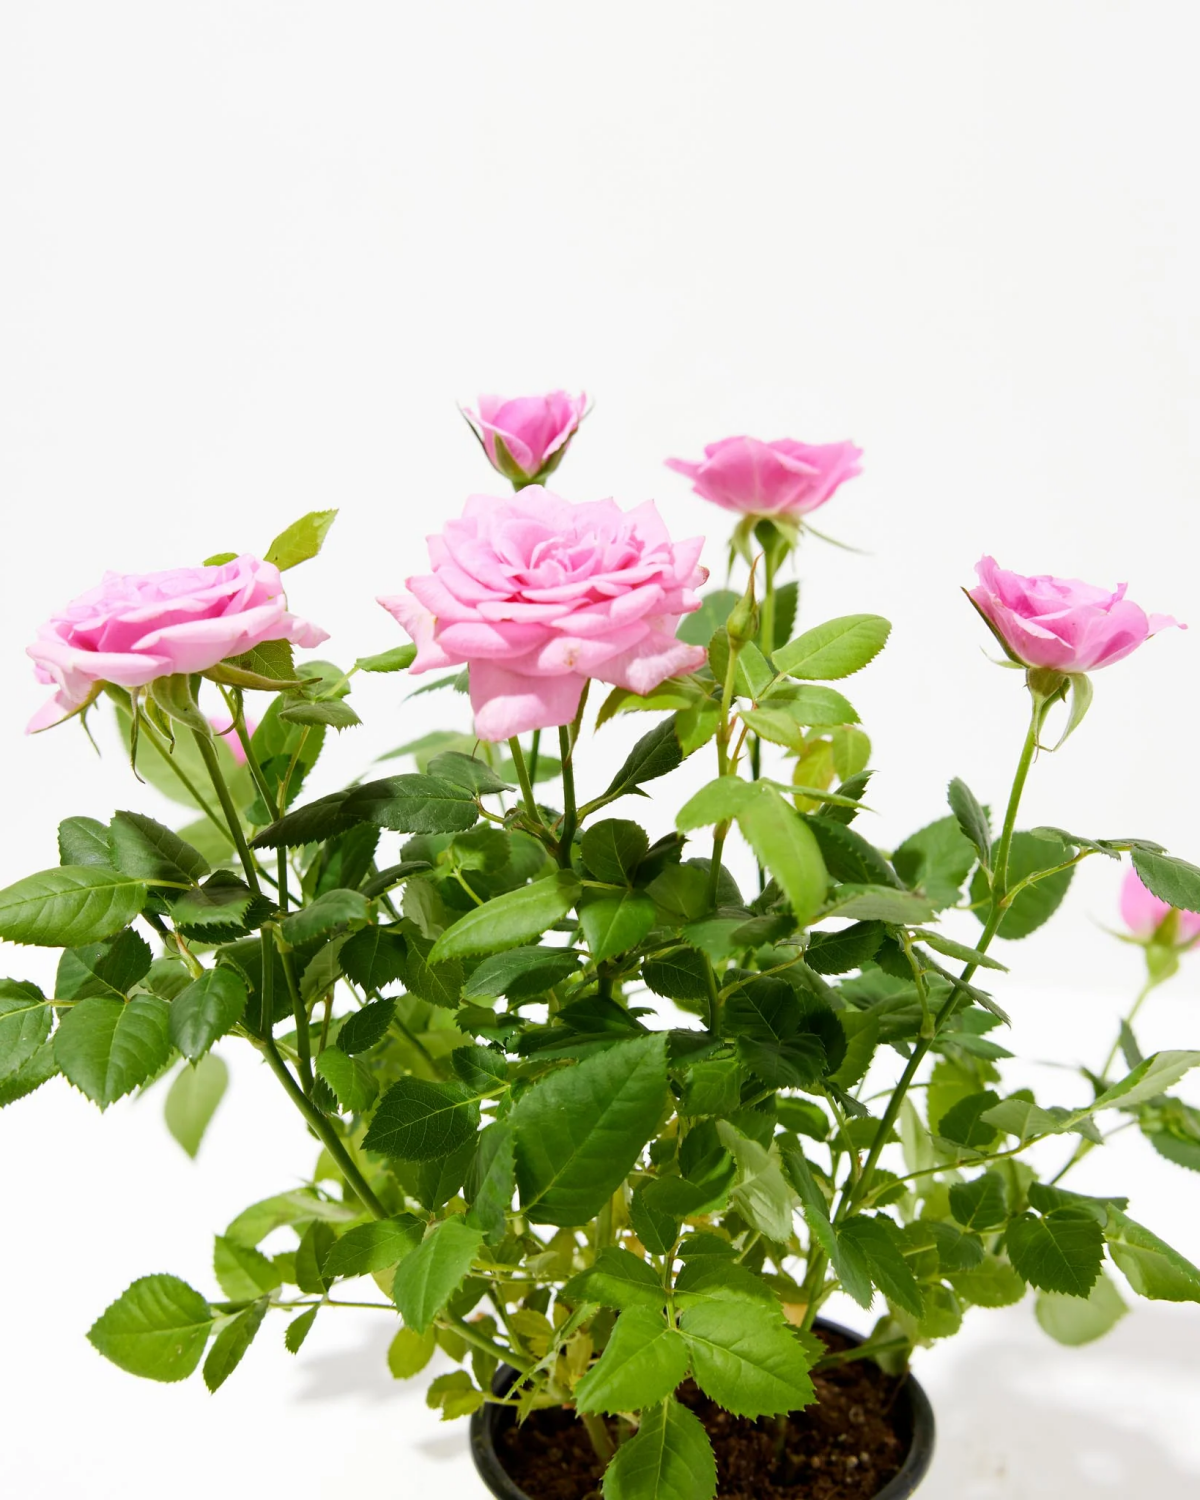
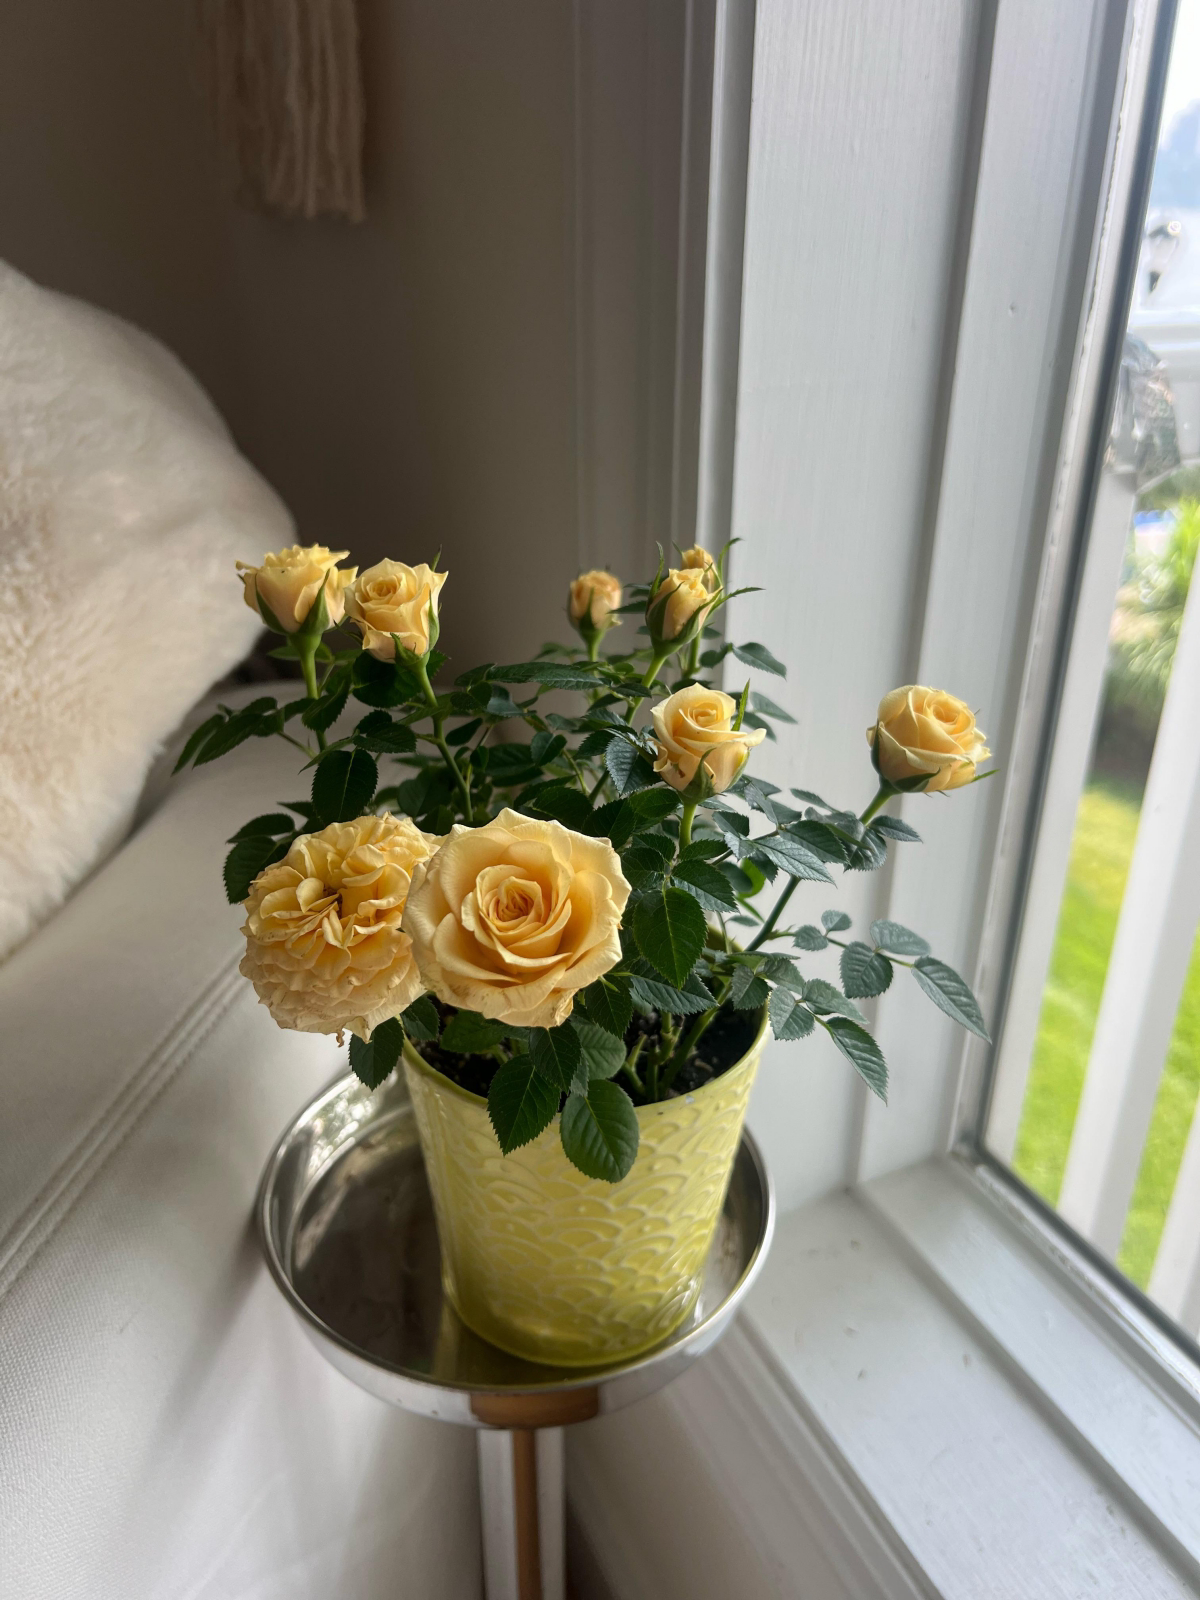
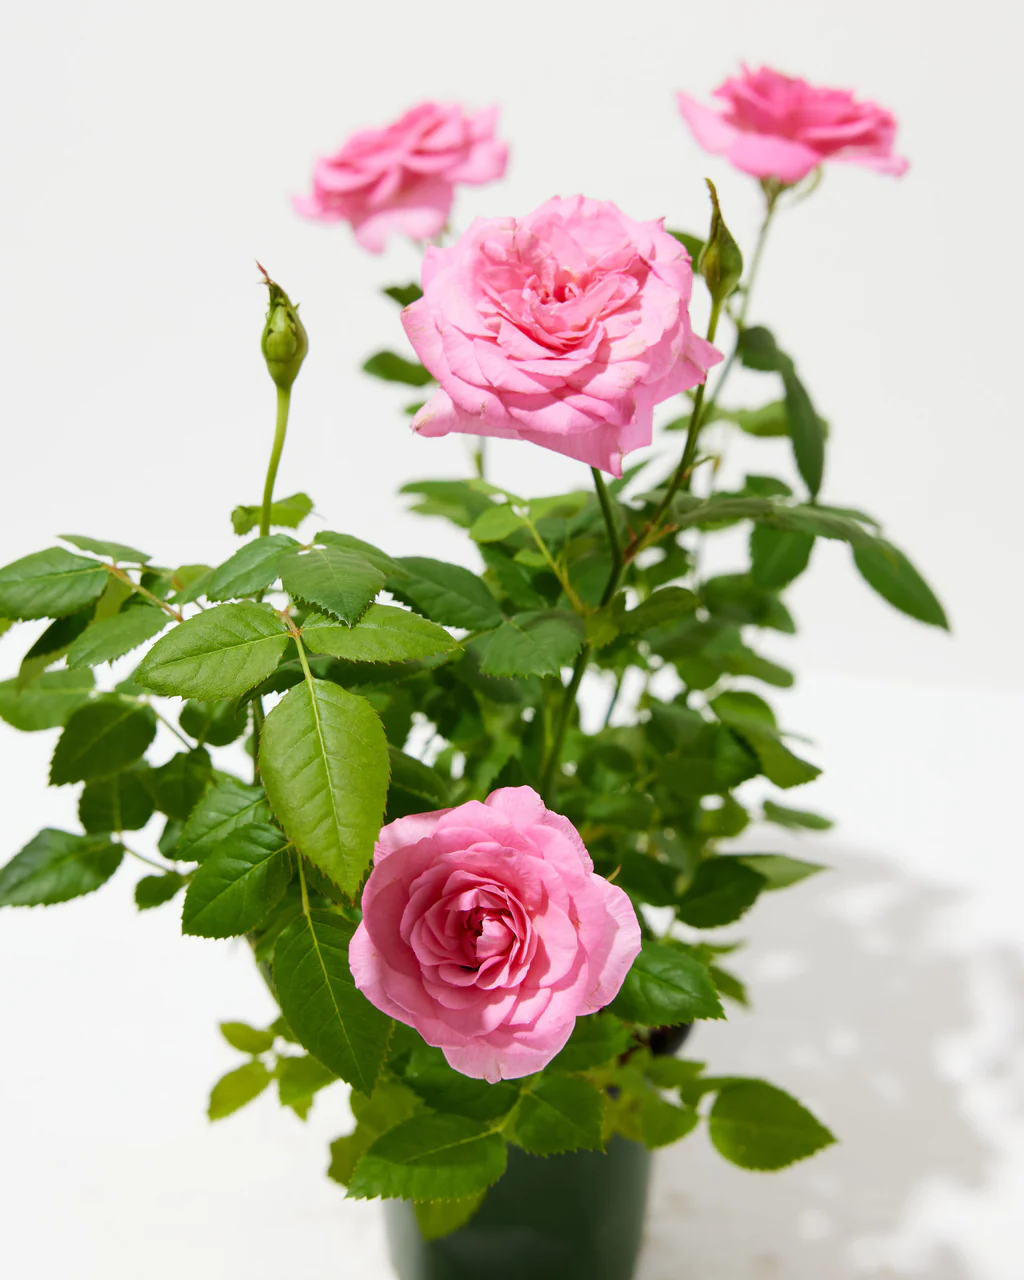
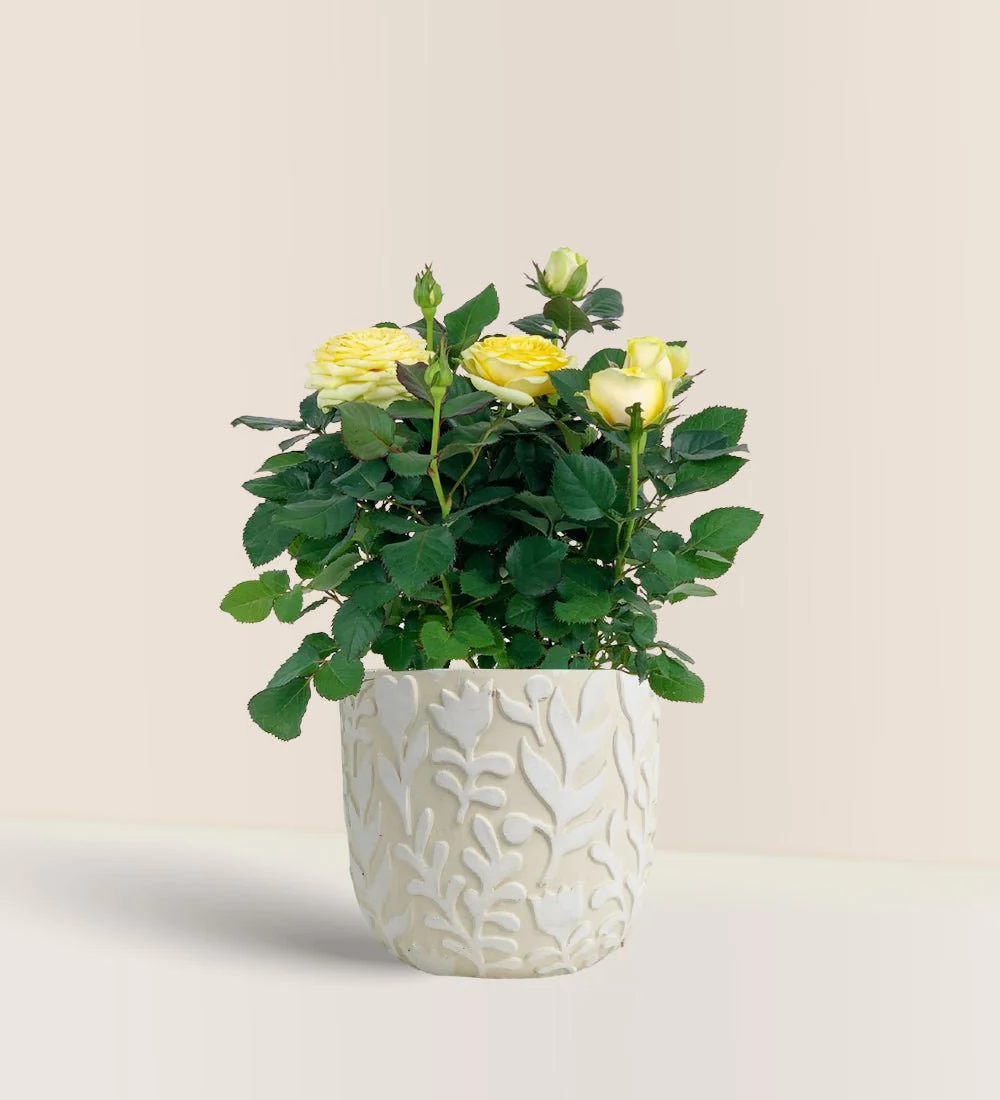
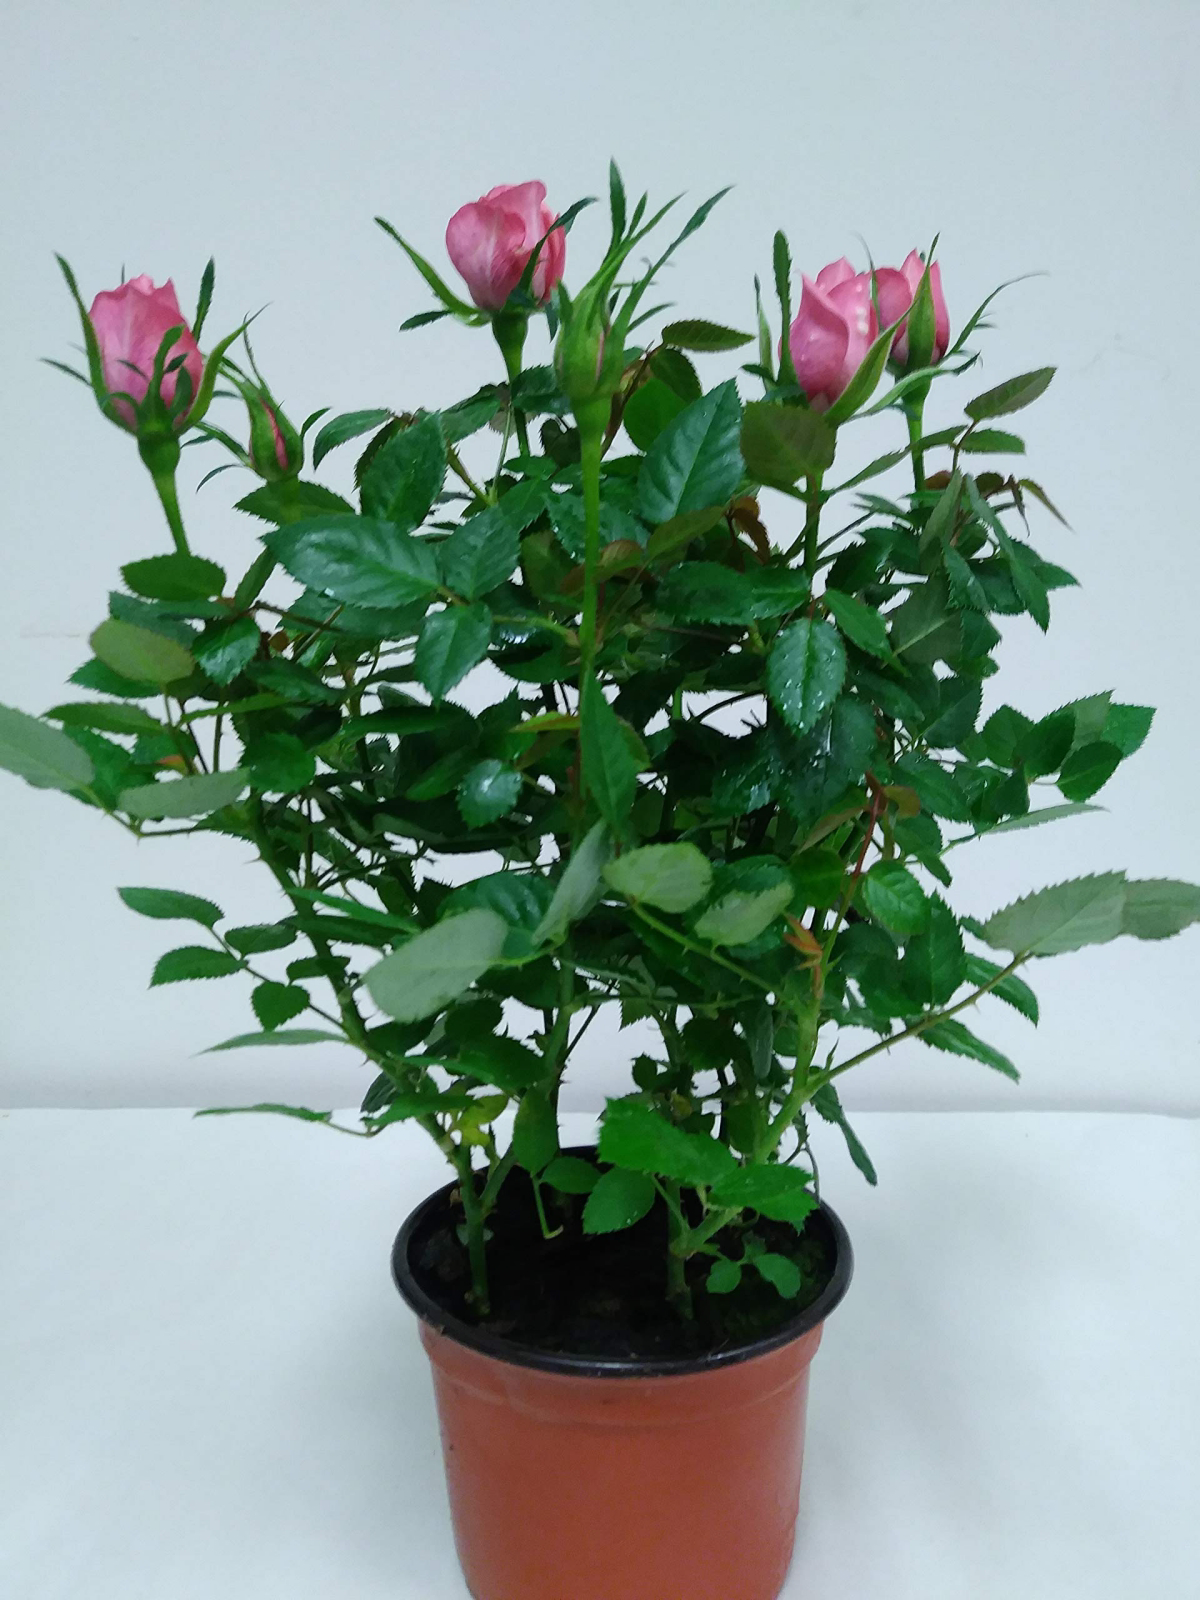
- Miniature Roses: These are, by far, the easiest and most reliable choice. Their small size makes them a breeze to handle, and they’re basically designed to rebloom over and over. They adapt really well to life in a pot. You can find them in all sorts of colors, like classic reds, cheerful yellows, and soft pinks.
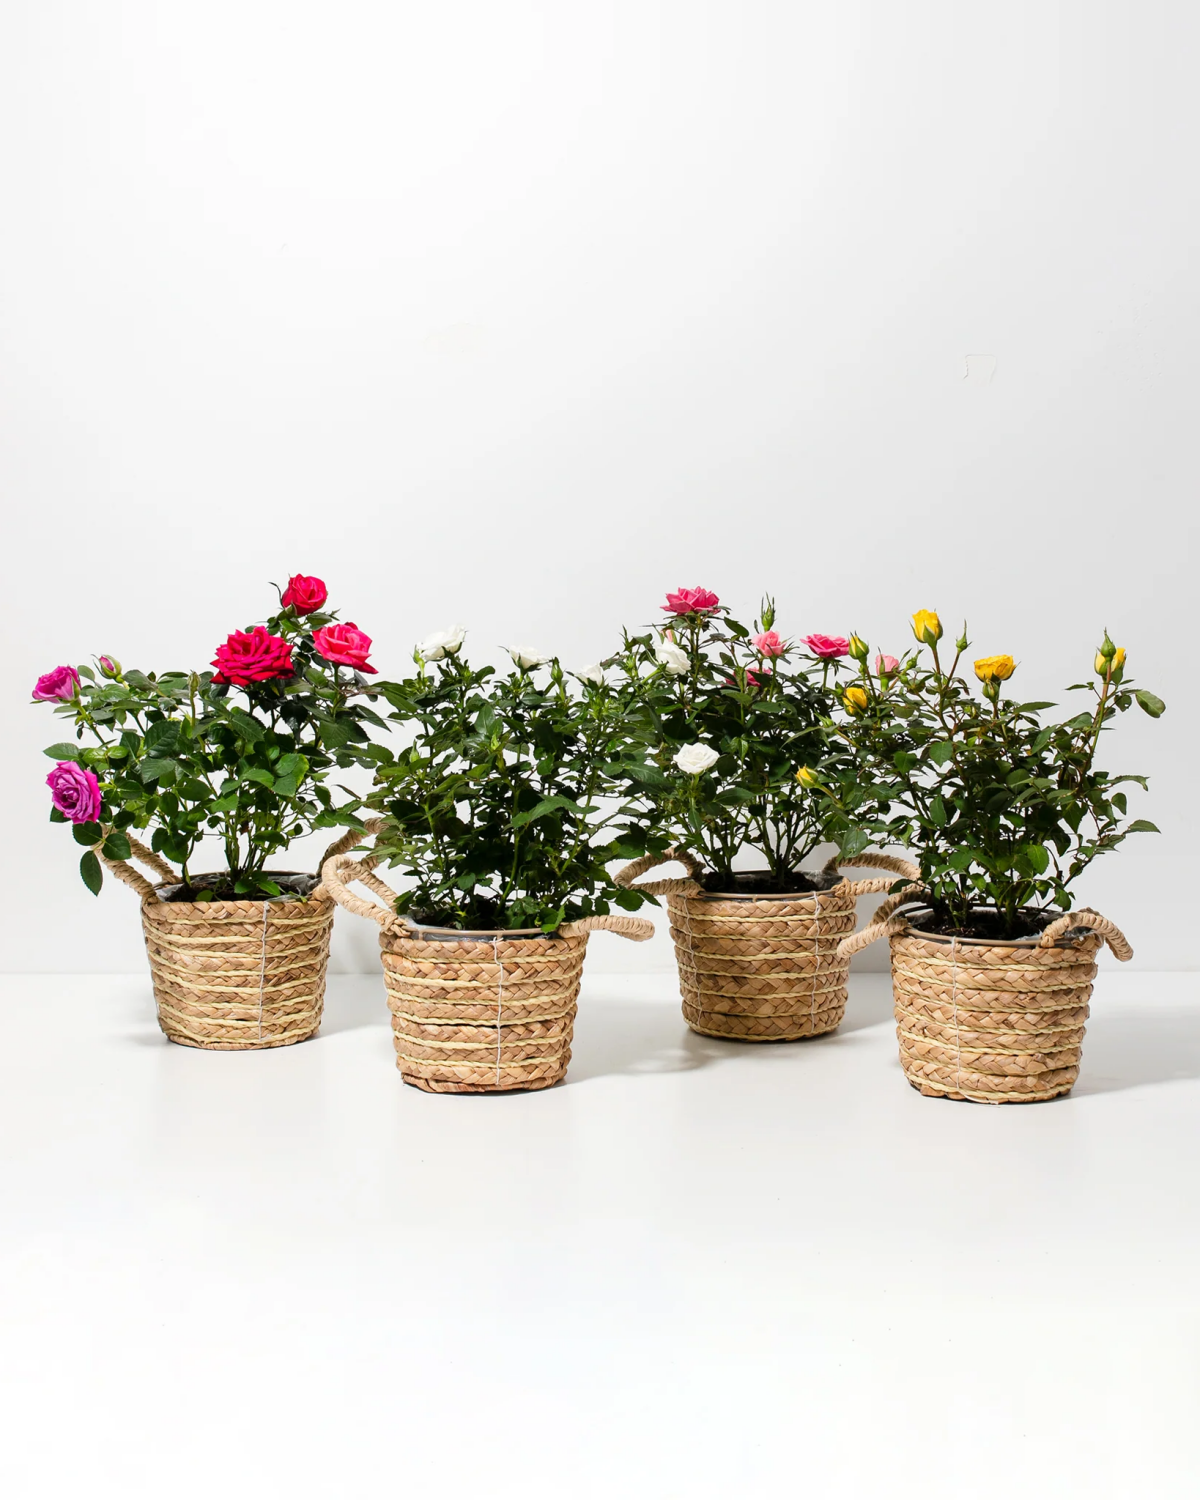
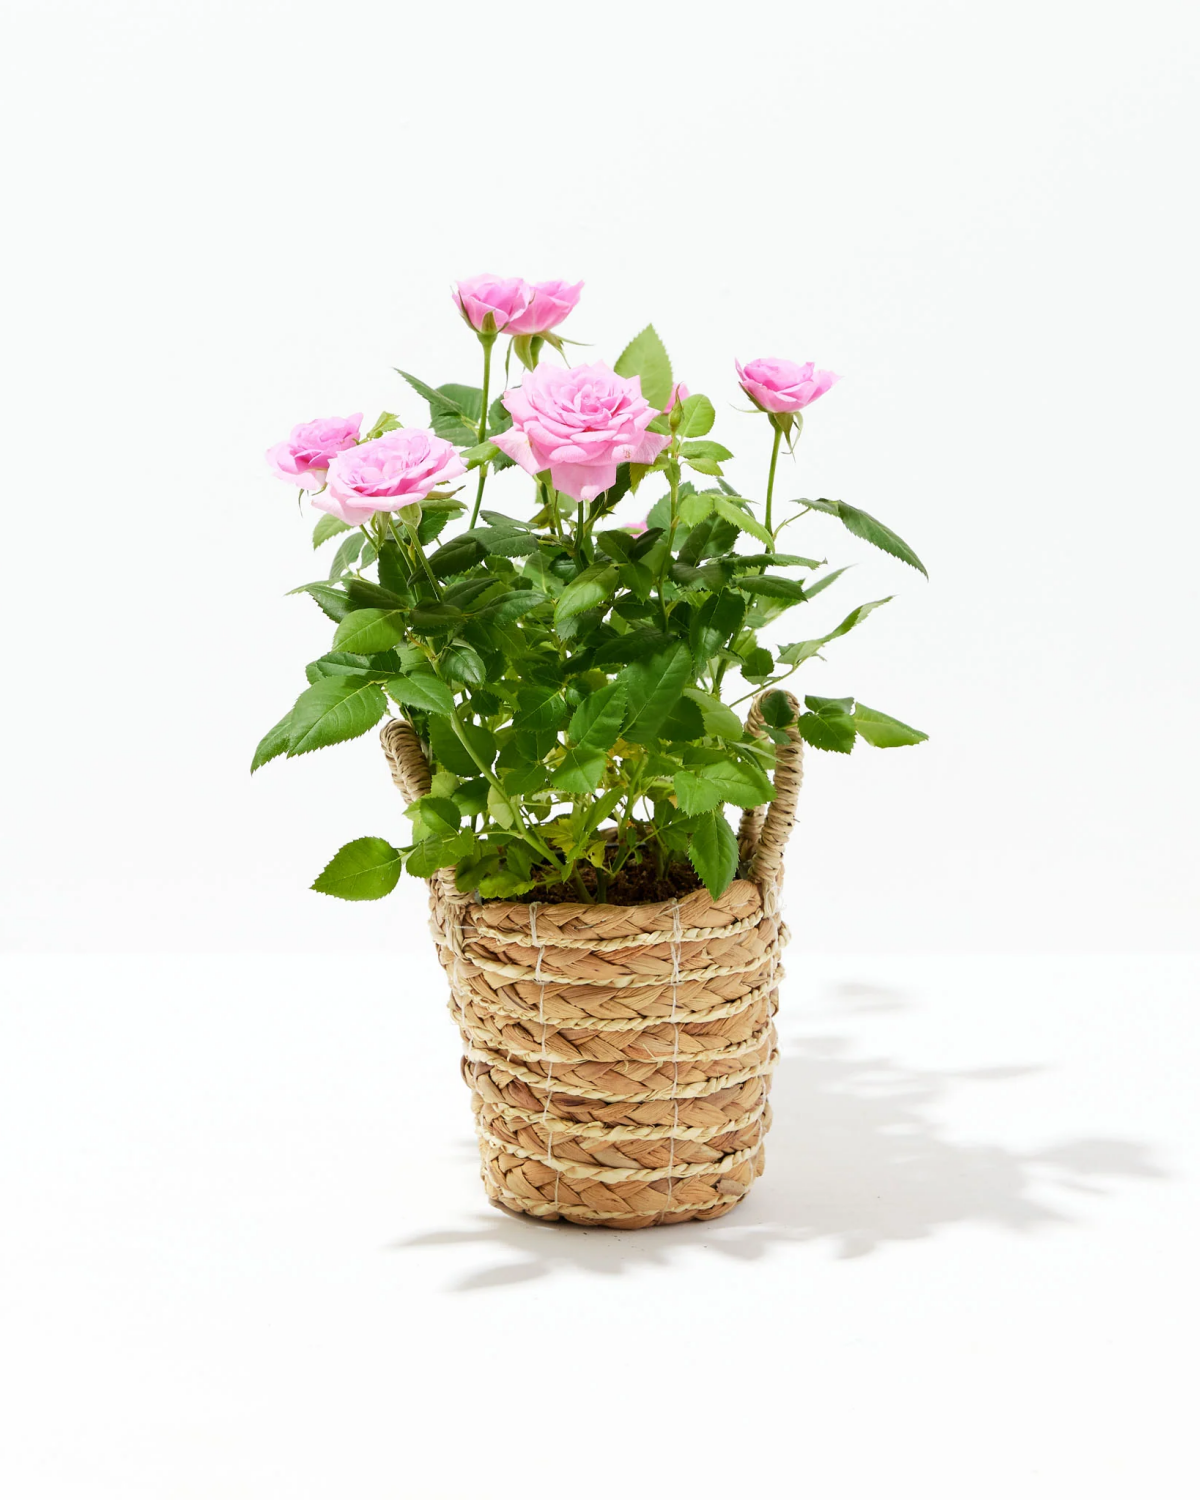
- Polyanthas: These are tough little shrubs that produce big clusters of smaller flowers. Because each individual bloom is smaller, the plant doesn’t have to work quite as hard, which makes them great for forcing. Look for one of the classic, hardy pink varieties; they are famously resilient.
- Compact Floribundas: Some of the smaller floribundas can work, but you have to be picky. You’ll want a variety that’s specifically recommended for container growing and stays under two feet tall. The ones with a strong fragrance are amazing, but be warned: they demand a LOT of light to perform well.
Your Shopping List & The Setup
Before you get started, let’s talk budget and materials. This isn’t a crazy expensive project, but you need the right gear.
Here’s a quick rundown:
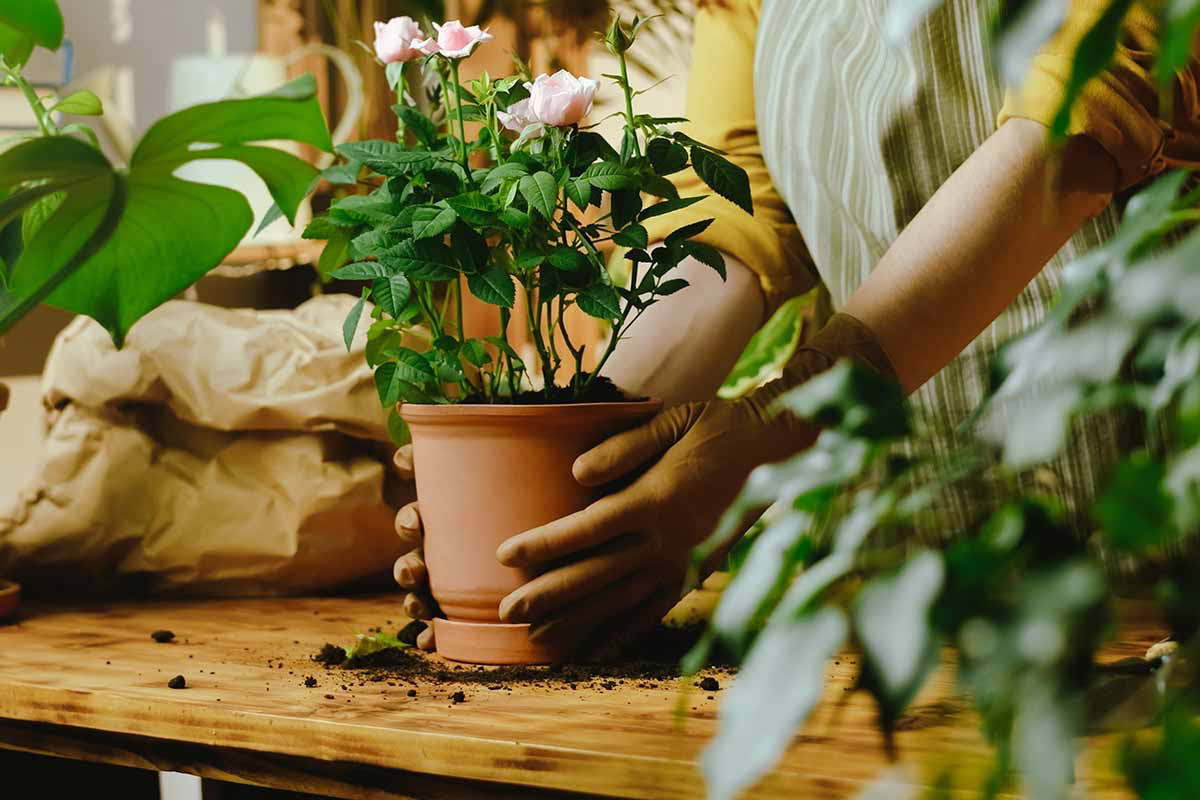
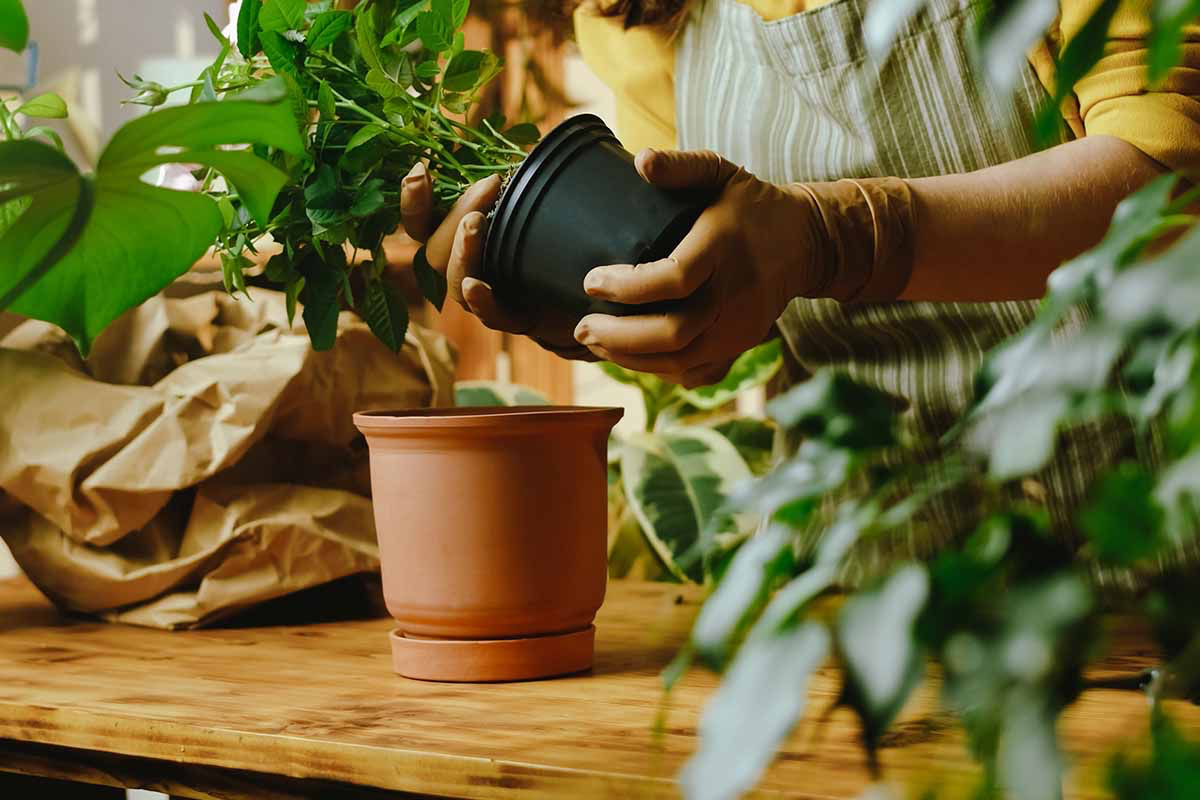
- The Rose Plant: Pick up a healthy, established plant in a one or two-gallon pot from your local garden center in late spring or summer. This gives it a whole season to get strong. Expect to pay between $15 and $30.
- The Potting Mix: This is important! Do NOT use heavy garden soil. You need a high-quality potting mix designed for containers. Look for brands like Pro-Mix or FoxFarm at Home Depot or a nursery. A bag will run you about $15-$25 and will be enough for several projects.
- A Grow Light: A sunny winter window is not enough. I repeat: NOT ENOUGH. To get actual flowers, you need supplemental light. The easiest and cheapest option is a full-spectrum LED grow light bulb. You can get one for about $20 on Amazon and just screw it into any desk lamp or clamp light fixture.
The Forcing Game Plan: A Step-by-Step Schedule
Timing is everything. I suggest keeping a little log of what you do and when—it helps you learn for next time. The whole process takes about three months from start to bloom.
Quick Tip: Want blooms for Valentine’s Day? You’ll want to start Phase 1 around early November, move to Phase 2 for the cold period by late November, and start the wake-up process in early January.
Phase 1: Simulating Autumn (Starts ~12 weeks before you want blooms)
Around late summer or early fall, it’s time to send the first signals.
First, move your potted rose from its sunny summer home to a spot with less direct sun. Then, start watering less. Let the top inch of soil get dry before you water again. And critically, stop all fertilizing. You want the plant to harden off, not produce tender new growth. If you get a light frost in your area, letting the plant experience one or two is a great natural signal, but bring it in before a hard freeze hits.
Phase 2: The Big Chill (The 6-8 week cold nap)
This is the most important part. Your rose needs a solid 6 to 8 weeks of consistent cold, somewhere between 34°F and 45°F. An unheated garage, a cold cellar, or a protected shed is perfect.
Before you tuck it away, prune the rose back by about a third. Remove all the leftover leaves to prevent fungal diseases. Heads up! A lot of beginners get nervous about pruning. Don’t be! Just look for the little bumps (buds) along the stems and snip about a quarter-inch above a bud that’s pointing outward. You really can’t mess it up too badly. Check the soil every few weeks; it should be slightly moist, never soggy or bone-dry. I learned this the hard way after losing a few plants to root rot my first year—a tiny sip of water once a month is usually all it needs.
Phase 3: The Wake-Up Call (About 6-8 weeks before you want blooms)
After its long nap, don’t just shock the plant by moving it from a cold garage to your warm living room. Bring it into a cool space first, like a basement or enclosed porch (around 55-60°F), for about a week. After that, move it to its final spot: the sunniest, coolest window you have, away from any heat vents. The ideal temperature is a steady 65-70°F.
Indoor Care for a Happy Winter Rose
Once it starts growing, your job is to provide perfect spring conditions.
Light is EVERYTHING. Position your LED grow light so the bulb is about 6 to 12 inches away from the top of the plant. Use a simple outlet timer (about $10 at any hardware store) to give it 14 to 16 hours of total light a day. This is non-negotiable if you want flowers.
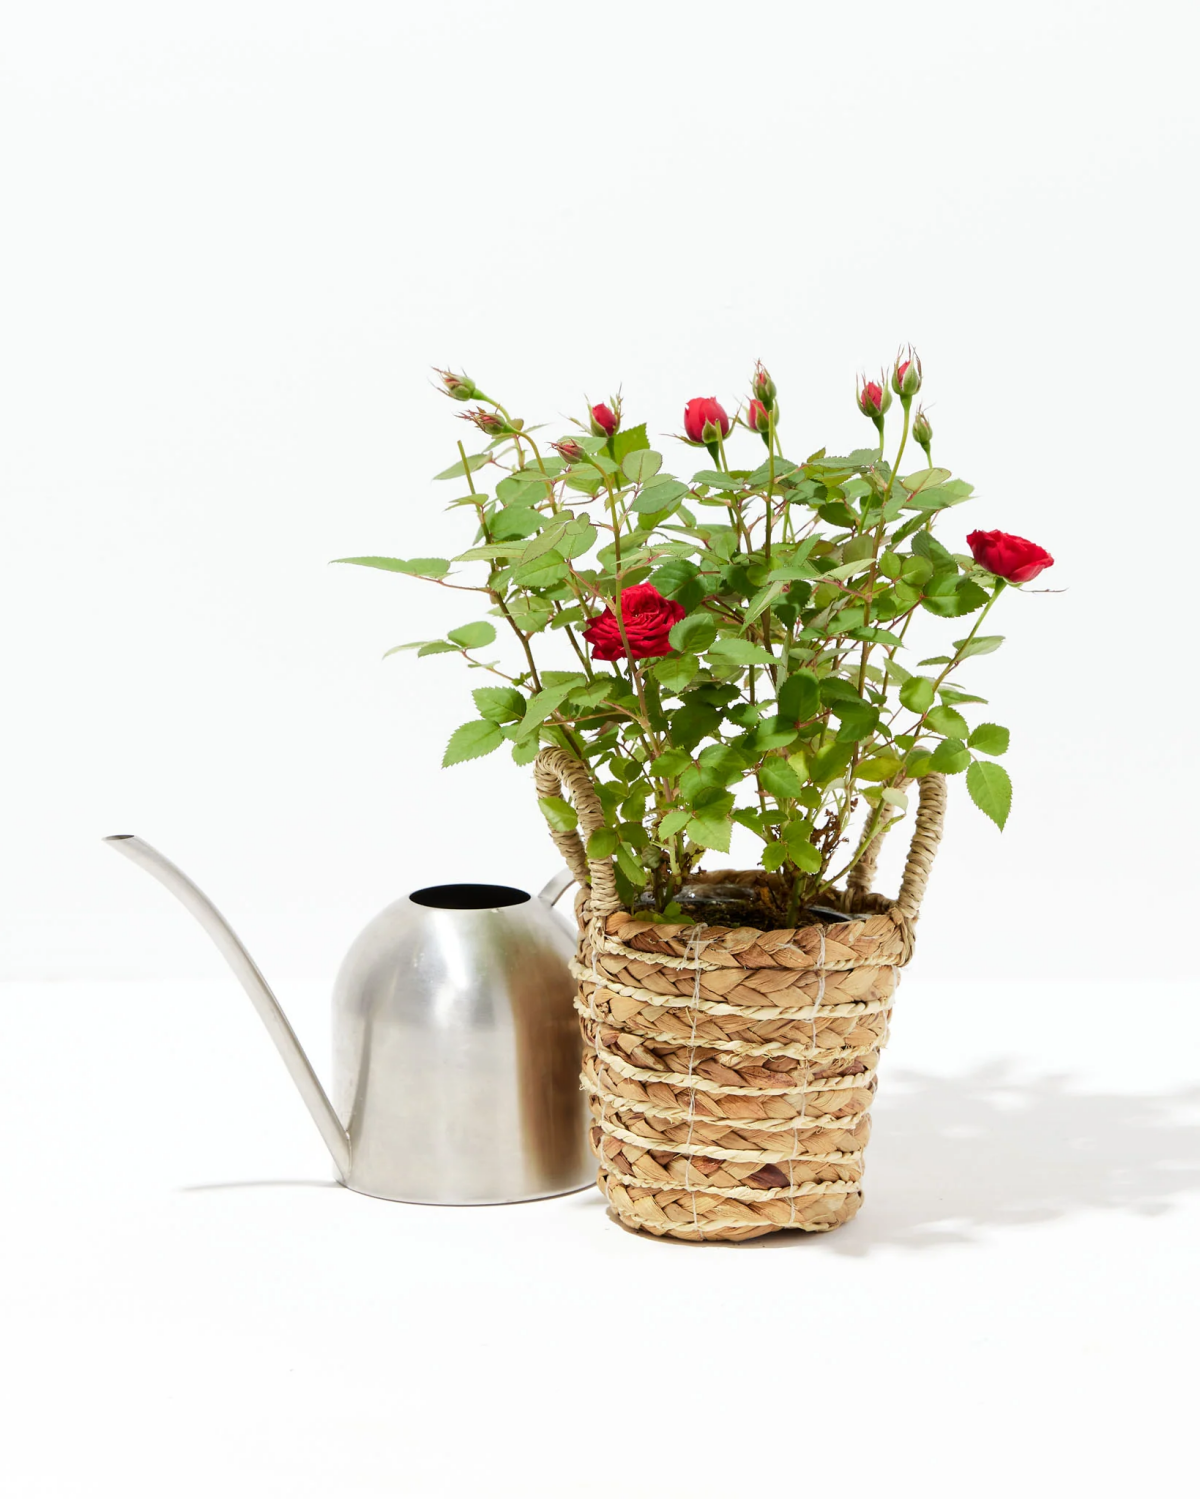
For watering, keep the soil consistently moist but not waterlogged, just like a spring rain. Stick your finger an inch into the soil; if it’s dry, it’s time to water. And since it’s actively growing, you can start feeding it. Use a balanced liquid fertilizer formulated for roses, diluted to half-strength, every two weeks once you see significant new leaf growth.
Troubleshooting: When Things Go Sideways
Indoor growing comes with its own challenges. Here are a couple of common ones:
- Problem: Yellowing leaves. You’re almost certainly overwatering. Let the soil dry out more between waterings.
- Problem: All leaves, no flower buds. The answer is always light. It needs more. Increase the duration or move your grow light a bit closer.
- Problem: Tiny spider webs under the leaves. Ugh, spider mites. They thrive in dry, indoor air. Take the plant to the sink and give it a good shower, making sure to spray the undersides of the leaves. A weekly spray of insecticidal soap or neem oil can keep them at bay.
After the Bloom: What’s Next for Your Rose?
So you got your beautiful winter rose—congratulations! But what do you do with it once the flowers fade? Don’t toss it!
Continue caring for it in its sunny spot. Once the danger of all spring frost has passed in your area, you can gradually re-acclimate it to the outdoors. Start by putting it in a shady, protected spot for a few days, then slowly move it into more sun. You can then plant it in your garden or simply keep it as a potted plant on your patio for the summer. With good care, you can repeat the whole forcing process again next year.
Galerie d’inspiration
A single rose needs at least six to eight hours of direct, intense light per day to form a flower bud. A typical winter windowsill in the northern hemisphere provides less than half that amount, and at a much lower intensity.
This is why a simple sunny spot isn’t enough. Investing in a proper grow light isn’t just a suggestion; it’s the fundamental element that transforms the attempt from a game of chance into a successful project. Without it, you’ll likely get long, pale stems (a process called etiolation) but no rewarding bloom.
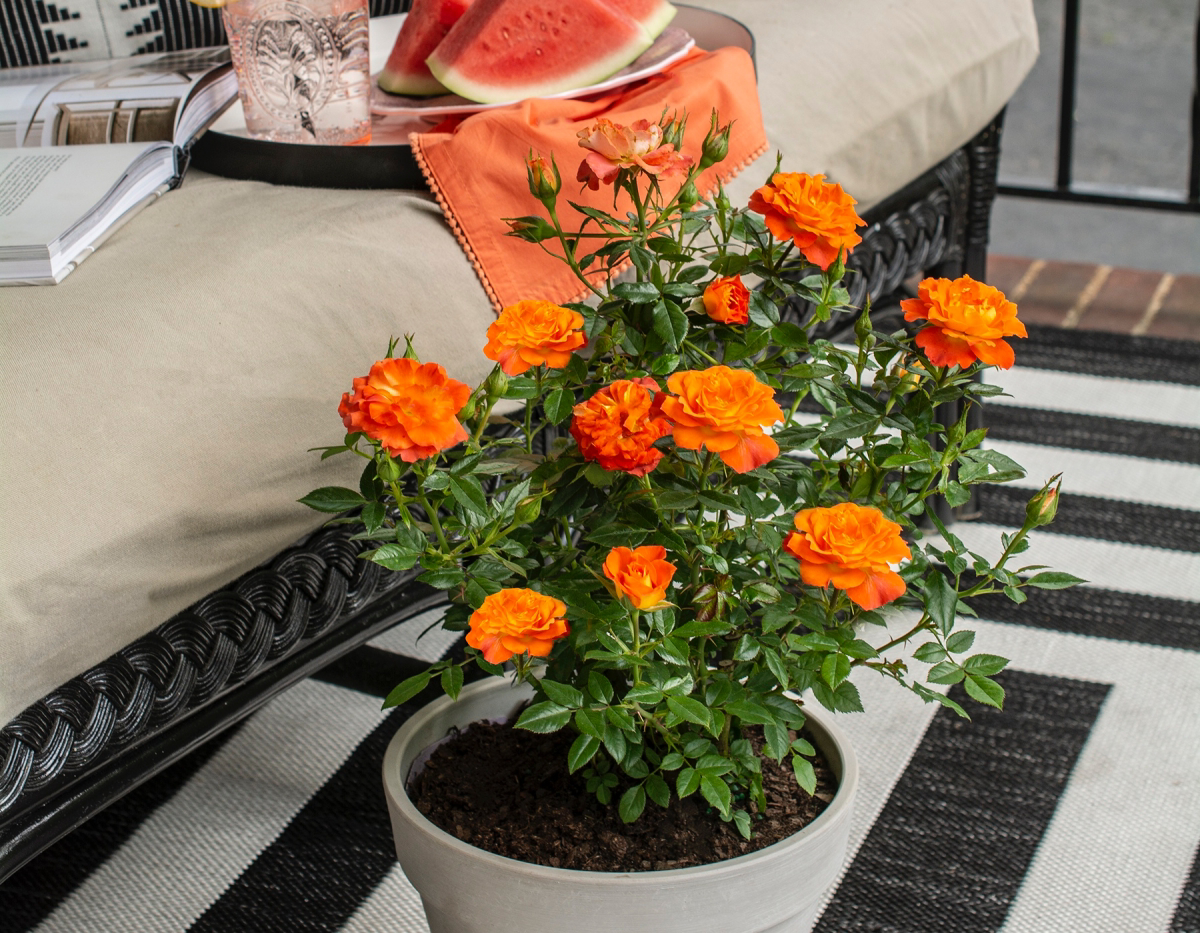
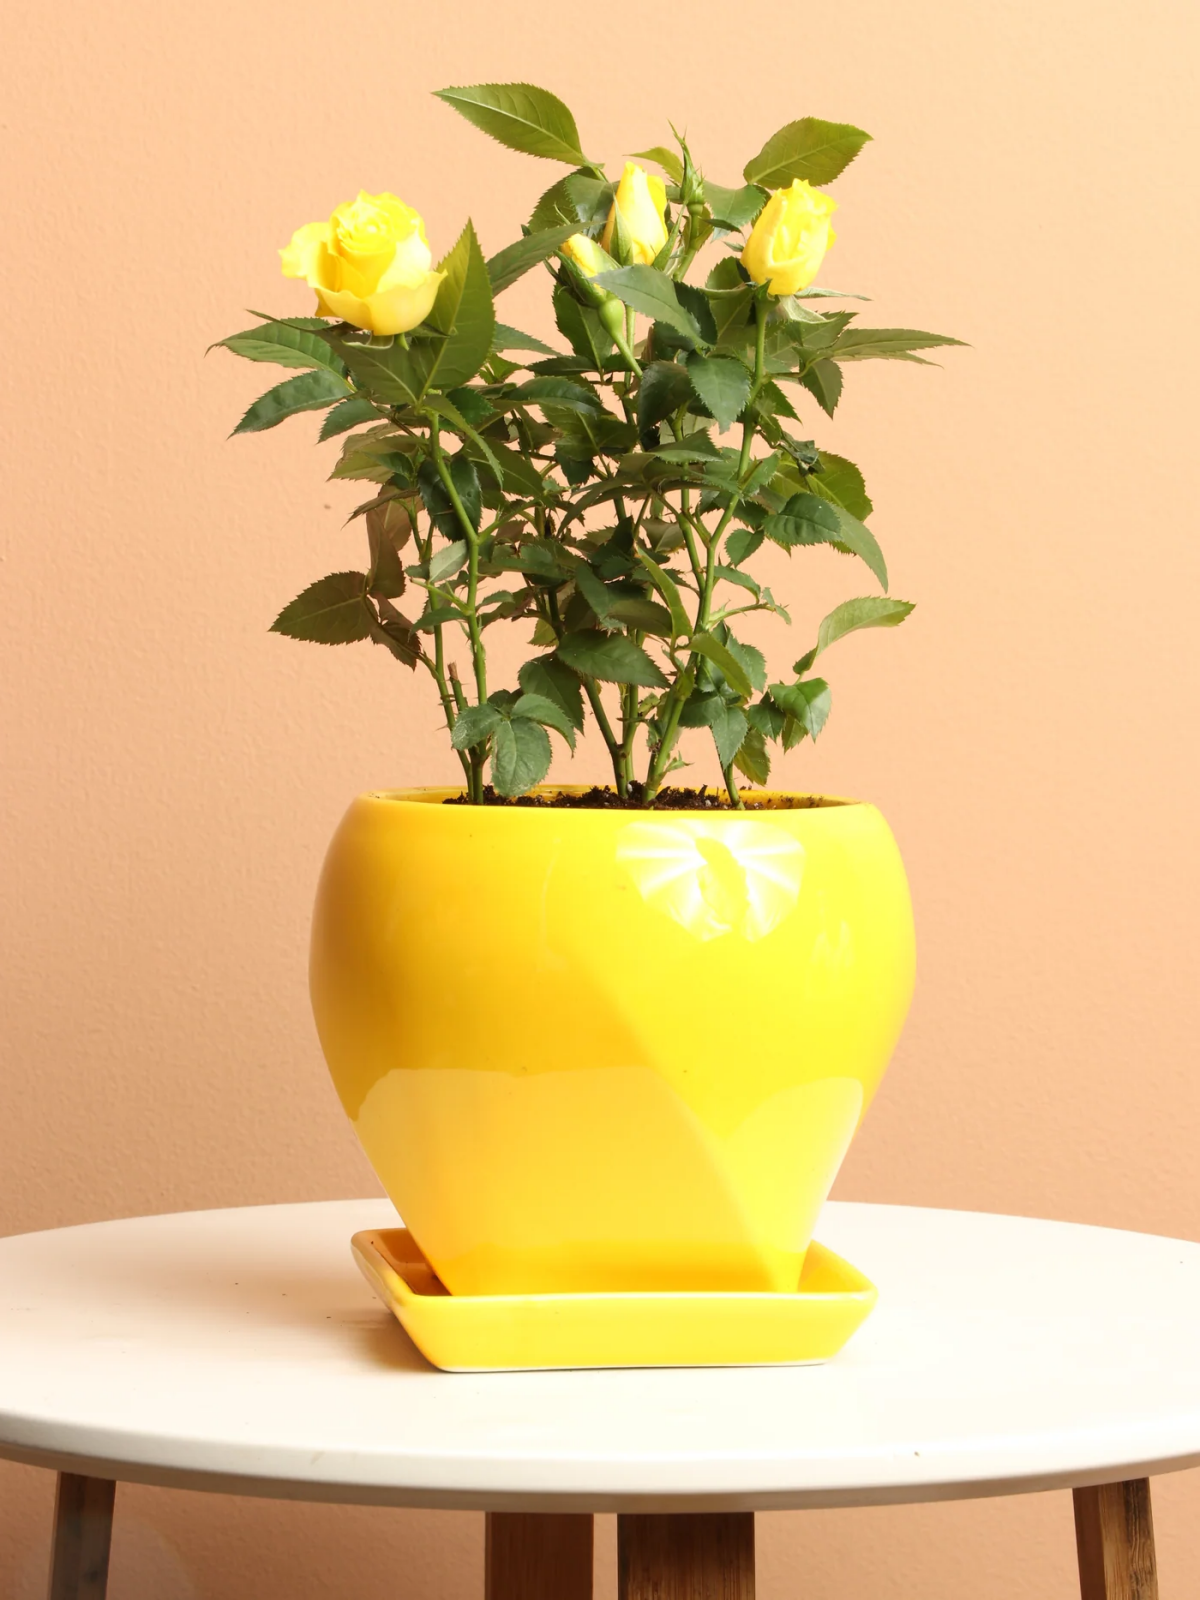
Miniature Rose Varieties: Look for container-friendly cultivars known for repeat blooming. Varieties like ‘Gourmet Popcorn’ (creamy white) or ‘Sunblaze’ series roses are compact and bred for performance in smaller spaces.
Polyantha Roses: These are a great alternative. They produce charming clusters of smaller flowers, offering a full, lush look even on a compact plant. ‘The Fairy’ is a classic, hardy choice that adapts well to pot culture.
Ultimately, choose a variety labeled as ‘patio’ or ‘miniature’ for the best chance of success.
How do I know when the ‘fake winter’ dormancy period is over and it’s time to bring my rose into the warmth?
After the required 6-8 weeks in a cool, dark location (like an unheated garage), look for subtle signs of life. You’re not looking for leaves, but rather for the small buds along the canes to appear slightly swollen and plump. They may even take on a reddish or brighter green hue. This is the signal that the plant has rested and is ready for its ‘artificial spring’.
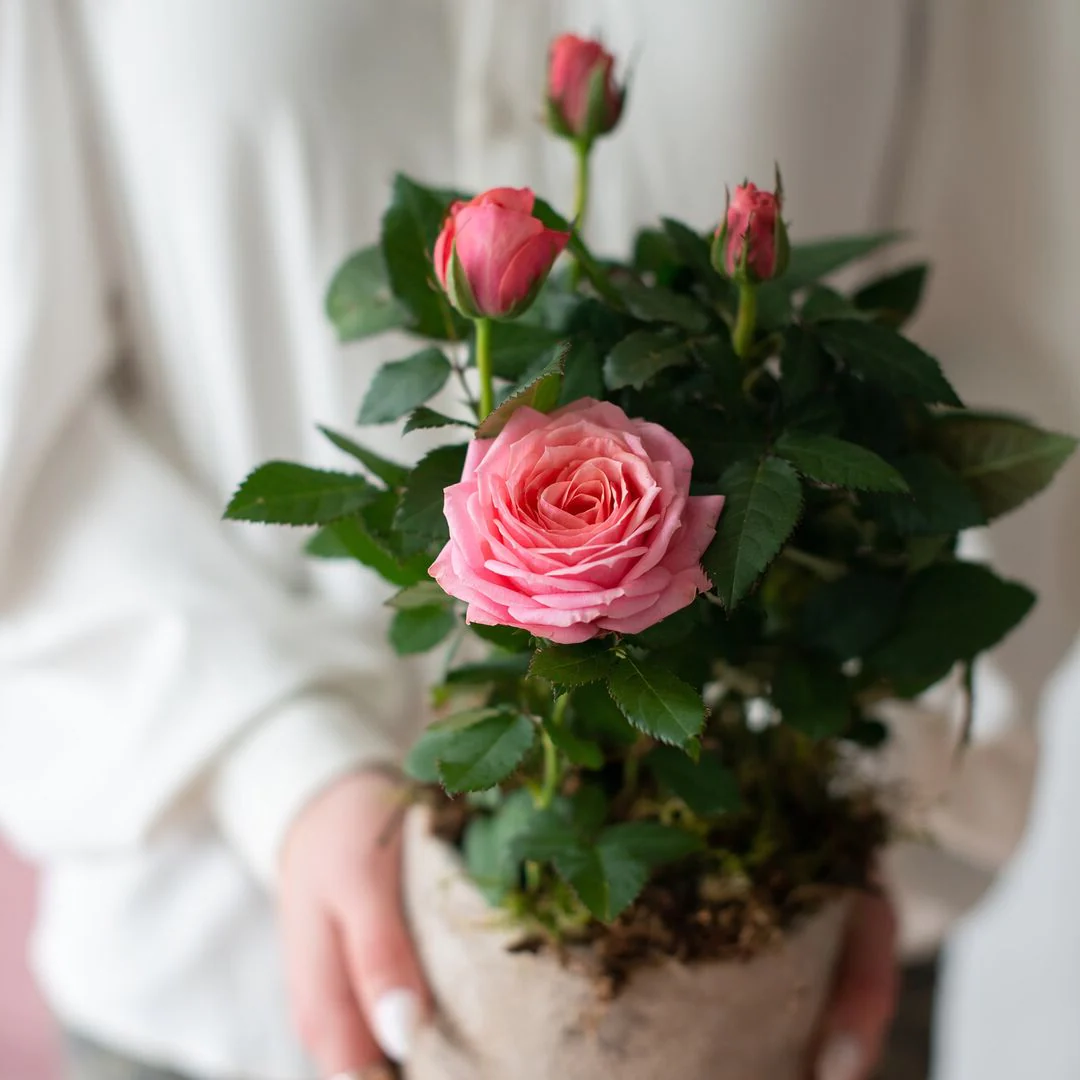
- A vibrant splash of living color on a grey day.
- The unexpected, delicate scent of summer in your home.
- A feeling of horticultural triumph and a connection to nature.
The secret? Strategic placement. Don’t hide your blooming rose in a corner. Place it on a kitchen island or a side table in the living room where you’ll see and smell it frequently. The ambient warmth and air movement will help diffuse its fragrance, making its presence a daily joy rather than just a static display.
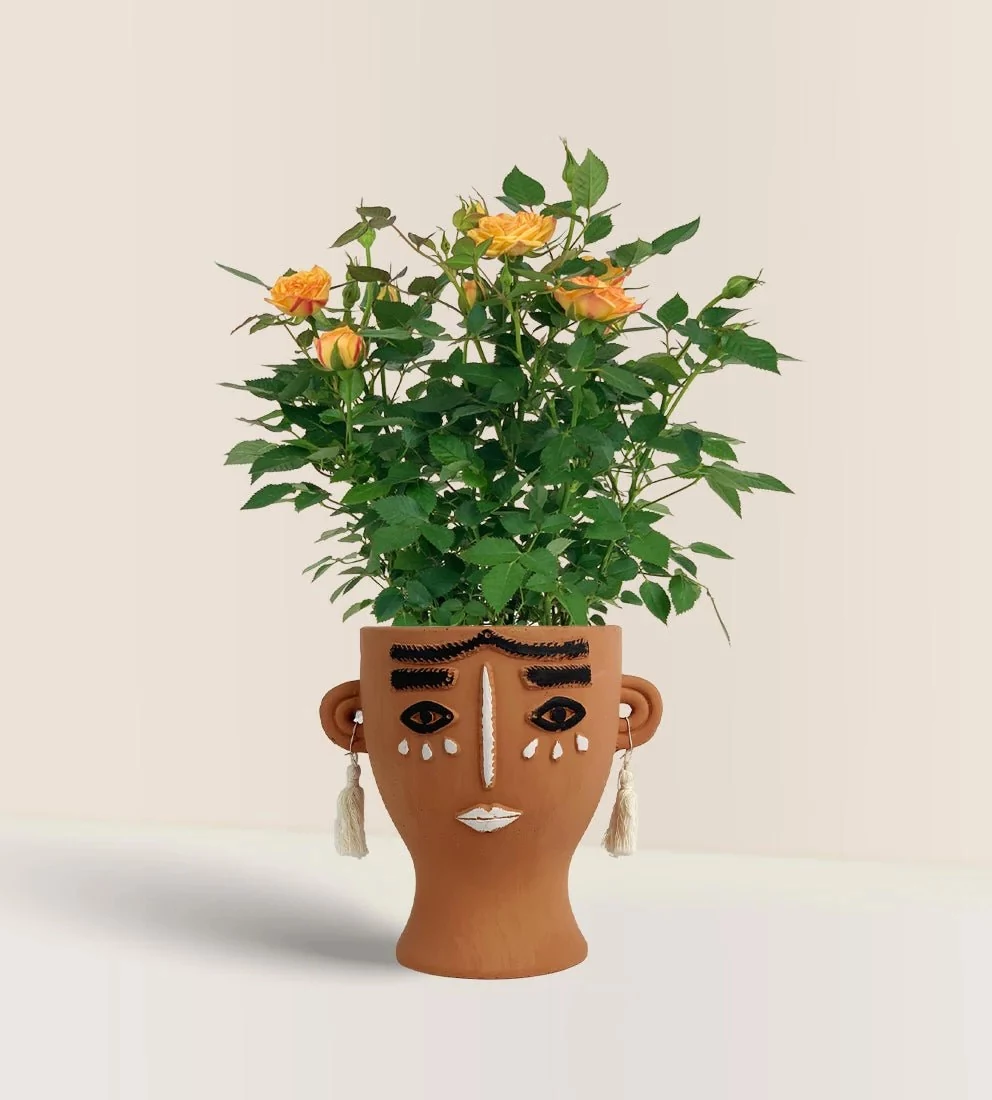
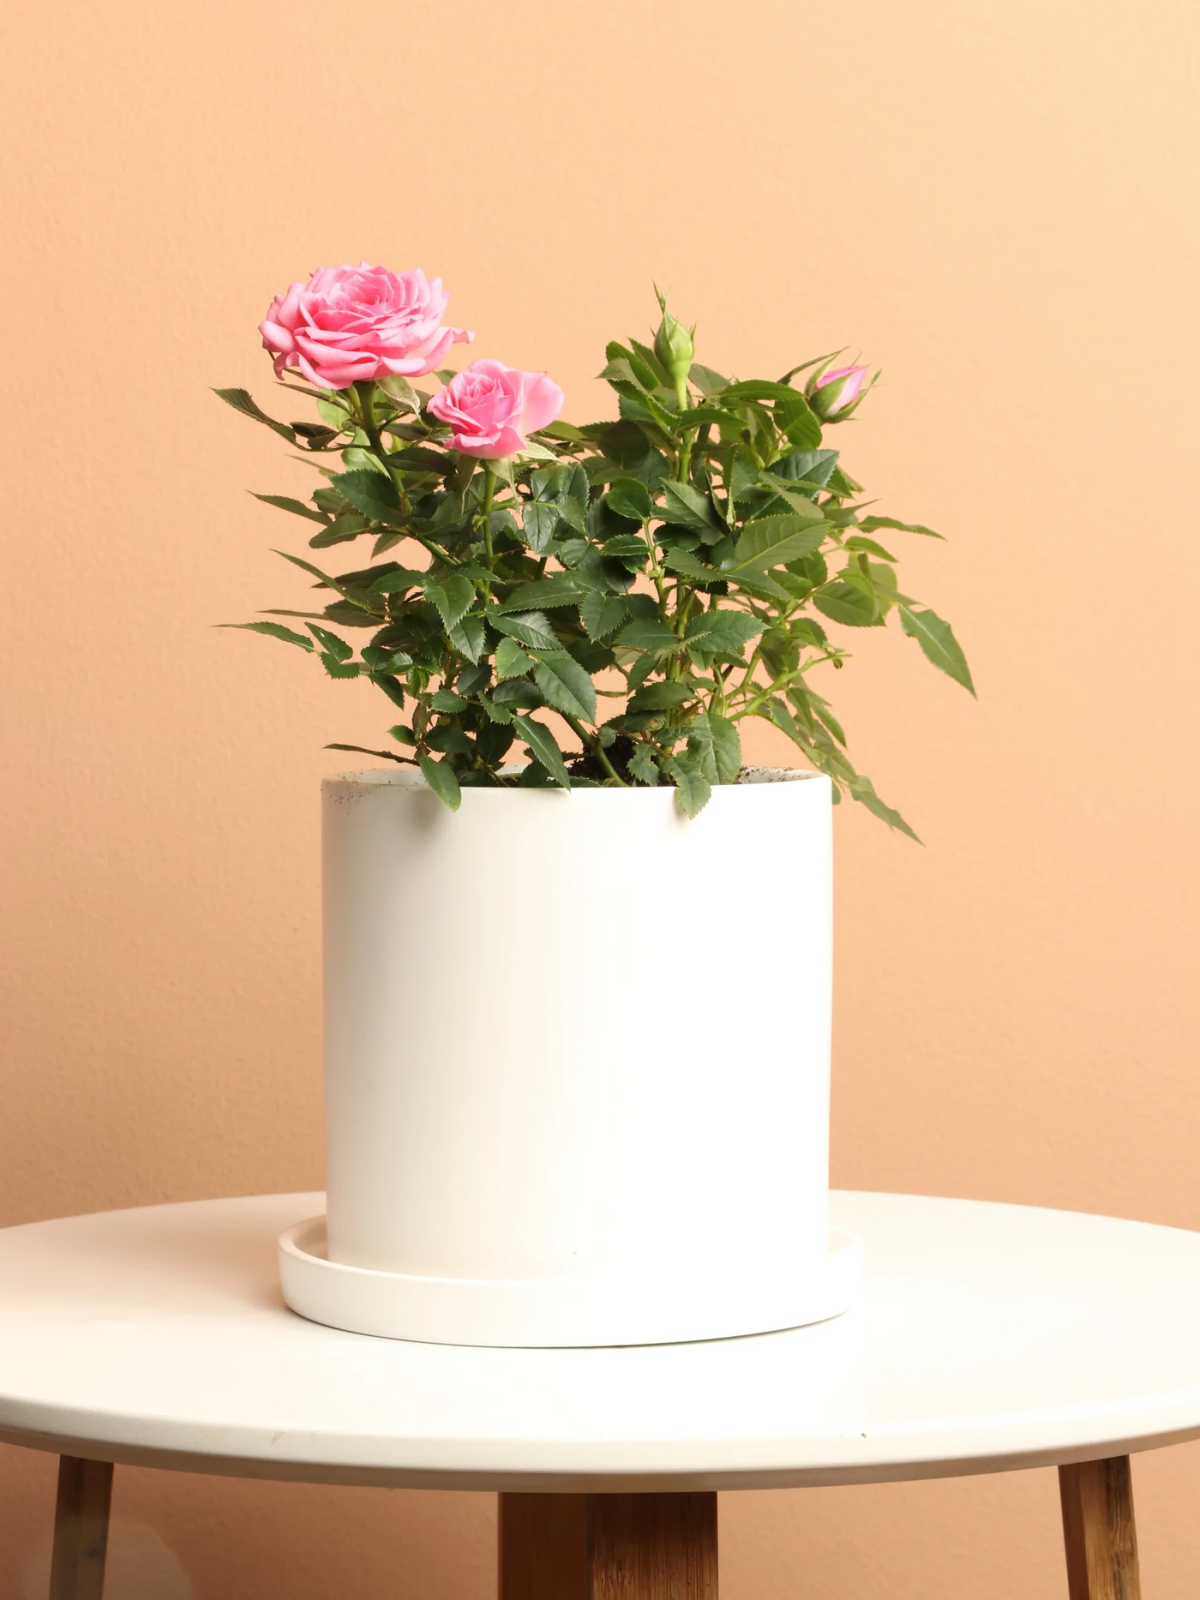
Don’t forget the pot’s role: The right container is critical for indoor success. A heavy ceramic or terracotta pot provides stability for the top-heavy plant and, more importantly, helps regulate soil moisture. Terracotta is particularly good as its porous nature allows the soil to breathe, which drastically reduces the risk of root rot—the number one killer of over-watered indoor roses.
Once your rose is actively growing in its artificial spring, feeding is essential. But avoid harsh chemical fertilizers which can burn the roots of a container plant. Instead, opt for a gentle, well-balanced liquid feed. A diluted solution of fish emulsion or a specialized organic liquid fertilizer like Espoma’s ‘Bloom!’ once every two weeks provides the perfect nutrient boost to encourage strong flower development without overwhelming the plant.
Beware the indoor pest! Dry, centrally heated air is a paradise for spider mites, tiny pests that can quickly colonize a stressed plant.


