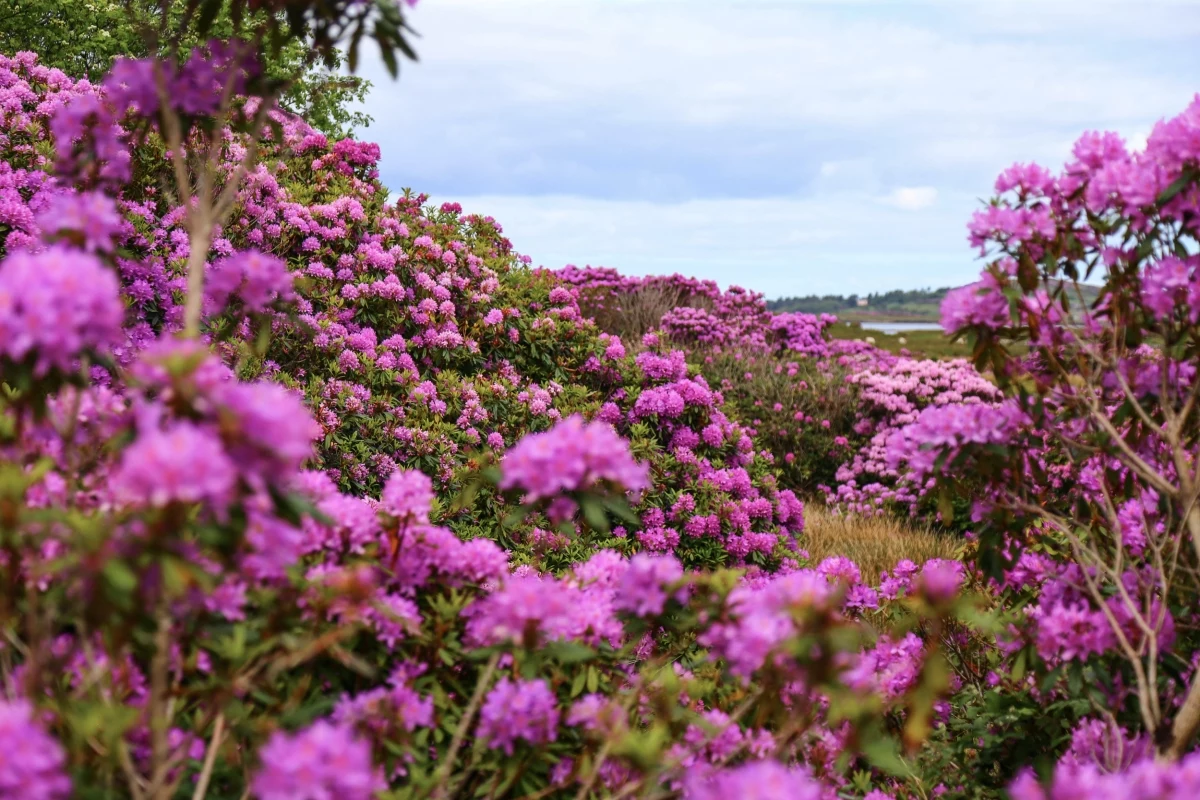
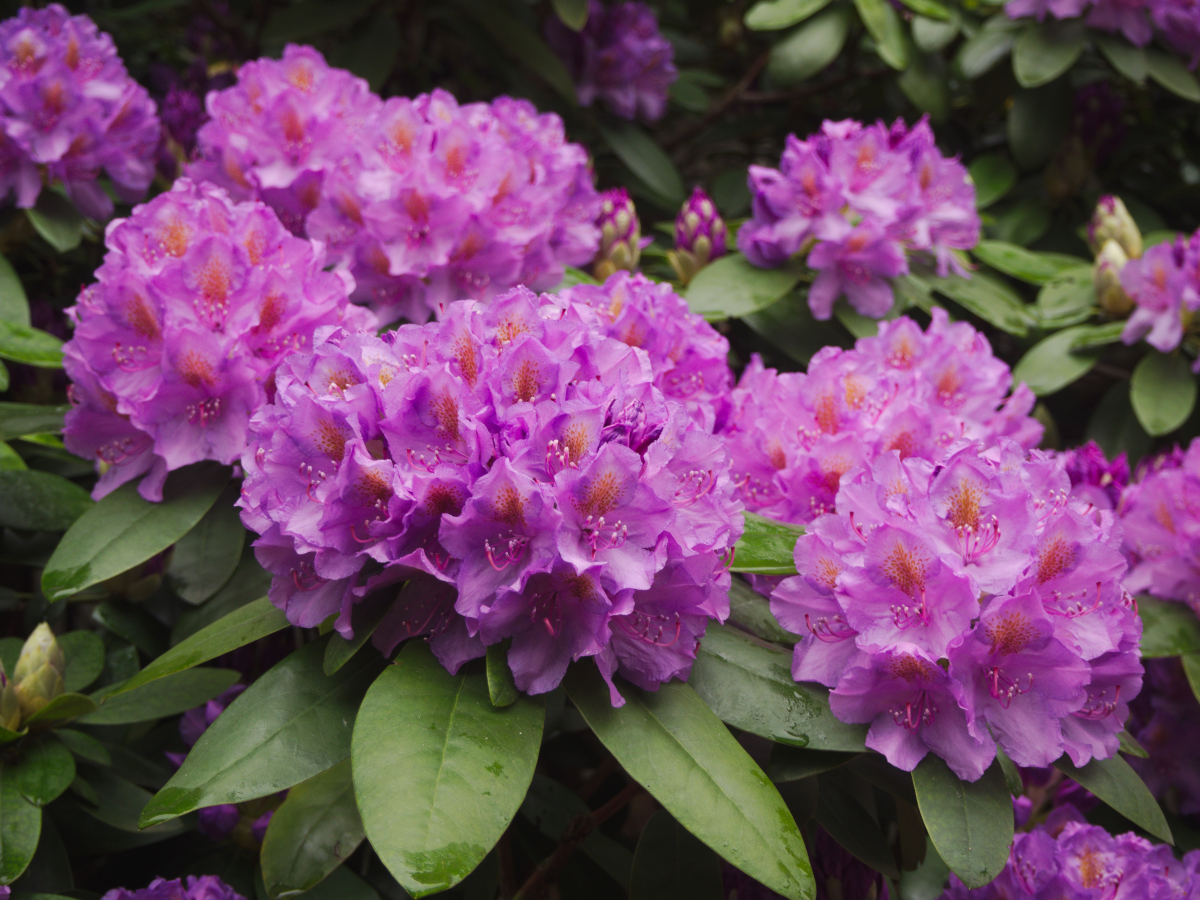
Don’t Let Winter Wreck Your Rhododendrons: The Ultimate Survival Guide
I’ve been in the plant business for a long time, and I learned one of the toughest lessons early on. A garden’s success isn’t decided in the sunshine of spring, but in the quiet, cold months of winter. I remember a gorgeous row of rhododendrons a client absolutely adored. After one brutal winter, they were a disaster—brittle, brown leaves and dead branches everywhere. I had followed the basic advice, but I didn’t truly get the ‘why’ behind it. That failure taught me what these amazing plants actually need to survive the cold.
In this article
- First, Why Do Evergreens Suffer in Winter?
- Step 1: The Autumn Watering Plan
- Step 2: Insulate the Roots with the Right Mulch
- Step 3: Build a Shield Against Wind and Sun
- What About Those Anti-Wilt Sprays?
- Your Fall Rhododendron Checklist
- Quick Fixes for Common Problems
- When Spring Arrives: Assessing the Damage
- Galerie d’inspiration
Winter care for rhododendrons isn’t just about survival; it’s about setting them up to thrive. You want them bursting with health in the spring, ready for that spectacular flower show. Ignoring them in the fall is just asking for disappointment in May. The good news? This isn’t about some secret, complicated technique. It all boils down to three things: smart watering, proper insulation, and a solid shield against the elements.
First, Why Do Evergreens Suffer in Winter?
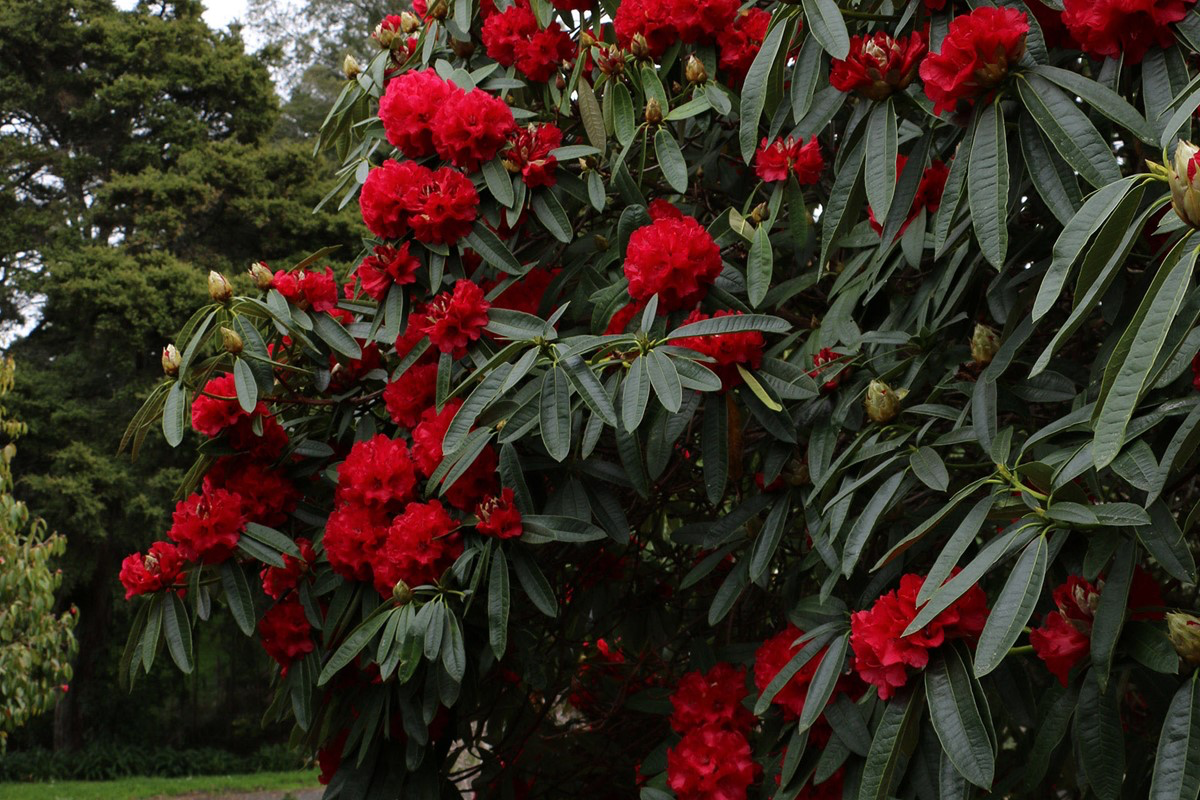
Before we even think about touching a tool, let’s get into the head of a rhododendron. Unlike a maple tree that drops its leaves and takes a long nap, broadleaf evergreens like rhodies keep their foliage all winter. They’re still alive and kicking, just in super slow-motion.
The number one enemy isn’t the cold itself, but thirst. It’s a sneaky problem called winter desiccation, or winter burn. On a sunny or windy winter day, moisture gets pulled from the leaves. That’s normal. The problem is the ground is frozen solid, so the roots can’t suck up any water to replace what’s lost. The plant is literally drying out while standing in a frozen desert. That’s why you see those ugly, brown, crispy leaves in the spring.
Oh yeah, and the ground doesn’t just freeze once. It thaws and refreezes, over and over. This movement, called frost heave, can be surprisingly violent, snapping the plant’s tiny, delicate feeder roots. It’s like a tiny earthquake happening right where the plant gets its food and water. Not good.
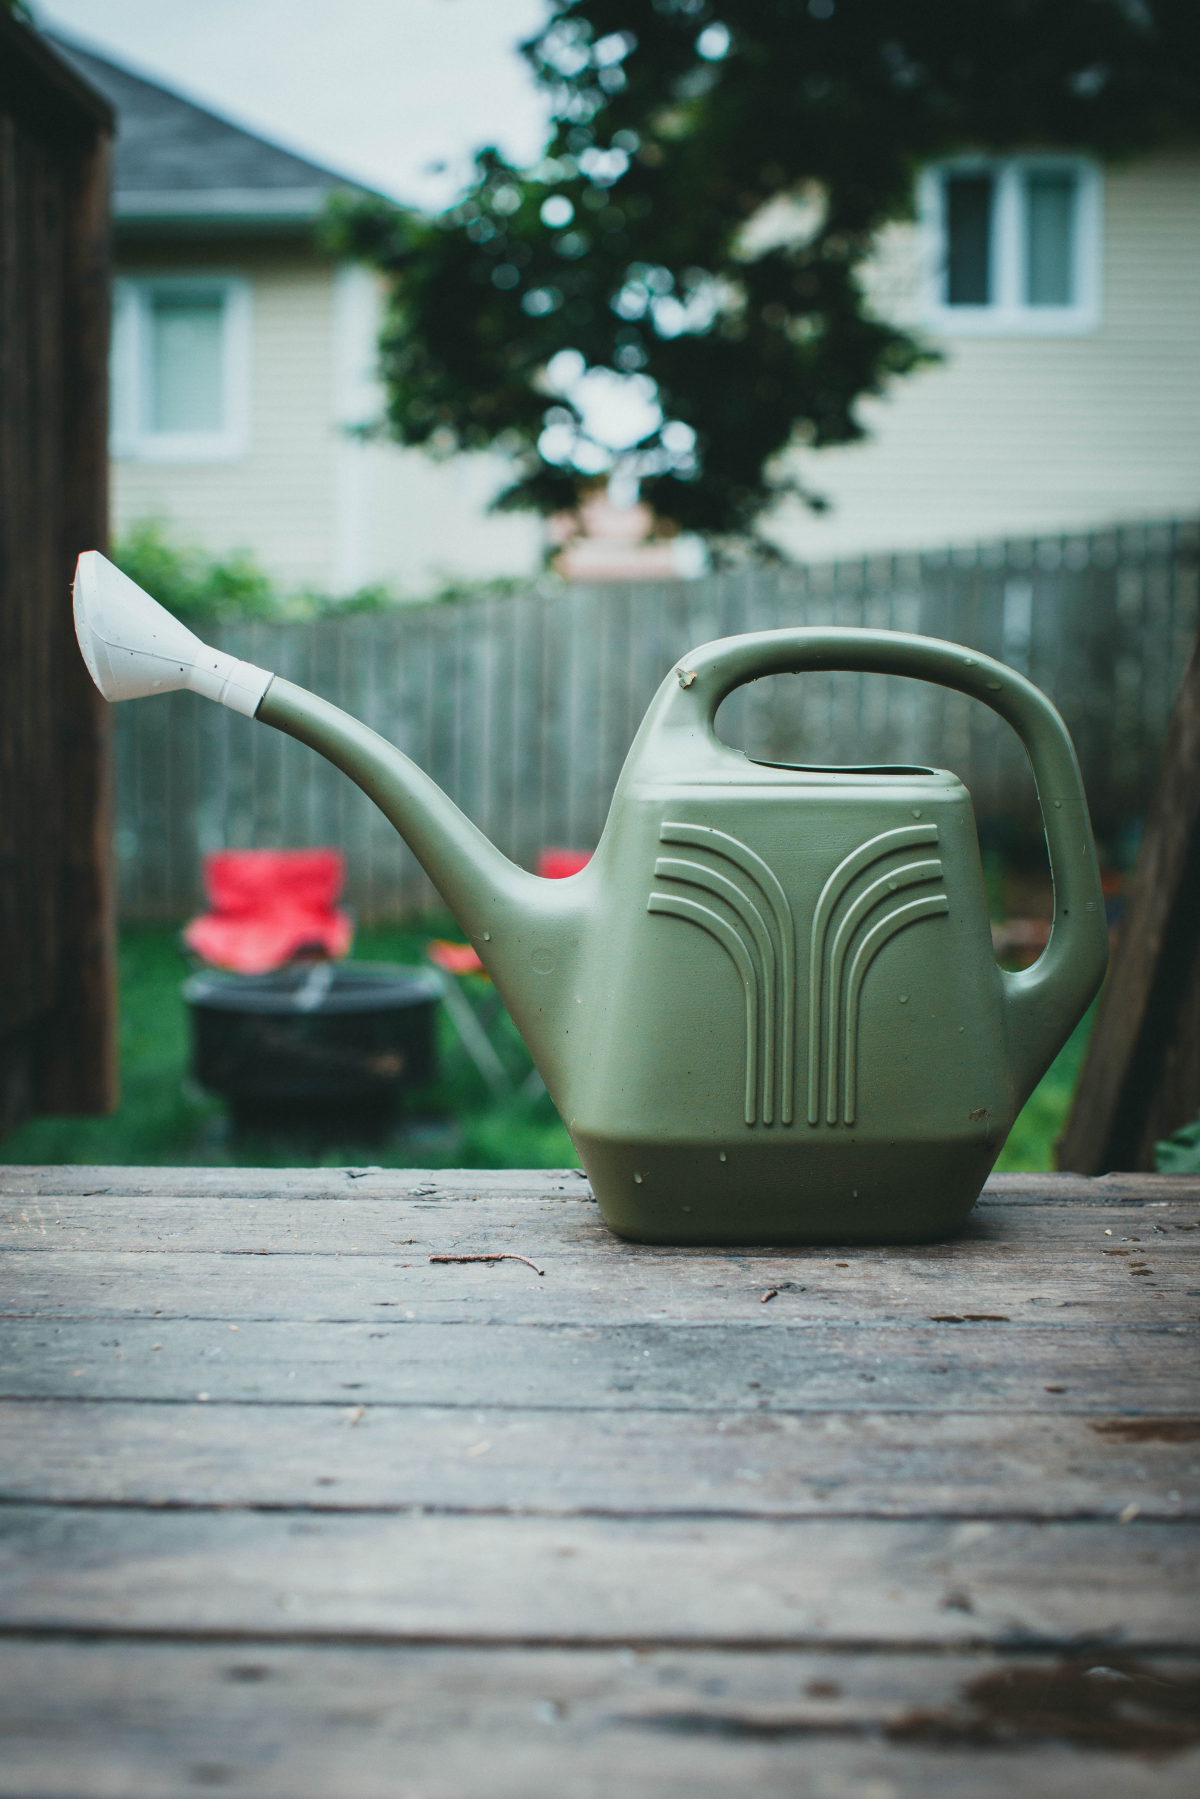
Step 1: The Autumn Watering Plan
Since water loss is the main villain, our first job is to make sure the plant is fully hydrated before the ground freezes solid. Honestly, this is the single most important thing you can do.
But how much is enough? “Water deeply” is too vague. For a decent-sized rhododendron, say four feet tall, you should be giving it 5 to 10 gallons of water per session. Not sure what 10 gallons looks like? A standard 5-gallon bucket from Home Depot or Lowe’s is your best friend here. Fill it up and dump it—slowly—twice around the base of the plant. You want to soak the soil down at least a foot deep, all the way out to the edge of the branches.
Start this deep watering schedule in the fall as the weather cools, usually from late September through November in most northern climates. Check the soil once a week. If it feels dry a few inches down, it’s time to water again. Keep doing this right up until the ground freezes hard. Heads up! Pay special attention to plants under the eaves of your house; they don’t get any natural rain and are often the first to suffer.
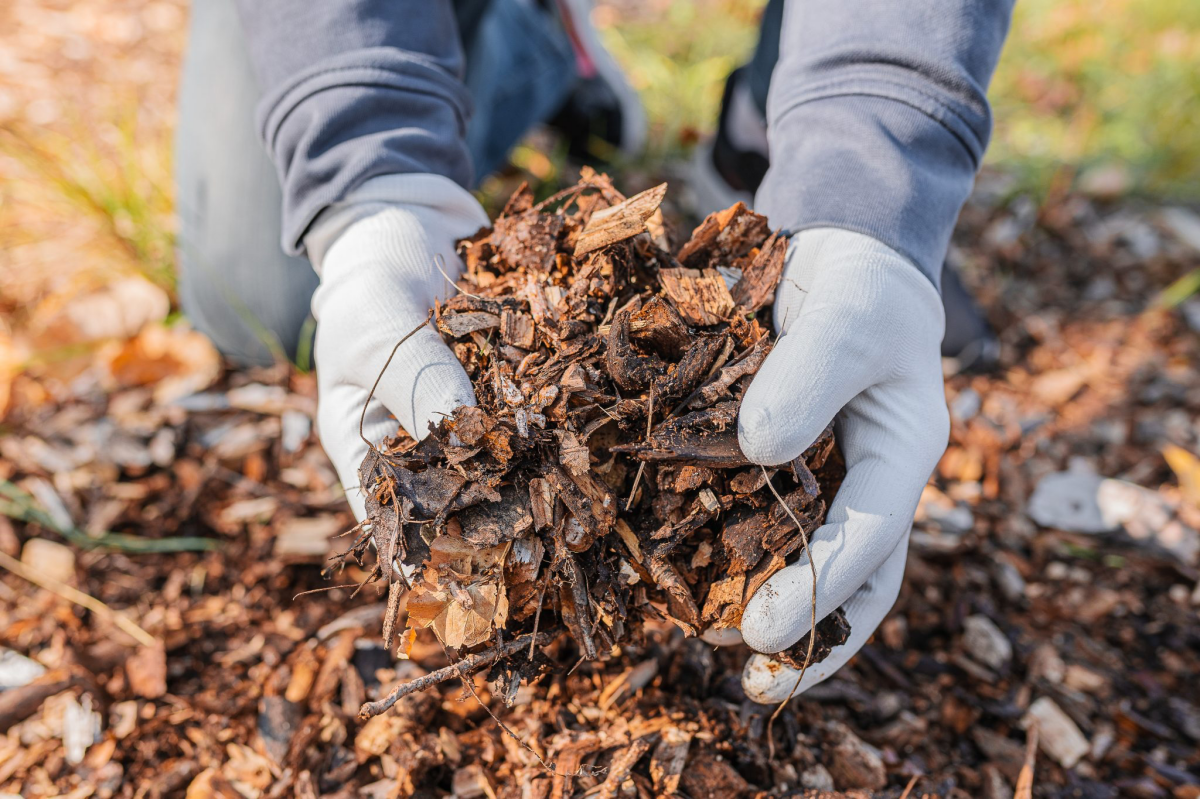
Step 2: Insulate the Roots with the Right Mulch
Once the soil is nicely moist, it’s time to tuck the roots in for the winter. Mulch is like a cozy blanket that keeps soil temperature stable, holds in moisture, and prevents that nasty frost heave.
For acid-loving plants like rhododendrons, not just any mulch will do. Here are the best choices:
- Pine Straw (Pine Needles): This is the gold standard, in my opinion. It’s lightweight, lets air and water through easily, and adds a touch of acidity to the soil as it breaks down. A bale usually costs between $10 and $15 and covers a good amount of space.
- Shredded Oak Leaves: These are fantastic and, better yet, free if you have an oak tree! Just be sure to run them over with a lawnmower first. Whole leaves can form a soggy, impenetrable mat that suffocates the roots.
- Aged Pine Bark: Shredded pine bark or bark fines are another great option. They insulate well and improve the soil over time. A 2-cubic-foot bag will run you about $5 to $8.
A quick word on what to avoid: Fresh wood chips can temporarily steal nitrogen from the soil as they decompose. And please, don’t use heavy maple leaves; they turn into a slimy mess. The absolute worst thing you can do is pile dirt against the stem.
CRITICAL TIP: Apply a layer about 3 to 4 inches deep after a few light frosts but before the ground freezes solid. The biggest mistake people make is creating a “mulch volcano” by piling it right up against the plant’s main stem. This traps moisture, invites rot, and gives rodents a cozy place to live while they chew on your plant’s bark all winter. Always pull the mulch back 2 to 3 inches from the stem, creating a little donut-hole shape. The stem needs to breathe!
Step 3: Build a Shield Against Wind and Sun
For some plants, watering and mulching is enough. But for rhododendrons in exposed spots, a physical barrier is a must.
You’ll want to build a screen for any plant that is newly planted, sits in a wide-open, windy area, or gets blasted by the intense south or southwest sun in winter. My rule of thumb is simple: if the spot feels windy to you, it’s definitely too windy for your plant.
Burlap is the perfect material. It blocks wind and sun but still breathes. Never use plastic sheeting—it will literally cook your plant on a sunny day.
Here’s how to build a simple, effective screen. Plan for about an hour for a couple of plants; it’s a quick job that pays off big time.
- Your Mini Shopping List: Head to a hardware store and grab some 4 or 5-foot metal T-posts (about $7 each) or sturdy wooden stakes. You’ll also need a roll of burlap (around $20). For under $50, you can build a reusable shield that will save a $200 plant.
- Installation: Before the ground freezes, hammer the stakes into the ground on the windiest sides of the plant (usually the north and west). Place them about a foot away from the branches. Then, just stretch the burlap between the stakes and secure it with a staple gun or zip ties.
- Important: Do NOT wrap the burlap directly around the plant like a mummy. This can scrape up the leaves and trap moisture. Always leave the top open to let heat escape and to let in snow, which is a fantastic natural insulator.
I learned this the hard way. Early in my career, I used flimsy stakes for a client. A winter storm snapped them, and the flapping burlap shredded the rhododendron’s leaves to bits. Now, I only use heavy-duty posts.
What About Those Anti-Wilt Sprays?
You’ve probably seen anti-desiccant sprays like Wilt-Pruf at the garden center. They work by coating the leaves in a waxy film to reduce moisture loss. From my experience, they offer some help but are absolutely not a substitute for proper watering, mulching, and screening. I find they’re most useful for smaller, newly planted rhodies that are still getting established. For my big, old plants, good watering and mulching is usually enough. If you do use them, apply on a day when the temperature is above 40°F (4°C) so it can dry properly.
Your Fall Rhododendron Checklist
Okay, let’s boil it down into a simple game plan:
Late Sept / Early Oct: Start your weekly deep-watering routine. Remember, 5-10 gallons per plant!
Early Nov (After the first couple of light frosts): Apply your 3-4 inch layer of mulch (pine straw is best!), keeping it away from the stem.
Mid-Nov (Before the ground freezes solid): Build your burlap screens for any exposed plants.
Quick Fixes for Common Problems
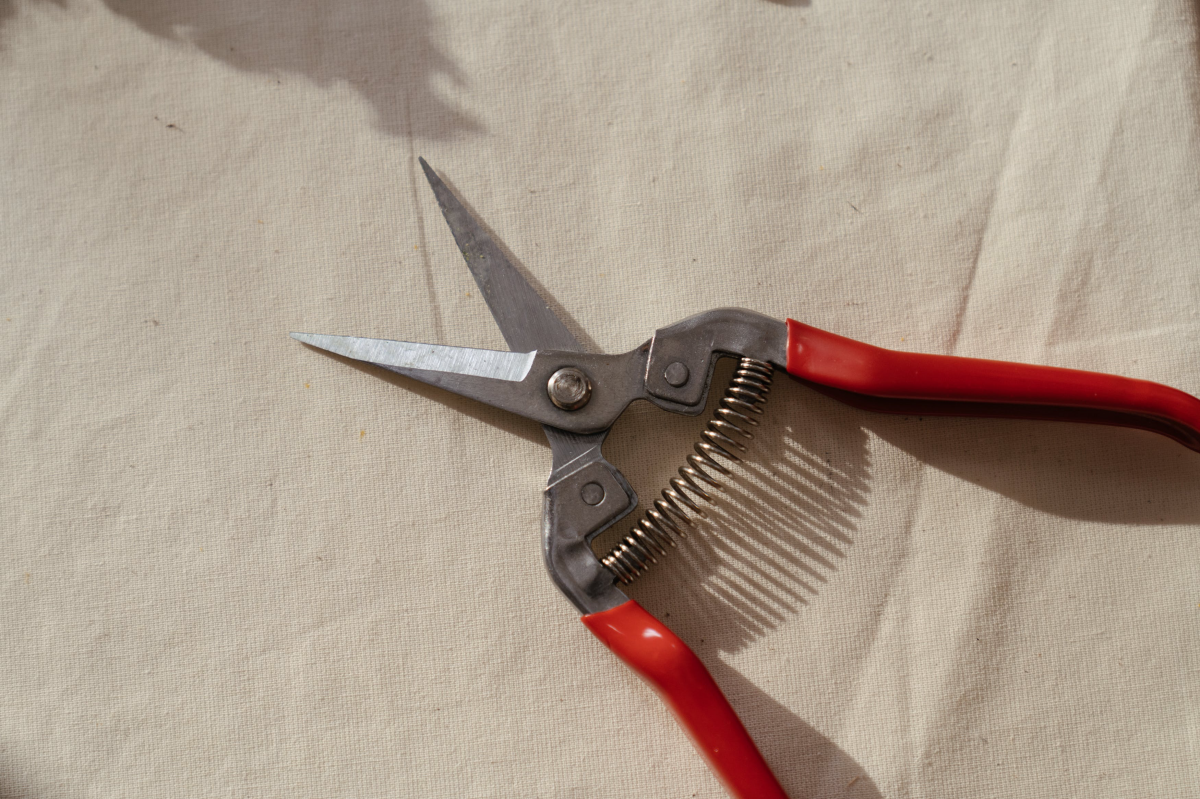
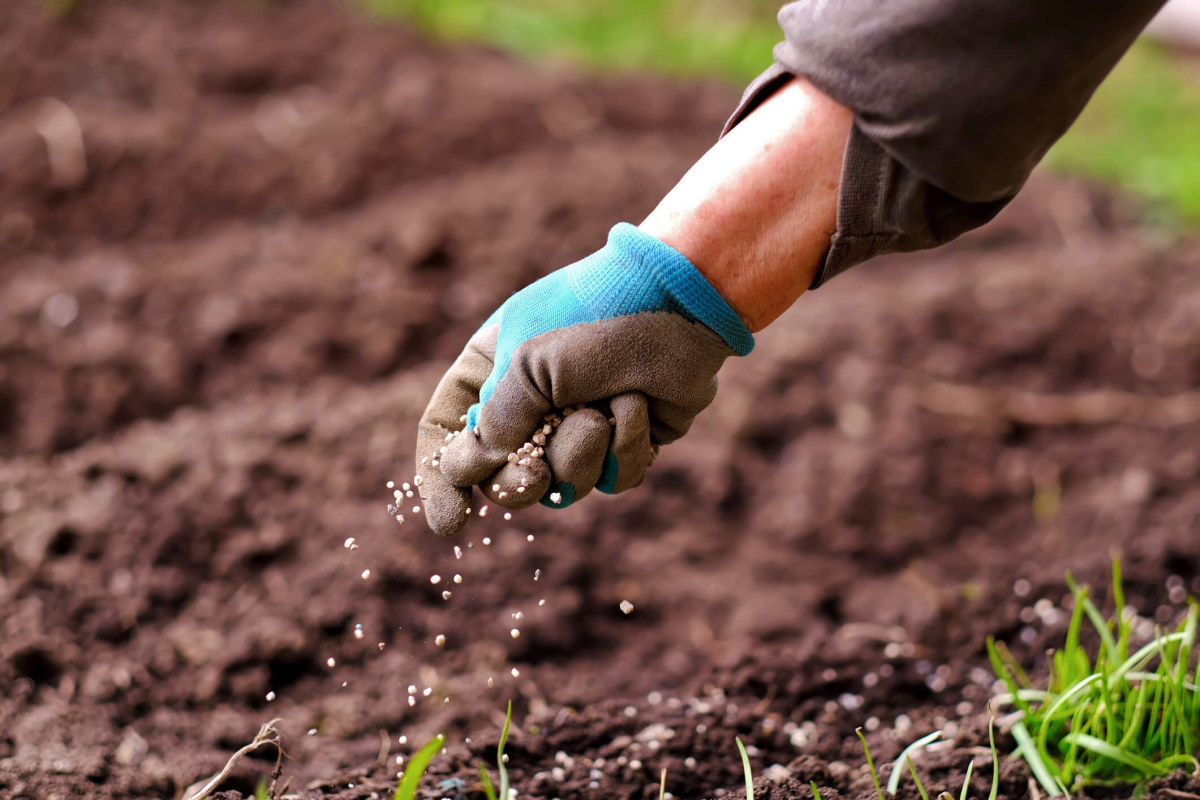
Don’t fertilize or prune in the fall! This is a big one. Fertilizing encourages weak, new growth that will get zapped by the first freeze, wasting the plant’s energy. Pruning does the same. The only cutting you should do is to remove anything that is clearly dead, damaged, or diseased.
Dealing with Road Salt: Salt spray from roads and sidewalks is poison. It chemically dehydrates the roots. The best defense is a simple burlap barrier staked along the edge of the garden bed. I once had a client whose driveway-side rhodies were fried every spring. We installed a two-foot-high burlap strip, and the next year, they were perfect. If you need a de-icer, look for products with calcium magnesium acetate (CMA) or just use sand.
When Spring Arrives: Assessing the Damage
Don’t panic if your plant looks rough in March. Be patient! The leaves might uncurl and recover. To see if a branch is alive, use what we call the “scratch test.” Go on, try it now on a twig you’re worried about. Gently scratch a tiny spot of bark with your thumbnail. See that little bit of green underneath? It’s alive! No need to panic-prune yet. If it’s brown and dry, that part of the branch is dead. Wait until you see new buds swelling, then you can confidently prune off any parts that are truly gone.
Winterizing is all about giving your plants a fighting chance. A little effort in the fall leads to a spectacular, stress-free spring. You’ll stop being a gardener who just hopes for the best and become one who knows they’ve done everything right.
Galerie d’inspiration
What’s the best way to shield my rhododendrons from harsh winter winds?
It really depends on your main challenge. For exposed locations, a physical barrier is king. Drive three or four stakes into the ground around the plant (but not in the root ball!) and wrap burlap around them, leaving the top open for air circulation. This creates a microclimate that deflects wind and prevents sun-scald. If your primary concern is moisture loss and your location is less windy, an anti-desiccant spray like Wilt-Pruf can be a game-changer. Applied in late fall when temperatures are above freezing, it coats the leaves with a clear, flexible film, drastically reducing water evaporation without impeding photosynthesis.
Not all rhododendrons are created equal when it comes to cold. The American Rhododendron Society provides hardiness ratings for most cultivars, with some tested to withstand -25°F (-32°C) or even colder.
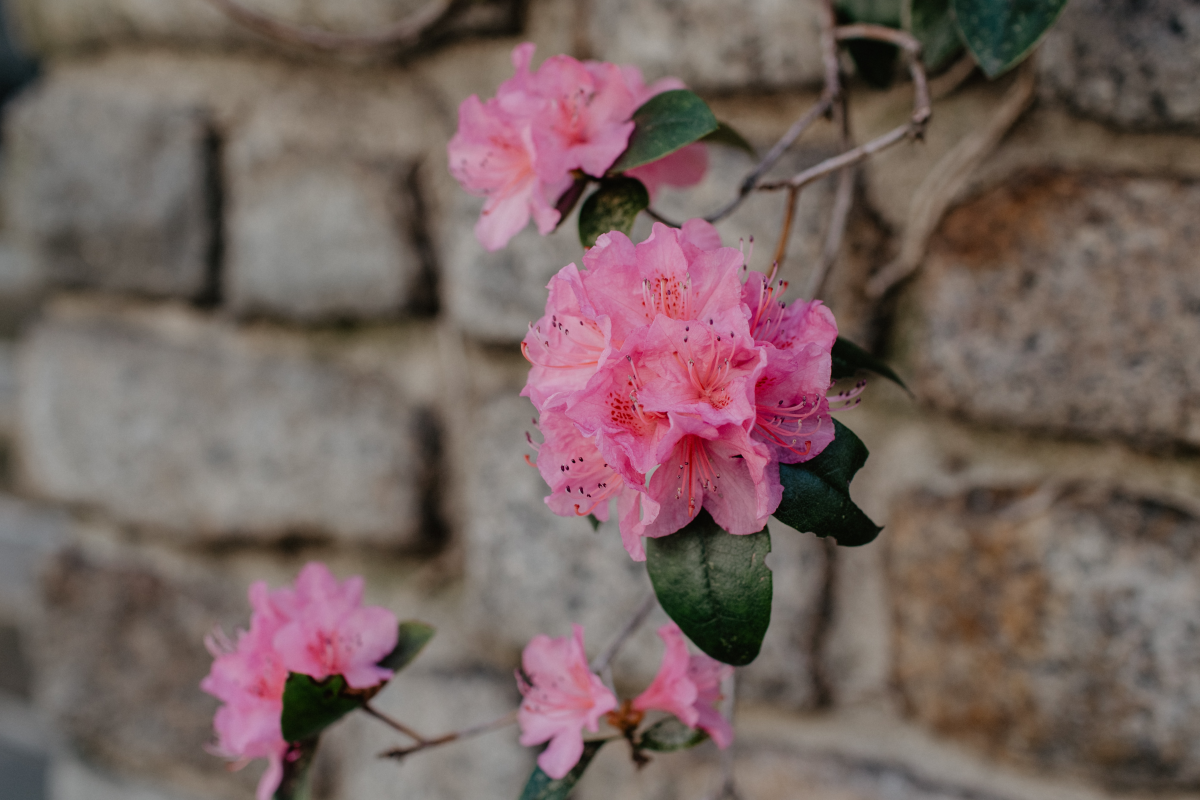
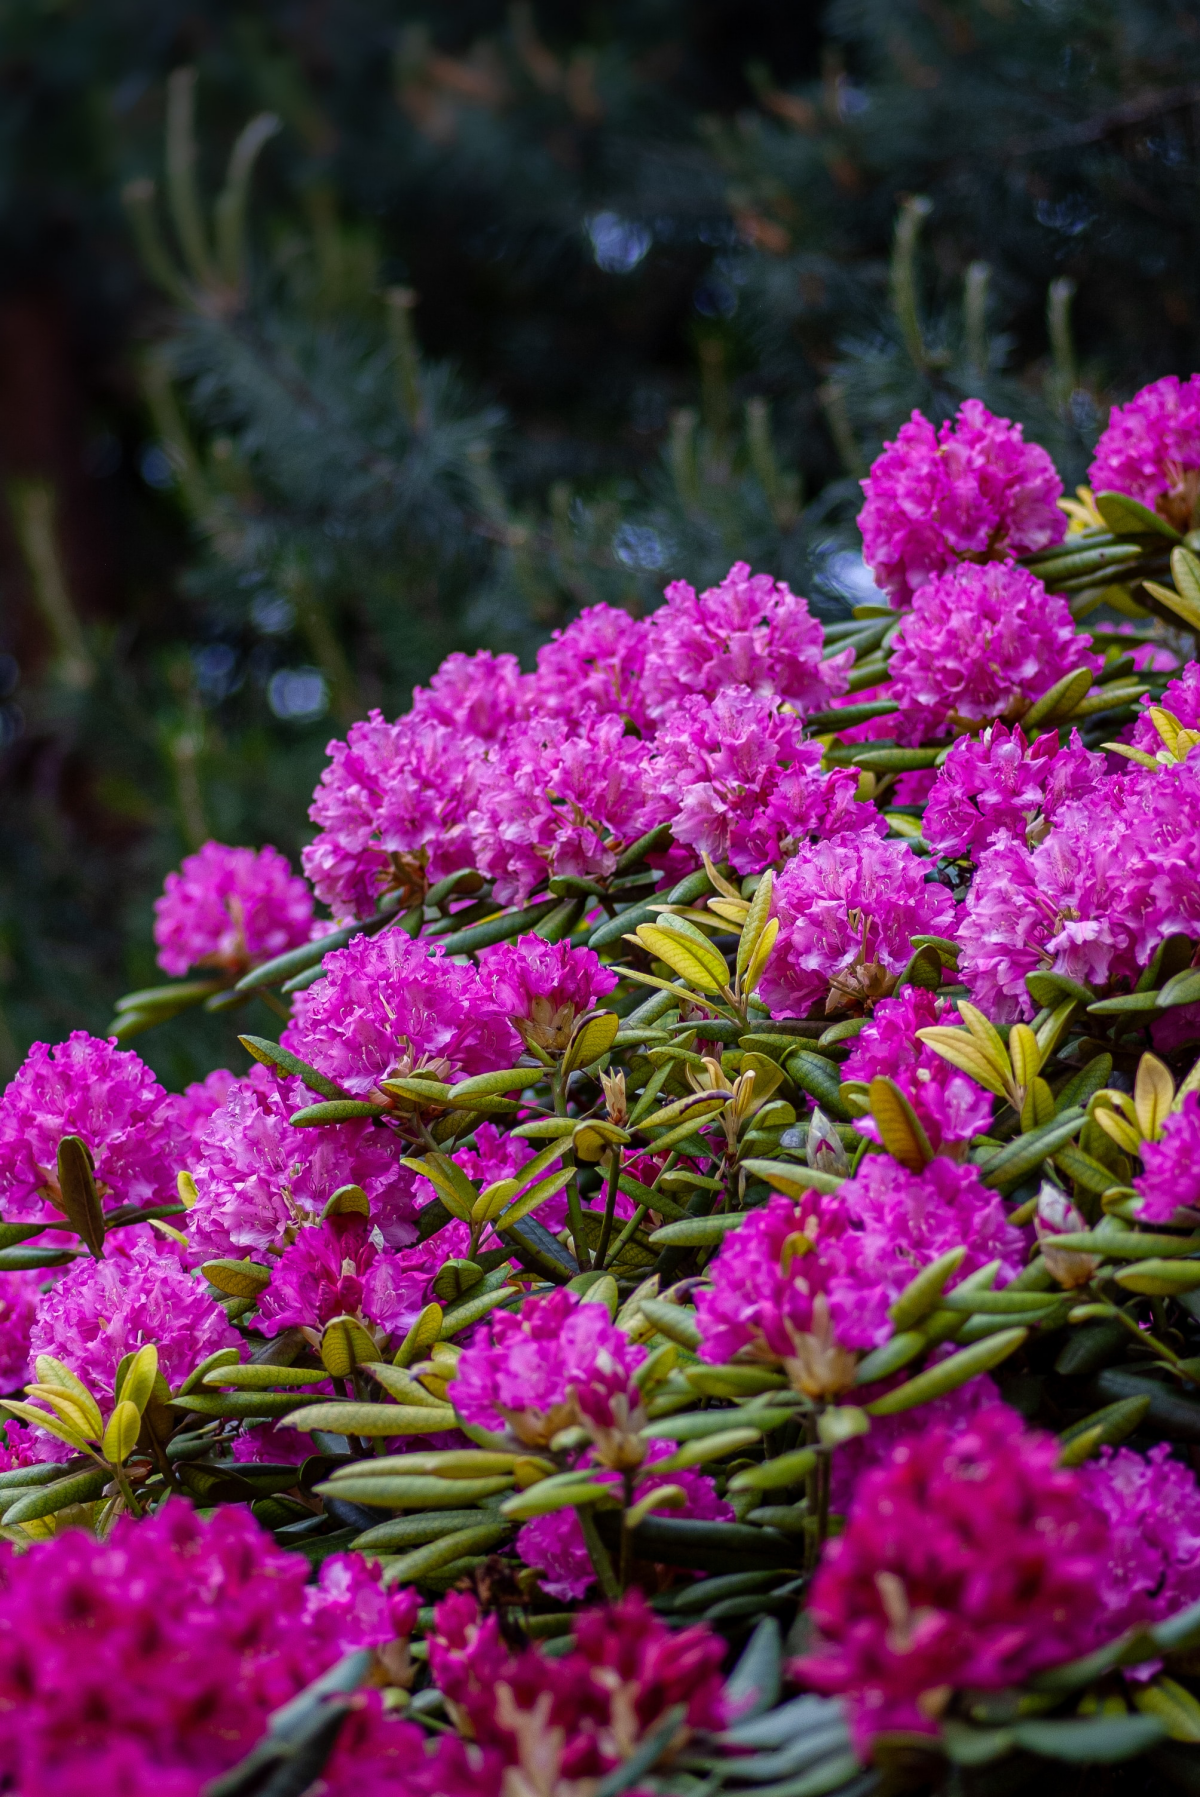
Before you even think about winter protection, choosing the right plant for your zone is half the battle. If you live in a cold climate, seek out exceptionally hardy varieties. The ‘P.J.M.’ group, for example, is legendary for its resilience and beautiful lavender-pink blooms. For ultimate toughness, look to the Finnish-bred Marjatta hybrids, which were specifically developed to endure brutal Nordic winters.


