The Real Deal on Growing Ranunculus (It’s Easier Than You Think)
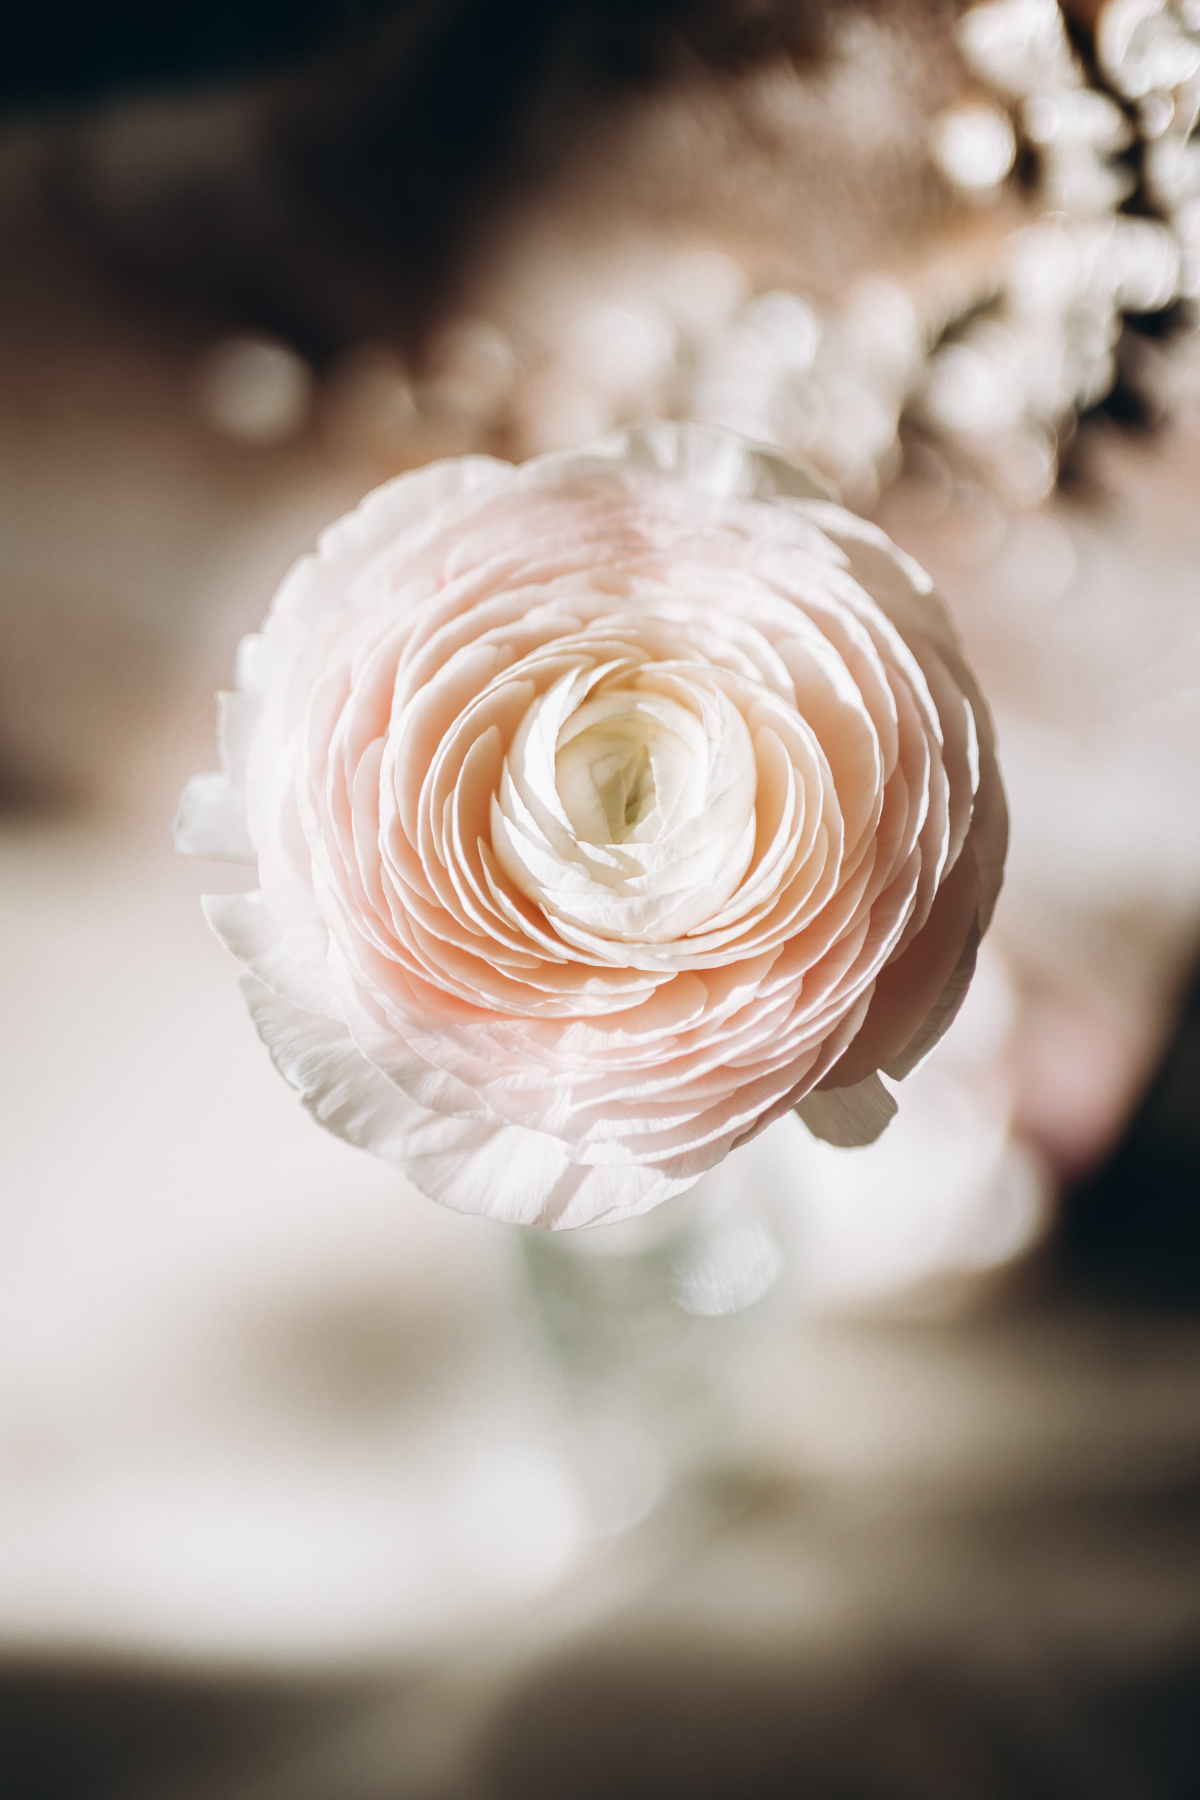
I’ll never forget the first time I saw a truly perfect ranunculus. It was in a high-end wedding bouquet, with layers upon layers of paper-thin petals, and I honestly thought it was a type of rose I’d never seen before. For years, I was convinced they were some magical, fussy flower reserved only for professional growers with massive greenhouses.
In this article
- First Things First: It’s a Corm, Not a Bulb
- Your Ranunculus Starter Kit: What to Buy and What to Expect to Pay
- Waking Them Up: Soaking and Pre-Sprouting
- Planting Time: Location, Location, Location
- The Perfect Home: Soil, Spacing, and Sun
- Keeping Them Happy: Food, Water, and Support
- Harvesting for a Long Vase Life
- Can You Save the Corms?
- Inspirational Gallery
Turns out, that’s not the whole story. After many seasons of growing them myself—and making a few costly mistakes along the way—I can tell you that they aren’t difficult. They’re just… specific. They play by a different rulebook than most of the flowers in your garden. Once you learn their language, you can absolutely grow florist-quality stems right in your own backyard. This is the field-tested guide to getting it right.
First Things First: It’s a Corm, Not a Bulb
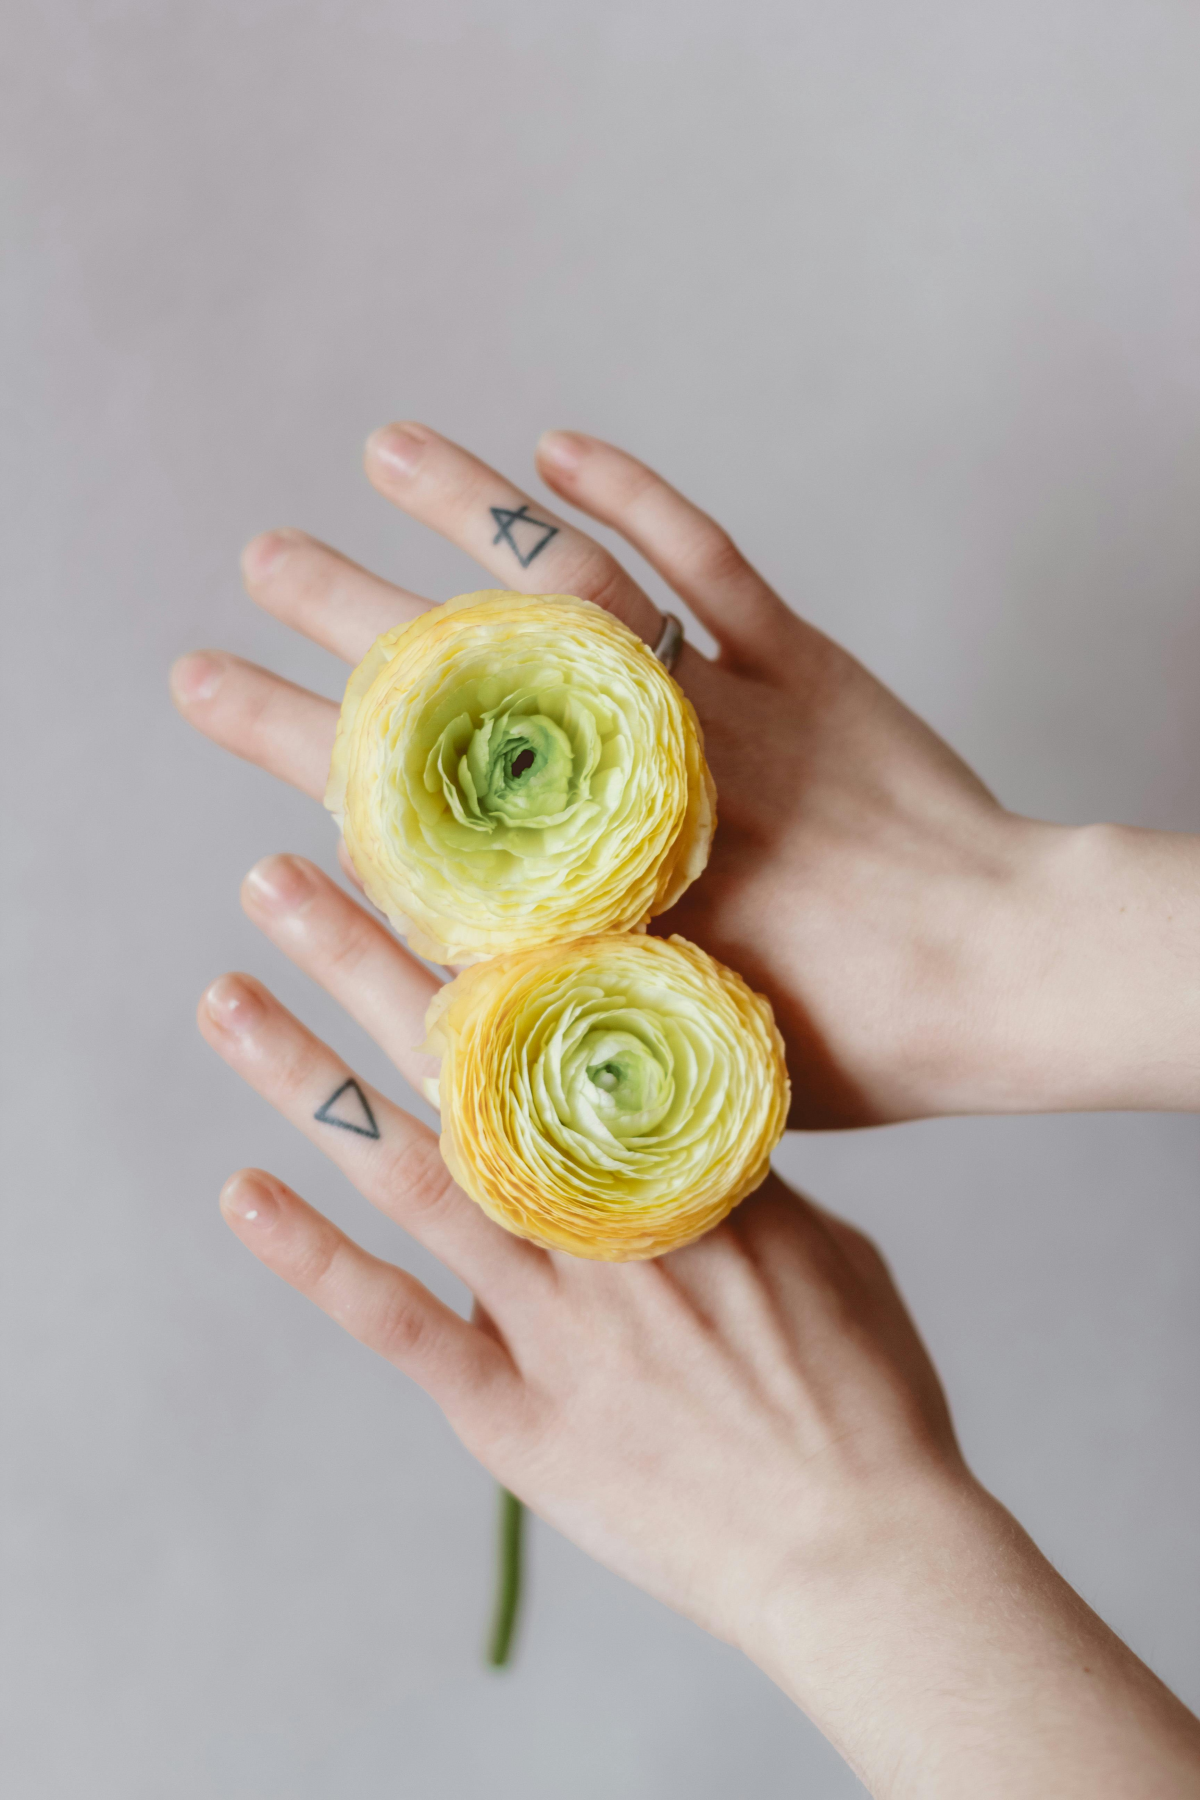
Before we even get our hands dirty, let’s talk about that weird, shriveled-up little claw you get in the mail. That’s a corm. It’s not a tulip bulb, which is made of fleshy leaves. A corm is a solid chunk of stem tissue that stores food, and knowing this one tiny fact is the key to everything.
These corms are sold bone-dry, basically in suspended animation. They come from regions with cool, wet growing seasons and hot, dry summers where they go dormant. Our job is to mimic that cycle. The biggest mistake beginners make is planting this dry corm directly into wet soil. It sucks up water way too fast, the cells burst, and it turns into a pile of expensive mush. We’ve all been there. Learning how to wake them up gently is the first pro-level skill you need to master.
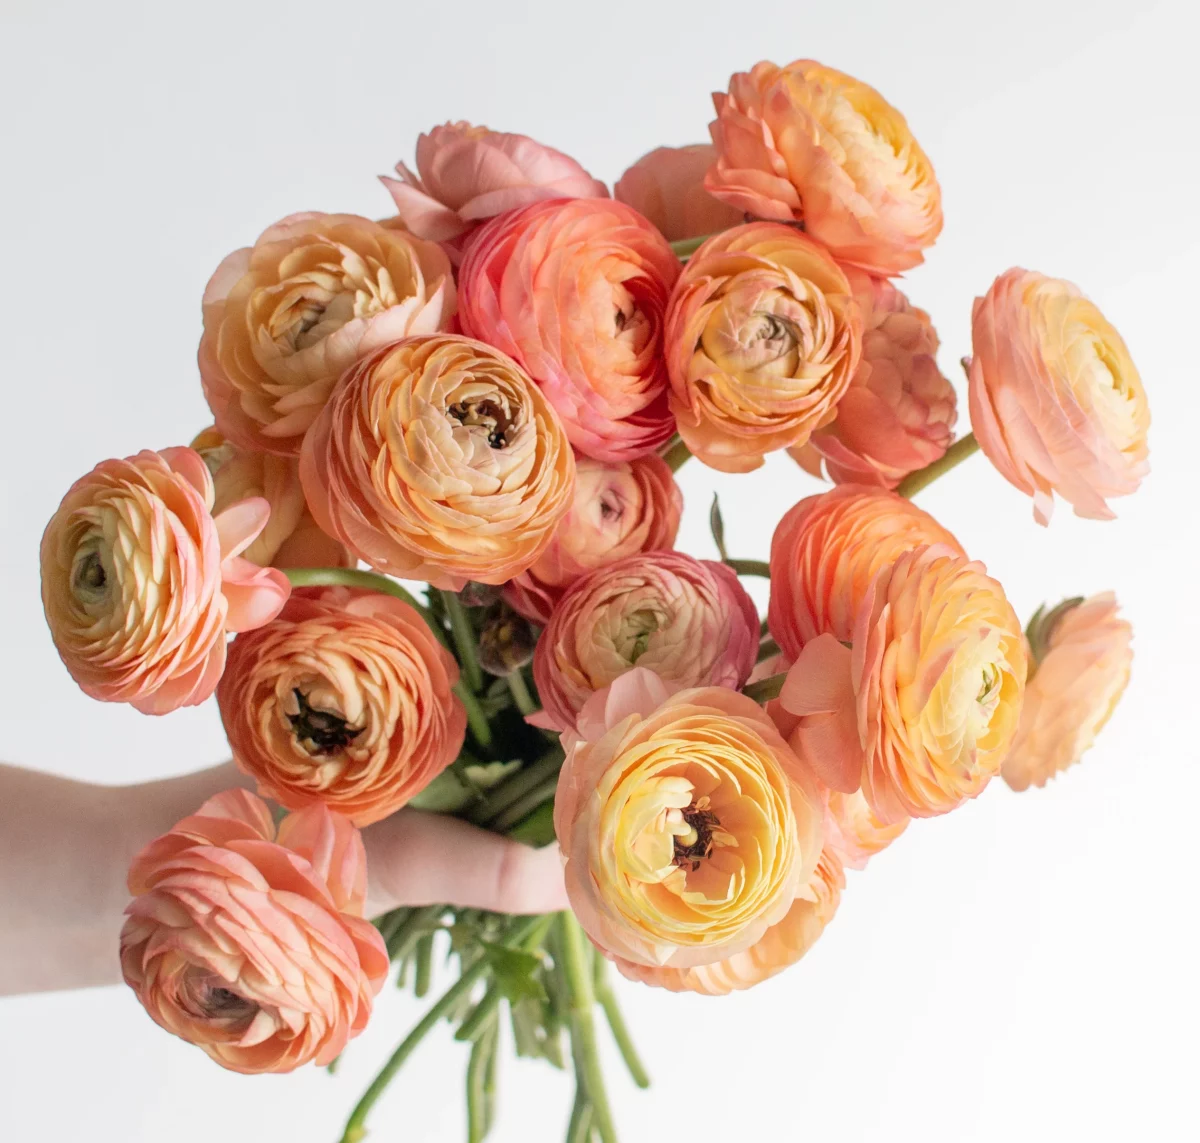
Oh yeah, a quick heads-up: The sap in ranunculus can be a mild skin irritant for some folks. It’s no big deal, but I always recommend wearing gloves when you’re cutting a bunch of them, just to be safe.
Your Ranunculus Starter Kit: What to Buy and What to Expect to Pay
Before you get started, it helps to know what you’re in for budget-wise. This isn’t a massive investment, but quality matters. Here’s a rough idea of your shopping list:
- Ranunculus Corms (10-20): This is your biggest choice. Skip the mystery bags at big-box stores. You want to buy from a supplier that sells to flower farmers. They sell corms by size, like 5/7 cm or 7/9 cm. A 5/7 size is perfect for home gardeners and will run you about $1.50 to $2.50 per corm. Bigger corms mean more flowers, but this size is the sweet spot for amazing results without breaking the bank. So, for a nice starter patch, plan on about $20-$40.
- Shallow Tray: A standard 1020 seed-starting tray is perfect. You can find one for about $3.
- Good Potting Mix: A small bag will do for pre-sprouting. About $10.
- Liquid Fertilizer: A bottle of liquid seaweed or a fish emulsion blend will last you all season and costs around $15.
All in, you can get a fantastic start for around $50-$70. Not bad for armloads of boutique-quality flowers, right?
Waking Them Up: Soaking and Pre-Sprouting
This is the part that separates success from failure. Seriously. You have to rehydrate the corms before they touch the soil.
Here’s my go-to method:
- Get a bucket of room-temperature water and pop your corms into a little mesh bag (like the kind onions come in) to keep them together.
- Let them soak for 3 to 4 hours, and no longer. They’ll plump up to about double their size. They should feel firm, not squishy.
- Pro Tip: For years I just soaked them, and it worked fine. But a game-changer I learned from the pros is to add a small aquarium bubbler to the water. You can get one online for about $15. The moving, oxygenated water helps prevent any nasty bacteria from growing and gives you an even better success rate.
After they’ve soaked, I move right to pre-sprouting. This step feels extra, but it gives you a two-week head start and lets you toss any duds. Fill your shallow tray with two inches of lightly damp potting mix—it should feel like a wrung-out sponge. Place your plumped-up corms on the soil with their little claws pointing down, and cover them with another inch of mix.

Now, stick the tray in a cool, dark place. A garage, a basement, or even a closet that stays between 40-50°F (4-10°C) is ideal. By the way, a common question is, “Can I use my fridge?” The answer is… maybe. It’s the right temperature, but fridges can have ethylene gas from ripening fruit that can hinder sprouting. If you do use the fridge, keep the tray away from produce. After 10-14 days, you’ll see little white roots and tiny green shoots. It’s working!
Planting Time: Location, Location, Location
When you plant depends entirely on your climate zone. You can find your zone by searching online for the “USDA Plant Hardiness Zone Map.”
If you live in a warm climate (Zones 8-10), you’re in luck. You can plant in the fall, usually late October or November. This gives the corms all winter to develop a huge root system before they explode with growth in the spring.
For those of us in cooler climates (Zones 7 and below), fall planting is a no-go; the ground freeze will kill the corms. Instead, you’ll plant in late winter or very early spring. I start pre-sprouting my corms indoors about 4-6 weeks before my last frost date and plant them out as soon as the soil isn’t a frozen rock. They’re surprisingly frost-hardy once they’re established.
The Perfect Home: Soil, Spacing, and Sun
If ranunculus could tell you one thing, it would be: “I need good drainage!” They absolutely will not tolerate sitting in waterlogged soil. This is why raised beds are my best friend for these flowers.
For the perfect soil, I mix about 50% good compost with 25% garden soil and 25% coarse sand or perlite. Quick Tip: If you’re not up for playing soil scientist, just buy a high-quality bagged cactus and succulent mix. It’s pre-formulated for the excellent drainage that ranunculus crave.
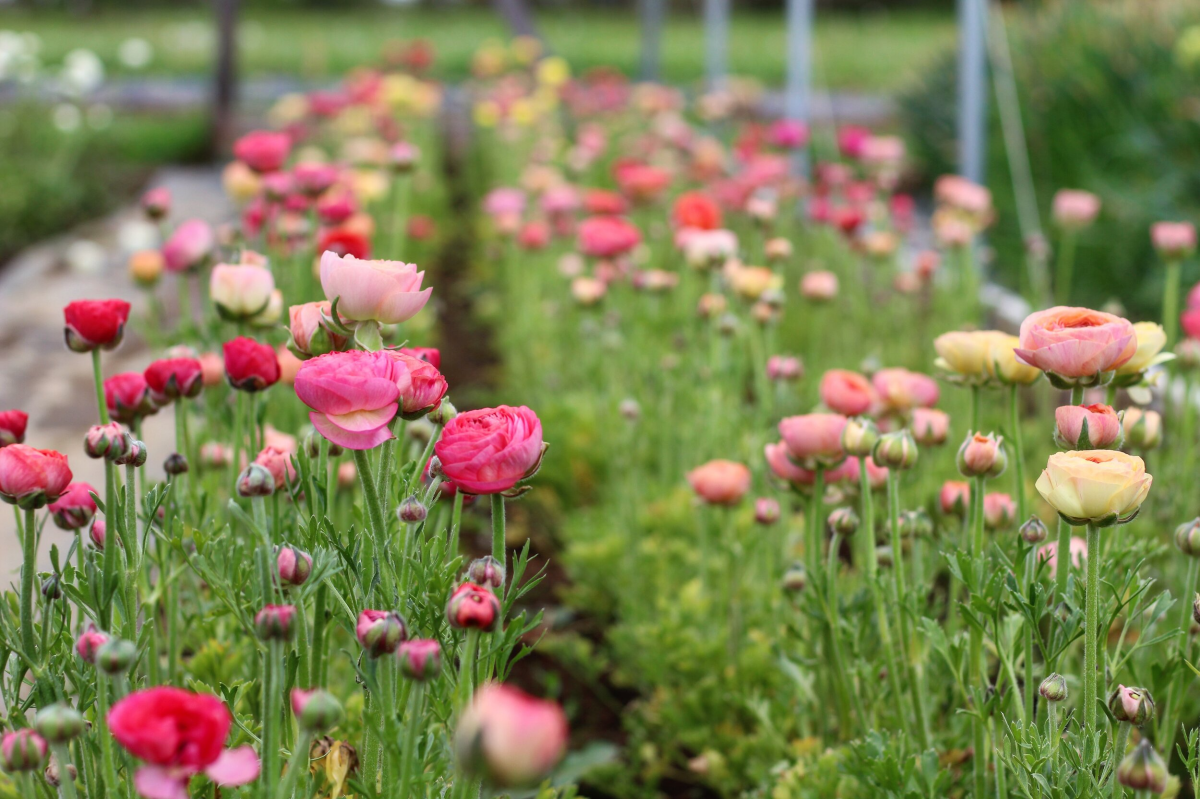
When you plant your sprouted corms, place them 2 inches deep with the roots down and shoots up. Give them space to breathe! I plant mine on a 9-inch grid. It looks like a lot of empty space at first, but trust me, they’ll fill in, and good air circulation is your best defense against powdery mildew. Finally, pick a spot with at least 6 hours of full sun.
What about pots? Yes! You can absolutely grow them in containers. A 10-inch wide pot that’s at least 8-10 inches deep is a good size for about 3-4 corms. Just make sure it has excellent drainage holes and use that cactus mix I mentioned.
Keeping Them Happy: Food, Water, and Support
Once your plants are growing strong, your job is to be consistent. I use the “drench and dry” method for watering—water deeply, then let the top inch or two of soil dry out completely before watering again. Always water at the base of the plant to keep the leaves dry.
These guys are hungry. When you plant, mix a granular, low-nitrogen fertilizer (like a 5-10-5) into the soil. Once you see flower buds forming, start feeding them every two weeks with a liquid seaweed and fish emulsion combo. A word of warning: Don’t use a high-nitrogen fertilizer. You’ll get gorgeous, massive green leaves and almost zero flowers. I learned that one the hard way.
If you want those long, dreamy stems for cutting, you’ll need to support them. A simple sheet of flower netting stretched over the bed when the plants are 6 inches tall works perfectly. They just grow right up through it.
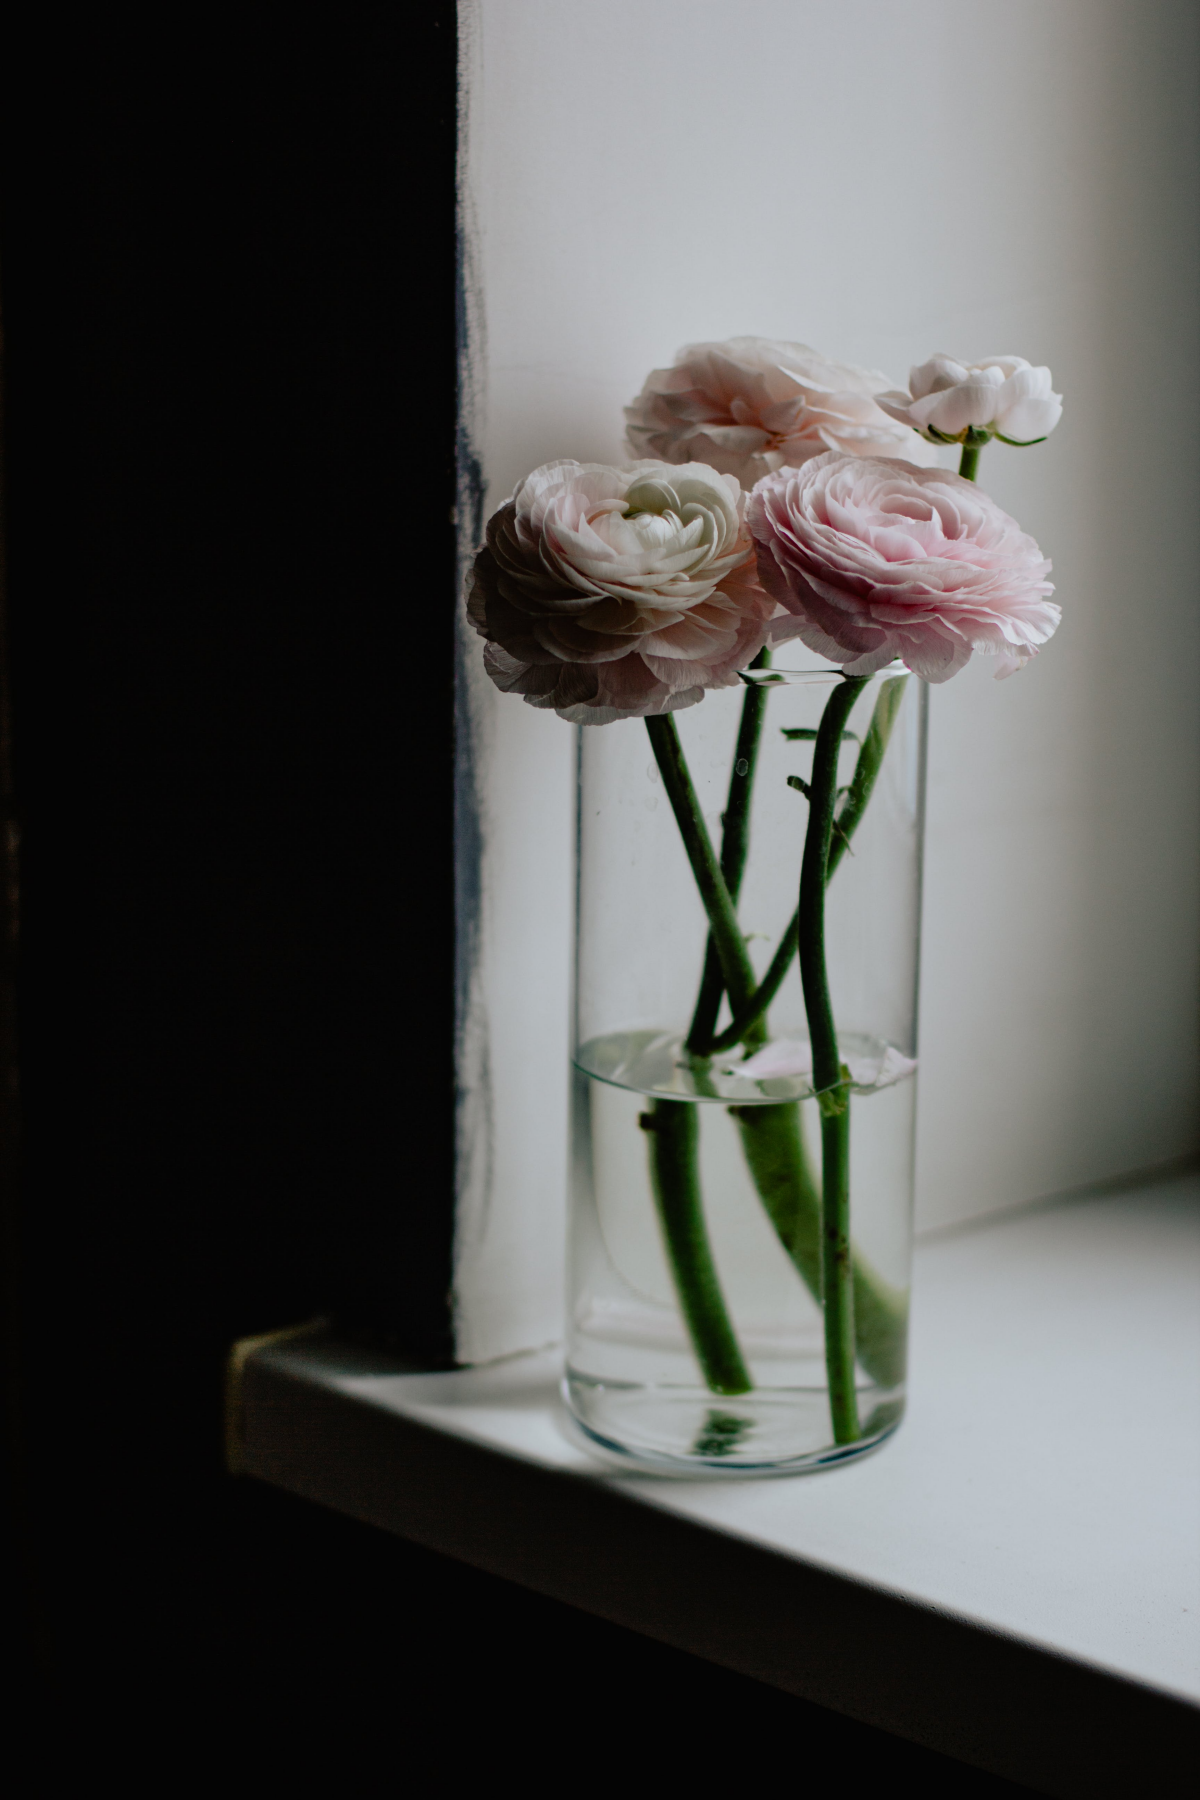
Harvesting for a Long Vase Life
Here’s the fun part! For the best vase life, you need to cut them at the perfect moment. Don’t wait for the flower to be wide open. Find a bud that is colored up but still closed and give it a gentle squeeze. If it feels soft and yields a bit like a marshmallow, it’s ready. If it’s hard as a rock, it’s too early.
Cut the stem way down at the base of the plant. This is important! This “deep cut” signals the plant to send up another long, beautiful stem from the crown. If you only snip the top, you’ll just get a bunch of short, unusable side shoots. Plunge the cut stems immediately into a bucket of cool water. With this method, you can easily get 7 to 10 days of beauty in a vase.
Can You Save the Corms?
To be frank, this is tricky for a home gardener. Most commercial growers just buy fresh corms each year because it’s more reliable. But if you want to experiment, here’s how: After the plant is done blooming, stop watering and let the foliage die back completely. Then, dig up the corms, let them dry out in a shady spot for a week, and store them in a mesh bag somewhere cool and dark until next season. It’s a bit of a gamble, but a fun one to try.

Growing ranunculus is a bit of a dance, but it’s one worth learning. The transformation from a weird little claw into a breathtaking bloom is one of the most rewarding things in the garden. Give them what they ask for, and they’ll pay you back a hundred times over.
Inspirational Gallery
Go beyond soaking: For an even stronger start, try pre-sprouting your corms. After their initial soak, lay them in a shallow tray filled with lightly moist potting soil or coco coir. Keep the tray in a cool, dark place (like a garage or basement) for about 10-14 days. You’ll soon see tiny white roots emerge—that’s your sign they are awake, alive, and ready for planting!
Ranunculus are often called ‘Persian Buttercups,’ hinting at their origins in the mild, Mediterranean climates of southwest Asia.
This heritage is the key to their needs. They crave cool, gentle spring conditions, not the intense heat of summer. By understanding their native environment, you can better replicate the cool soil and bright, indirect light they thrive in, ensuring they feel right at home in your garden.
Wondering which varieties to choose?
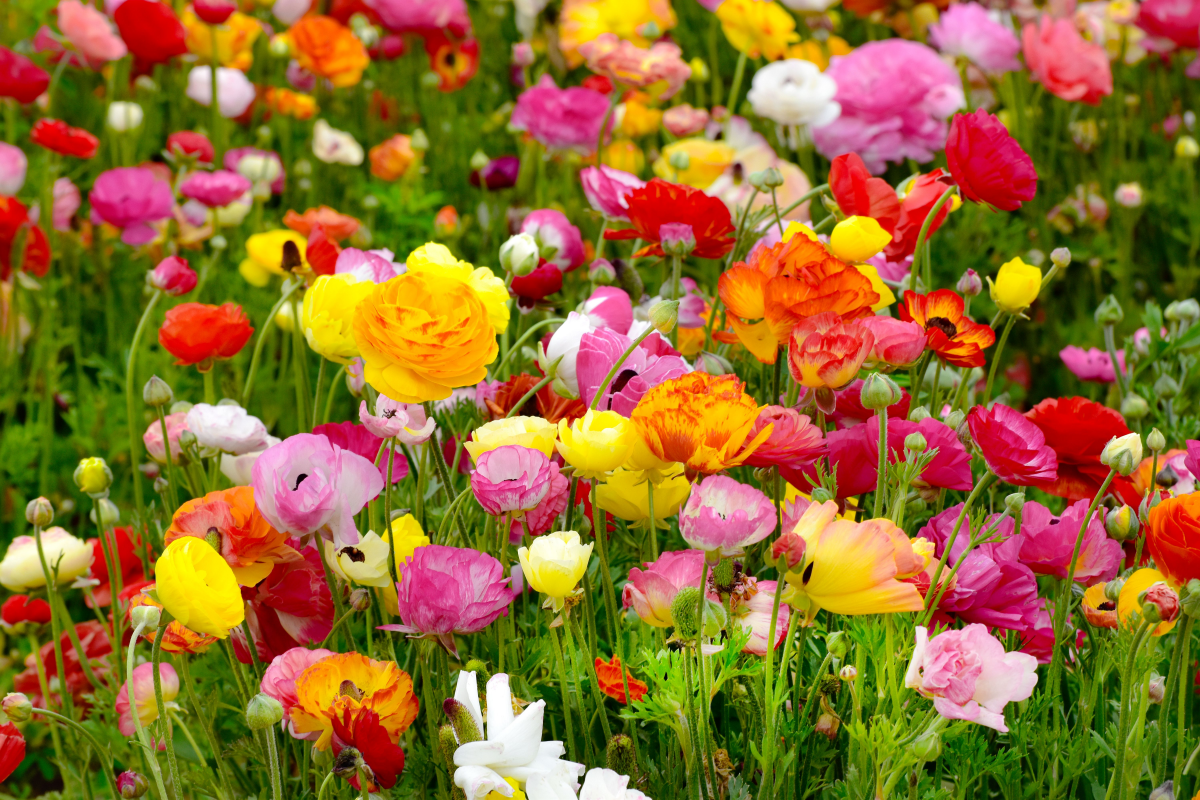
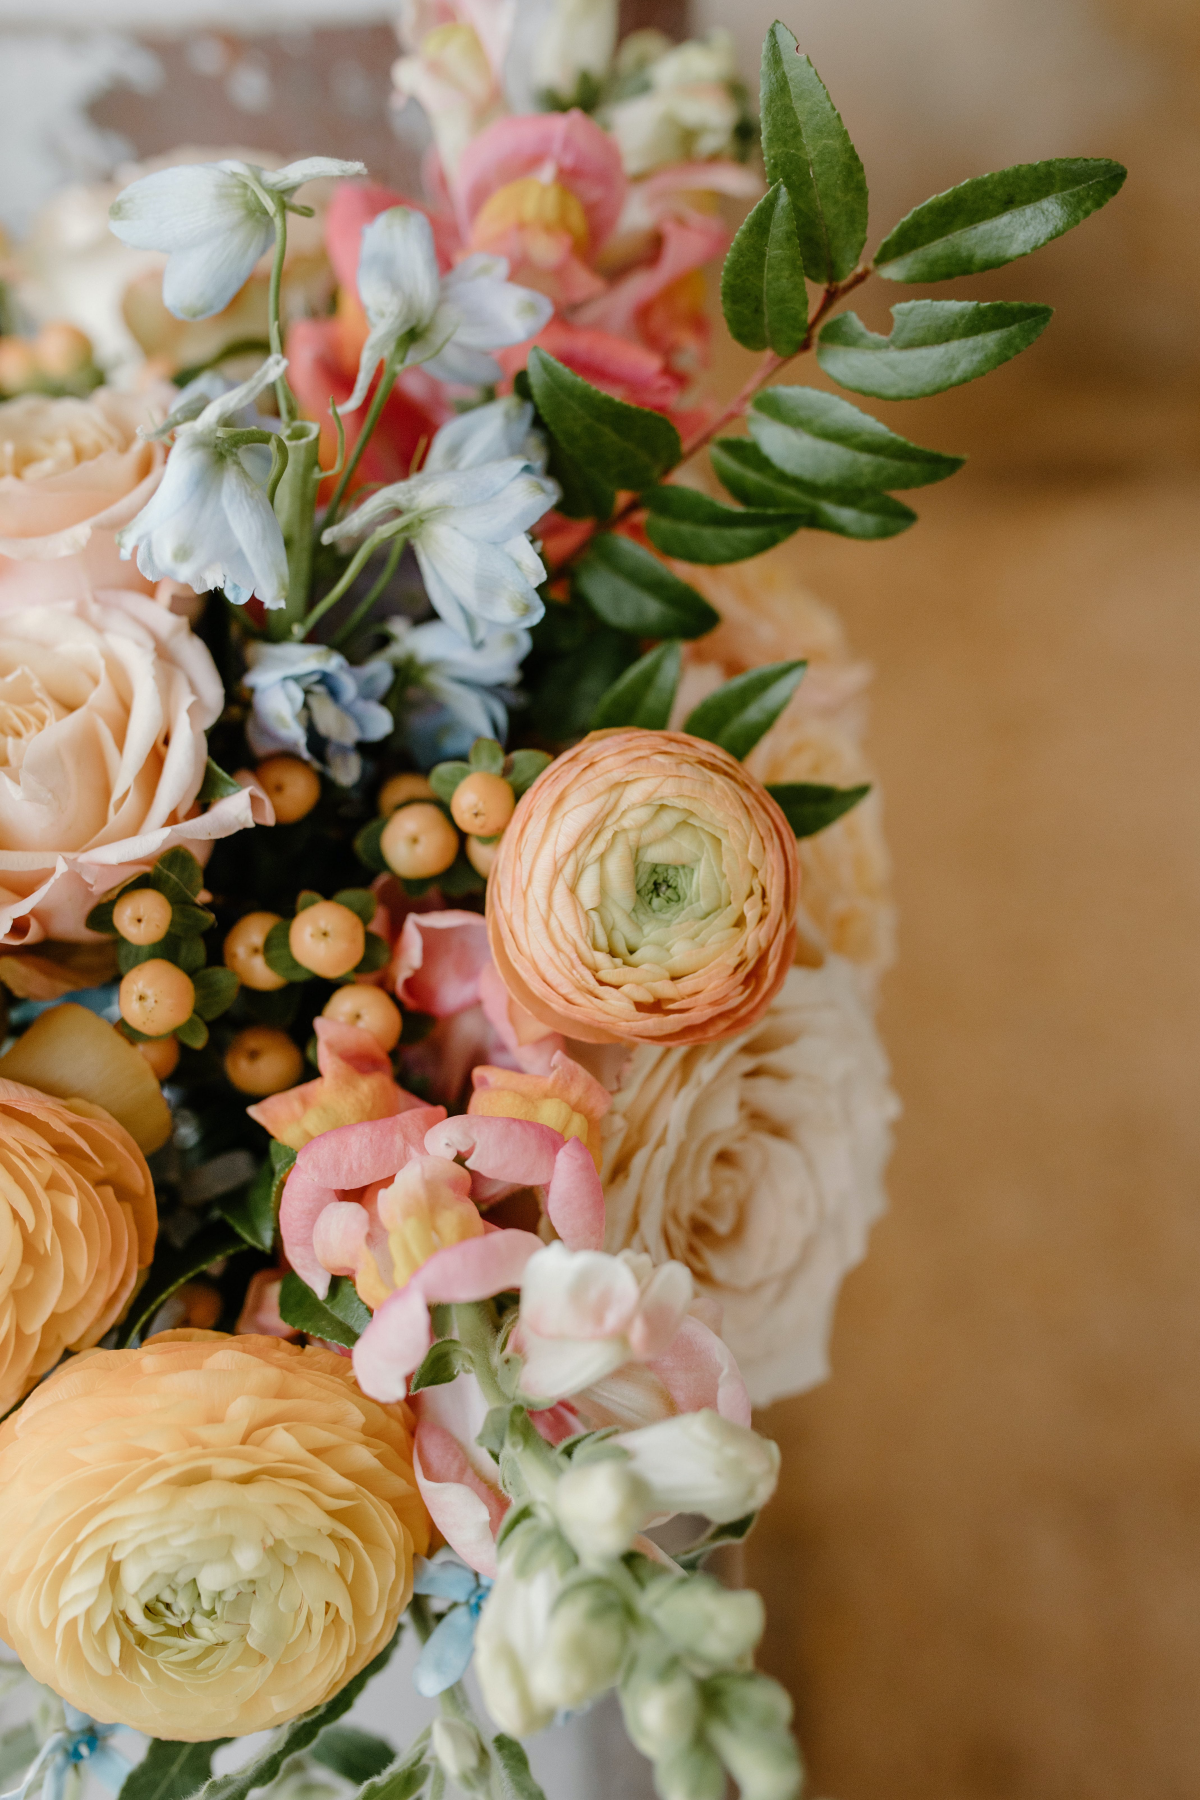
While classic series like ‘La Belle’ offer a rainbow of reliable colors, don’t miss out on the specialists. The Italian ‘Cloni’ series, particularly ‘Cloni Hanoi’ with its blush-pink tones, boasts enormous, densely petaled heads. For a more ethereal look, the ‘Butterfly’ series offers delicate, single-petaled blooms that seem to float on long, wiry stems. Sourcing these from growers like Floret Flower Farm or The Flower Hat ensures premium quality.
- Dramatically longer, arrow-straight stems perfect for cutting.
- Healthier plants with better air circulation, reducing the risk of powdery mildew.
- An easier, more organized harvest, preventing a tangled mess of foliage.
The secret used by professional flower farmers? Simple flower support netting (like Hortinova netting) stretched horizontally about 6-8 inches above the bed. The plants grow up through the grid, which keeps them perfectly upright.
One common mistake: Over-fertilizing. Ranunculus are not heavy feeders. Too much nitrogen will give you lush, weak foliage at the expense of flowers. Use a balanced, low-nitrogen fertilizer (like a 5-10-10 formula) only sparingly once the plants have about 6-8 leaves, and then again just as buds begin to form. Less is truly more.
Buying Corms: The most economical option, offering the widest variety of colors and forms. It requires patience and the initial soaking/sprouting steps, but gives you the most control and the biggest reward.
Buying Started Plants: More expensive and with limited variety, but perfect for beginners or those with a short growing season. You get a head start and skip the delicate sprouting phase, planting them directly into your garden or container after the last frost.
Ranunculus make stunning companions in a cutting garden. To create a truly romantic, textural bouquet, plant them alongside the delicate, bell-shaped spires of foxglove, the cool blues of Icelandic poppies, and the frothy, cloud-like foliage of dill or fennel. The varied shapes and heights create a dynamic, professional-looking arrangement straight from the garden.
Can I save my corms for next season?
Yes, but it depends on your climate. In hot, dry summer regions (Zones 8-10), you can leave them in the ground to go dormant. In colder or wetter zones, it’s best to lift them. Once the foliage has yellowed and died back completely, carefully dig up the corms, let them dry in a shady spot for a week, and store them in a mesh bag filled with peat moss or vermiculite until you’re ready to restart the cycle in fall or spring.
Keep an eye out for aphids, which love to cluster on new buds and tender stems. Before reaching for harsh chemicals, try a strong spray of water from the hose to dislodge them. If they persist, a light application of organic insecticidal soap or neem oil at dusk will usually solve the problem without harming pollinators.


