The Real Reason Your Areca Palm Has Brown Tips (And How to Fix It for Good)
So, you brought home a gorgeous Areca Palm. You read the little plastic tag: “bright, indirect light” and “keep moist.” Seemed simple enough, right? But now, a few months later, you’re staring at crispy brown tips and sad, yellowing fronds, wondering what you did wrong. Honestly, it’s not you—it’s that tag. That advice isn’t wrong, but it’s like telling someone to bake a cake by just saying “use flour and eggs.” It’s missing all the crucial details.
In this article
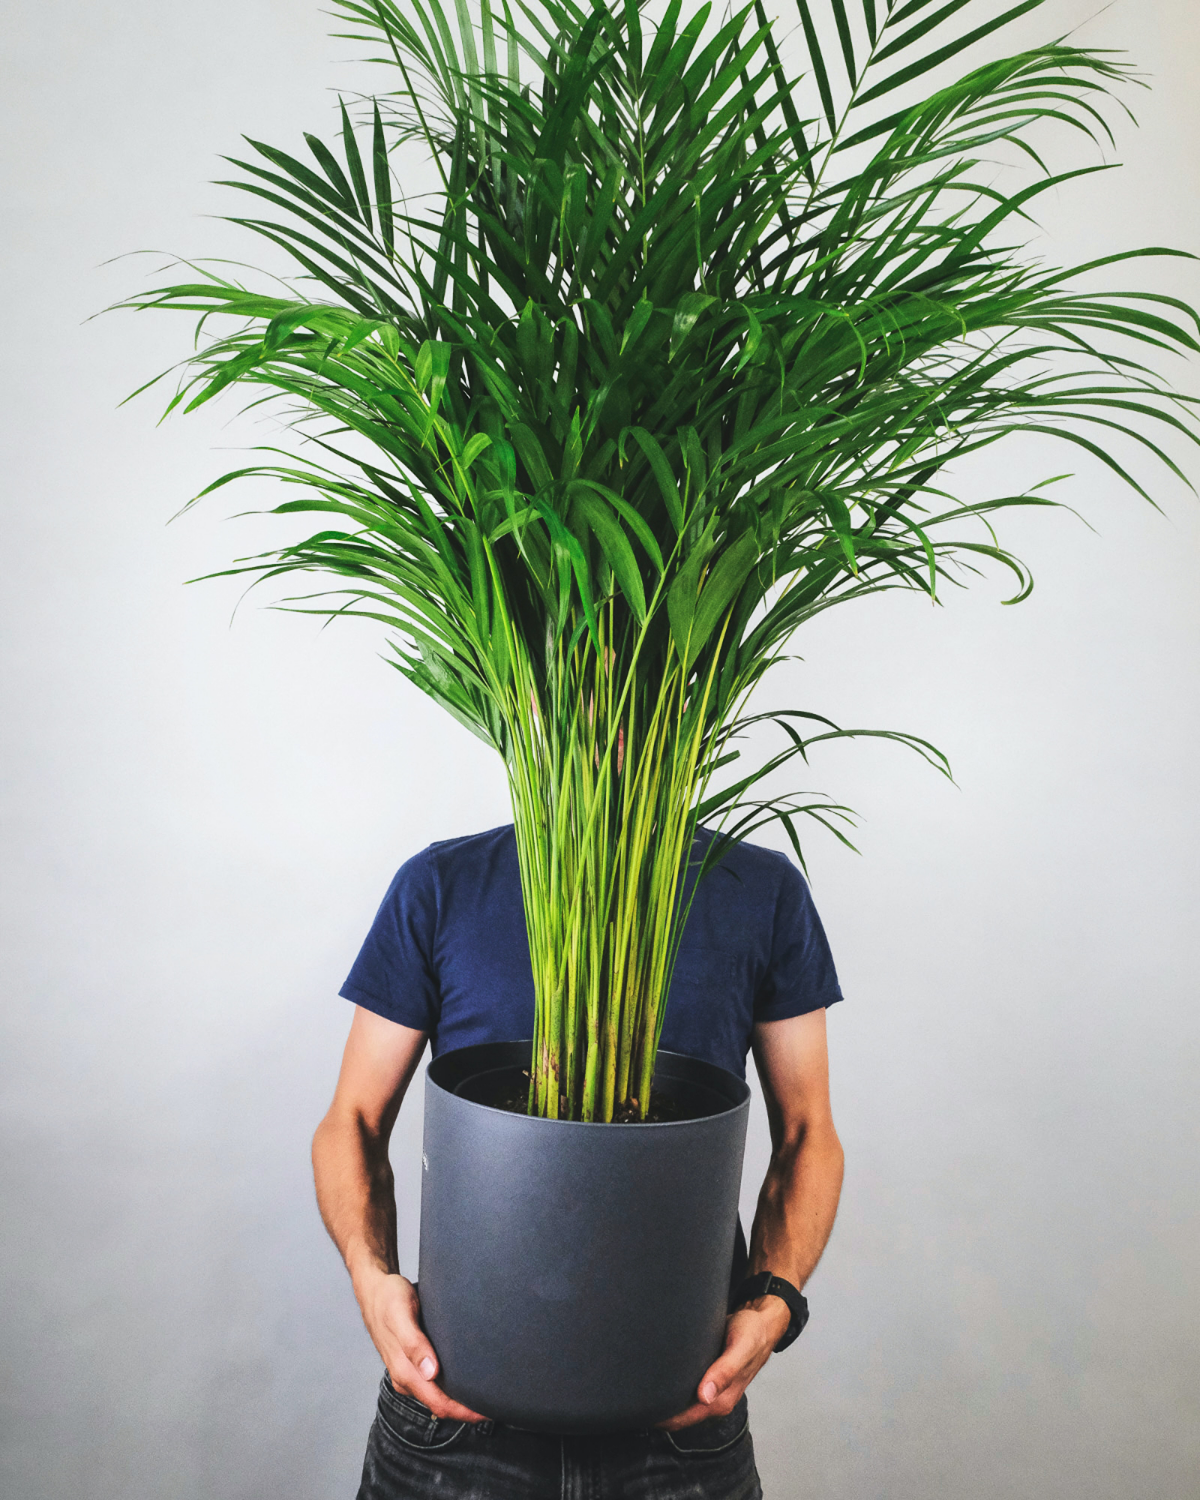
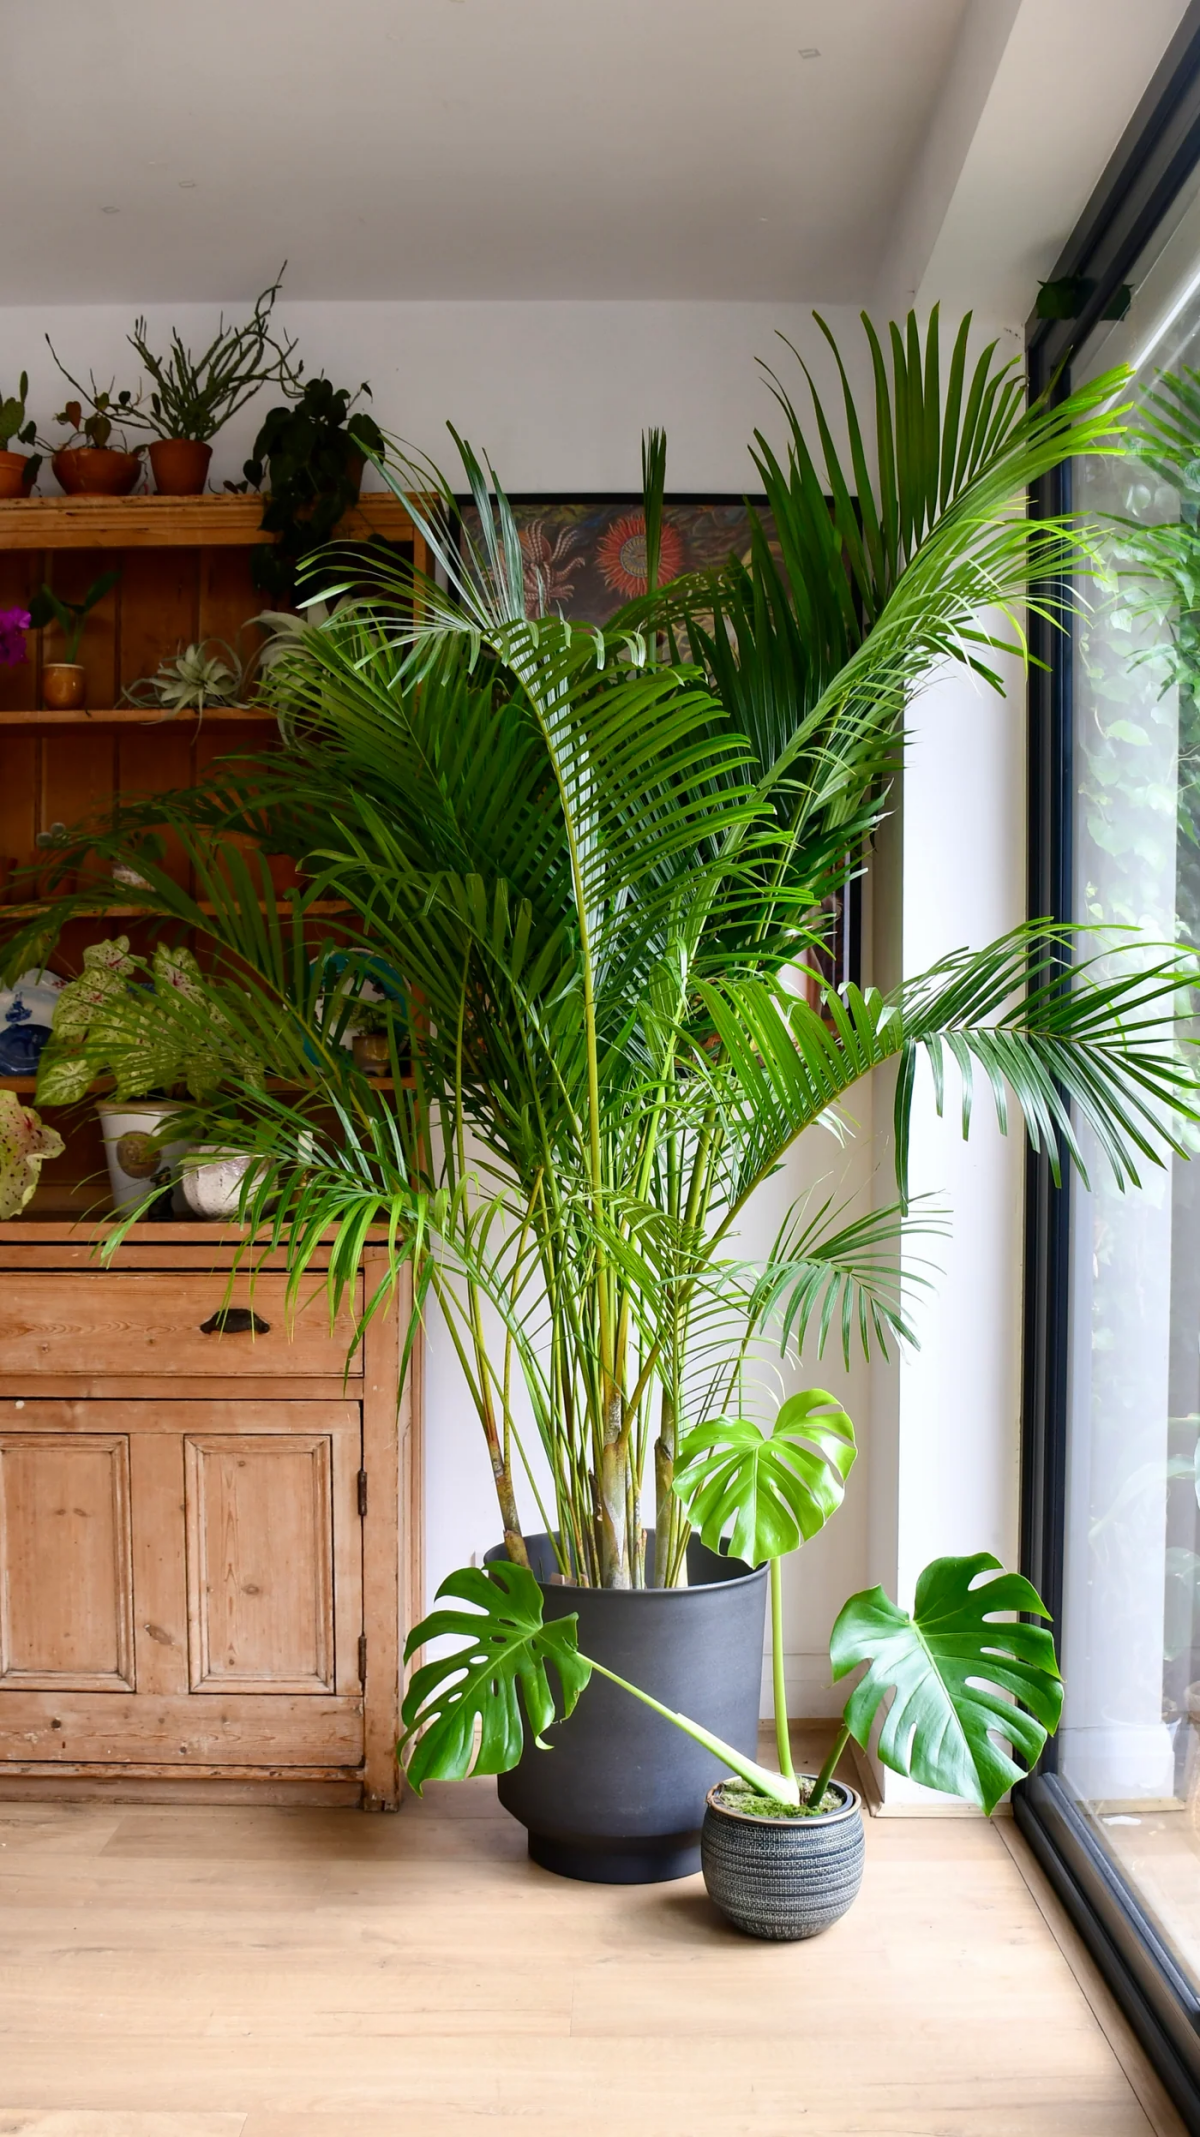
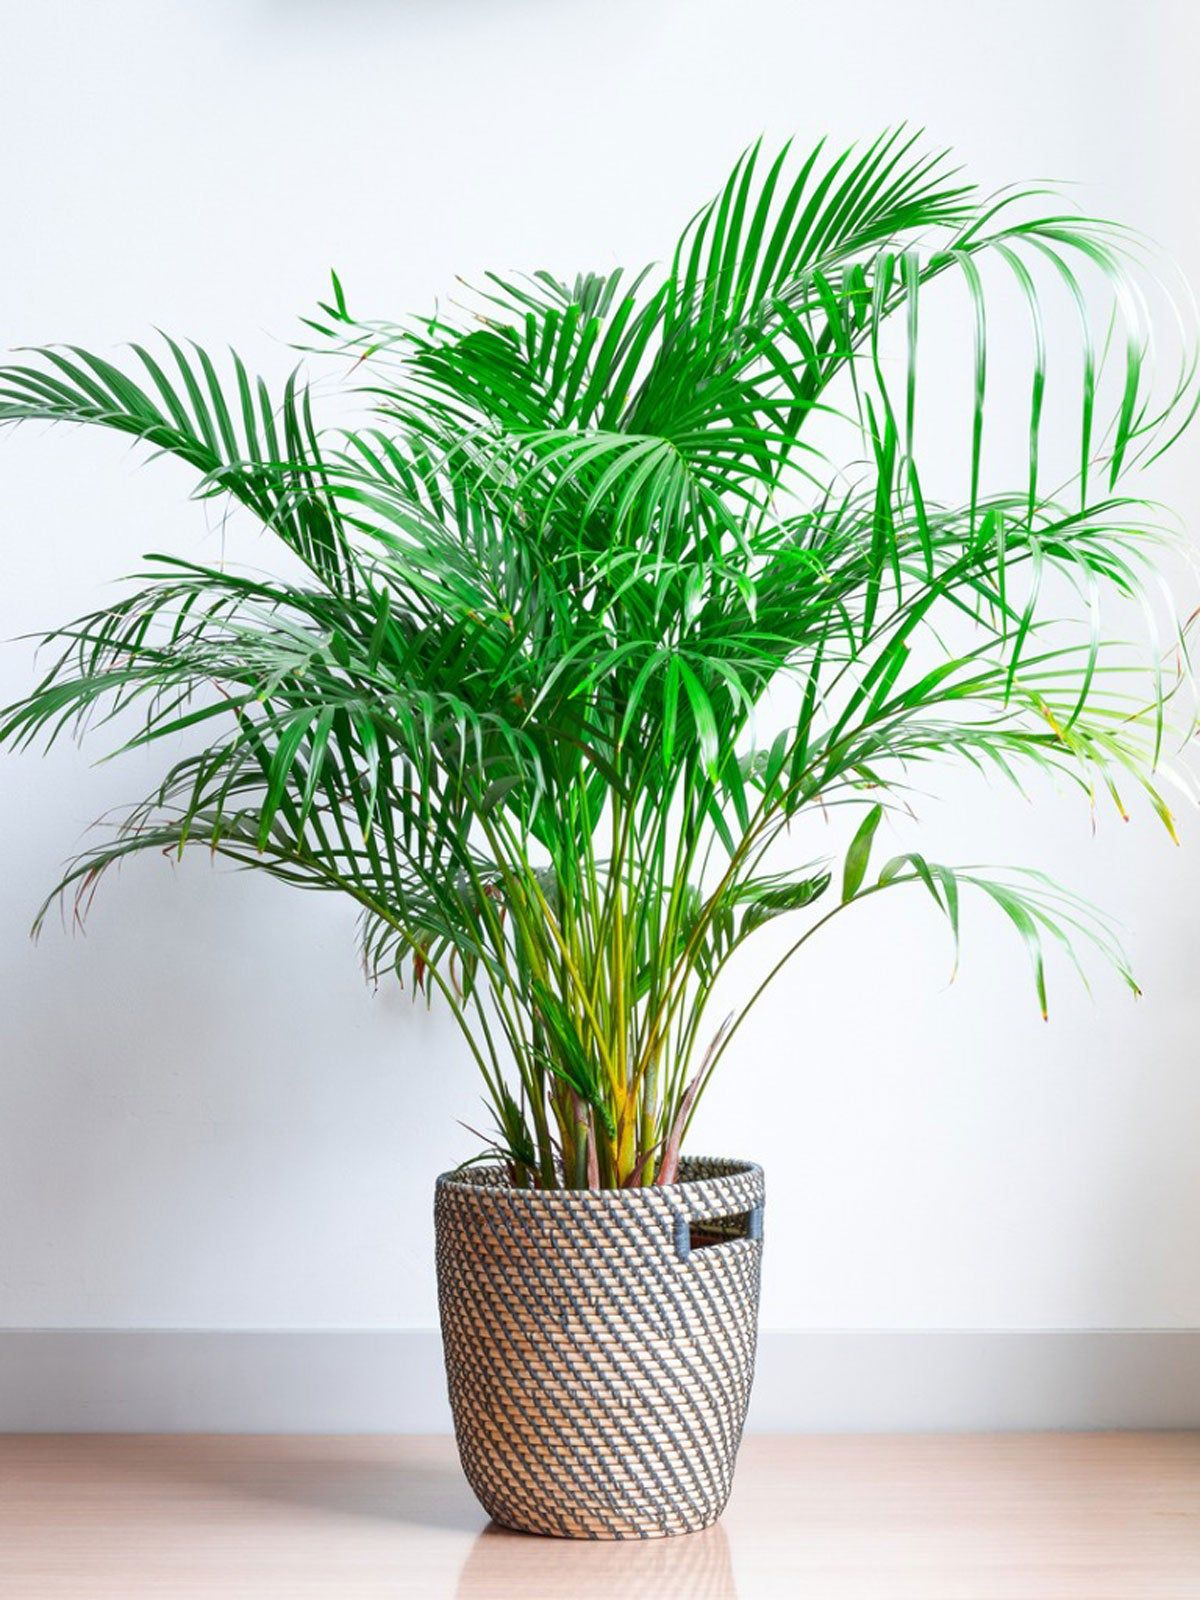
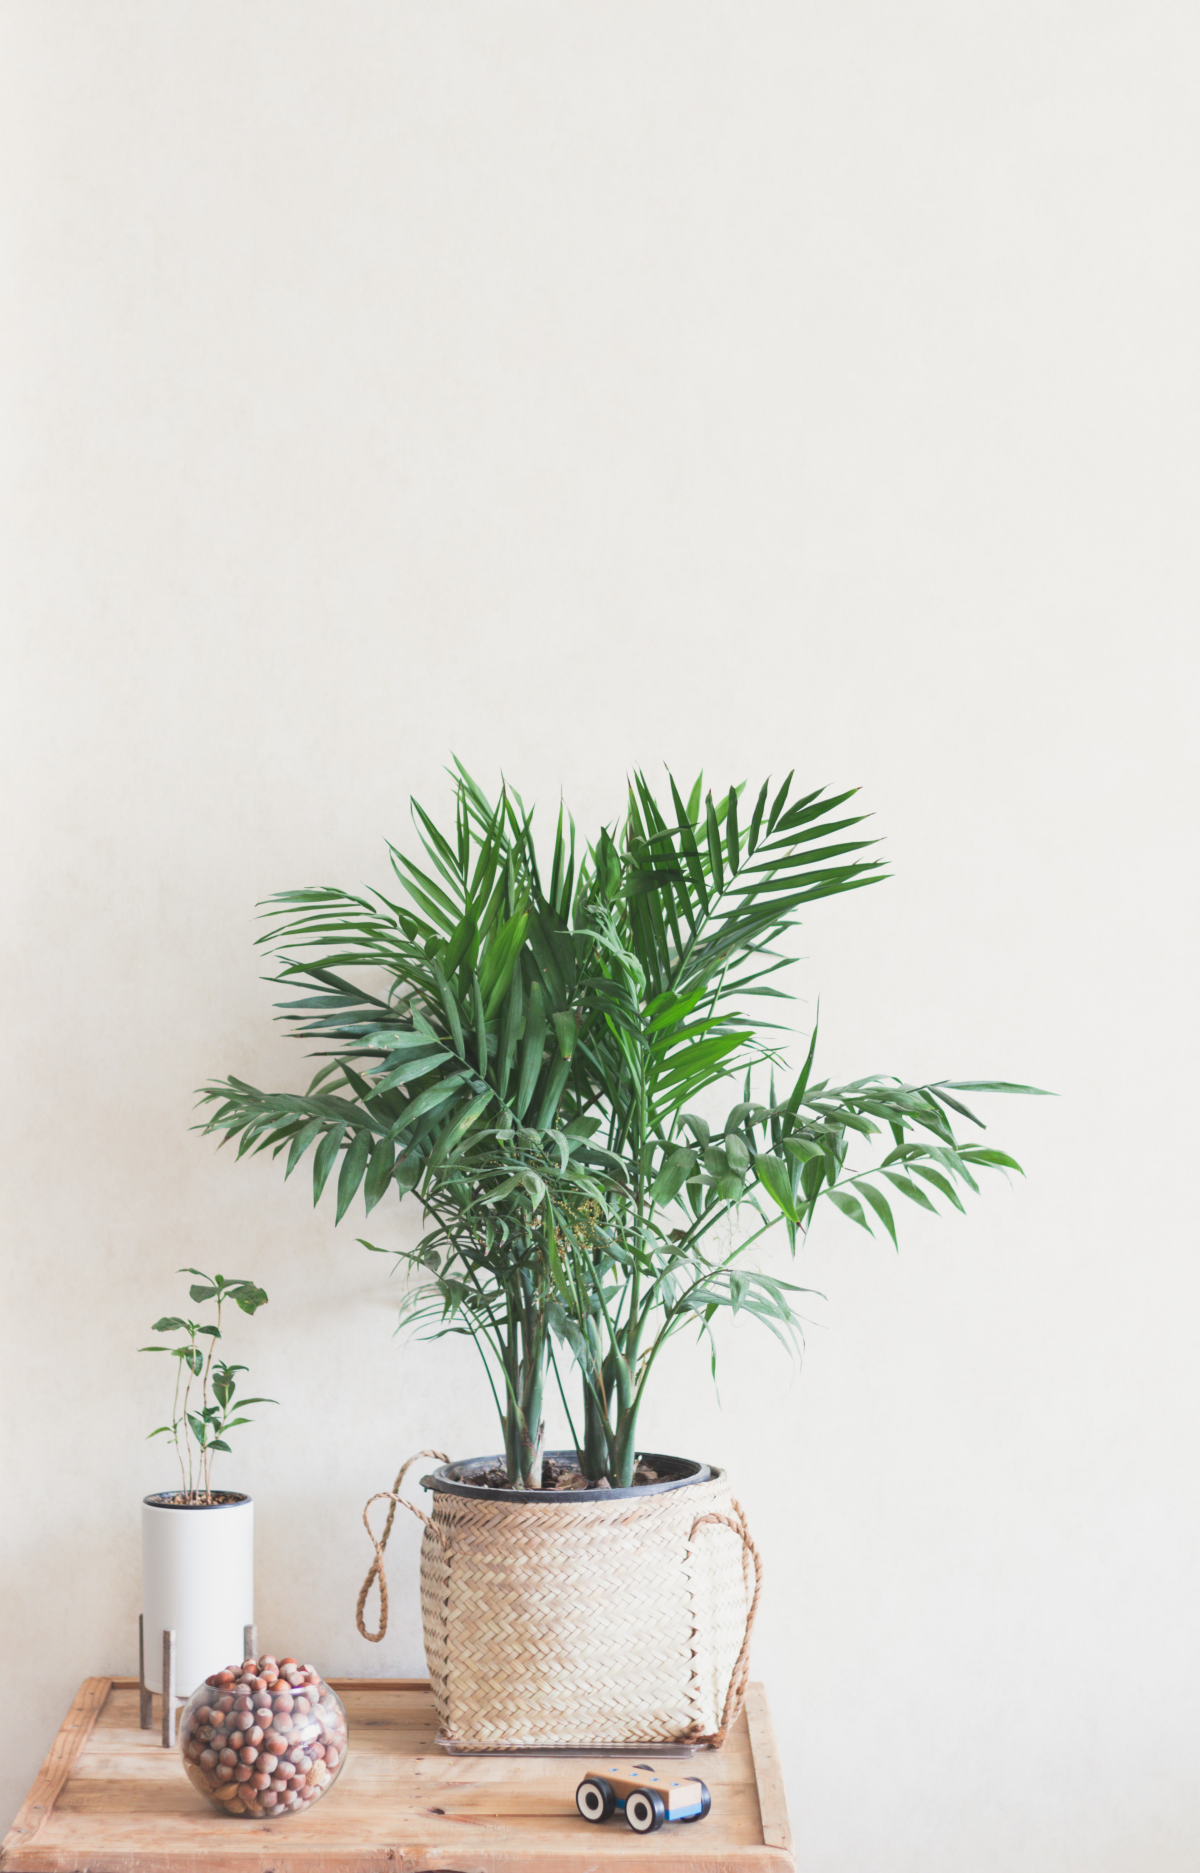
I’ve worked with these plants for years, and they are probably one of the most misunderstood houseplants out there. The Areca, sometimes called the Butterfly Palm, doesn’t grow like a single tree. It’s actually a cluster of many slender canes that sprout from the same root ball, which is a clue to how it wants to be treated. It’s a bit of a diva, but once you understand what it’s asking for, it’s one of the most rewarding plants you can own. This guide is everything I’ve learned about keeping them not just alive, but actually thriving.
First, Let’s Get Inside Your Palm’s Head
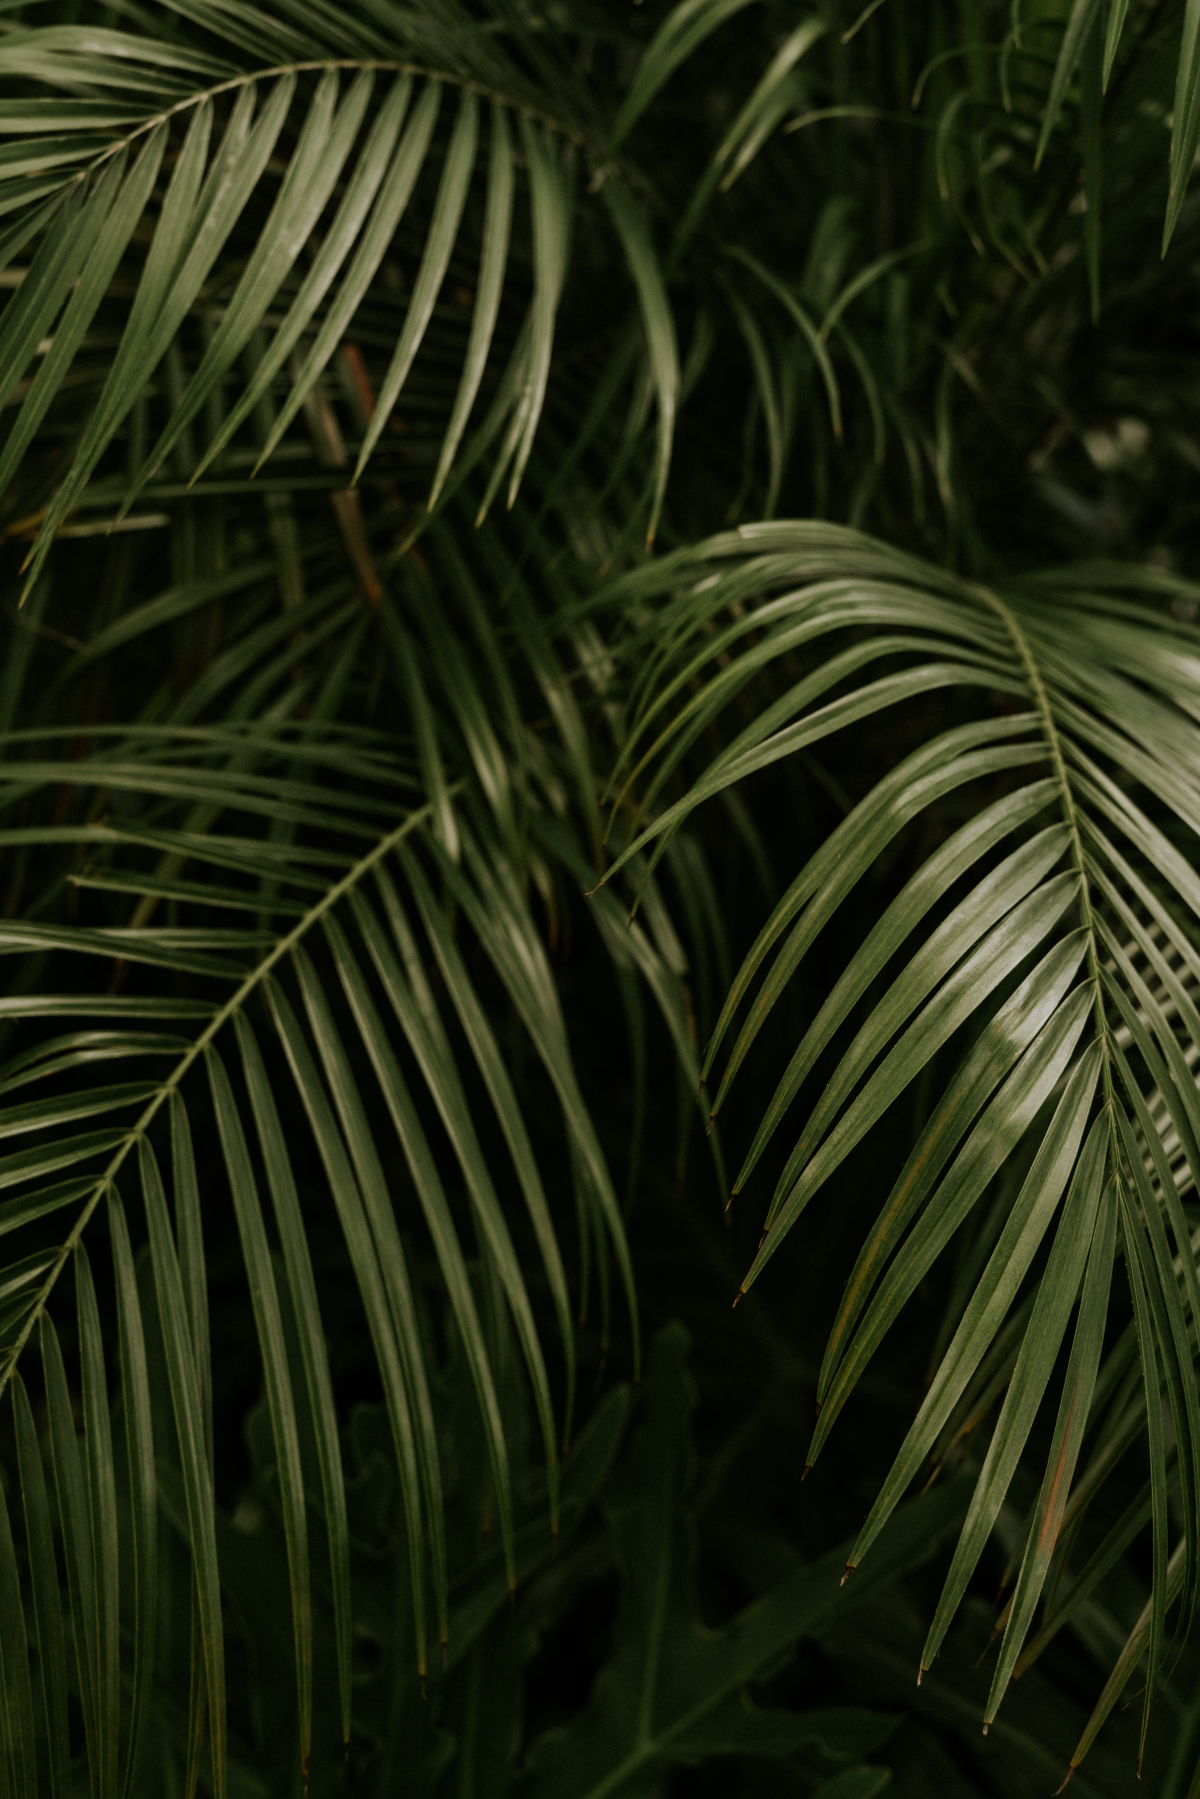
To stop guessing, you need to think like the plant. It comes from humid, dense forests where it’s shielded from direct sun but still gets tons of light. Everything it does is a reaction to trying to recreate that environment.
That “Bright, Indirect Light” Thing: Think of it this way—your palm’s leaves are like solar panels, but they’re not built for the full, direct blast of the sun. An unprotected south-facing window is like a power surge that literally burns the leaves, leaving them bleached and yellow. But a dark corner is just as bad. It’s a slow starvation where the plant can’t make enough food to support itself. It will start sacrificing its older, lower leaves to survive. Your goal is that perfect sweet spot: bright enough to read a book all day without turning on a lamp, but without direct sunbeams hitting the foliage for hours on end.
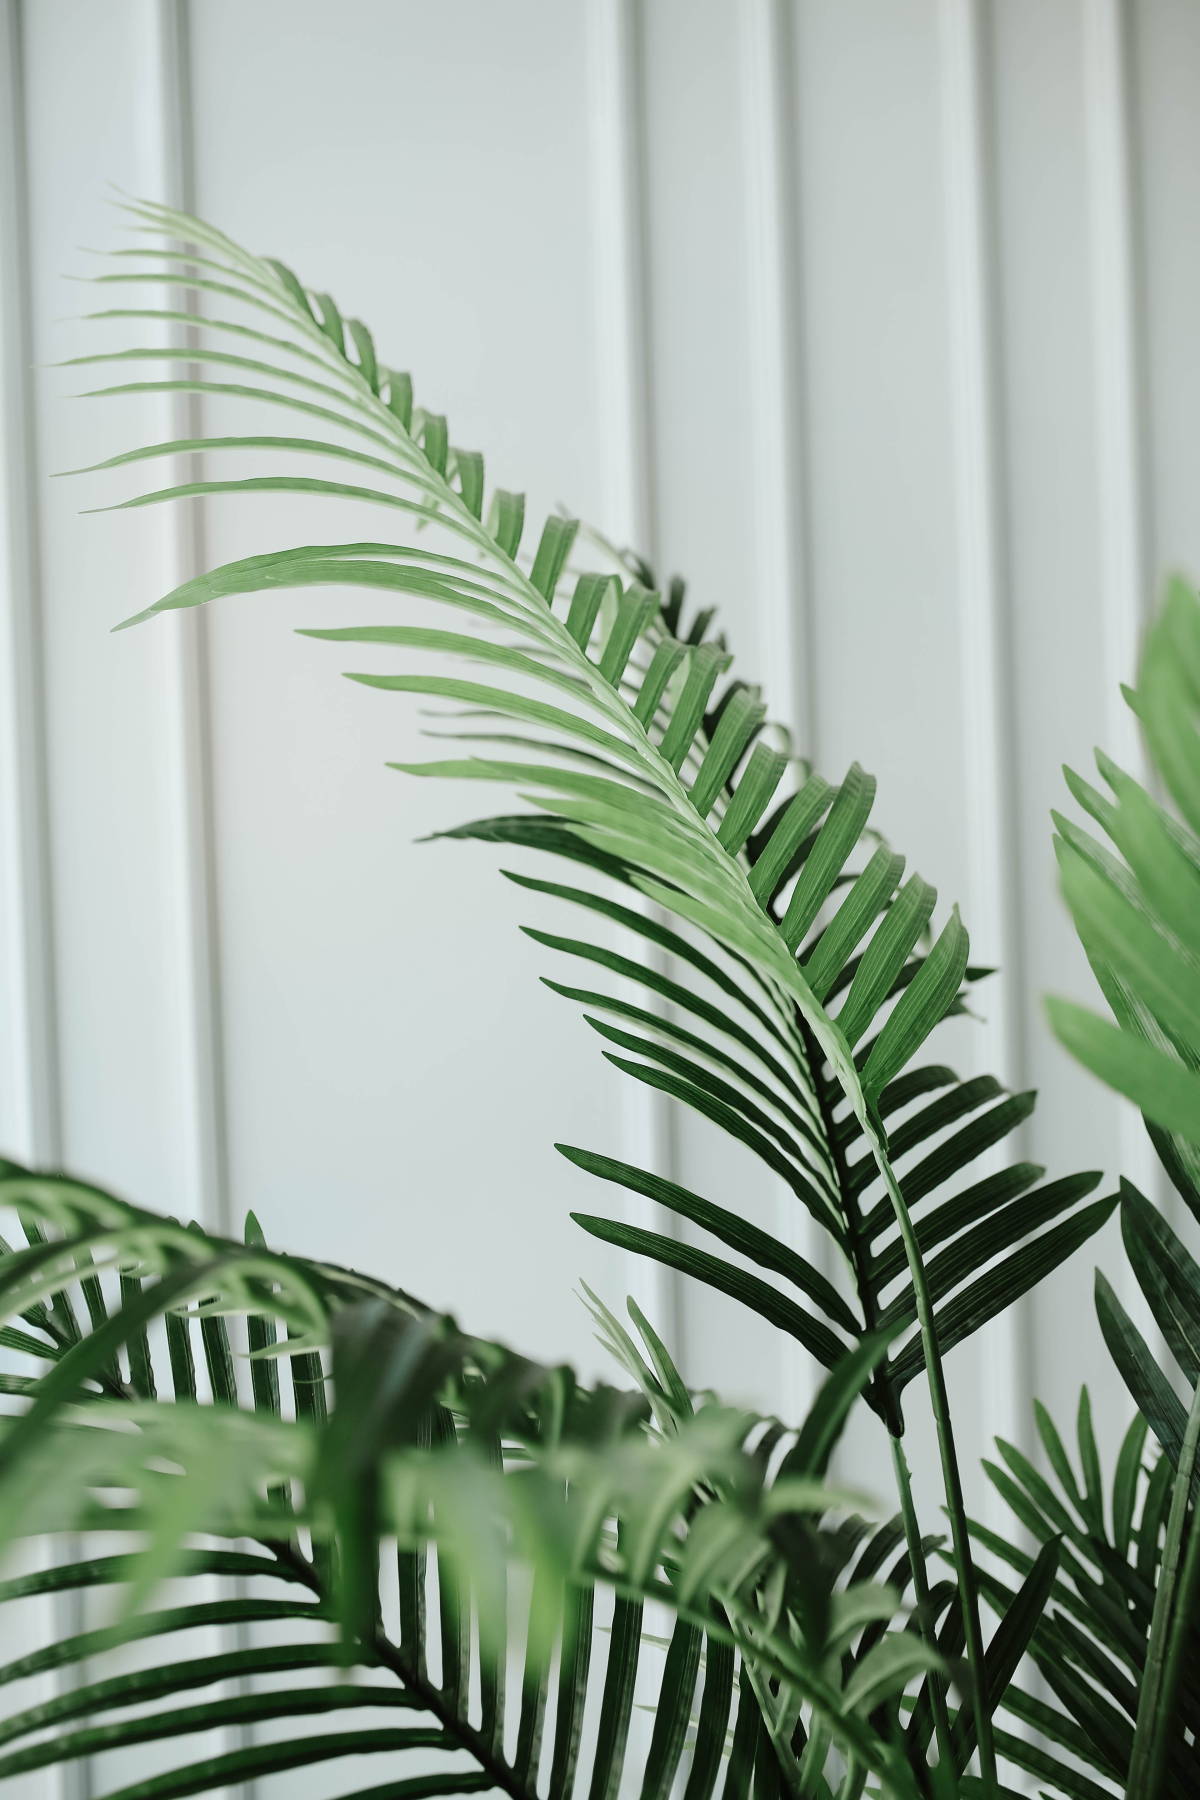
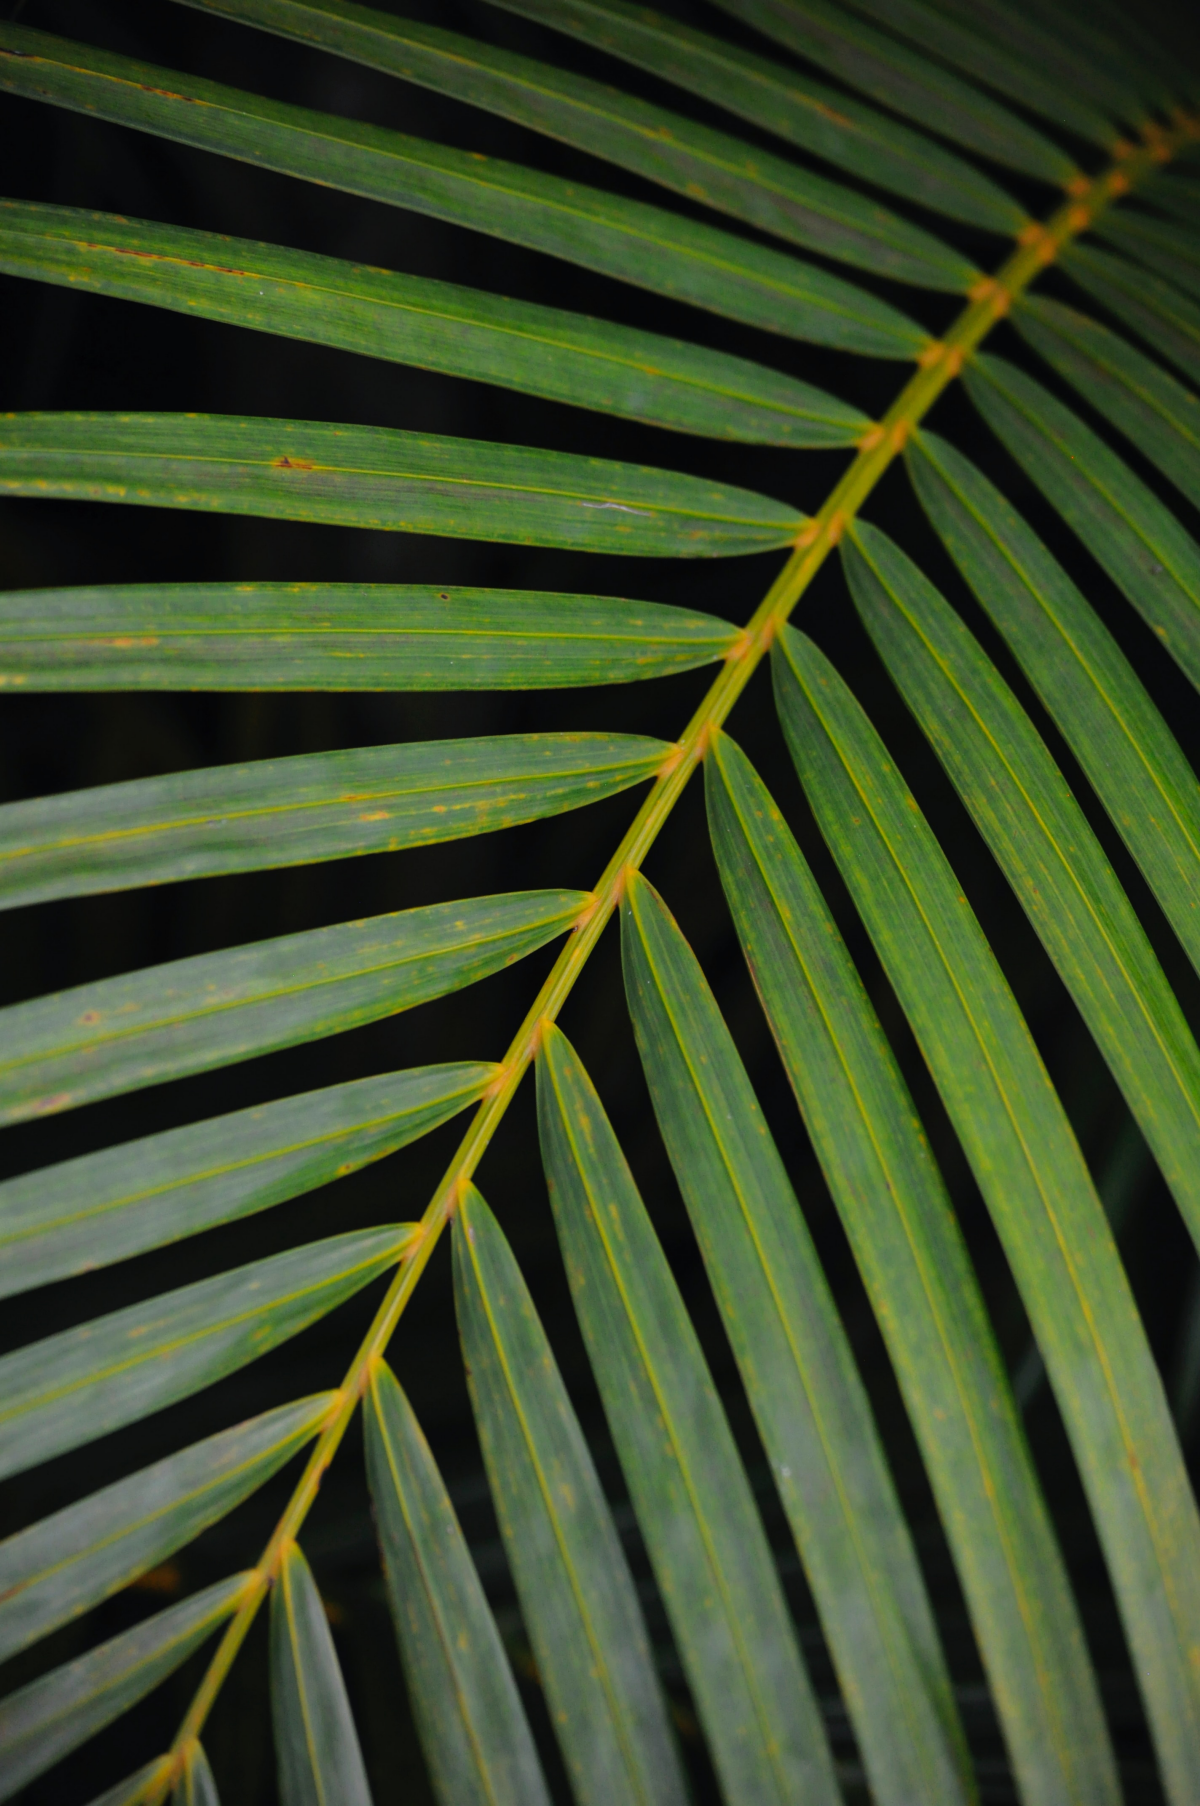
Water and Air (For Roots and Leaves): This is where most people get tripped up. The plant has fine, delicate roots designed to grab moisture from a damp, airy forest floor. When soil is too heavy and waterlogged, the roots can’t get oxygen. They literally drown, start to rot, and that rot can spread and kill the whole plant. At the same time, the leaves are constantly releasing water vapor into the air to stay cool. If your home’s air is too dry, it yanks moisture out of the leaves faster than the roots can replace it. The plant’s first defense? It sacrifices the very tips of its leaves to conserve water. And voilà—crispy brown tips.
How to Pick a Winner at the Store
Your journey starts at the garden center, and a little inspection here saves a world of hurt later. Don’t just grab the first one you see. Expect to pay anywhere from $20 for a decent tabletop size to $60+ for a larger floor specimen.
Here’s what to look for:
- Good Color: Look for a healthy, vibrant green. A washed-out, pale green might mean it’s been starved for light or nutrients.
- Firm Stems: Gently feel a few of the canes right at the soil line. They should be firm. If anything feels soft or mushy, put it down and walk away. That’s a sign of advanced rot.
- Pest Check: This is a must. Tilt the fronds and look underneath and in the little crevices where they join the stem. You’re looking for tiny web-like strands (spider mites) or little white cottony specks (mealybugs).
- Soil Condition: The soil should be slightly damp, not sopping wet or bone dry. A white crust on top means it’s been watered with hard tap water for a long time, which isn’t ideal.
Heads up: A few minor brown tips are totally normal, especially in a dry store. Don’t let that deter you. But if you see whole fronds that are yellow or brown, that’s a pass.
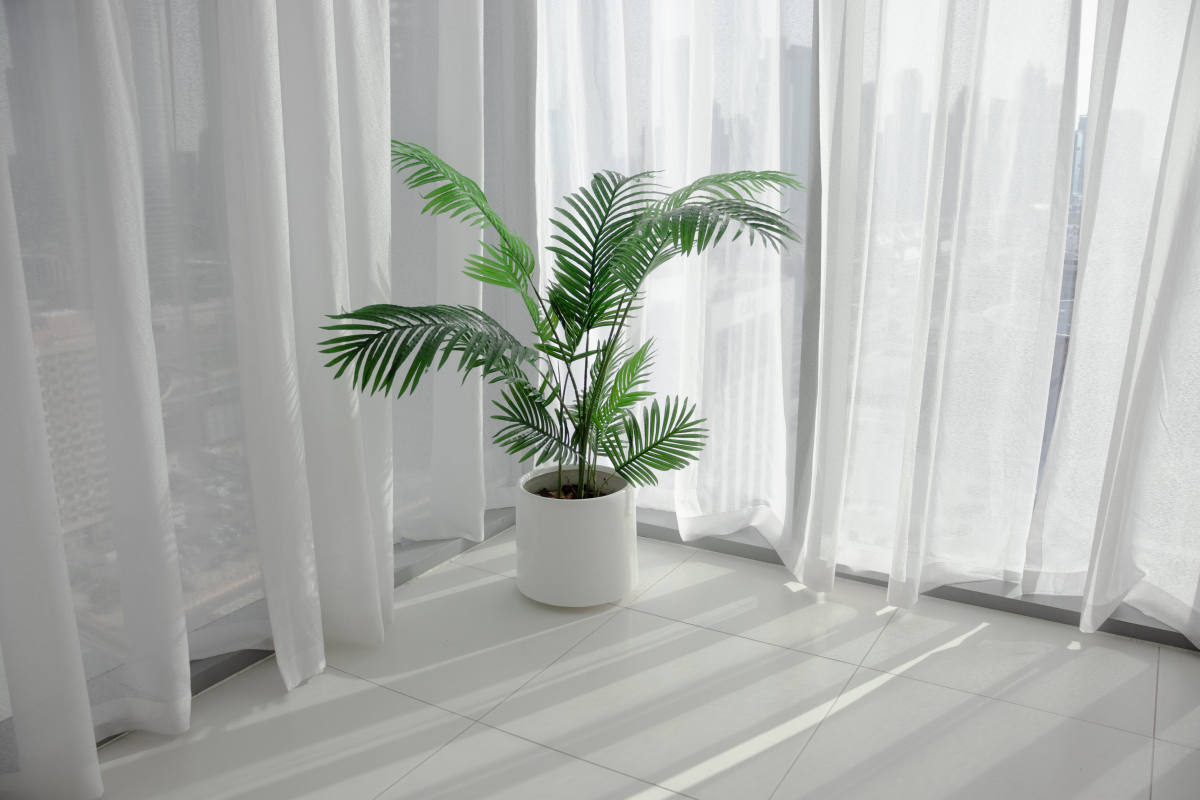
The Right Home: Your Pot and Soil Mix
This is probably the most important part. The pot and soil are your palm’s entire world. Using generic, all-purpose potting soil is a common mistake; it’s usually too dense and holds way too much water.
I make my own mix, and it’s super simple. You can get all this stuff at a hardware store or garden center. A big bag of perlite, for instance, is usually under $10 and will last you for dozens of plants.
My Go-To Palm Soil Recipe:
- 2 parts peat moss or coco coir (this is the base that holds moisture)
- 1 part perlite (the little white rocks that create air pockets)
- 1 part orchid bark (adds structure and drainage, mimicking a forest floor)
This blend is the best of both worlds. It holds enough moisture for the plant to drink, but the excess water flows right through, preventing soggy roots. For pots, just make sure it has drainage holes. Terracotta is great if you tend to overwater, as it breathes and helps the soil dry out. Plastic or glazed ceramic are fine too, they just hold moisture longer, so you have to be more careful.

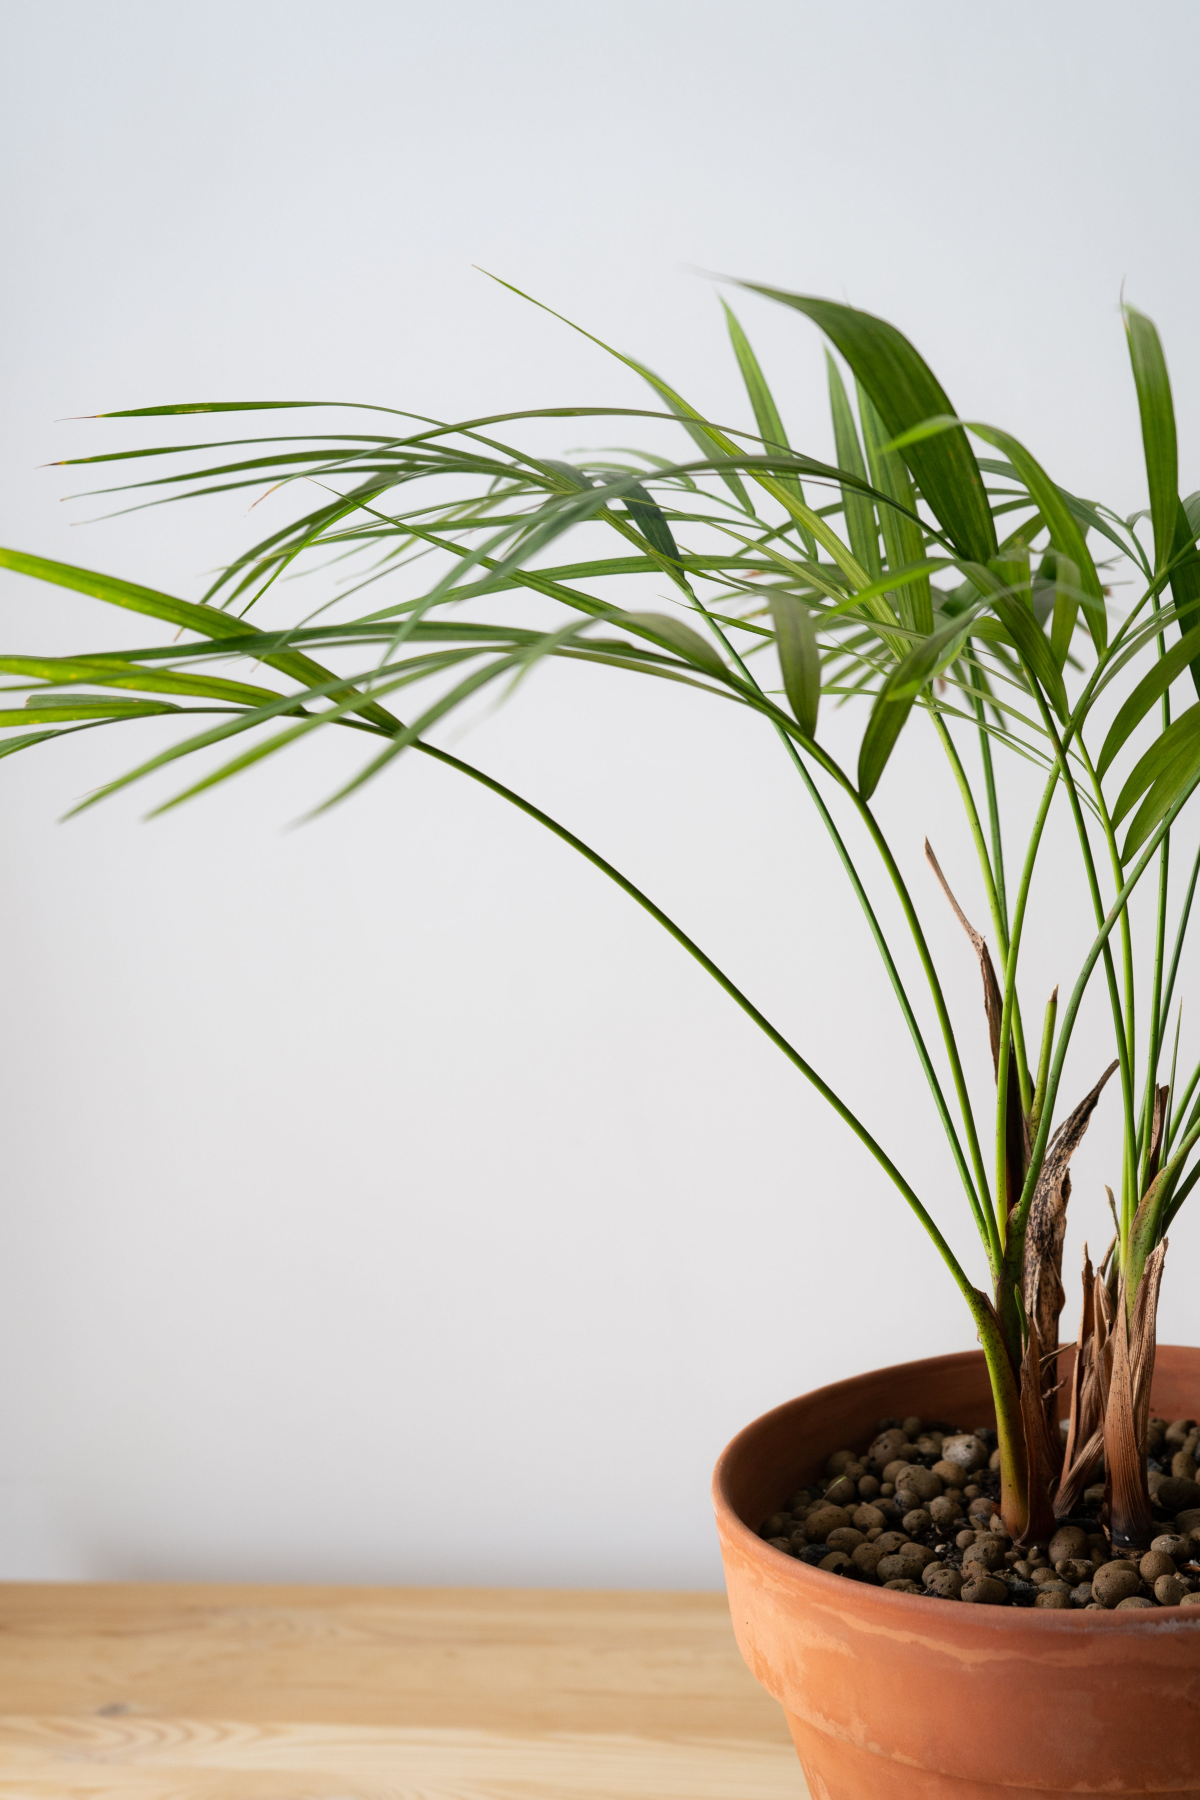
Quick tip on repotting: Areca palms actually like being a little snug in their pot. Only move up to a pot that’s 1-2 inches wider than the current one. Give yourself about 30 minutes for the job. And a common question I get: Should you split up the cluster of palms? The answer is almost always NO. It looks like a bunch of separate plants, but it’s a single organism with an interconnected root system. Trying to tear it apart will likely damage it beyond repair.
Mastering Your Home’s Environment
Consistency is everything here. Getting these three things right is 90% of the battle.
Light: An east-facing window is often the holy grail. It gets gentle morning sun that isn’t too harsh. A spot a few feet back from a south or west window also works great. Rotate the plant a quarter turn each week so it doesn’t start leaning.
Watering: Forget a schedule. The only way to know when to water is to feel the soil. Stick your finger in about two inches deep. If it’s dry, it’s time to water. If it’s even slightly damp, wait. When you do water, do it thoroughly. Pour water all over the soil surface until it drains freely from the bottom. Let it sit for 15 minutes, then dump out any water in the saucer. Letting it sit in a puddle is the fastest ticket to root rot.
A note on water quality: Palms can be sensitive to the fluoride and salts in tap water, which can build up and cause—you guessed it—brown tips. The best-case scenario is using filtered or distilled water. A more practical trick? Fill your watering can and let it sit out for 24 hours. This allows some of the chlorine to evaporate. You’ll likely see a difference in a few weeks.
Humidity—Let’s Talk About What Really Works: Your home is probably much drier than a rainforest, especially in the winter. Your palm wants at least 50% humidity. Here are your options, from least to most effective:
- Misting: It feels like you’re doing something, but the effect is temporary and gone in minutes. To be effective, you’d have to do it multiple times a day. Effort: High, Effectiveness: Low.
- Pebble Tray: Placing your pot on a tray of pebbles and water creates a little humidity cloud as the water evaporates. It helps, but it’s a subtle effect. Effort: Medium, Effectiveness: Medium.
- A Humidifier: This is the game-changer. A small room humidifier placed nearby is the most effective way to solve the brown tip problem for good. You can find a decent one online for $25-$40. Look for one with at least a 1-liter tank so you’re not refilling it constantly. Effort: Low, Effectiveness: High.
Upkeep, Feeding, and a Quick Win
Fertilizing: These plants are not heavy feeders. During spring and summer, feed them once a month with a balanced liquid fertilizer diluted to half-strength. So if the bottle says 1 teaspoon per gallon, you only use a half-teaspoon. Simple as that. Don’t fertilize at all in the fall and winter.
Pruning: It’s normal for the oldest, outer fronds to eventually turn yellow and die. Once a frond is fully brown, snip it off at the base with clean scissors. You can also trim just the brown tips off healthier leaves. A little pro tip: leave a paper-thin sliver of the brown edge. If you cut into the healthy green tissue, it will often just create a new brown line.
And by the way, never, EVER cut the top off a cane. Each stem has one central growing point. If you chop it, that cane is done for good.
One Thing You Can Do TODAY: Gently wipe down each frond with a damp cloth. It takes about five minutes, removes dust, helps the plant breathe better, and makes it look instantly healthier. It’s a small task with a big impact.
When Things Go Wrong: A No-Panic Guide
Even with the best care, you might hit a snag. Here’s the rundown.
If you’re seeing lots of yellow leaves, it’s almost always overwatering. Let the soil dry out more between waterings and make sure that saucer is empty.
If you’re battling brown, crispy tips, that’s your humidity and water quality alarm. Get a humidifier or at least a pebble tray, and switch to filtered or aged tap water.
Seeing fine, spider-like webs under the leaves? You’ve got spider mites. Isolate the plant, give it a good shower to blast them off, and then treat it with insecticidal soap or neem oil spray every week for about three weeks.
Finding little white, fuzzy spots tucked into the stems? Those are mealybugs. You can dab them with a cotton swab dipped in rubbing alcohol for a small infestation, or use the same spray routine as for spider mites for a bigger problem.
A Final Thought (and the 3 Biggest Mistakes to Avoid)
The Areca Palm is a beautiful addition to any home, and indoors, it’s a pretty slow grower, eventually reaching about 6-7 feet tall after many years. So don’t worry about it taking over your living room. And good to know: it’s considered non-toxic for cats and dogs, making it a fantastic, worry-free choice for pet owners.
To wrap it all up, here are the top three mistakes I see new owners make:
- Watering on a strict schedule instead of checking the soil first.
- Putting it in a pot that’s way too big, thinking it gives the plant “room to grow.”
- Letting the pot sit in a saucer full of water after watering.
Avoid those, pay a little attention to its needs, and your palm will be a graceful, air-purifying feature in your home for years to come.
Galerie d’inspiration
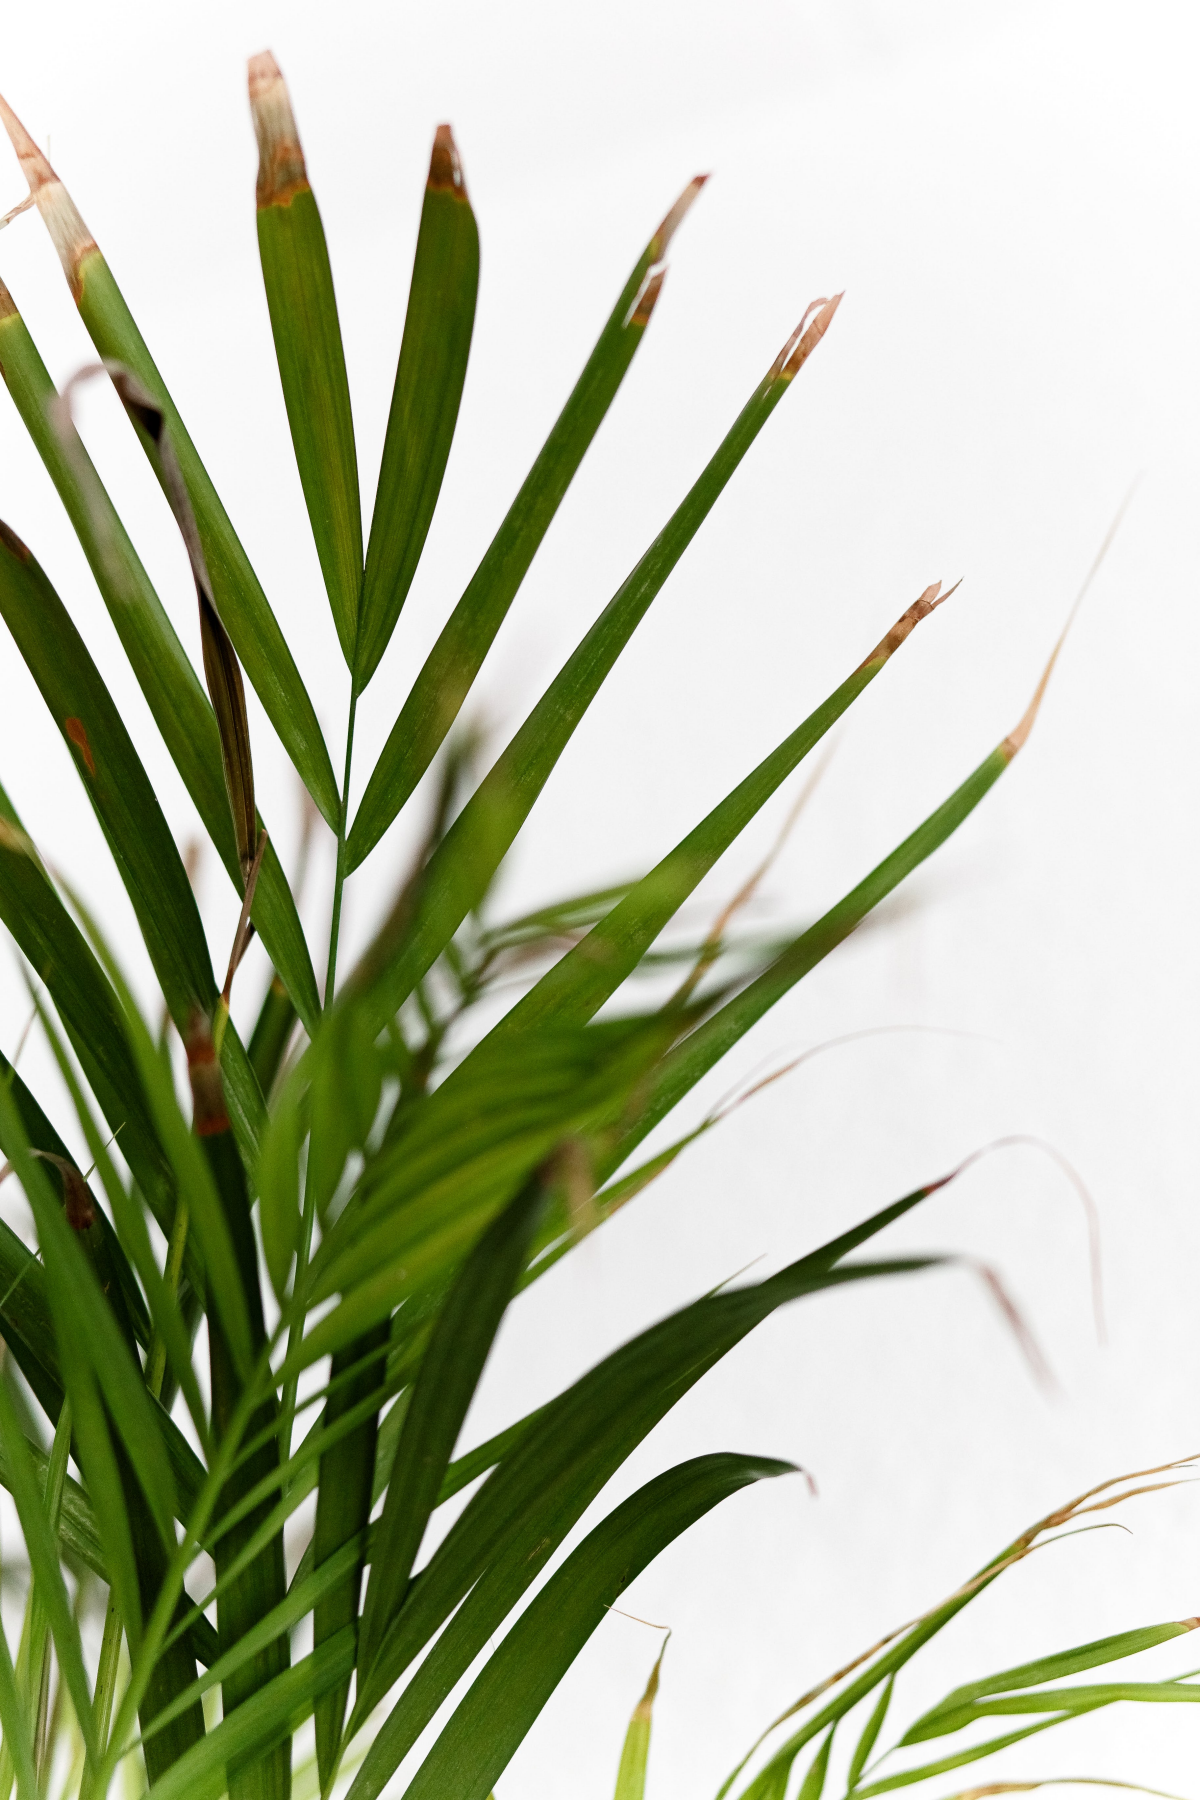
Wondering why the tips are still browning even with perfect watering? The issue might be the water itself.
Areca palms are notoriously sensitive to the salts, chlorine, and fluoride often found in tap water. Over time, these minerals build up in the soil and can cause chemical ‘burns’ on the leaf tips. The easiest fix is to switch your watering routine. Try using filtered, distilled, or even collected rainwater. If tap water is your only option, let it sit out in an open container for at least 24 hours to allow some of the chlorine to evaporate before use.
More than 90% of houseplant problems stem from improper watering, often linked to poor soil drainage.
For an Areca, the right soil is everything. Skip the generic, all-purpose potting soil, which compacts and holds too much water. Create a superior mix yourself by combining one part standard houseplant soil, one part perlite for aeration, and one part orchid bark (a brand like Better-Gro® is perfect) for chunkiness. This blend ensures oxygen can reach the roots, preventing the dreaded root rot and recreating the well-draining forest floor this palm loves.


