Putting Your Yard to Bed: The Fall Prep Guide That Actually Works
I’ve spent decades managing grounds on everything from sprawling estates to college campuses, and let me tell you, I’ve seen it all. I’ve seen yards that were meticulously prepped for winter and yards that were completely ignored. And the difference come springtime is just staggering.
In this article
I’ll never forget taking over a property where the previous crew had literally done nothing before the snow fell. That spring was a nightmare. We dealt with slimy snow mold, a maze of vole tunnels through the matted grass, and several expensive, dead rose bushes. It took two full seasons just to get that yard back to looking decent. On the flip side, a yard that’s put to bed properly wakes up in the spring with energy and health. The work you do now isn’t just about being tidy—it’s a direct investment in your soil, your lawn, and your plants for next year.
Think of it as tucking your garden in for a long winter’s nap. This guide walks you through the same steps I’ve used for years, focusing on not just what to do, but why you’re doing it. Honestly, understanding the ‘why’ is what separates a weekend chore from professional-level results.

The Great Leaf Debate: Mulch, Rake, or Just Ignore Them?
Fallen leaves are the most obvious sign of fall, and what you do with them can make or break your lawn’s health. A lot of people think you have to rake and bag every single leaf, but that’s not always the best move. It really depends on your yard and where you live.
A thick, wet mat of whole leaves is terrible for your grass. It blocks sunlight and air, creating a damp, dark environment that’s a perfect breeding ground for fungal diseases like pink and grey snow mold. But here’s the thing: those same leaves are a fantastic, free resource for your garden beds. As they decompose, they create what the pros call leaf mold—a nutrient-rich amendment that does wonders for your soil.
My Go-To Method: Mulch-Mowing the Lawn
Whenever possible, I recycle leaves right where they fall. My preferred method is mulch-mowing. You’ll need a mower with a good mulching blade, which has extra cutting surfaces to chop leaves into tiny, dime-sized pieces. These little bits fall right down between the grass blades, where earthworms and microbes pull them into the soil, adding valuable organic matter.

- Pro Tip: Only mow when the leaves are dry. Wet leaves just clump up and make a mess. If the leaf cover is thick, you might need to make two passes. Don’t let the leaves get more than a couple of inches deep before you mow them. If you don’t have a dedicated mulching mower, you can often buy a mulching blade and a chute plug for your current one. It’s a worthwhile upgrade.
When You Have to Rake
Sometimes, the leaves are just too thick or wet to mulch effectively, especially with tough ones like oak leaves. In that case, it’s time to rake.
- Work Smarter: Use a wide, no-clog plastic rake—they’re much lighter and more efficient. Rake the leaves onto a big tarp. You can then just drag the whole pile to your compost or the curb. It’s way faster than wrestling with dozens of paper bags.
- Composting 101: Leaves are a “brown” (carbon) material. To get them to break down faster, mix them with “green” (nitrogen) materials like grass clippings or kitchen scraps. If you only have leaves, a sprinkle of high-nitrogen fertilizer will kickstart the process.
Heads up! Never, ever compost leaves from diseased plants. If your roses had black spot or your crabapple had scab, bag those leaves and get them off your property. Composting them will just reintroduce those fungal spores next spring.

Lawn Prep for Winter Hibernation
Your lawn might look like it’s slowing down, but the roots of cool-season grasses (like fescue, bluegrass, and rye) are working overtime in the fall to store energy. This is your last, best chance to give them a boost before winter sets in.
1. The Final Mow
For the last one or two mows of the season, gradually lower your mower deck. I aim for a final height of about 2 to 2.5 inches. Grass that’s too tall tends to flop over under the snow, which encourages snow mold. But cutting it too short can stress the plant. You’re looking for that sweet spot.
2. Core Aeration: The Best Thing You Can Do for Your Lawn
If you only do one thing for your lawn this fall, make it this. Over time, soil gets compacted, squeezing out the air pockets that roots need to breathe. A core aerator pulls up small plugs of soil, creating space for air, water, and nutrients to get down to the roots. It’s way better than just poking holes with a spike tool, which can actually make compaction worse.

- DIY vs. Pro: You can rent a core aerator from a big-box store like Home Depot for around $70 for a half-day. Be warned, though—it’s a heavy beast to transport and maneuver. For a standard suburban lawn, it’s a solid 2-3 hour workout. Alternatively, you can hire a lawn service to do it. This might cost you between $125 and $175, but they’ll be in and out in under an hour with no sweat on your part.
And yes, your lawn will look a bit messy afterward, covered in little soil plugs. Just leave them! They’ll break down in a couple of weeks and return nutrients to the soil. The temporary mess is a tiny price to pay for the huge benefits.
3. Fall Fertilizing for Strong Roots
Fall fertilizer isn’t for top growth; it’s for the roots. We use what’s called a “winterizer” fertilizer. When you’re at the store, look at the three numbers on the bag (the N-P-K ratio). You want one where the last number (Potassium, or K) is high, something like 24-2-14. Potassium is crucial for cold hardiness and root development. A good bag covering 5,000 sq ft will probably set you back $20 to $40.
Timing is everything. Apply it after you aerate but before the ground freezes solid. The goal is to feed the roots while the top growth has already slowed way down.
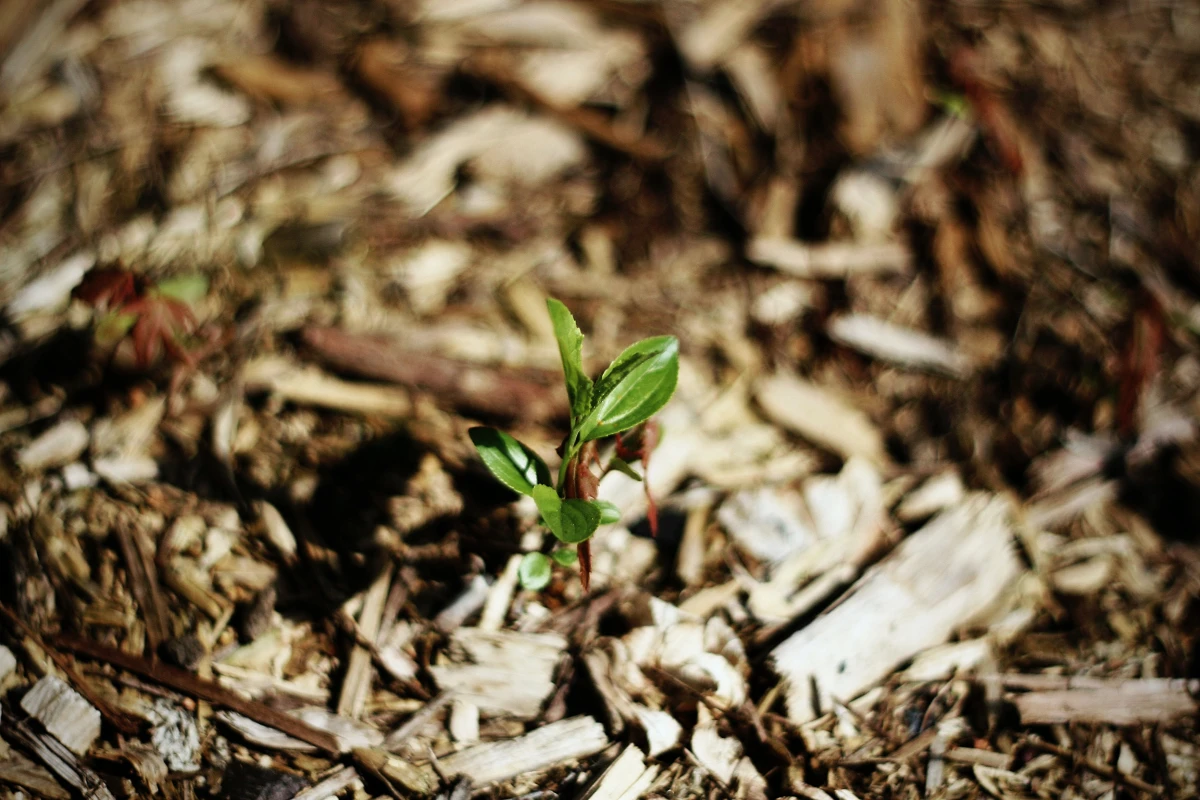
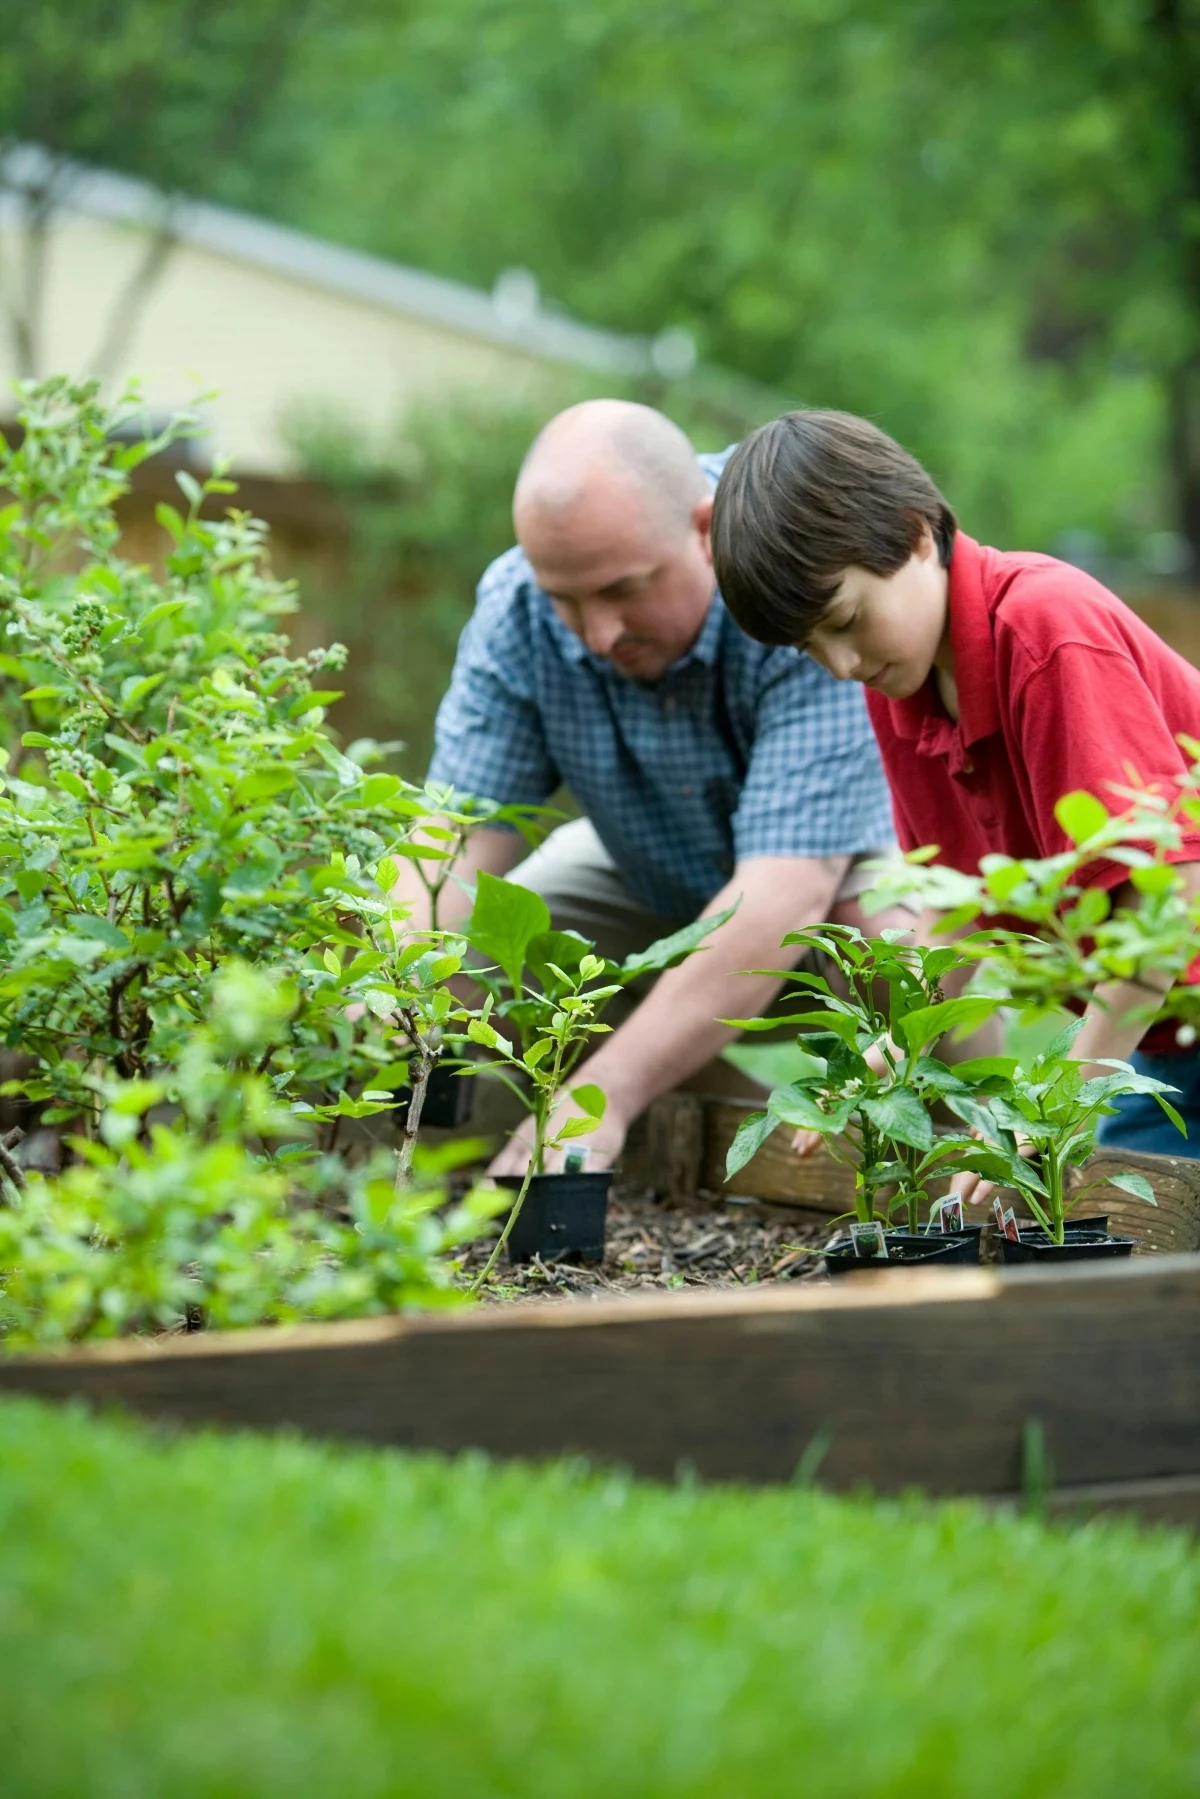
4. Overseeding (If You Have Bare Patches)
Fall is the absolute best time to overseed. The soil is still warm, but the air is cool—perfect for germination. The best time to do it is right after you aerate. The holes provide amazing seed-to-soil contact, giving your new grass a great head start.
Protecting Your Garden Beds and Shrubs
Your garden beds need some love, too. The biggest danger to perennials isn’t the cold, but the freeze-thaw cycle that can literally push plants out of the ground—a phenomenon called “heaving.”
1. The Big Cleanup: Cut Back or Leave Standing?
I used to cut everything back for a tidy look, but I’ve learned a more selective approach is much better.
- Cut These Back: Plants that had disease issues, like peonies with powdery mildew or hostas (which are a favorite place for slug eggs to hide). Cut them back to a few inches and throw the debris in the trash, not the compost.
- Leave These Standing: Anything with sturdy stems and interesting seed heads, like coneflowers, sedums, and ornamental grasses. They provide great winter scenery and offer food and shelter for birds.
2. Applying Winter Mulch (The Right Way)
This is where so many people go wrong. The goal of winter mulch is NOT to keep the ground warm. It’s to keep it frozen. Apply a 2-4 inch layer of light, airy mulch like shredded leaves or pine straw, but wait until after the ground has frozen hard. A good test? When you can’t easily jab a screwdriver an inch into the soil.
I learned this the hard way. One year I mulched too early and basically built a 5-star, all-inclusive resort for voles. They spent the winter feasting on the crowns of my expensive hostas. Don’t make my mistake! If you mulch too early, you trap warmth and create a cozy haven for rodents.
3. Protecting Tender Shrubs
For borderline-hardy plants like certain roses or hydrangeas, extra protection is a must. You can mound 10-12 inches of loose soil over the base of a rose bush. For shrubs that get damaged by heavy snow, like arborvitae, you can wrap them loosely with burlap (a roll costs about $15) or twine. Never use plastic!
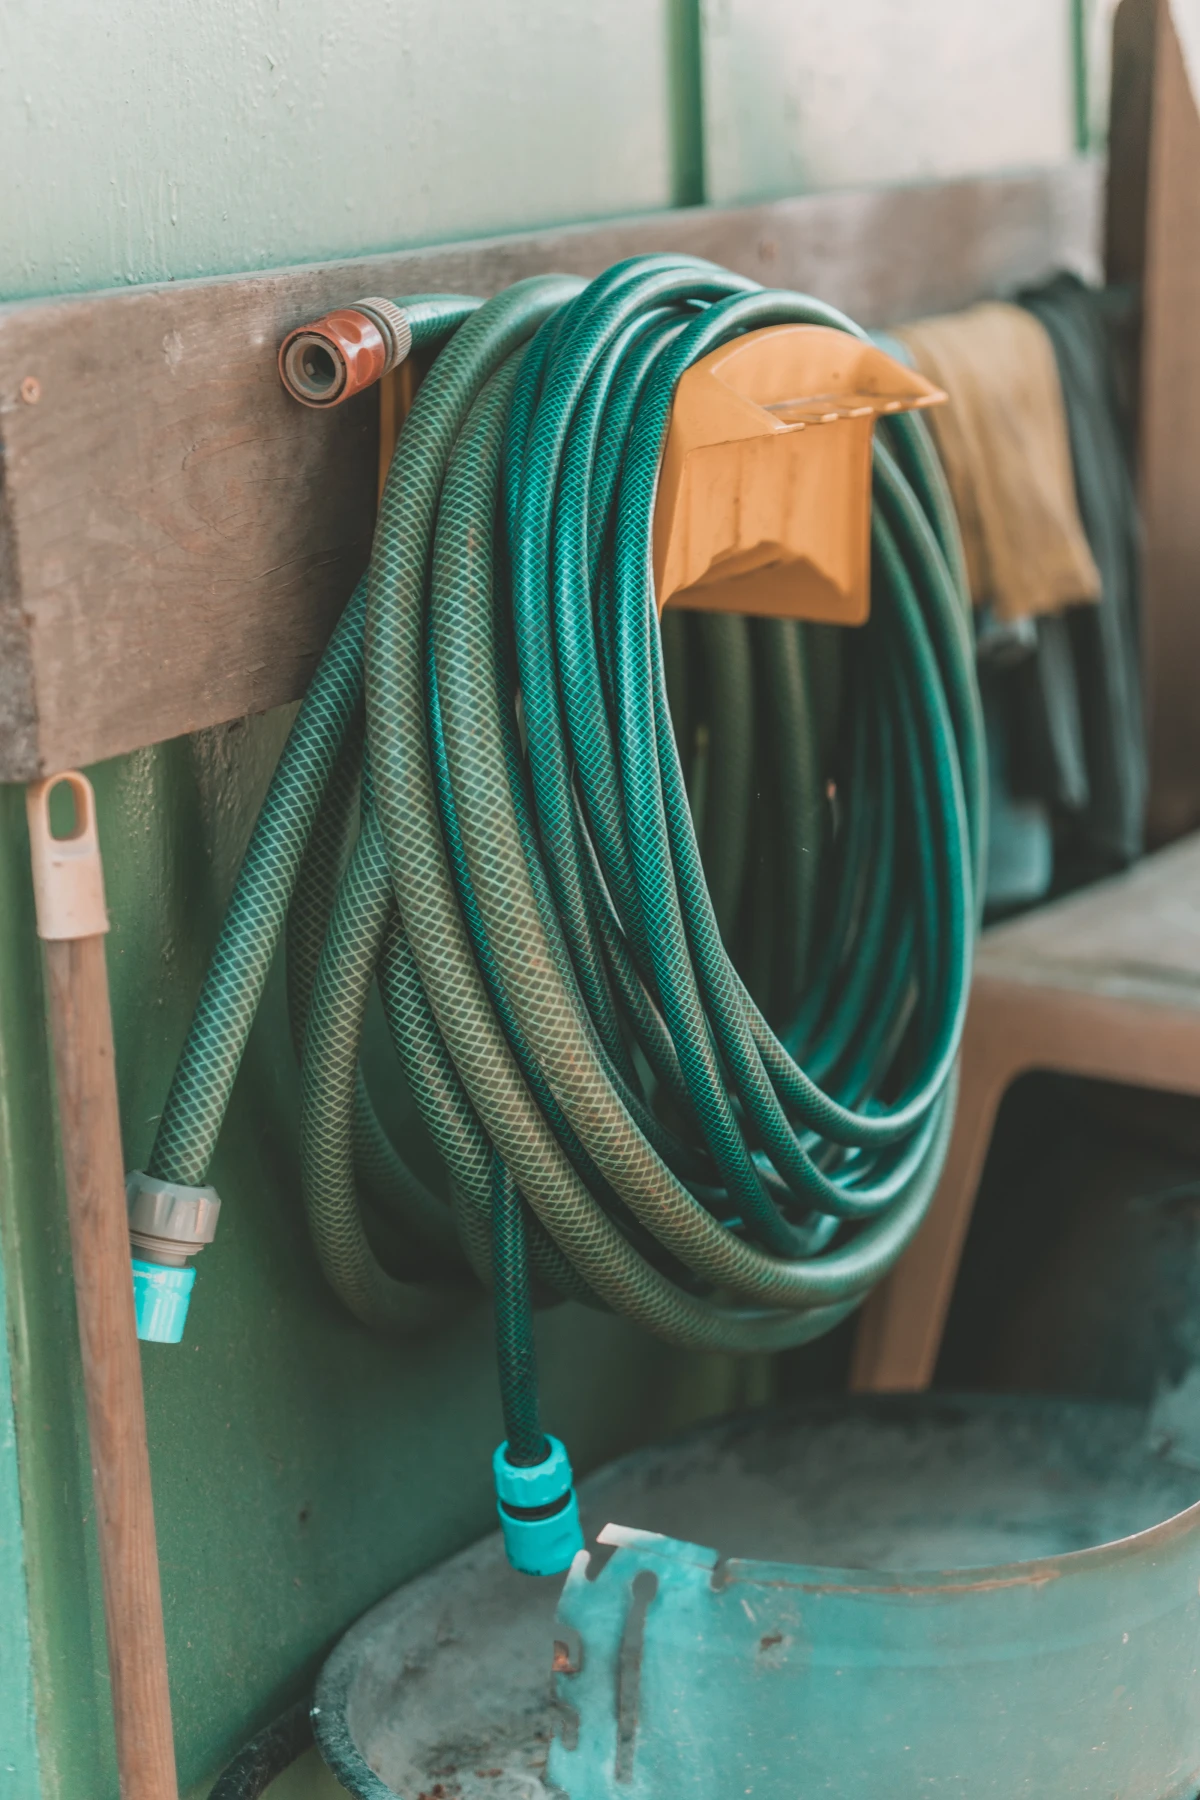
Winterizing Your Water Systems and Tools (Don’t Skip This!)
Okay, if you don’t have time for anything else, go do this right now. Seriously. Disconnect your garden hoses. It takes two minutes and can save you from a burst pipe and thousands of dollars in water damage. A frozen hose can transfer that freezing pressure right back to the pipe inside your wall. Go on, I’ll wait.
A Quick Checklist for Winterizing:
- Disconnect Everything: Remove all hoses, splitters, and timers from every outdoor faucet.
- Drain and Store Hoses: Let every drop of water run out, then roll them up and store them in a shed or garage.
- Shut Off the Water: Find the interior shut-off valve for each outdoor faucet (usually in the basement or crawlspace) and turn it off.
- Drain the Faucet: Go back outside and open the spigot to let the remaining water out. Leave it open all winter.
- Insulate: For good measure, pop a foam faucet cover over the spigot. They cost less than $5 at any hardware store and are cheap insurance.
A Note on Irrigation Systems
This is one job I strongly recommend hiring a pro for. Most in-ground systems need to be “blown out” with a high-volume air compressor. Using the wrong equipment can be ineffective at best and dangerous at worst—I’ve seen DIY attempts blow fittings apart like shrapnel. A professional blowout is far cheaper than repairing freeze-damaged pipes.
Putting Your Tools to Bed
Take a few minutes to clean your tools. Scrape the mud off shovels and rakes and give the metal a wipe-down with an oily rag to prevent rust. For gas-powered tools, either run the engine dry or fill the tank and add a fuel stabilizer (a bottle costs around $8 and lasts a while). I prefer the stabilizer method. This is also the perfect time to sharpen mower blades so you’re ready to roll next spring.
Final Thoughts
I get it, fall yard work can feel like a chore. It’s getting colder, and you’d probably rather be inside. But every leaf you mulch and every tool you clean is an act of setting yourself up for success. When spring rolls around and your lawn is green, your flowers are thriving, and your mower starts on the first pull, you’ll be so glad you put in the effort. That feeling is its own reward.
Inspirational Gallery
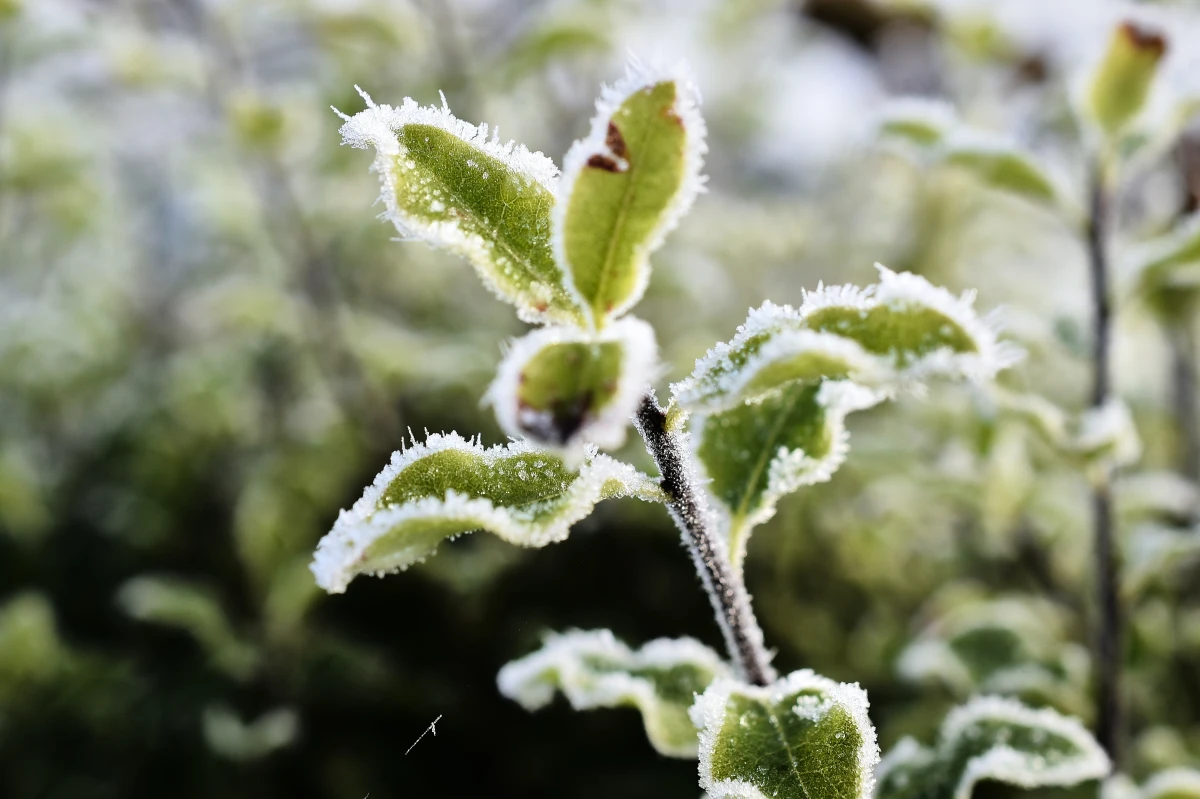
Don’t forget the evergreens. While deciduous trees are shutting down, conifers and broadleaf evergreens like rhododendrons and boxwoods are still losing moisture through their needles and leaves. A deep, slow watering before the ground freezes solid is one of the most important tasks to prevent winter burn, which is that ugly, brown desiccation you see in spring. Give them a long drink so the soil is moist, but not waterlogged, a few feet down.
More than 90% of butterfly and moth species overwinter in the landscape as an egg, caterpillar, chrysalis, or adult.
This fact from the Xerces Society is a powerful reminder. While a perfectly tidy yard is tempting, leaving some stems and leaf litter at the base of perennials and in garden beds provides a crucial winter habitat for these pollinators, as well as for ladybugs and other beneficial insects. Your ‘mess’ is their refuge.
Is it too late to deal with compacted soil?
Not at all. In fact, fall is the ideal time to aerate your lawn. The cool air and moist soil reduce stress on the grass. Renting a core aerator from a local hardware store pulls up plugs of soil, allowing air, water, and nutrients to penetrate deep into the root zone. It’s the single best thing you can do to relieve soil compaction and set your lawn up for vigorous spring growth. Follow up with overseeding and a light topdressing of compost for professional-level results.
- Protects plant roots from the freeze-thaw cycle that causes heaving.
- Helps the soil retain moisture during dry winter winds.
- Provides a head start on suppressing next year’s weeds.
The secret? A final, 2-3 inch layer of mulch. After your final weeding session, apply a fresh layer of shredded bark, pine straw, or your own composted leaf mold around perennials, shrubs, and trees. Just be sure to keep it from touching the stems or trunks directly to prevent rot.
The temptation to give every shrub a final ‘haircut’ is strong, but step away from the shears! Pruning spring-blooming shrubs like lilacs, forsythia, and rhododendrons in the fall means you’ll be cutting off the flower buds that have already formed for next year’s show. Save that task for right after they finish blooming in the spring. Fall is for pruning dead, damaged, or diseased wood only.
Plastic Tree Guards: These spiral wraps are inexpensive and fast to install. They are effective against ‘string trimmer’ damage and some rodent gnawing.
Hardware Cloth Cages: A cylinder of ¼-inch metal mesh, buried a few inches deep and extending above the expected snow line. This is the gold standard for completely blocking voles and rabbits from girdling the bark of young fruit trees and ornamentals.
For high-value plants, the extra effort of hardware cloth is a worthwhile investment.
As you clean up, consider leaving some architecture for winter interest. The dark, sturdy seed heads of plants like Coneflower (Echinacea) and Sedum ‘Autumn Joy’ not only look beautiful dusted with frost or snow, but they also provide a vital food source for birds.
- Goldfinches will cling to Echinacea and Black-Eyed Susan (Rudbeckia) cones.
- Juncos and sparrows will happily forage for seeds from ornamental grasses.
- The strong stems create perches and visual structure in a dormant landscape.
Your compost pile needs to be put to bed, too. Give it one final turn to incorporate all the fresh green (grass clippings) and brown (shredded leaves) materials. After turning, water it thoroughly if it’s dry to keep the microbes active as long as possible. Finally, covering the pile with a dark tarp can help it retain heat and moisture, continuing the decomposition process well into the colder months.
- Disconnect all hoses from their spigots to prevent freezing water from bursting the pipe inside your wall—a very expensive repair.
- Drain the hoses completely by laying them on a sloped surface.
- Unscrew any spray nozzles or watering wands, drain them, and store them indoors with your hoses to protect plastic parts and rubber seals from becoming brittle.


