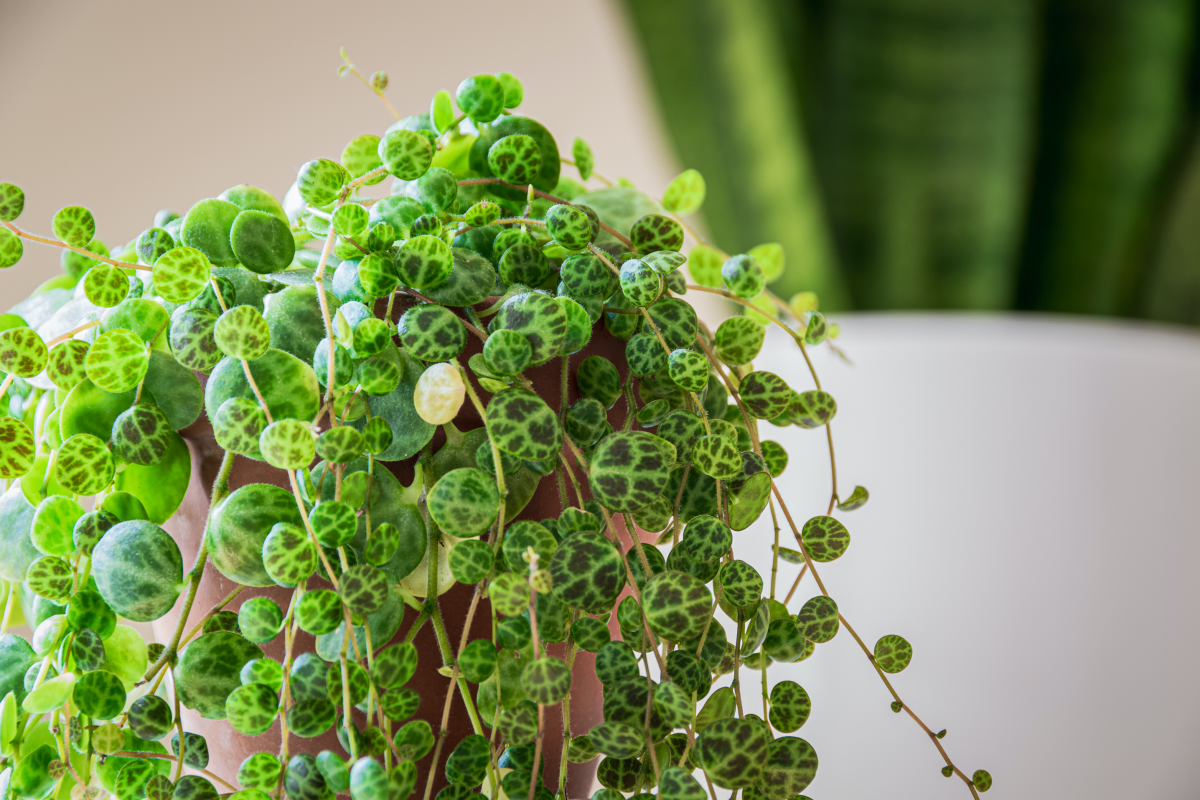
Your String of Turtles Deserves to Thrive. Here’s How.
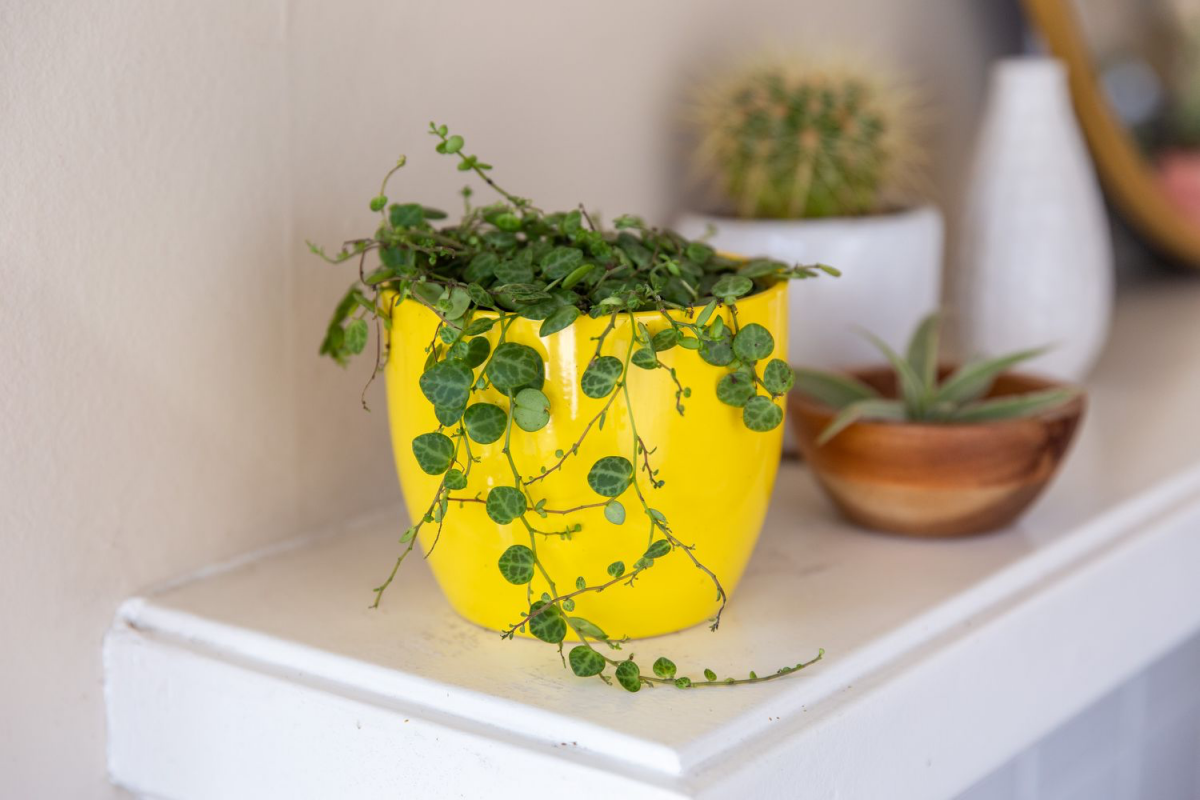
I’ll be honest, the first String of Turtles I ever owned was a complete disaster. I still remember spotting it on a high shelf in a greenhouse, with its perfect, tiny leaves that looked like miniature turtle shells. I was already pretty good with houseplants, so I thought, “How hard can this be?”
In this article
Famous last words. A few months later, it was a sad, mushy mess. The leaves dropped if I even looked at it funny. That failure, though, was the best teacher. It forced me to learn that this plant plays by its own set of rules, inspired by its life in tropical rainforests. It isn’t difficult to grow, but it is very, very particular. This guide is everything I wish I had known back then—all the hands-on tricks I’ve picked up over the years.
You Just Brought It Home. Now What? (The First 48 Hours)
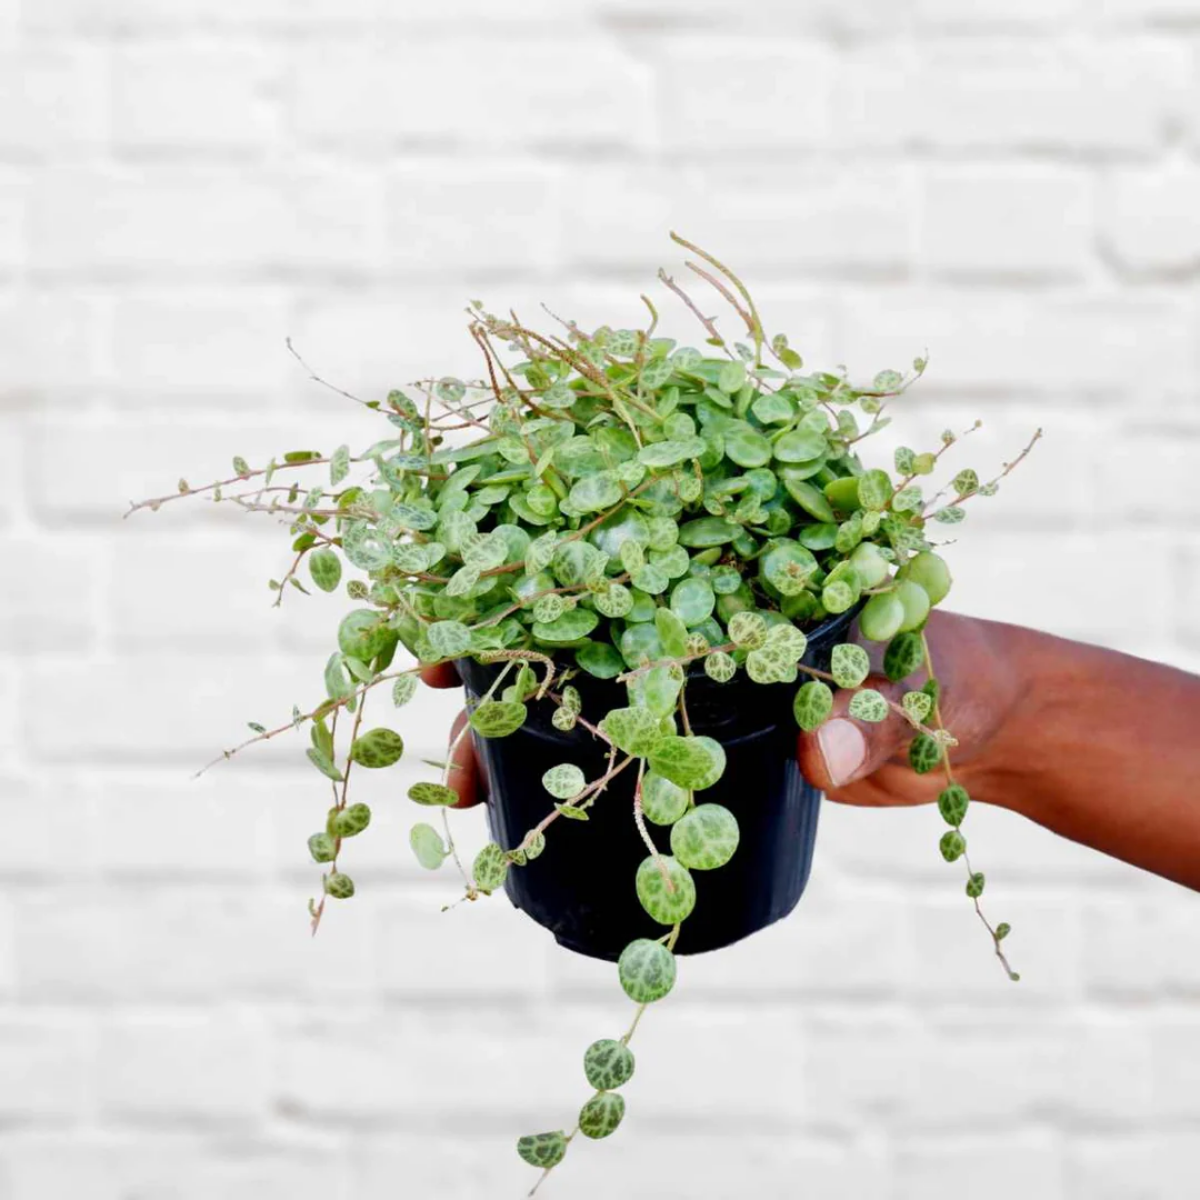
Okay, you’ve got your new plant. Don’t rush to repot it! Nurseries often grow them in dense, peaty soil that holds way too much water for a typical home environment. But moving, and then immediately repotting, can be a huge shock.
Here’s the game plan: Find a good spot for it (we’ll cover that in a bit) and just let it acclimate for a week or two. Keep an eye on the soil, but resist the urge to do anything drastic. This little grace period lets it get used to your home’s unique temperature and light before you perform ‘pot surgery.’ After that, it’s time to give it a proper home.
The Real Secret: It’s All in the Soil and Pot
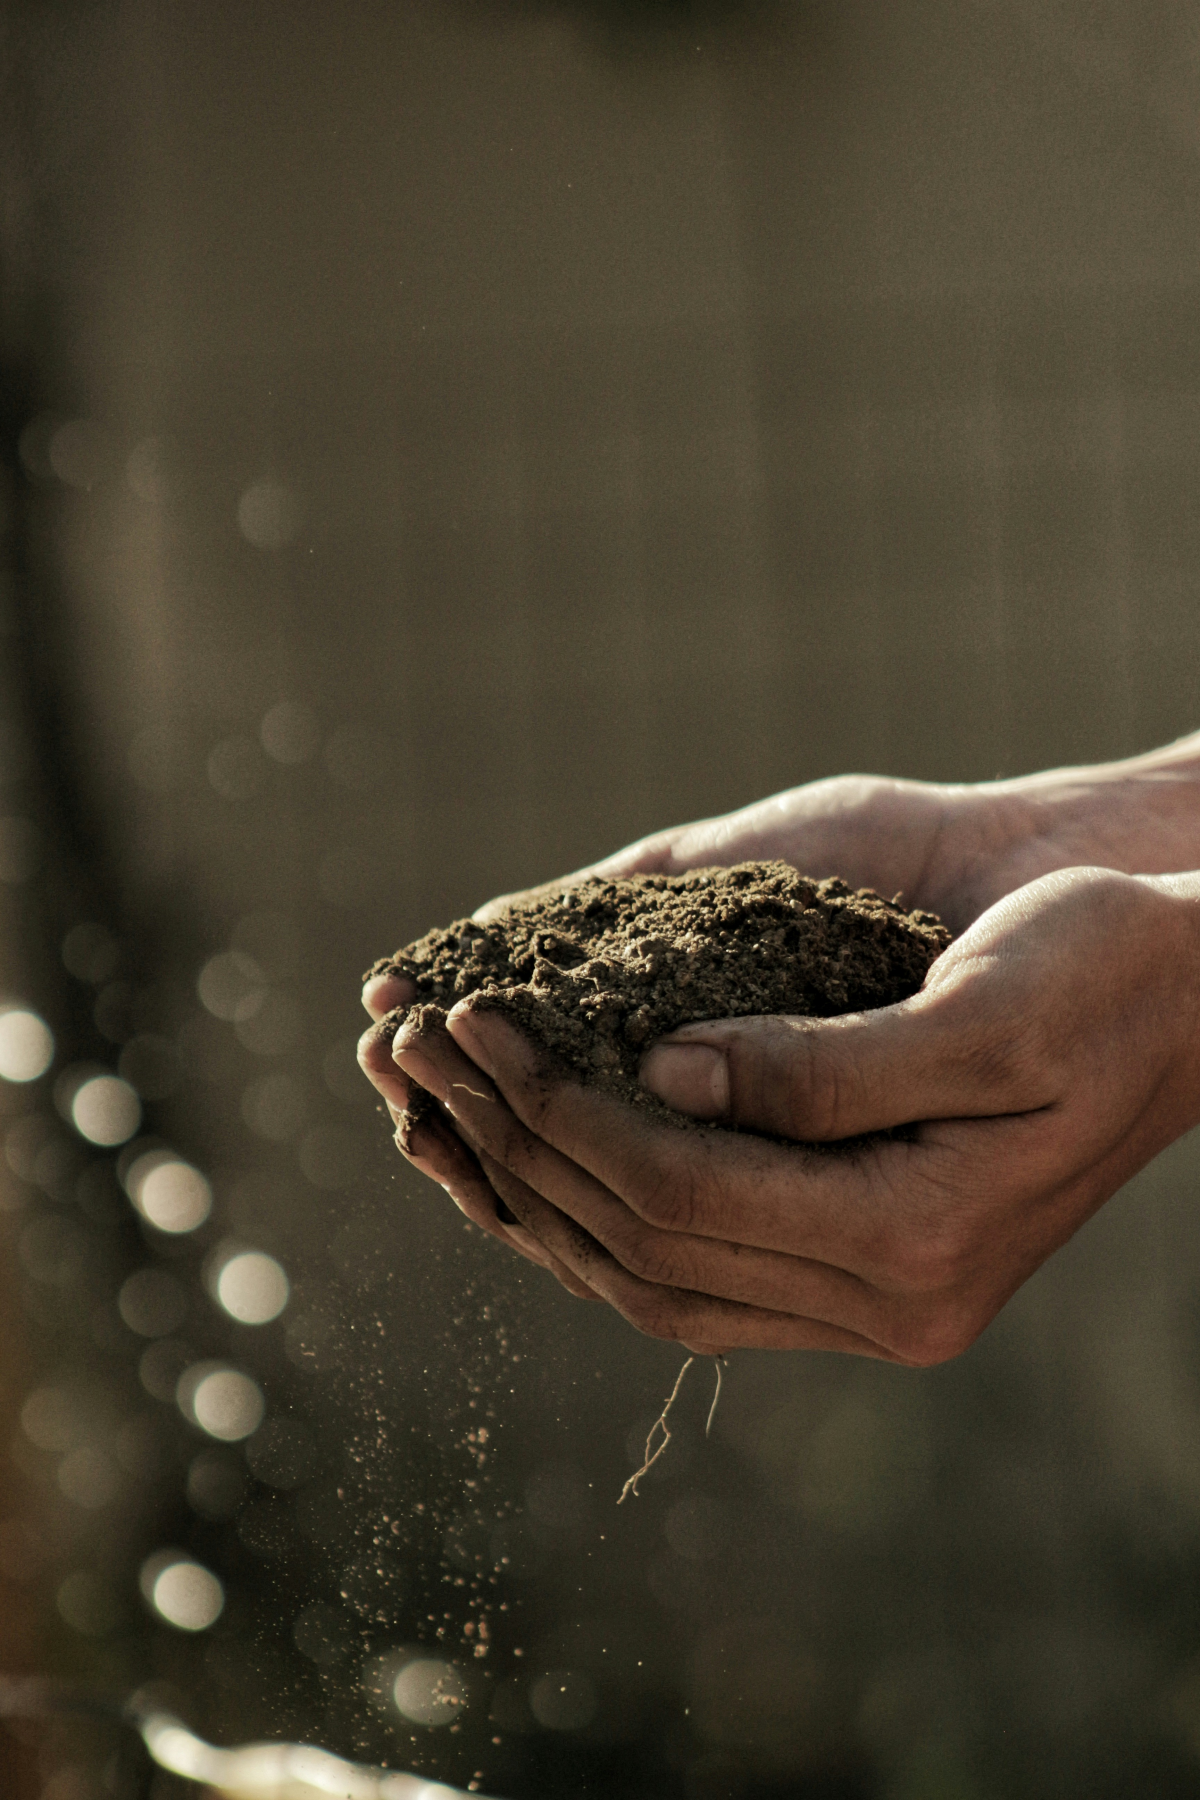
I’m not exaggerating when I say that 90% of String of Turtles problems start with the wrong soil and pot. These plants are epiphytes, meaning in the wild they grow on trees, not in deep soil. Their roots are fine and shallow and absolutely hate being wet for long periods. Your number one job is to create a home that drains lightning-fast and gives the roots plenty of air.
My Go-To Soil Recipe
Forget standard potting mix. Even the stuff sold for cacti can be too dense. After tons of trial and error, this is the chunky, airy blend I swear by. It mimics that ‘on a tree branch’ vibe they love.

Here’s what you’ll need to mix:
- 2 parts coco coir: This is a fantastic, sustainable alternative to peat moss. It holds a bit of moisture without turning into a bog. A compressed brick costs about $5-$10 at garden centers or online and will last you forever. (Fun fact: you can often find it as reptile bedding in pet stores, too!)
- 2 parts fine orchid bark: This is the key to creating air pockets. It literally mimics the bark of a tree. A small bag runs about $10-$15.
- 1 part pumice or perlite: Both of these prevent the mix from compacting. I lean towards pumice because it has a little more weight and doesn’t float to the top like perlite does. Expect to pay around $10 for a bag that will serve many plants.
- 1/2 part horticultural charcoal: This is my secret weapon. It helps absorb impurities and keeps the soil from getting funky, which is a big plus in preventing root rot. It’s a bit of a specialty item but worth it.
If you absolutely can’t source these, a decent shortcut is to take a high-quality African Violet mix and amend it with about 50% perlite or pumice. It’s not perfect, but it’s a huge step up from straight-out-of-the-bag soil.
Choosing the Perfect Pot
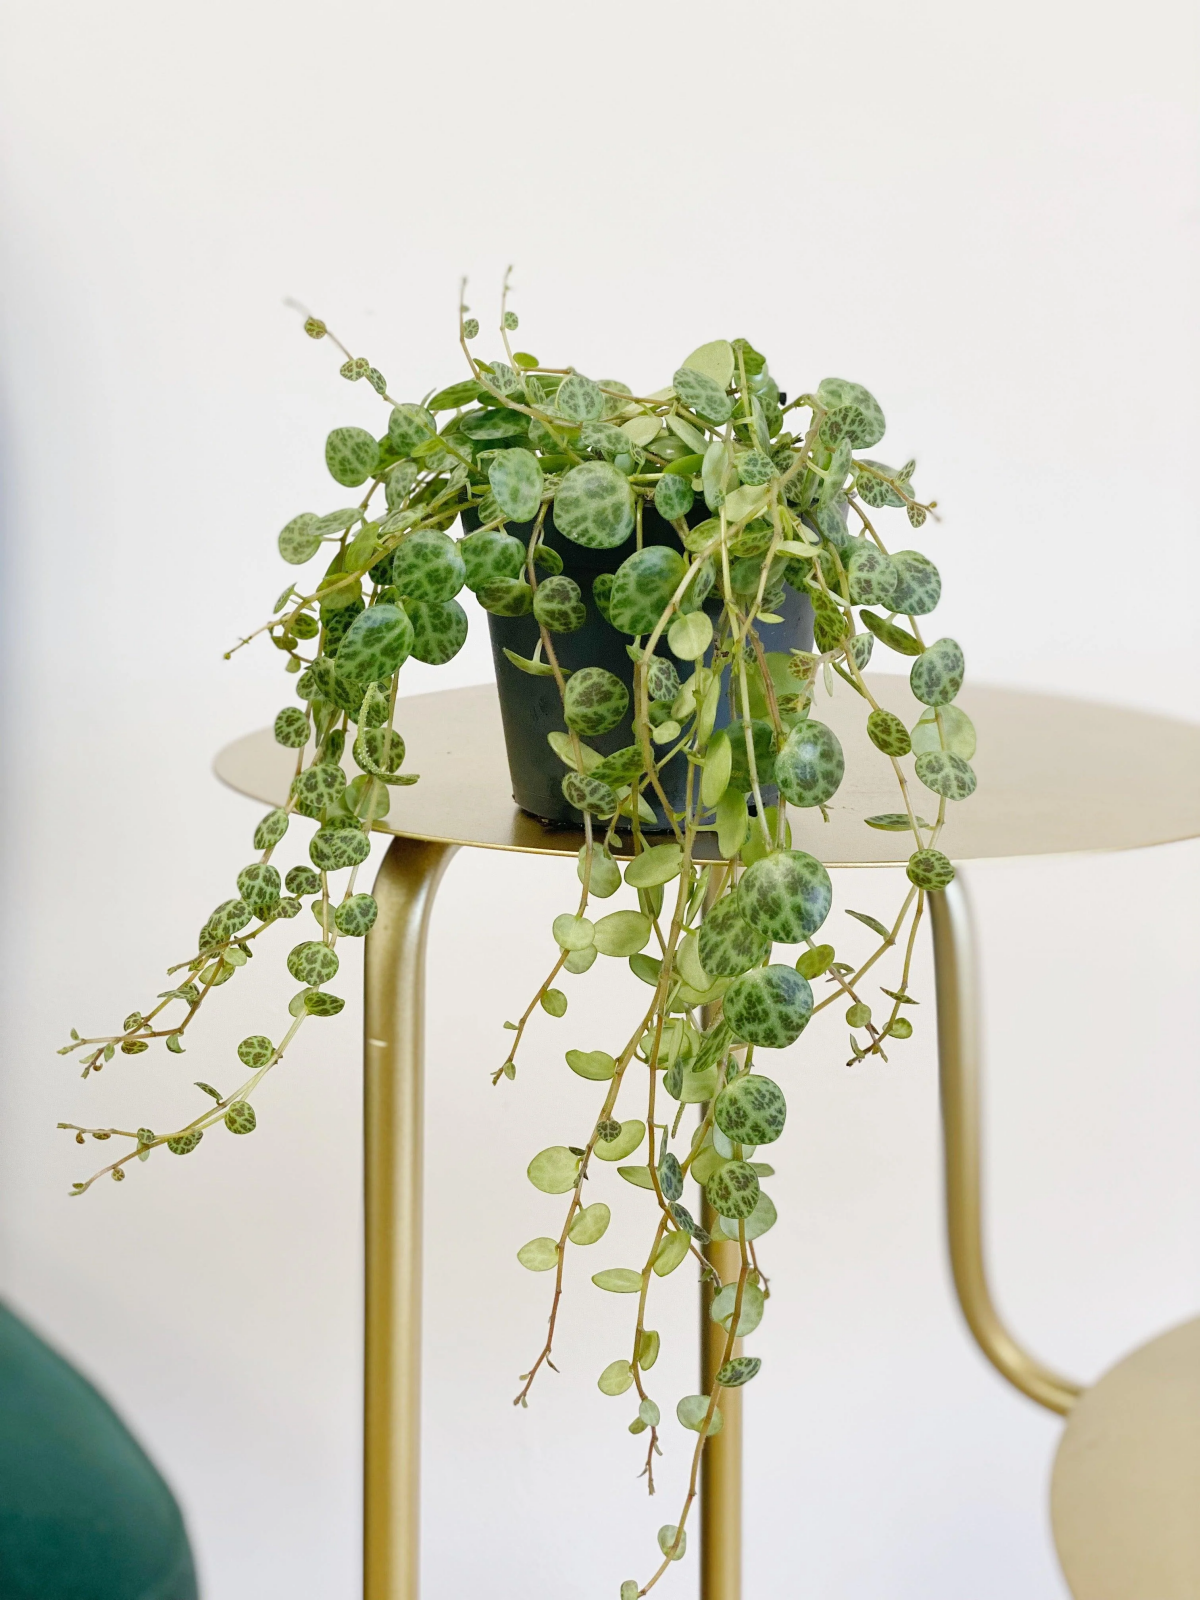
Pot selection is just as crucial. A deep pot is a death sentence because the soil at the bottom stays wet forever, rotting the shallow roots. Think wide and shallow.
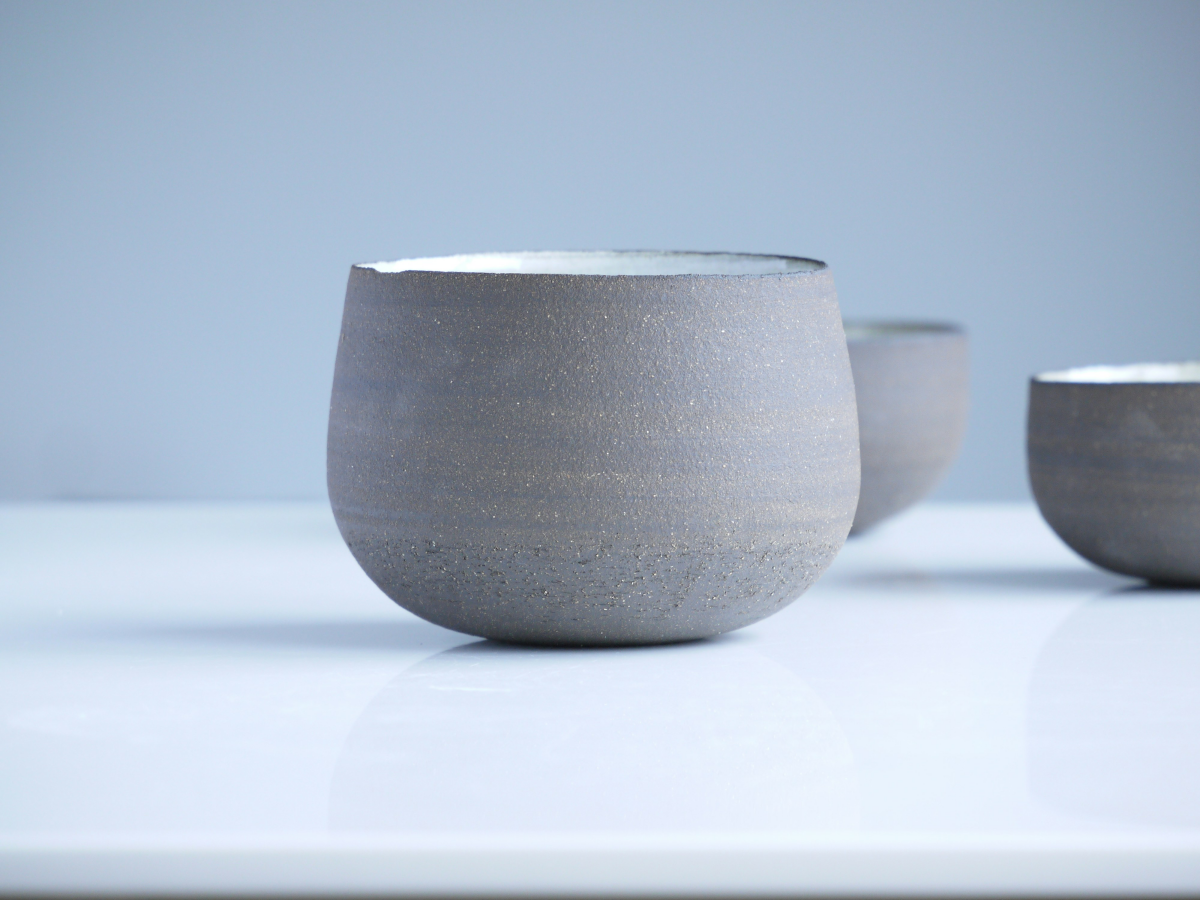
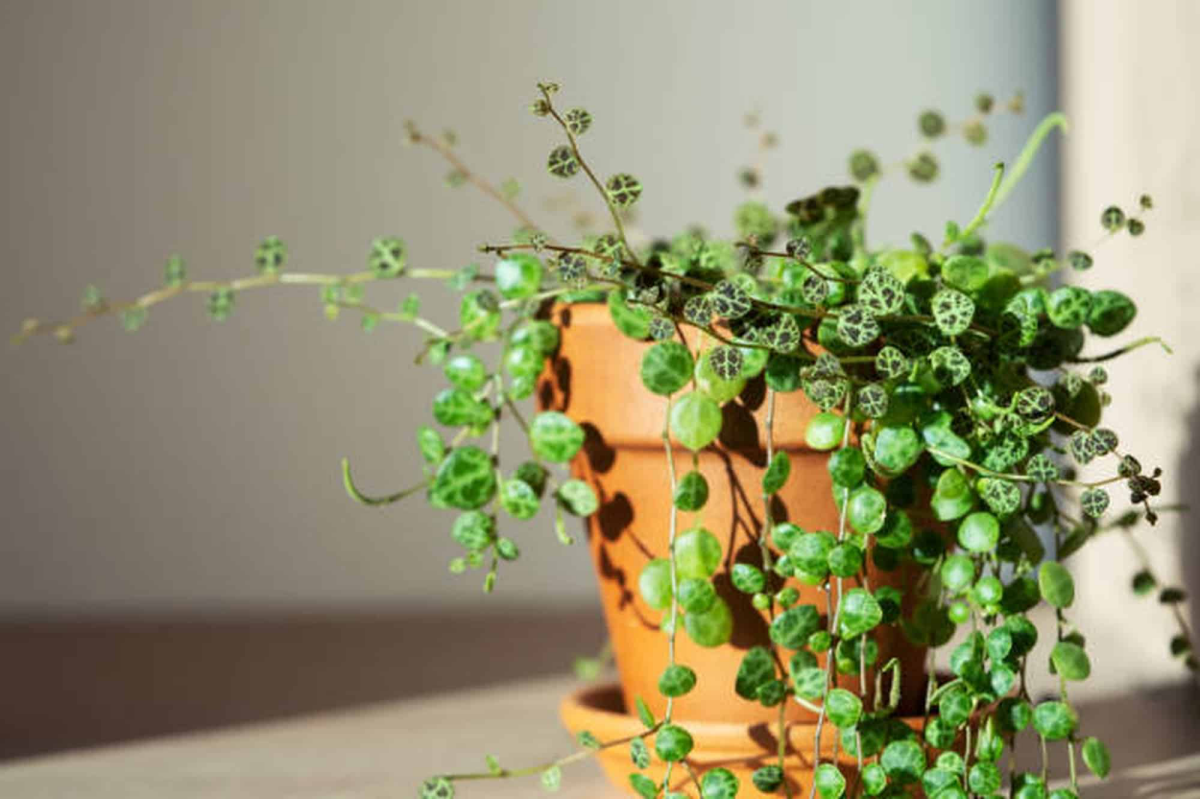
Honestly, the best choice is a classic unglazed terracotta pot. The clay is porous, so it breathes and allows the soil to dry out evenly and quickly. This gives you a fantastic buffer against accidental overwatering. If you know you’re a bit heavy-handed with the watering can, terracotta is your best friend.
Your other option is a plastic pot, but you have to be more careful. Plastic doesn’t breathe, so the soil stays wet much longer. If you go this route, make sure it has tons of drainage holes. I often take a drill and add a few extra myself. The main upside to plastic is that it’s lightweight and you won’t have to water quite as often, but the risk is definitely higher.
Oh, and one more thing: don’t overpot! Choose a pot that’s just a little bigger than the current root ball. A 4-inch plant is happiest in a 4.5 or 5-inch shallow pot, not a 6-inch one. They like being a little snug, which helps the roots use up the water in the pot quickly.
Finding the Sweet Spot: Light and Location
Everyone says “bright, indirect light,” but what does that even mean? For a String of Turtles, it means you want a spot that’s bright enough to read a book comfortably, but where the sun’s rays aren’t directly hitting the leaves for hours on end.
- The Ideal Spot: A few feet away from an east-facing window is the gold standard. It gets that soft, gentle morning sun and then bright, indirect light the rest of the day. A north-facing window also works quite well.
- Use Caution: South or west-facing windows can be too intense, especially in the afternoon. The direct sun will scorch the delicate leaves. If that’s all you have, either place the plant several feet back from the window or hang a sheer curtain to diffuse the light.
- The Shadow Test: Here’s a simple trick. Hold your hand up where you plan to put the plant. If it casts a shadow with soft, fuzzy edges, you’ve nailed it. If the shadow is sharp and dark, the light is too direct.
By the way, I give my plants a little quarter-turn every time I water. This simple habit keeps them from getting bald on one side and encourages full, even growth.
The Art of Watering (Read This Twice!)
If you master watering, you’ve won the battle. Because of their semi-succulent leaves and fragile roots, you need to be a bit of a detective. Ditch the weekly schedule—it’s the fastest way to kill this plant.
The goal is to let the soil dry out almost completely between waterings. The leaves store water, so they can handle it. How do you know when it’s time?
- The top inch or two of soil feels bone dry.
- The pot feels noticeably lighter when you pick it up.
- The leaves themselves might feel a bit soft or less plump. Some people call it the “taco test”—the little round leaves will fold just a bit if you gently squeeze them.
The Skewer Method: This is my favorite foolproof technique. Grab a wooden skewer or a disposable chopstick and stick it all the way to the bottom of the pot. Pull it out. If it comes out clean and dry, it’s time to water. If it has any dark, damp soil clinging to it, wait a few more days and test again.
Quick Win: Go check your plant with a skewer RIGHT NOW. Don’t guess, know for sure if it needs a drink!
When you do water, do it thoroughly. Take it to the sink and slowly pour lukewarm water over the soil until it gushes out the drainage holes. Let it drain completely for 15-20 minutes before putting it back. Never, ever let it sit in a saucer of leftover water.
Feeding, Pruning, and Making More Plants
This plant isn’t a huge eater. During the spring and summer growing season, I feed mine once a month with a balanced liquid fertilizer (like a 10-10-10) diluted to 1/4 of the recommended strength. In the fall and winter, I stop completely to let it rest.
Heads up! If you ever see a white crust on your soil, that’s salt buildup from fertilizer and hard water. It’s an easy fix. Just flush the soil. Take the pot to the sink and let lukewarm water run through it for a full minute. Let it drain completely, and you’re good to go.

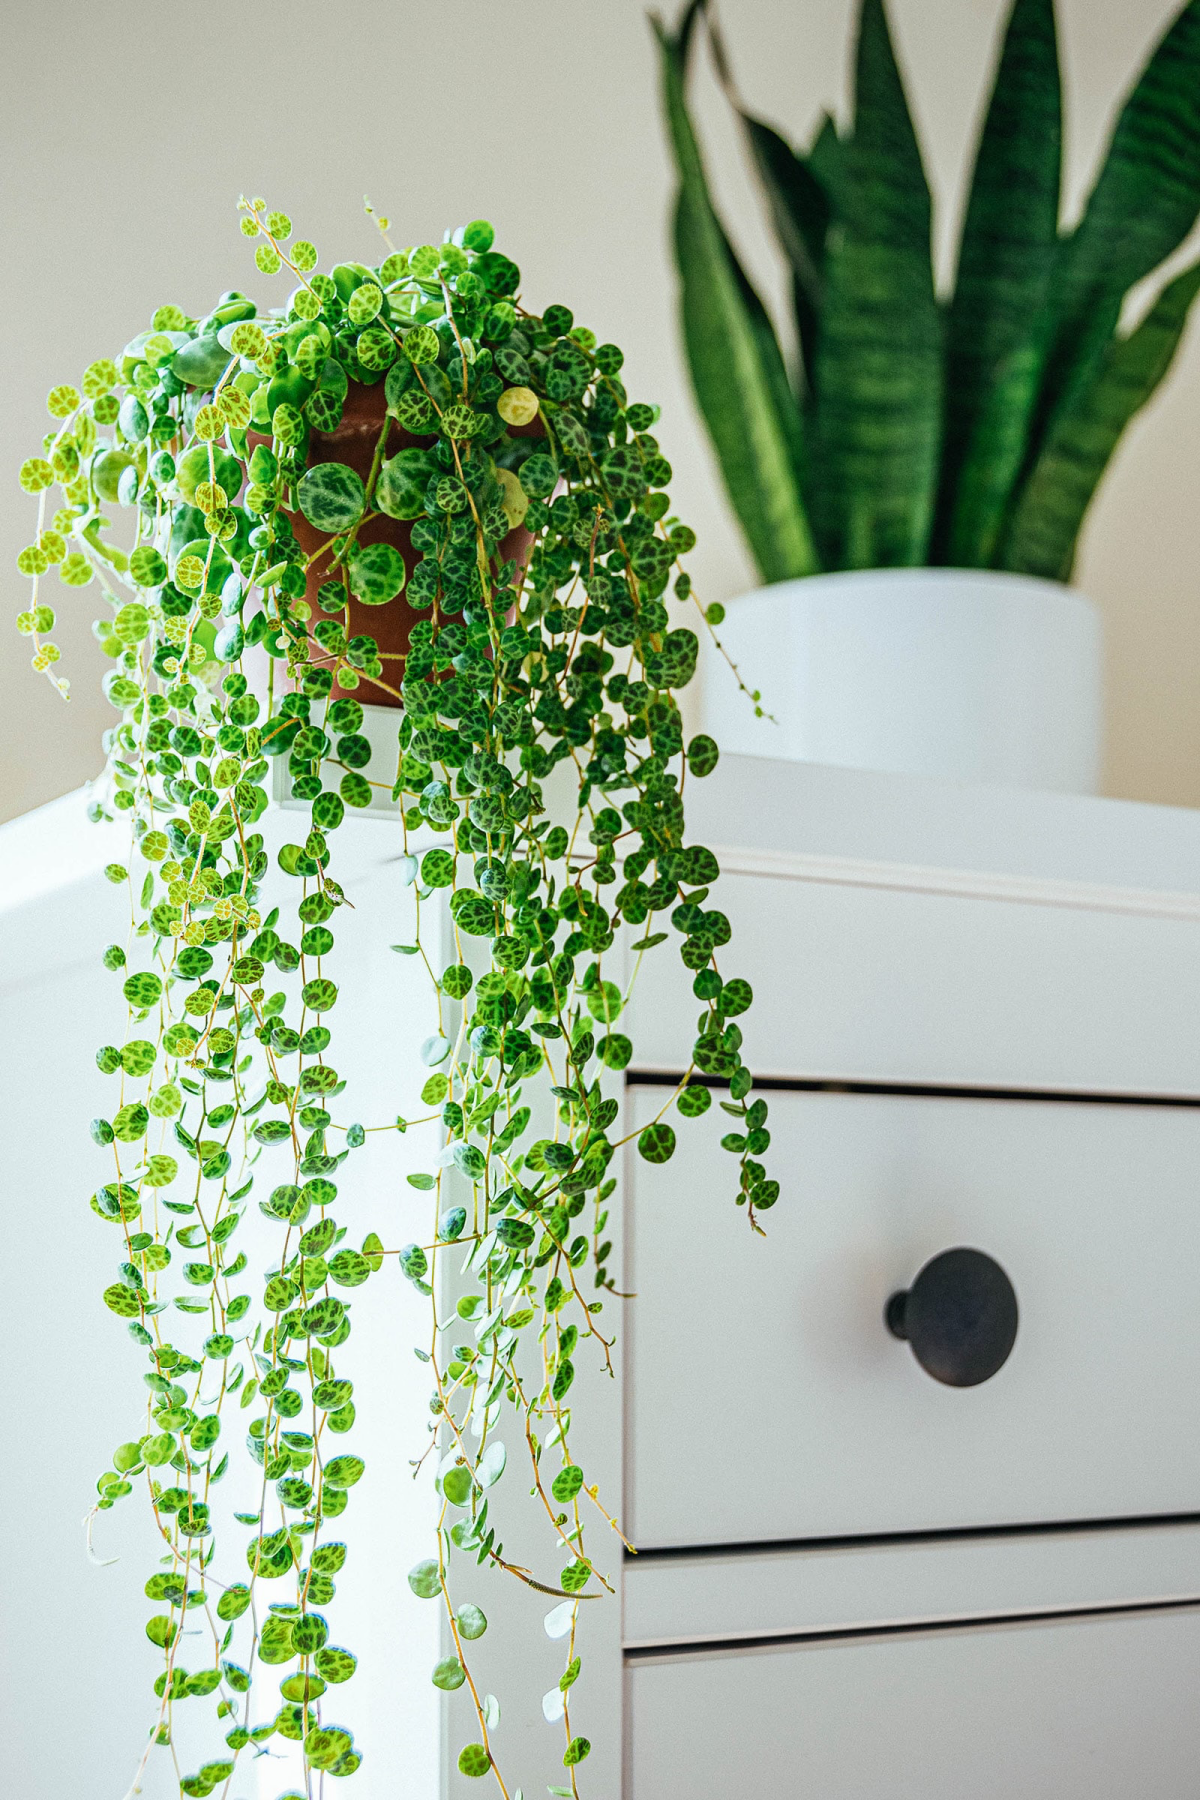
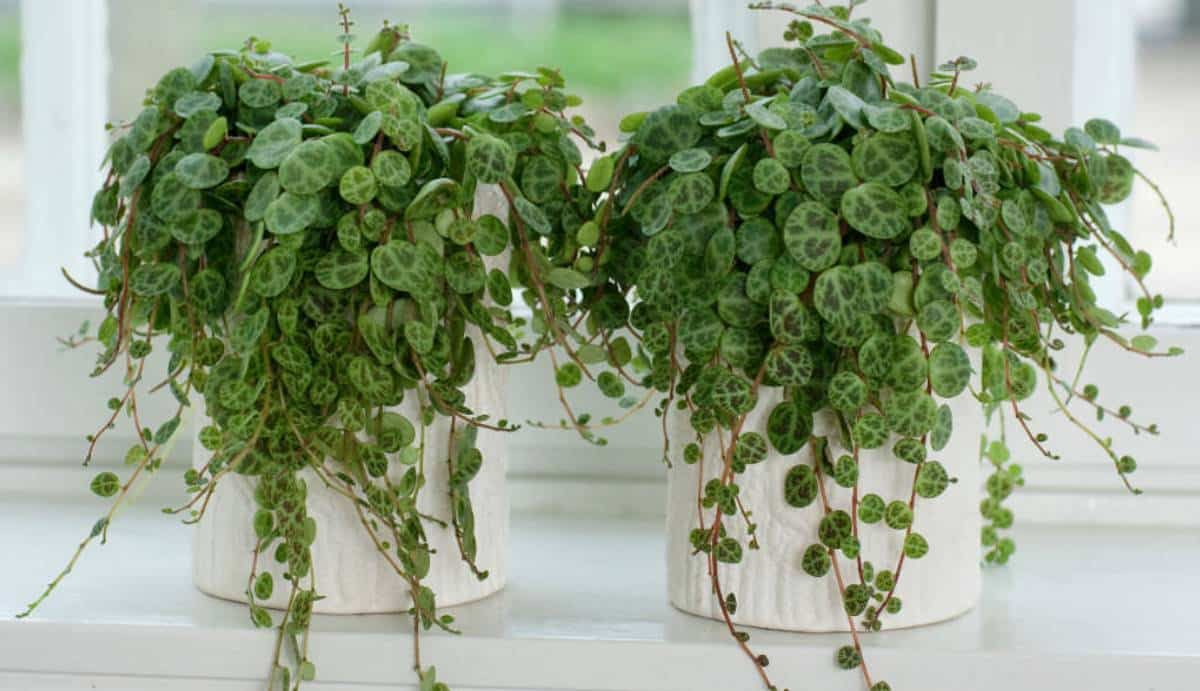
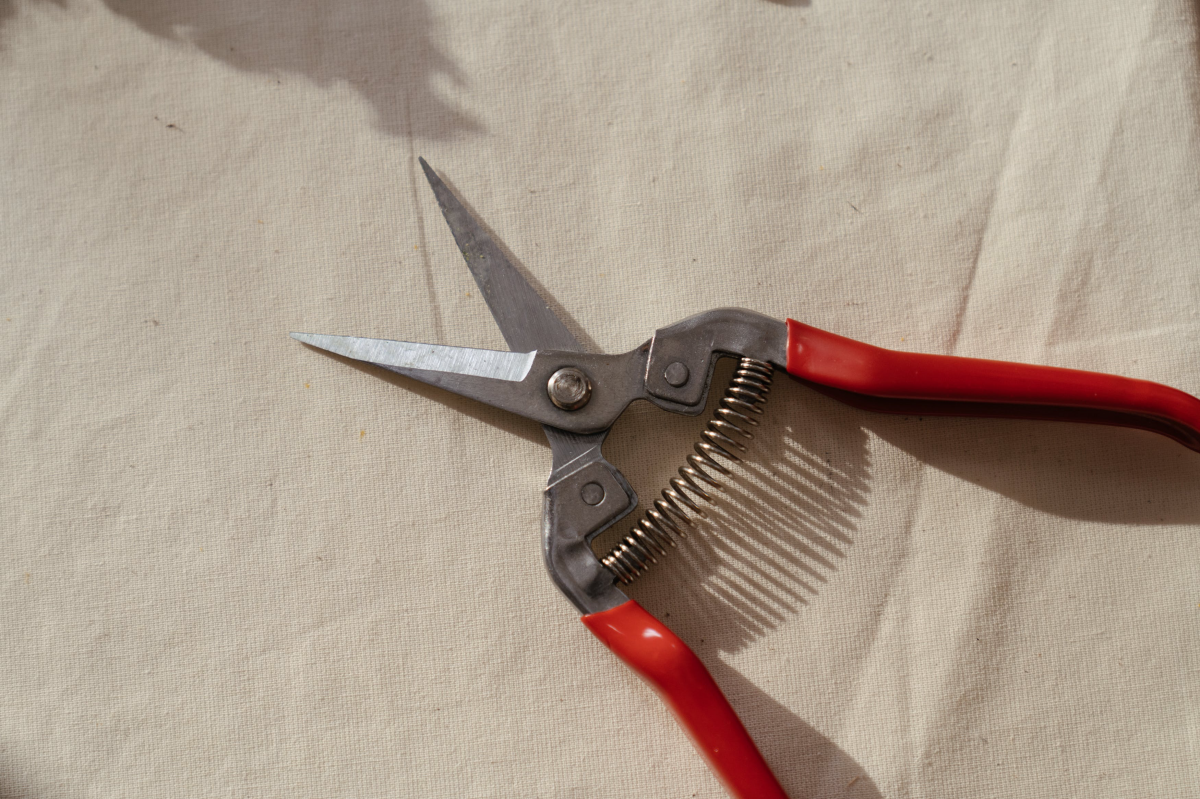
Pruning is your secret to a full, bushy plant. When the vines get long and stringy, don’t be afraid to give them a haircut! Using clean scissors, find a healthy leaf and snip the main vine about a quarter-inch past where that leaf’s little stem connects. A new branch will sprout right from that joint, making the plant fuller at the top. Plus, you can use the cuttings to make new plants!
The easiest way to propagate is the “butterfly method.” Cut a vine into sections, with each section having one leaf and a tiny piece of stem attached. Lay these little “butterflies” on top of moist soil in a shallow container, cover it with plastic wrap to create a mini-greenhouse, and in a few weeks, you’ll see new roots and vines starting to form.
Troubleshooting: What to Do When Things Go Wrong
Symptom: Yellow, mushy leaves, especially at the base.
This is almost certainly root rot from overwatering. You have to act fast. Gently take the plant out of the pot. Healthy roots are white and firm; rotted roots are brown, slimy, and might smell bad. With sterile scissors, trim off every single bit of mushy rot. Here’s the pro tip: Let the remaining healthy roots air dry for a few hours to let the cuts callous over. Then, repot into a pot with fresh, dry, airy soil. Wait at least a week before you even think about watering it.
Symptom: Tiny leaves with long, sparse gaps between them.
Not enough light. The plant is stretching to find more. Gradually move it to a brighter spot. You can prune back the leggy vines to encourage denser growth in its new, happier location.
Symptom: Crispy, brown, or washed-out looking leaves.
Too much direct sun. The leaves are getting sunburned. Move it to a spot with less intense, filtered light. The burned leaves won’t recover, so you can snip them off.
Good to know: String of Turtles are considered non-toxic to cats and dogs, making them a great choice for pet owners. Just remember to observe your plant. It will always tell you what it needs if you learn how to look.
Galerie d’inspiration


Bottom-Watering vs. Top-Watering
Bottom-Watering: The safest bet. Place your plant in a saucer of water and let it soak up moisture through the drainage hole for about 15-20 minutes. This keeps the delicate crown and leaves perfectly dry, preventing rot.
Top-Watering: If you prefer this method, use a watering can with a long, thin spout. This allows you to precisely target the soil surface, avoiding a drenching shower over the foliage. The key is precision!
In their native habitat in the Brazilian rainforests, String of Turtles often grow as epiphytes on other plants, absorbing moisture and nutrients from the air and rain-washed debris.
This is why they demand such excellent drainage in a pot—they are not used to sitting in dense, wet soil. Recreating that airy environment is the ultimate goal for a happy plant.
My strings are looking long and leggy. How can I make the plant fuller on top?
This is a classic String of Turtles issue! The solution is to
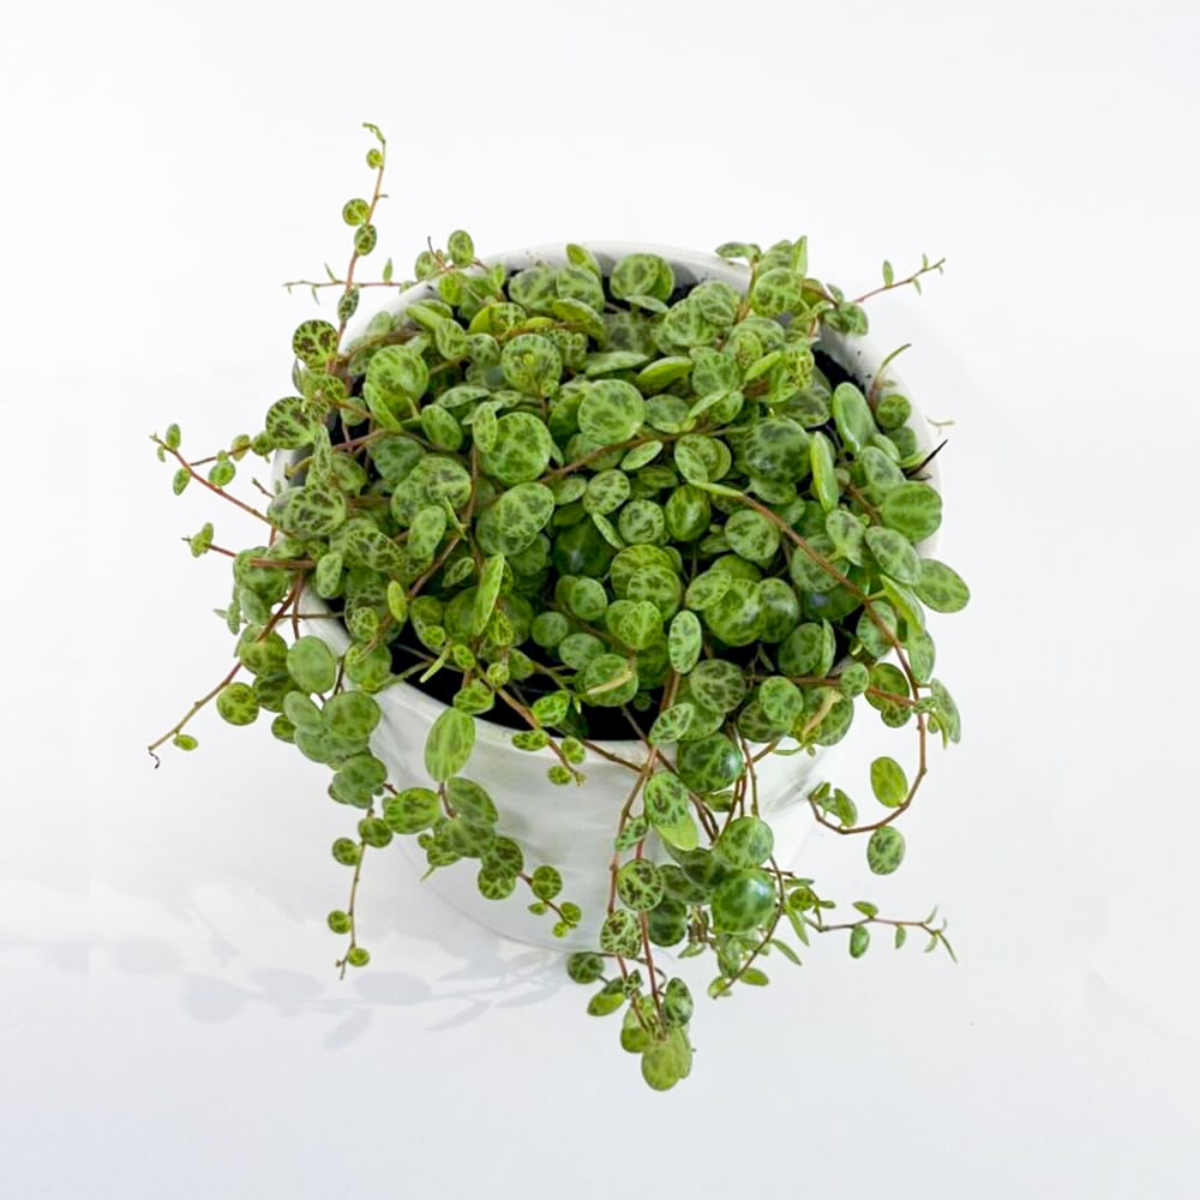
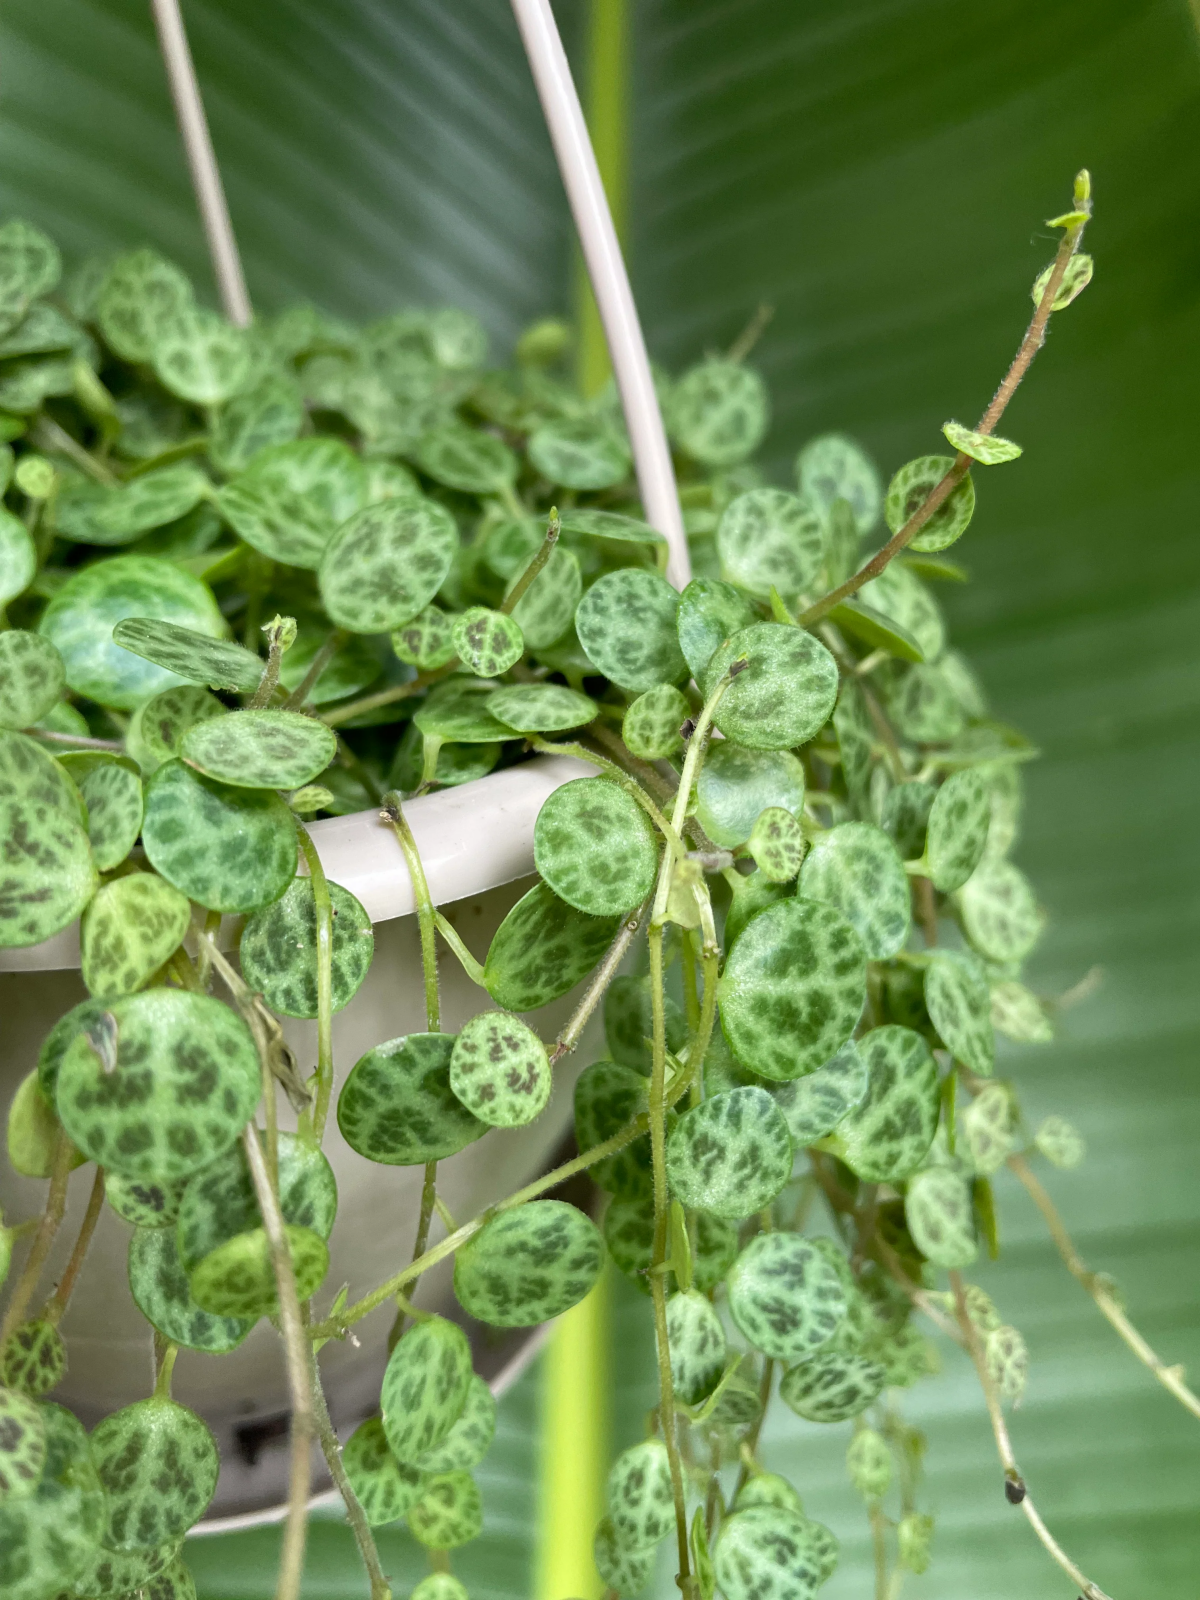
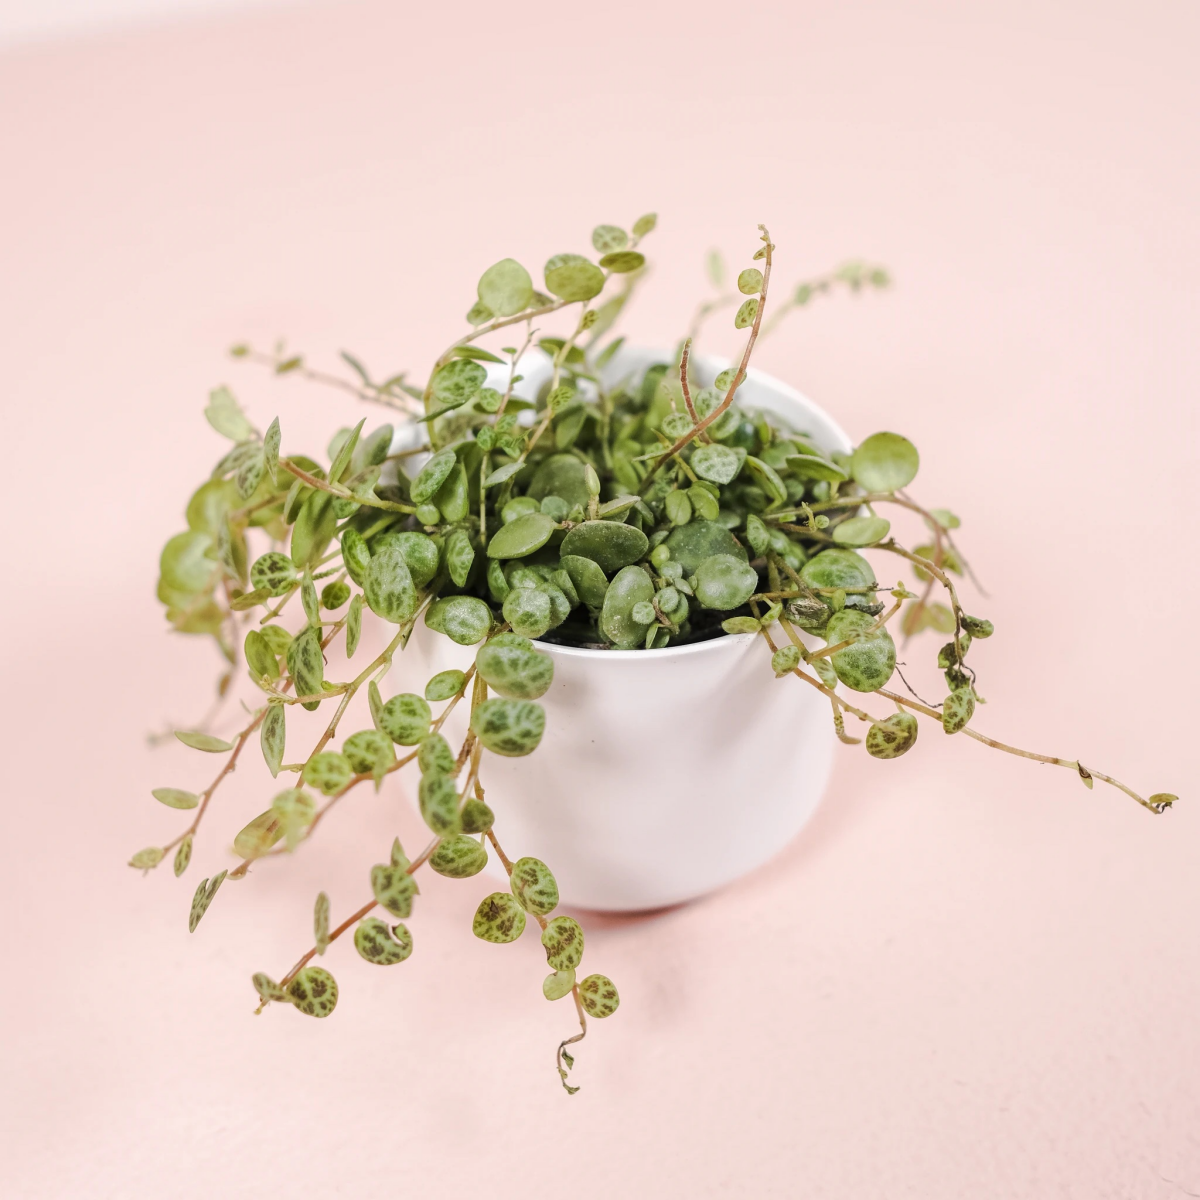
- The leaves are plump and firm to a gentle touch.
- Variegation patterns are distinct and not faded.
- New growth is visible at the end of the strands.
The secret? You’ve found the perfect balance of bright, indirect light. Too little light causes patterns to fade; too much direct sun will scorch the delicate leaves.
When it comes to feeding your String of Turtles, less is more. During the spring and summer growing season, a heavily diluted liquid fertilizer is all it needs. Try using a balanced fertilizer like Schultz All Purpose Plant Food at quarter-strength, or an organic succulent fertilizer, once every 4-6 weeks. Skip fertilizing entirely in the fall and winter when the plant is dormant.
A single healthy strand, just 4-5 inches long, can be propagated into a whole new plant.
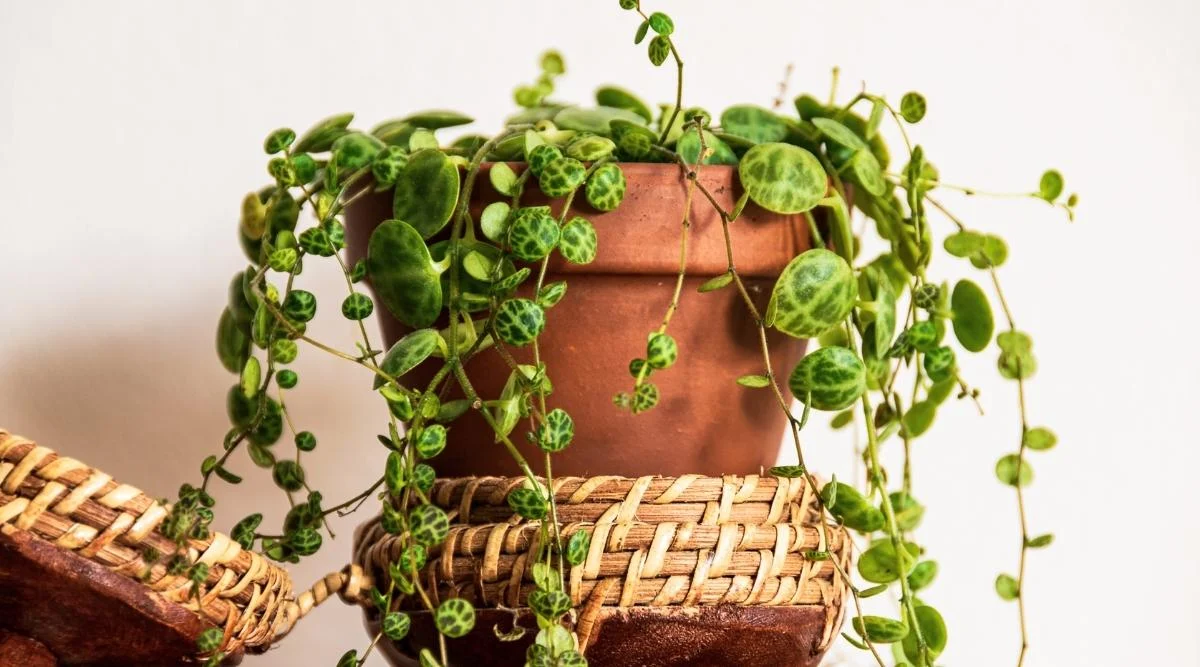
The right pot does more than just hold the plant—it’s part of the care routine. A shallow, wide terracotta pot is an ideal choice. Its porous material wicks away excess moisture, providing crucial protection against root rot. The wide surface area also gives the cascading strings a beautiful stage to spill over, creating a stunning display.

Important: Never, ever let water sit on the leaves or the crown of the plant. The tiny, patterned leaves are prone to rot if they remain wet for too long. Always aim for the soil, not the foliage. This single habit can prevent the most common cause of sudden decline in these plants.
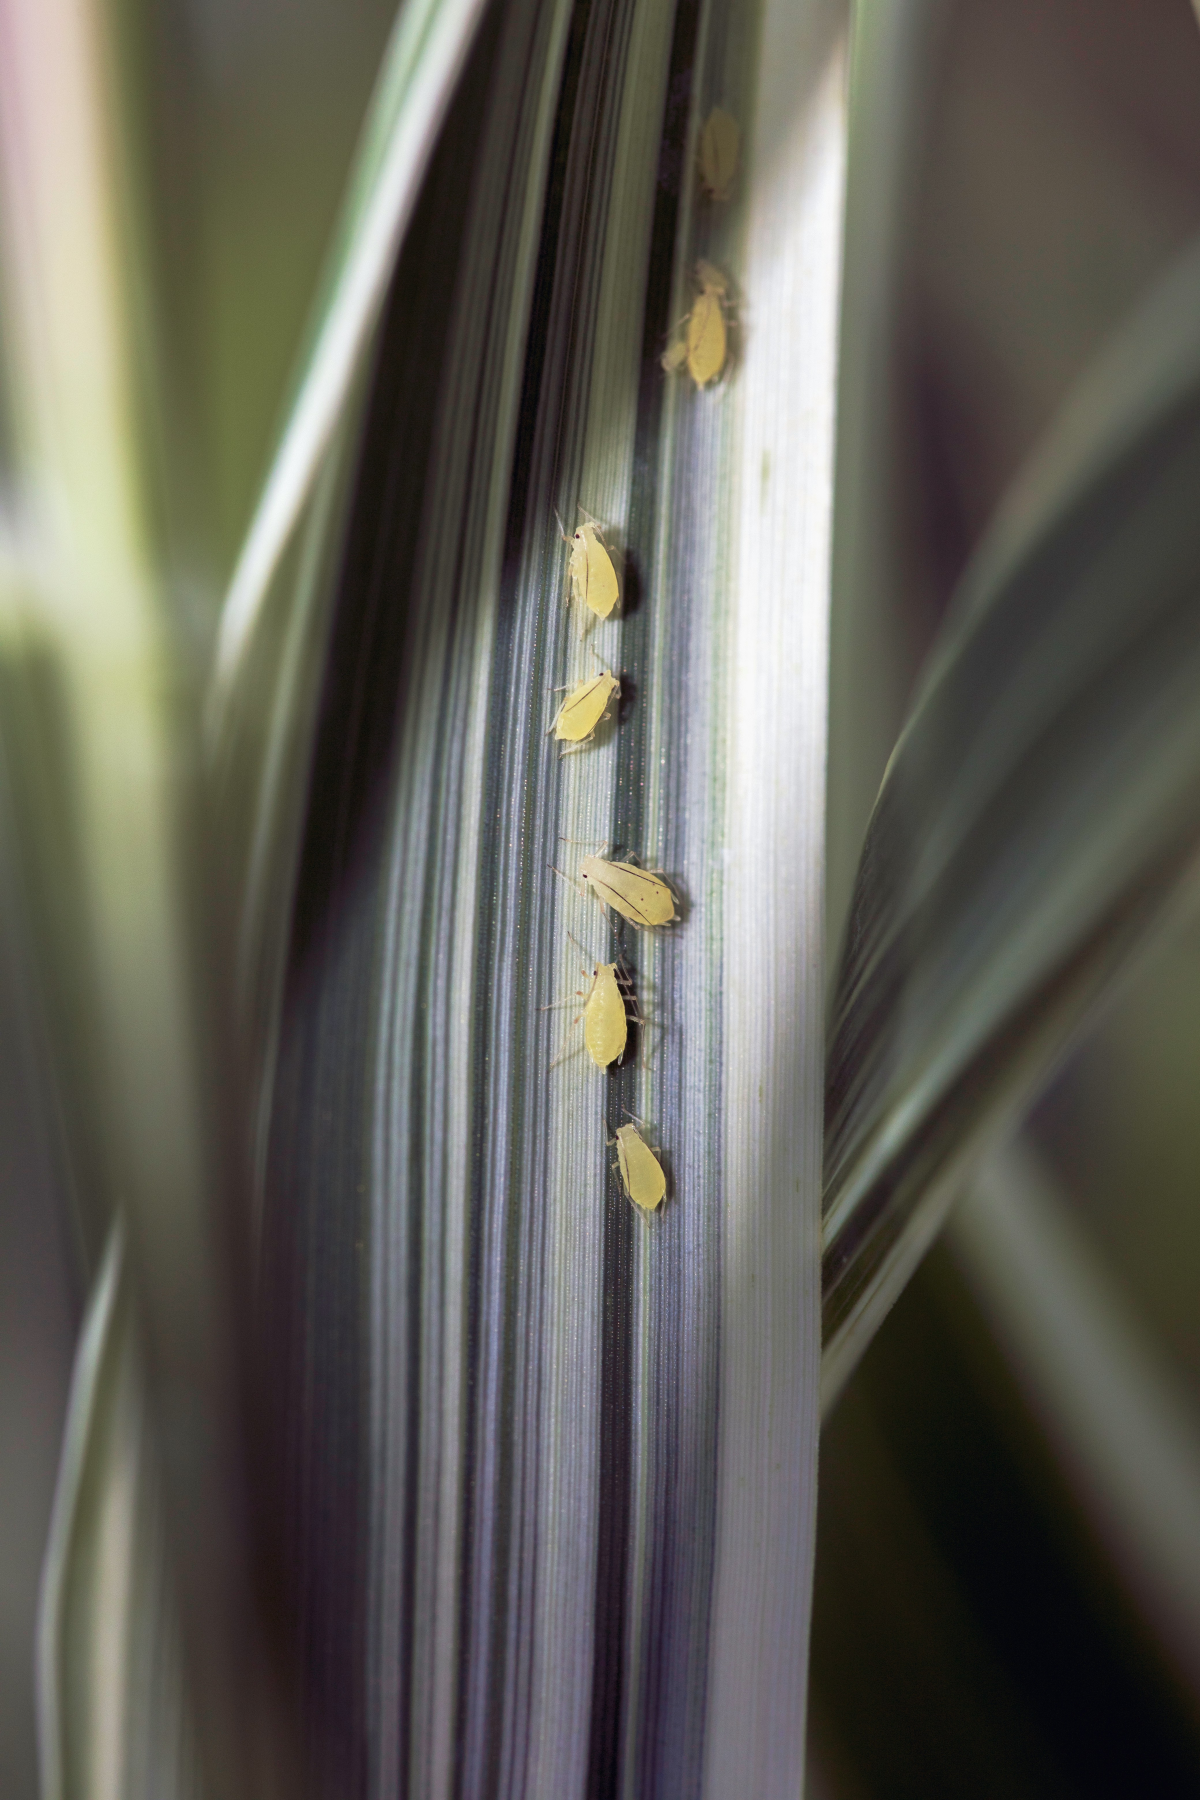
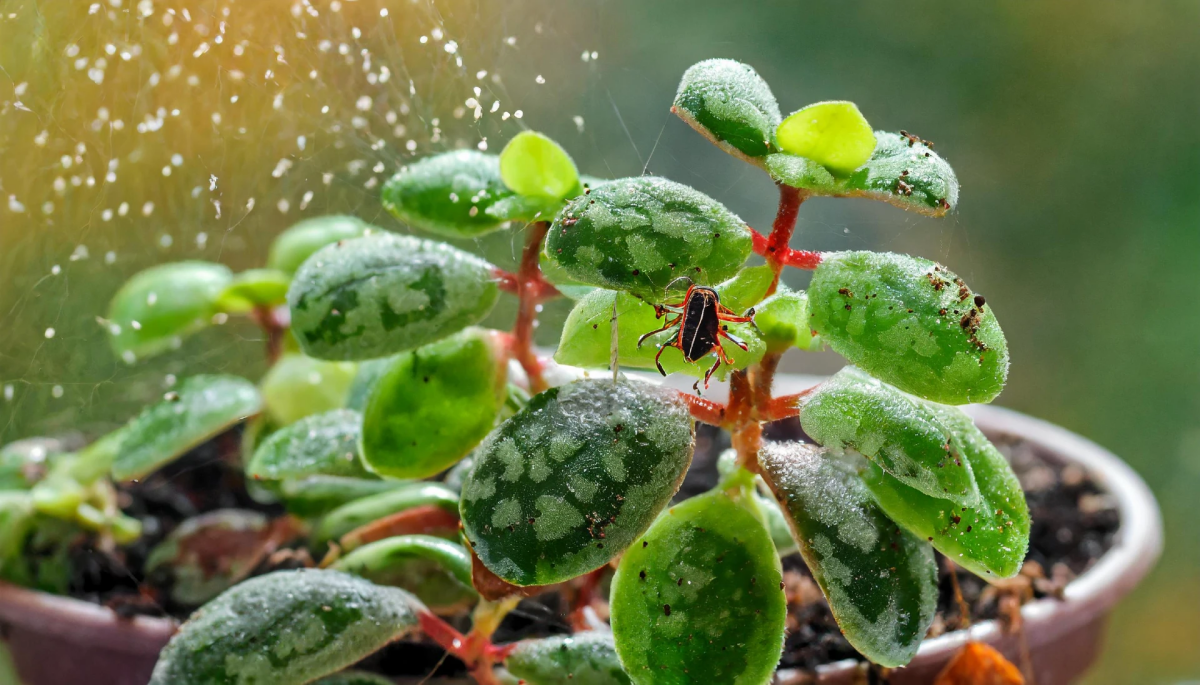
The dreaded pests are tiny but mighty. Keep an eye out for:
- Fungus Gnats: Little black flies hovering around the soil. They thrive in overly moist conditions. Let the soil dry out more between waterings and consider using yellow sticky traps to catch the adults.
- Aphids: Tiny green or white insects clustered on new growth. A gentle spray of water or an application of insecticidal soap can dislodge them.
Help! My turtle shells are falling off the vine!
Don’t panic—this is a classic signal. Check the soil and the base of the fallen leaf. If the stem is mushy and dark, you’re overwatering. Let it dry out completely. If the stem is dry, withered, and the leaves feel crispy, you’ve likely underwatered. Give it a thorough drink, preferably by bottom-watering, to rehydrate the roots without soaking the crown.
- It provides a free backup in case something happens to your main plant.
- It’s the perfect, personal gift for a fellow plant lover.
- It encourages the mother plant to branch out and become fuller.
The secret is the
Terracotta Pot: The champion of aeration. Its porous clay allows water to evaporate and air to reach the roots, significantly reducing the risk of root rot. Ideal for beginners or those who tend to overwater.
Glazed Ceramic Pot: The stylish choice. While beautiful, it’s non-porous and holds moisture much longer. If you choose ceramic, ensure your soil mix is extra chunky and airy, and be vigilant about your watering schedule.
This is a marathon, not a sprint. Unlike fast-growing plants like Pothos, the String of Turtles takes its time. Celebrate the tiny new leaves and the slow crawl of the vines. This plant teaches patience, and the reward is a uniquely beautiful specimen that you’ve nurtured with gentle, consistent care.


